Room Makeover Reveal: Sewing Room Ideas
Transform your sewing room into a cozy, organized space with these creative ideas and tips. See the amazing before and after pictures in our room makeover reveal.
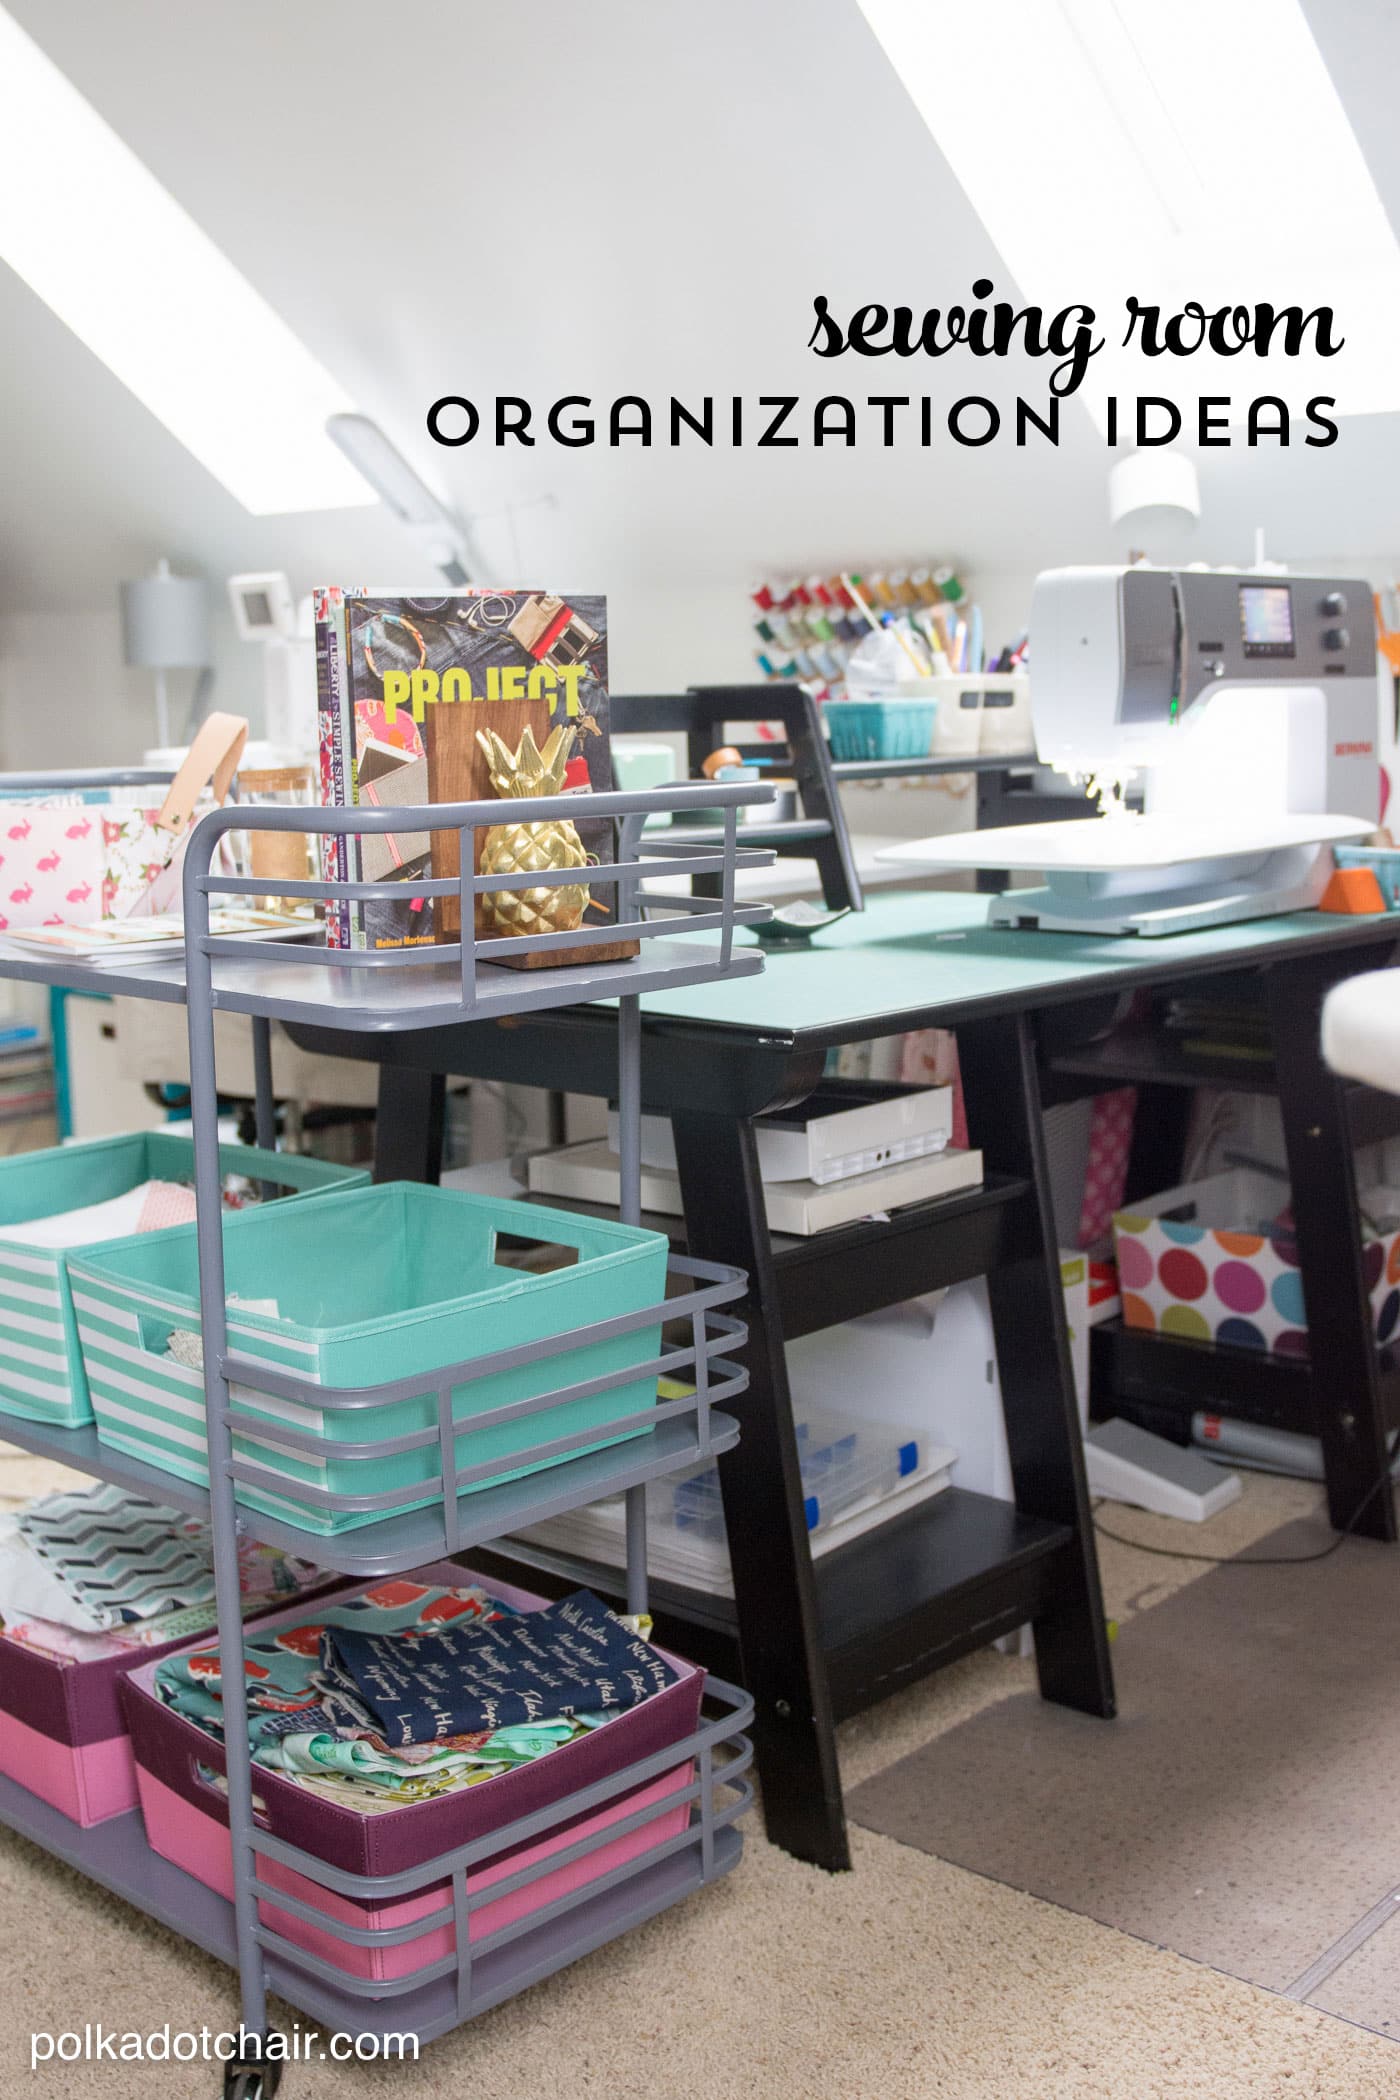
We recently completed the “updating” of my sewing room and creative space. It was so clean the other day that I thought I’d snap a few pictures to share with you. I’m always looking for cute sewing room ideas, and I thought you might like to see how I organize my home office.
After I took the photos, I realized that I had 40+, which is way too many for one post, so I decided to split the post into two parts: part one shared today and part two next week. (After part two is posted, I’ll come back here and link up so you can click between the two easily).
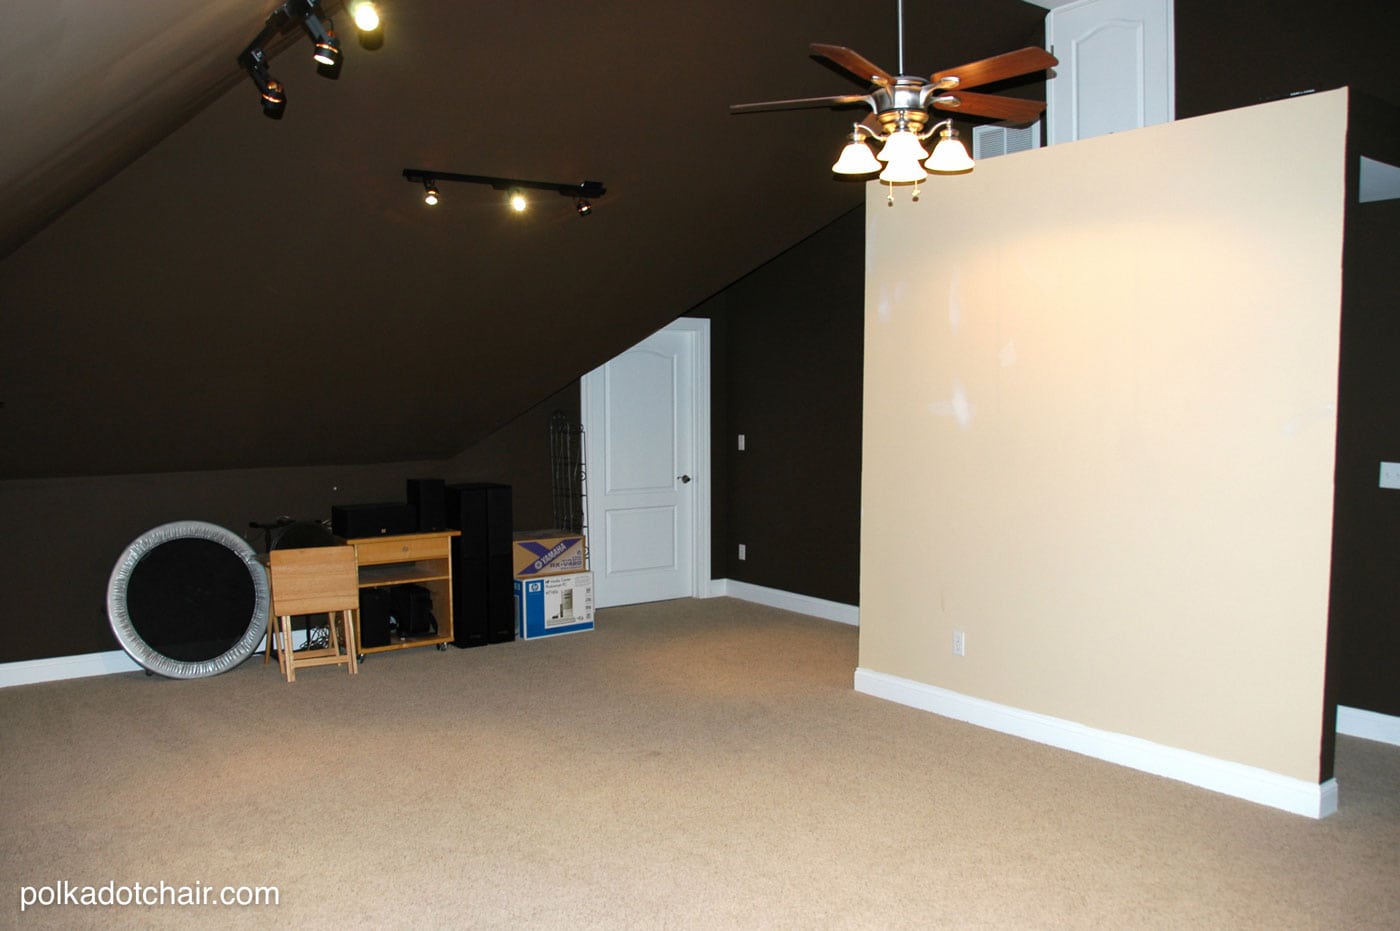
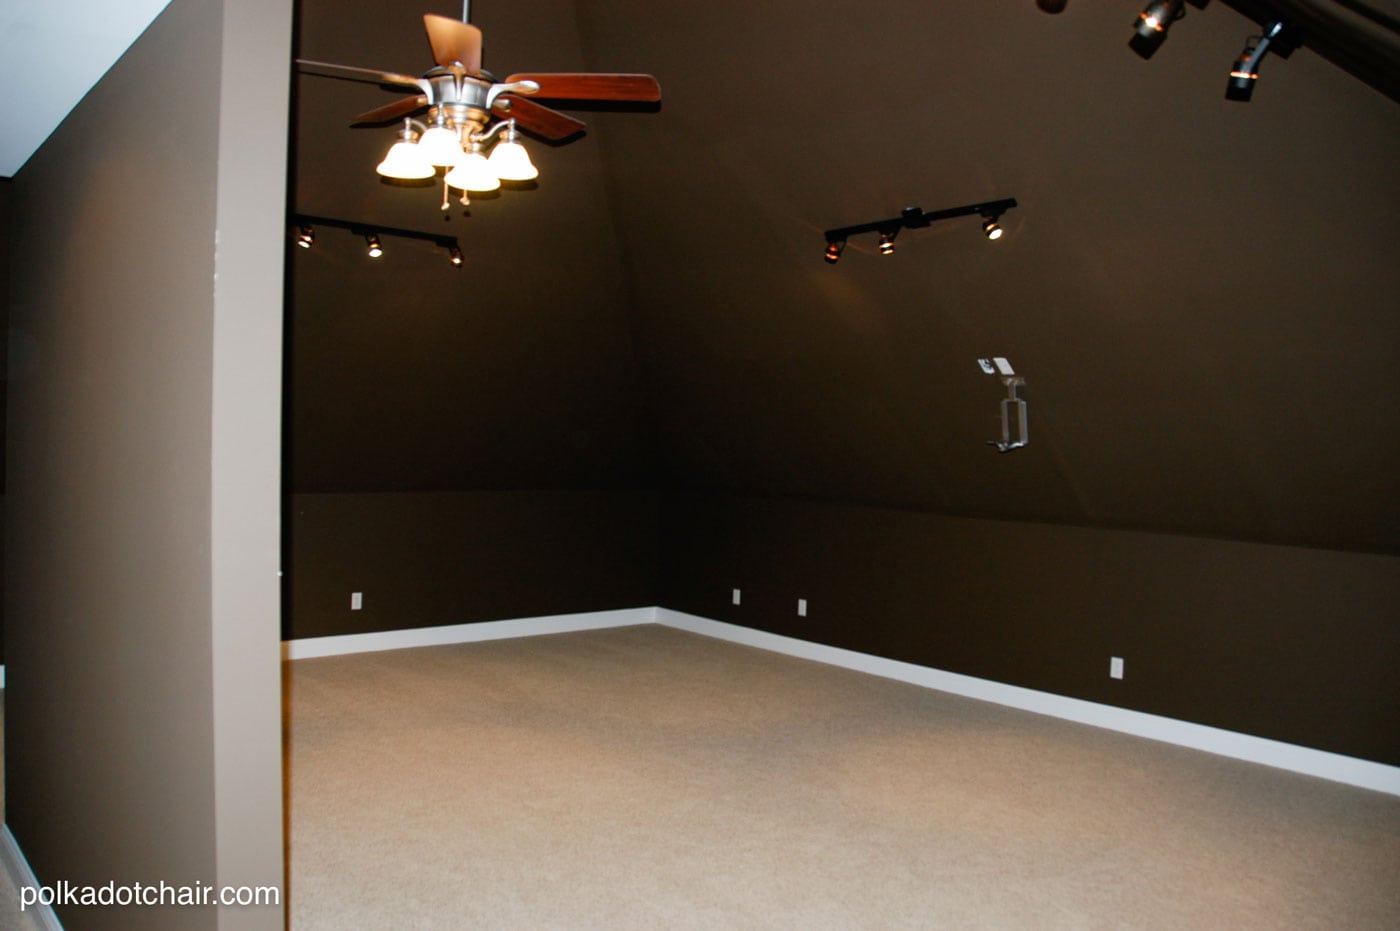
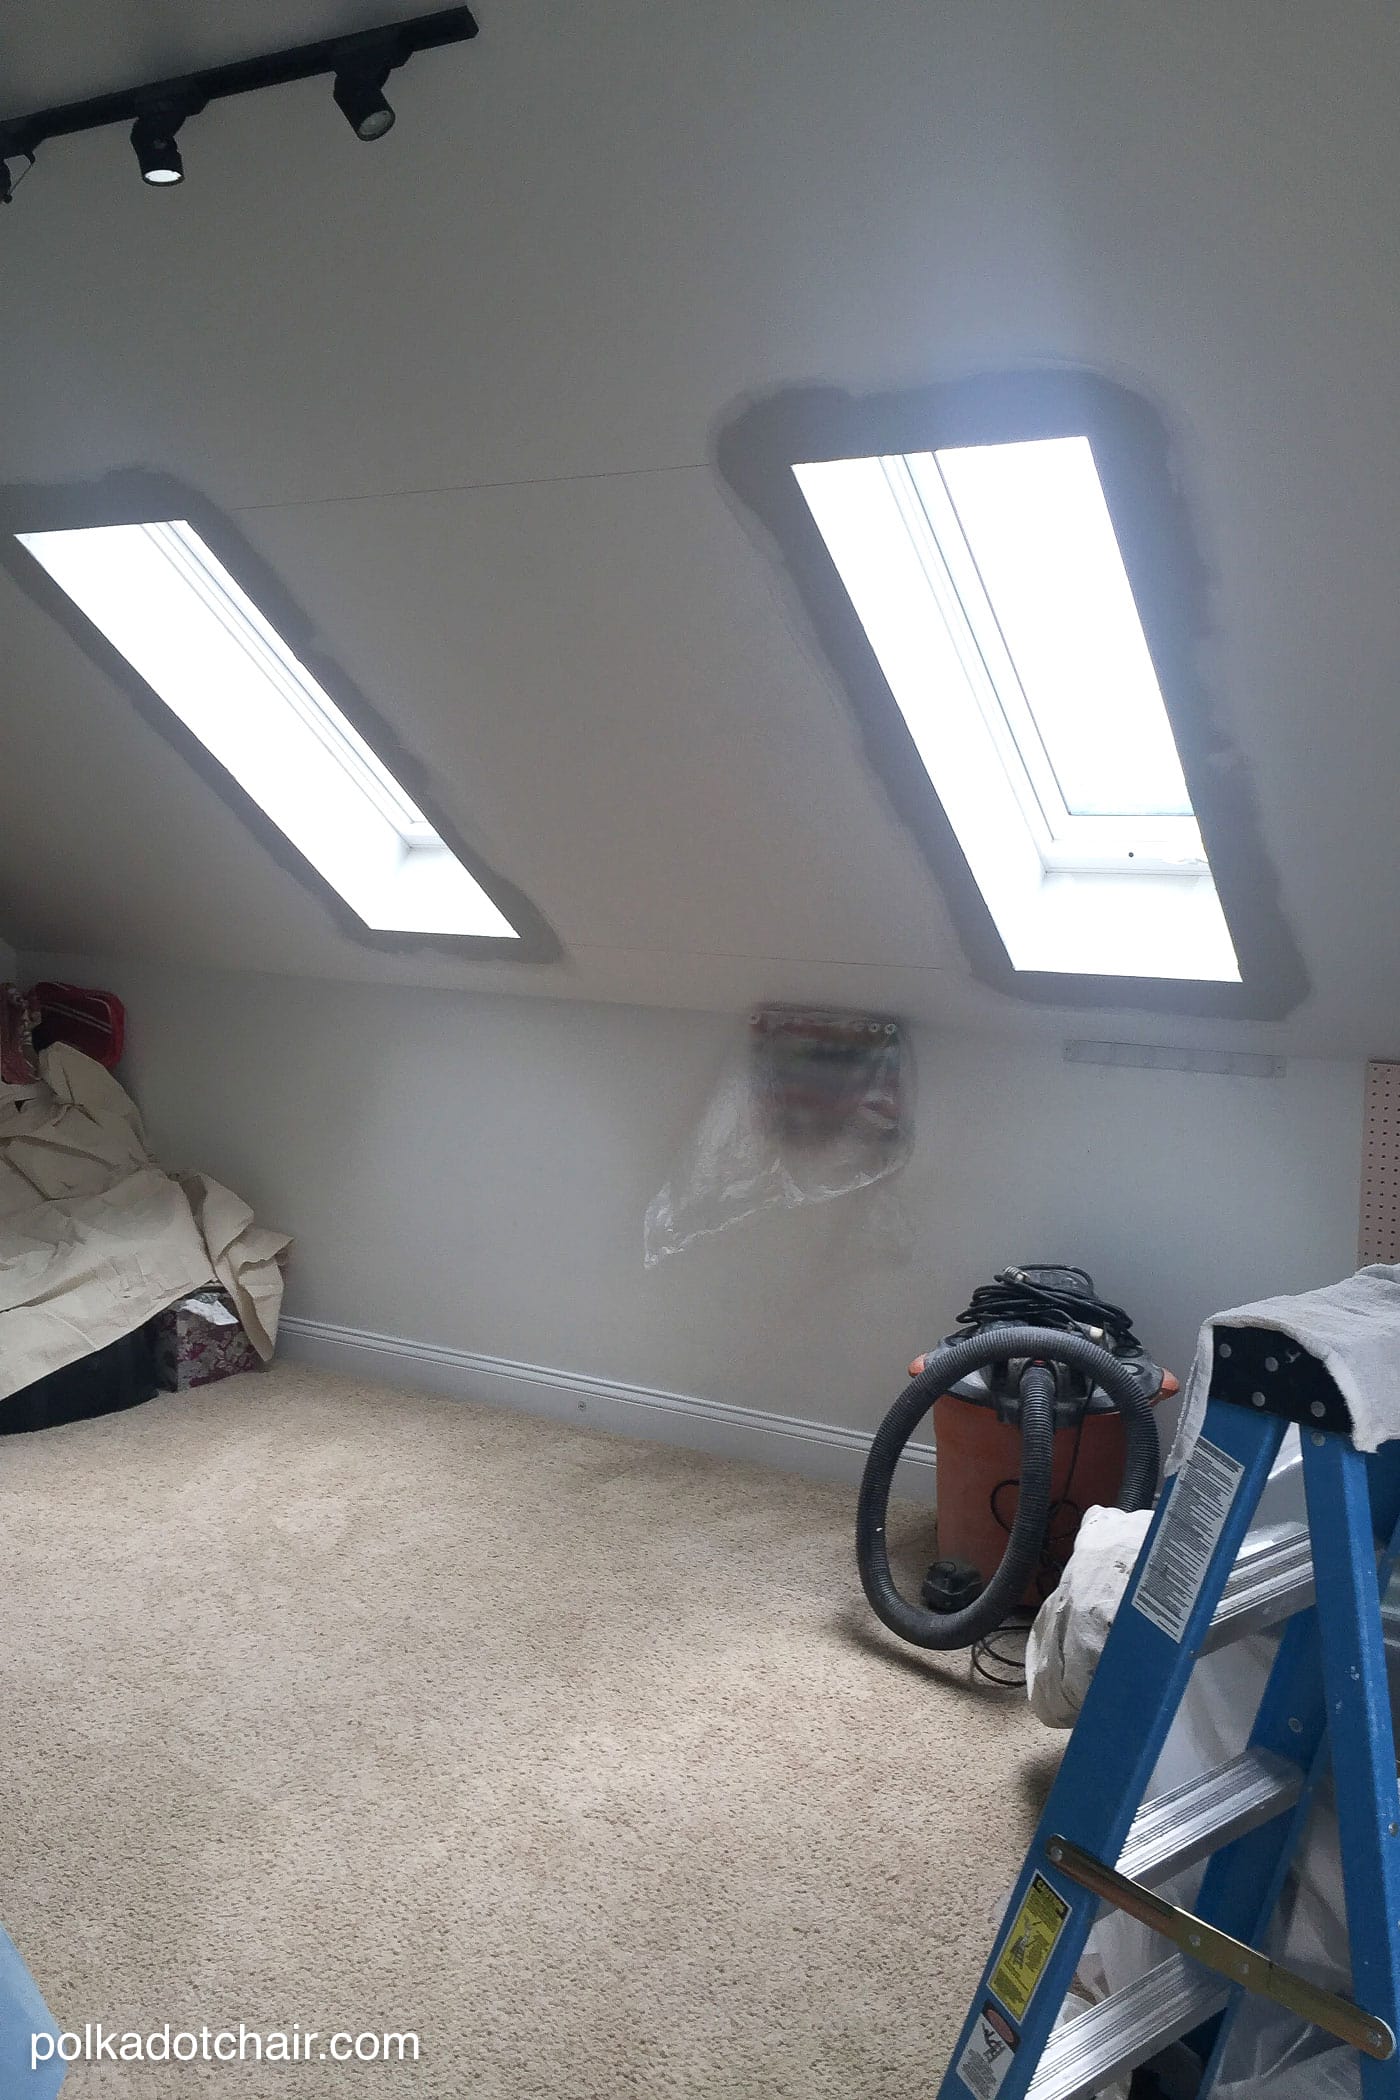
Before Photos Of The Room
Why I updated my Sewing Space
A little bit of background.
When we moved into our home, we did not have a finished basement; we planned to finish the basement about 2-3 years after we moved in, which we did. Even though our home was plenty big for us, we didn’t have a dedicated family room/TV/craft space without the finished basement. We did have a bonus room above our garage (pictured above), and we used it as a multipurpose room when we moved in. I kept my sewing stuff in the back corner of the room, and the front corner had the family TV and some of the kid’s toys.
We planned a small sewing space for me downstairs when we finished the basement. I picked out the wall color, the cabinets, and the flooring. The basement took most of a summer to finish, but it turned out just as we wanted it, and with much excitement, I moved all of my stuff from the top floor of the house down to the basement (it’s 48 steps, in case you were wondering).
I used that room in the basement for several years and, at that time, decided to take my blog from a hobby to a business. When I did that, my “inventory” of stuff grew, along with my workload.
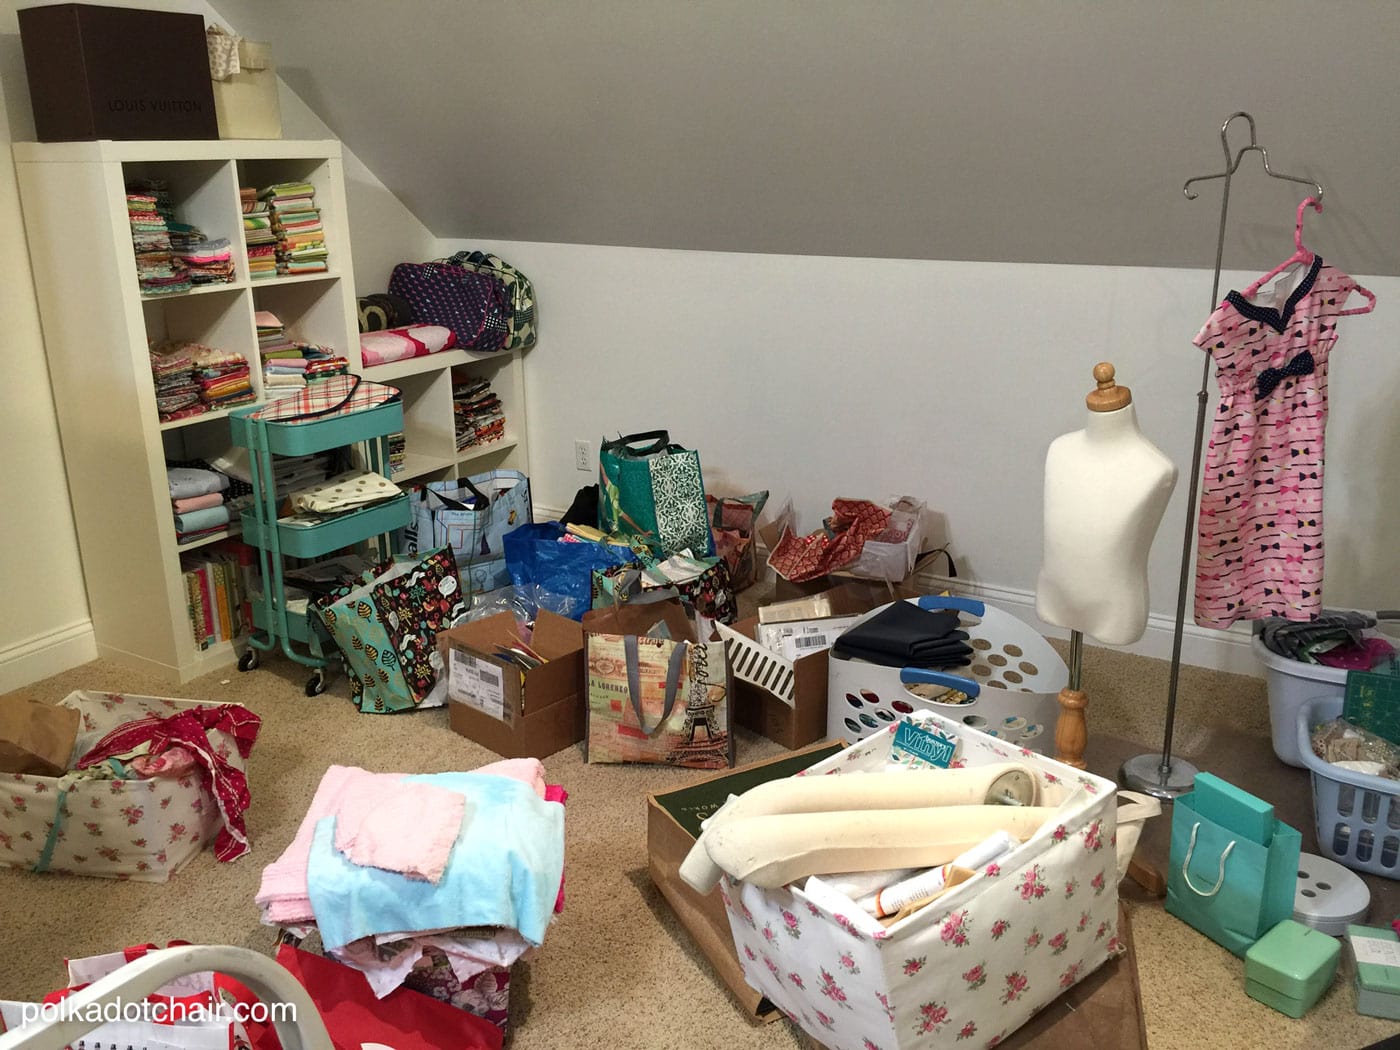
I soon found craft and sewing supplies spilling out into the nearby family room and taking over our guest room. In the meantime, the room that was once the multipurpose room was turned into a toy room. Fast forward a few years, and the kids didn’t play with toys anymore (doesn’t that seem like it happens almost overnight?), and the room turned into a giant storage/junk room.
It bothered me a lot. I used to have dreams that I forgot the room was there, and someone would come over and walk in, and I’d be horrified and say something like, “How was I supposed to clean it? I didn’t even know it was here!”
My husband and I talked about turning it into my sewing room and a creative space for the entire family, but there was no window in the room, and I didn’t know if I could take working in the dark. Plus, there was the task of cleaning out all of the crap and painting the giant walls (they were dark brown to start).
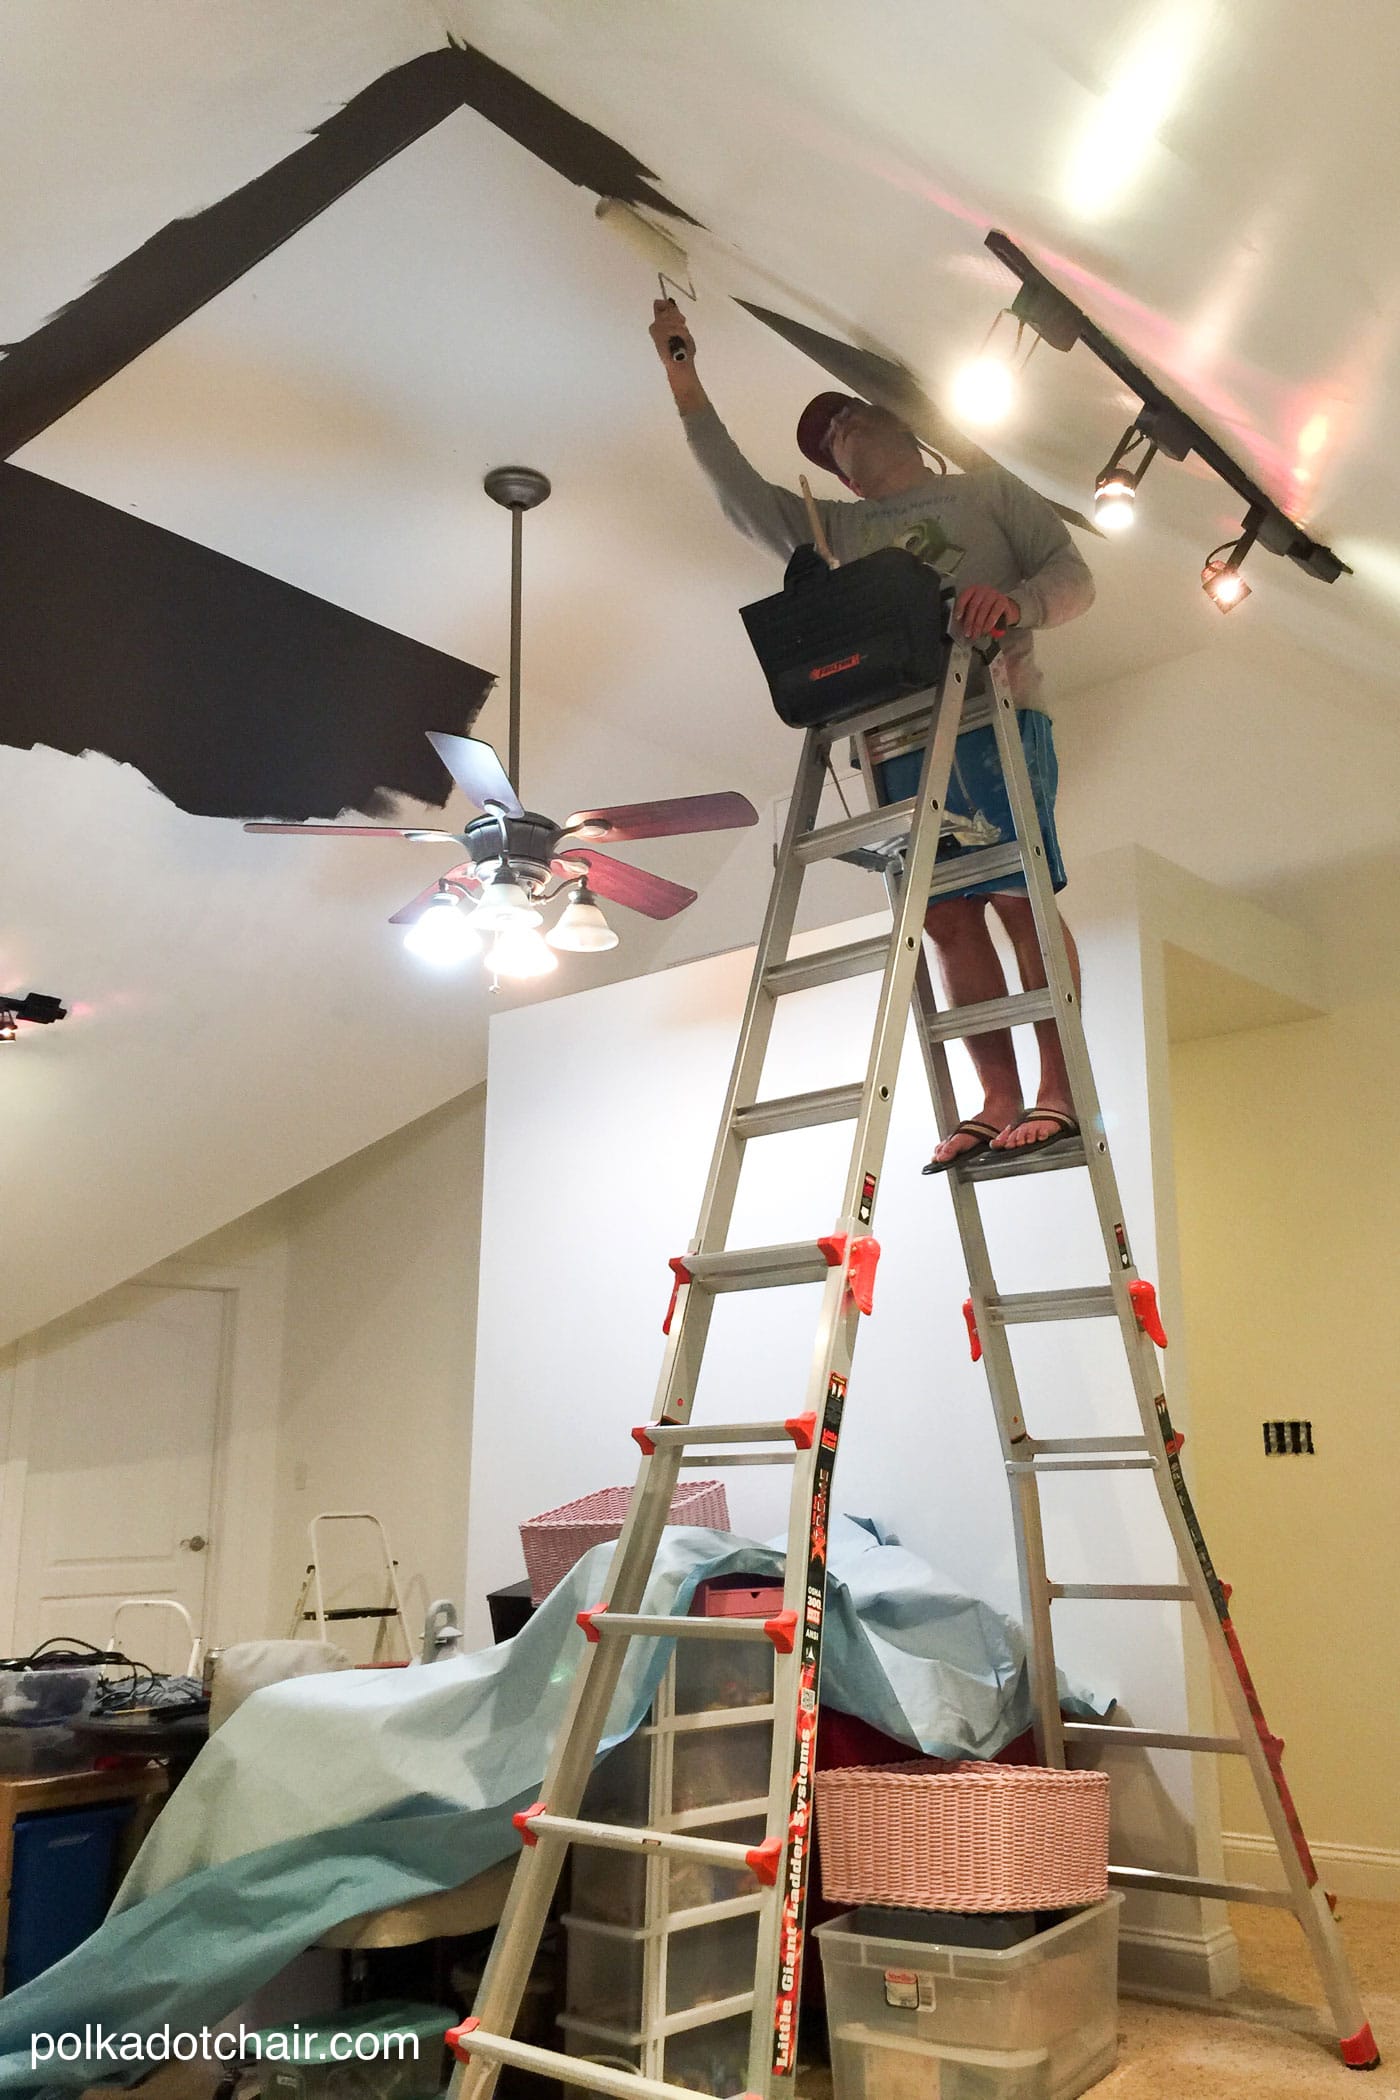
After a year or so of nightmares and sewing stuff all over the house, we finally decided to bite the bullet and move my stuff upstairs. A few weekends and several trips to Goodwill later, the room was ready for paint.
My husband took on the task of painting the giant walls and is still mad about it. He says it’s the worst room he’s ever painted. Even with “good” paint, it took almost four coats to cover the brown.
We then moved all my stuff back UPSTAIRS (do you see the insanity here?)—those same 48 steps, but this time all up and with more heavy fabric and paper.
We all (the kids included) got an excellent workout that month.
Benefits Of Natural Light With Skylights In The Room
After everything was moved in, we started researching ideas for windows or skylights in the room. We went back and forth on the options. I kept thinking I didn’t mind the lack of natural light, and then I’d pick a navy fabric, thinking it was black fabric, and get mad and want a window again. Finally, last summer, we hired a contractor to redo our basement after our sewage backup (a story for another day). Since we would be working at the house anyway, we might as well complete a few other projects.
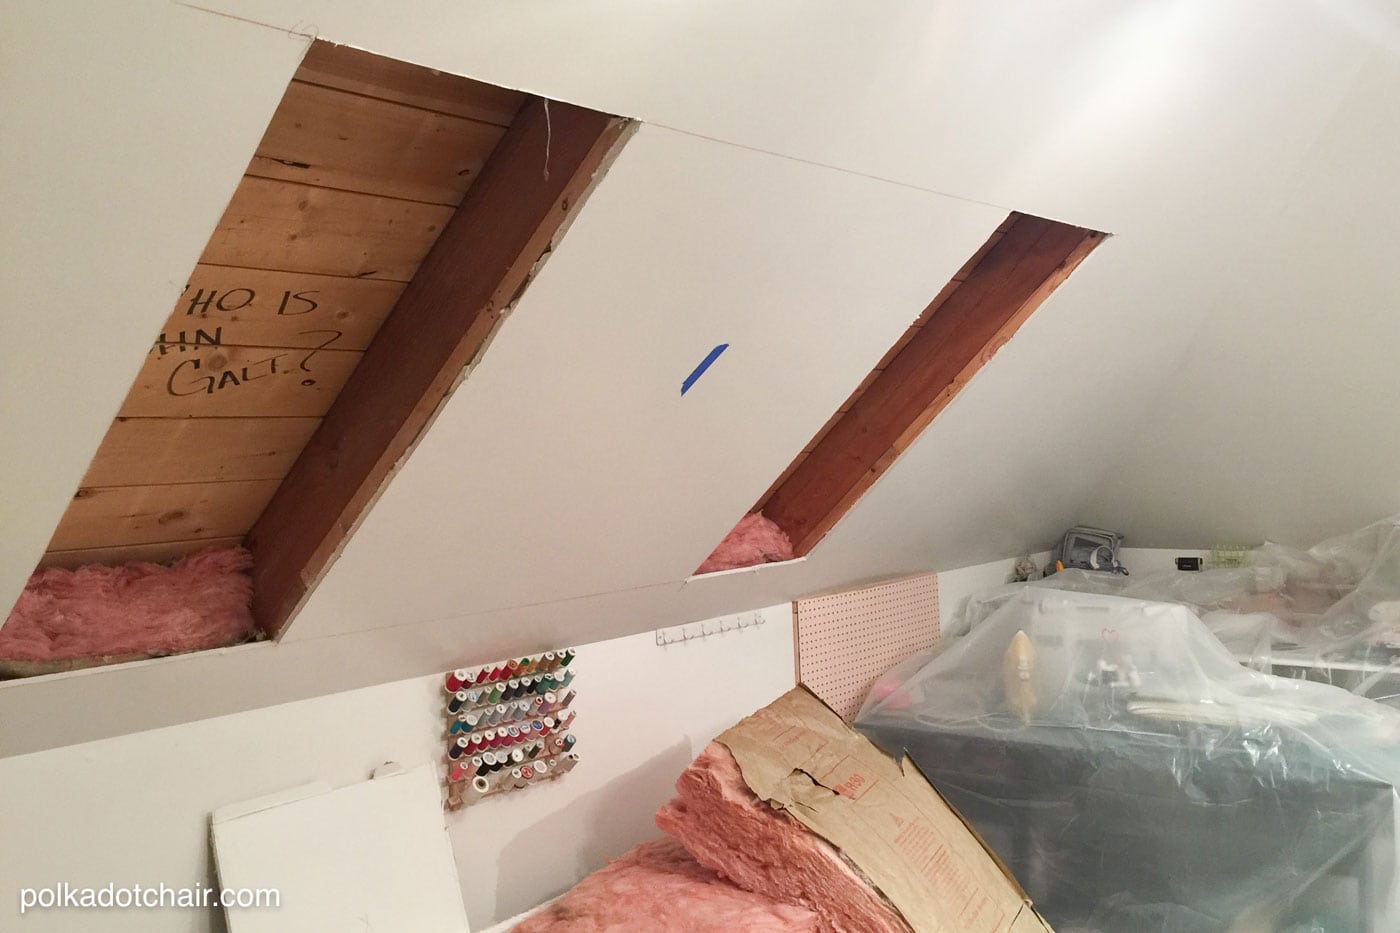
After talking to him, we decided the least expensive and least intrusive way to handle adding light to the room was to add skylights. I was so excited the night before they went in I could hardly sleep! I sat and watched them cut the holes in the roof and was delighted when the natural light started flooding in.
Introduction To The Sewing Room Project
This fast-forwards me to today… the completed space. In an “ideal” world, we would have removed the carpet and put down laminate or hardwood, but the budget didn’t allow for that, and now I’d have to move all the stuff back out AGAIN to change the flooring.
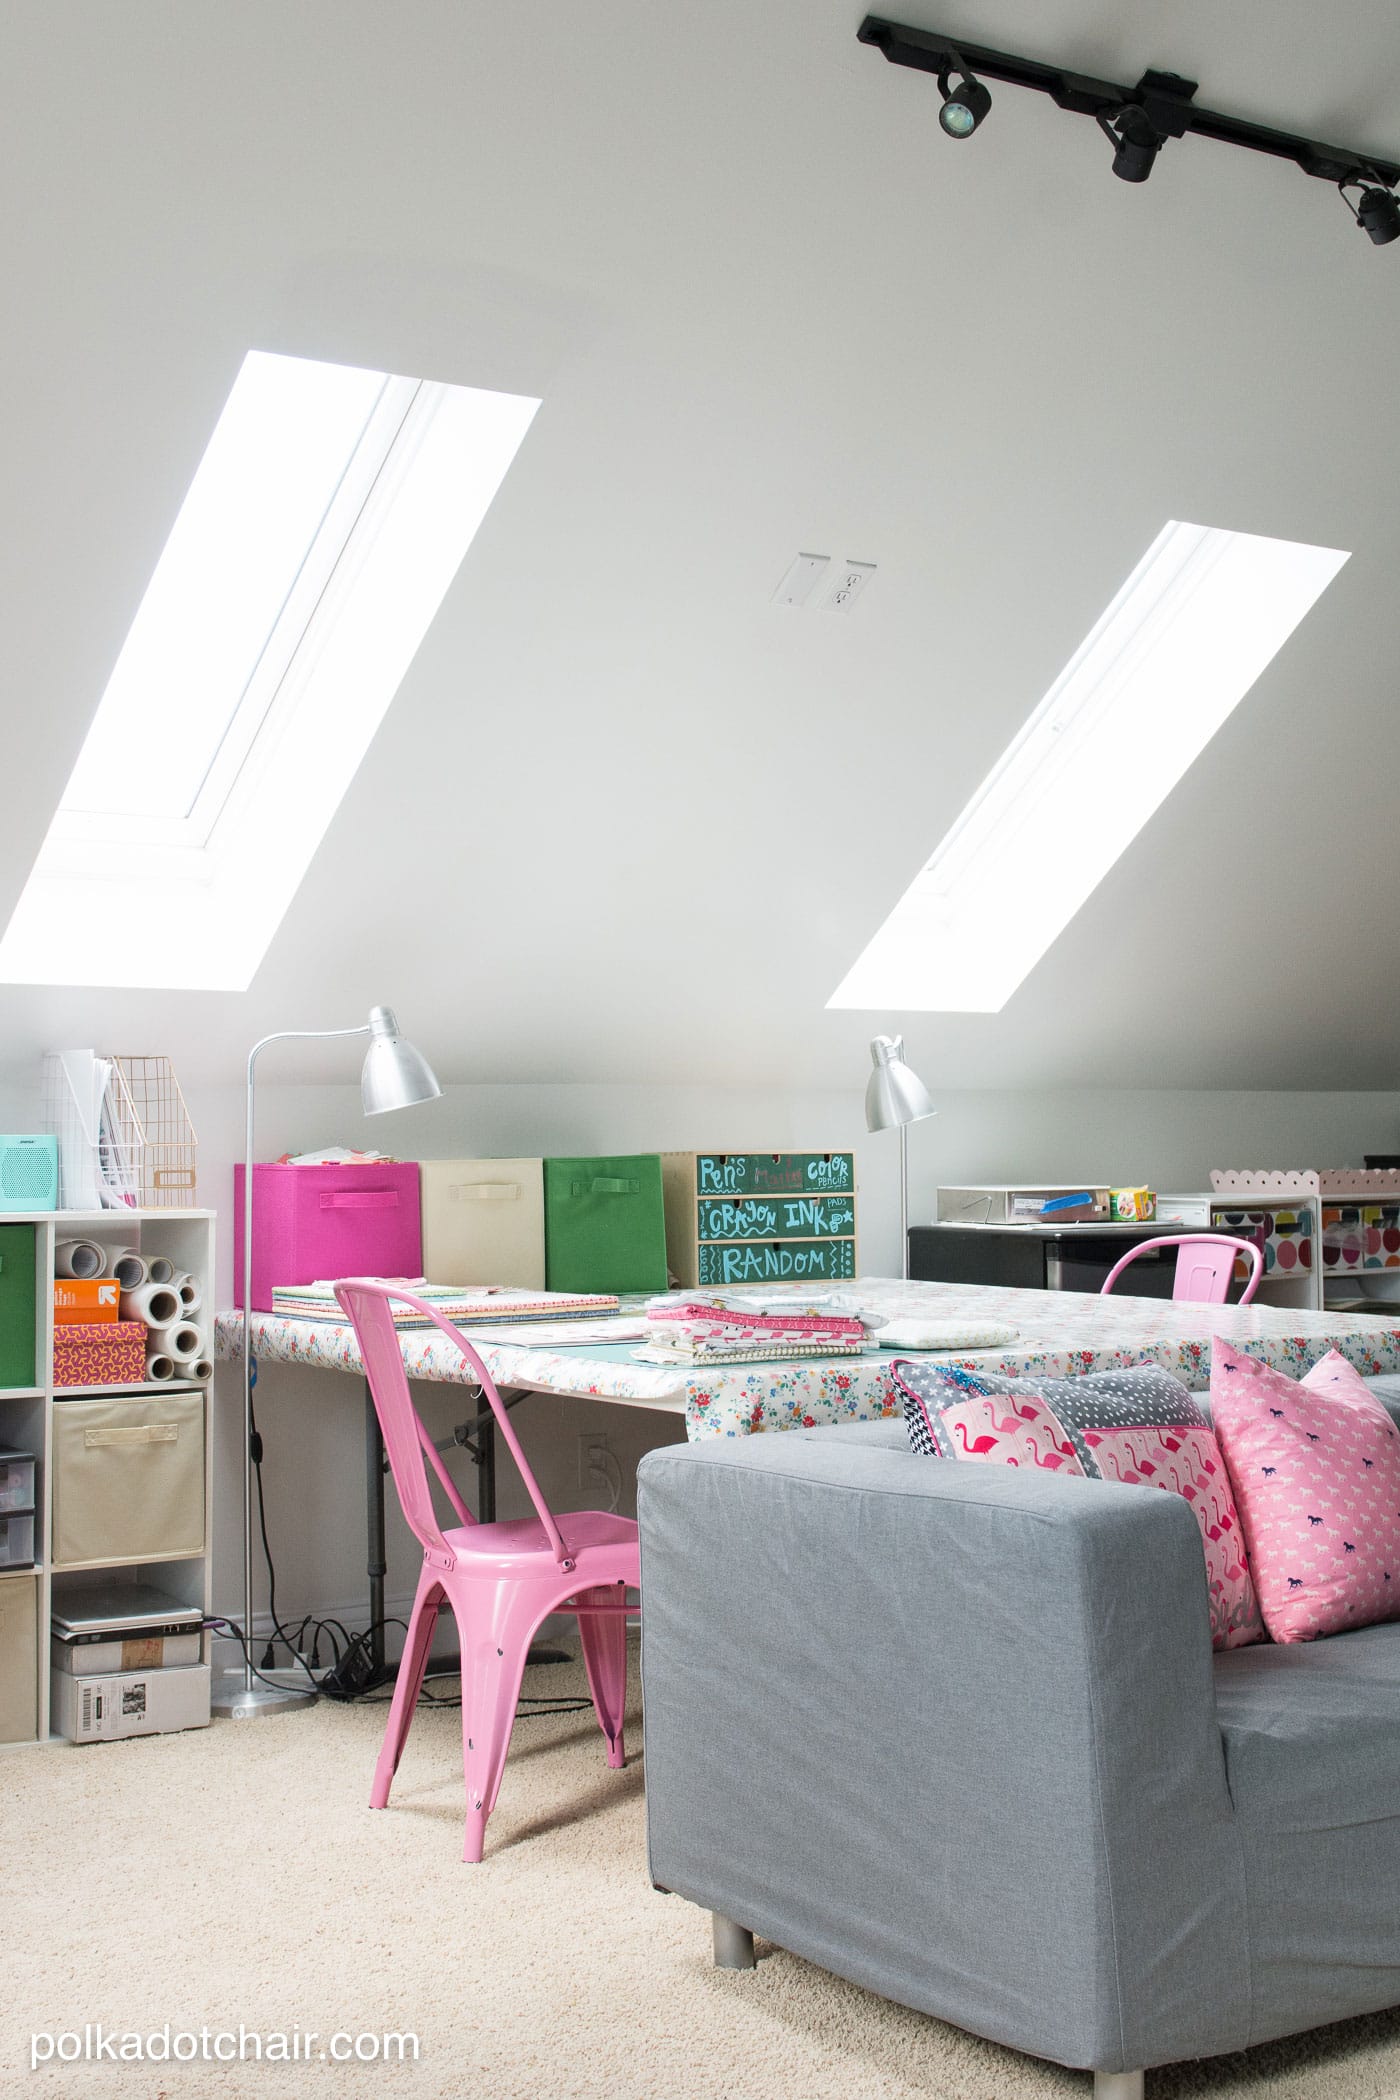
Overview Of The Room’s Purpose And Layout
I’ll walk you through the room a bit.
The biggest reason I wanted to move to a larger floor space was so that I could have friends come over and sew or craft with me. Being a blogger can be a lonely job at times, and I was starting to feel like I was spending all day in my basement with just the dog.
My kids and husband are also artsy, and I wanted them to have their own space to come and work on whatever they wanted. I also wanted them to have a seat to sit in if they just wanted to go and “hang” out with me when I was working.
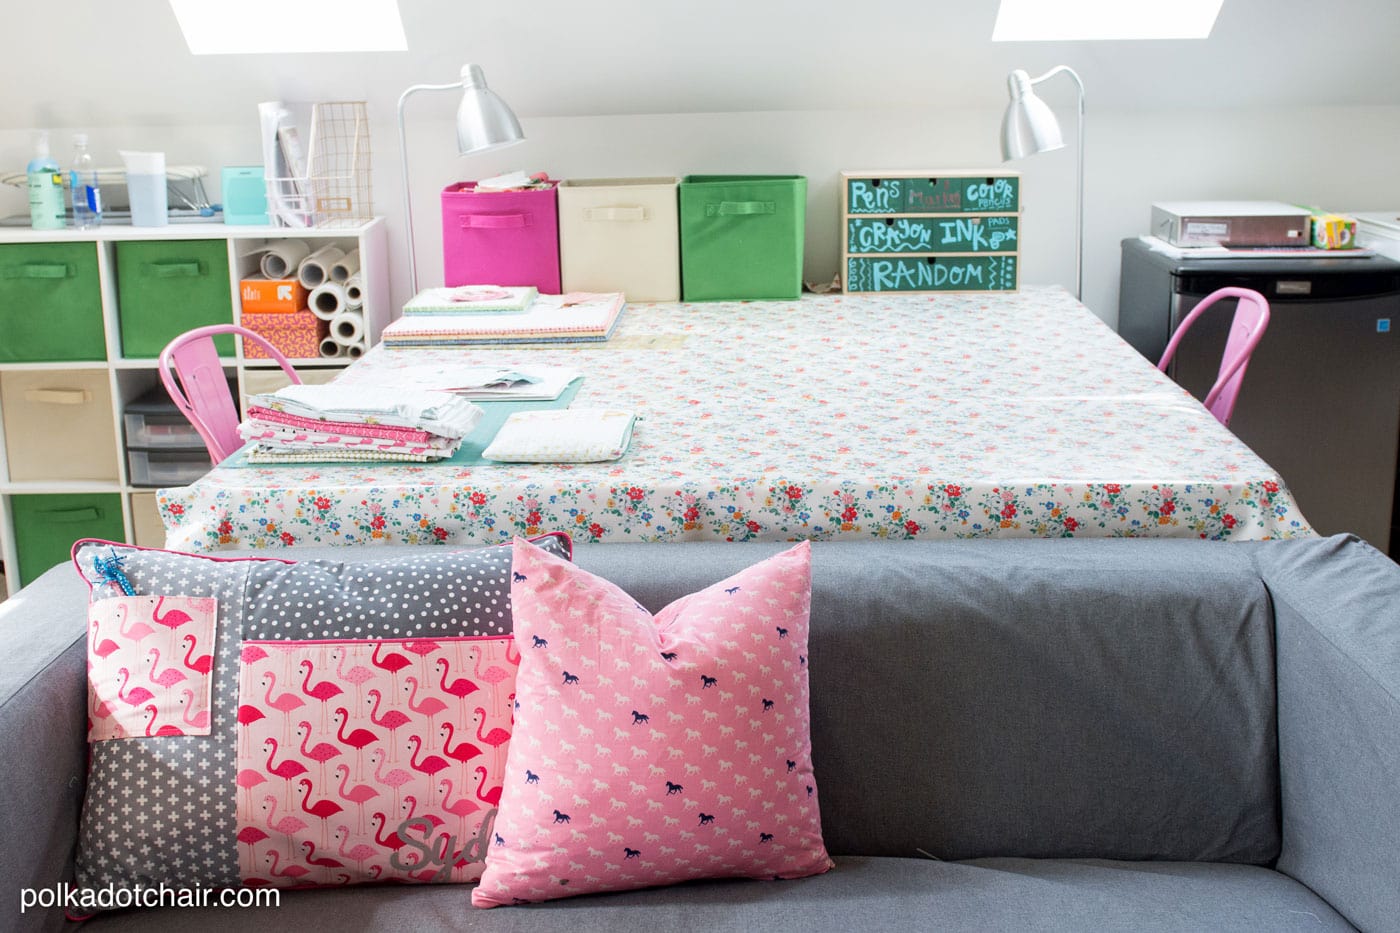
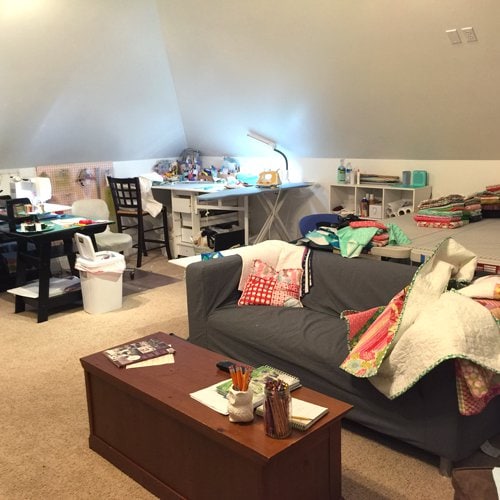
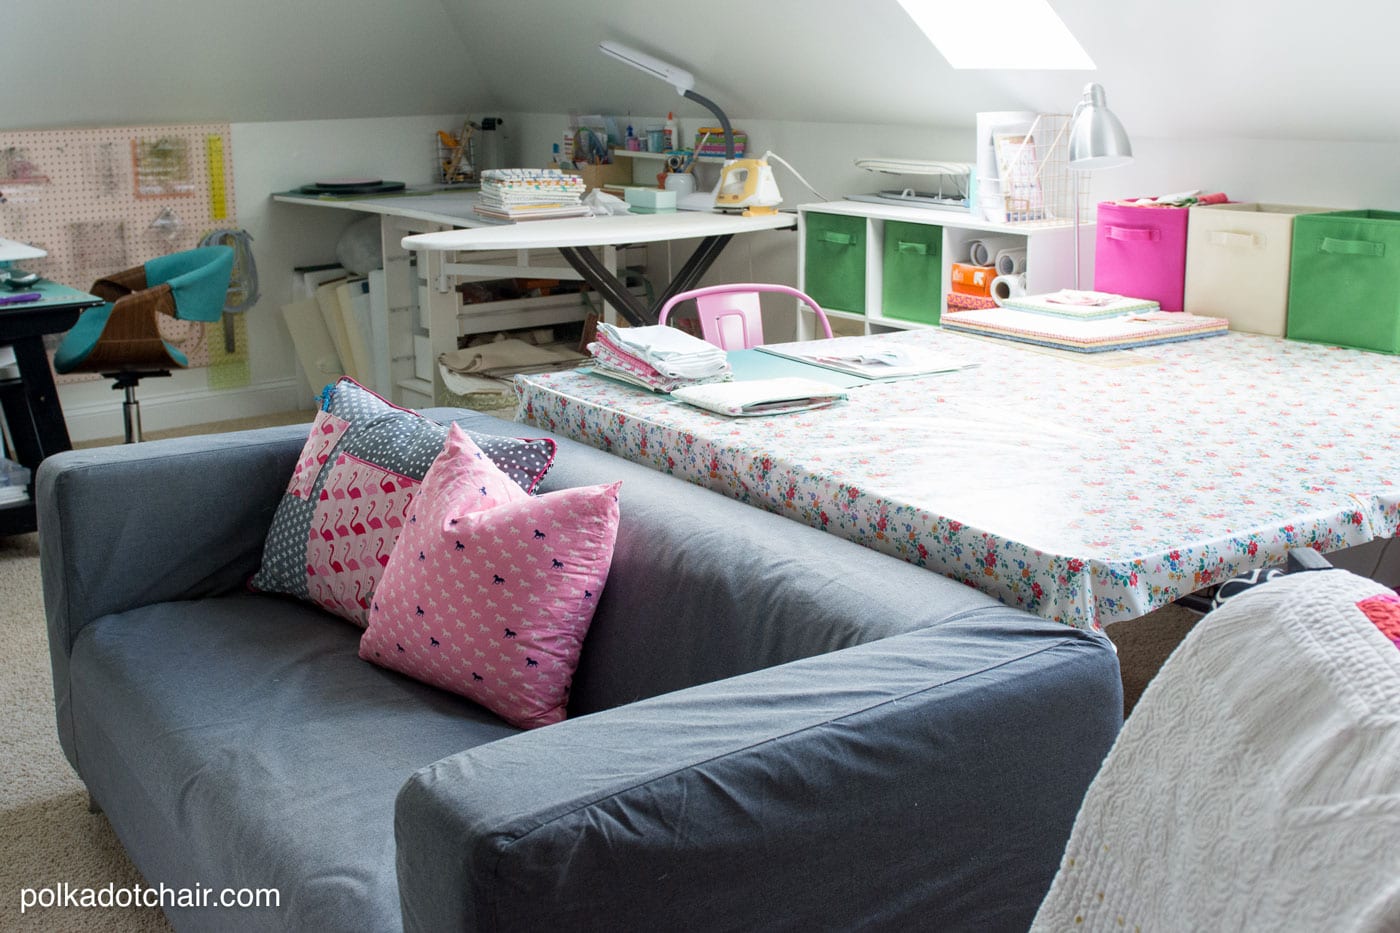
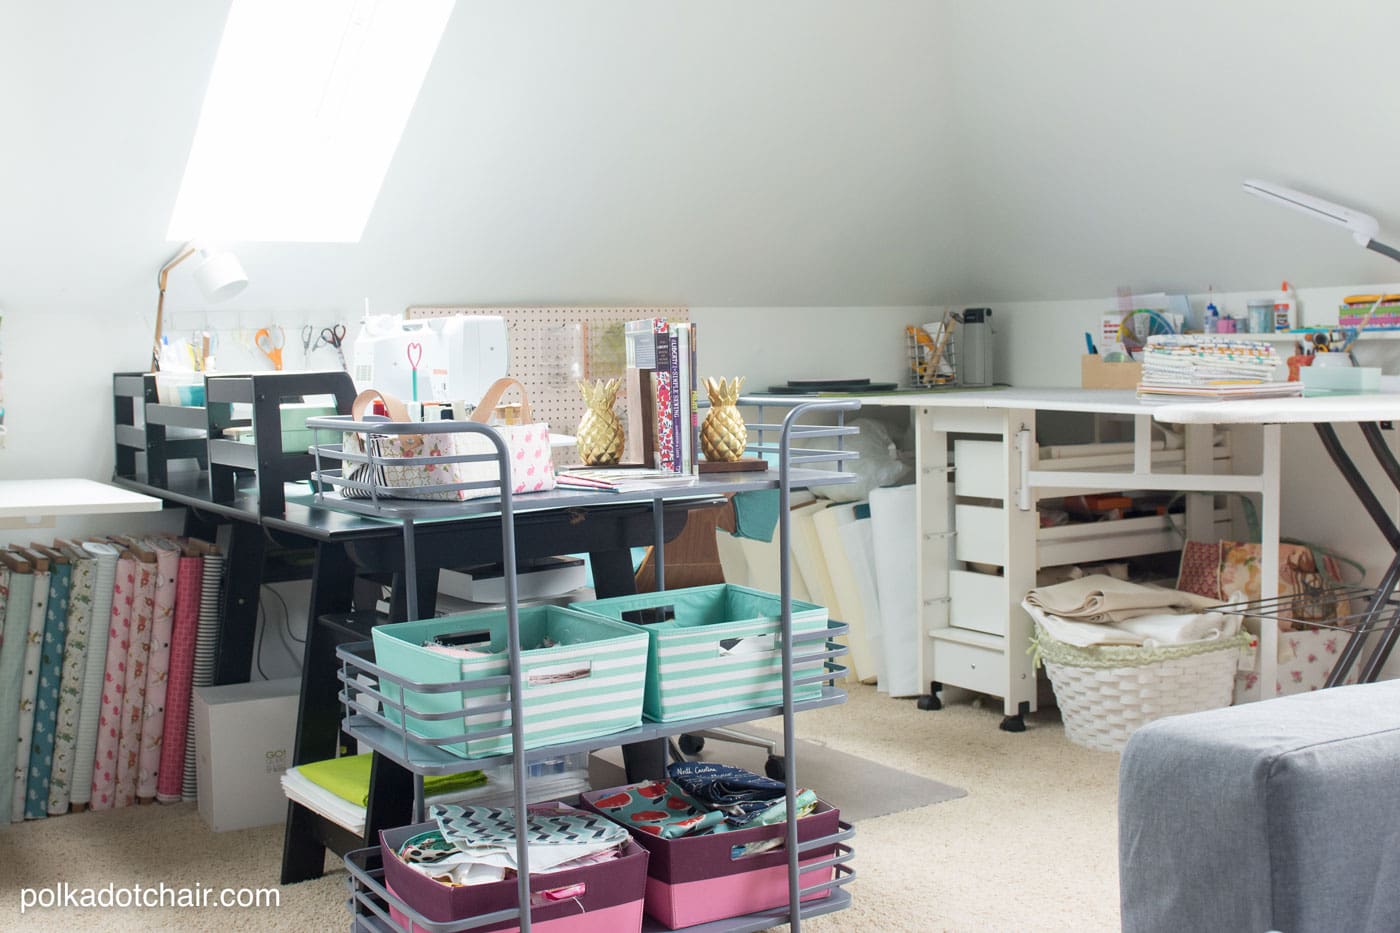
To accomplish this, in the center of the room are two large plastic folding tables covered with oilcloth. It’s the perfect space for me to spread out if I need to, and the kids can come and use it for homework. At the end of the tables is a small sofa, we’ve had it for years; I got a new slipcover. It’s the perfect size for the kids to sit on and watch TV.
In the corner (you can’t see it here) is also a small desk where my daughter keeps her sewing tools.
I have sewing stuff on one side of the room, and the other is paper/crafting/scrapbooking stuff. I didn’t get a great photo of that part of the room, but it’s in there.
Storage Ideas For Organization
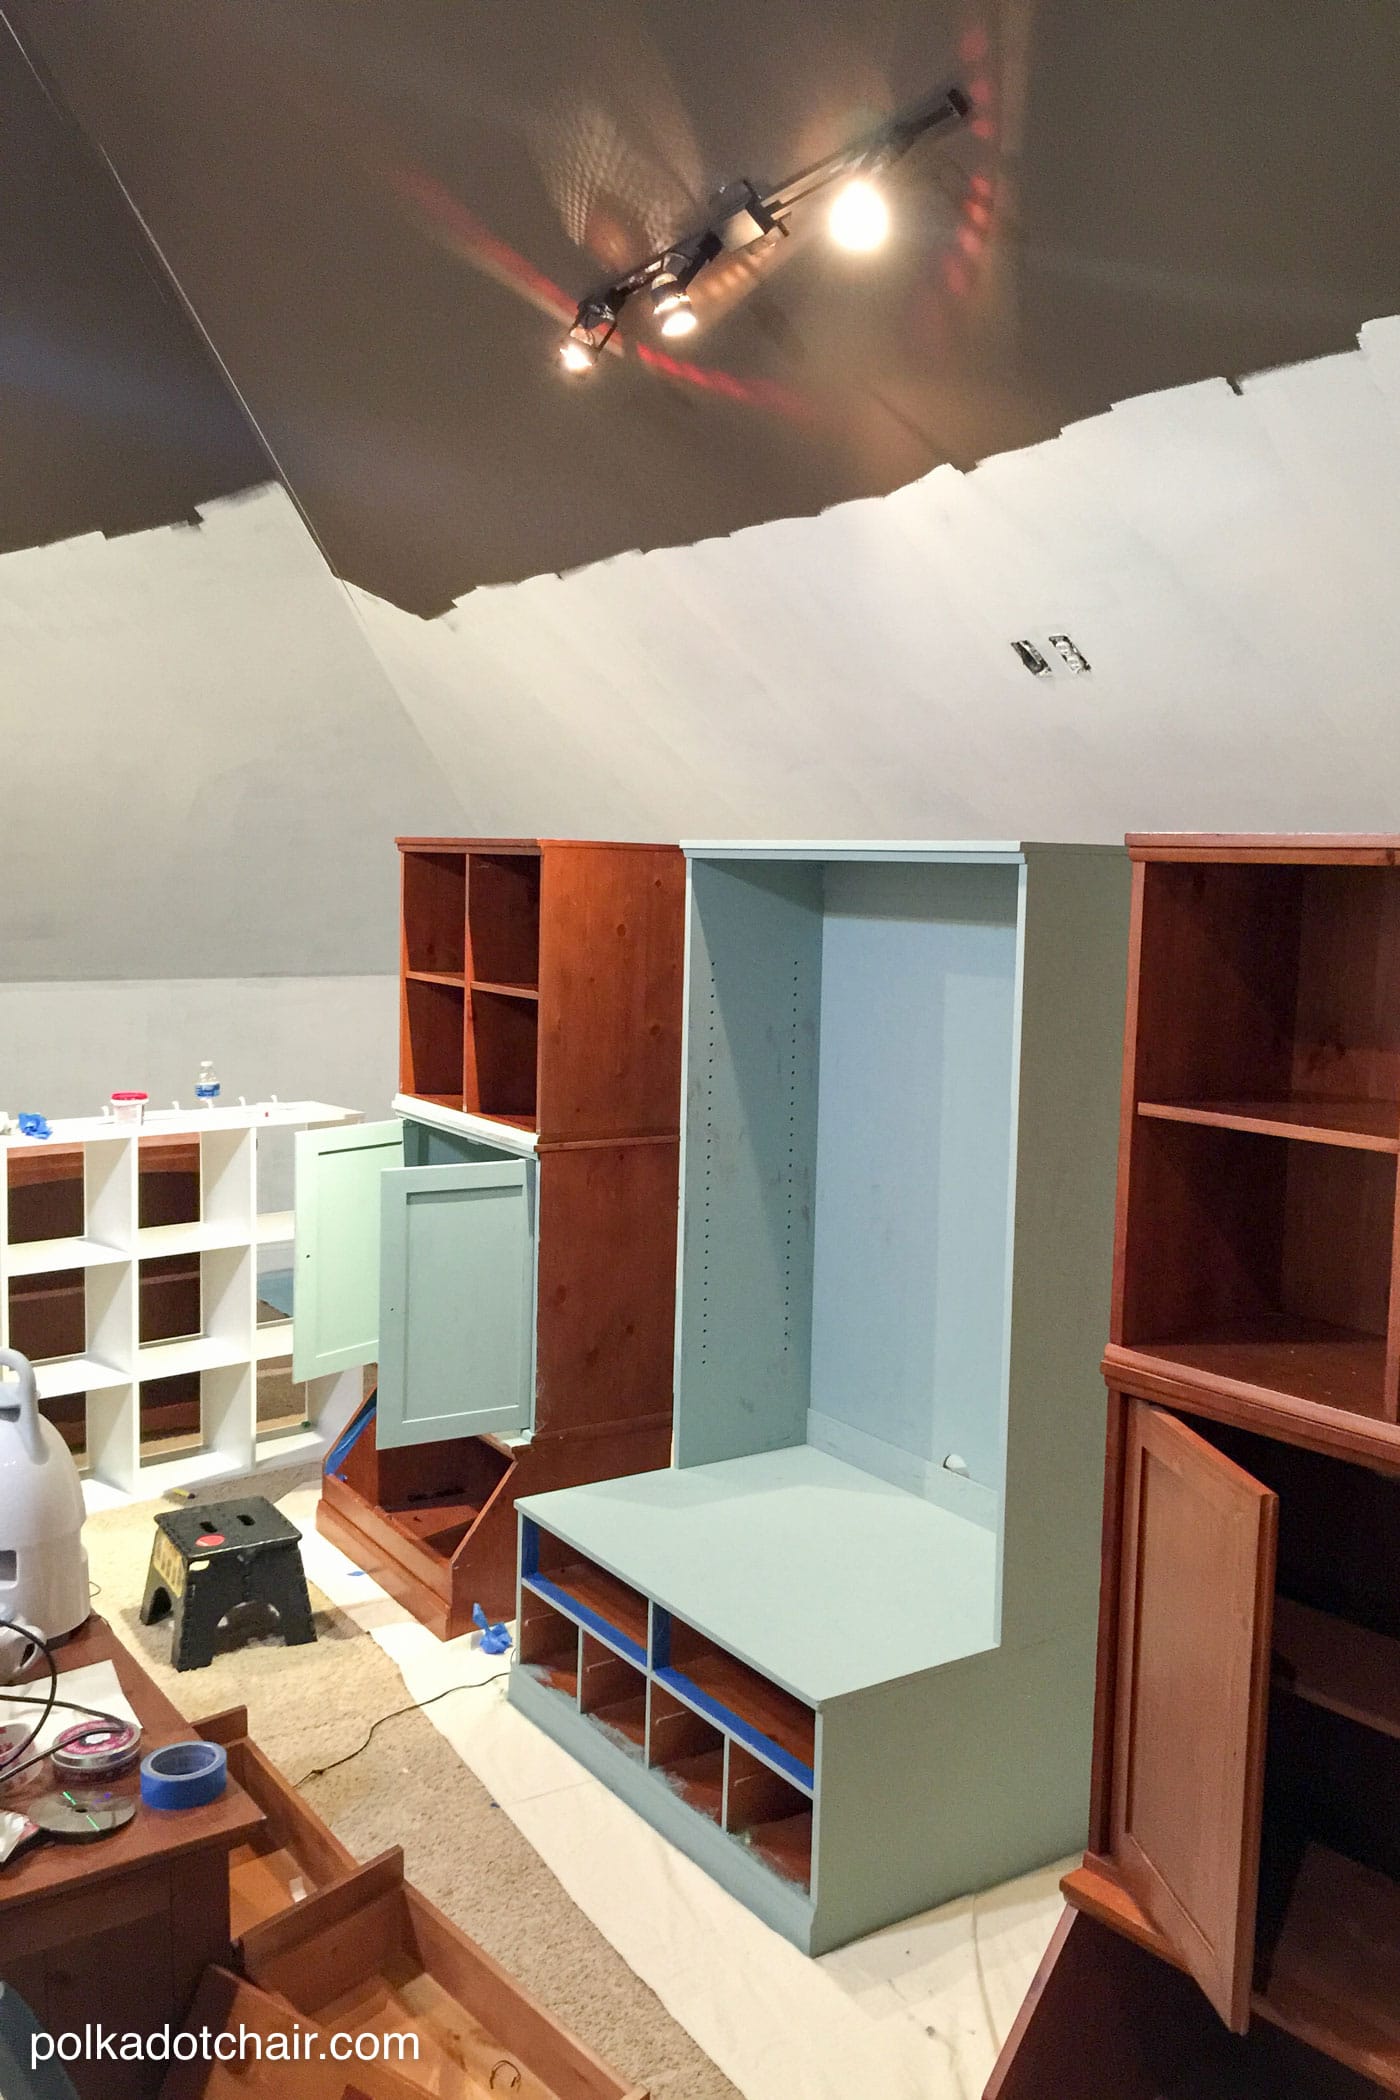
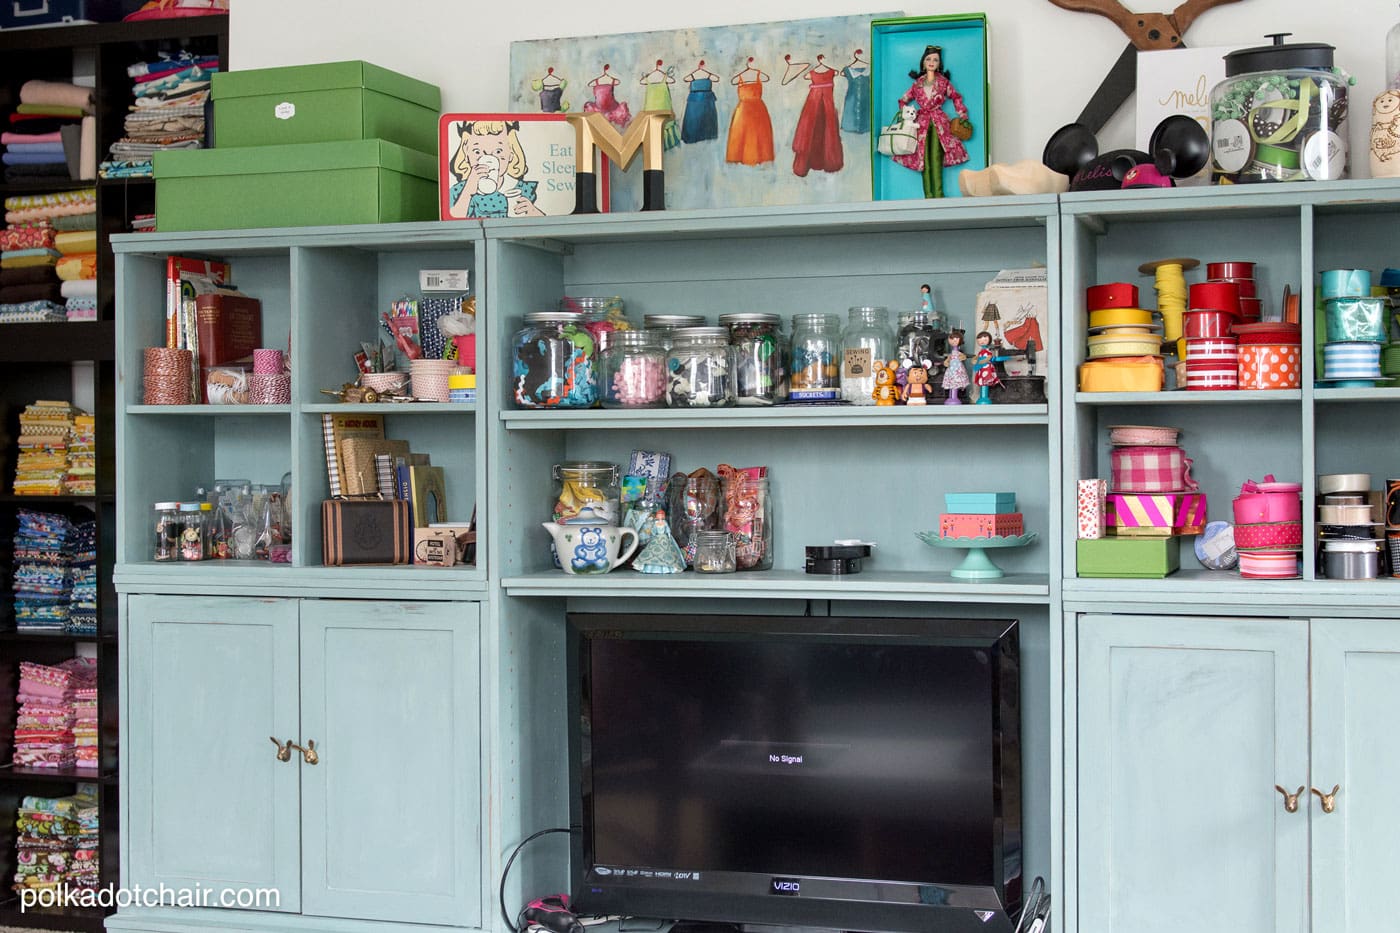
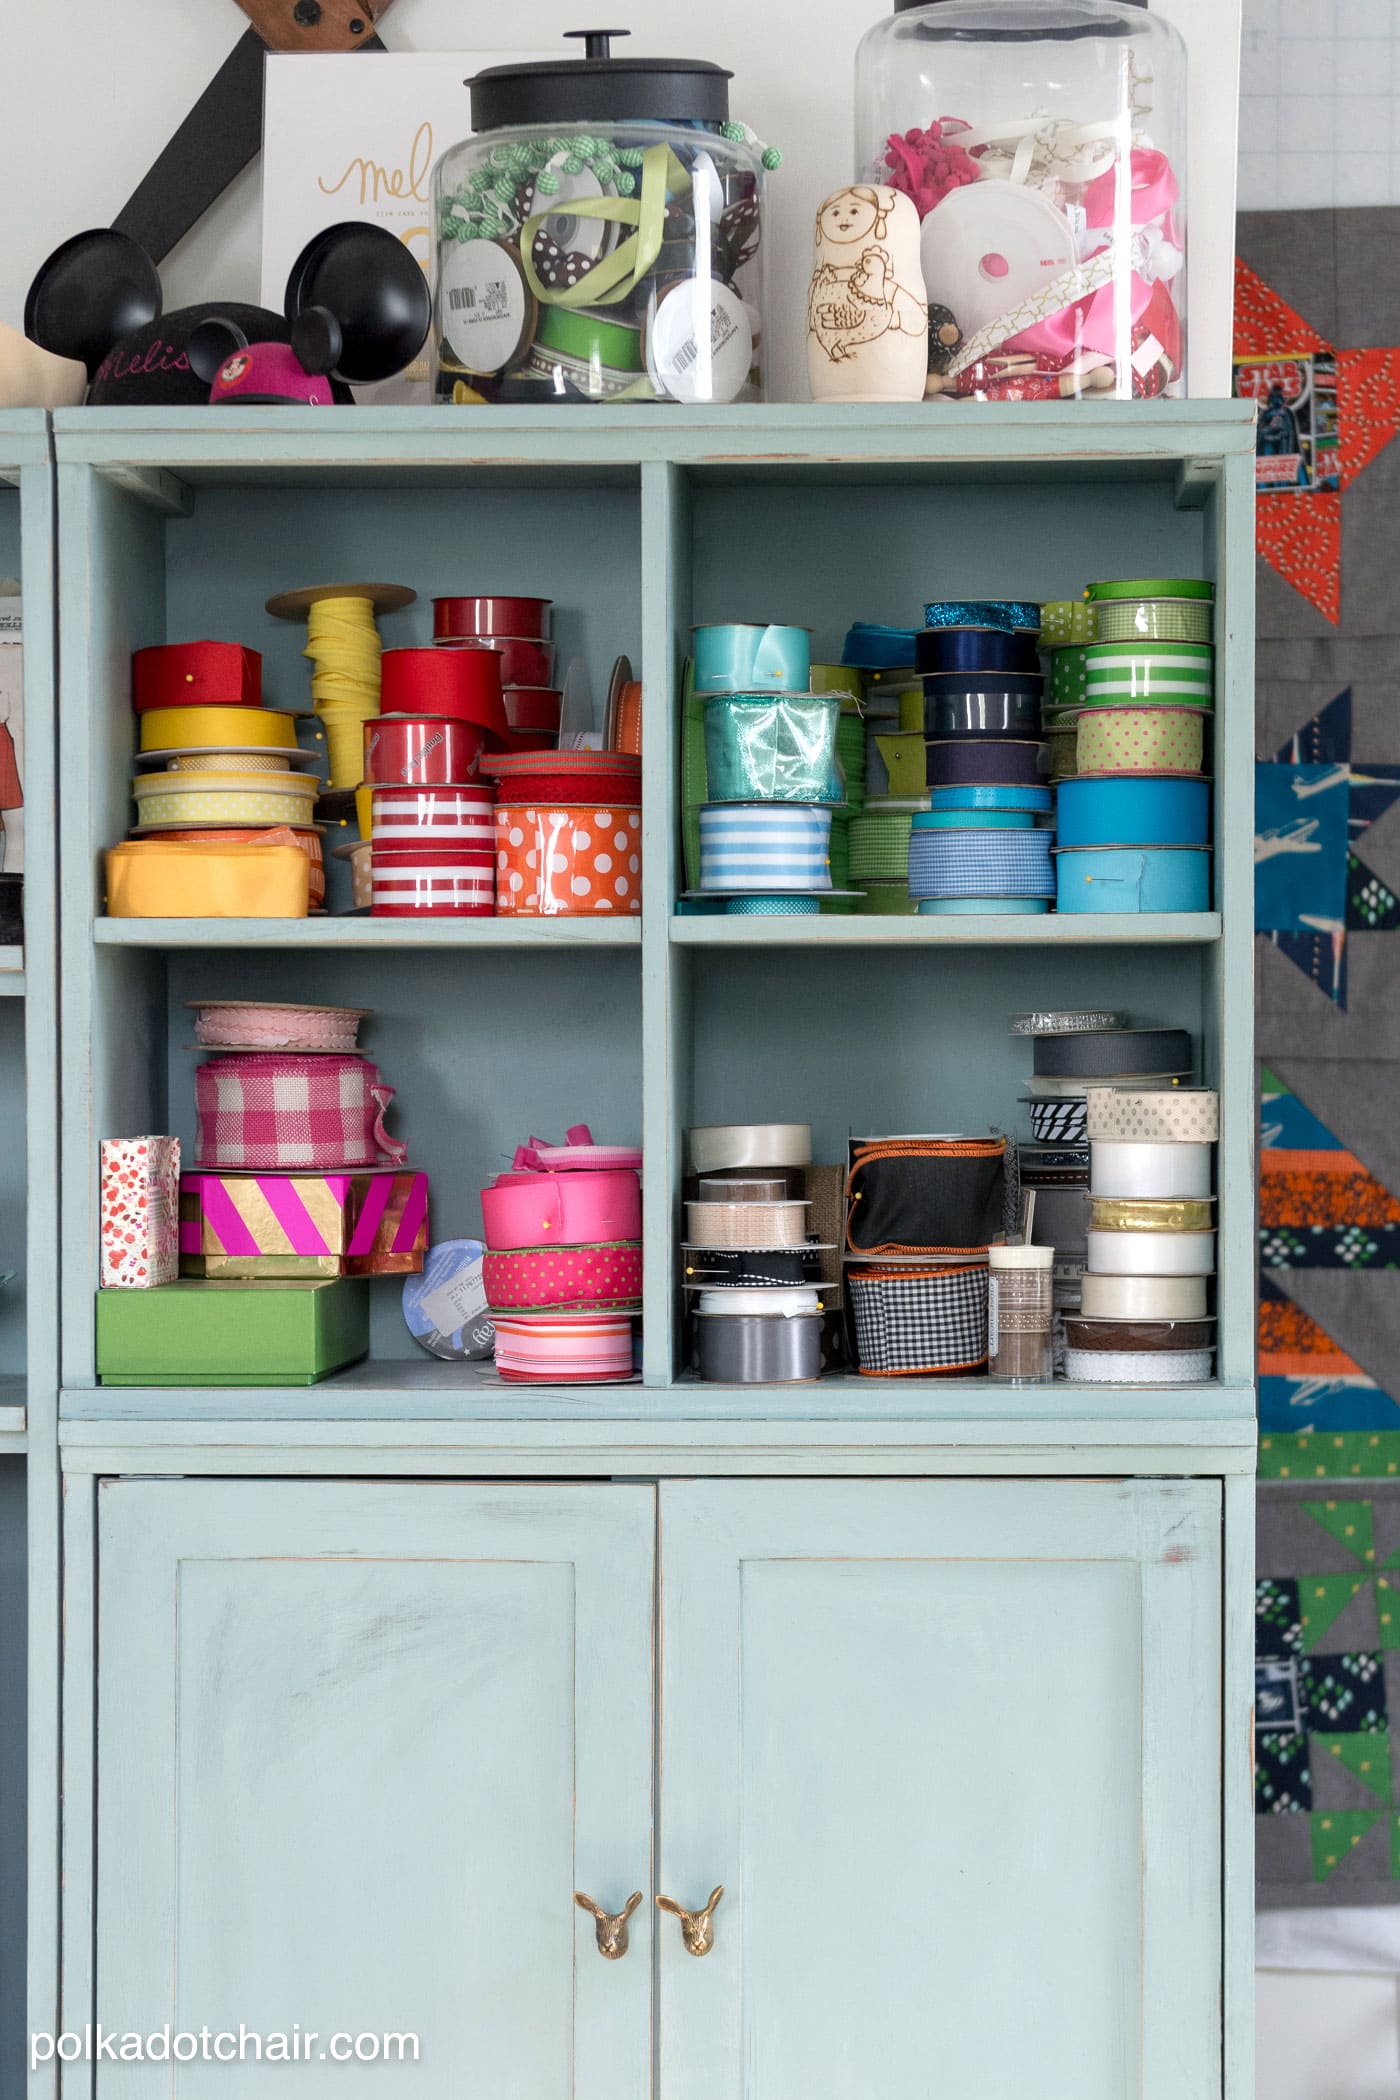
In the center of the room, opposite the tables, is a large entertainment cabinet that previously stored toys. I repainted it blue (Duck Egg Blue by Annie Sloan), and it’s now a storage system for my ribbons and little “treasures.”
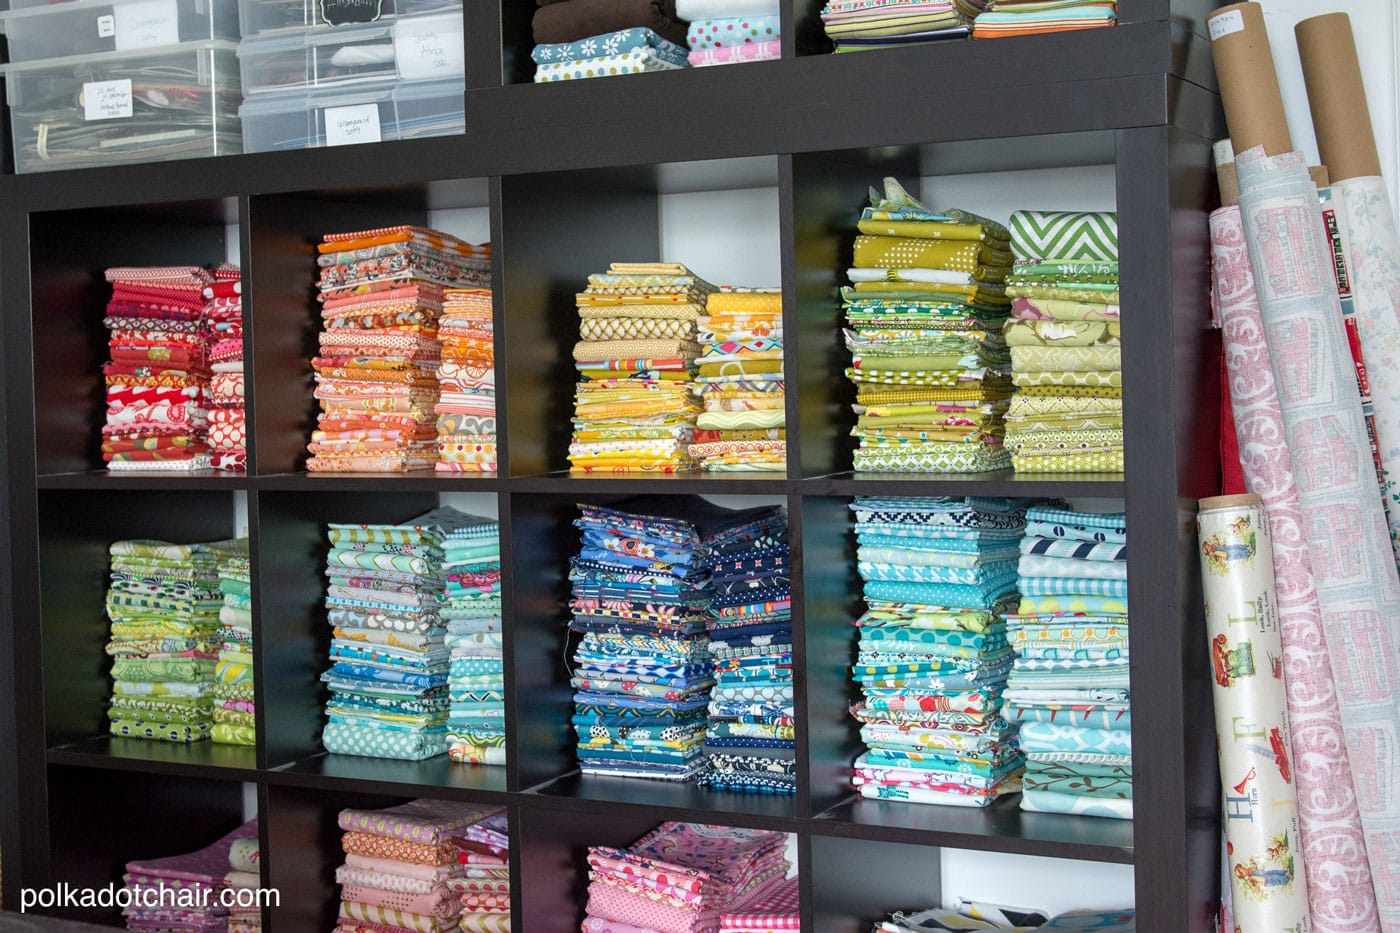
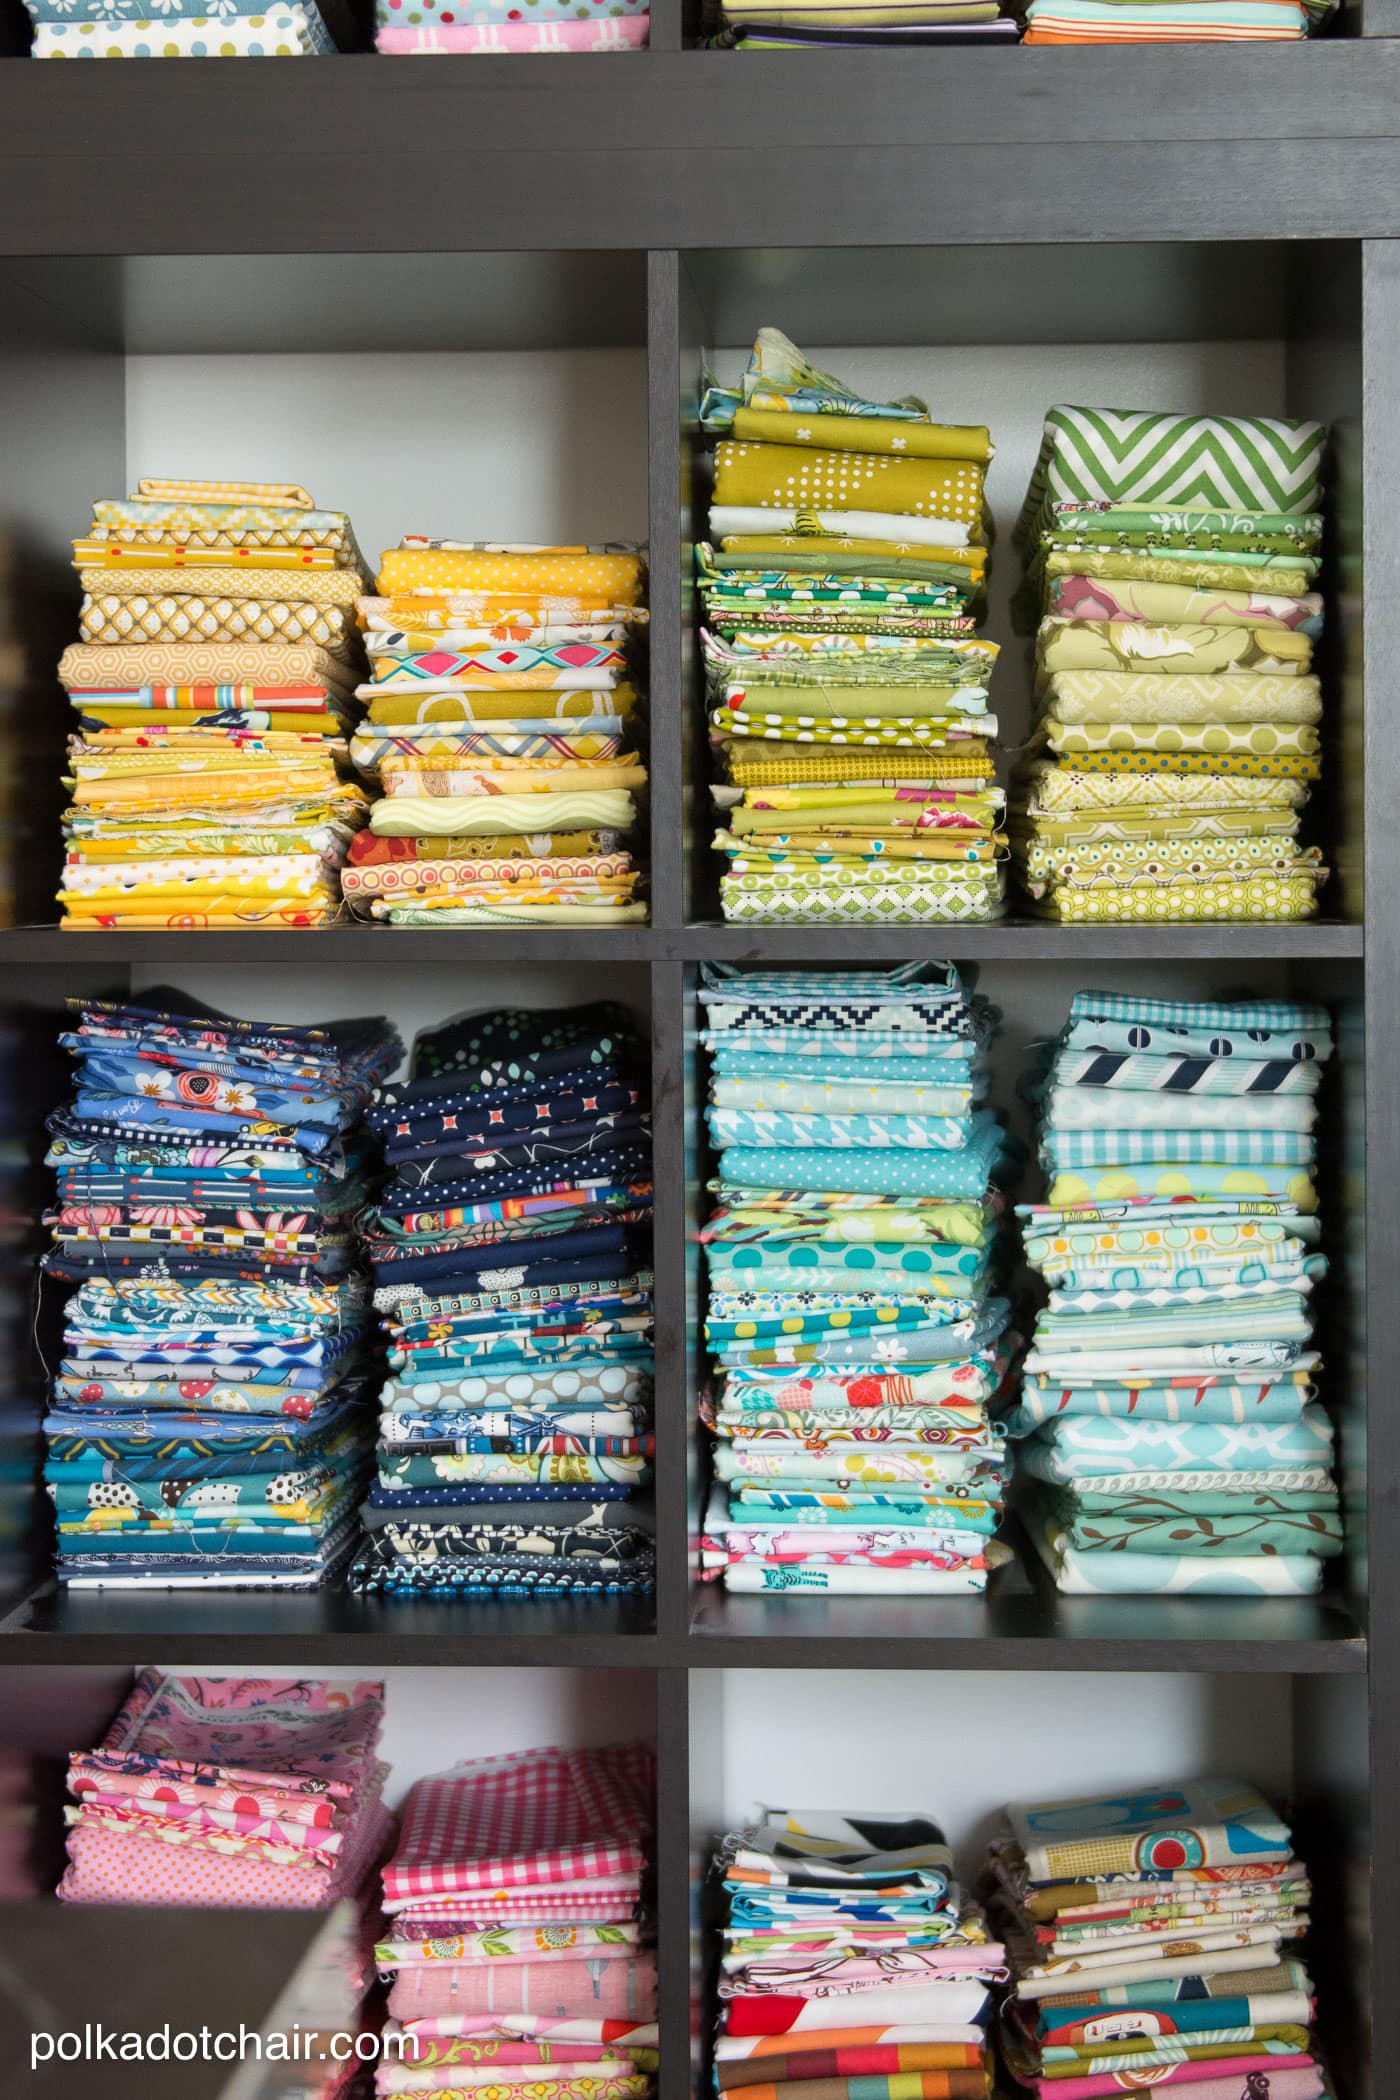
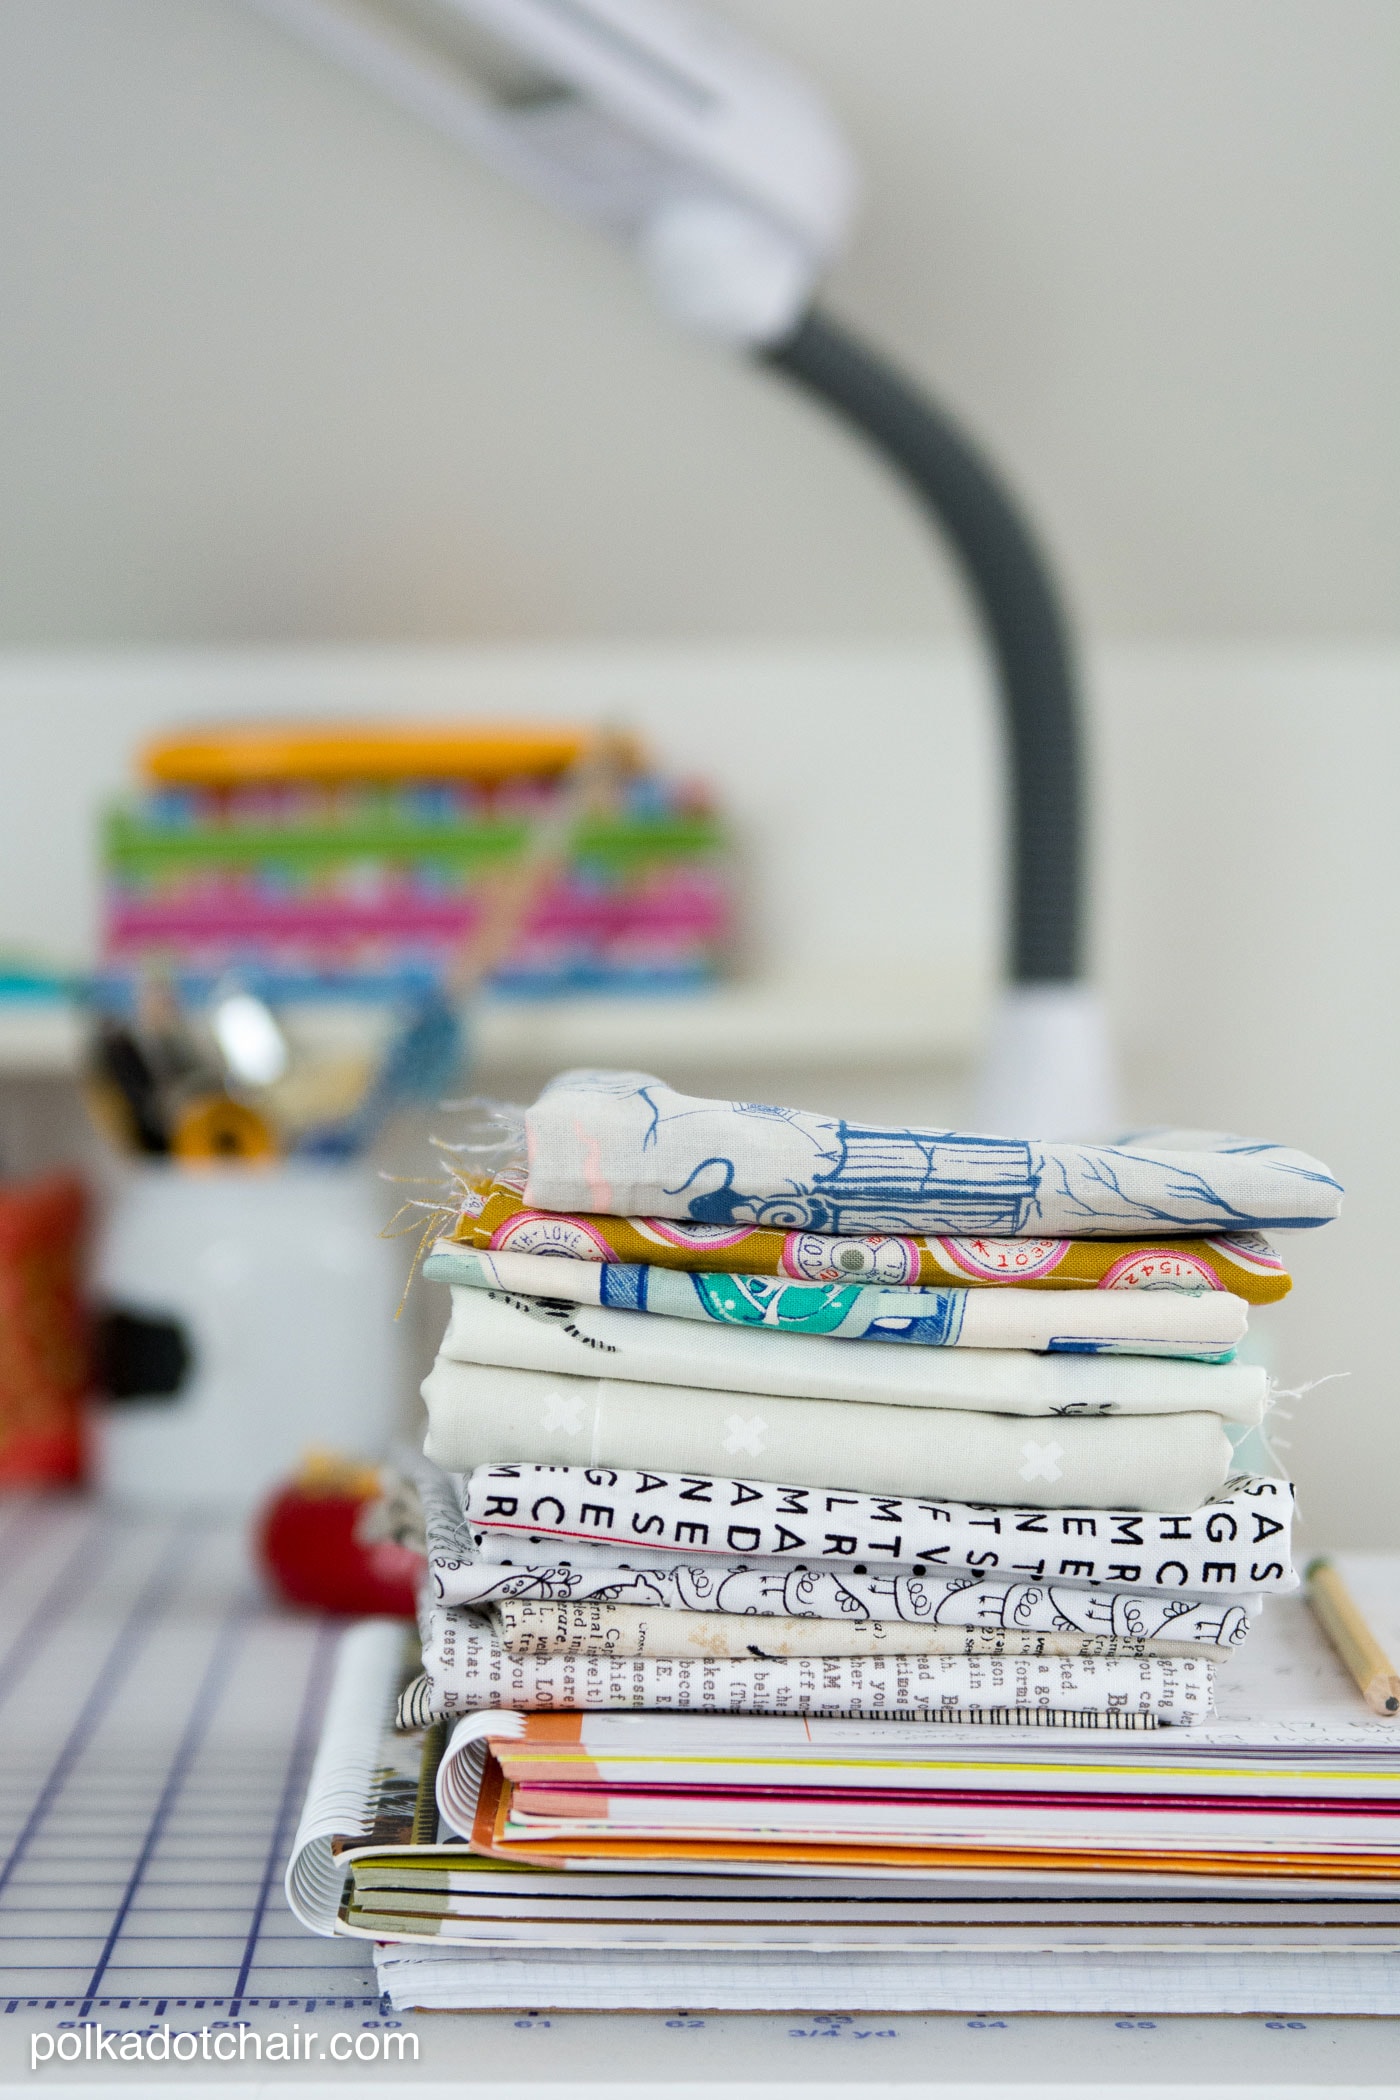
I have my fabric in Expedit bookcases by IKEA on the back wall. They’re like small cubbies and are perfect for compact bins and fabric. The fabric is sorted by color and folded using a quilt ruler so it is all the same width and fits perfectly on the shelves.
I only have two flat walls in the room (due to the vault). On one wall is the IKEA shelving, and on the other is my design wall, which you can see in this photo. I have a flannel design board I bought online hanging on the wall.
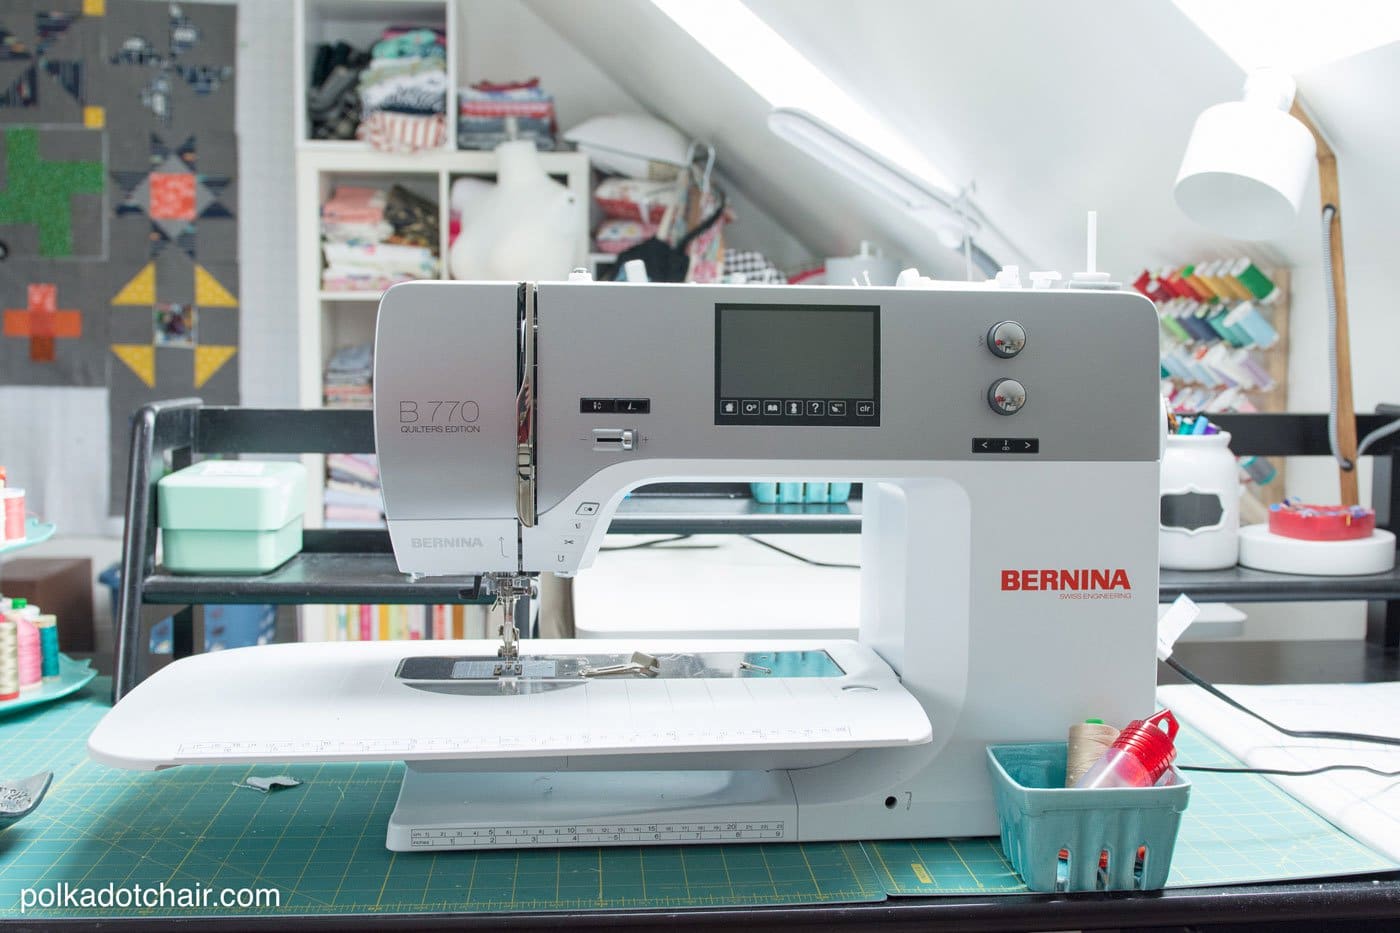
My sewing machine is on a table opposite my cutting table, with my ironing board close by. I love having all three close, especially when working on quilts.
I also have a serger and sit on a long arm machine near a wall. My fabric bolts are under this table. The room is large, but the space is odd because of the sloped ceilings, so there are no “walls” to speak of, so finding ways to optimize sewing room organization can be challenging.
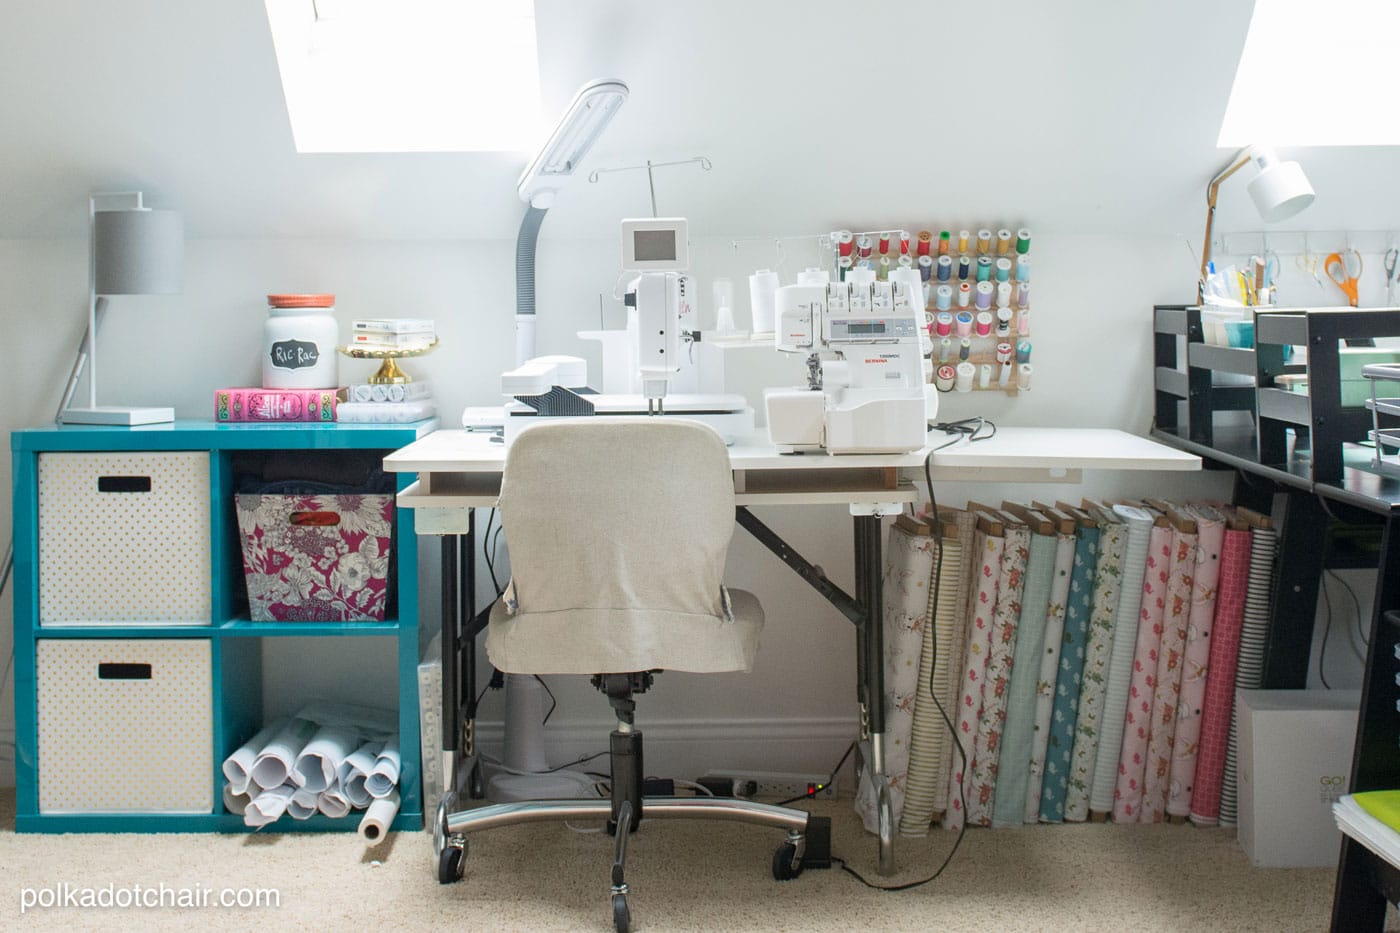
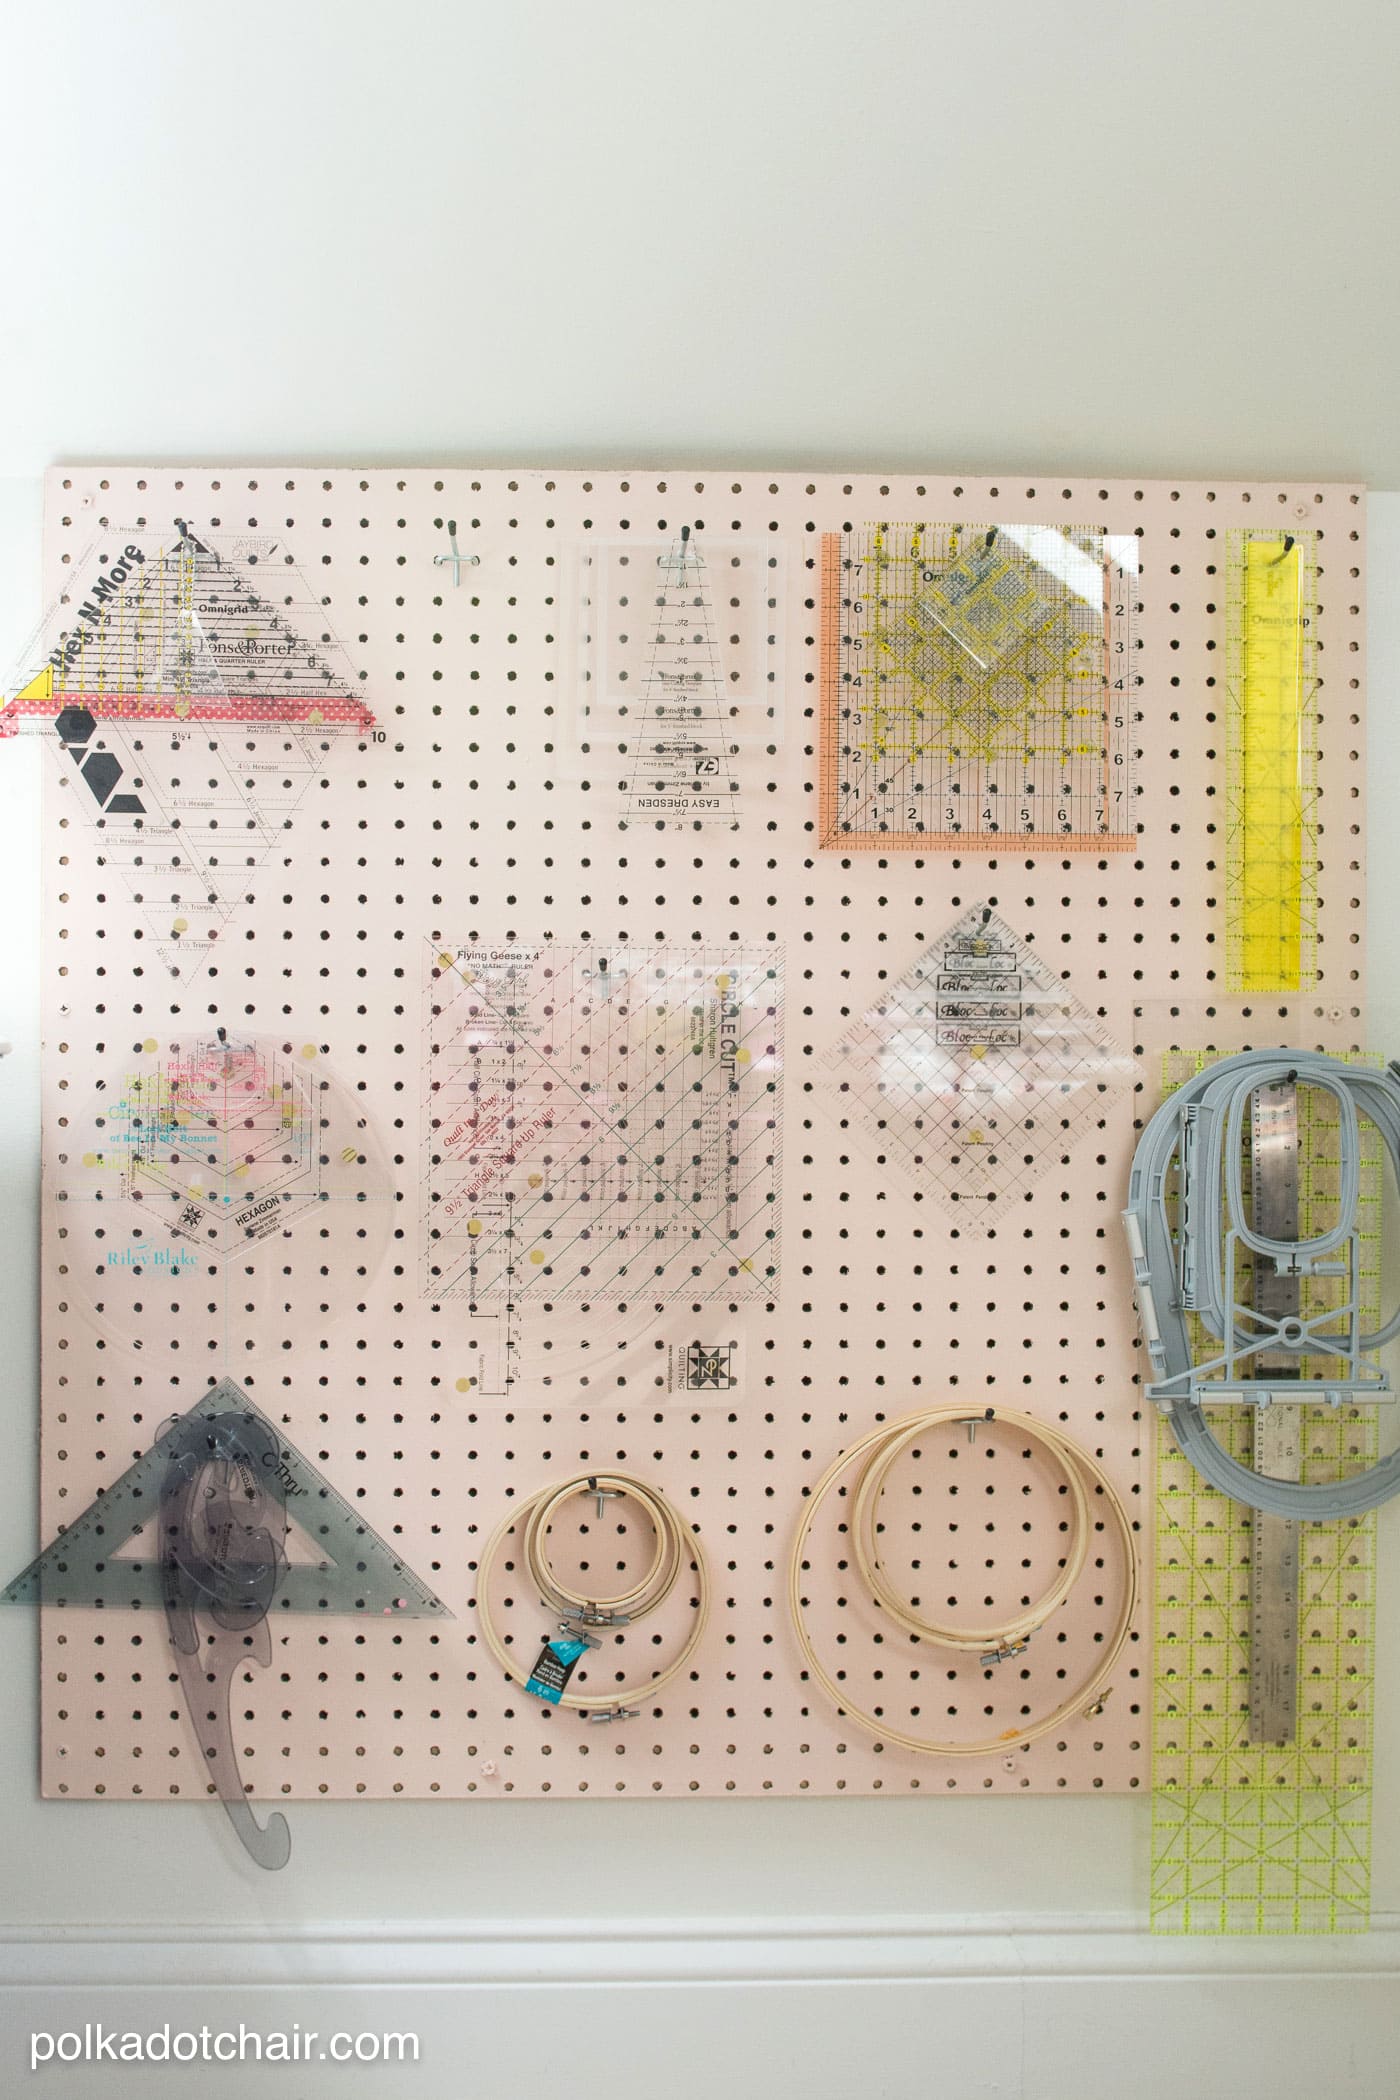
Also near my sewing table is a pegboard. I bought it at Lowe’s and painted it pink. We mounted it with 1×1 boards, and it’s the perfect spot to hang all of my rulers for easy access.
How big should a sewing room be?
This is a question I had to ask myself many times throughout this project; I learned that the size of a sewing room depends on your equipment and needs. I would recommend a space of 8×10 feet sufficient for basic sewing setups like my old sewing room. In contrast, larger spaces (12×12 feet or more) are ideal for advanced setups with cutting tables, fabric storage, and multiple machines similar to what I have now.
How do I keep my sewing room tidy?
I learned a few things about keeping things clean while designing my new sewing room. Here are a few of them:
- Organize Supplies: Use labeled bins, drawers, and shelves. Here’s how I organize my fabric.
- Daily Cleanup: Dedicate 5-10 minutes after each session to tidy up.
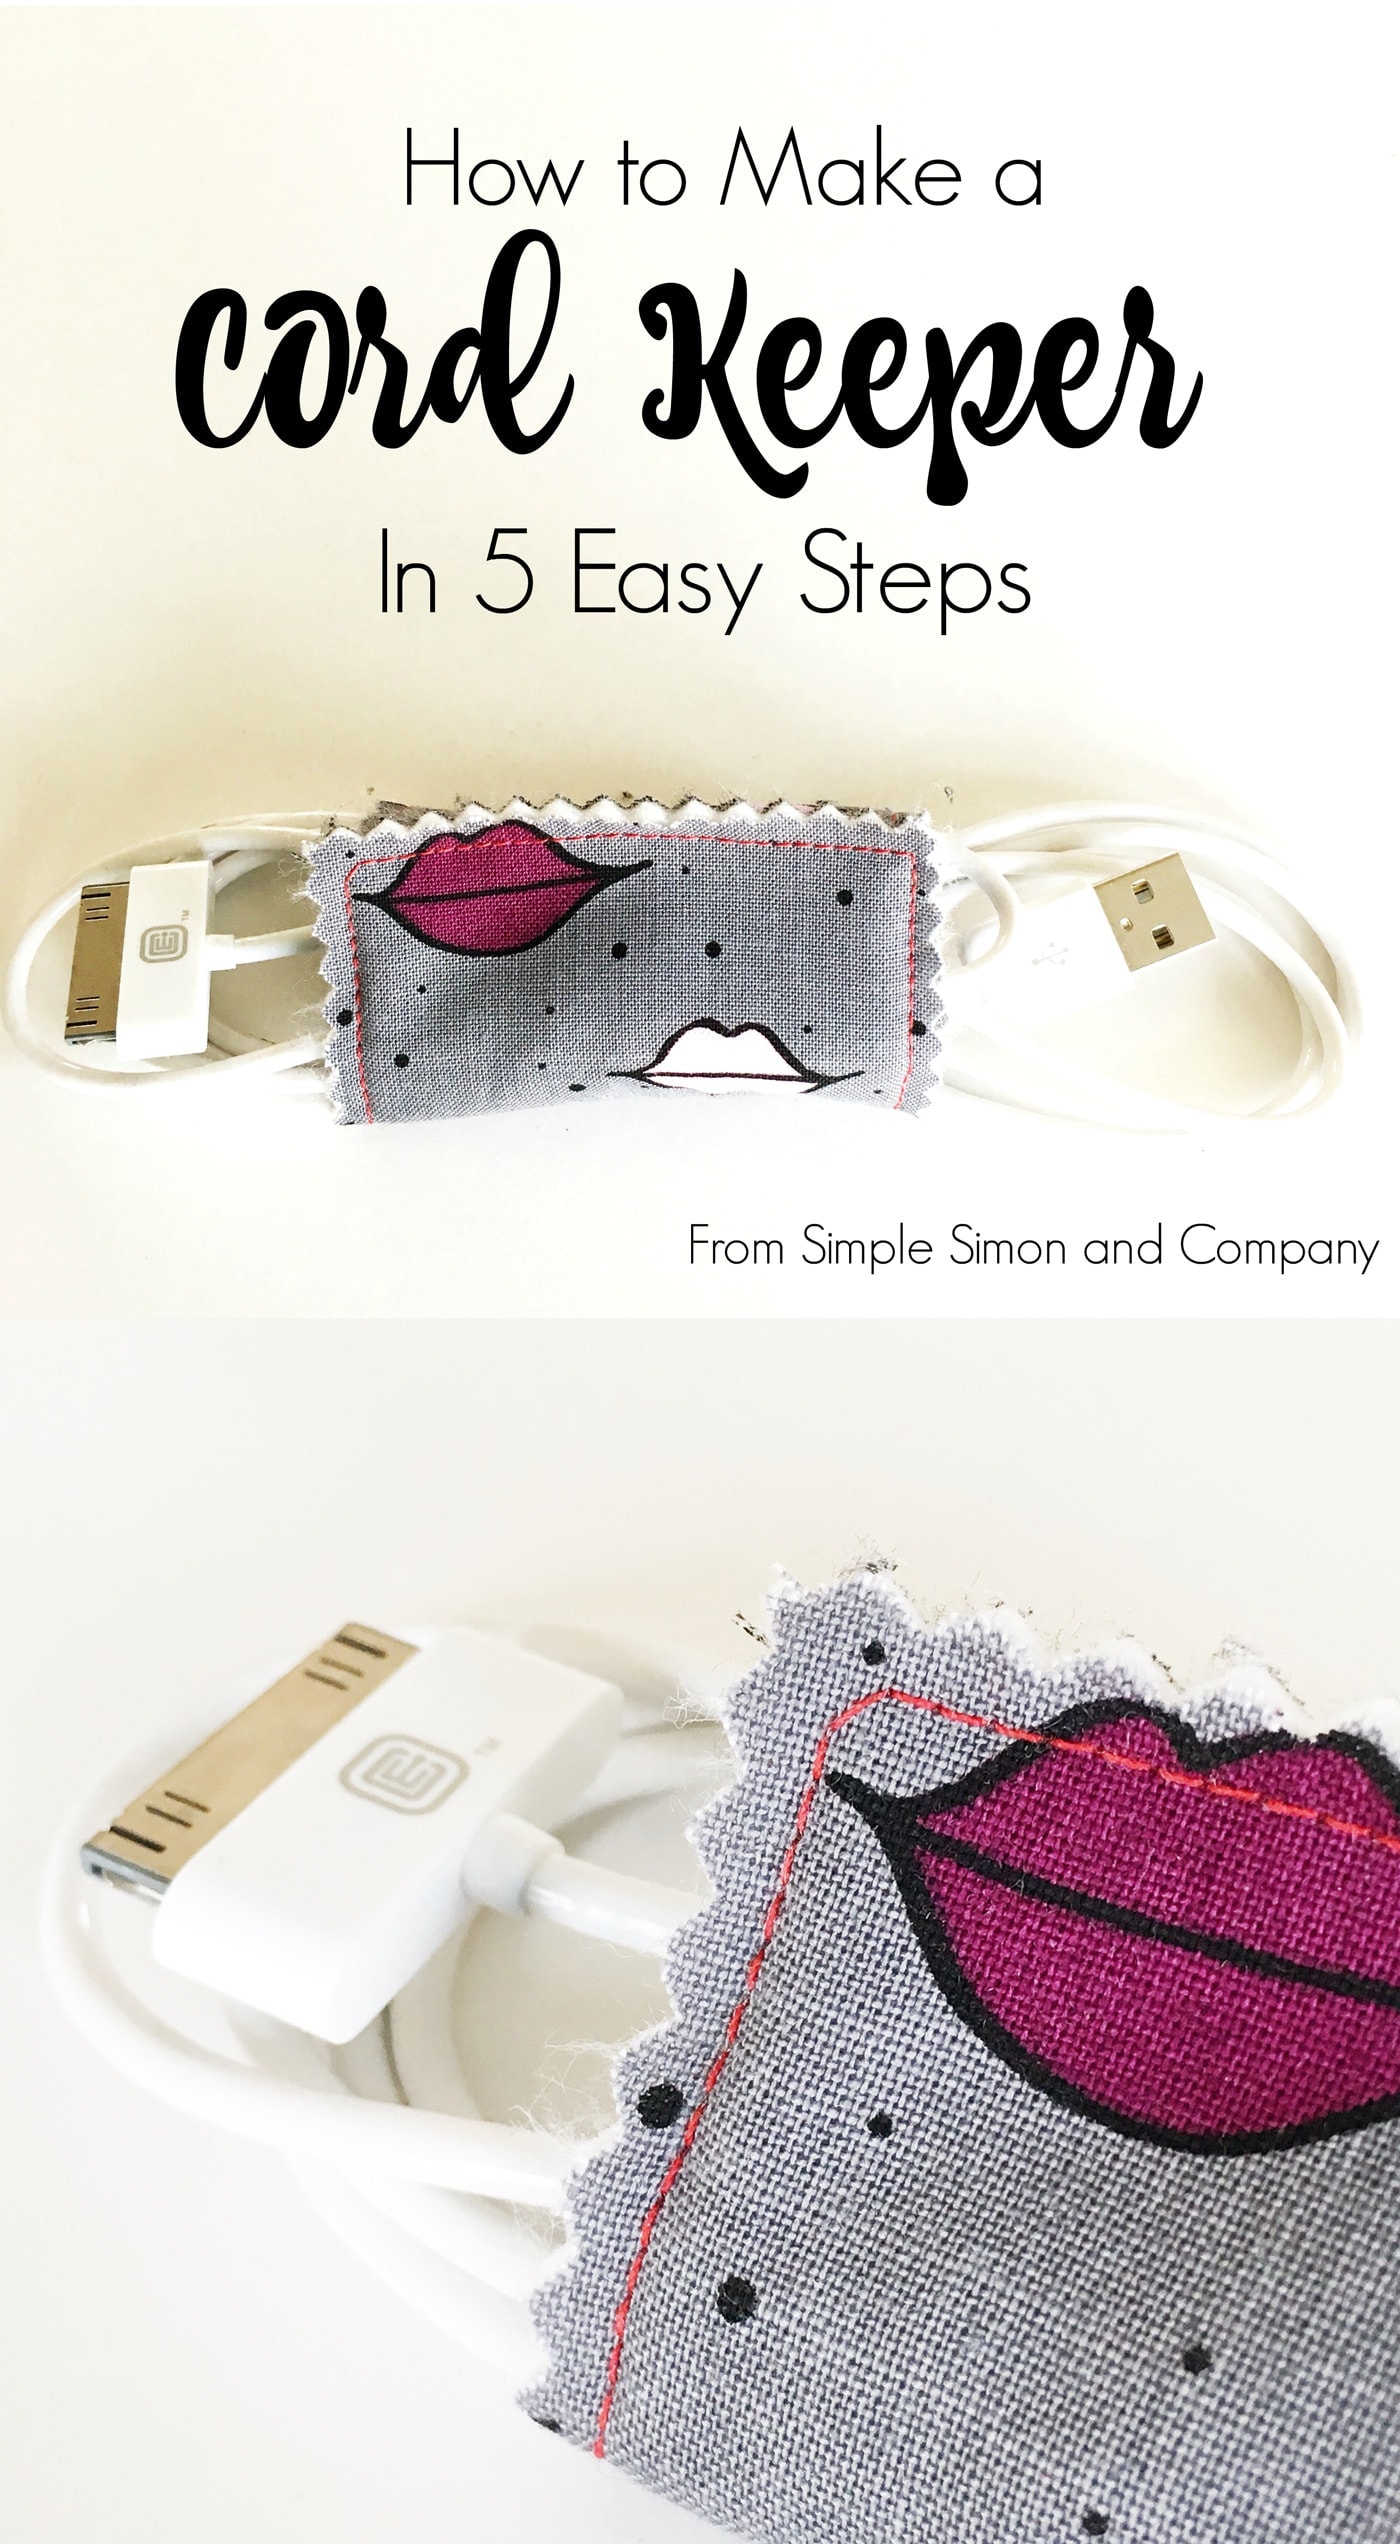
- Cable Management: Bundle cords neatly.
- Trash Solutions: Keep a bin nearby for scraps.
- Designated Zones: Separate areas for cutting, sewing, and pressing.
Next week, I’ll share more about keeping things organized while working, but I would love to hear your suggestions. What are your best tips for maintaining an organized sewing or craft space?


Just something I’m trying to get right…..What is the best way to set up sewing machine to get the best light? I have windows facing NE and 1 South. Somehow my presser foot still seems to always be dark. under the needle! Any recommendations? Thanks!
I feel as if I have had a personal trip around your lovely sewing/crafting area. I love it! I will never have anything as spacious and organized as yours, but you have given me many ideas and encouragement to start working at my small (bedroom) space. Thank you so much for sharing.
I love how much space you have. My craft room is in a small spare bedroom. My husband put up a huge pegboard (4 x 8 feet) on one wall above my sewing table. It’s awesome!! I’d love to send you a picture. I love your idea for folding your fabric the same size. I’m going to try it.
Discovered your blog a few days ago through Pinterest, and then found this post today. I LOVE how you have organised your room. I also love looking at other people’s craft rooms and one day when I get my own craft room I want it to look like this. You are so lucky.
Really wonderful photos
I am appreciating the pictures of your sewing room. As a sewer I love seeing how other sewing rooms work or are arranged.
I have had some back problems and I am using a broken office chair. I noticed your chair on wheels by your sewing machine. After using my Kola machine cabinet and cutting cabinet I have been wanting a nice chair and I do know Kola has beautiful chairs but I do not want all the padding. Can yyou please tell me the name of your chair and manufacture? Thank you!! Jan
The chair doesn’t have any labels on the bottom.. I did see one last week at my local Home Goods, do you have one in your area?