DIY Polka Dot Burp Cloths
Hello!
I hope that you’ve enjoyed all of the polka dot themed posts this past month. Today I’m going to show you how to make burp cloths. I know that I’ve had a great time thinking of projects to share with y’all and have really enjoyed seeing all of the great projects that our guest bloggers came up with!
I actually have a few more ideas for polka dot themed projects, but it’s time to move onto something else. I’ve inundated you enough this month (or should I say “polka dotted”?)… Watch for a fun round up post next week… lots of links to fun polka dot themed projects.
The last project I’ve got to share with you are these simple DIY burp cloths. It’s a great project to use up some of your fabric scraps!
They are super easy to make, you’ll just need:
- Heat N Bond Lite
- Circle template or cutter
- Burp Cloths
- Scraps of Fabric
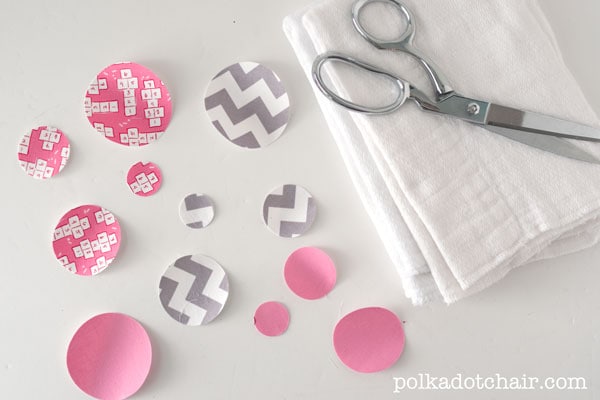
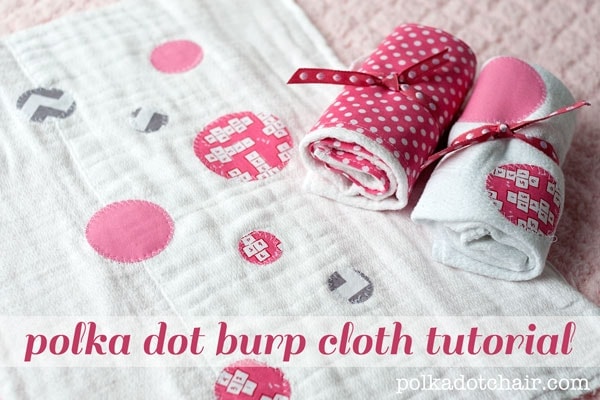
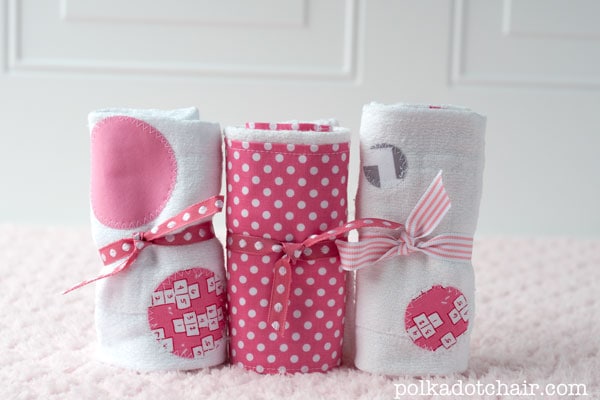
To start, iron heat n bond lite onto the back of several of your scrap pieces of fabric. Then cut out circles from the bonded fabric. To cut my circles I used my old sizzix steel rule dies. When they were going out of production I bought a bunch that I thought would be good for fabric projects, as I’ve never had any luck cutting fabric with an e-cutter (i.e. cricut or silhouette).
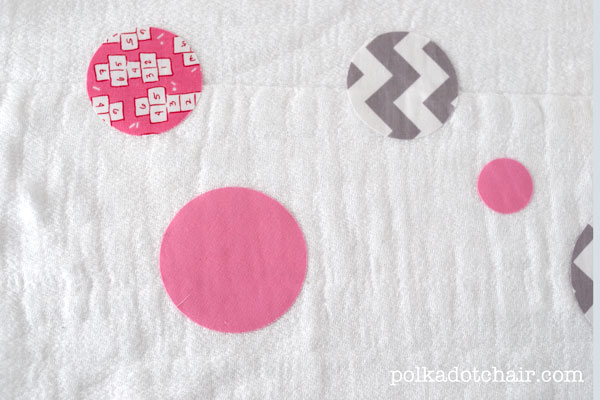
Now peel the backing off of your circles and iron onto your burp cloths in a random arrangement. Just a tip: I always like to pre wash my burp cloths then iron them. They shrink up quite a bit and you’ll get a better result if you shrink them.
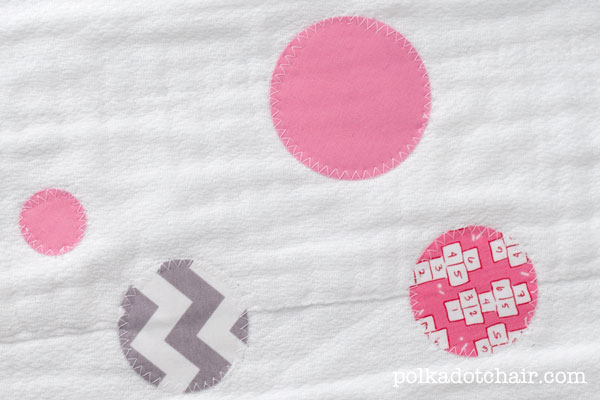
Any time I make anything for a baby with appliqué I always stitch it down. Since babies put everything in their mouth I don’t want to take the chance of fabric peeling off and it becoming a chocking hazard.
For the circles I just used a simple zig zag stitch on my machine. The zig zag stitch is very forgiving when going around curves.
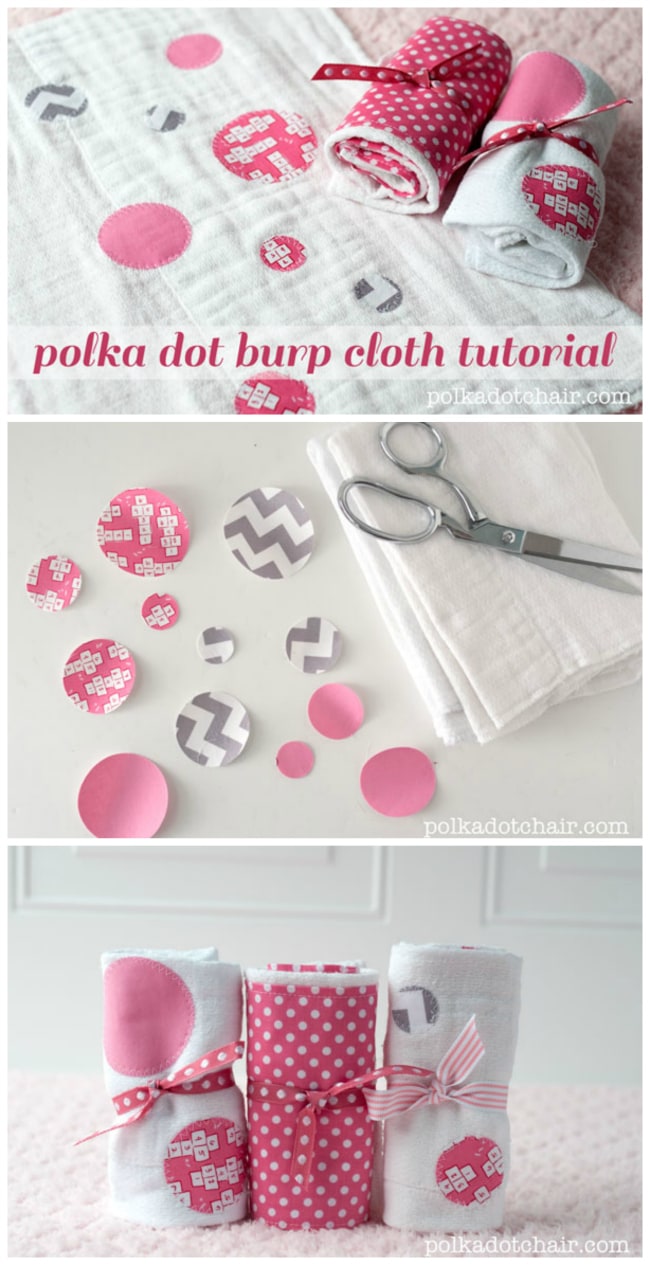
I made a few and packaged them up together with one burp cloth that I added some polka dot fabric to. Makes a quick and easy baby gift!
Linking up: