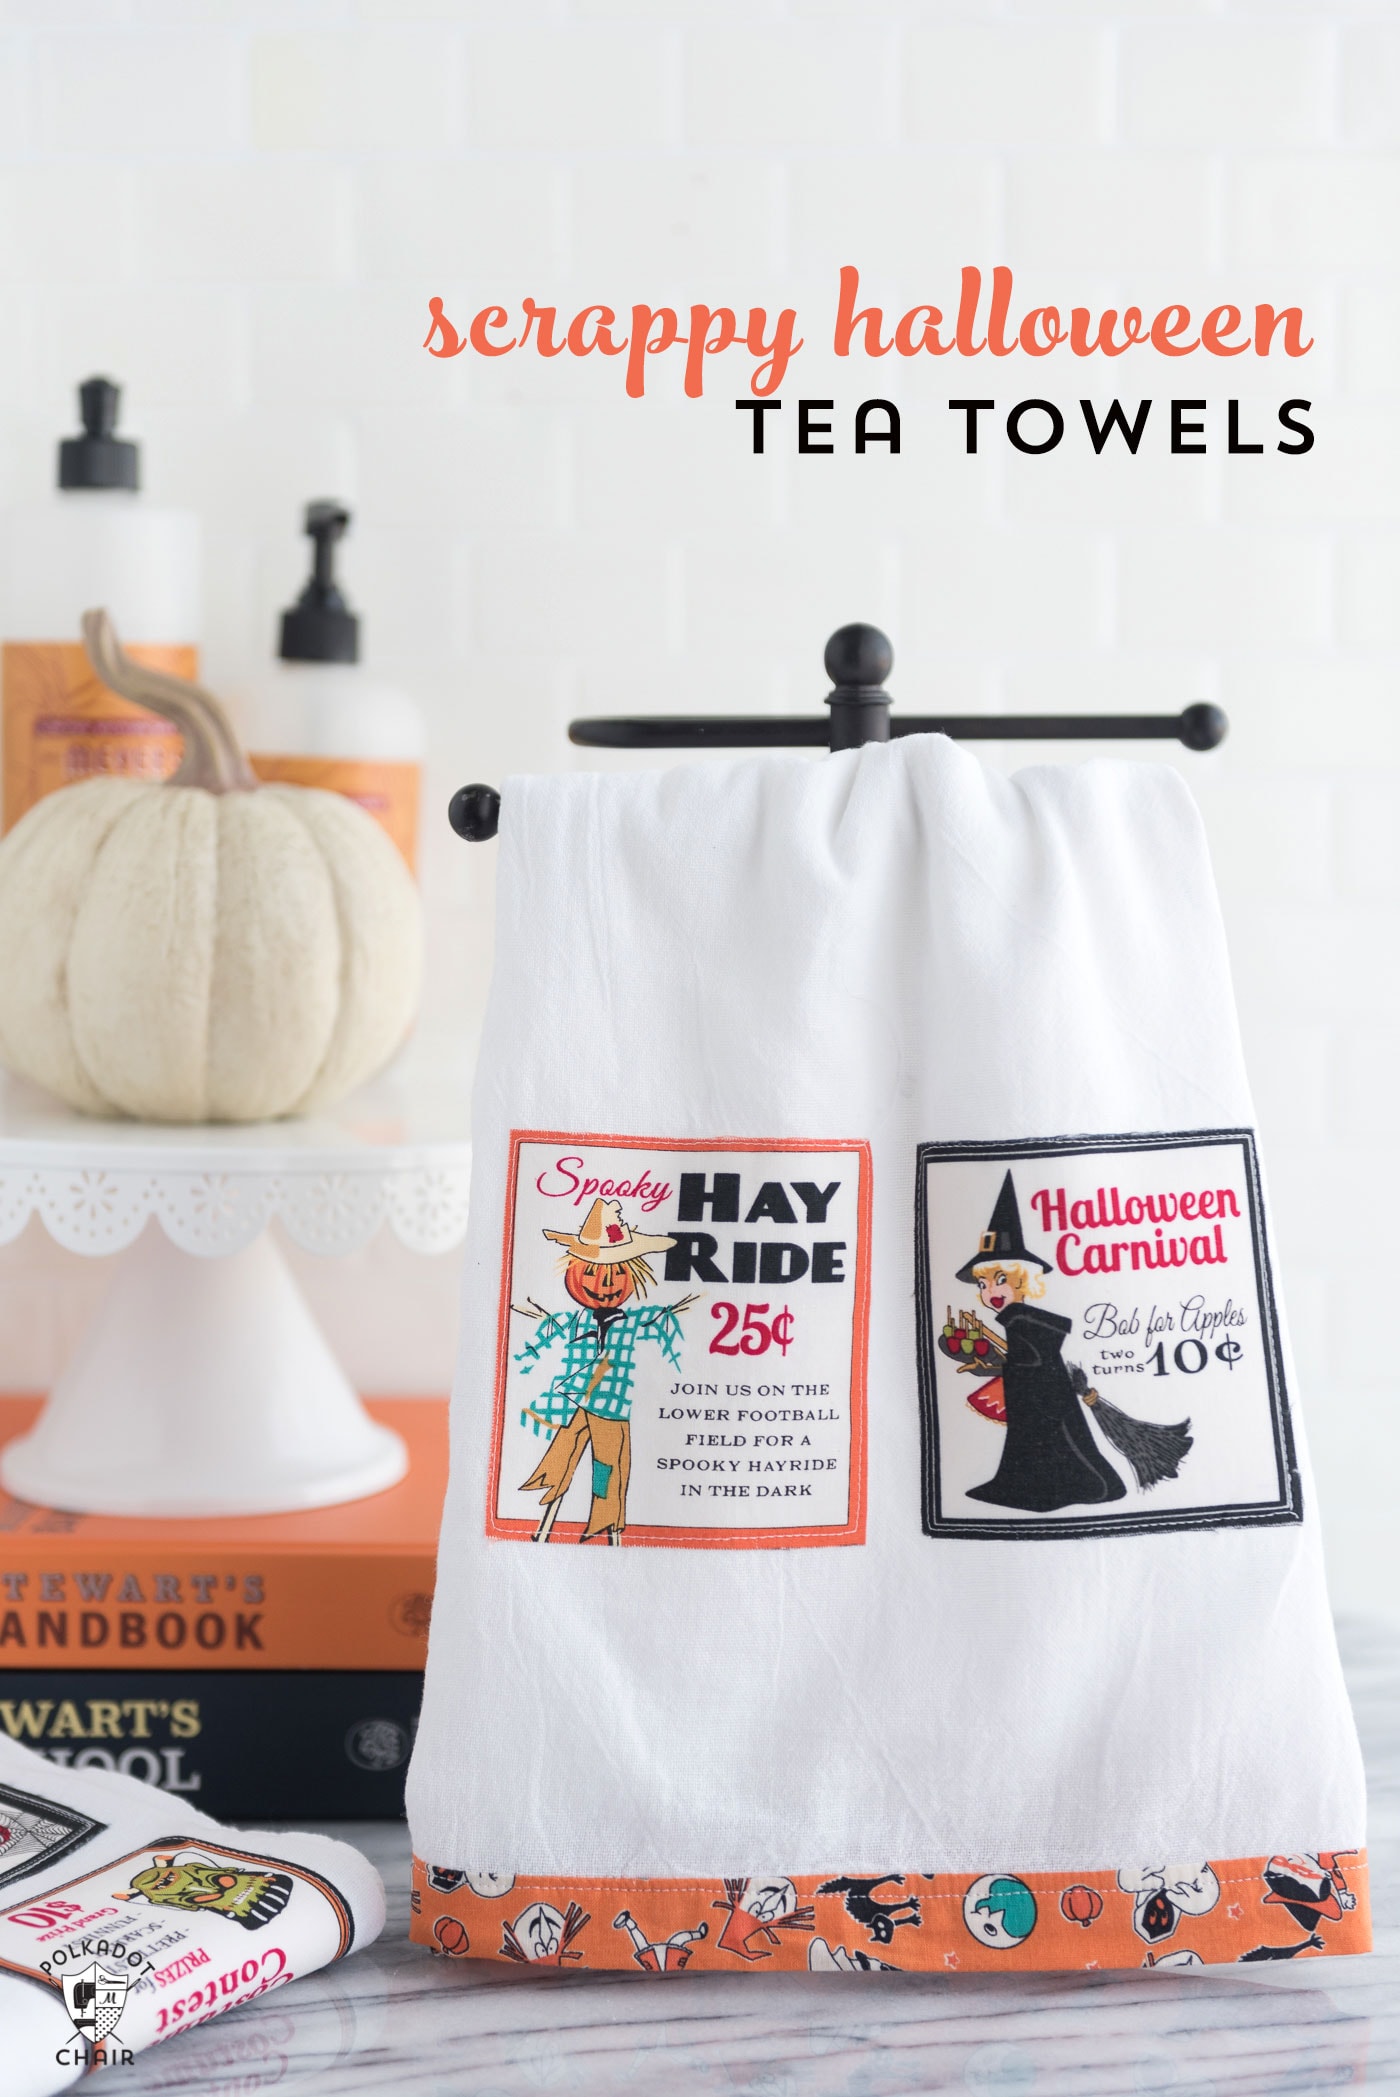
Scrap Busting DIY Halloween Tea Towels
Today, I have a quick last-minute Halloween sewing project for you. A tutorial for “scrap busting” Halloween Kitchen Towels. They are so fast to make that you still have time to stitch up a bunch before Halloween! If you like this project, you may also enjoy our Simple Scrap Halloween Table Runner project.
As a blogger, I always start thinking about Holidays months in advance. It’s not unusual for me to be sketching out Halloween projects in July. Which is why it is so hilarious that, as I sit here on October 20th, I can not believe that Halloween is 10 days away! Hello, where did the time go?
How to Make Halloween Kitchen Towels
Halloween tea towels are a fun and practical way to use up leftover scraps from novelty Halloween fabrics.
Cut your favorite prints, whether it’s pumpkins, bats, ghosts, or candy corn, into strips, squares, or appliqué shapes and stitch them onto plain cotton towels.
The pops of spooky fabric instantly transform basic kitchen towels into festive décor while making good use of even the smallest fabric leftovers. They’re quick to sew, eco-friendly, and add just the right amount of handmade charm to your Halloween kitchen.
These towels are seriously SO easy to make. You can do it in less than an hour, so you still have time to make them before Halloween!
Additionally, they are a great way to utilize some of your Halloween fabric scraps! If you made anything fun for Halloween (like a quilt or a pillow) don’t throw out your scraps, upcycle them into this cute project.
Project Details
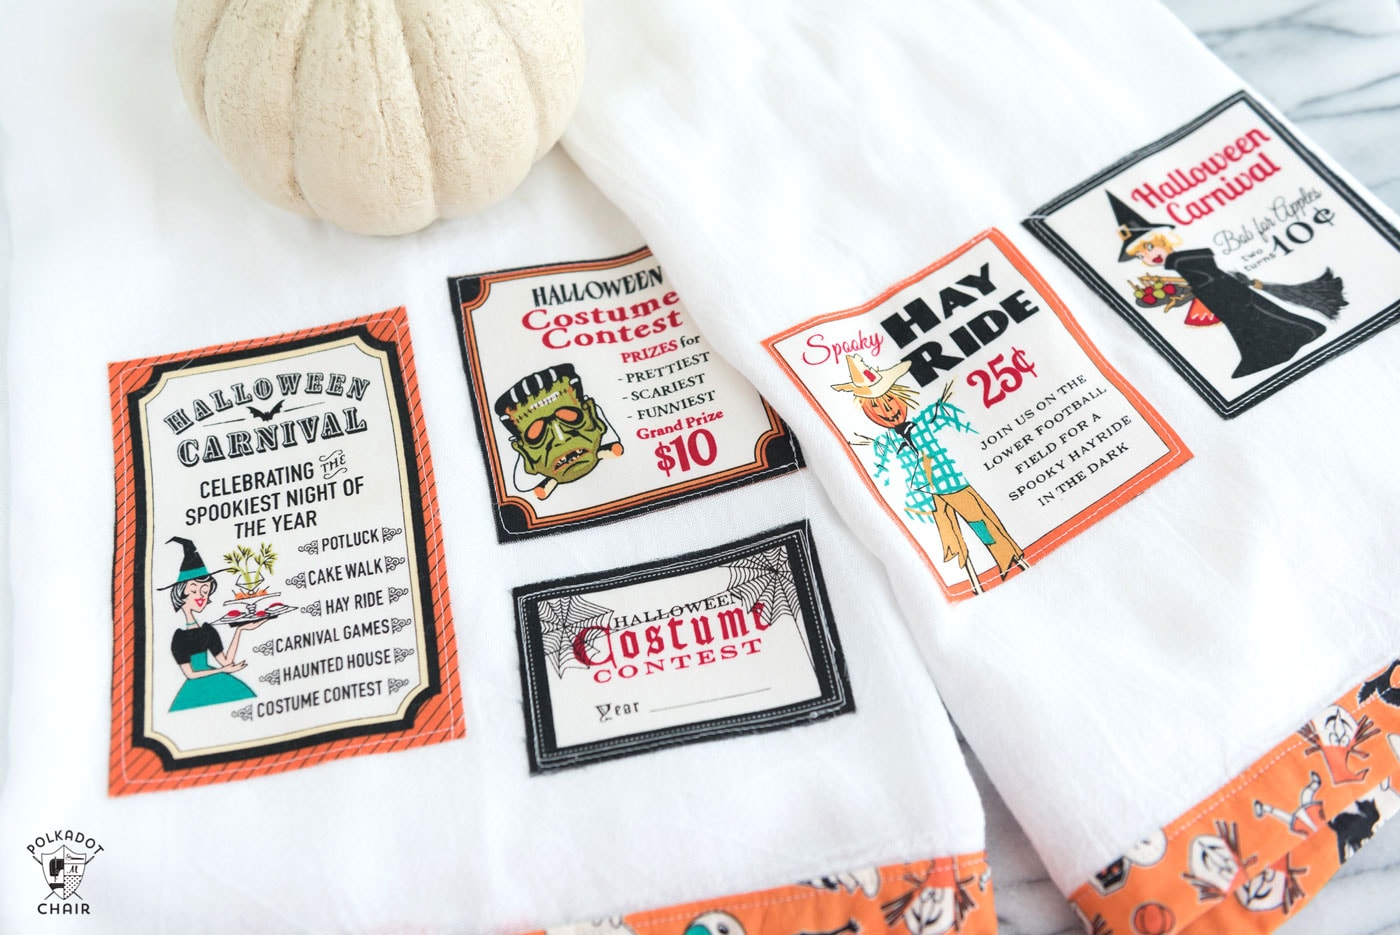
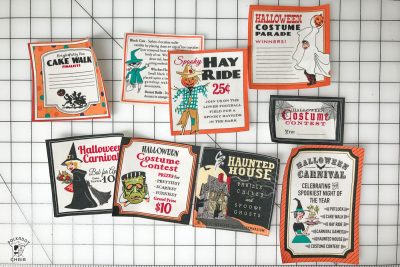
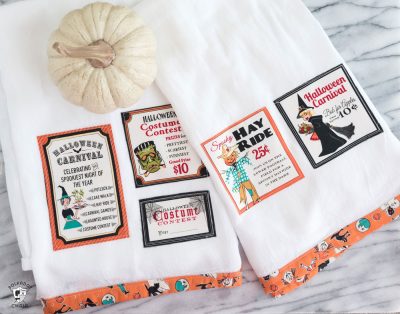
The fabric I used on today’s project is “Trick or Treat” By Carta Bella for Riley Blake Designs /Penny Rose Fabrics. It is now out of print, you can still find fun Halloween fabrics that would also work.
The print with all of the labels was perfect for the project. If you are working with a different fabric, simply cut out one of the “images” from the fabric in a square or rectangular shape.
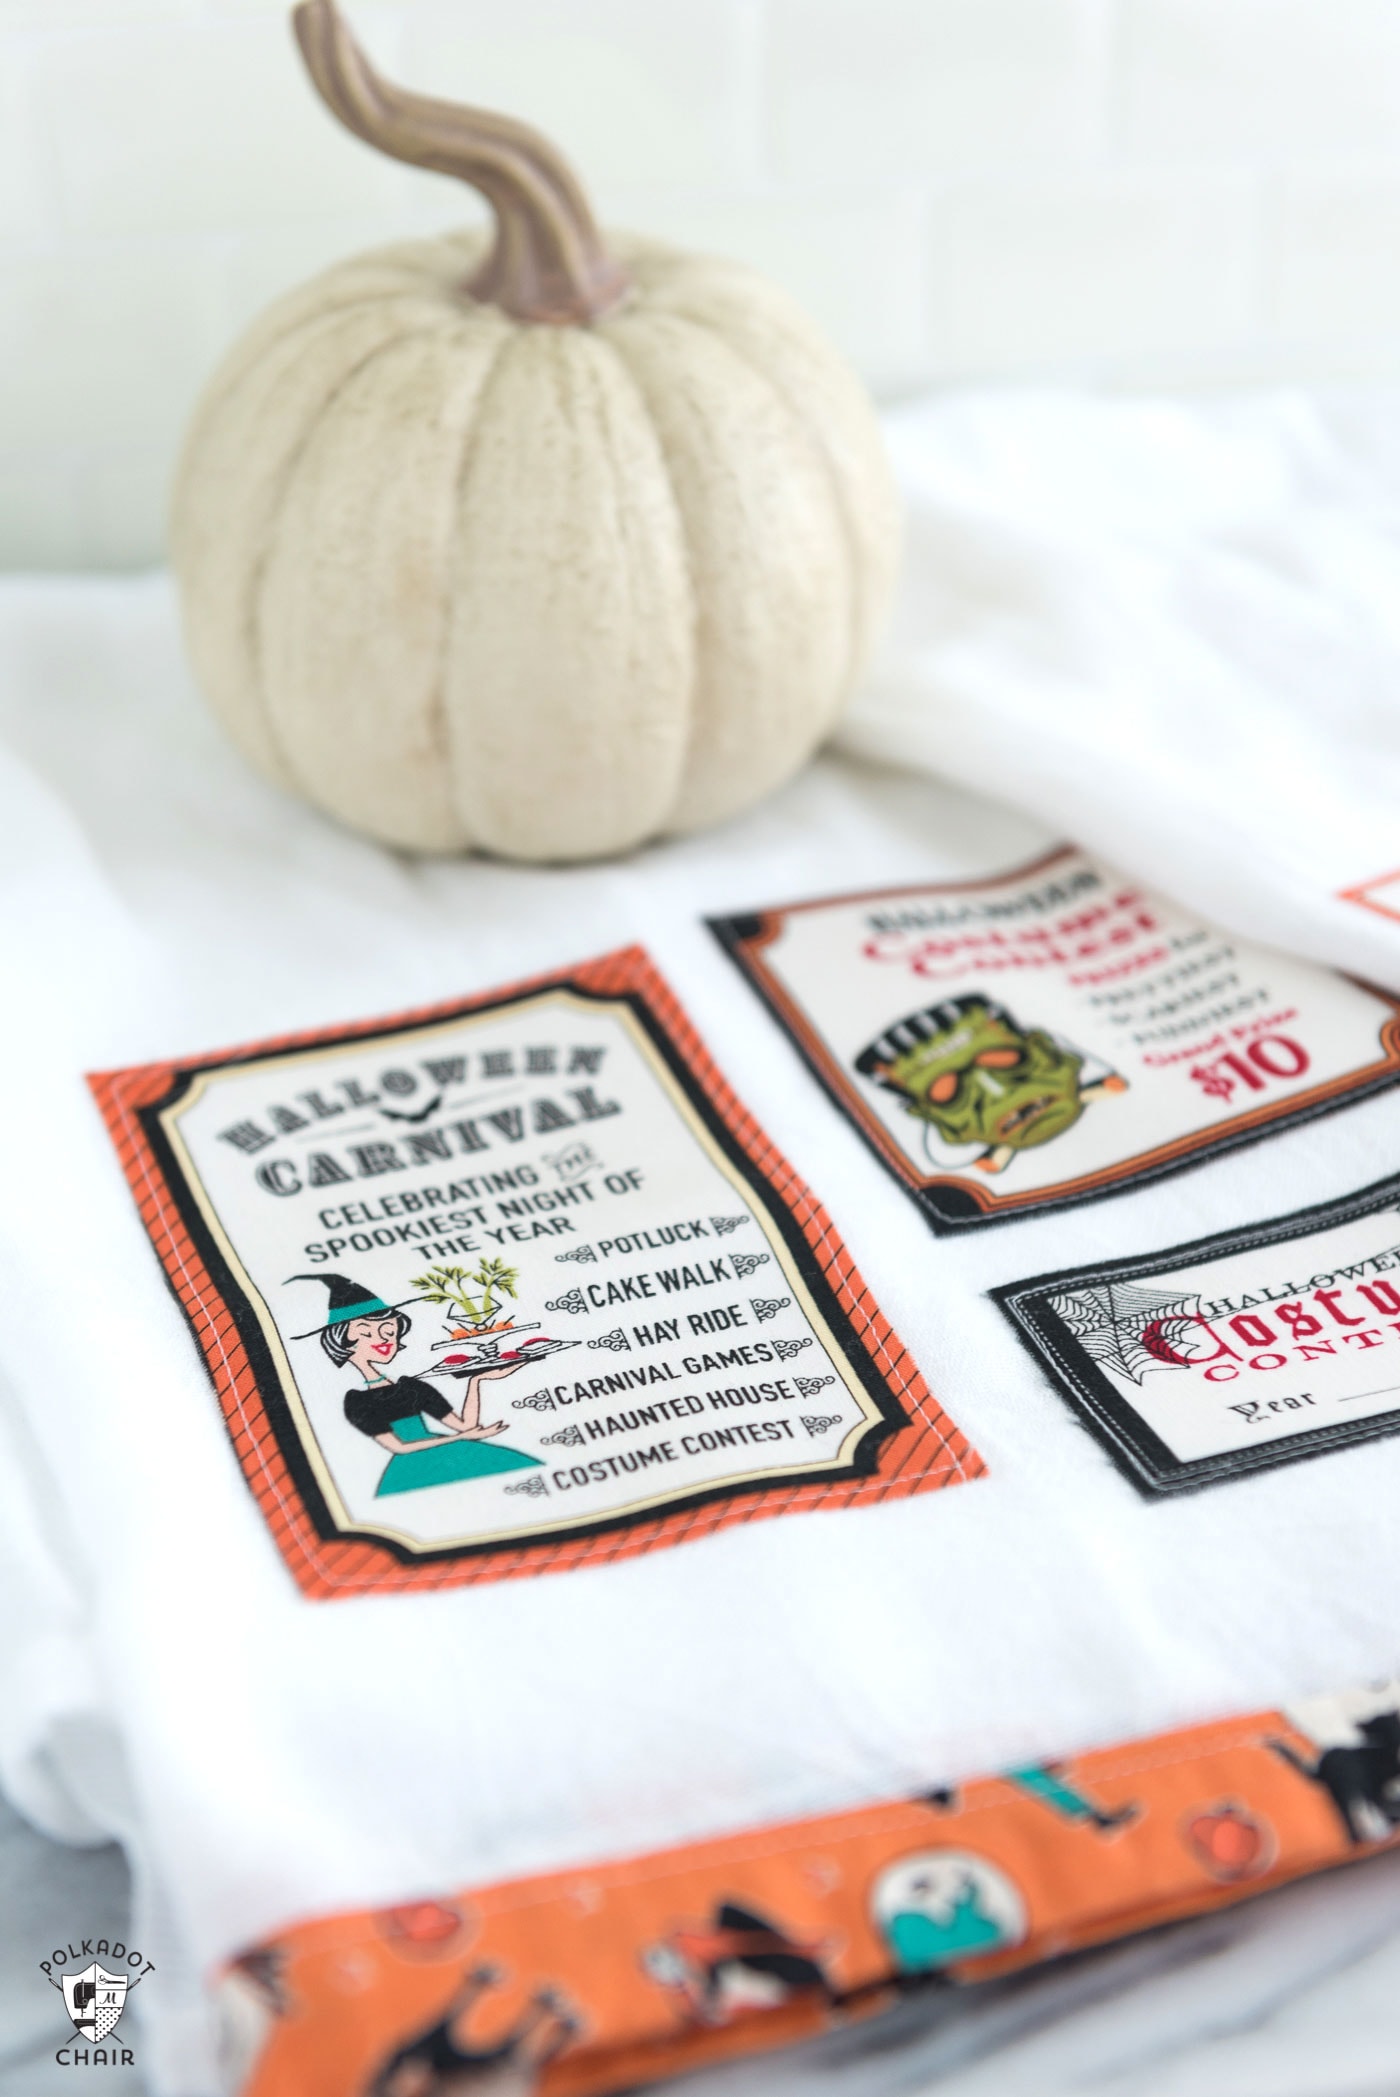
Scrap Busting DIY Halloween Tea Towels
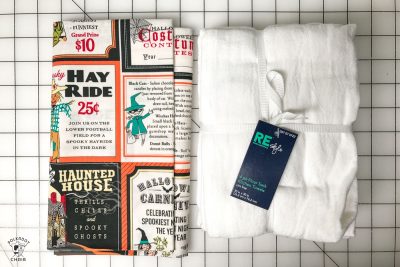
supplies
- Tea Towels – mine were purchased from Target
- Halloween Fabric You’ll need scraps for the images and
- 1/4 Yard 1/4 yard of fabric for border
- Heat N Bond Lite
Instructions
Step One:
- Wash and dry your tea towels. They will change shape quite a bit when washed, and it’s better to work with them washed since this is a project that will most likely be washed (hello, it’s a towel! *wink*).

Step Two:
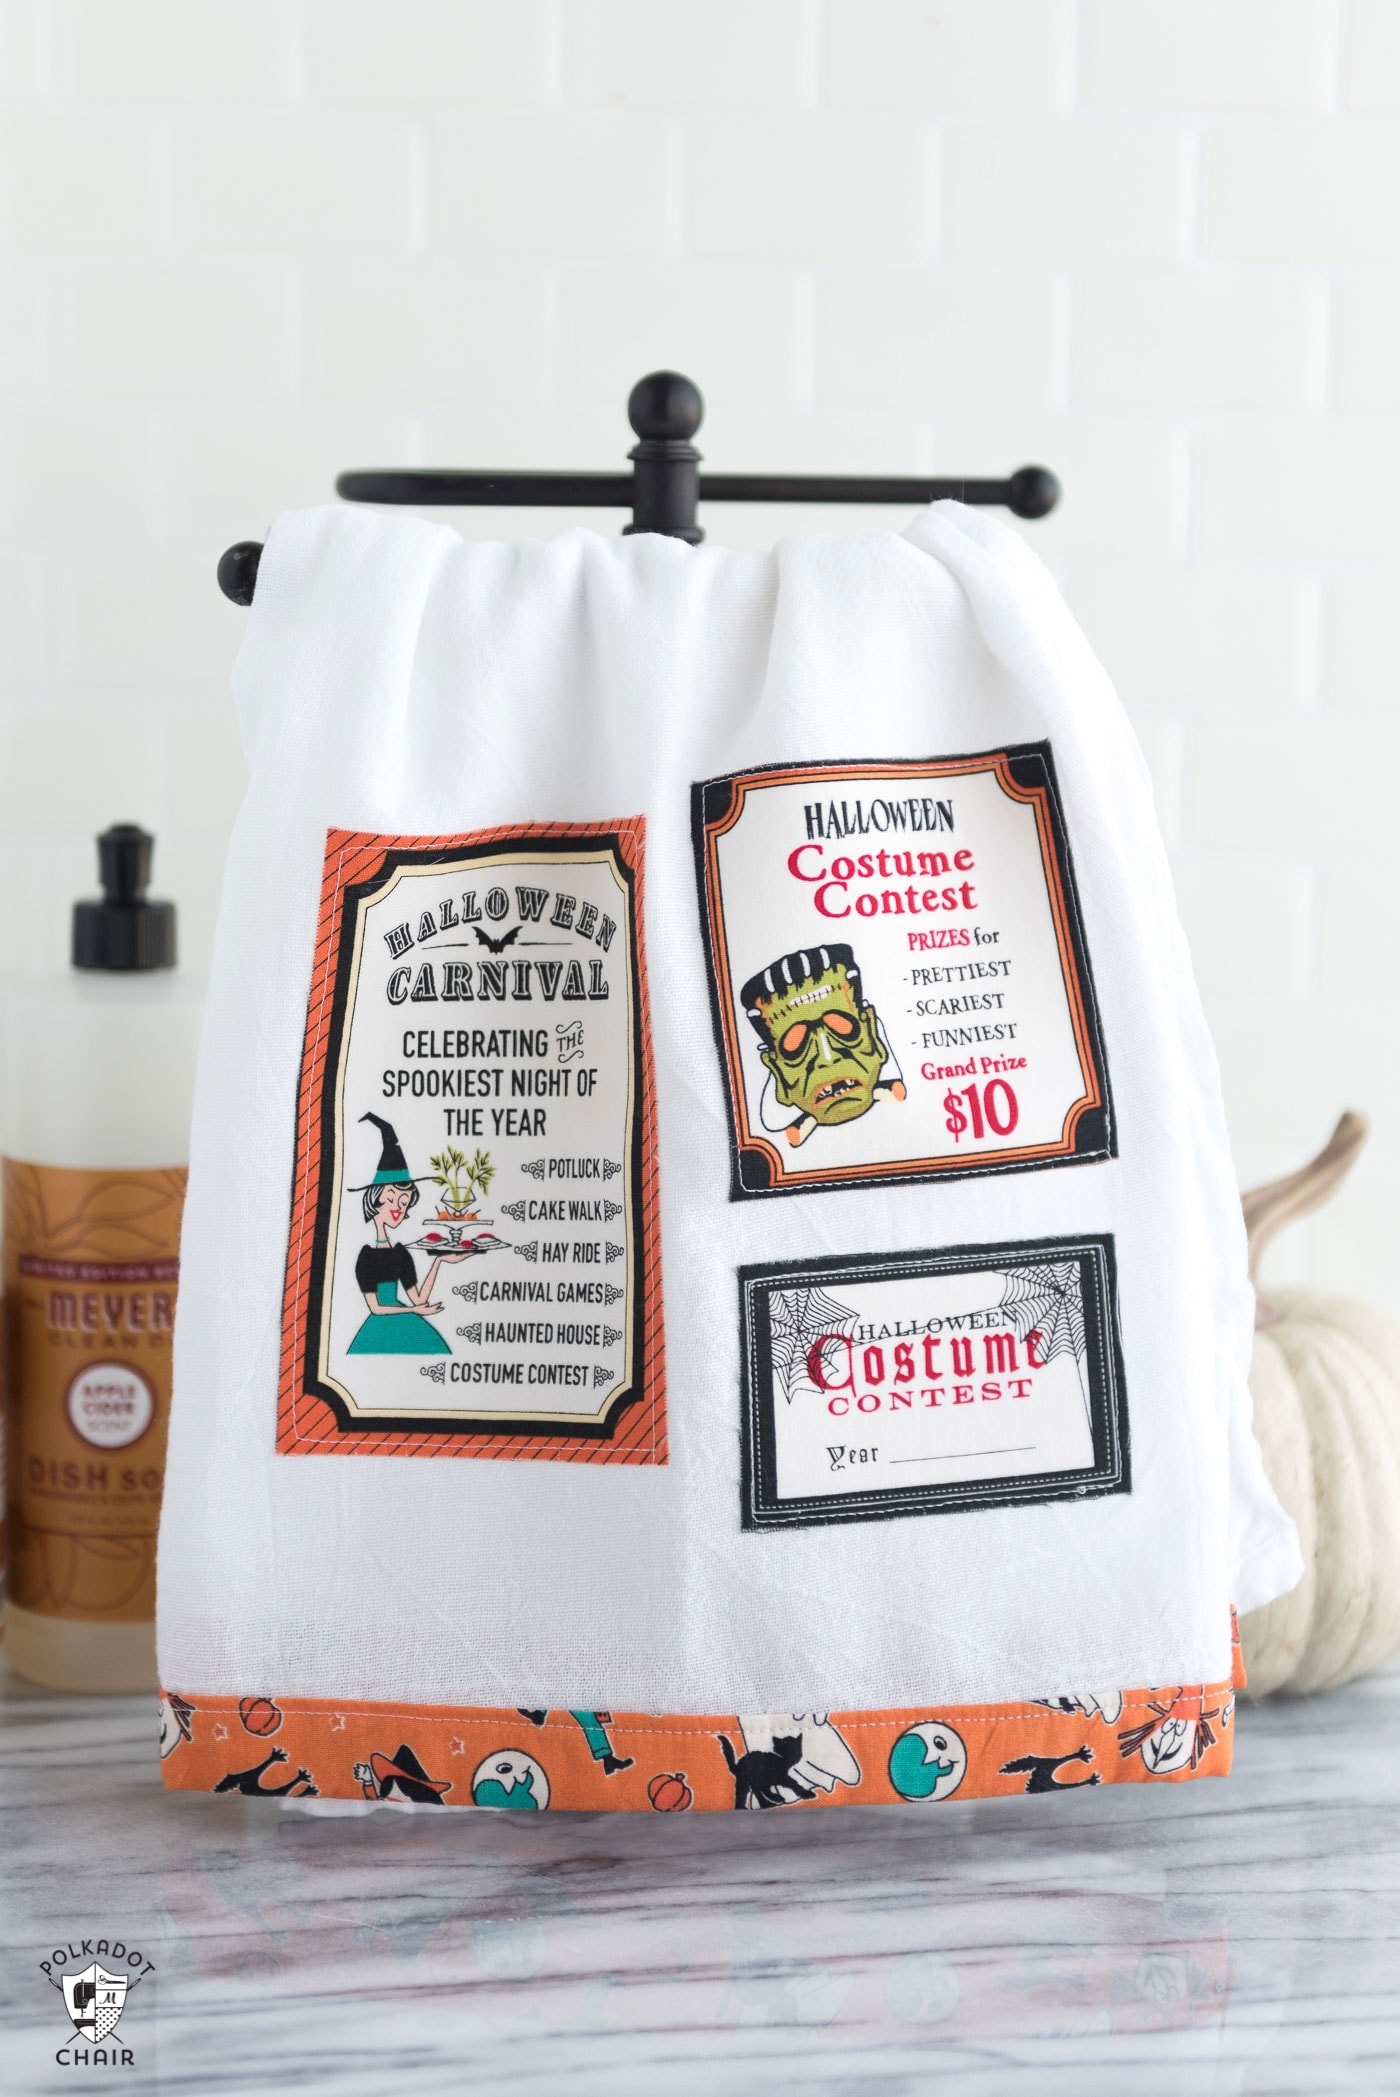
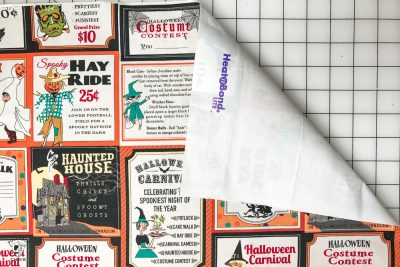
- Decide which parts of your fabric you’d like to make your cutouts from. Draw squares or rectangles on the fabric and cut them out. Also, cut out pieces of Heat N Bond Lite to the same size and shape, then iron onto the wrong side of your fabric. In my case, I knew I wanted to use several labels from the fabric print, so I applied Heat N Bond to the entire piece of fabric. I then cut out the labels that I wanted to use.
Step Three:
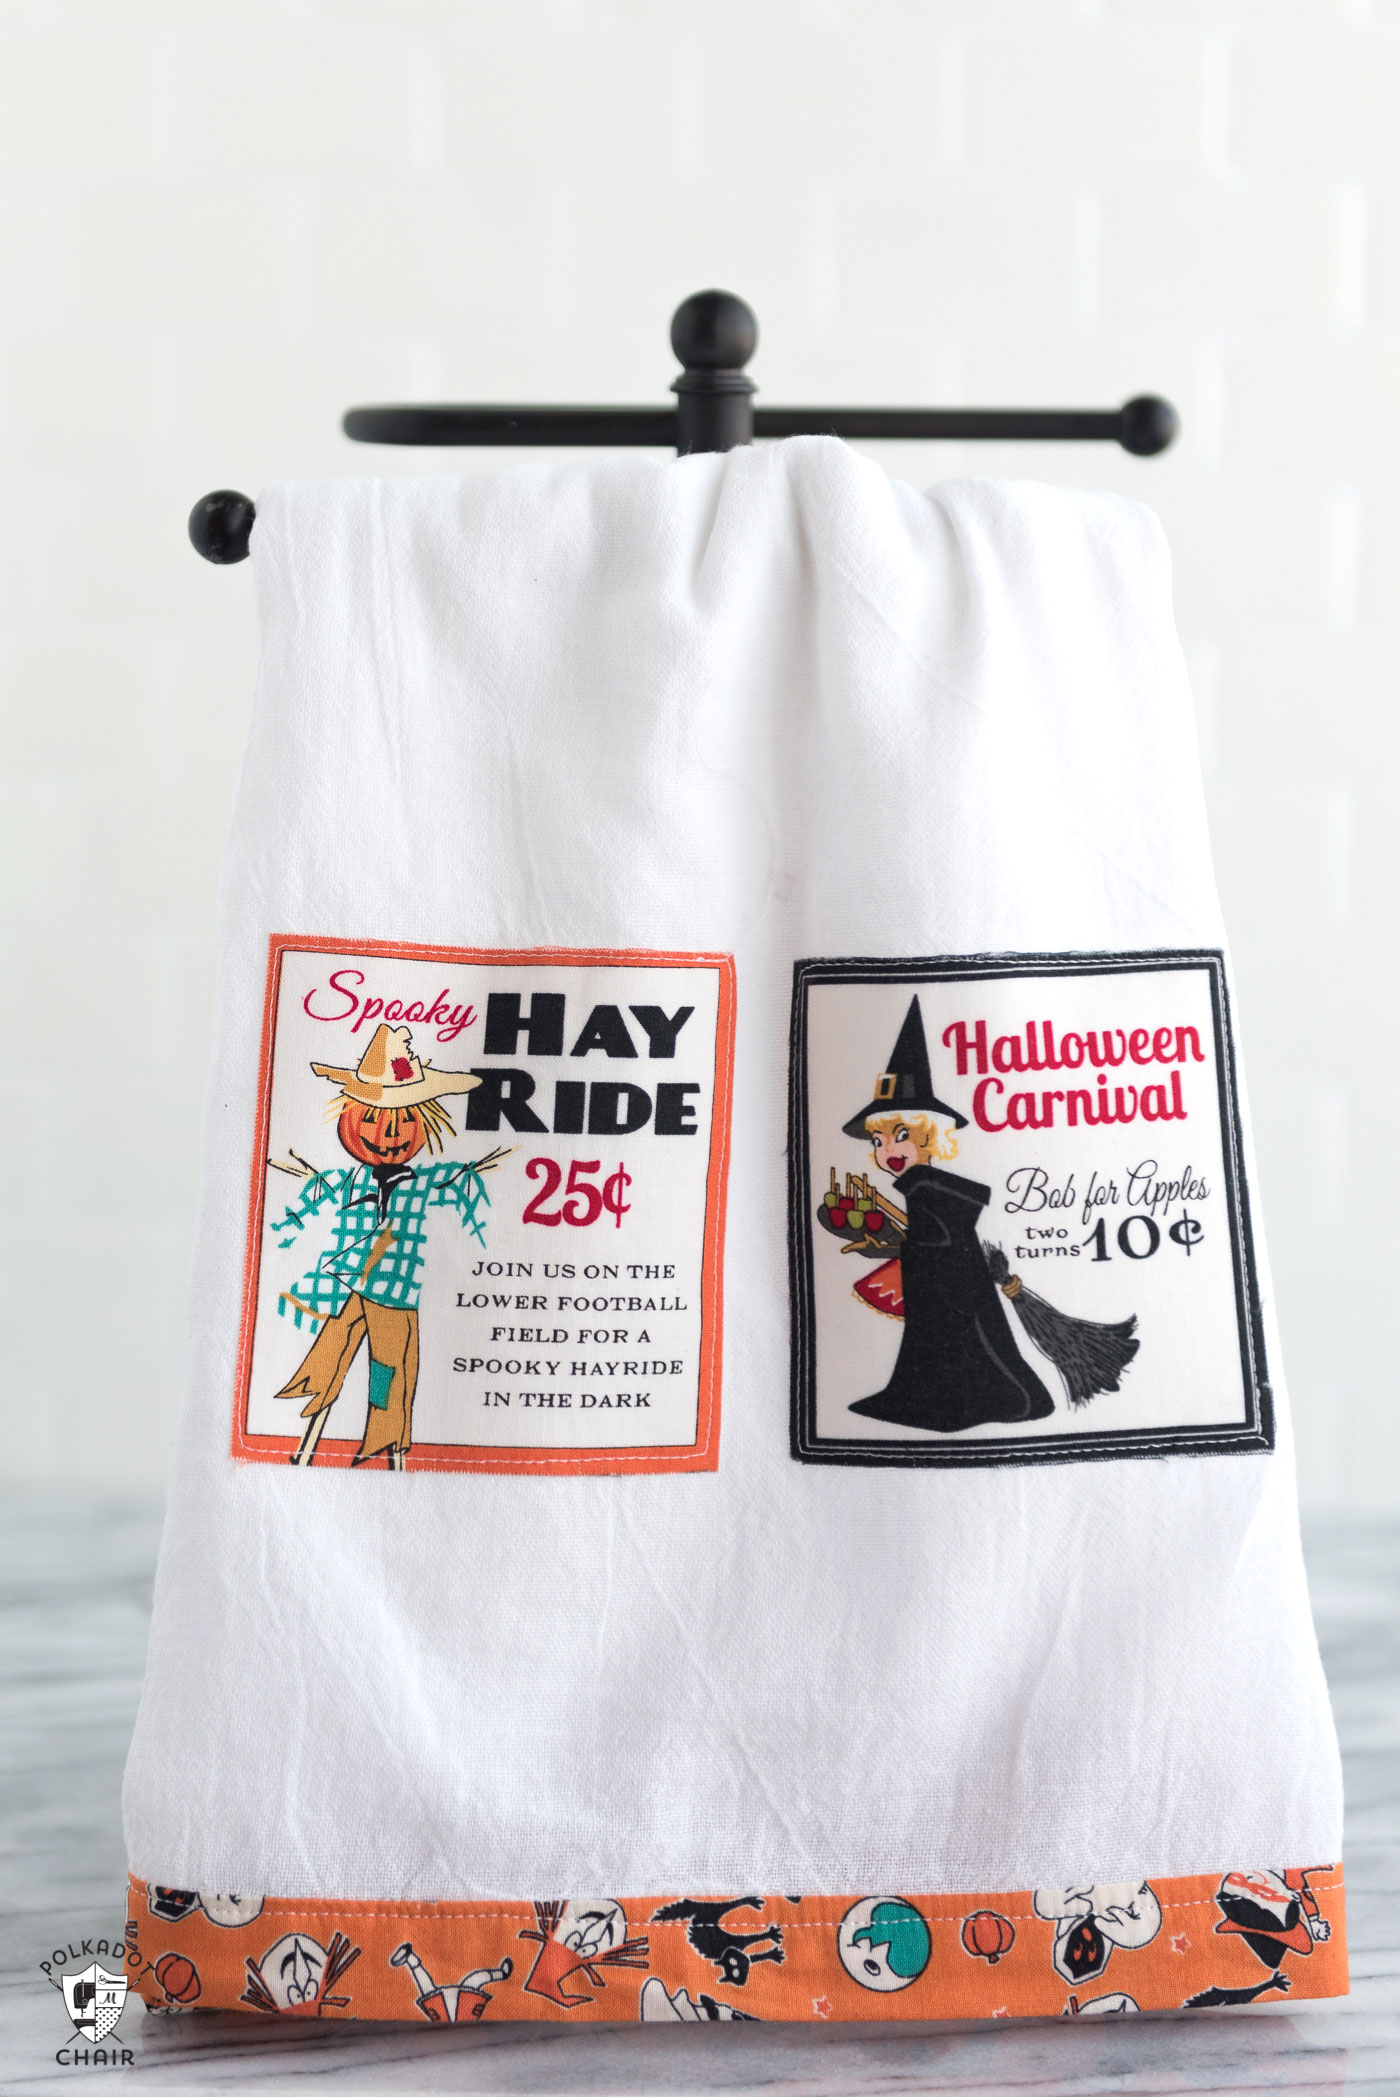
- Remove the paper from the back of the labels and iron them onto your fabric in the desired location.
Step Four:
- Stitch around the outside of the label.
Step Five:
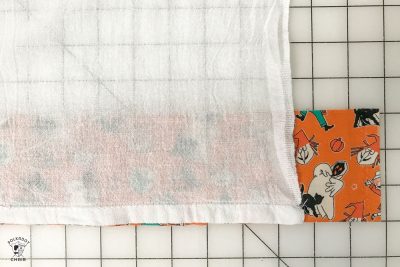
- Cut a piece of fabric that is 3″ wide by the length of your towel plus 4″.
Step Six:
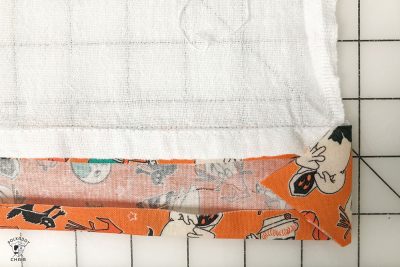
- Stitch the piece of fabric to the bottom of your towel with a 1/2″ seam allowance. The right side of the fabric will face the right side of the towel, and 2″ of fabric will hang over the edges.
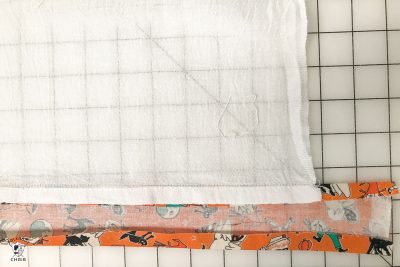
- Flip the fabric down and press the seam allowance towards the fabric. Turn under the unsewn edge of the fabric 1/2″ and press in place.
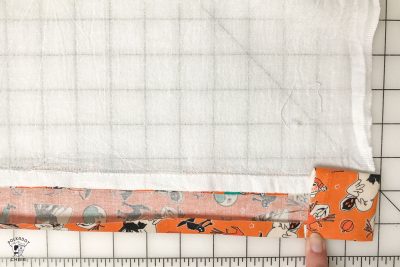
- Fold in the end of the fabric so that it’s flush with the edge of the towel.
- Trim off the excess fabric at the corners.
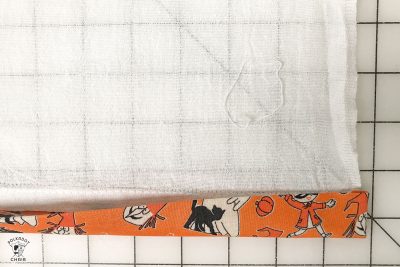
- Fold the fabric up and press it in place. The fold of the fabric will be just above the first stitching line.
- Top stitch the band in place.
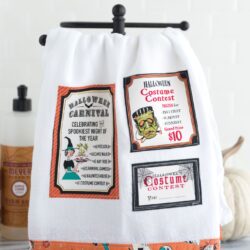
- That’s it!

You’re done!!
This project would be equally as cute with Christmas or Easter Fabric! I think I’ll have to make another set in December!
More Halloween Craft Projects:
DIY Floating Witch Hat Luminaires
Super cute!
These are really cute! Great way to use up my scraps and to have a few hostess gifts ready to give.
These are awesome! Love the look of the patches. Would be fun to look for similar printed fabrics. Photo tutorial is very appreciated! Pinned for next year.
This is so cute, thank you!! I can’t wait for the Christmas ones.
These towels are so cute! I just happen to have a few towels all washed up and ready to go!!
These would make good shower gifts! Thank you