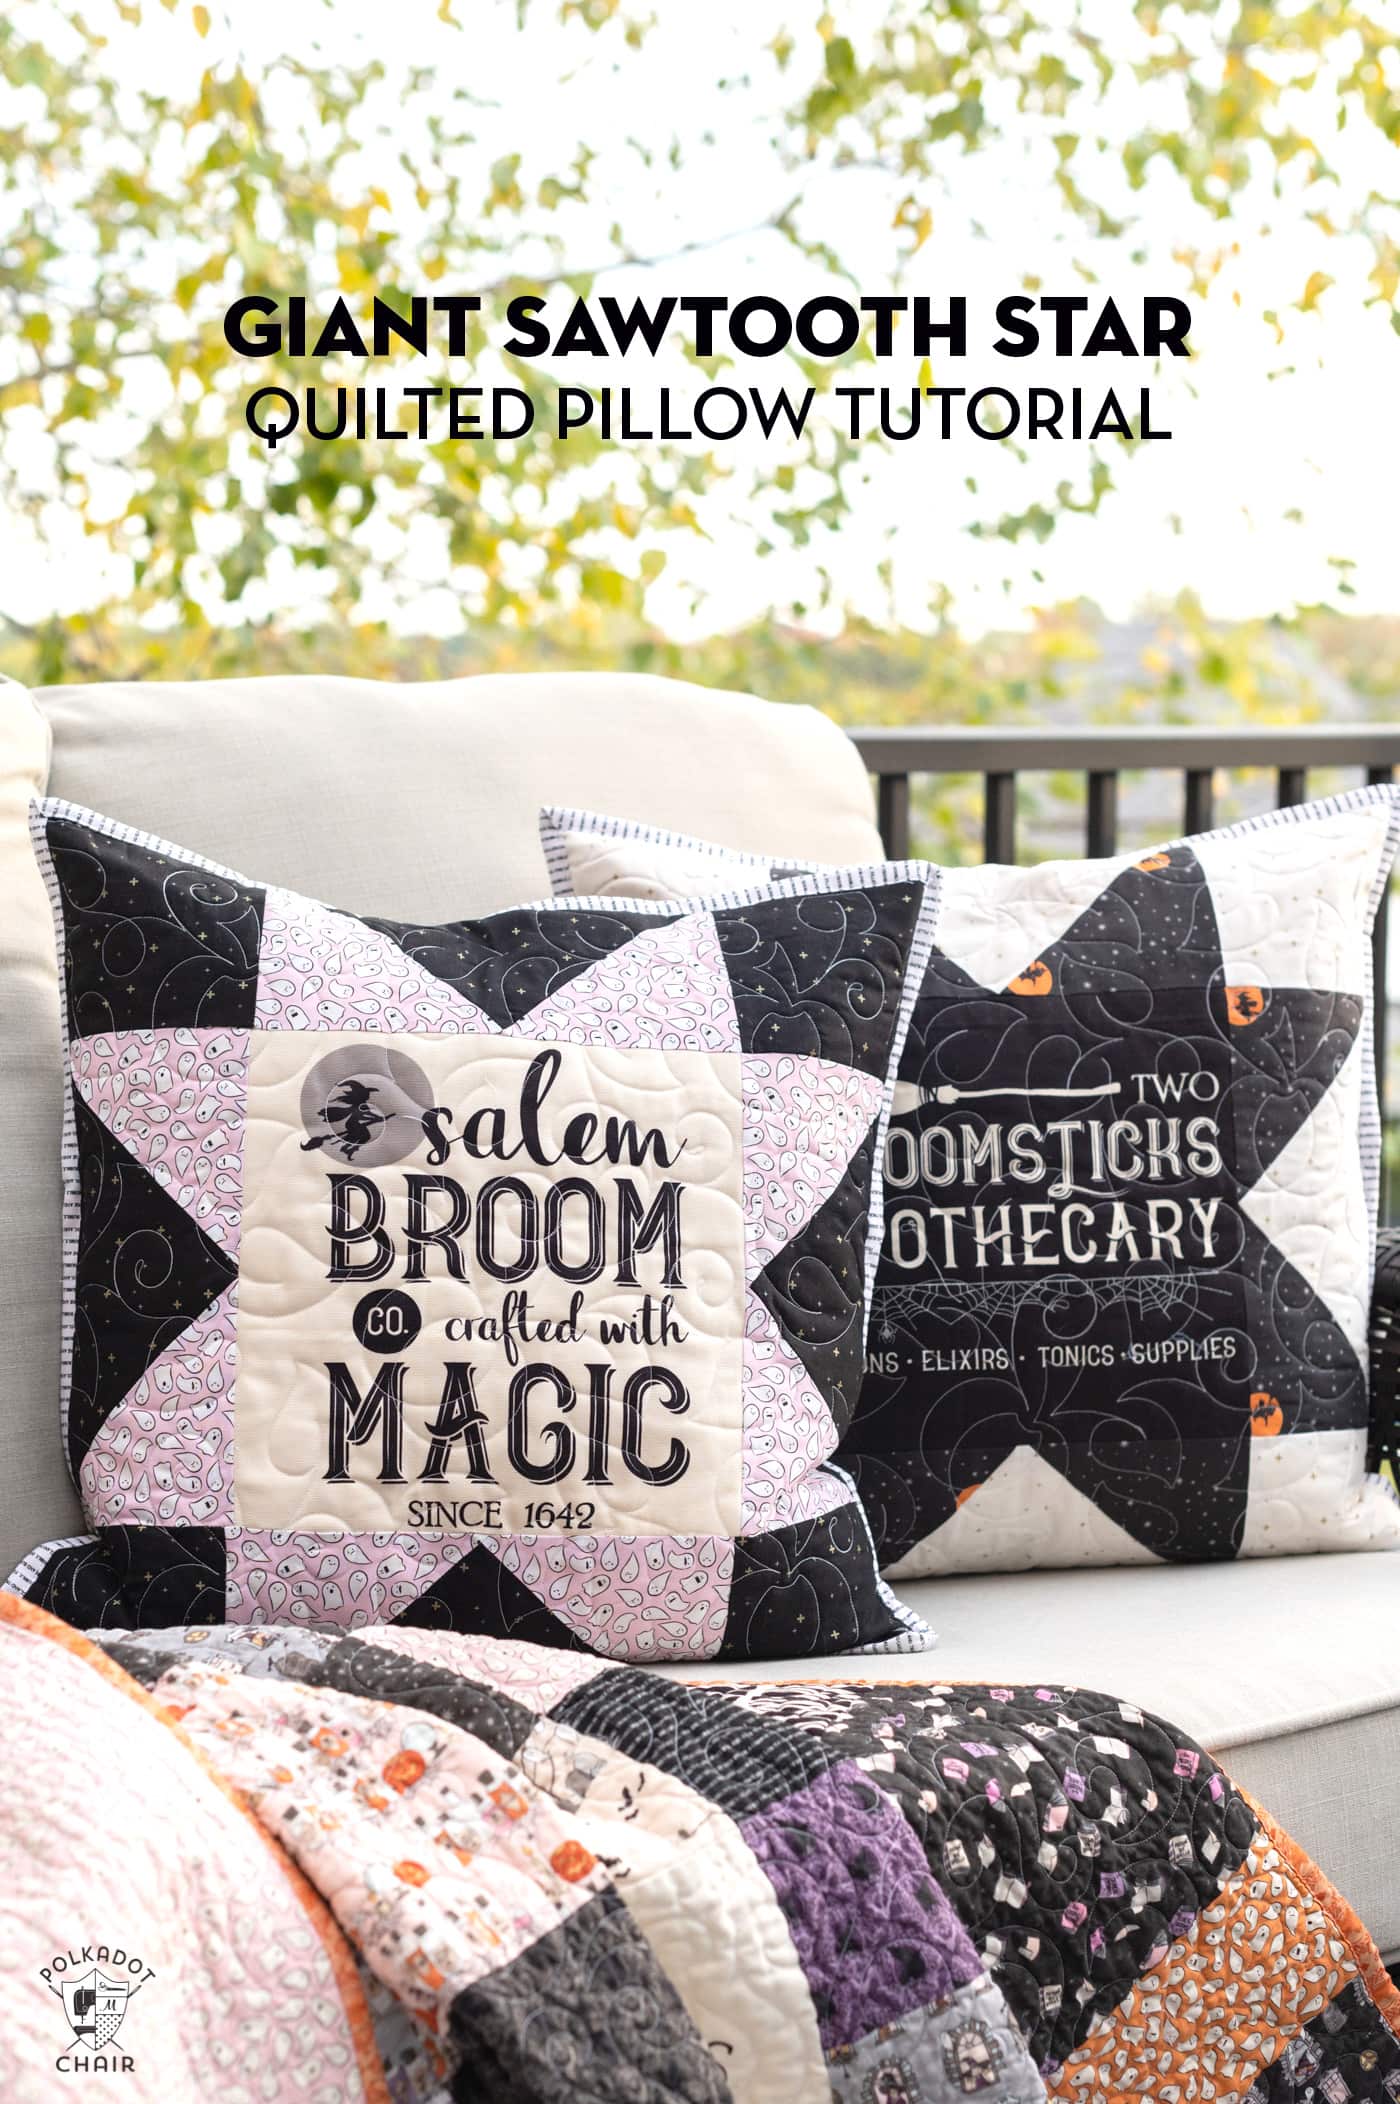
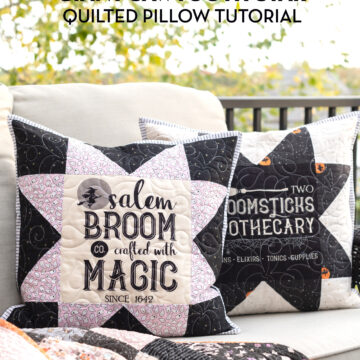
Giant Sawtooth Star Quilted Pillow Pattern
Throw pillows are so easy to make and great to change out seasonally! Use our free Sawtooth Star quilted pillow pattern to create a quilted throw pillow for any season. This tutorial will show you how to use a portion of a fabric panel to add more detail to your project!
As a fabric designer, I love to create Fabric collections that feature panels. I think they are such a fun and unique way to use the fabric and allow you to have some fun with scale and color. Fabric panels are great for quotes, lettering, and brighter colors, which might not work in traditional quilting prints.
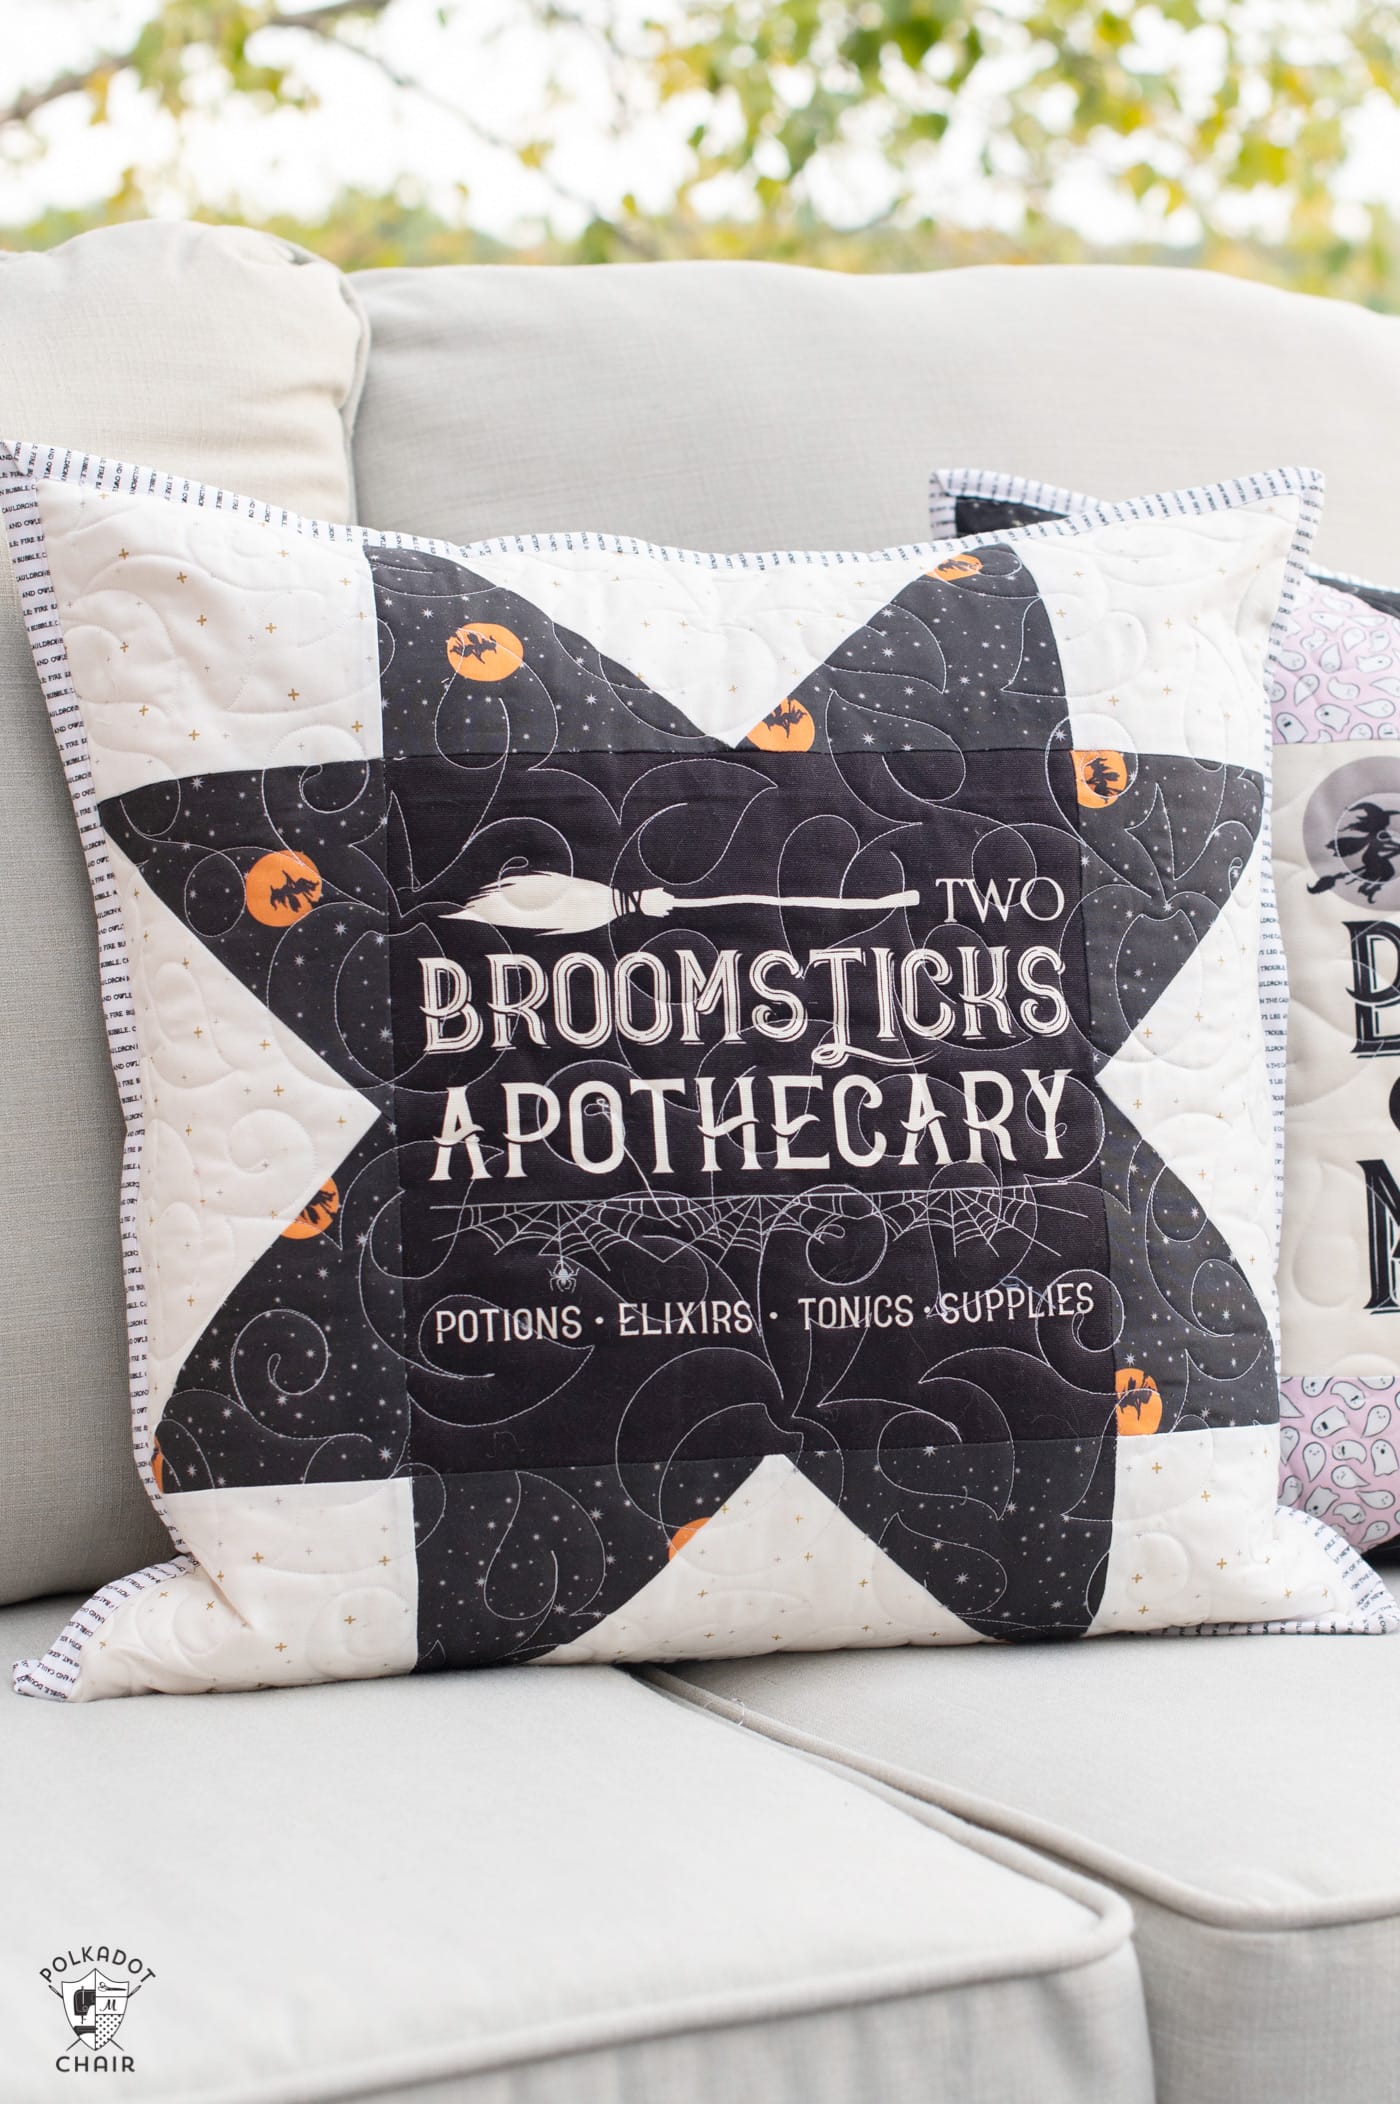
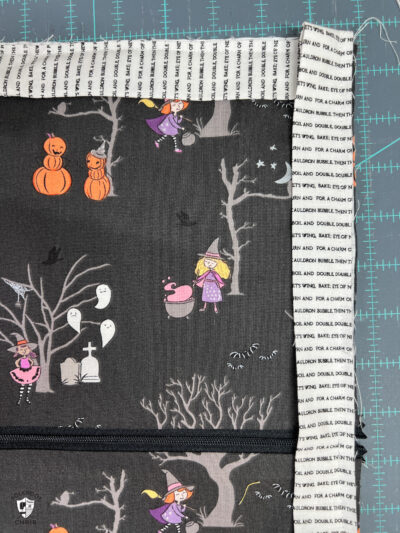
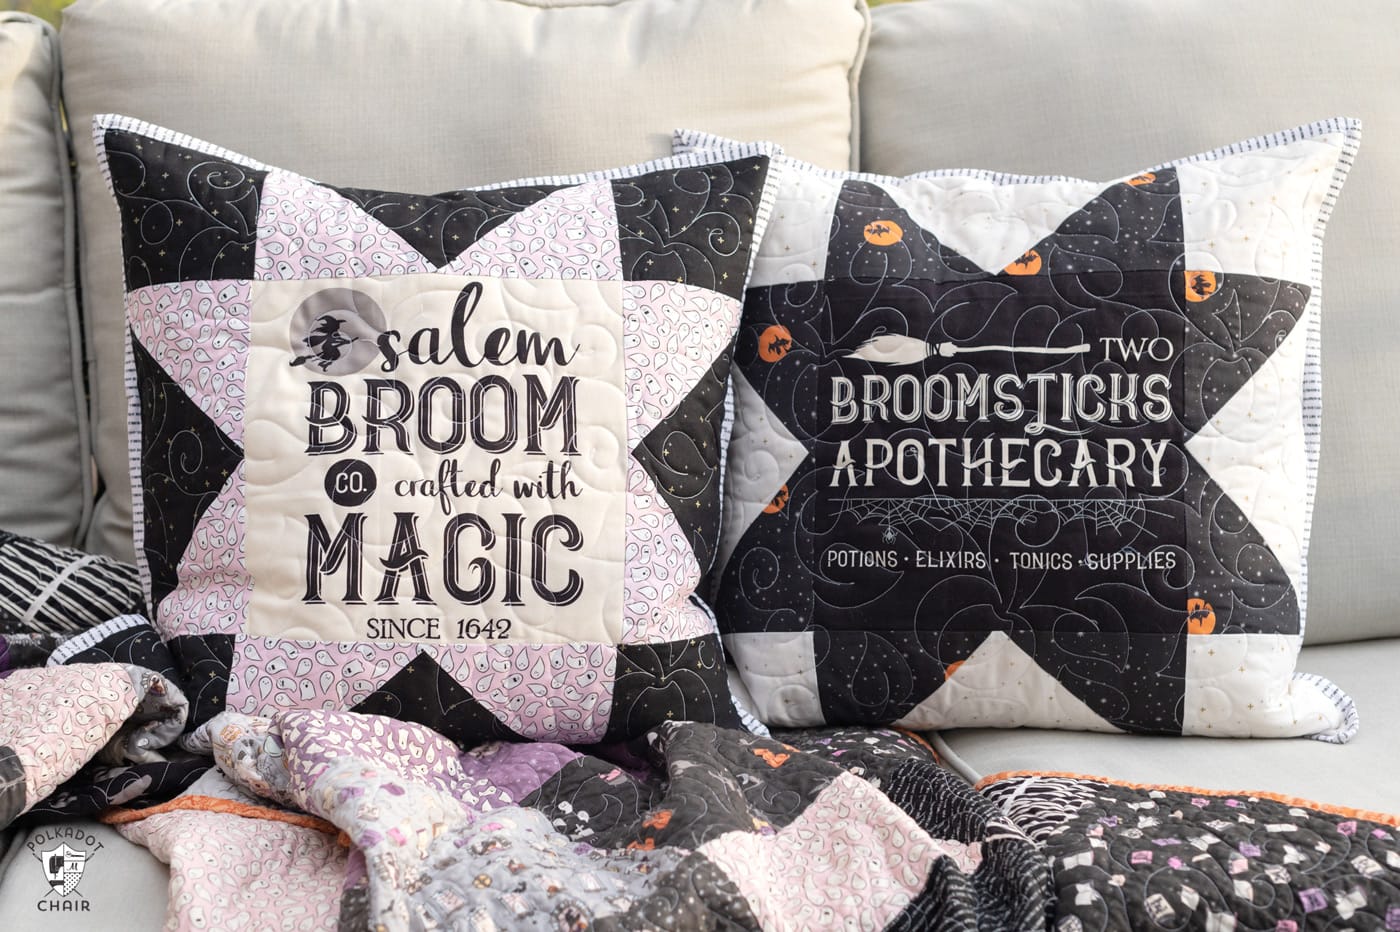
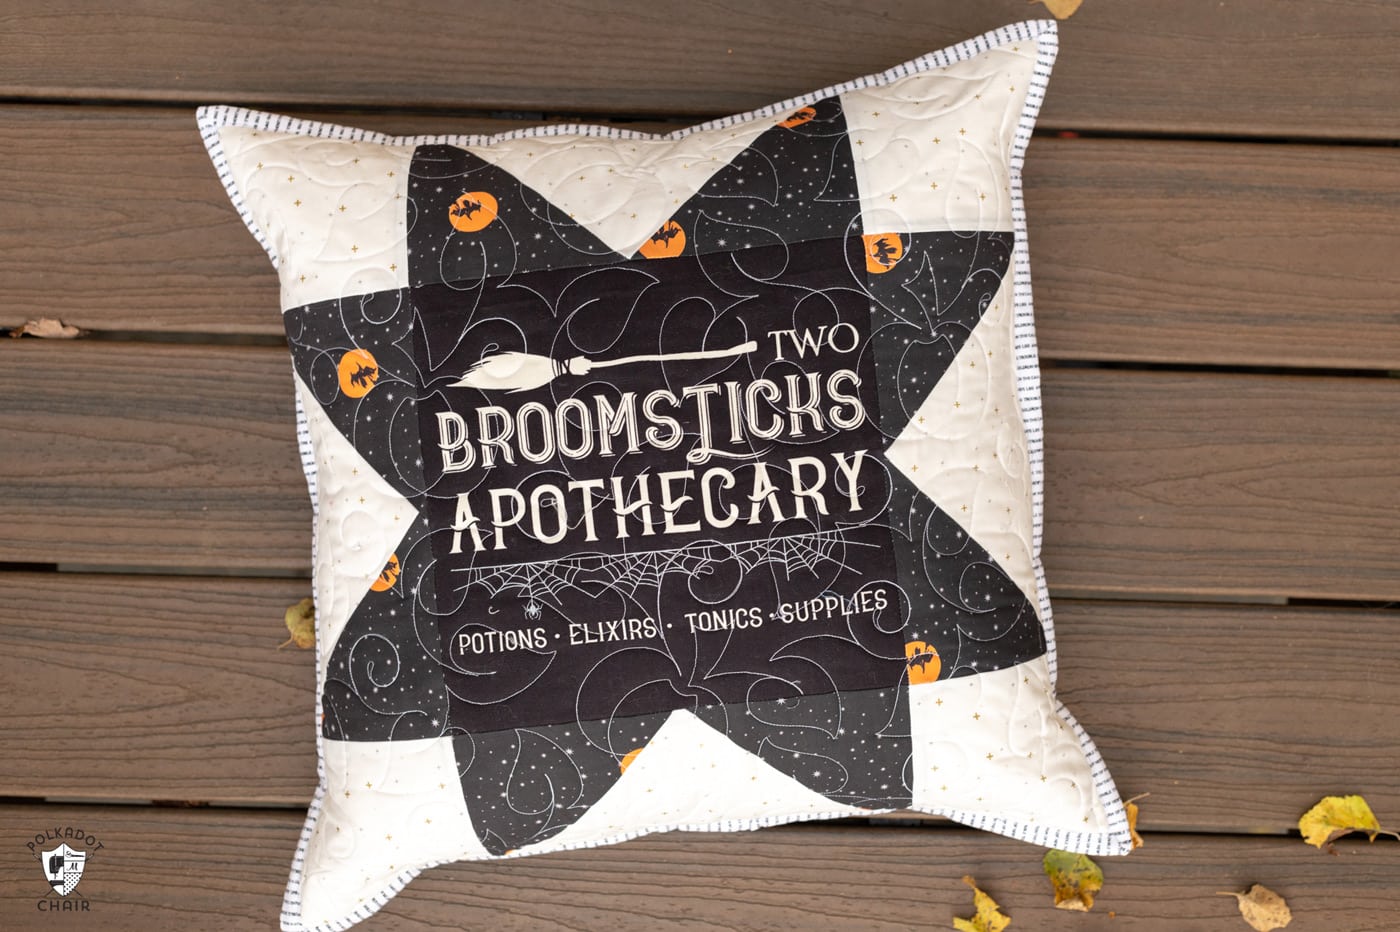
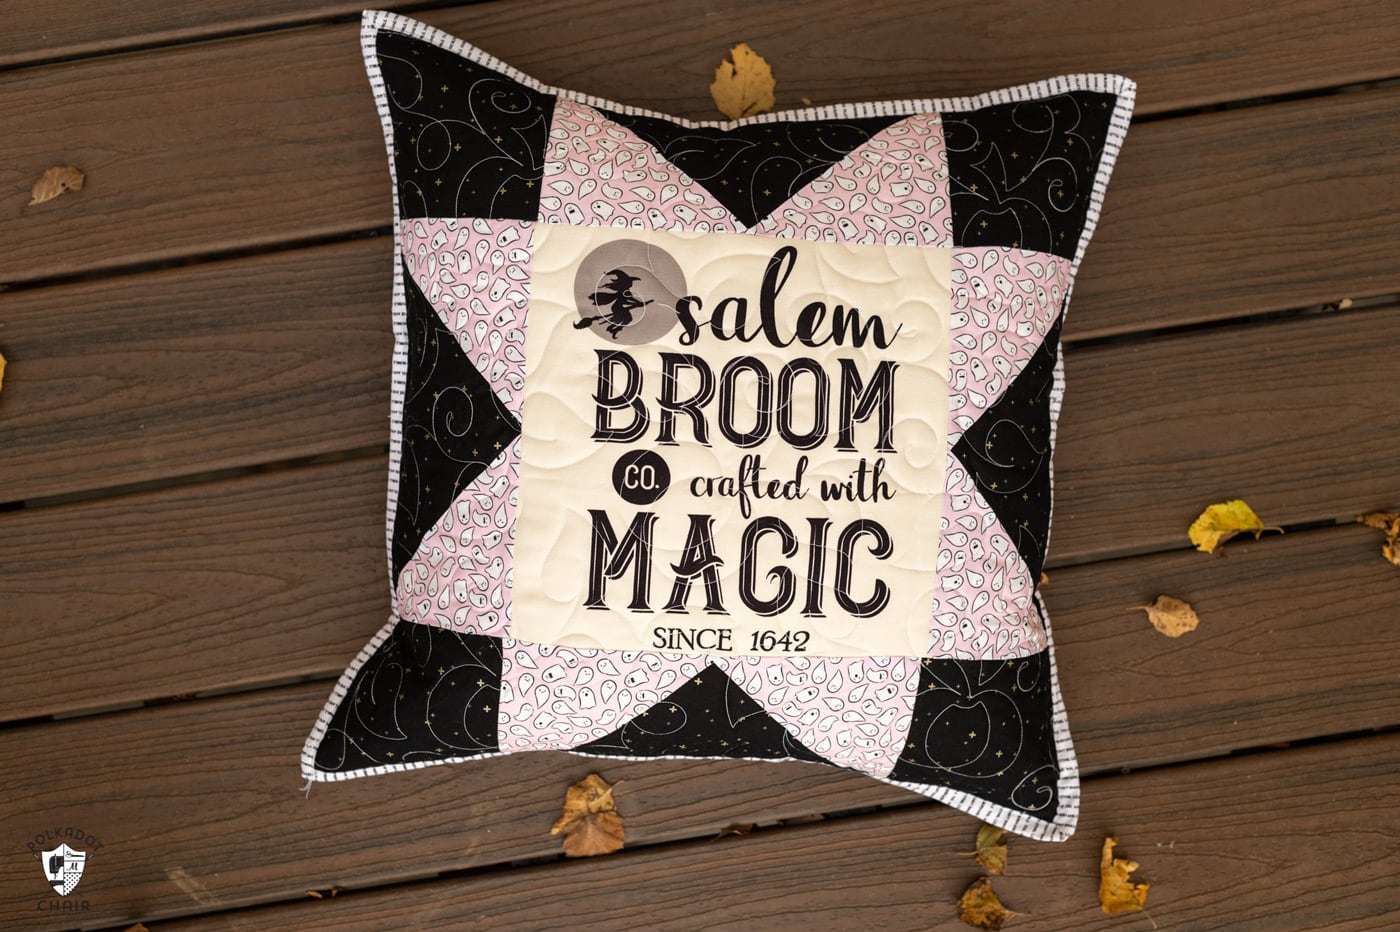
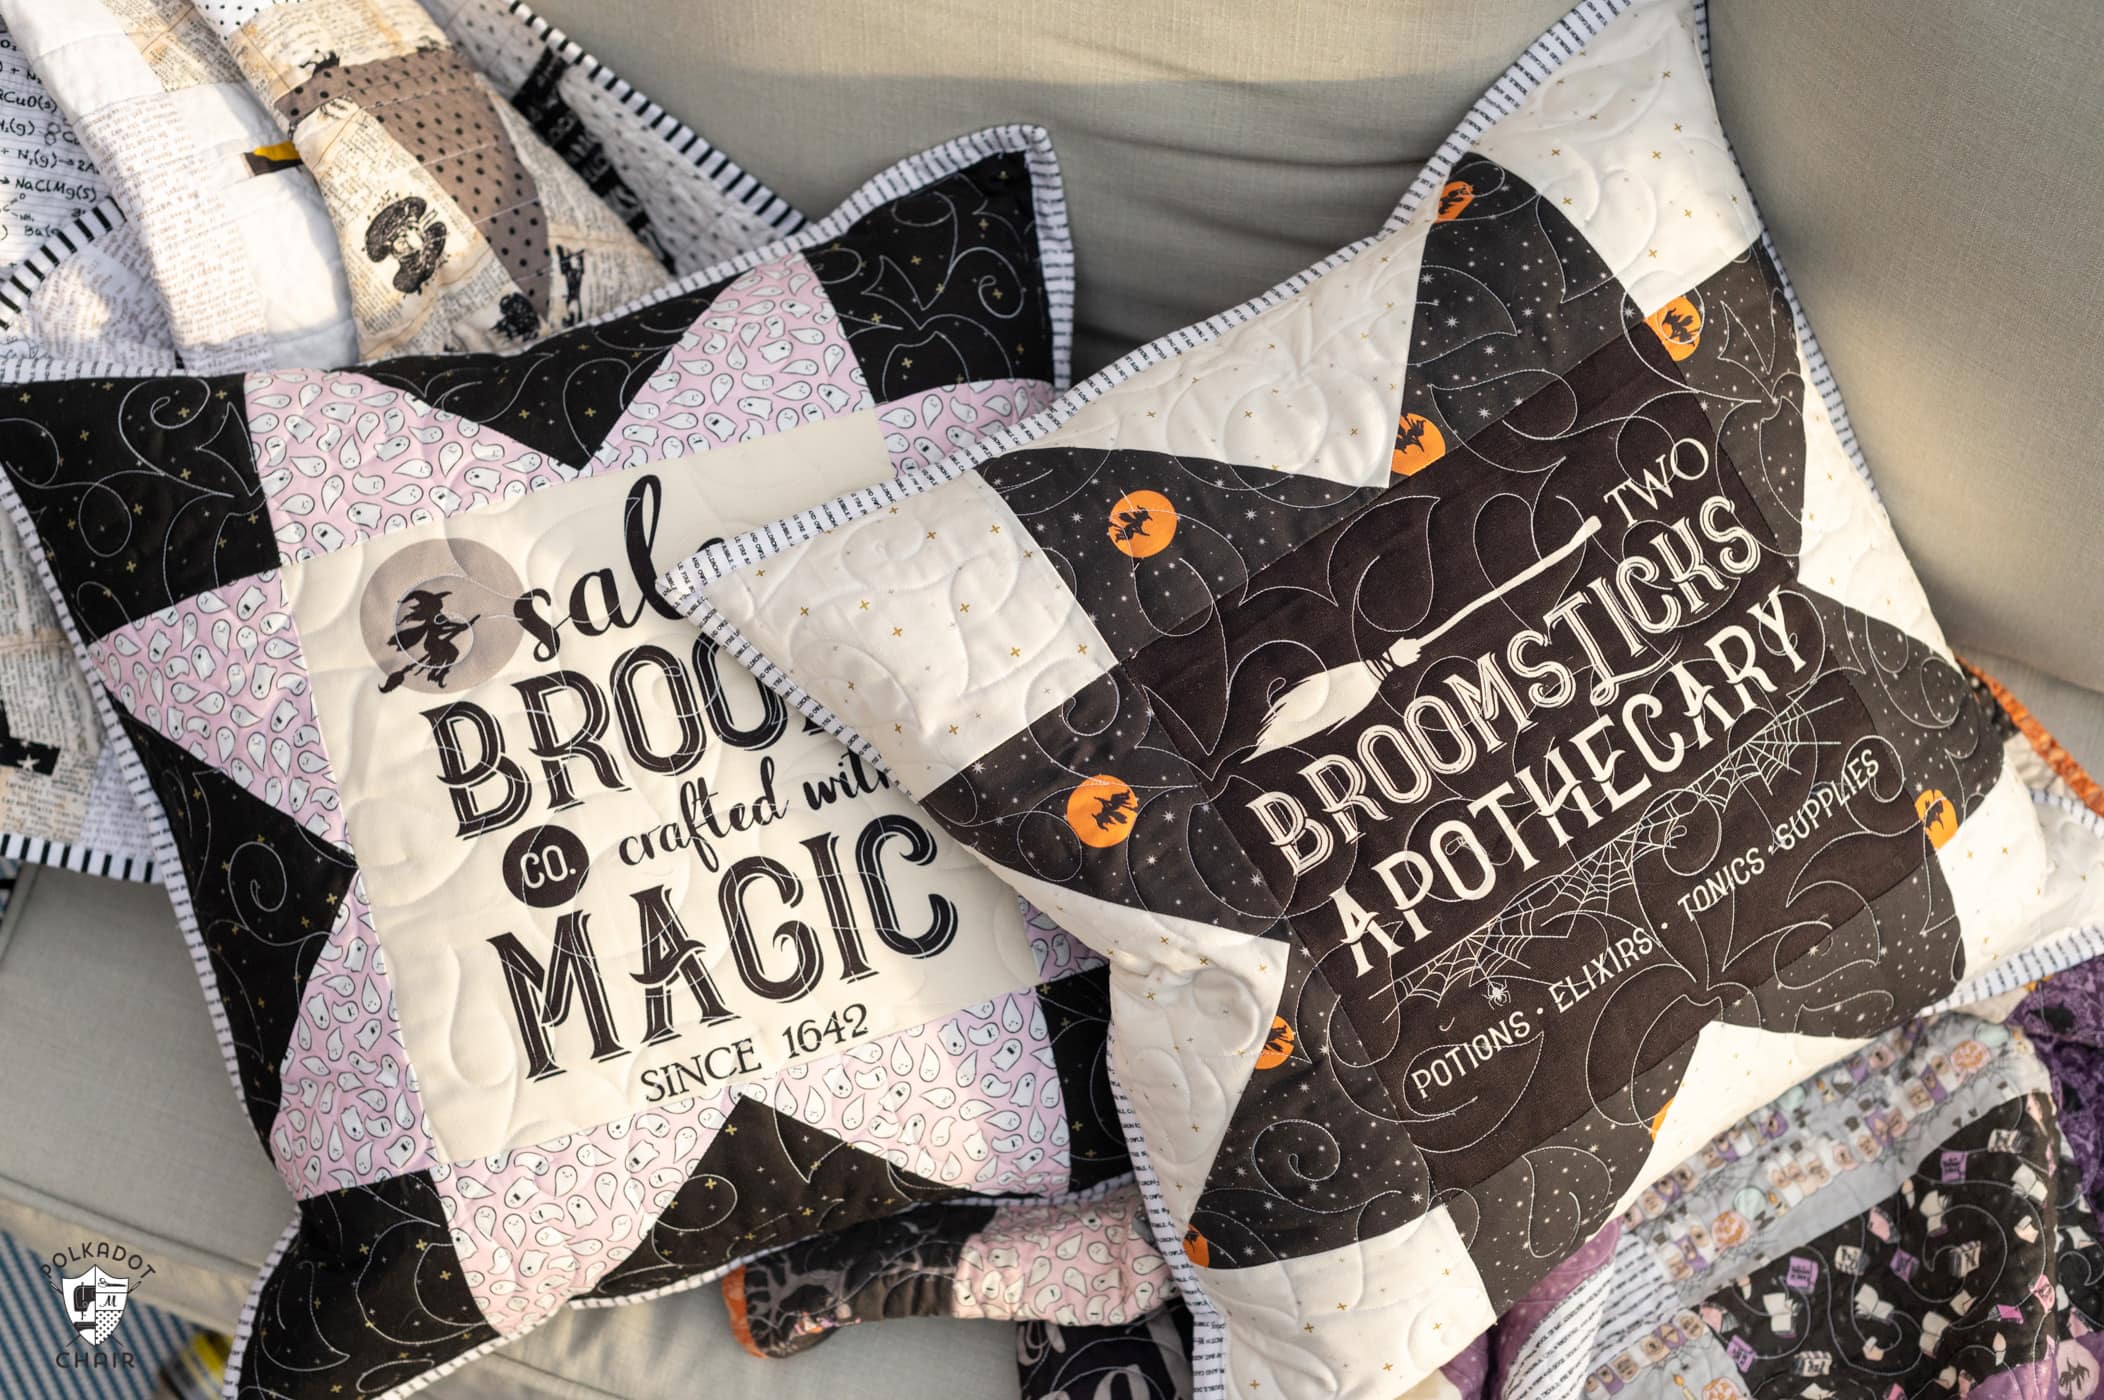
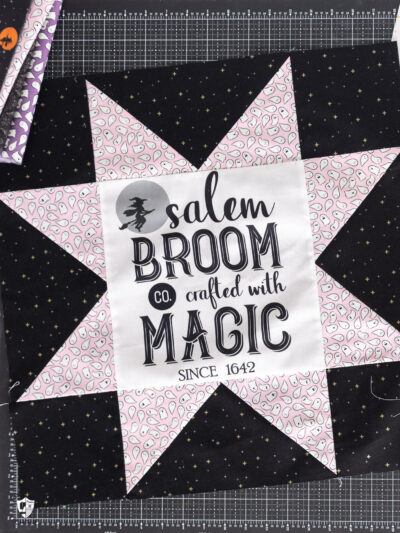
My Spooky Schoolhouse fabric collection with Riley Blake features a fabric panel that was designed to be sewn into trick-or-treat bags. Aside from the trick-or-treat bags, you can make many different things with the fabric panel.
About the Fabric
Today, I’ll walk you through the steps to create a quilted pillow using on the rectangles in the panel (meant for a trick-or-treat tote) as the center of the pillow.
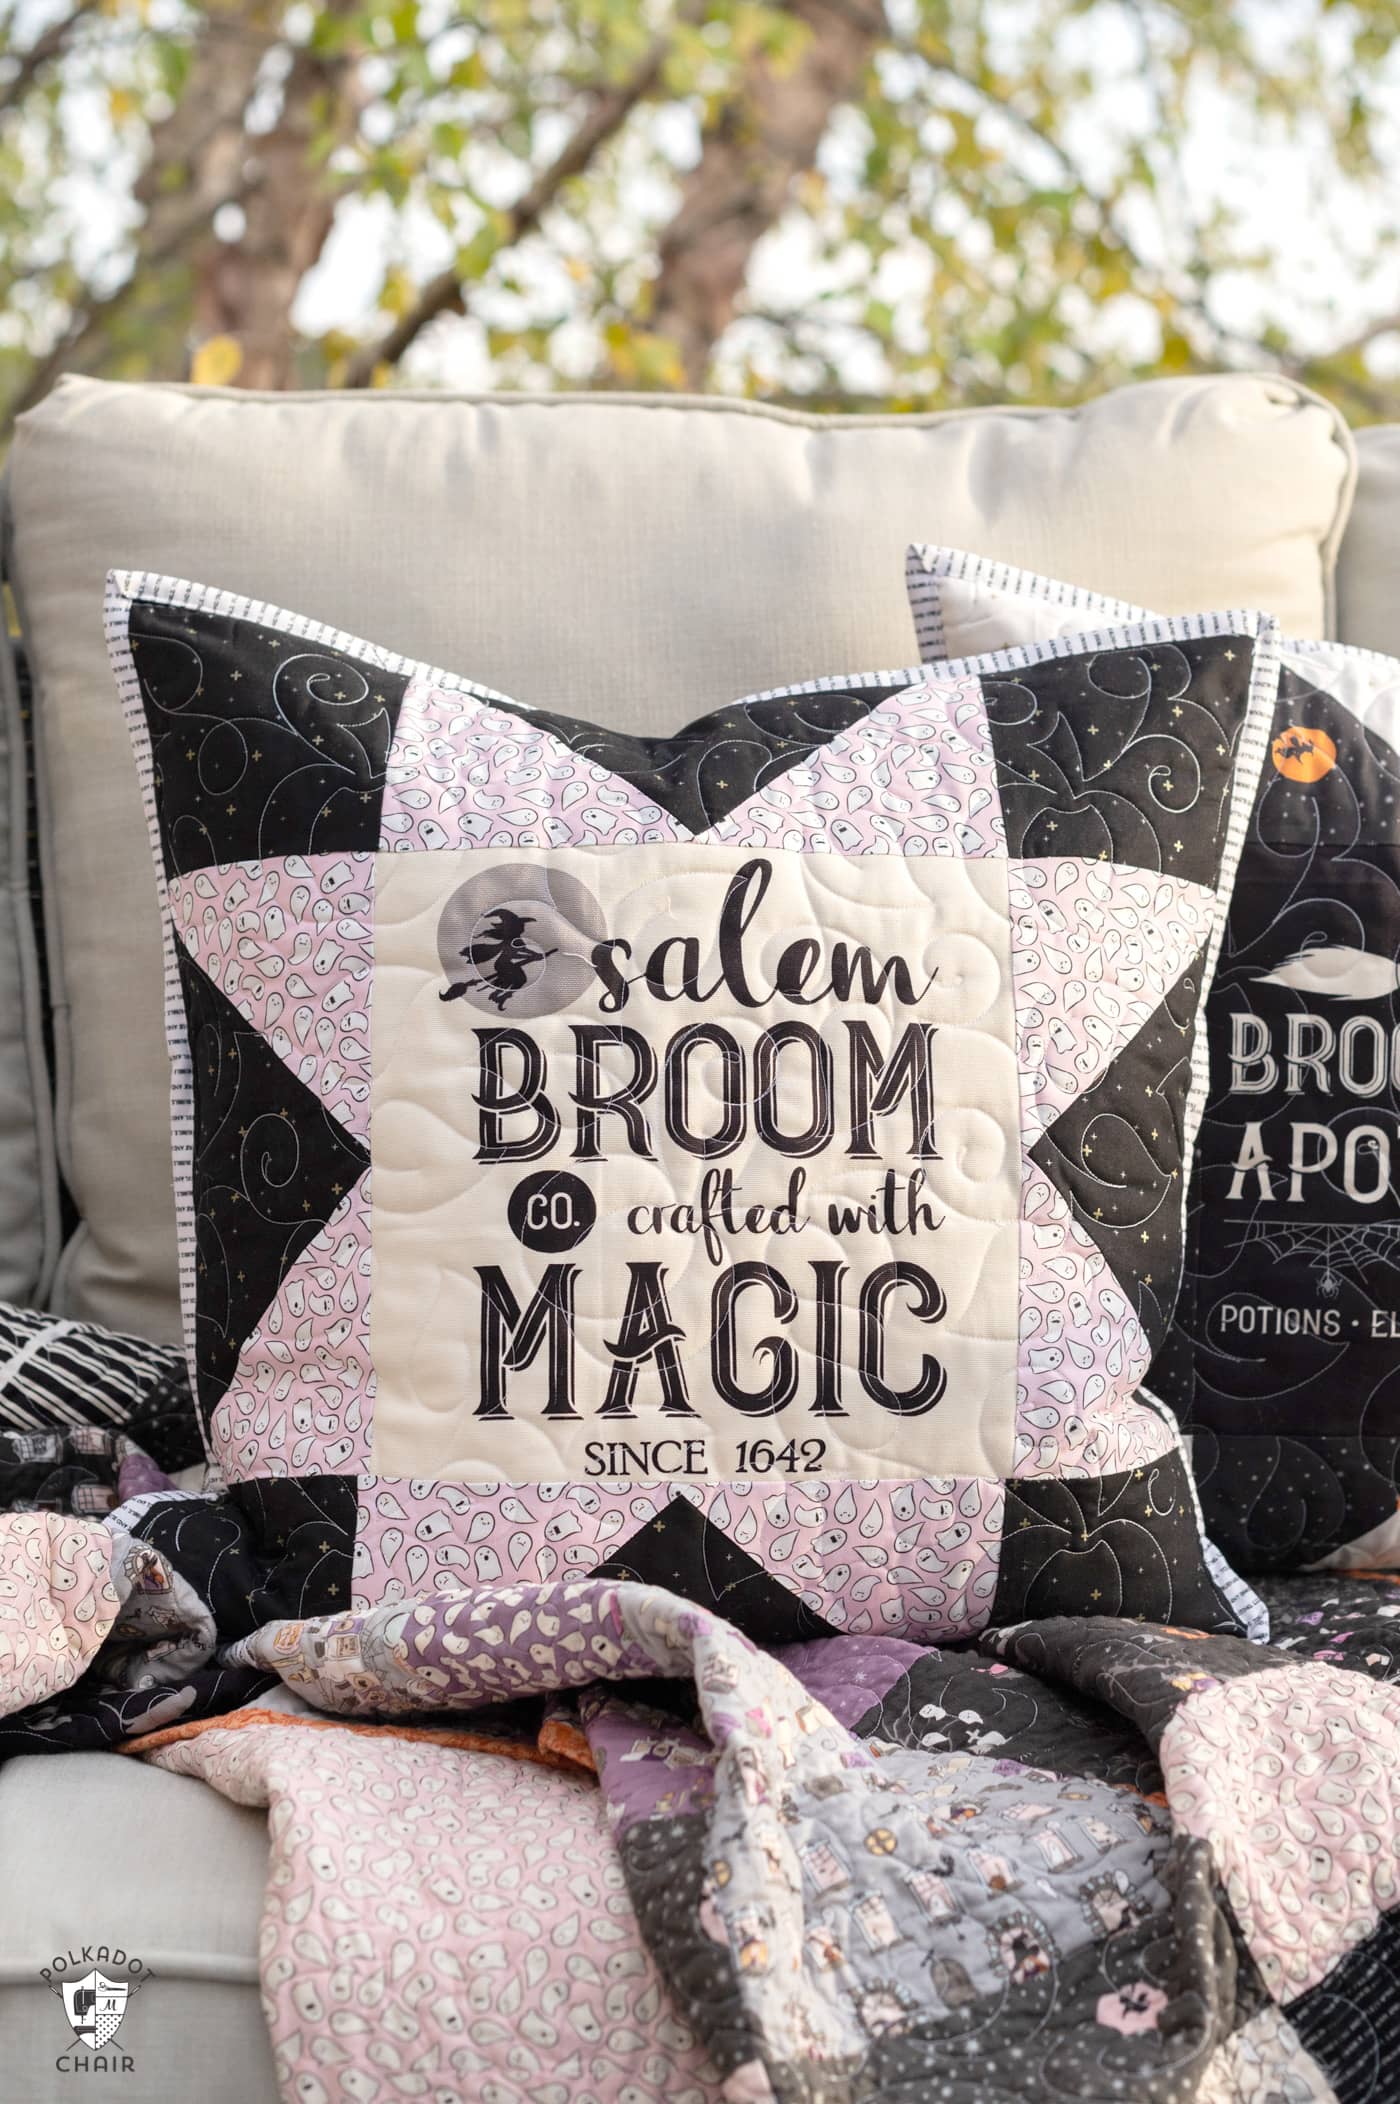
The remainder of the pillow is made with quilting cotton prints from the line. The black and white fabrics are both Sparkler by Riley Blake Designs.
If you purchased your fabric panel to make a trick-or-treat tote and found yourself with some extra fabric, this is a great way to use it! The fabric on the panel is a lightweight canvas. It’s great to sew with and has a bit of texture, which is really nice on the pillows.
I created a quilted Halloween pillow, but you don’t need to limit yourself only to Halloween. Change out the fabrics, and you can make a throw pillow for any season.
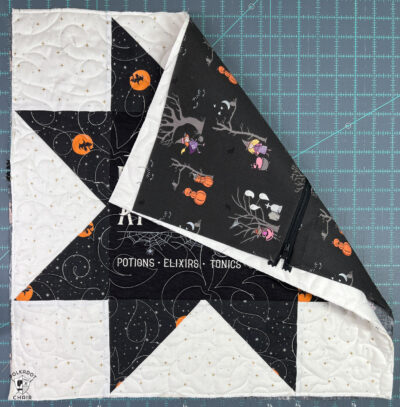
I like to sew zippers onto the backs of my quilted pillows; that way, they are easy to swap out for the seasons. I also make almost all of my pillows 20″ x 20″; that way, I only need to purchase one set of pillow forms for all of the pillow covers.
In addition, storing only the quilted pillow cover is a great space saver!
What is a Sawtooth Star Quilt Block?
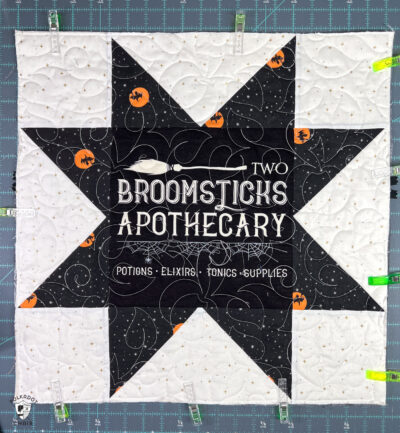
This pillow is made from one giant Sawtooth Star quilt block.
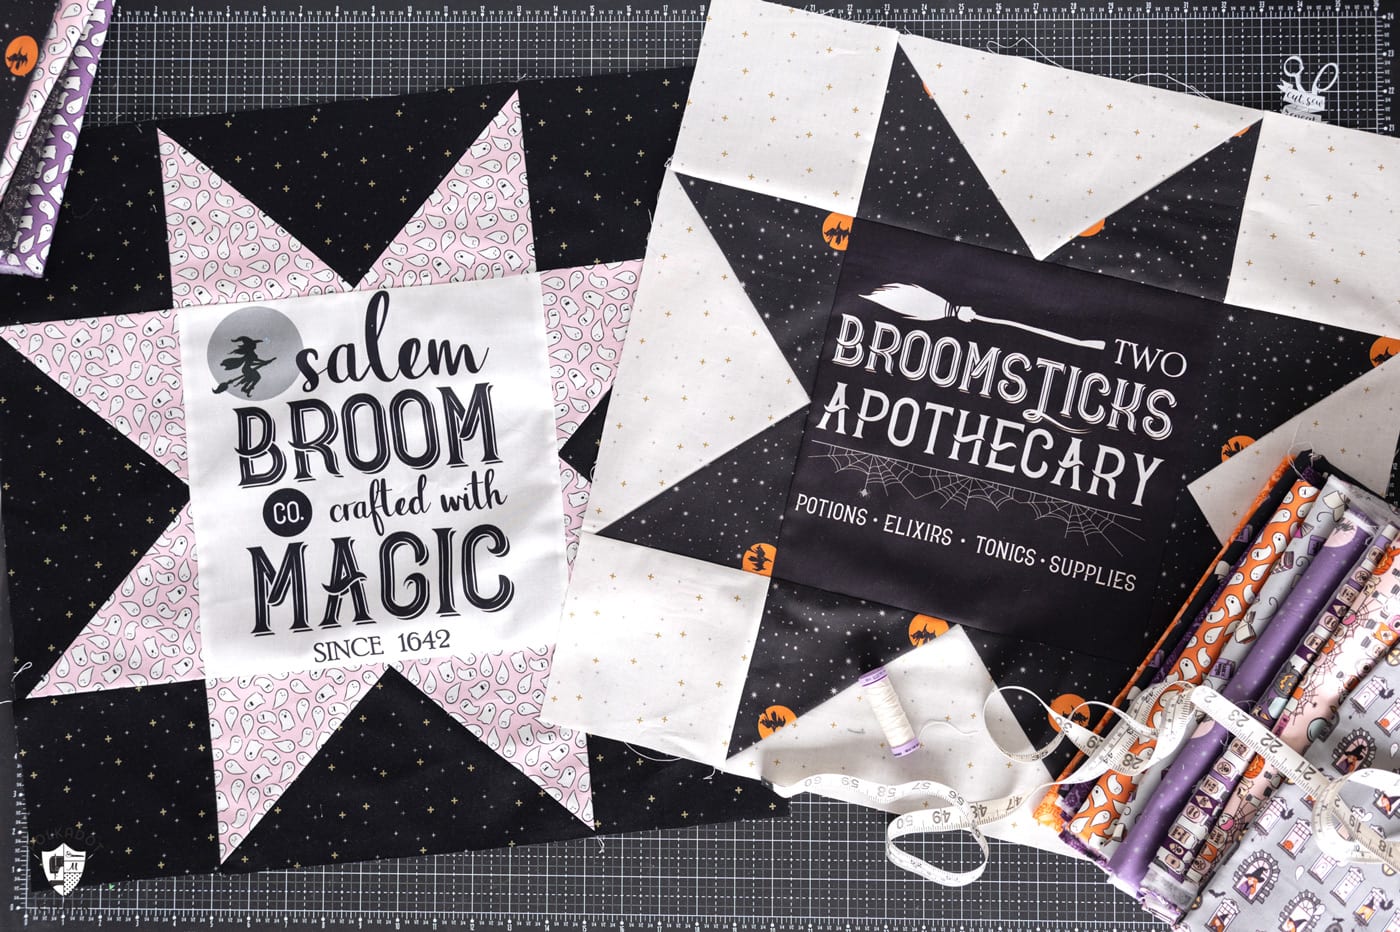
A Sawtooth Star block is a classic, traditional quilt block pattern. This block gets its name from the central star shape, surrounded by “sawtooth” or “serrated” triangles that give it a distinctive look.
It’s a popular choice in quilting due to its versatility and the ability to create unique designs when multiple Sawtooth Star blocks are combined. You can also vary the shapes and fabrics in the center of the block for even more visual interest. This block is a great one to use if you are showing off novelty fabrics or want to fussy cut the large center square of the block.
How to Make Four at a Time Flying Geese
This sawtooth star quilt block is created using squares and four flying geese quilt blocks.

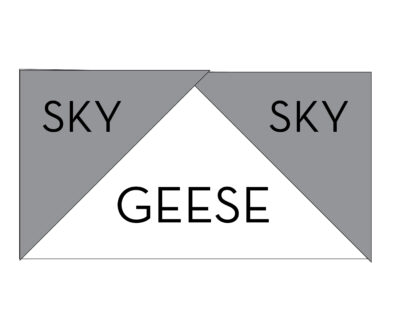
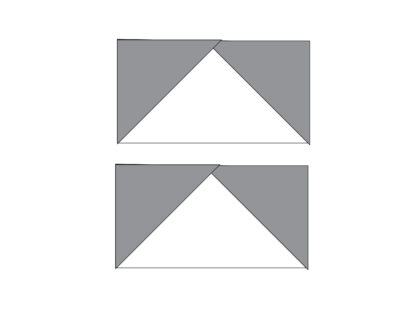
A Flying Geese block is a popular and versatile quilt block pattern used in patchwork and quilting. It is named after its resemblance to a flock of flying geese in formation when multiple blocks are arranged together.
The block consists of a large triangle (the “geese”) and two smaller triangles (the “sky”) on either side. The geese are typically twice as tall as they are wide, and the sky triangles are usually half the size of the geese.
Instructions
Giant Sawtooth Star Quilted Pillows
Equipment
supplies
- 1 piece Fabric Panel Spooky Schoolhouse Fabric OR one 10 1/2” x 10 1/2” piece of novelty fabric
- 1 Fat Quatrer for the Goose portions of the block I used Sparkler Fabrics
- 1 Fat Quarter Fat Quarter for the Sky portions of the block
- 1/2 Yard Fabric for Pillow Back may need extra if your fabric is directional
- 1 piece Batting at least 21” x 21”
- 1 Piece of Fabric for the back of the quilted portion of the pillow; at least 21” x 21”
- 1 20” Pillow Form
Instructions
Notes:
- Pillow Measures 20” x 20” when finished. All seams are 1/4” unless otherwise noted.
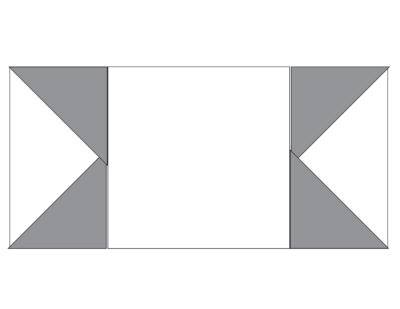
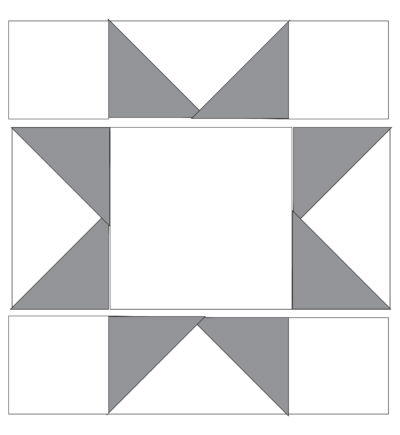
- The directions in this pattern refer to the SKY pieces and the GEESE pieces. Please refer to this diagram if you get confused about which. Generally, the GEESE pieces are the same fabric as the background fabric of the quilt or quilt block.

Cutting:
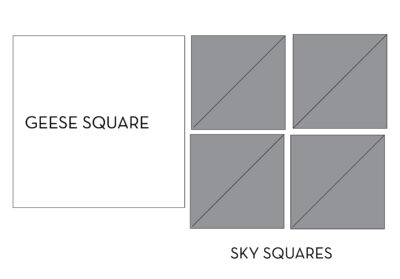
- From Sky Fabric: 4 pieces 6” x 6” From Goose Fabric: 1 piece 11 1/4” x 11 1/4” From Center Fabric: 1 10 1/2” x 10 1/2” From Goose Fabric: 4 pieces 5 1/2” x 5 1/2”For Envelope Pillow Back Cut: 2 pieces each 20 1/2” x 14”For Zipper Pillow Back Cut: 2 pieces each 10 1/2” x 20 1/2”
Step One: Create the Flying Geese Blocks
- Using this method, you will create four flying geese blocks for your sawtooth star quilt block.
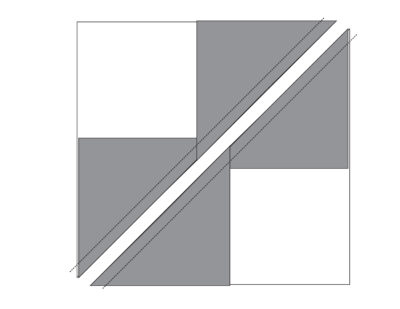
- Draw a diagonal line on the wrong side of all four of your 6” x 6” sky fabric pieces.

- Layer two of these pieces on the top of your large geese square, as shown in the diagram. The right sides of the fabrics should be facing.
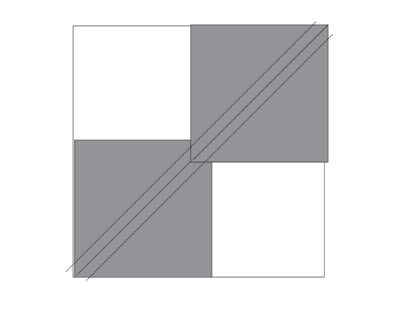
- Sew 1/4” on the outside of the line you drew on both sides.
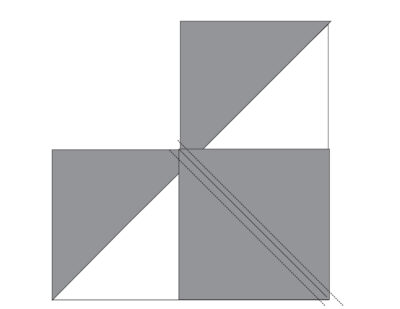
- Cut apart along the line. You now have two units.Flip the sky fabric right side up and press.
- Place one of the remaining 6” x 6” sky squares on one of these units as shown. Right sides facing. Stitch 1/4” on each side of the drawn line.
- Cut apart along the line.
- Repeat with the remaining unit and the remaining 6” x 6” fabric piece.
- Trim and square up all four units to 5 1/2” x 10 1/2”
Step Two: Assemble the Quilt Block
- Sew one flying geese unit to each side of the 10 1/2” square center fabric piece.
- Sew one 5 1/2” x 5 1/2” square to each side of the remaining flying geese blocks.

- Sew these units to the top and bottom of the unit created in step 1.

Step Three: Create the Pillow
- Layer a piece of scrap fabric, batting, and the sewn block together to make a quilt sandwich.
Finishing:
- To finish the pillow, you can create either an envelope back or a zippered back. I added a zipper back to mine, but use whichever method you feel most comfortable with.To create the envelope back on the pillow, turn under one 20 1/2" side of each of your 14" x 20 1/2" pieces of pillow back fabric, 1/2", and press. Sew along the pressed line. To create the zipper back pillow, sew the zipper to the two 10 1/2" x 20 1/2" pieces of pillow back fabric.
- Cut two pieces of binding fabric 2 1/2” x WOF. Sew these pieces together and press in half, with the wrong sides facing lengthwise.
- Layer the quilted pillow front and the pillow back pieces on top of each other, with the wrong sides facing. Pin or clip in place.

- Baste around the outside of the pillow to secure all layers in place.

- Sew the binding to the pillow front using the same method that you use for binding a quilt (check out our quilt binding tutorial if you need help).