DIY Laptop Sleeve | Free Sewing Pattern for a Padded Laptop Case
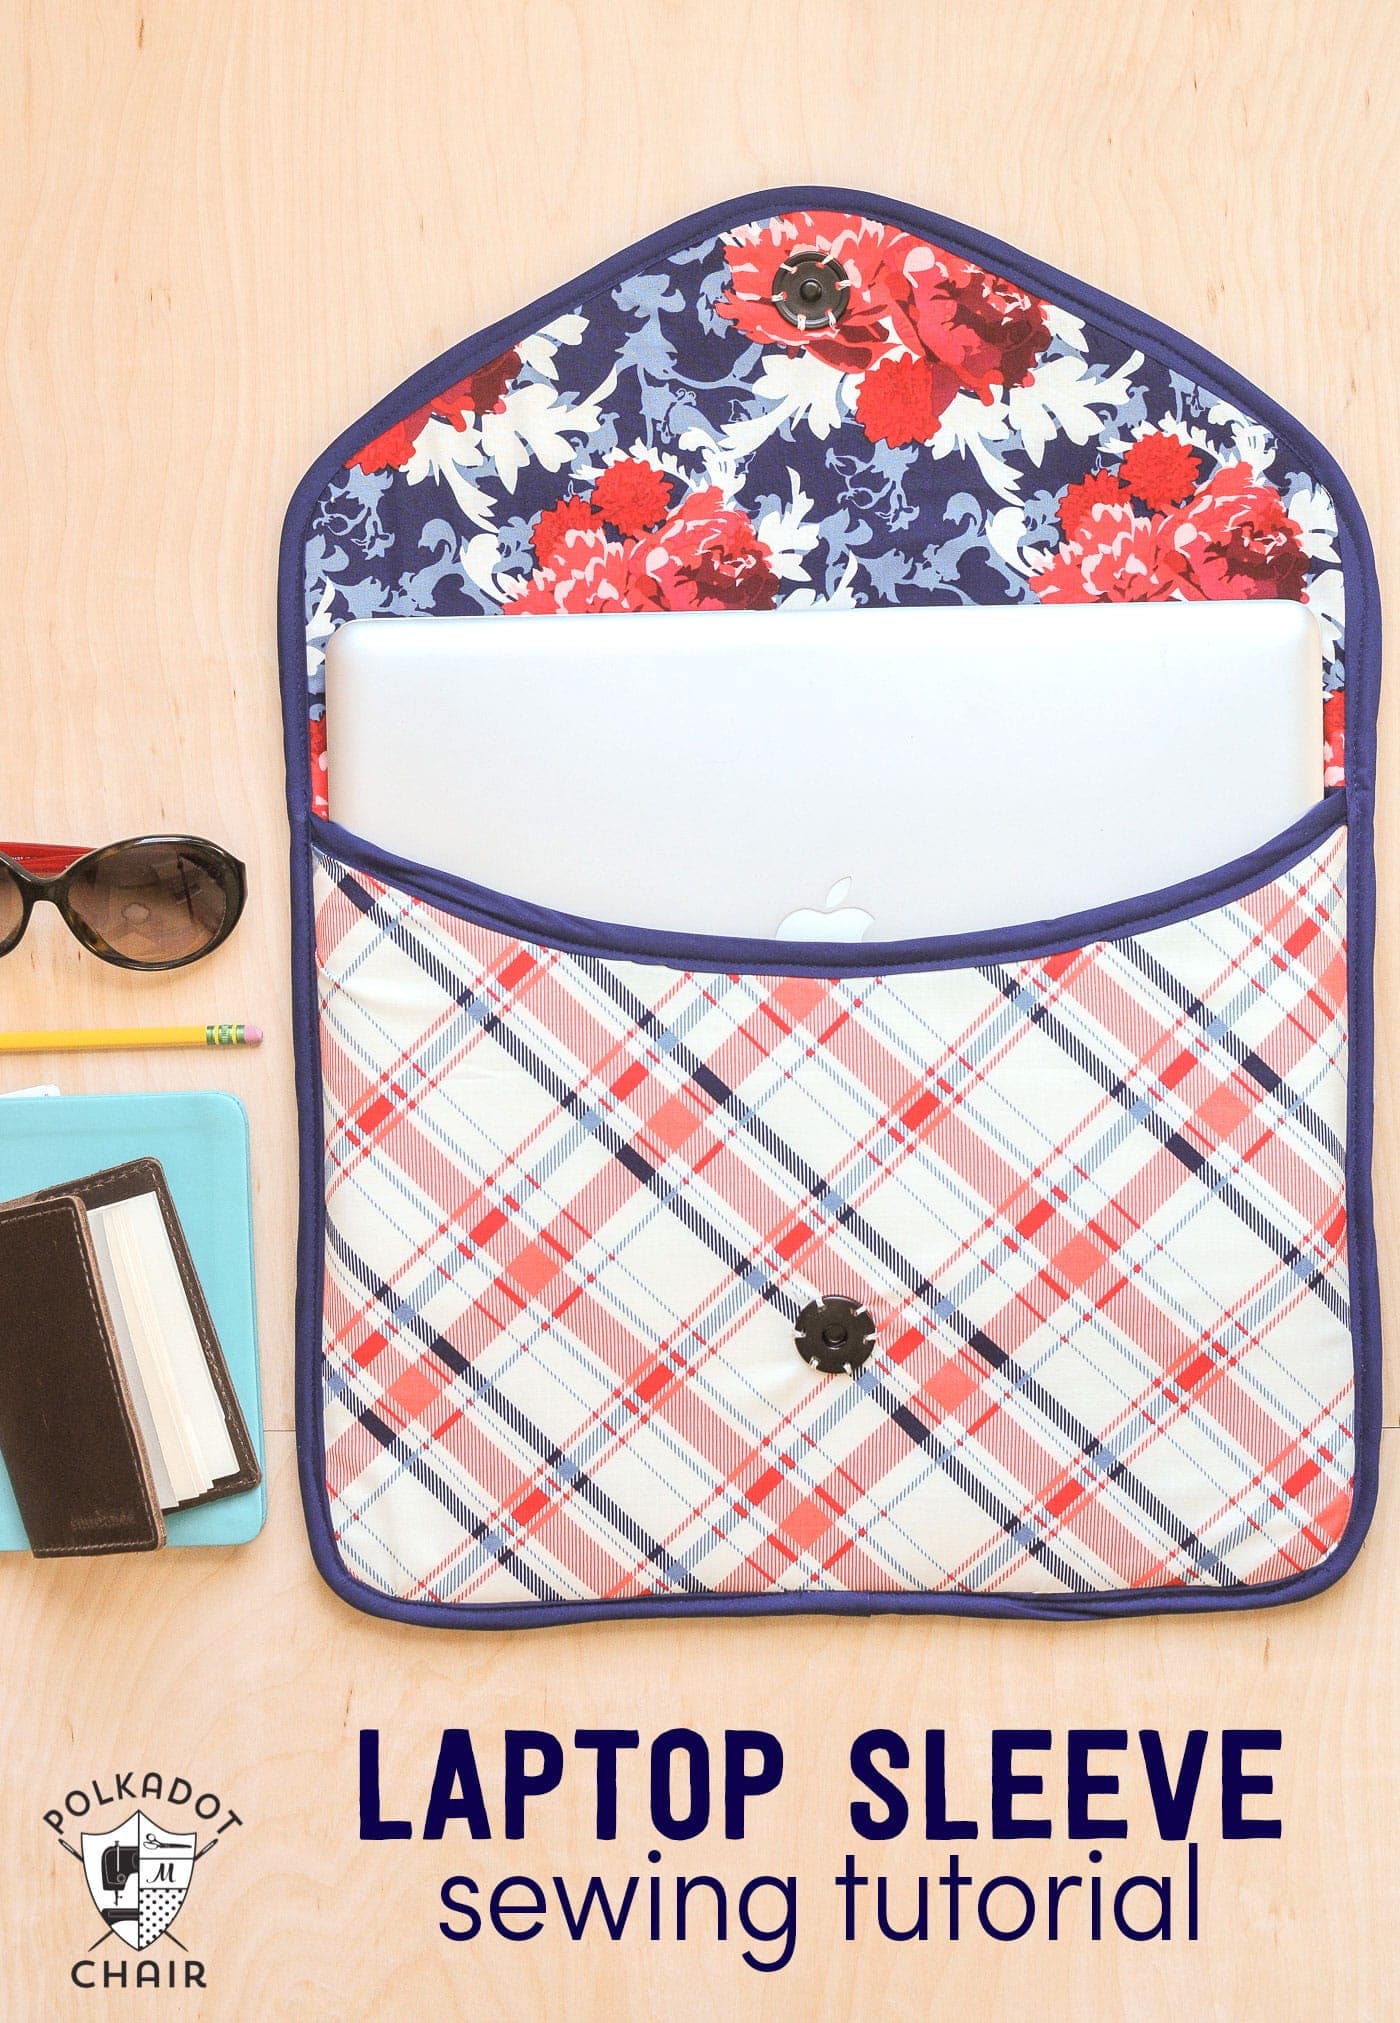
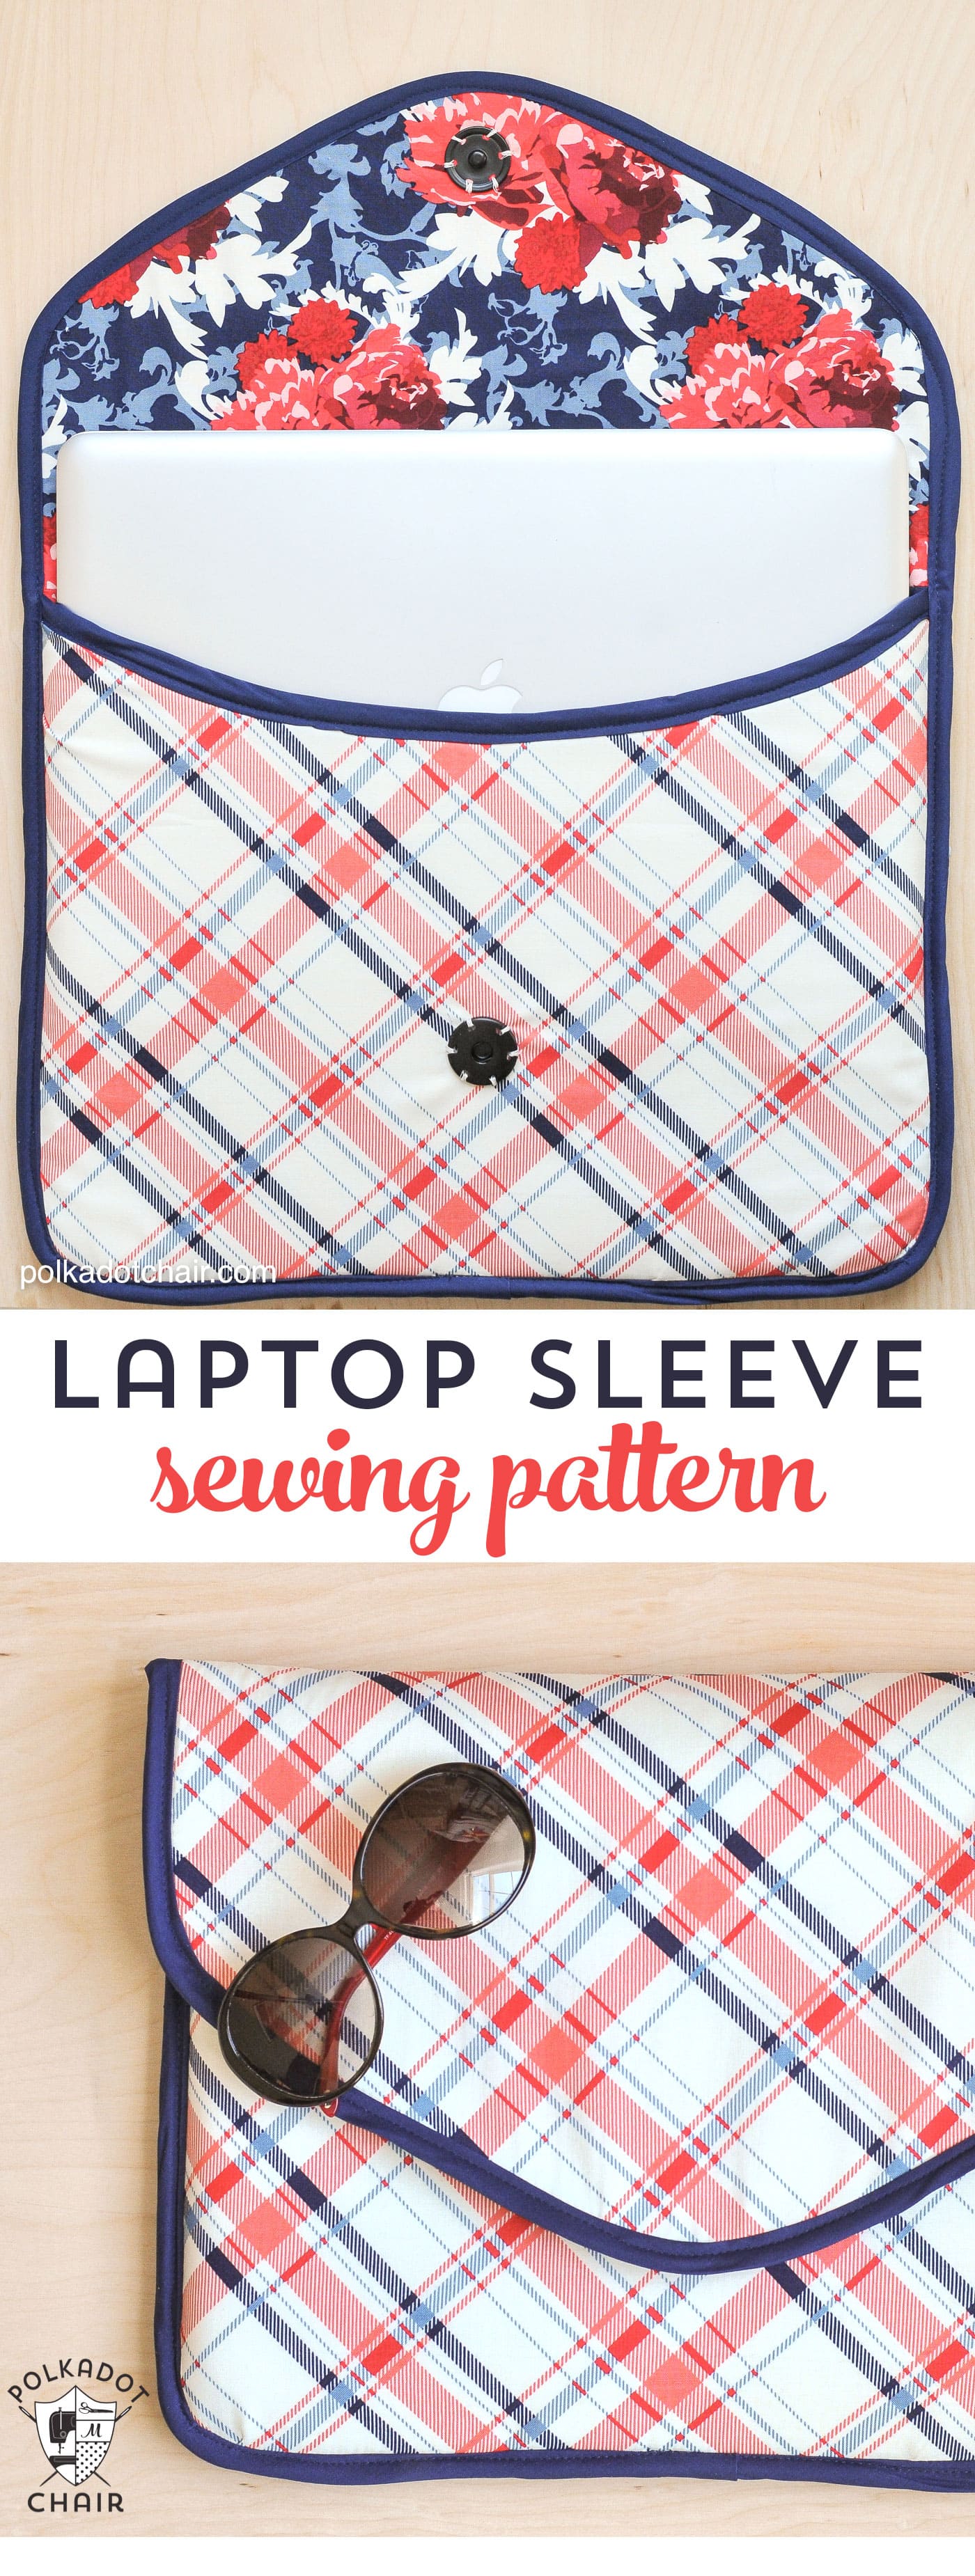
Make your own DIY Laptop Sleeve Clutch with this easy, step-by-step sewing tutorial from Polka Dot Chair! This free padded laptop case sewing pattern is ideal for creating a stylish sleeve that fits a 15″ MacBook Pro (and can be resized to fit other laptops as well).
Using your favorite cotton fabrics and simple materials such as foam batting and double-fold bias tape, you’ll learn to cut, assemble, and finish a sturdy clutch that doubles as a fashionable accessory, with clear instructions ideal for beginners and intermediate sewists alike.
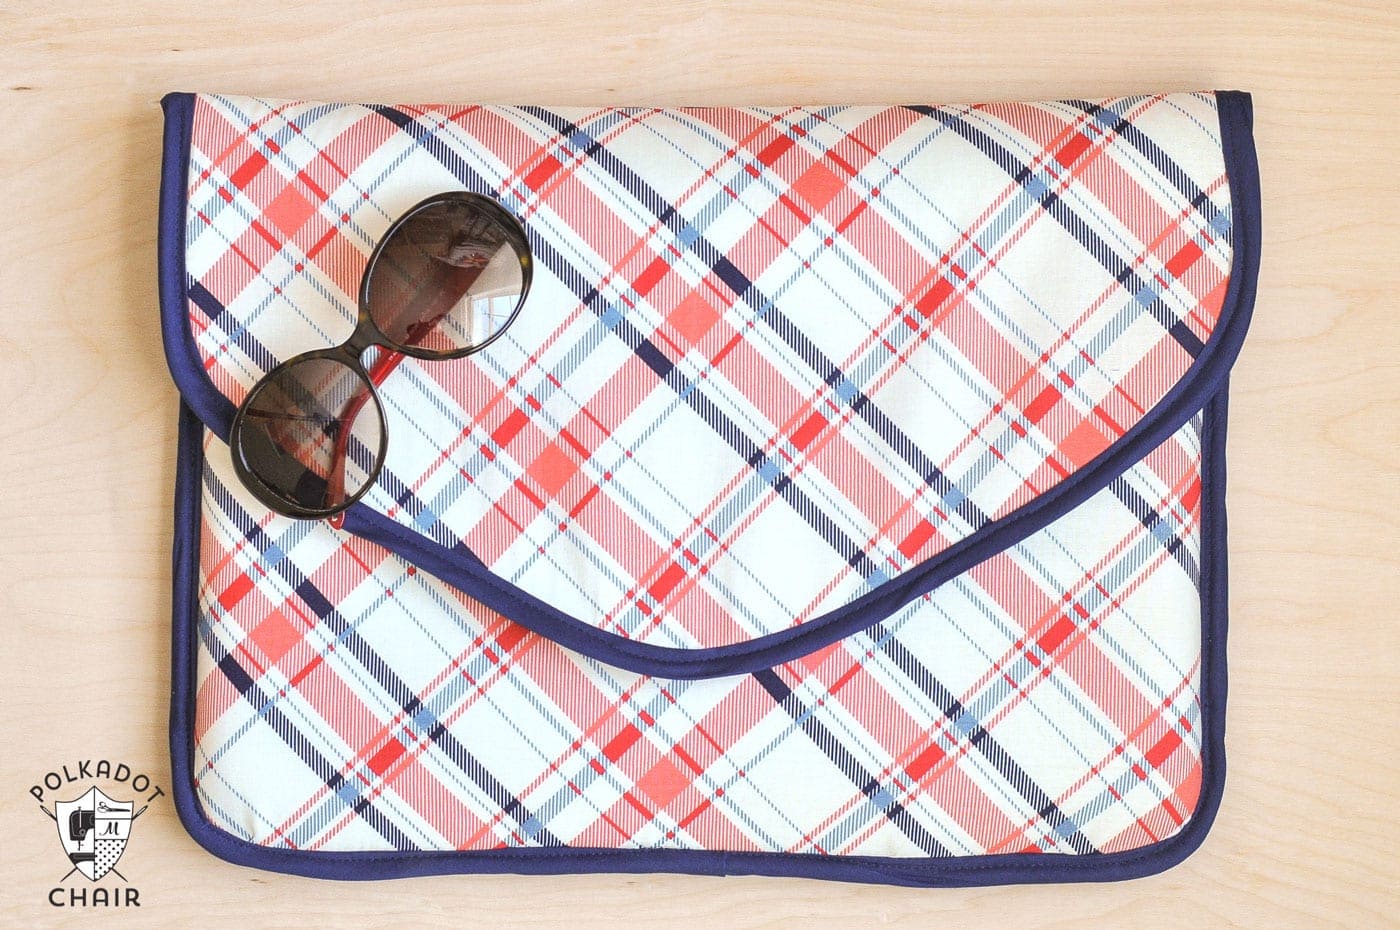
Whether you’re sewing one for yourself or as a handmade gift, this tutorial shows you how to customize fabrics, add a secure snap closure, and create a polished finish that you’ll love carrying everywhere.
If you like this project you may also like
Padded Tablet Case Sewing Pattern
The Busy Day Tablet case is a lined, padded tablet case that is perfect for storing your favorite iPad or Tablet.
It features a small back pocket to hold your Apple Pencil, Stylus or Headphones. The case pattern comes in 3 sizes which are designed to fit a variety of tablet styles and sizes.
Today I’m going to share with you how to make this DIY Laptop Sleeve Clutch! It’s padded to make it extra sturdy and straightforward to sew. You can prepare one in an hour or so.
How to Get the Pattern Piece for the Laptop Sleeve
For this project, you will need a pattern piece for the flap of the bag. Fill out this form, and we will email you the pattern piece for the flap. Please note that the download is just for the pattern piece, not the entire pattern.
DIY Laptop Sleeve Clutch
Equipment
supplies
- 1 yard fabric for sleeve outside
- 1 yard fabric for sleeve lining
- 1 yard 1/4” wide foam such as Auto Liner foam, Flex Foam, Boasal Foam, or Soft n Stable
- 1 Large Snap sew on
- 1 package of double-fold bias tape
- Thread to match
- Binding Clips recommended
Instructions
Cutting:
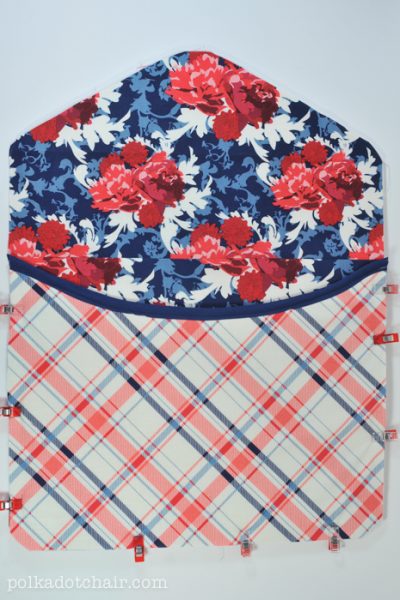
- 2 pieces 16” x 12” from outside sleeve fabric1 piece outside fabric from the flap pattern piece – fill out the form on this page to get the pattern piece. 2 pieces 16” x 12” from lining sleeve fabric1 piece of lining from the flap pattern piece
- On one of the 16”x12” outside AND lining pieces, cut a gentle curve along one of the 16” sides. These pieces will become the front pocket.

Assembly:
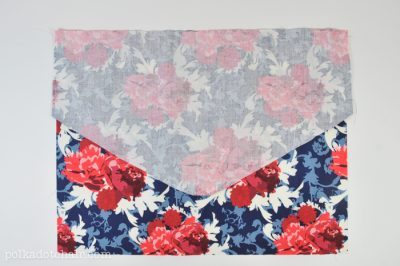
- Sew the flap to the 16” x 12” NON-CUT lining piece, right sides together. Press seams open. Repeat for outside fabric pieces.
- Open this piece and cut out a foam piece the same size as the entire sewn piece.
- Cut a piece of foam the same size as the 16” x 12” fabric that has the curve cut out (the pocket pieces).
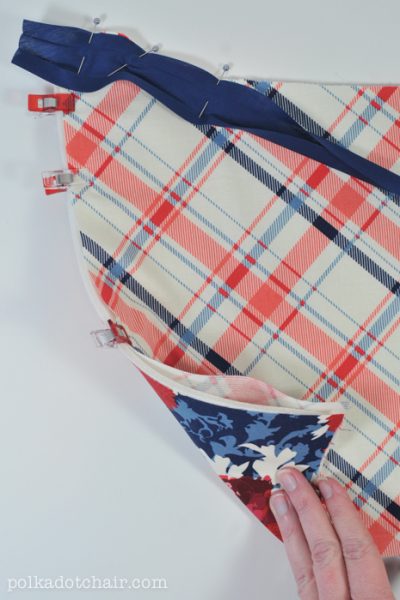
- Make a “sandwich” with the foam in the middle, and place the WRONG sides of the curved 16” x 12” case outside, with the lining pieces facing the foam. We’ll now call this the front pocket piece. The right sides of the fabric will be facing out. Use binding clips to hold the fabric in place. Make sure all layers are lined up and smooth.
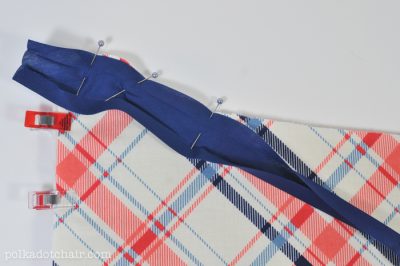
- Cut a piece of double-fold bias tape slightly longer than the curve you cut in the 16” x 12” piece.
- Open up the double-fold bias tape and with the right side of the bias tape facing the right side of the pocket “sandwich”, pin it to the fabric with the raw edges even.

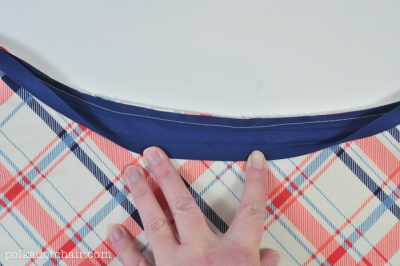
- Using a walking foot on your sewing machine, stitch the bias tape to the pocket close to the first fold in the bias tape (white thread used for contrast in the photos, but use thread that matches your bias tape).
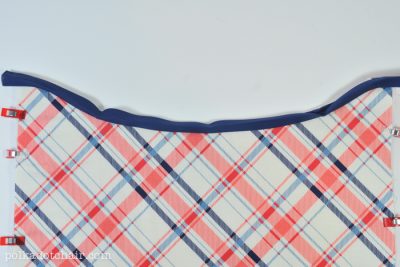
- Refold the bias tape and stitch it down.

- Make another “sandwich” with the sewn flap pieces and the large cut piece of foam. Right sides facing OUT. Secure with binding clips.
- Double-check that your pocket piece fits PERFECTLY on top of the foam sandwich of the sewn flap piece. If it’s not lined up or if one piece is larger than another, trim them all to the same size.
- Round the bottom corners of the pocket and sleeve pieces. You don’t want any 90-degree angles on the sleeve.
- Using a walking foot, stitch the pocket to the sleeve using a 1/4” seam.
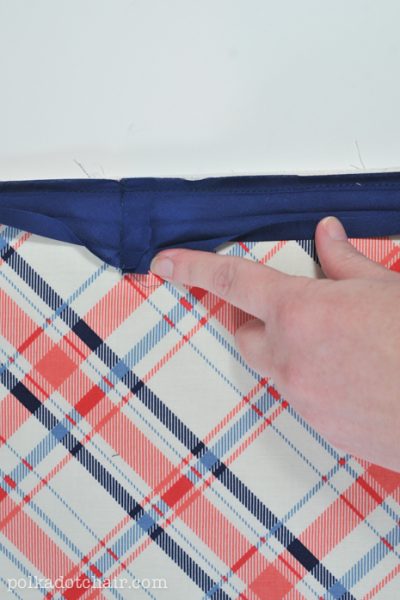
- Apply bias tape to the entire perimeter of the sleeve using the same method you used when sewing the bias to the pocket piece. You’ll need to match up the ends of the bias (do this the same way you would match binding strips on a quilt).

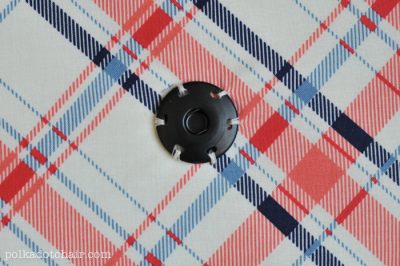
- Sew a large snap to the front of the sleeve and the wrong side of the flap, being careful not to stitch through all the layers of fabric.
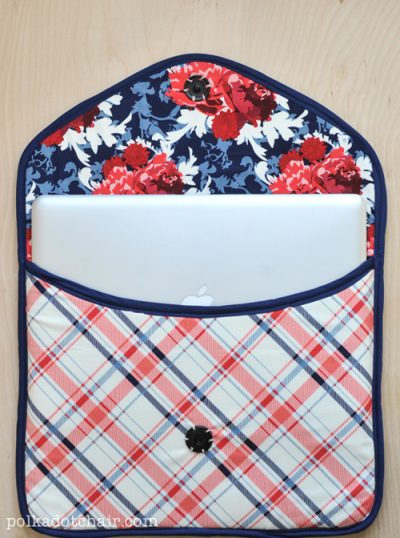
- You’re done!
You May Also Like: