How to Make a Sailboat Quilt Block Tote Bag
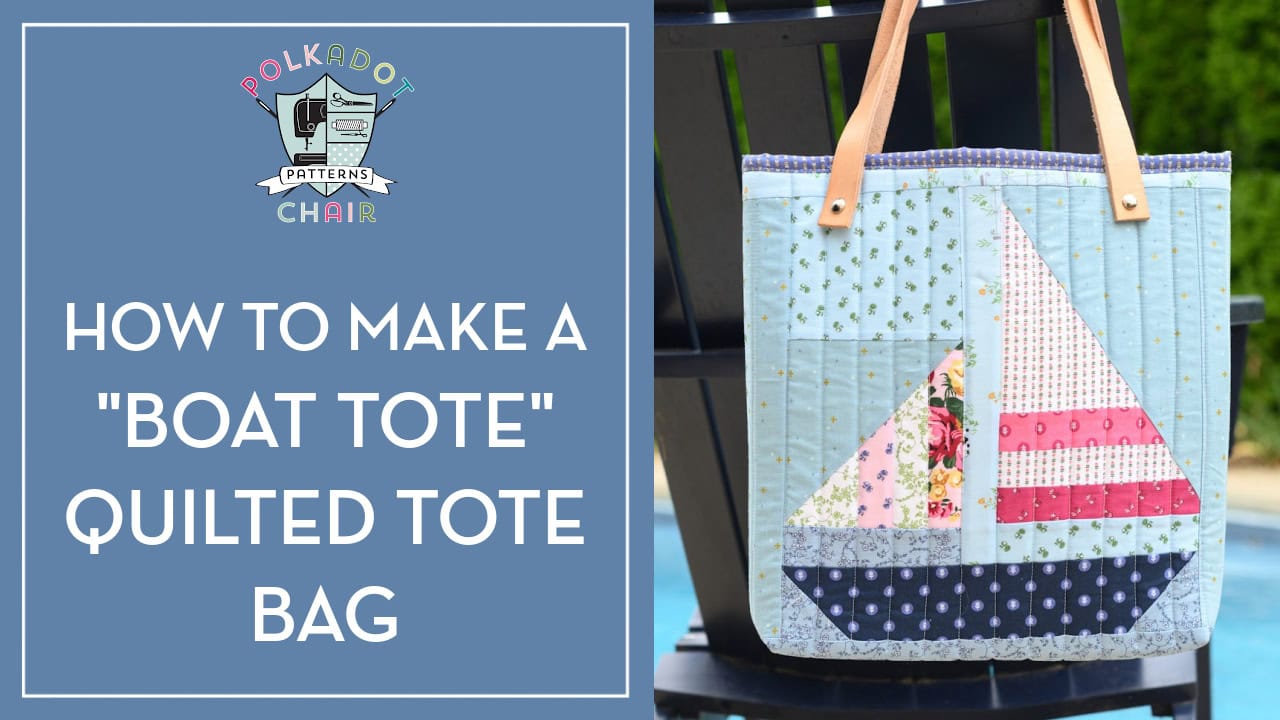
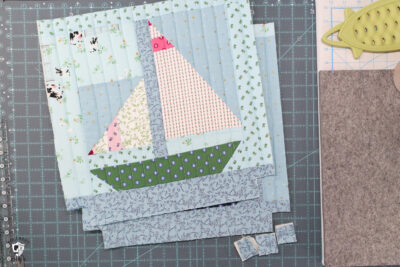
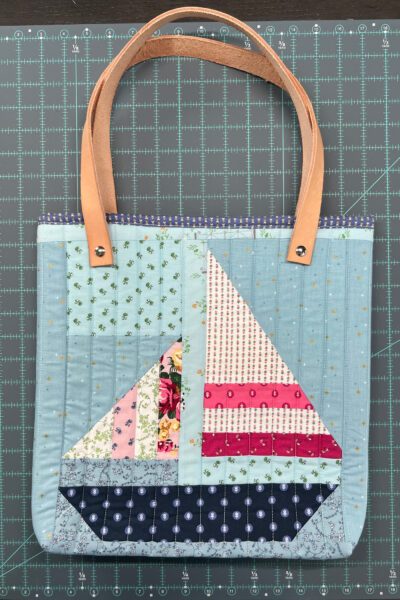
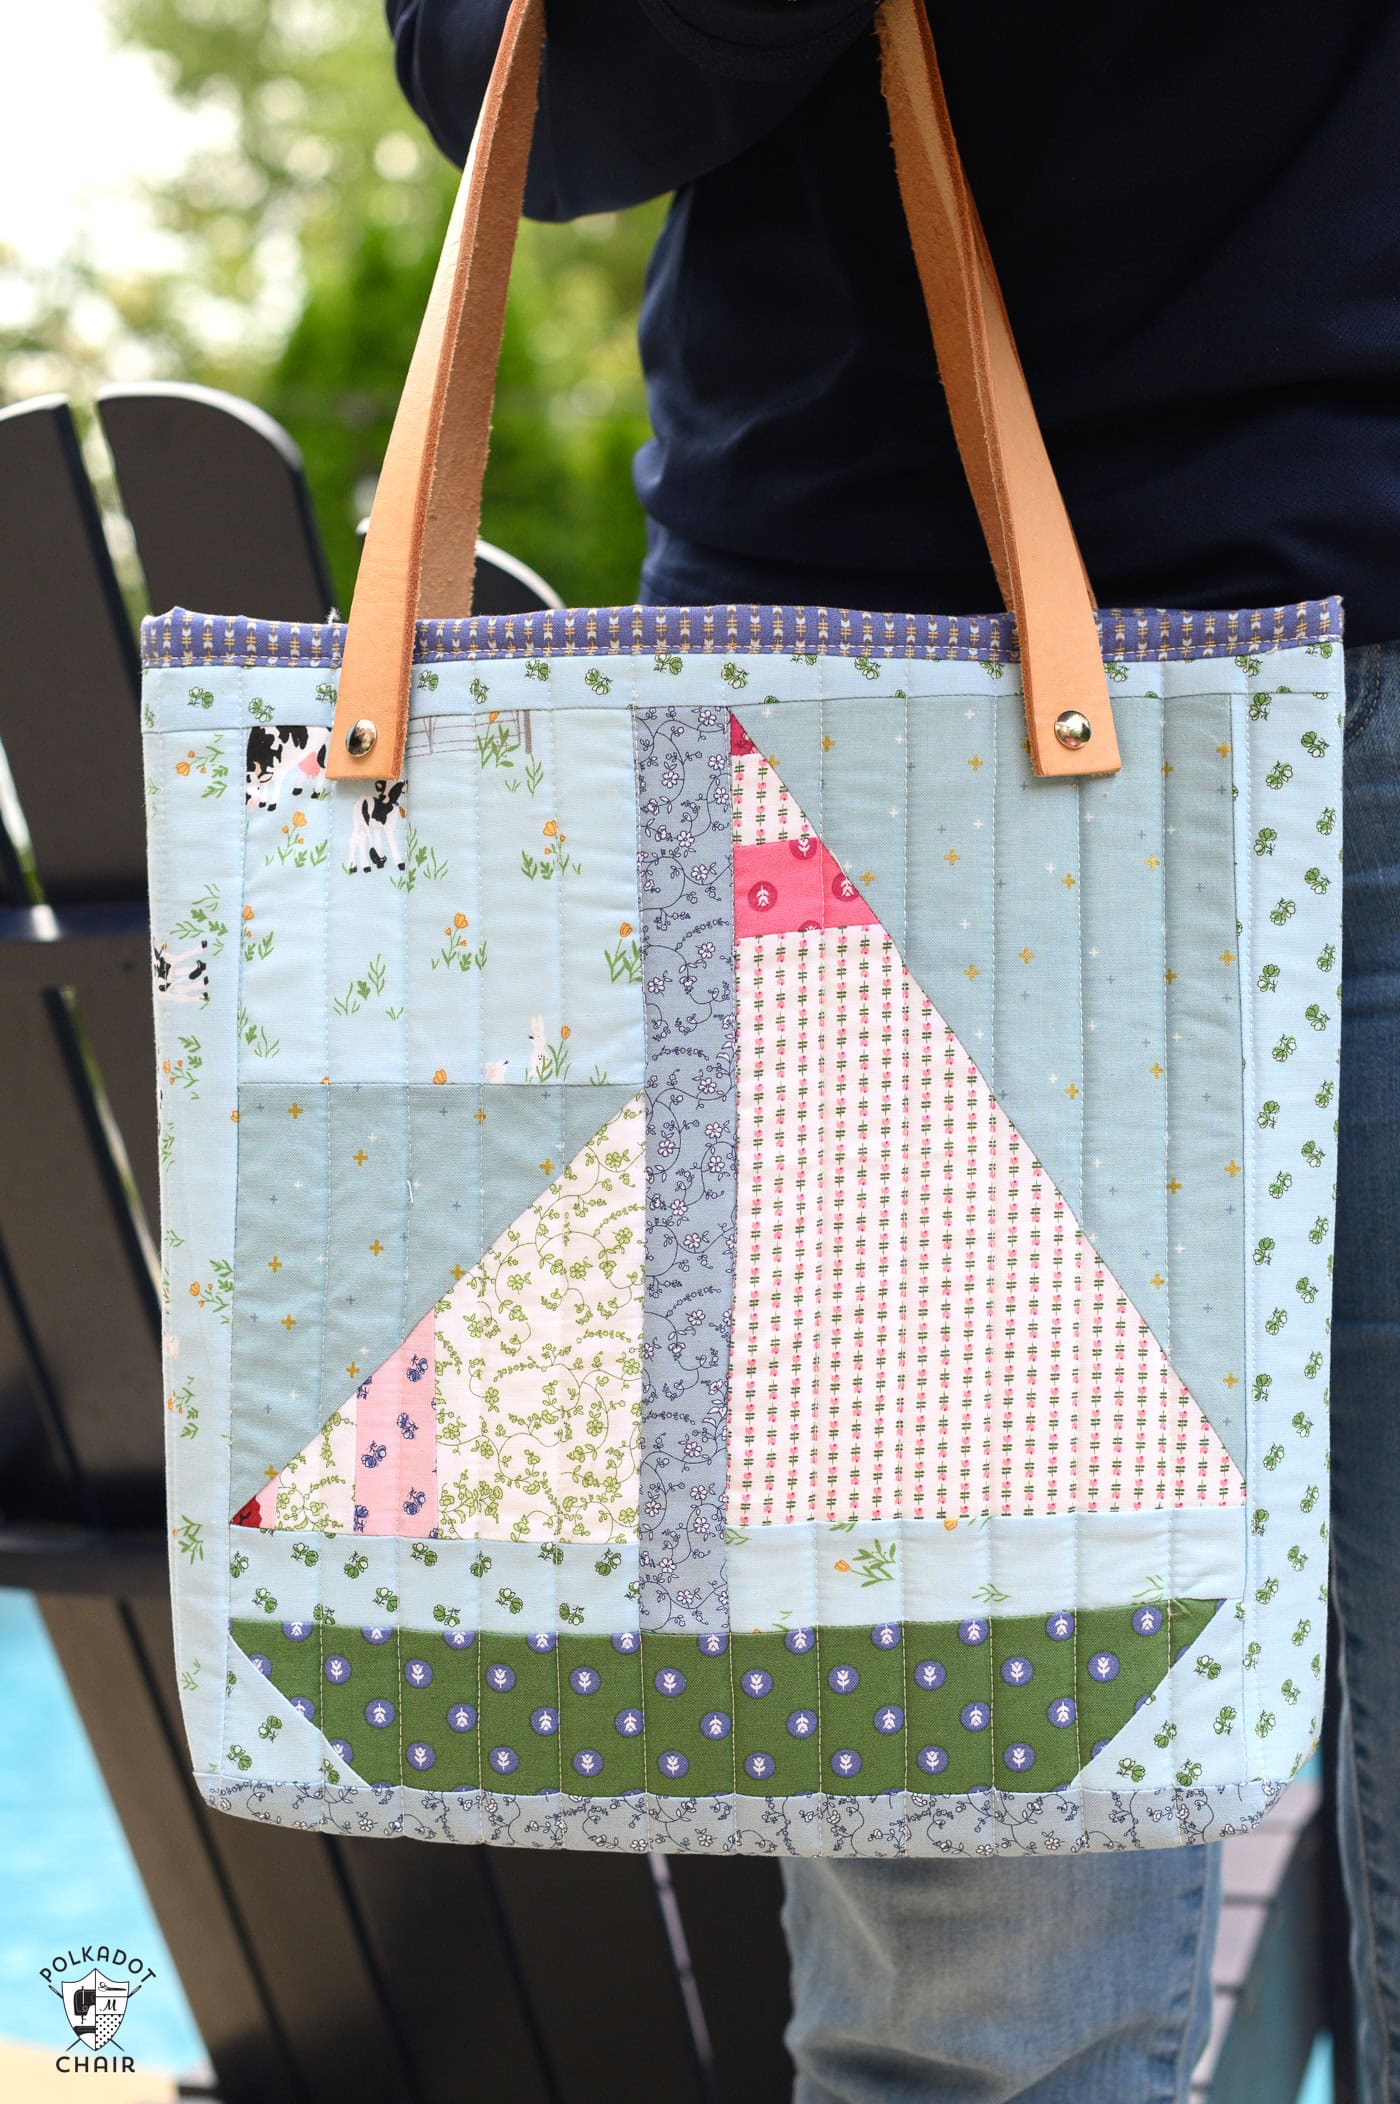
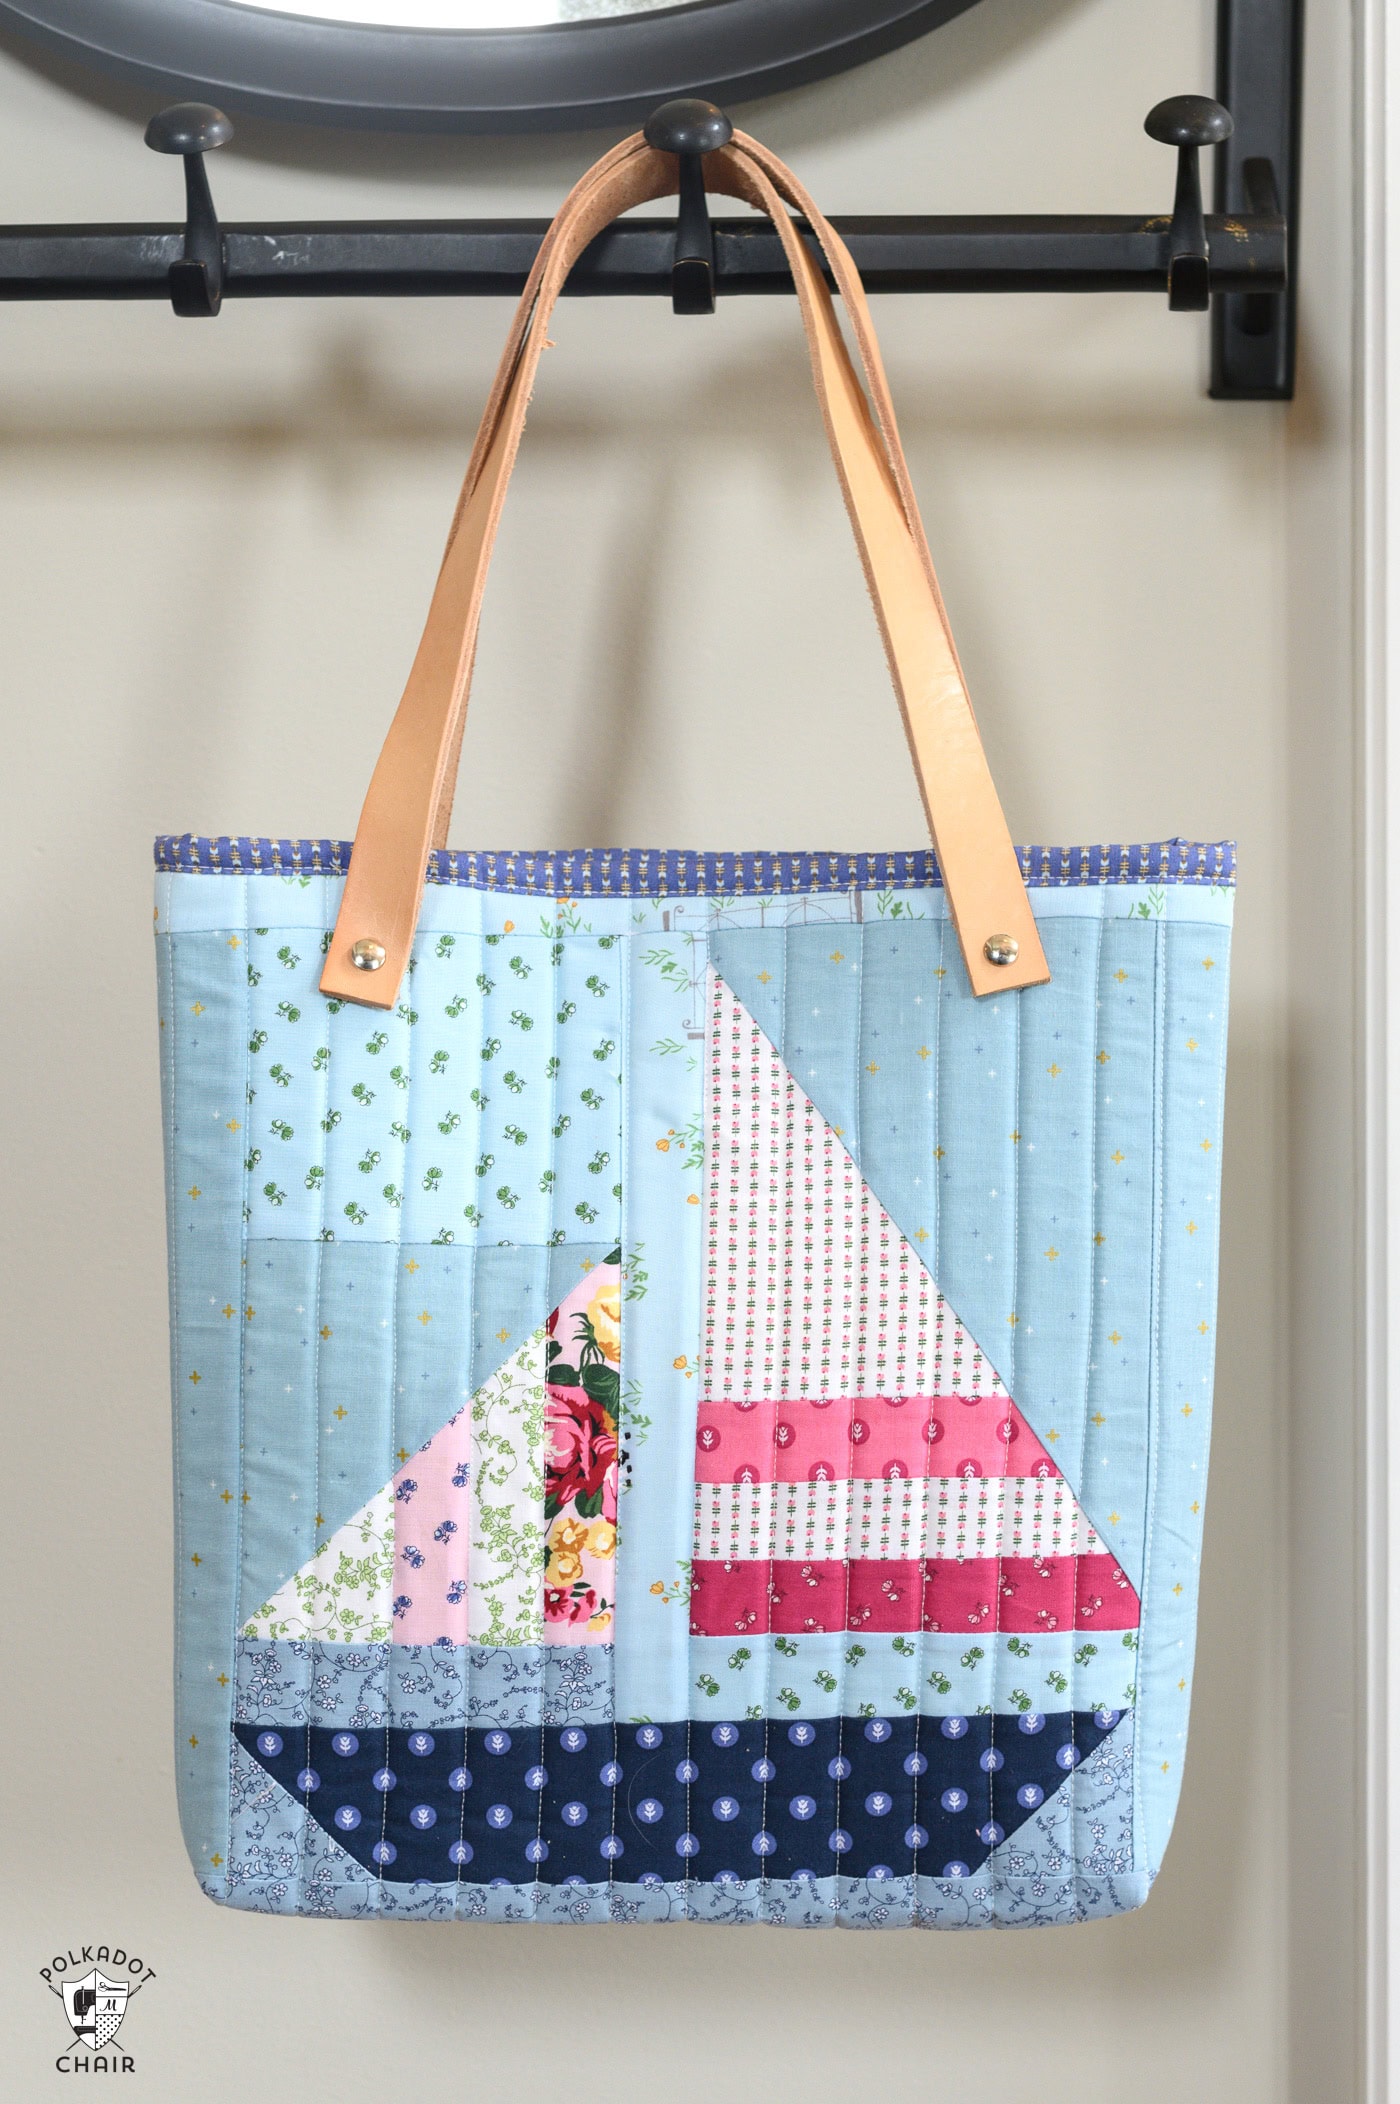
With our free boat tote quilted tote bag sewing pattern, you can learn how to make a charming quilted tote bag using two sailboat quilt blocks.
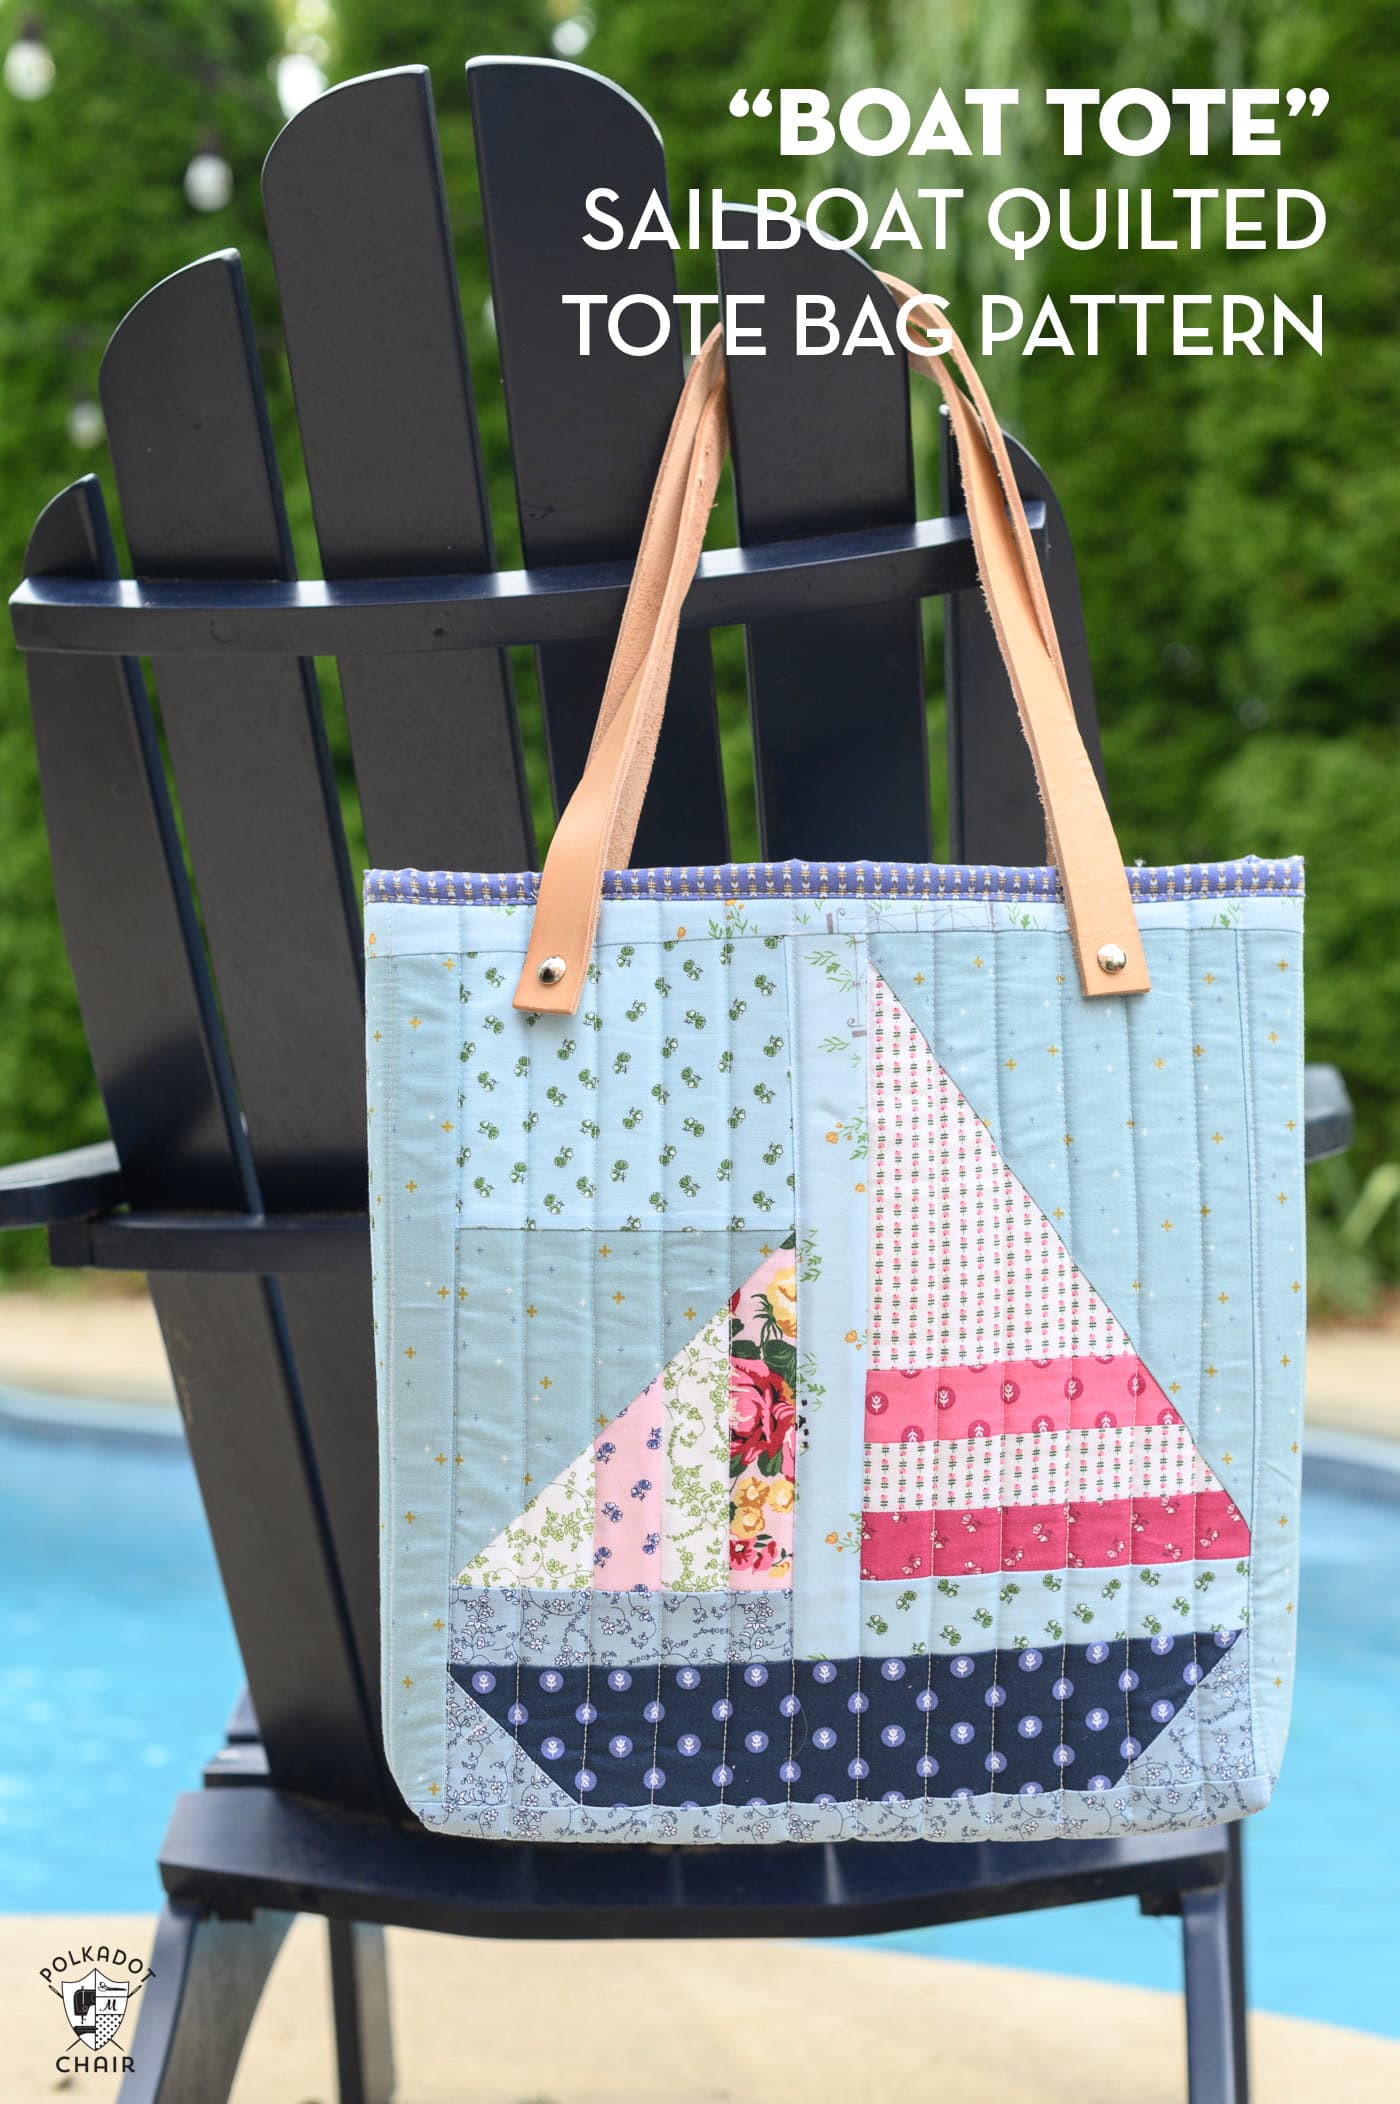
Have you ever had a quilt block left over from a quilt project that was just too cute not to use? I’ve been brainstorming projects to create with leftover (or orphan) quilt blocks this year. Over the years, I’ve accumulated several of these quilt blocks.
Personally, I think you can never have too many bags, so I decided to make a quilted tote bag using two leftover 12-inch quilt blocks.
About the Quilt Blocks
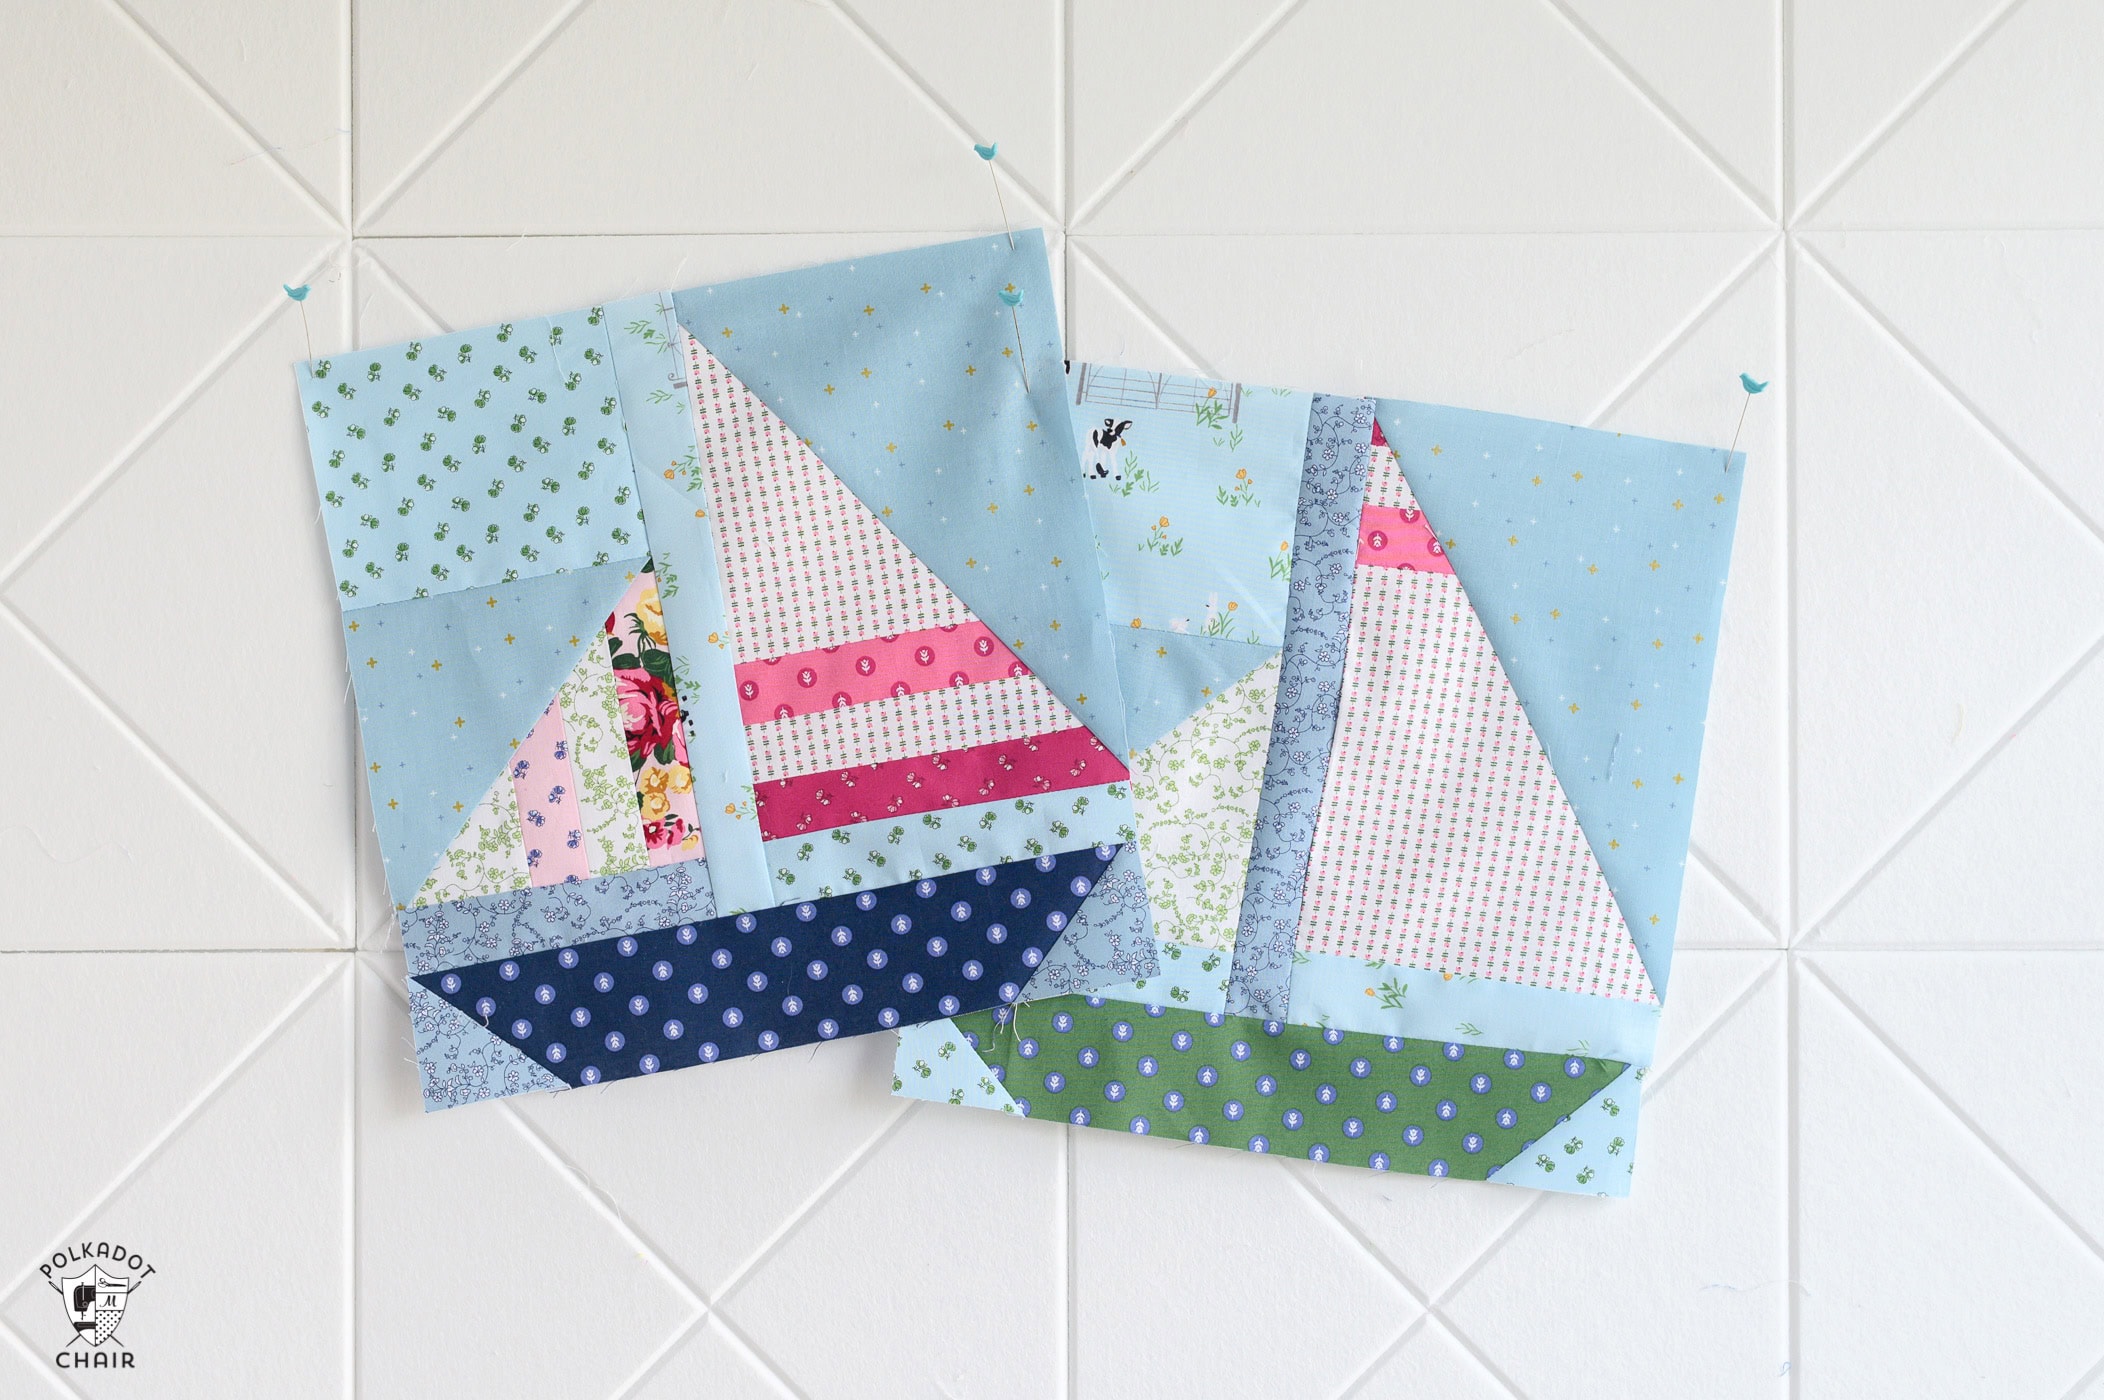
The quilt blocks used in this project are from the Summer Block Party. The block party is a summer quilt along hosted by myself and several other quilters.
How to Get the Sailboat Block Pattern
You can find the Stripey Sails Quilt block pattern for sale in our shop. You can also use any other 12″ quilt block for this pattern.
About the Fabric
I had a lot of Tulip Cottage fabric scraps left from my Riley Blake 2024 Quilt, so I created two scrappy quilt blocks from the leftover fabrics.
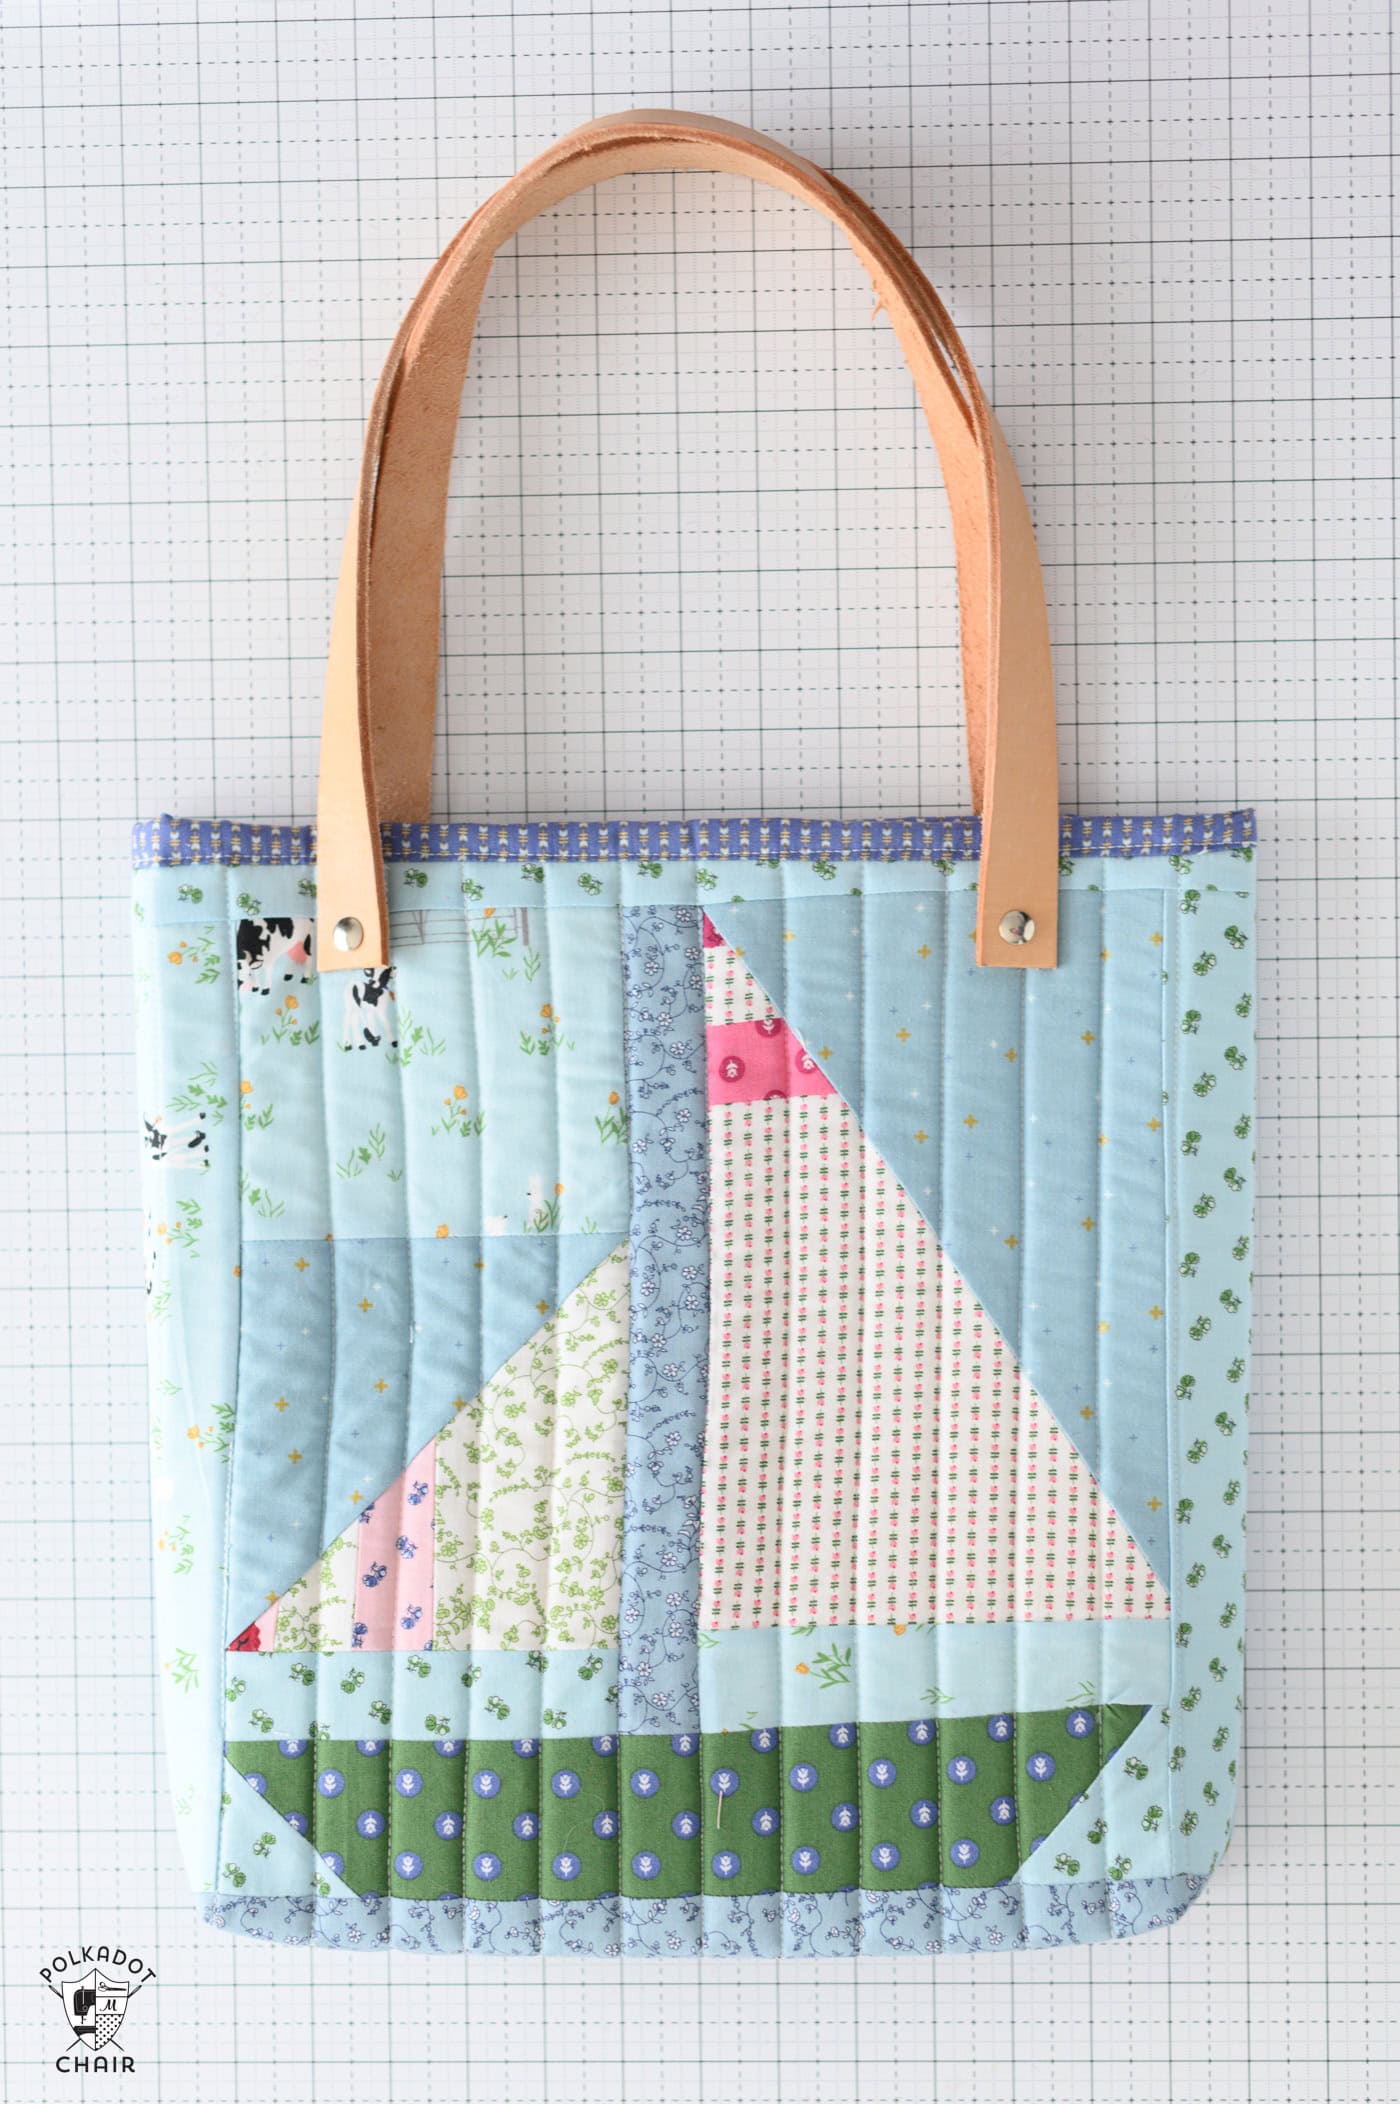
The boat’s sails are made from white and pink scraps, and the background fabric of the block is a variety of blues from the line.
I really love how this turned out, and honestly, want to make an entire quilt like this now!
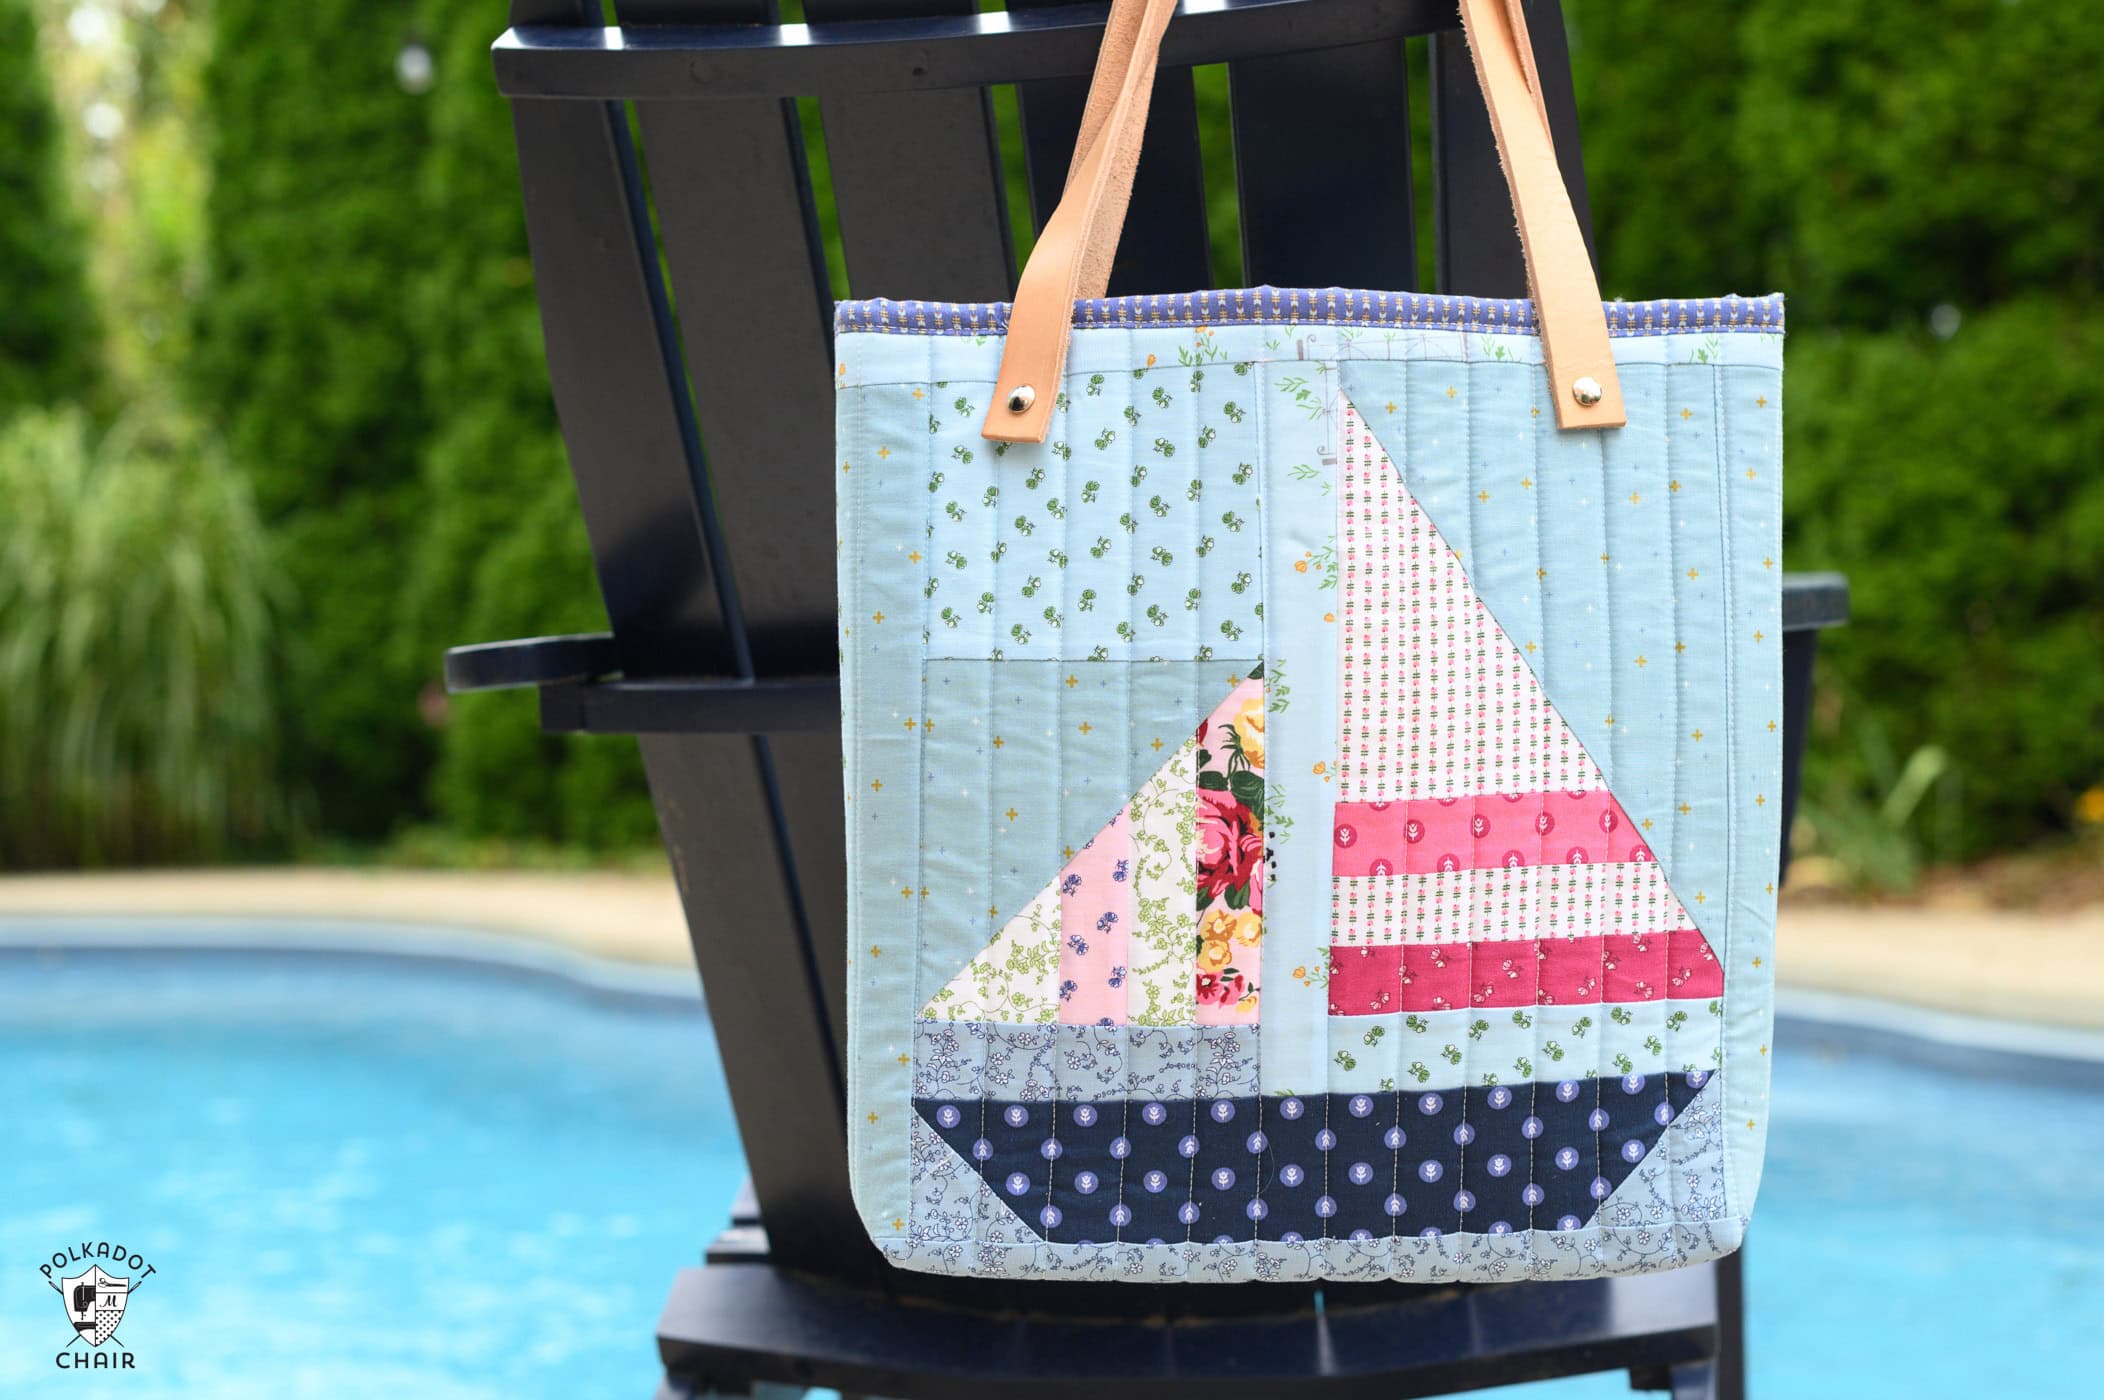
If you want to make a similar bag, you can use a Fat Quarter pack of Tulip Cottage fabric.
Bag Details
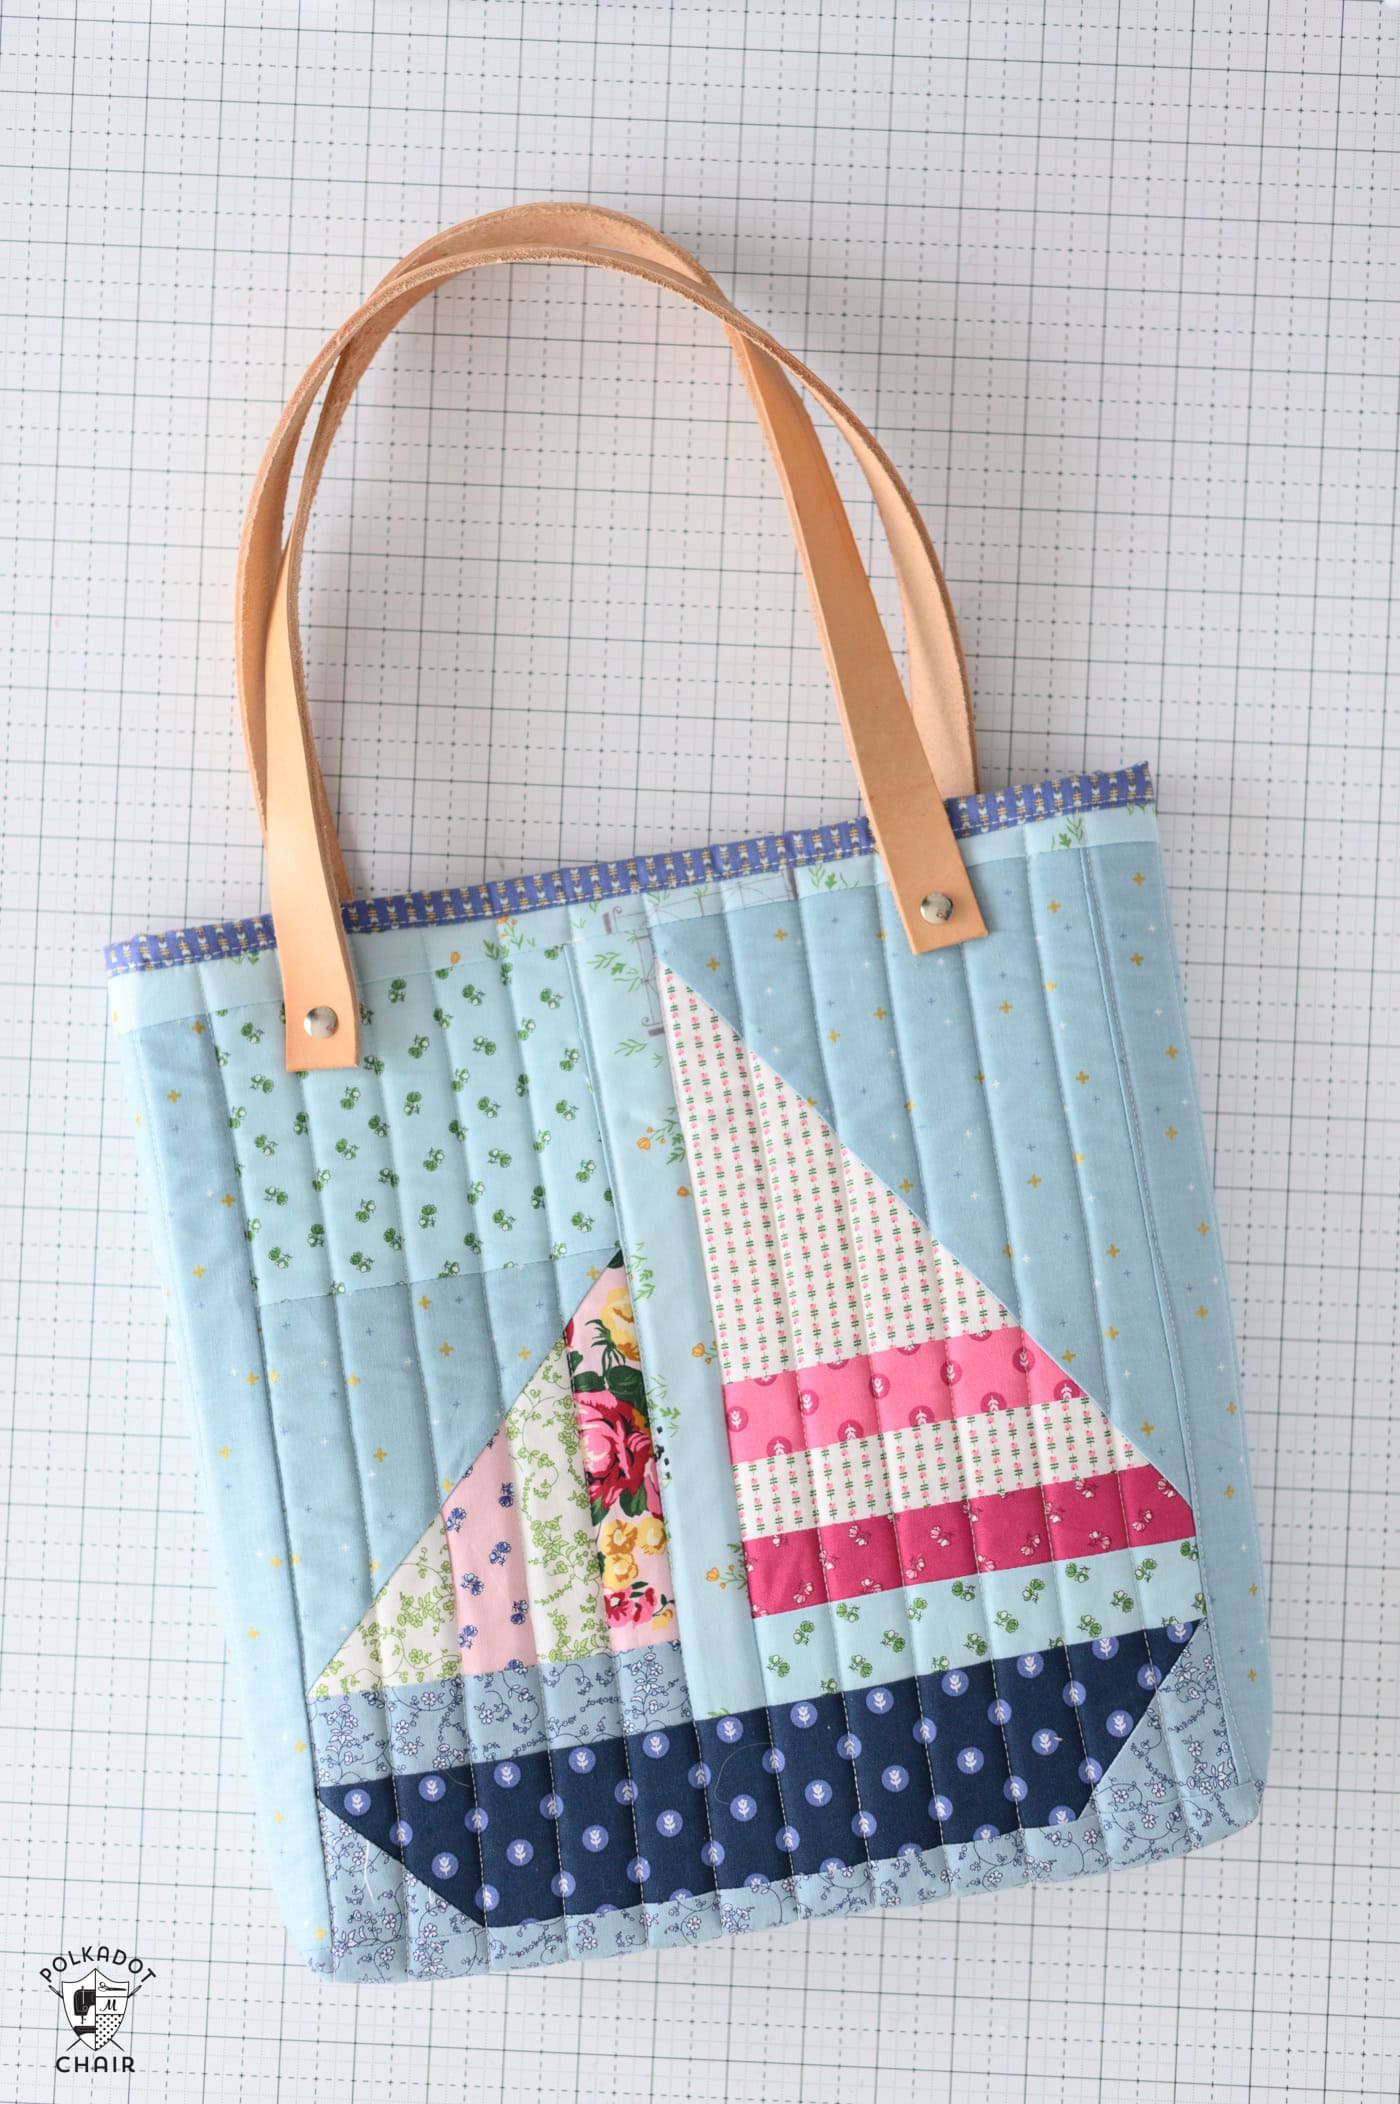
Supplies
- Cropadile or Leather Hole Punch and Hammer
- Fray Check
- 2 Completed 12-inch quilt blocks Note: the blocks are 12 1/2” x 12 1/2” before they are sewn into the bag. Blocks in example are constructed from Tulip Cottage Fabric.
- 4 Pieces Fabric 2 1/2” x 12 1/2” for Block Sashing
- 4 Pieces Fabric 2 1/2” x 16 1/2” for Block Sashing
- 1 yard Pellon Flex Foam or Annies Soft & Stable (at least 20″ wide)
- 1/2 yard (or two fat quarters) Fabric for Lining
- 1/4 yard fabric for Top Binding
- 4 Screw & Post “Chicago Screws”
- 1” wide Leather Strap called a belt blank 50” total
- 4 small pieces of Plastic Canvas
Sailboat Quilted Boat Tote Bag
Equipment
- Crop-a-Dile or Leather Hole Punch and Hammer
- Walking foot for Sewing Machine
supplies
- 2 quilt blocks Completed 12-inch quilt blocks Note: the blocks are 12 1/2” x 12 1/2” before they are sewn into the bag.
- 4 Pieces Fabric 2 1/2” x 12 1/2” for Block Sashing
- 4 Pieces Fabric 2 1/2” x 16 1/2” for Block Sashing
- 1 yard Pellon Flex Foam or Annies Soft & Stable
- 1/2 yard Fabric for Lining or two Fat Quarters
- 1/4 yard fabric for Top Binding
- 4 Screw & Post “Chicago Screws”
- 1 piece 1” wide Leather Strap called a belt blank 50” total
- 4 pieces Plastic Canvas at least 1" x 1"
Instructions
Step One: Add Sashing
- Sew one of the 2 1/2” x 12 1/2” sashing strips to both sides of one of the completed quilt blocks.
- Press the seams away from the block.
- Sew one of the 2 1/2” x 16 1/2” sashing strips to the top and bottom of the completed quilt blocks.
- Press the seams away from the block.
Step Two: Quilt
- Cut two pieces of Flex Foam to 18” x 18”
- Cut two pieces of Lining fabric to 18” x 18”
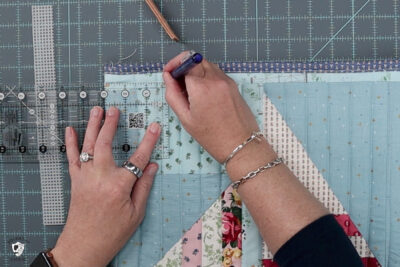
- Draw (or fold the fabric and press) a line down the center of the quilt block.
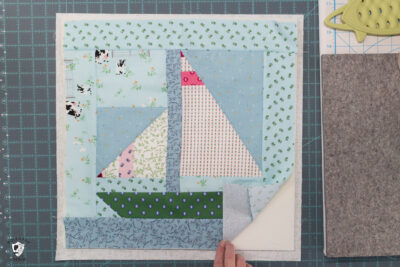
- Make a quilt sandwich with the lining fabric, flex foam, and quilt block. The fabric will be right-side out, with the flex foam between the two pieces.
- Secure in place with a few pins.
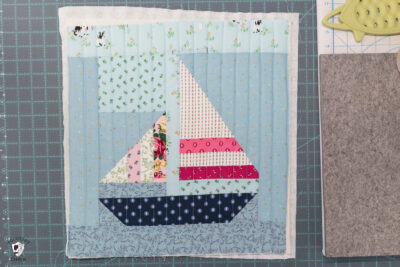
- With a walking foot and guide on your sewing machine, quilt straight lines on the pieces 1” apart until you’ve quilted the entire piece.
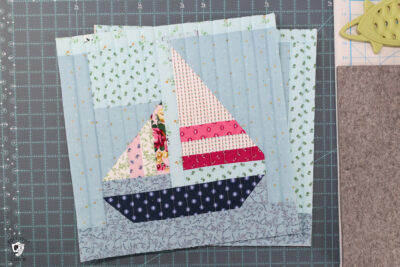
- Note: Quilting will reduce the overall size of the completed piece, it may also distort the block a bit. For this reason, trim and square up the completed piece to 15 1/2” x 15 1/2”.
Step Three: Side Seams
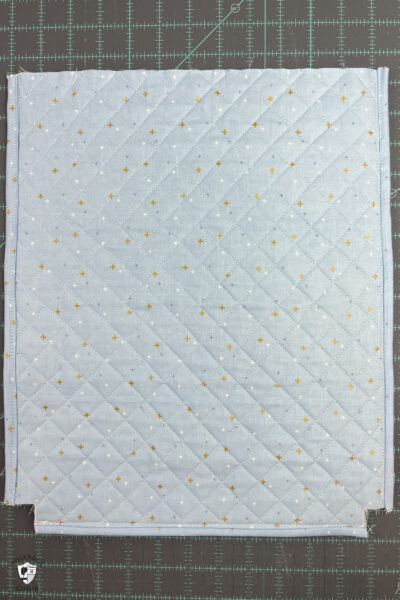
- Cut a 1 1/2” x 1 1/2” square from the bottom two corners of the quilted pieces.
- Place the two pieces on each other, right sides facing, and sew with a 3/8” seam allowance.
- Sew the two sides and the bottom of the bag but wait to sew in the corners.
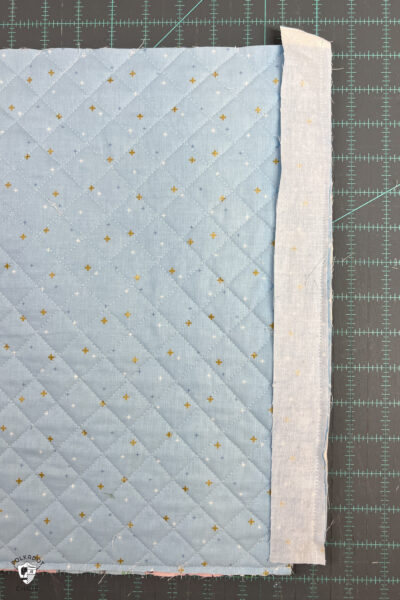
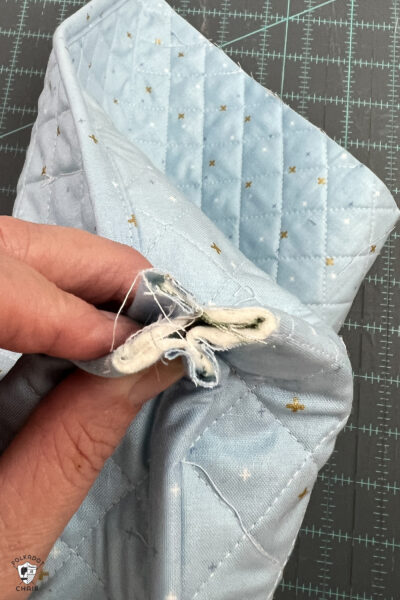
- Cut a piece of lining fabric 2” x WOF (width of fabric). This will be your seam binding.
- Place the 2” wide strip on top of the bag’s sewn side seam, right sides facing. Sew with a 3/8” seam allowance and trim away excess fabric.
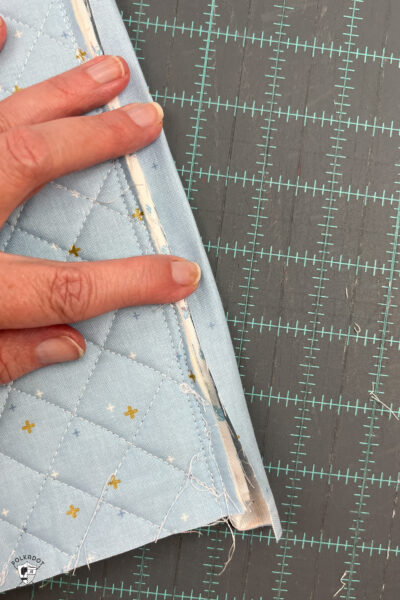
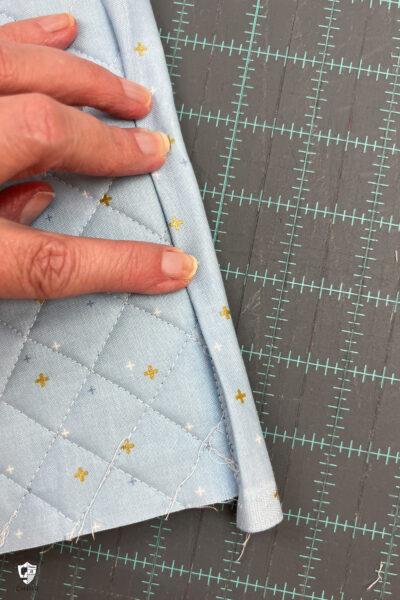
- Fold under the raw edge of the binding 1/4” and press. Keep folding until the binding covers the raw edge of the seam and the fold is even with the seam of the bag.
- Press in place and sew along the folded line.
- Repeat for the other side seam and the bottom of the bag.
Step Four: Corners
- Pinch the bottom corner of the bag so that the side and bottom seams are on top of each other and the raw edges of the bag are flush.
- Sew in place with a 3/8” seam allowance.
- Bind this seam the same way you bound the side seams above. This time make sure you turn under the raw edge of the binding 1/4” so you don’t have a raw edge.
- Repeat with the other bottom corner of the bag.
Step Five: Top
- Cut a piece of binding for the top of the bag 2” x 32”.
- Bind using the same method that you used to bind the side seams of the bag.
- TIP: Since this binding shows, you can use fabric-safe glue to secure the folded edge on the inside of the bag. This will keep the binding in place as you sew. You will also want to sew this binding in place with the outside of the bag facing up so you can see the stitching line.
Step Six: Handles
- Cut two pieces of 1” wide leather 25” each.
- TIP: Designate an older pair of sewing scissors as your “leather” scissors. They will be sharp enough to cut the leather. I used a Sharpie to write “leather” on my scissors, which I use just for leatherwork. You can also buy a set of leather scissors if you prefer.
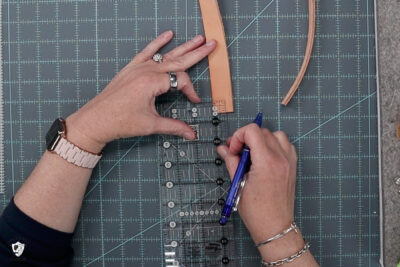
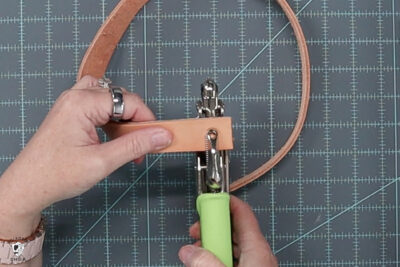
- Place a mark 1/2” in and 1/2” up at the ends of the leather straps. Using a crop a dile, punch a hole on the mark.
- Note: make sure your hole is the same size as the screw and post you are using. If you don’t have a cropadile you can buy a leather puch inexpensively at a craft store.
- Place a mark 3” in from the edge of the bag and 1 1/2” down from the top on the front of the bag.
- Using small sharp scissors, cut a small hole in the bag on the mark. Finish the raw edge of the fabric with fray check.
- Cut a piece of plastic canvas 1” x 1”. Punch a hole in the center of the canvas.
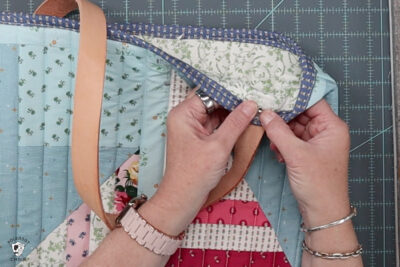
- Feed the post part of the Chicago screw through the hole in the leather handle, and feed it through the bag. Place the plastic canvas on the post, then screw the screw portion of the Chicago screw to the post.
- The plastic canvas acts as a washer and keeps the post from popping though the fabric of the bag.
- Repeat for the other side of the leather strap and the other side of the bag.
Video Instructions
If you need a little bit of help, you can find video instructions for this project on our YouTube channel.
