How To: 3 x 4 Photos for Scrapbooking
A big thanks to Lifestyle Crafts for sponsoring this post, by providing supplies for the project.
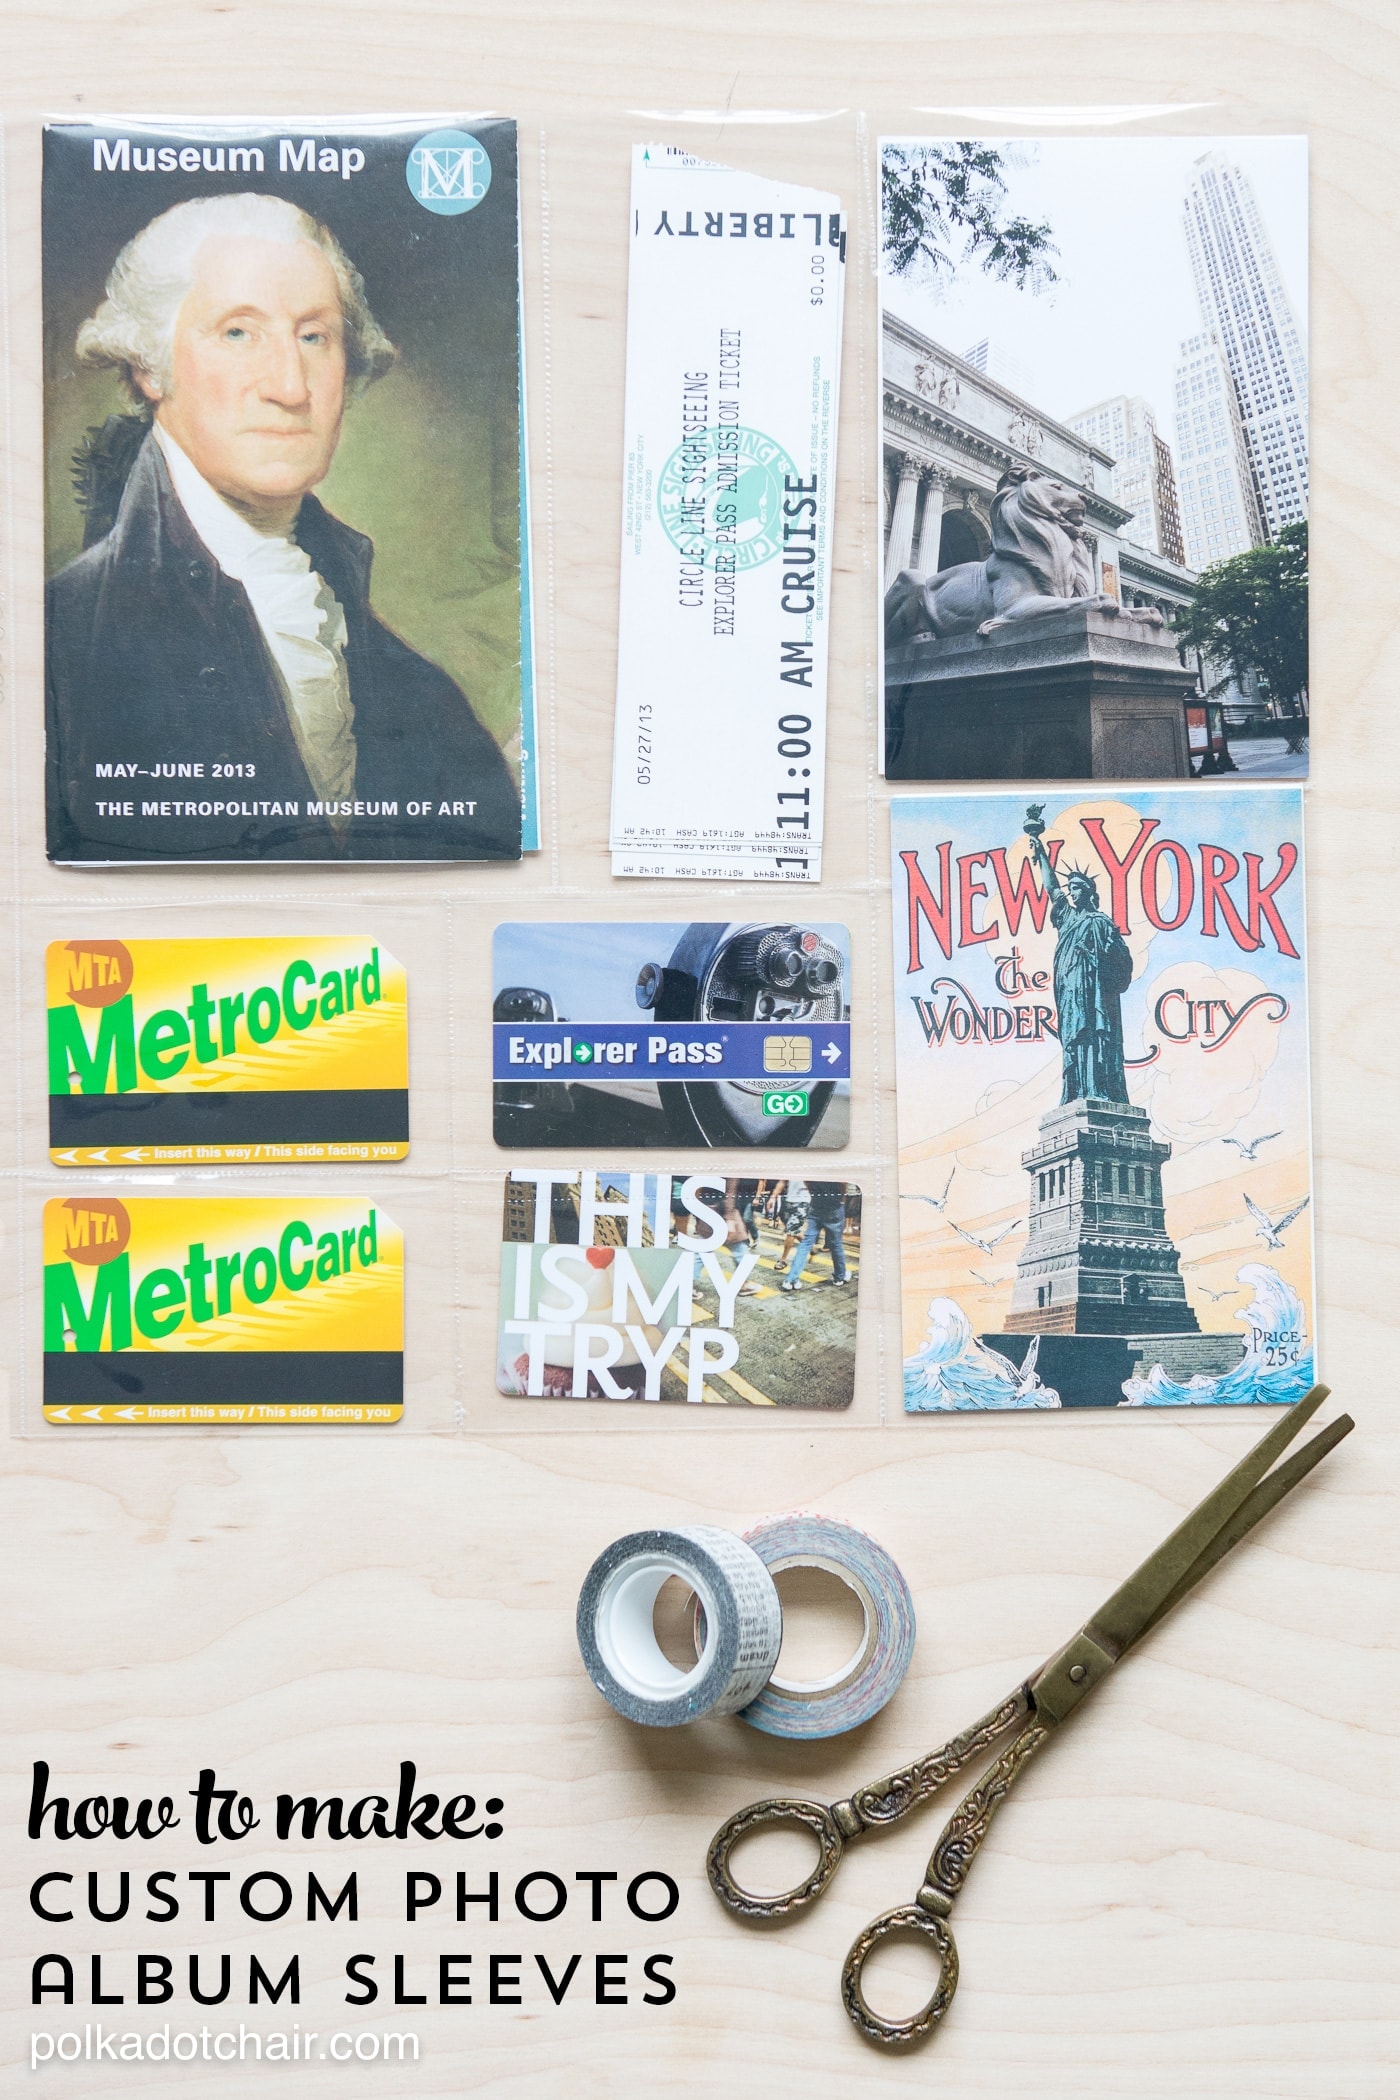
A few years ago I switched my family scrapbooks from primarily 12×12 pages to pocket scrapbook pages. This is usually referred a Project Life album. I make one album a year for our family, highlighting both big events and everyday life from our year. I also love to make mini albums for specific events like vacations.
Even though I love this system I’ve don’t always love figuring out how to chop my photos to the right size. Most all pocket page protectors have spots for both 4” x 6” photos and 3” x 4” photos. The 4×6 are easy to fill but the 3×4 not as much.
I know there are ways to print your photos out to 3×4, but I’m not really good at keeping track of what I want printed 4×6 and what I want 3×4. So I usually just trim down my photos, then round the corners.
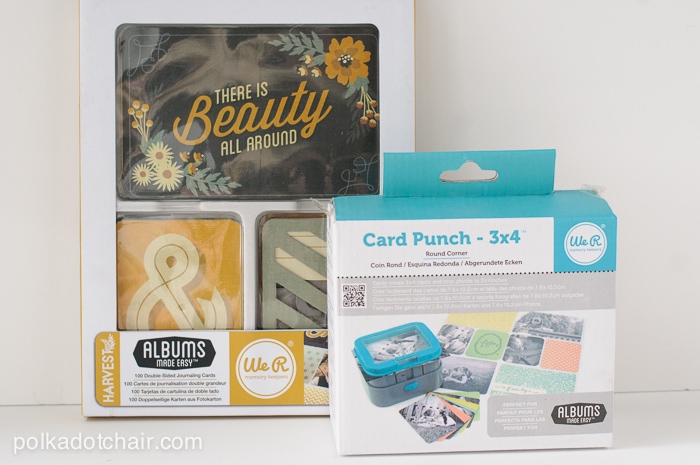
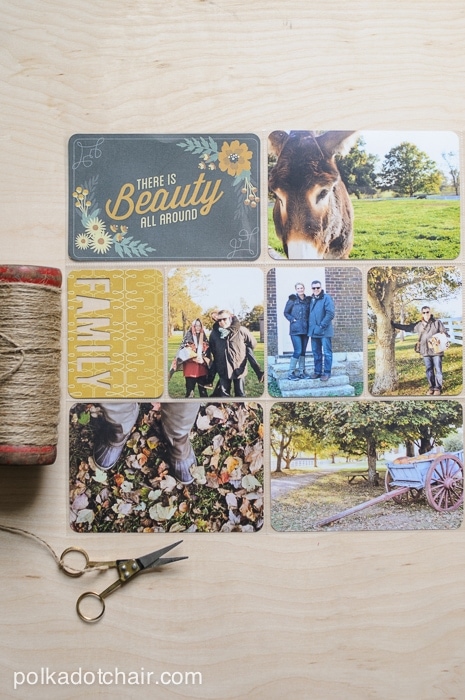
This month I decided to try out the We R Memory Keepers 3×4 card punch. I combined the punch with items from the Harvest Albums Made Easy kit to scrapbook a day we spent at Shaker Village last fall.
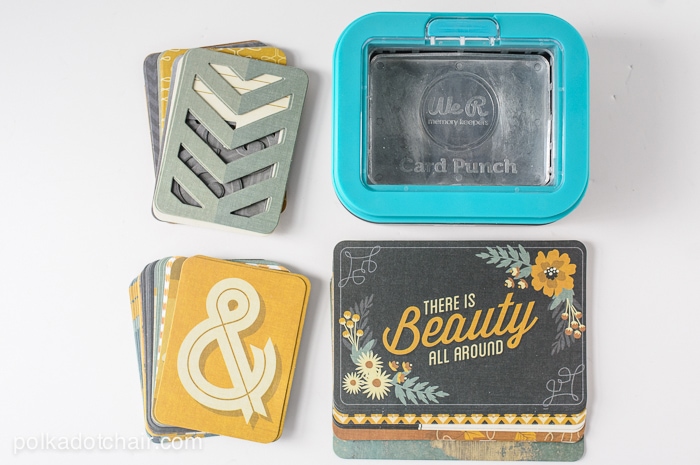
Using the punch is a breeze… I’m totally hooked now. Not only does it crop your photo down to 3×4 it rounds the corners for you too!
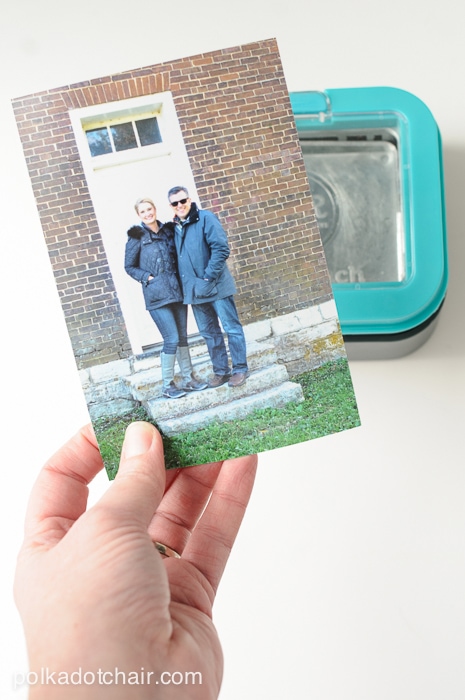
It has a magnetic top. To use it, simply take off the top and place your photo on the punch.
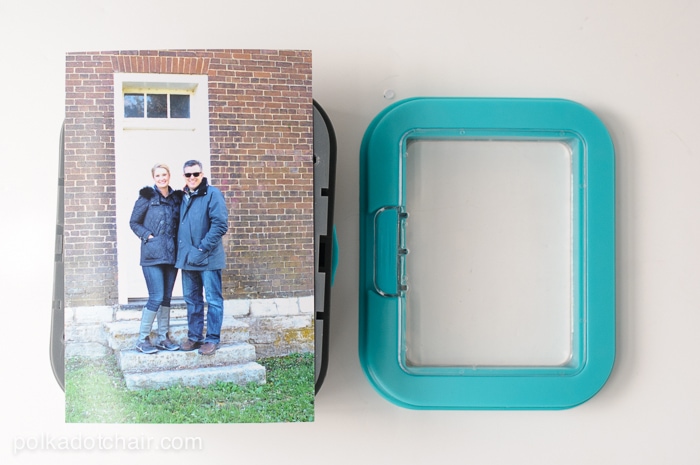
Replace the magnetic top, you can see through the clear window where the photo will be cropped.
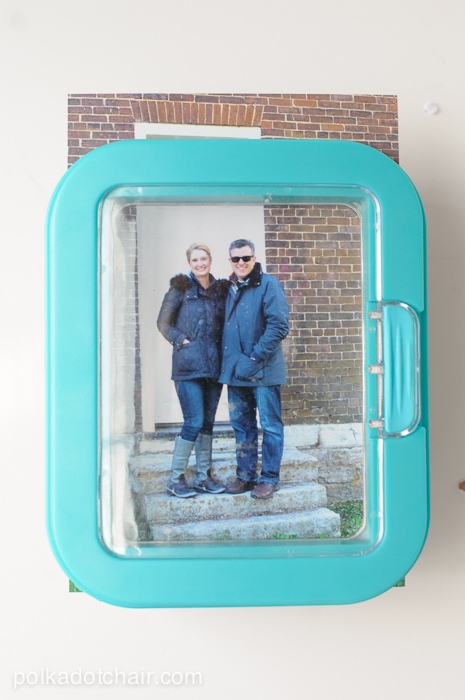
Once you’ve got your photo where you want it, simply push down to punch out your photo. I found that it punched out easily. I would say I stood up to push on the punch about half of the time, the rest of the time it punched simply at my desk.
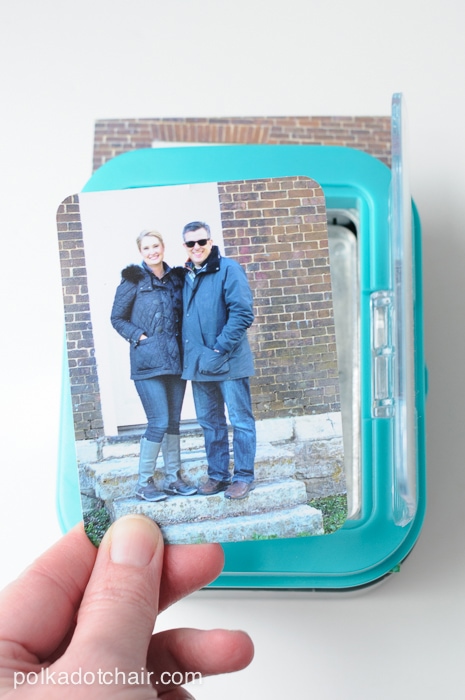
The magnet keeps the photo from shifting while you’re punching, so you get a clean result!
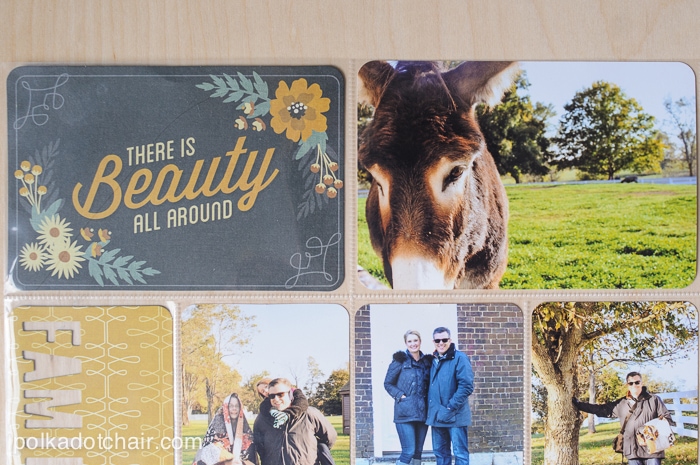
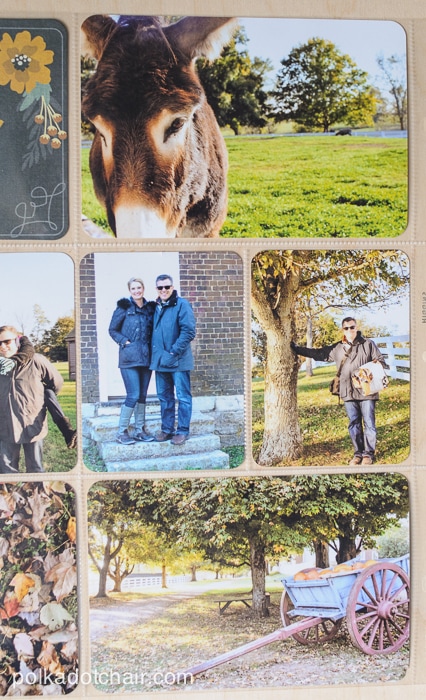
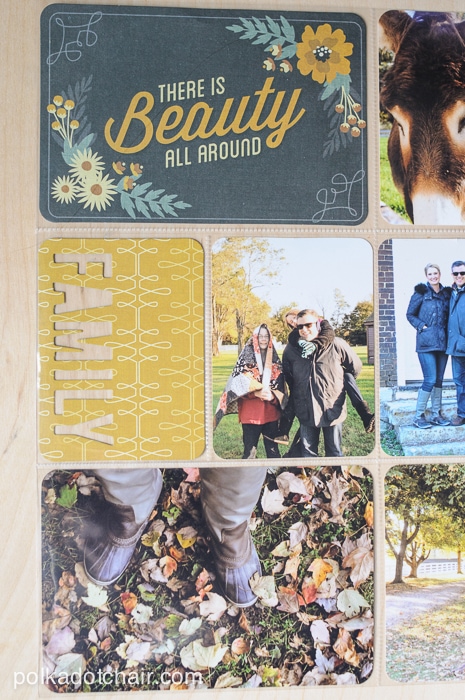
I then simply slipped the photos and the cards into the page protector. The whole process took less than half an hour!! Sometimes I love taking lots of time and creatively designing each element of a page, but sometimes I just want it done quick! The balance of the two keeps me a happy scrapbooker!
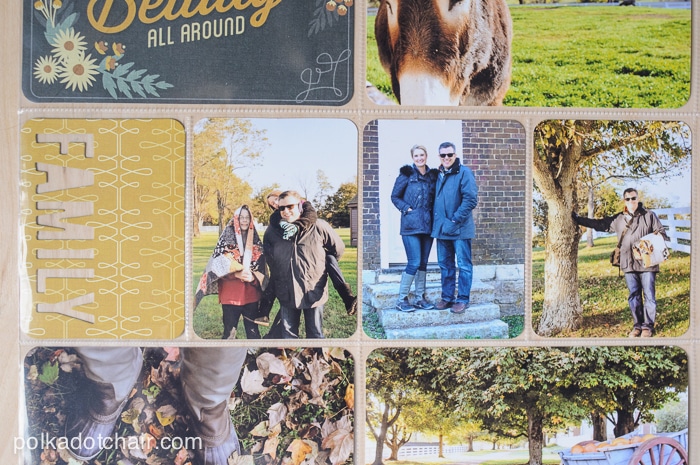
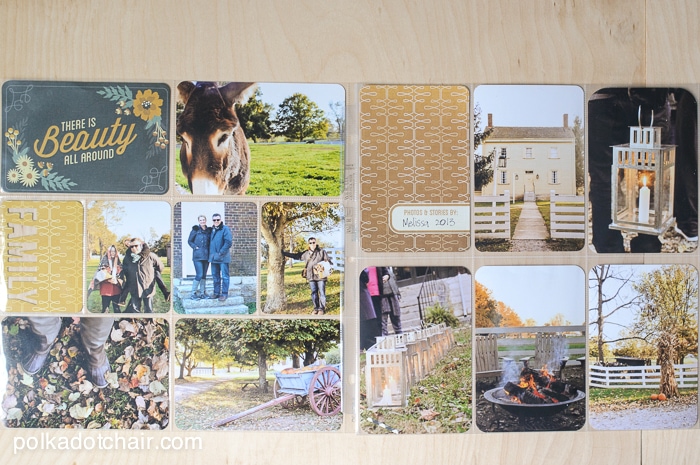
Here are a few more shots of the pages:
Supplies used:
3×4 Card Punch
Harvest Albums Made Easy Kit
Page Protectors
You can find all of the supplies at ShopWeR.com . Use the code POLKADOT for 20% off your purchase.

Connect with me:
![]()
![]()

Hey! 🙂 I love this, I’m going to buy a 3×4 card punch this weekend from hobby lobby, but how do you print your 4×6 photos with rounded edges?
I don’t. You can buy a corner rounder and round them after they are printed.
I have that punch and LOVE it. Makes things so fast. I also never realized I could have my photos printed in a 3×4 size. I just use those pockets for pictures that are best cropped close. It’s probably for the best that I don’t use the option to print things in another size. Too many decisions. I’m far enough behind as it is.
Once in awhile I have some photos that just don’t work on an all horizontally or vertically aligned page and also don’t work if I crop them. In that case, I use a 12×12 page with white paper as a background, round the corners of my pictures and scootch things around with a printed card or two until it looks balanced. I’ve also cut down and rerounded the corners of the printed cards to make things work. It keeps the look of the PL album, but allows me more freedom when I’ve been turning my camera as I snap away.
Well, it’s not easy to print them 3×4– basically you have to in photoshop, put two photos together as one and send them to the printing place that way. It’s a bit more work, and I like the punch better
Love your scrapbooking pages, the card punch would make cutting photos to size a lot easier. Thanks for sharing.
I recently started making a project life album and always managed to cut my 3×4 photos slightly too big or too small – the card punch with definitely solve that problem!