A DIY Pillow Cover Perfect for your Sewing Room
I love my sewing room, it’s by far my favorite room in my home. It’s usually pretty messy but I love to find ways to “spruce up” the space. Recently I created a DIY Pillow Cover with one of my favorite “sewing sayings” on the front. Today I thought I’d share with you how to make it, and how to get the free Cricut SVG file for the saying.
I shared a sneak peek at this project on Instagram a week or two ago. I was actually just sharing a photo of my dog (who somehow manages to work his way into all of my blog photos lately), and the pillow happened to be in the background.
Everyone wanted to know where I got the pillow, and I had planned on sharing a tutorial for it later in February, but I ended up with an “opening” in my blog schedule today and thought I’d share it with you a bit early.
While I was planning out my Quilt Market booth in October I thought it would be fun to add a little something fun to the booth.
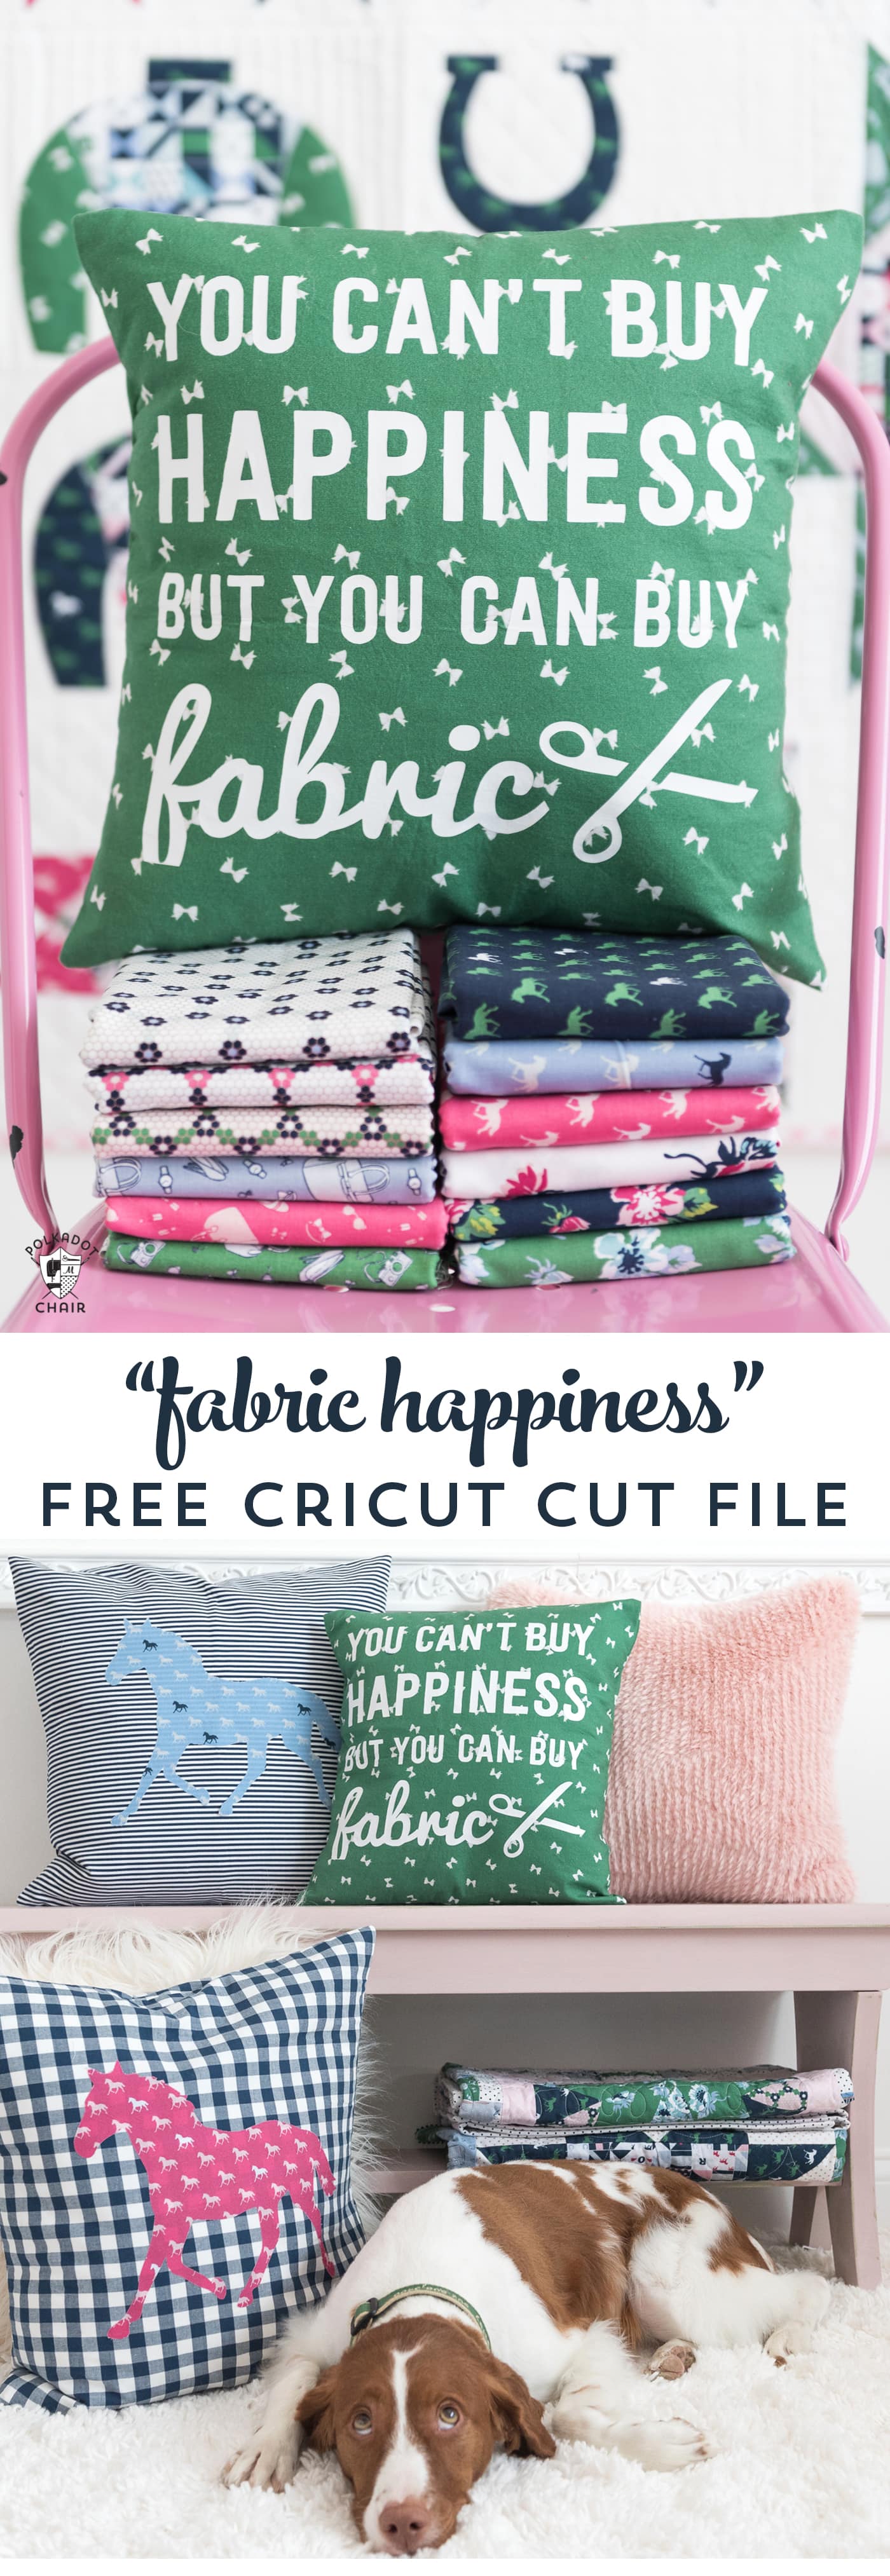
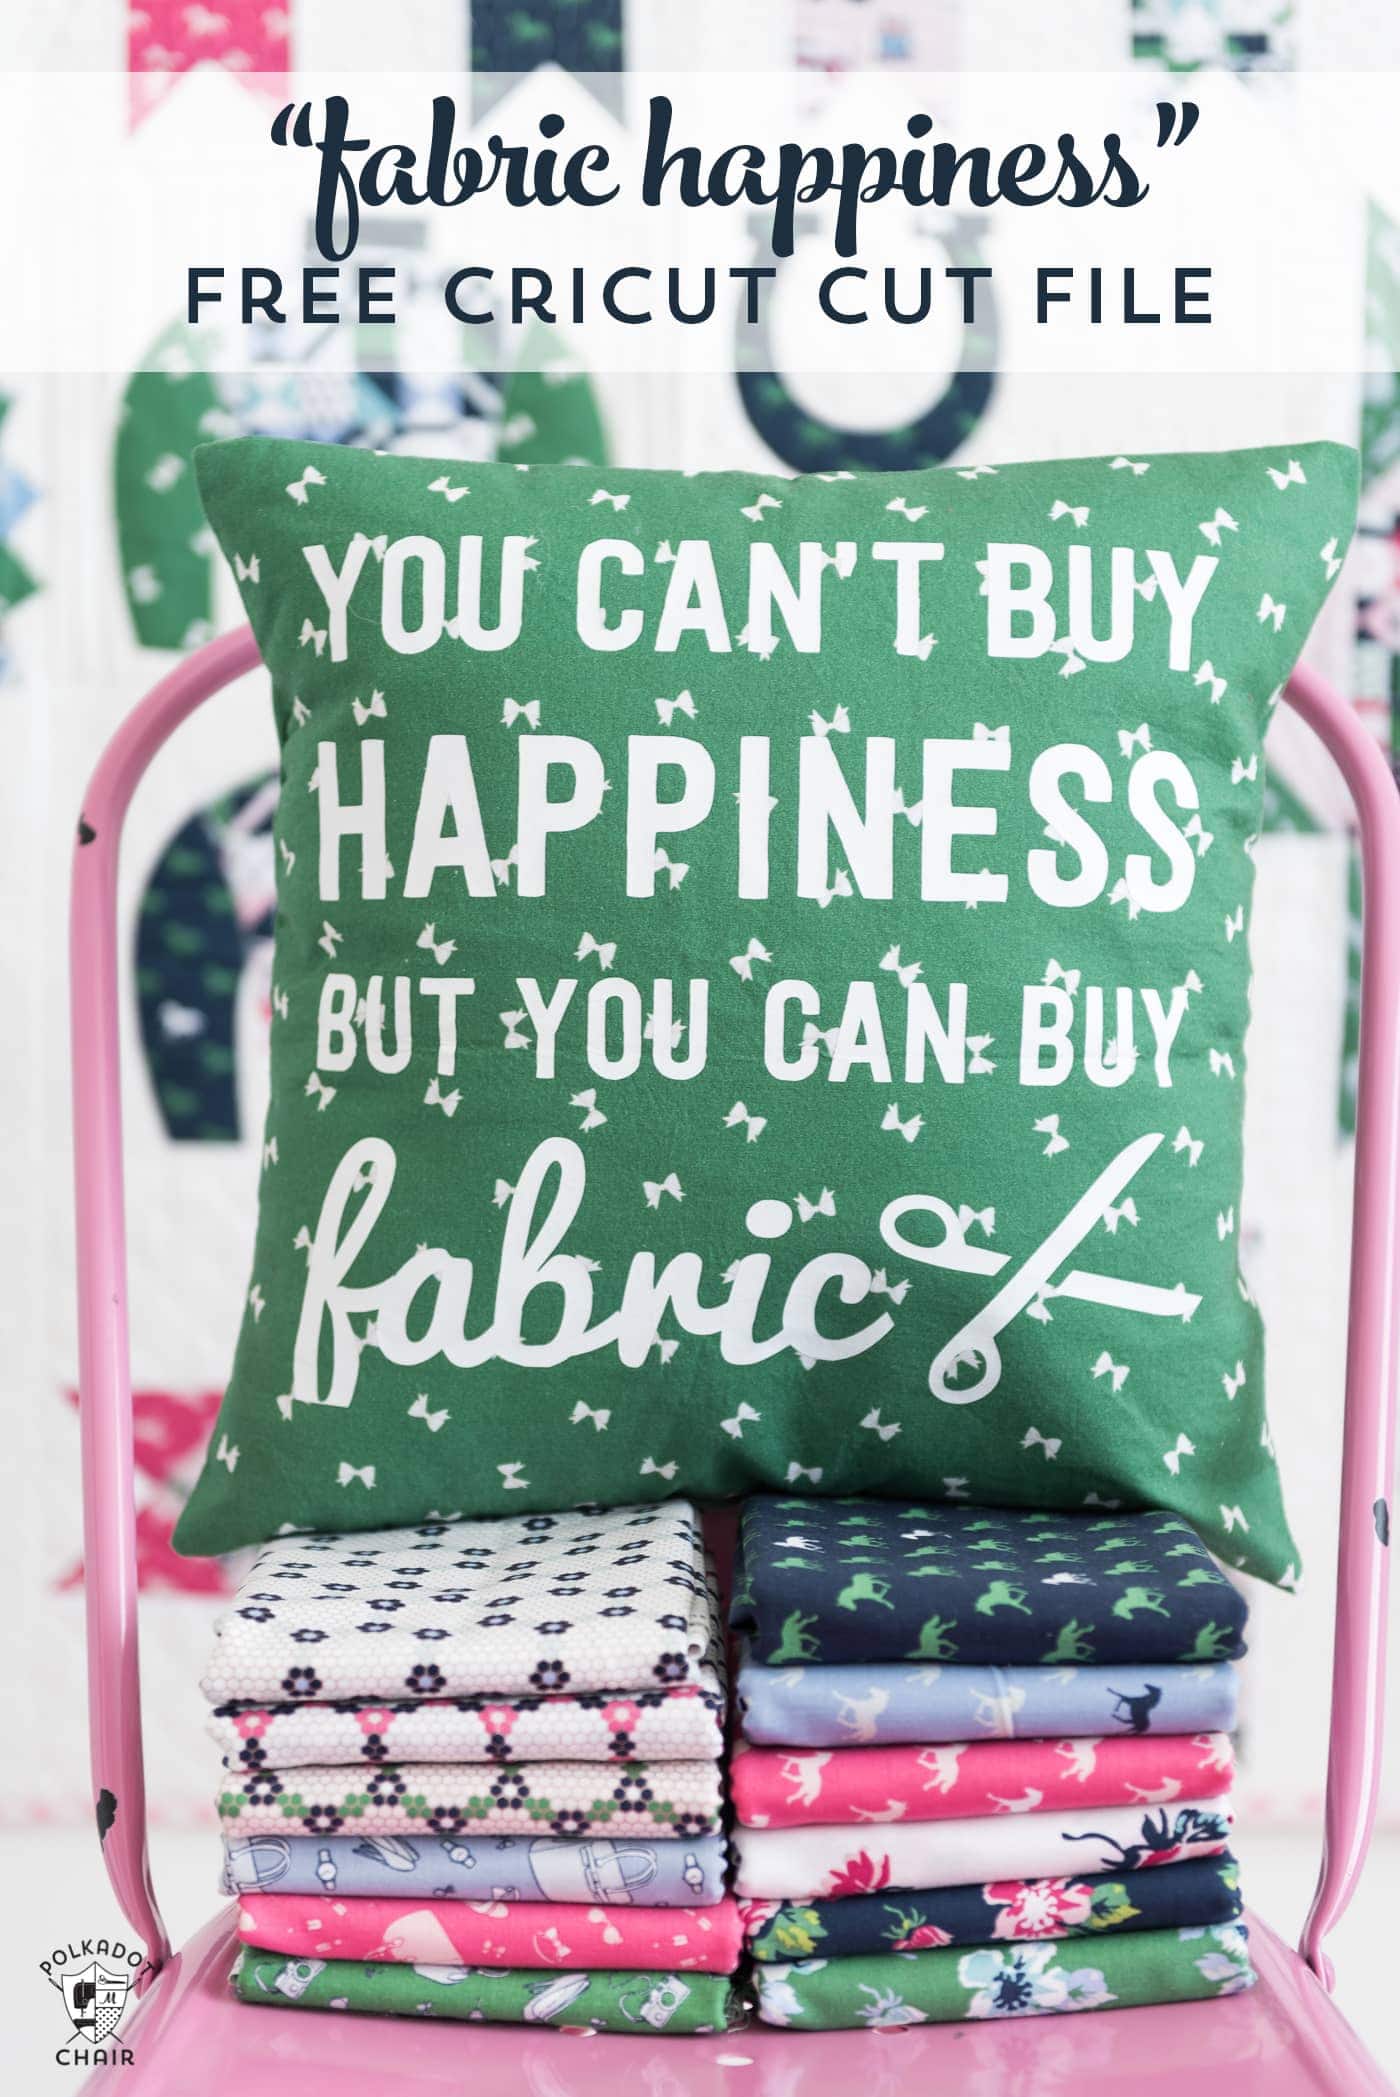
I designed and stitched up this pillow in just a few hours (the night before I left, talk about waiting until the last minute). The pillow features fabric from my next line, Derby Day which is due to hit stores in February (hence, why I was going to wait to share the pillow tutorial).
Sewing Themed Cricut SVG Files
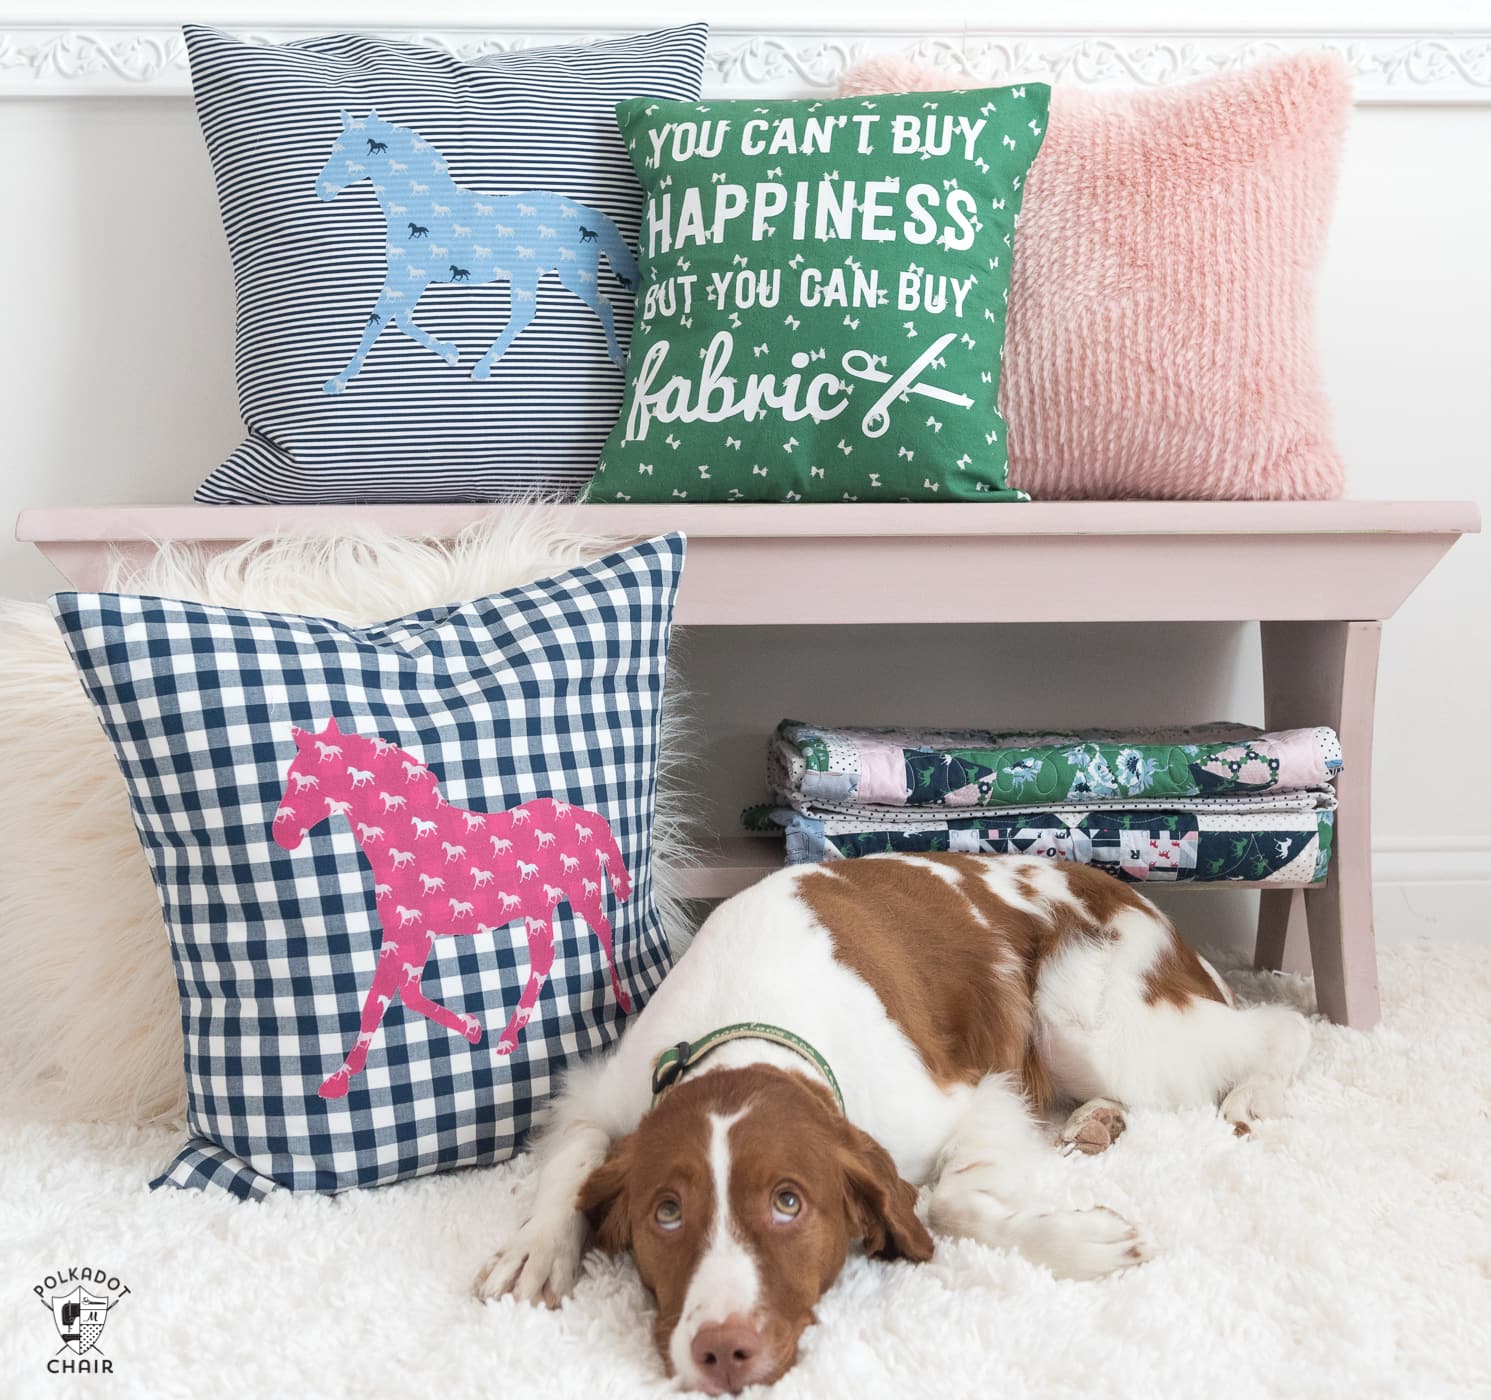
The pillow has one of my favorite sayings: “You can’t buy Happiness, but you can buy Fabric.” (Obviously, I mean it in a tongue-in-cheek way.) Since Quilt Market, the pillow has been sitting on the sofa in my sewing room. (You can see a full tour of my sewing room HERE.)
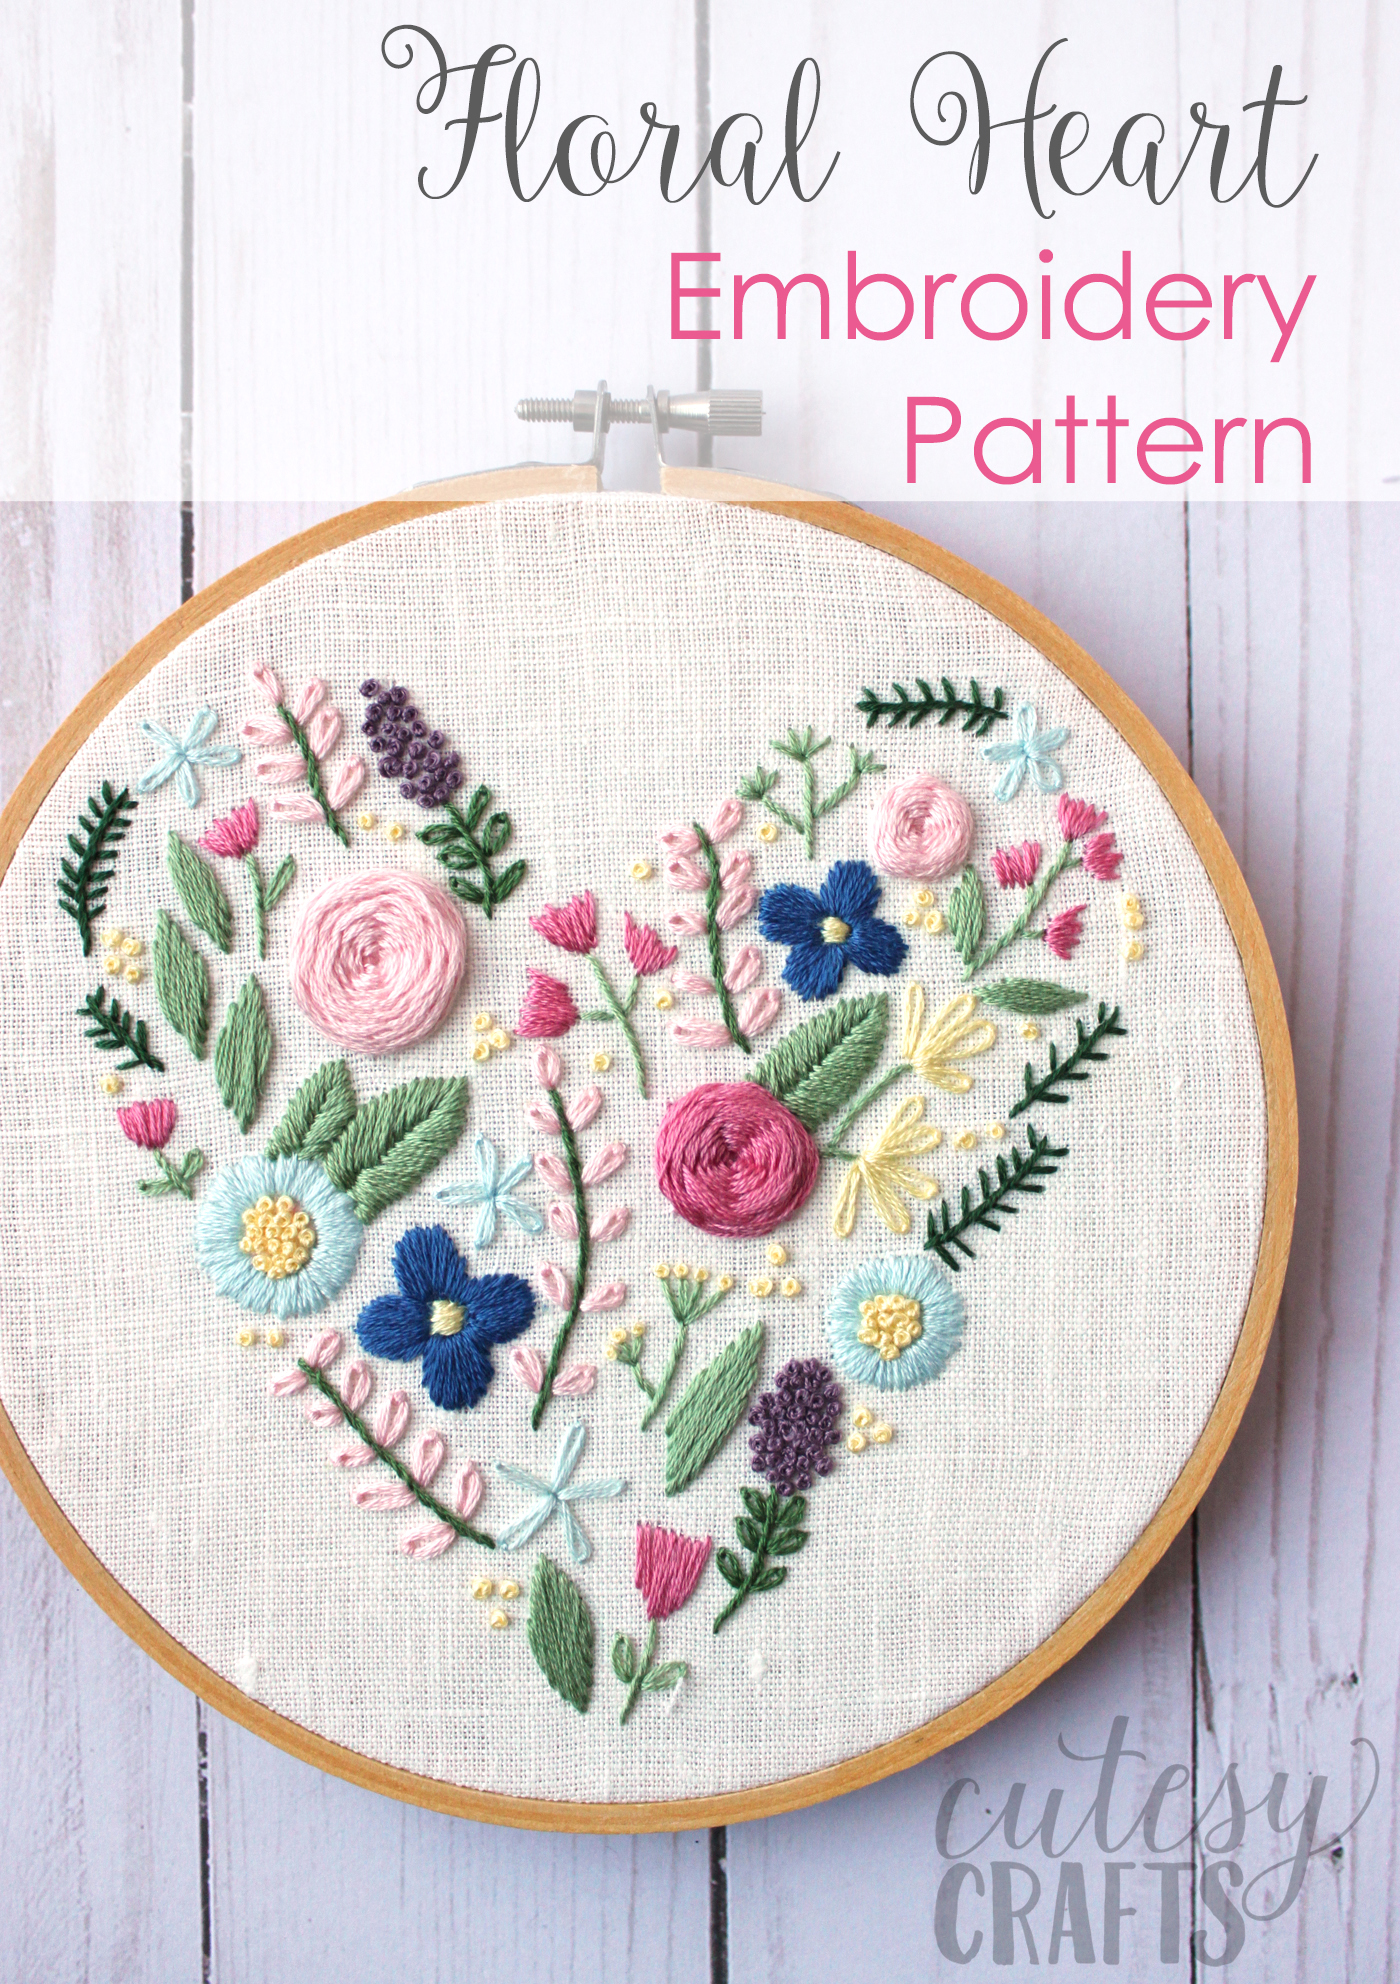
The other two pillows in the photo can be found HERE.
To make the pillow, I cut out the design with my Cricut Maker. I then used my Cricut EasyPress to adhere it to my fabric. Here’s how you make it:
Sewing Room Decor; DIY Pillow Cover Tutorial
Supplies:
-Cricut Machine, I use the Maker this project will also work with the Explore Machines
- Cricut Maker 3 (you can get great deals on machine bundles on Cricut.com)
- Roll Holder for Maker 3
- Cricut EasyPress (I like the large size the best): Make sure you get the EasyPress mat as well.
- Cricut Weeding Tools: (I use the small hook tool ALL the time, making weeding vinyl so much easier).
- Cricut Iron-On Vinyl; Lite, mine was white
- 2 pieces of fabric each 16″ x 16″
- Basic Sewing Supplies
- 16″ pillow form
-SVG Cut File for the saying- download it on the Cricut Downloads Page.
Instructions:
Download the SVG file and load it into the Cricut design space. Click on all of the layers of the word “Fabric” and click “Weld”. You want to use weld for this part because it is a word with letters that run into each other. Welding tells the machine to cut the letters as one large image.
After that click on ALL the layers and click “attach”. This tells the machine to cut out all of the pieces in the exact place they are on your screen’s file. Size your image to 11 1/2″ wide.
Load your Iron-on Vinyl onto your mat, then click MAKE. Check to make sure you select to mirror the image on this screen, then follow the prompts on your screen.
(note: I did a BIG post all about cutting out and working with Iron On Vinyl, you can find it here if you need more detailed instructions).
Weed (or peel) the extra vinyl from the cut-out image.
Place it down on your 16″ x 16″ pillow front piece and use your EasyPress to adhere it.
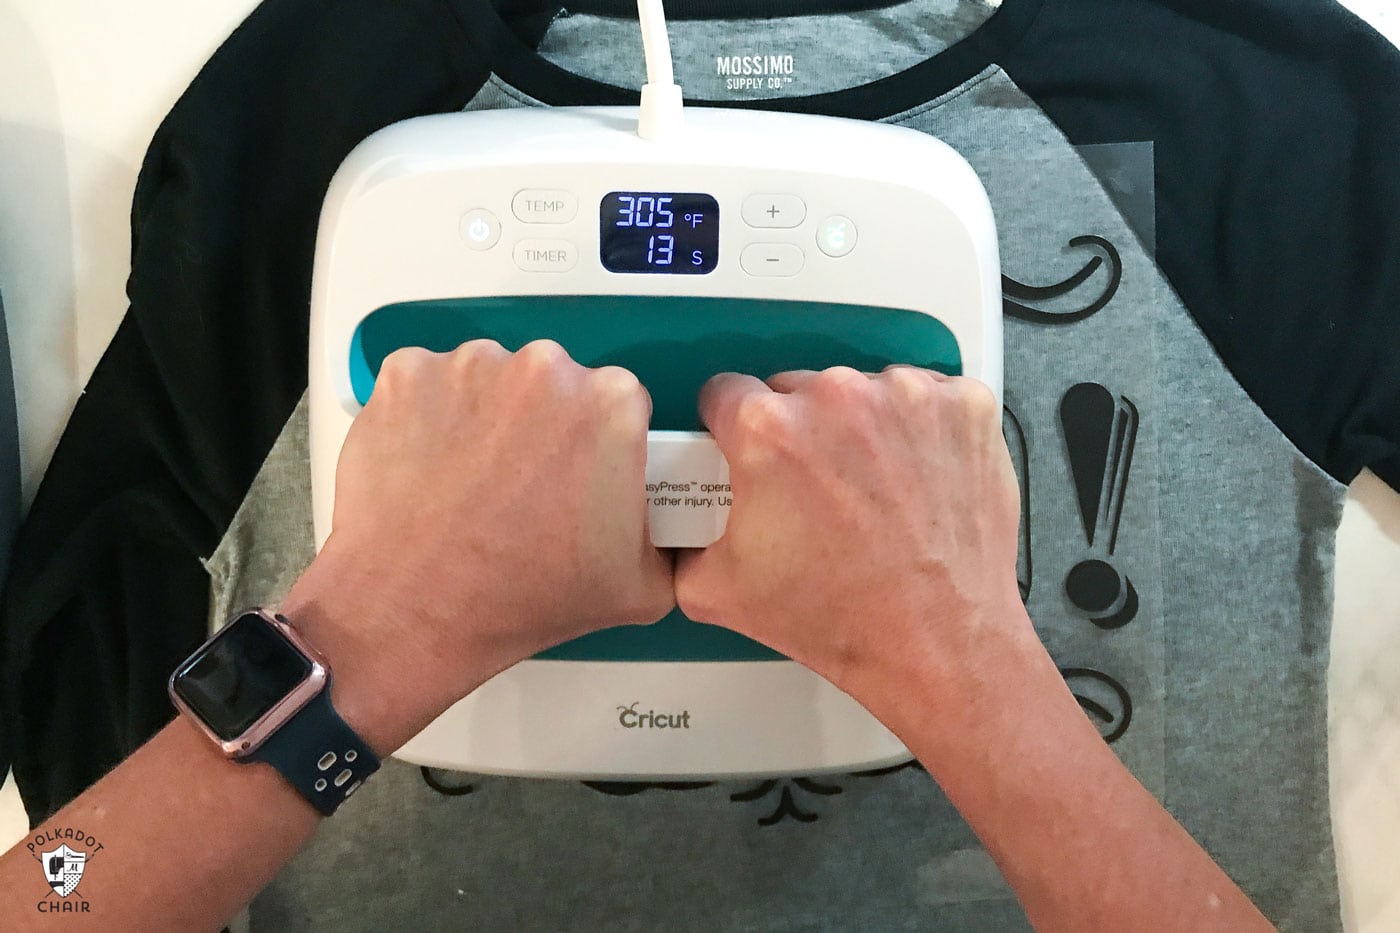
(photo from the post I was telling you about, all about working with iron-on vinyl and the EasyPress)
To Finish the Pillow:
To finish your pillow, stitch the two 16″ x 16″ pieces right side facing, leaving an opening in the bottom of the pillow cover. Turn it right side out and slip in your pillow form. Slip stitch the opening closed.
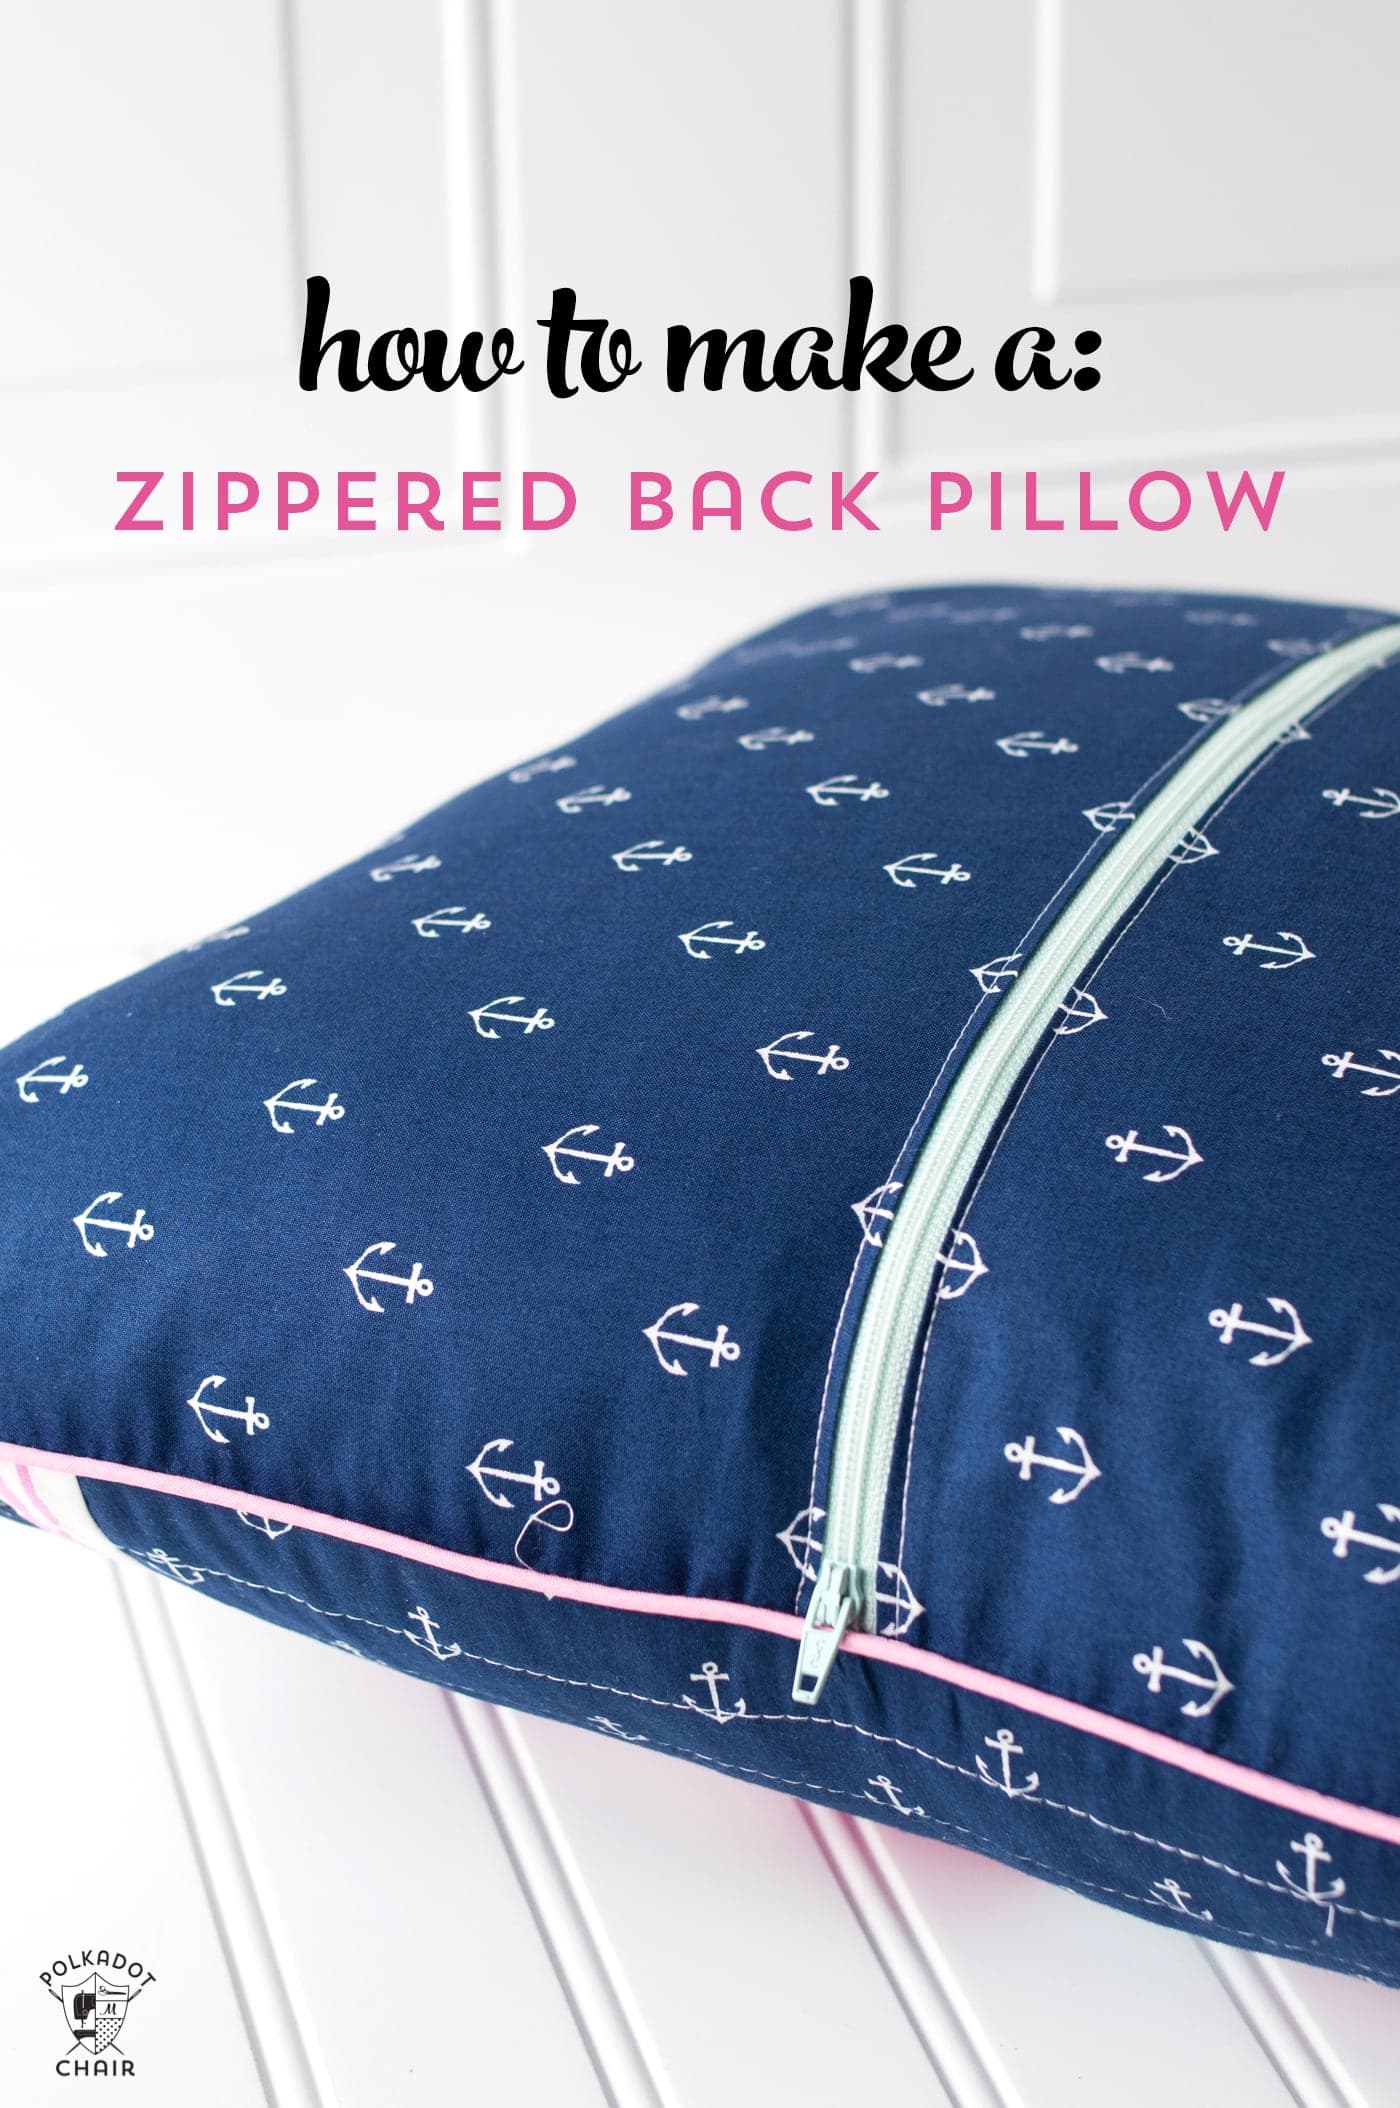
Alternatively, if you’d like to make a removable pillow cover, you can see this post that tells you how to make a zippered back for ANY size pillow.
That’s it!
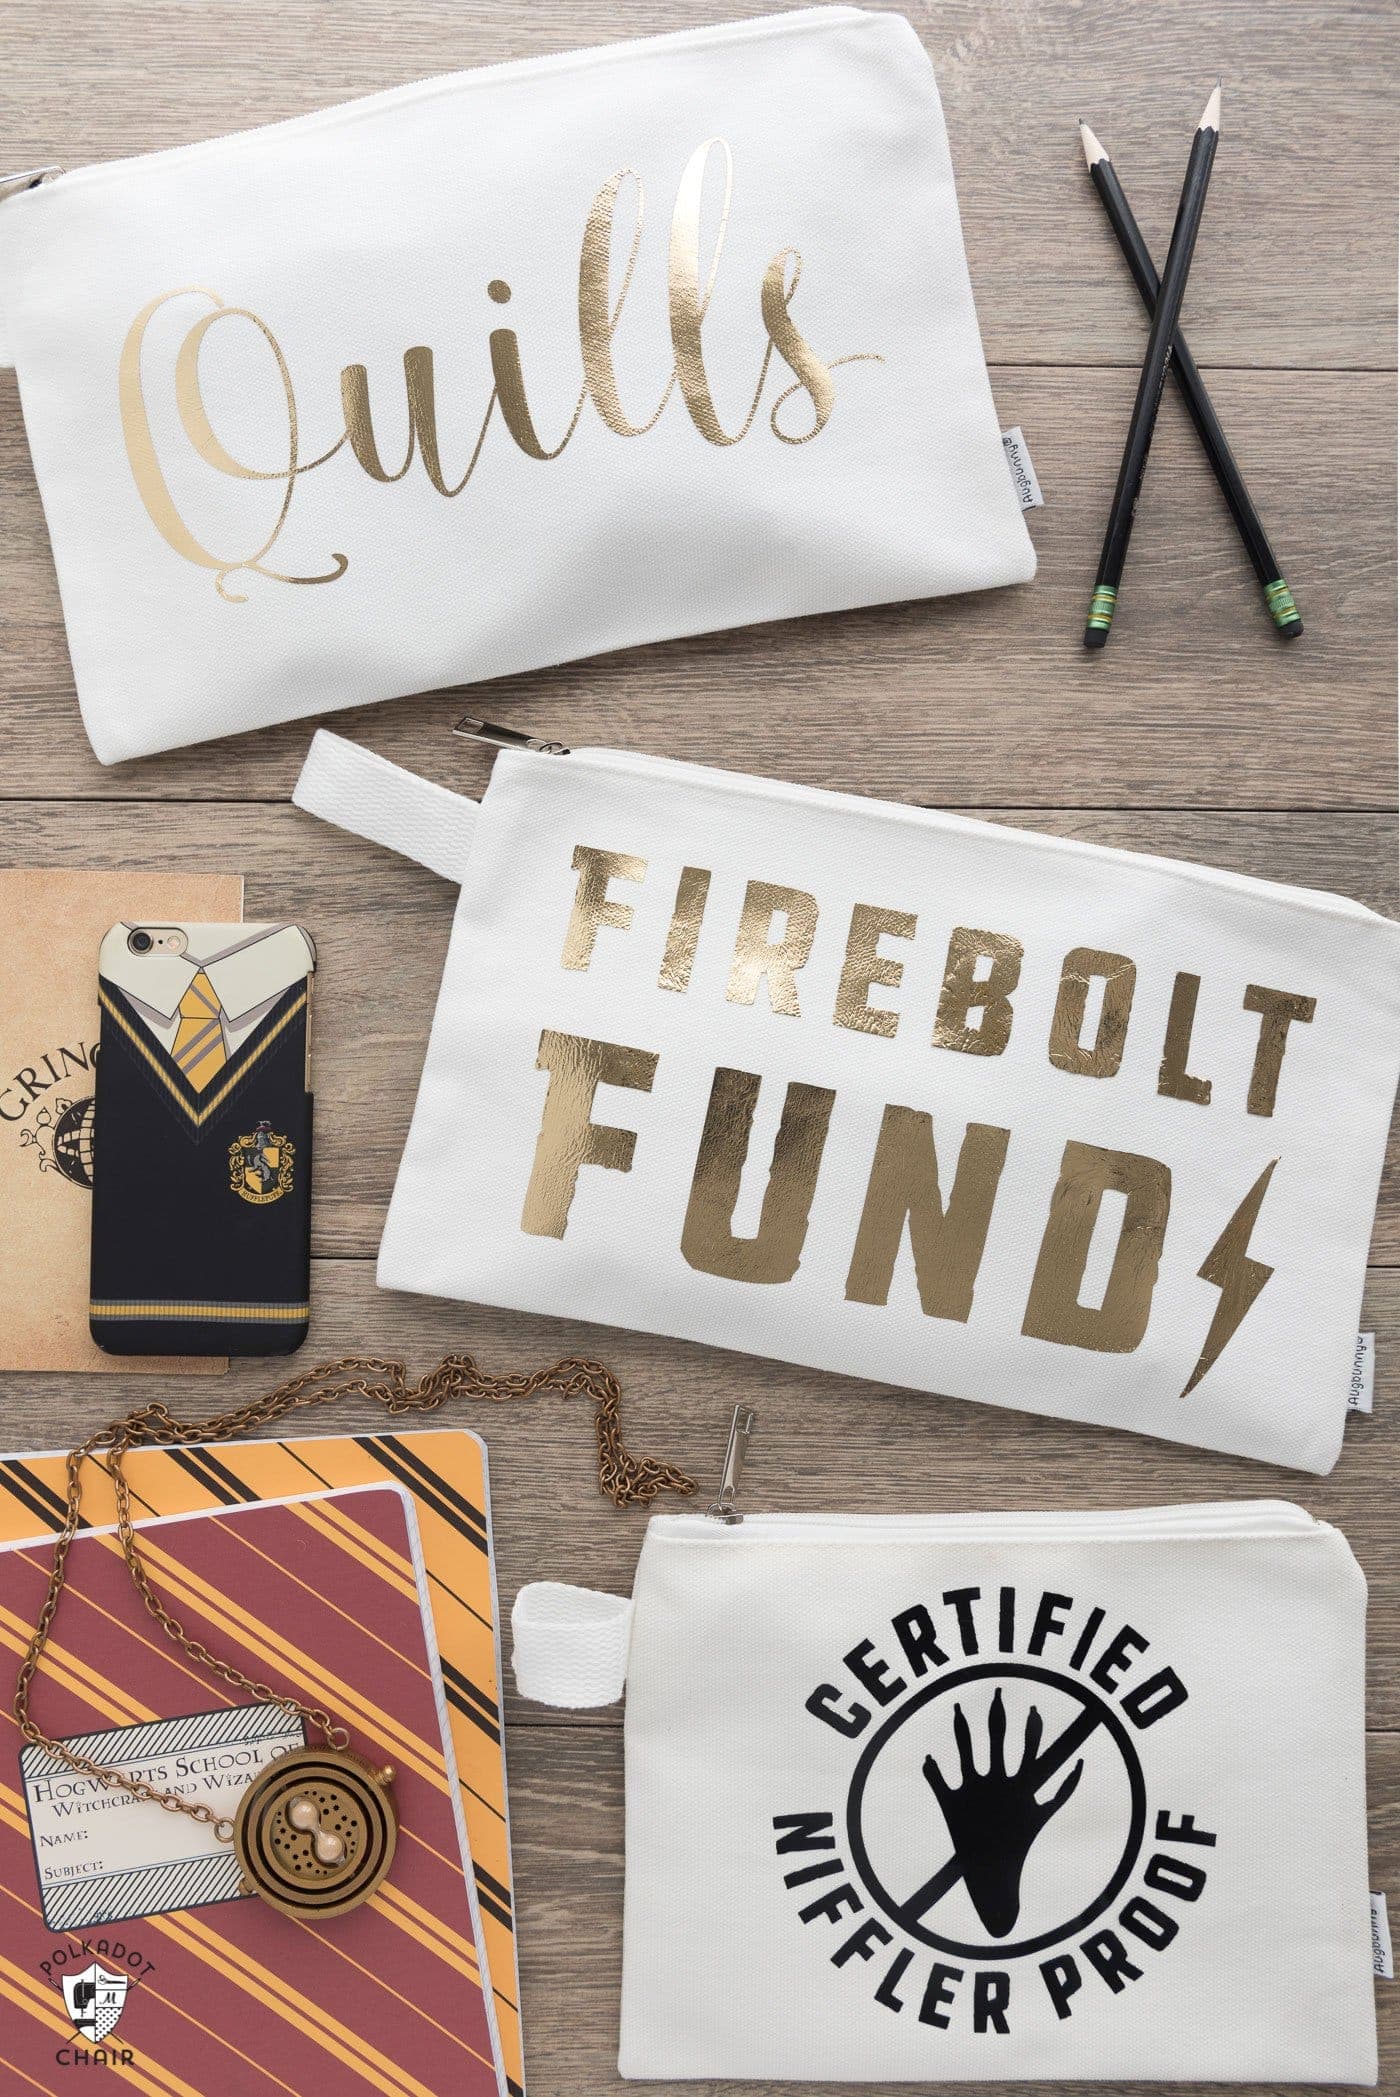
I also think that this saying would be SUPER cute on a zip pouch! You can buy simple canvas pouches on Amazon, similar to the ones that I used for my Harry Potter Pencil Cases… You could also add it to the front of a tote bag!
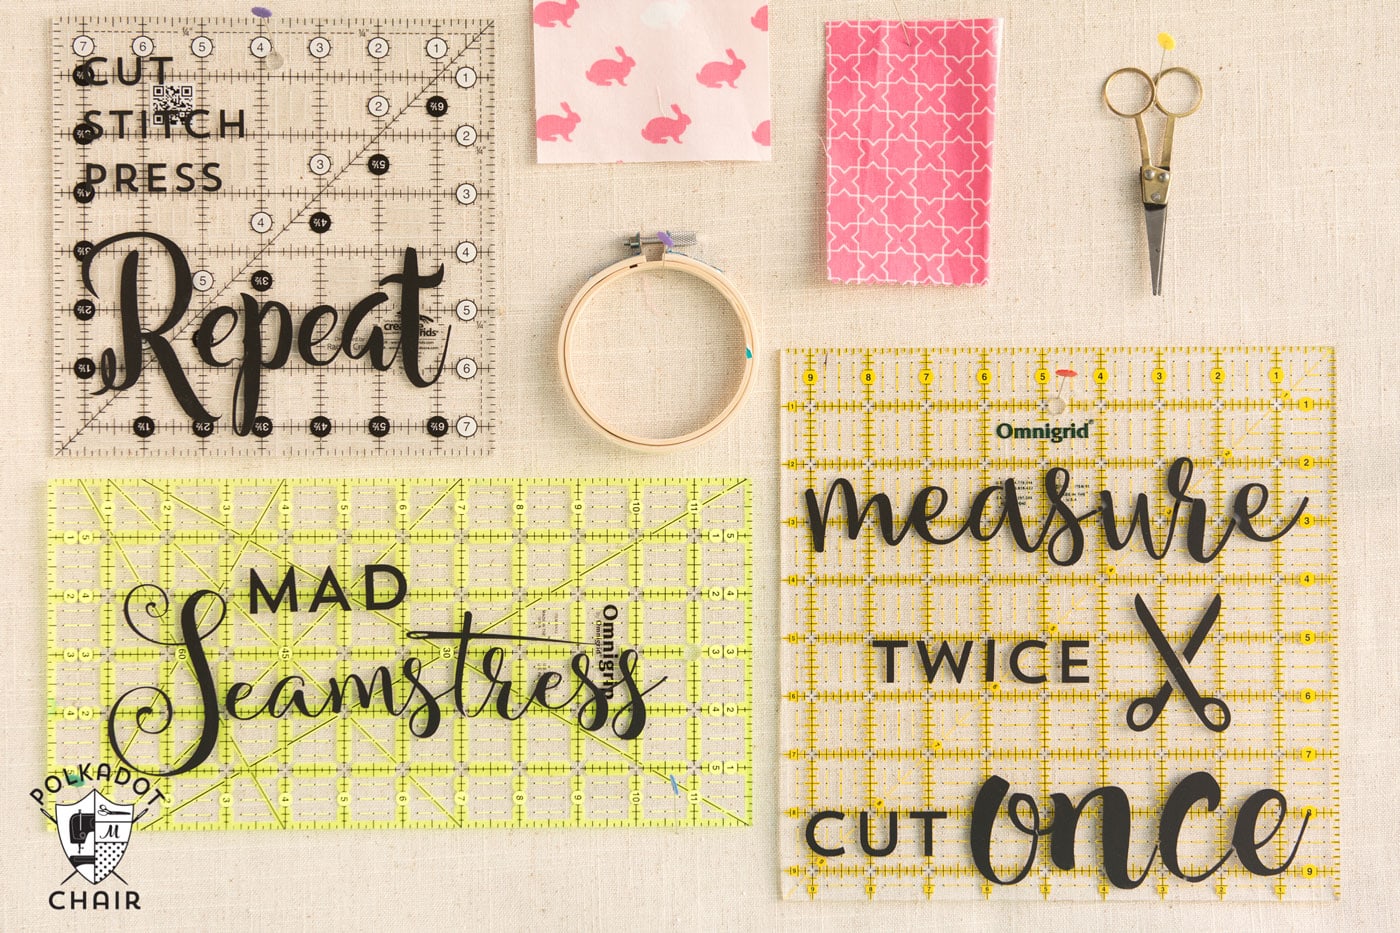
There are more sewing themed Cricut Files on the site too, like the ones I used to decorate some extra quilt rulers in my Sewing Room! You can click HERE to read about how I made the rulers!