How to make Disney Family Shirts for a Cruise & Free Cricut SVG Files
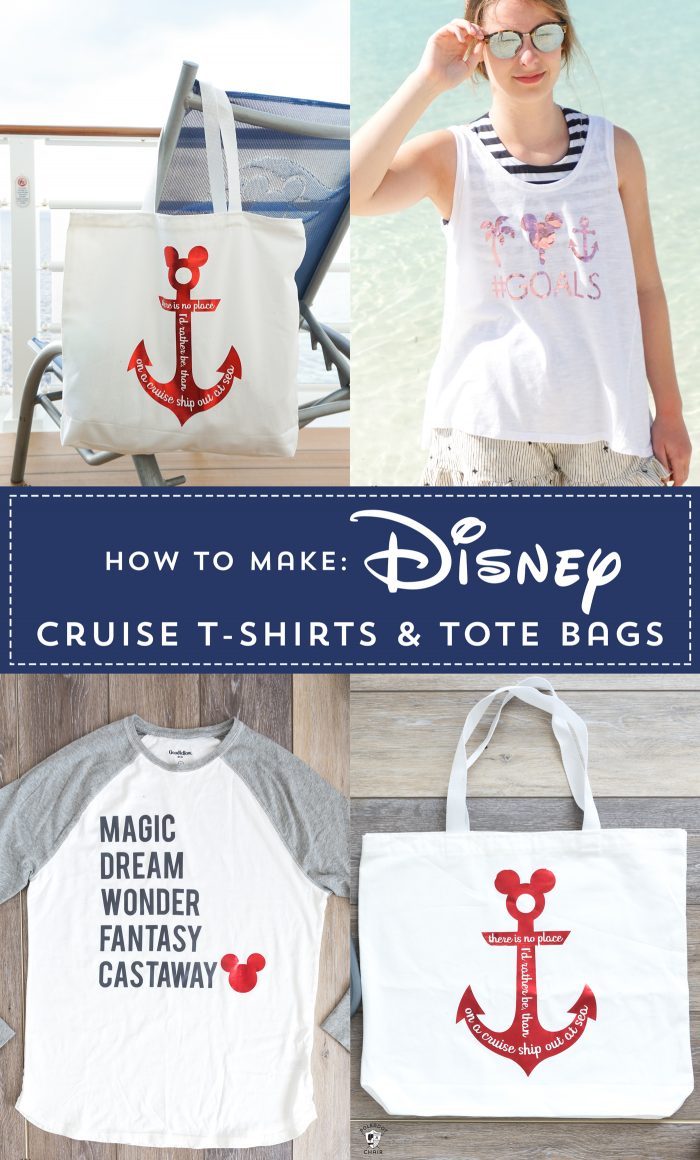
Before we left on our Disney Cruise for Spring Break I created a few Personalized Disney Family shirts. I even made a fun Disney-inspired beach bag to tote around the boat with me.
I had so much fun making the custom Disney SVG files for my projects that I thought today I’d share the files with you! I’ll walk you step by step through how I made the shirts and share a few Disney family shirt ideas just for cruising with you!
How to Make Matching Disney Cruise Shirts
Before we go on family vacations, I like to take a bit of time and create a few fun projects to take with us on the trip. To me, it’s a way to make the joy of a family vacation last a little bit longer since I get the fun of creating the projects before we go!
A few years ago we took a different Disney Cruise and I had a whole slew of projects planned to make before we left. We had a minor hiccup (basement sewage backup YUCK) and none of them got done. We were actually lucky to even make it to the boat on time that year!
This year, I tried to plan ahead a bit more. Even though I didn’t get all of the projects done that I wanted, I did manage to make some fun Disney shirts for us to wear. I was going to make everyone matching Disney shirts but the kids vetoed that idea. They are almost 17, so I totally get it. Instead, I made them each a shirt that was more “unique” to them.
About Our Disney Family Vacation Shirts
I ended up making 3 different SVG Files for my projects. You can use any of the files to make Disney Family Shirts, Disney Tote bags, or even personalized baseball caps!
Free Disney Cruise Cricut SVG File Downloads
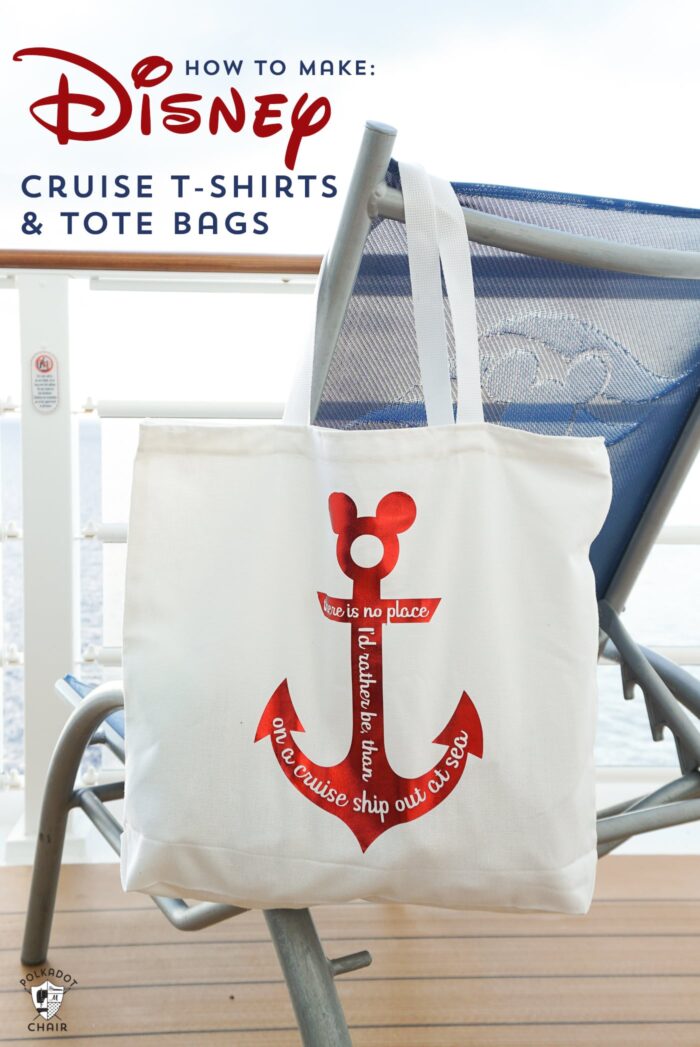
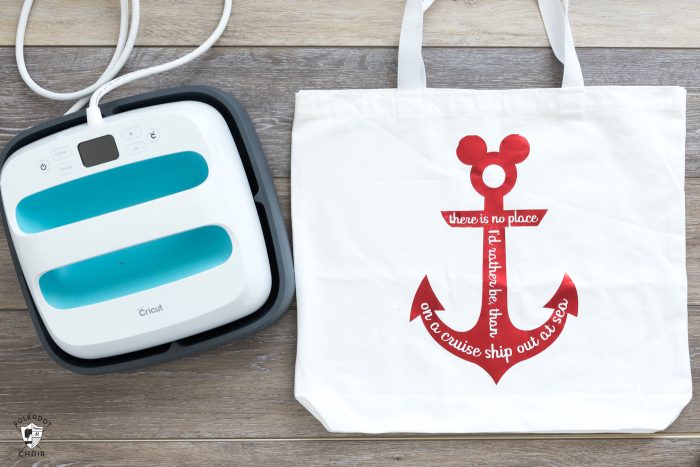
- The Mickey Mouse Anchor “There is no place I’d rather be, than on a cruise ship out at sea”. Inspired by the lyrics to Hawaiian rollercoaster ride from Lilo and Stitch.
- Magic, Wonder, Dream, Fantasy & Castaway, inspired by the Disney Cruise Ships & our favorite destination
- #GOALS shirt with a palm tree, Mickey Ice Cream & an Anchor (note, this file requires images from Cricut Design Space)
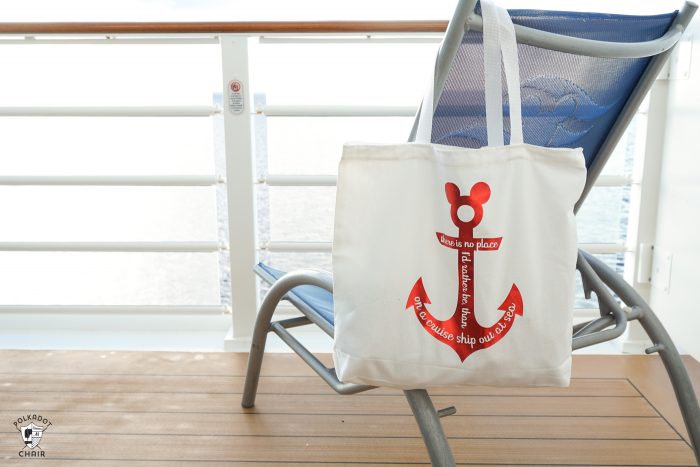
Here is the “there is no place I’d rather be…” iron on attached to a simple white tote bag.
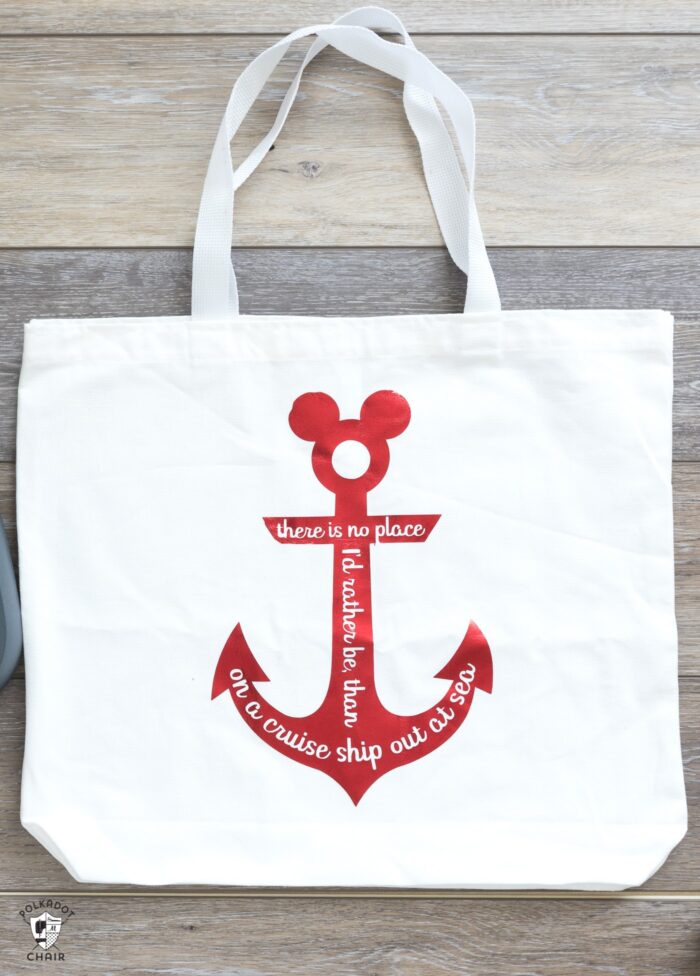
If you’d like to make something similar without the words, you can just “hide” them in the Cricut Design space and only cut out the anchor.
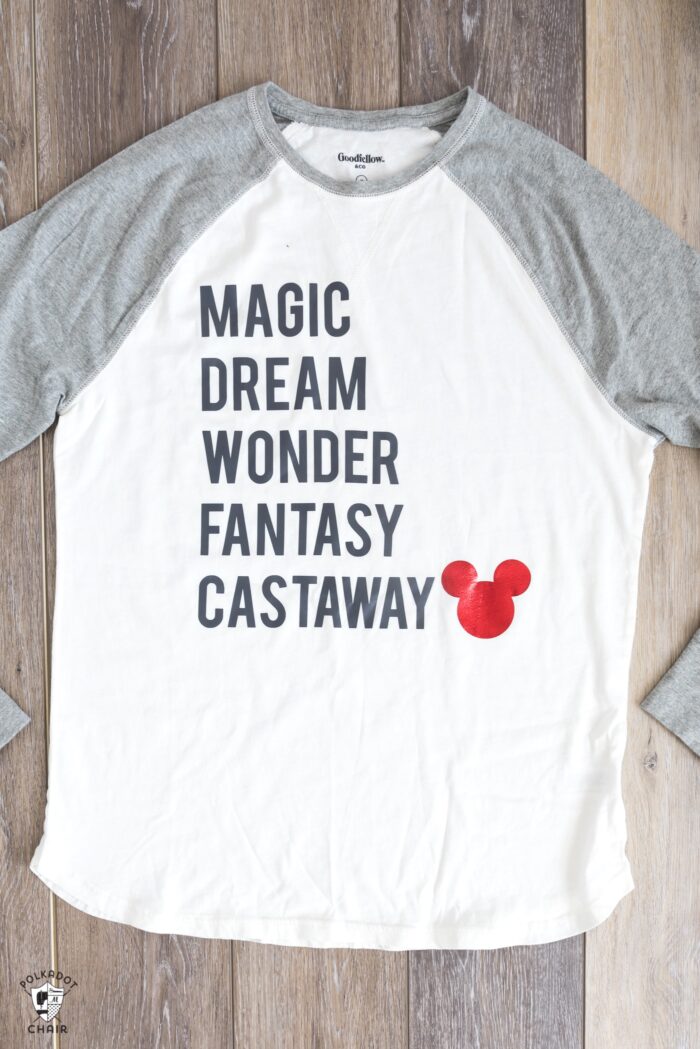
Here is the “Magic Dream, Wonder, Fantasy & Castaway” on a t-shirt. I cut the Mickey head out of red foil iron-on for a bit of pop and applied it to a baseball tee.
Even though we were going to a Caribbean destination I knew that it gets chilly on the boat and it would be a good idea to take along a long-sleeved shirt.
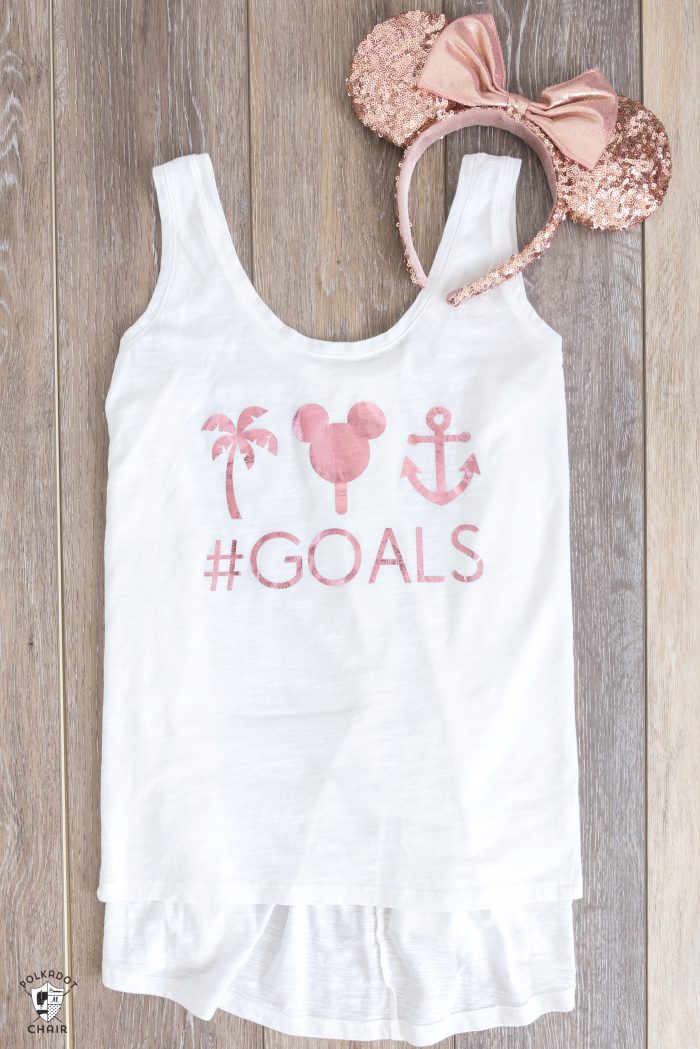
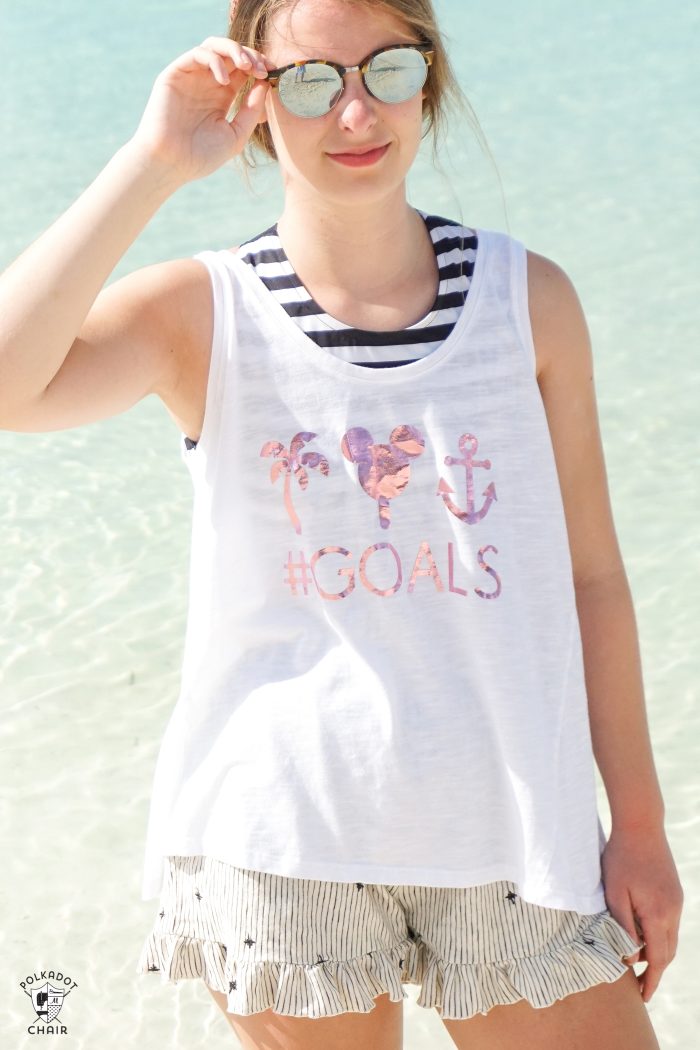
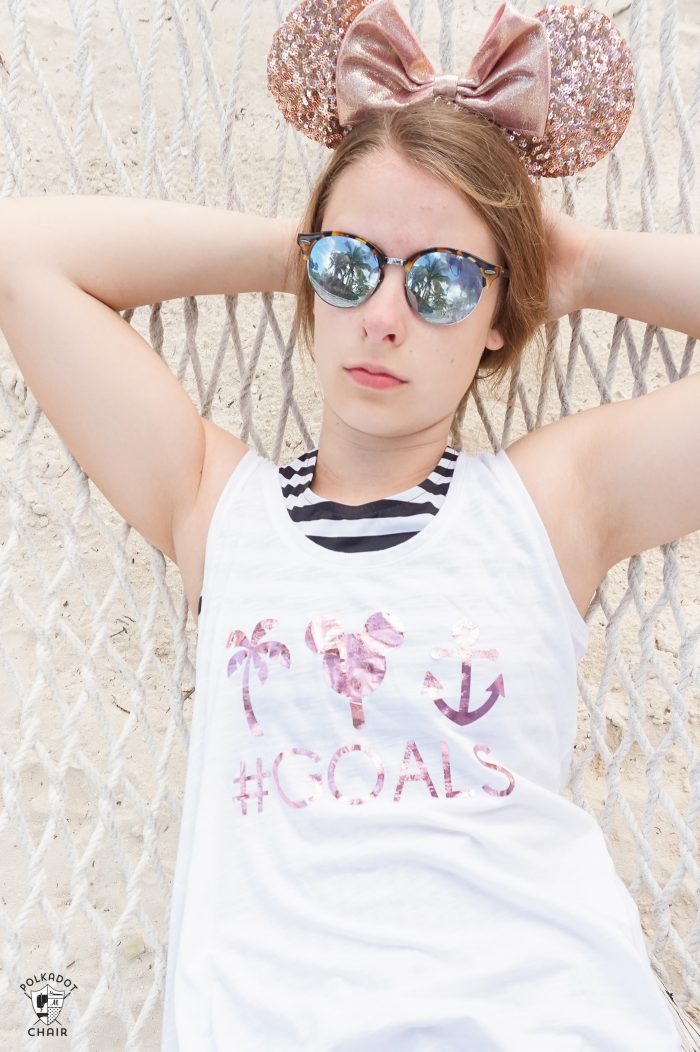
For my teenage daughter, I created a fun swing tank top that turned out to be the perfect little beach cover-up.
I used a palm tree and anchor from the Cricut design library and created a fun Mickey ice cream pop using simple shapes in Design Space. This might be my favorite one of the bunch! I created it in the pink foil iron-on, which was a pretty close match to her rose gold Minnie ears!
More Disney SVG Files
If you’re looking for even more Disney images to use to make Disney Family shirts be sure to check out our MEGA Disney SVG bundle in the shop. It includes all of the images in today’s post along with a lot of other fun ones! Including files for Disney Parks & Disney Movie Tees!
DIY T-Shirt or Tote Bag Supplies
- T-Shirt (mine is a baseball tee similar to this one)
- Cricut Machine – Explore or later, I use a Maker
- Cricut EasyPress or Iron
- EasyPress Mat or folded towel
- Cricut Foil Iron-On
- Cricut Iron-On Lite
- White Canvas Tote Bag
Free SVG Files:
Download the SVG files for the Anchor and the Magic, Dream etc.. in our Cricut Downloads Library.
Grab the #Goals file in Cricut Design Space by clicking. Note these are Cricut Files available in Design Space. A small fee may apply, but that is in Cricut’s control, not mine.
After the file pops up, click CUSTOMIZE at the bottom of the window.
How to make the Iron-On for the Disney Trip Shirts
Download the SVG file to your computer and upload it into the Cricut Design space. Select all of the layers of the image and click ATTACH this will make it so that all of the pieces cut together in the correct shape. Otherwise, you’ll end up with a bunch of random cuts that you have to put together yourself.
Depending on the image you may also need to “weld” some of the elements together. Use the WELD and ATTACH features as necessary to get the correct image.
When you’ve sized to the size that you’d like, click MAKE IT, make sure it looks okay in the preview. Then click MIRROR for iron on, and send it to the machine.
If you need a bit more help be sure to check out our How to Use Iron-On Vinyl with a Cricut.
How to Apply the Iron on to a T-Shirt or Tote Bag
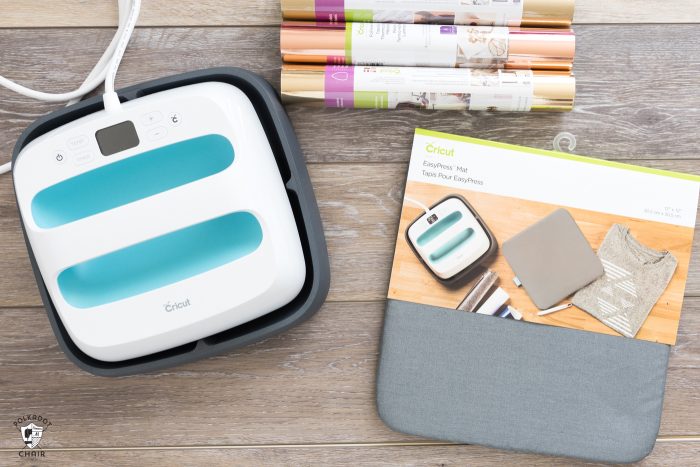
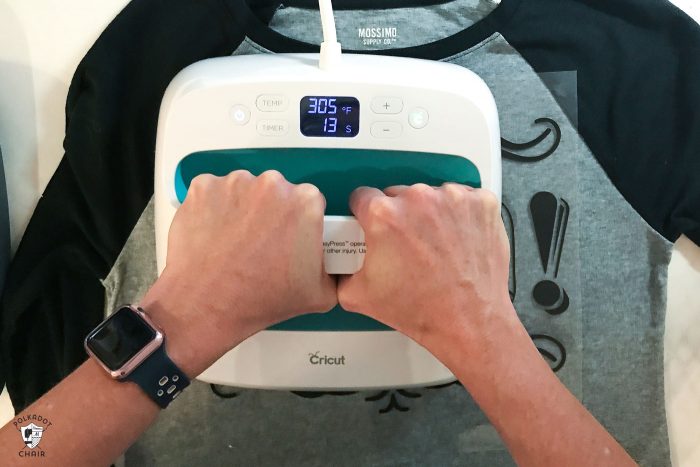
You can use an iron. I have found however that my iron-on sticks better and holds up better after washing when I use a Cricut EasyPress. It has a timer and adjustable temperature controls. These features allow you to use precise measurements so that the iron-on is applied exactly as the manufacturer suggests.
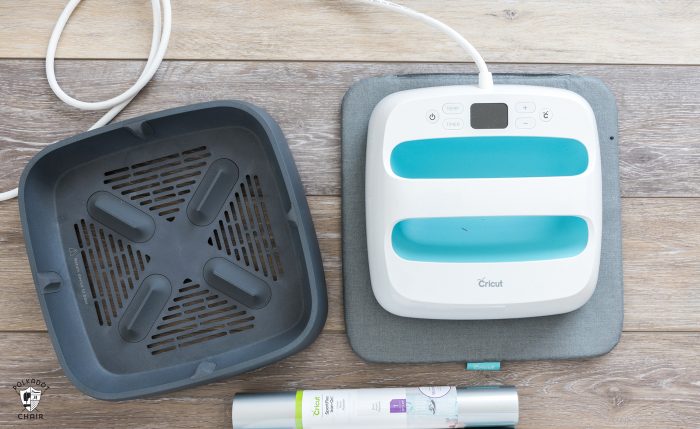
I also now use the Cricut EasyPress Mat. Most ironing boards absorb the heat of an iron, which is not what you want. You want the heat to stay on the iron-on. The mat is designed to do just that.
Plus it’s GREAT for t-shirts and tote bags since you can put it inside the shirt to get a more accurate press!
I hope you enjoy these files! You could easily use the #GOALS one for a Disney ‘land’ vacation as well, just swap out the anchor for another image in the Cricut Design Space!
You May Also Like:
- Cruise Packing List
- DIY Disney “Hat Hair, Don’t Care” T-Shirt
- 25+ Adorable Disney Craft Ideas & Sewing Projects
- How to Use the Cricut EasyPress
- Cruising the Norwegian Fjords with a Family
