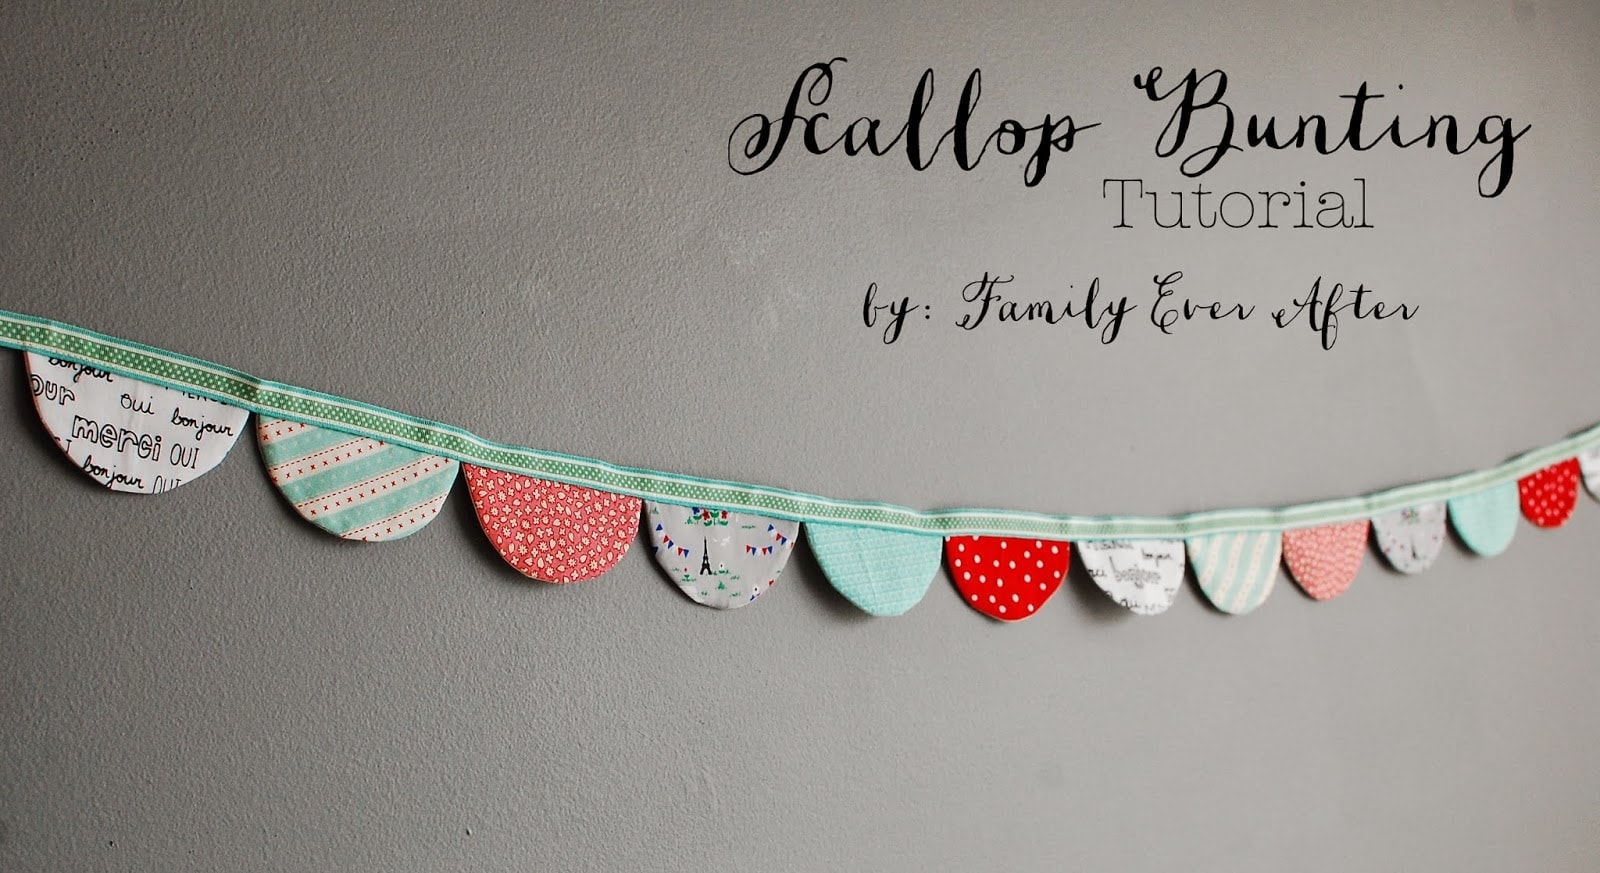
Scalloped Bunting Sewing Tutorial
Join Rachel and me as we show you how to make a scalloped bunting with this free tutorial!
Hello friends! I’m so happy to be here today on Melissa’s blog to share in her polka dot series. My name is Rachel and I blog mainly about sewing at Family Ever After.
My husband and I recently went on a trip to Paris to celebrate our 10th Anniversary. I told him that the only souvenirs I just had to bring home were chocolate and fabric.
We went to two fabric shops, and it was a fun experience to order fabric in French, and metres nonetheless! When I got home, I went through my stash and combined my new French fabrics with a few other favorite prints, which include polka dots of course. I also got a few extra notions in France, including some cute polka dot ribbon.
Scalloped Bunting Tutorial:
I made a scalloped bunting with my French fabric treasures to hang up in my sewing room! There are several great scallop bunting tutorials around the web, and after being inspired by them, I came up with a different spin, which makes the most sense to me, with the fewest steps I could think of.
Step One: Create the Scallop Template
I wanted an exact half circle shape… not a scallop that was too long or too short. I also decided to back each scallop with muslin to save as much of my precious French fabric as possible. So here are the few easy steps to create this scallop bunting.
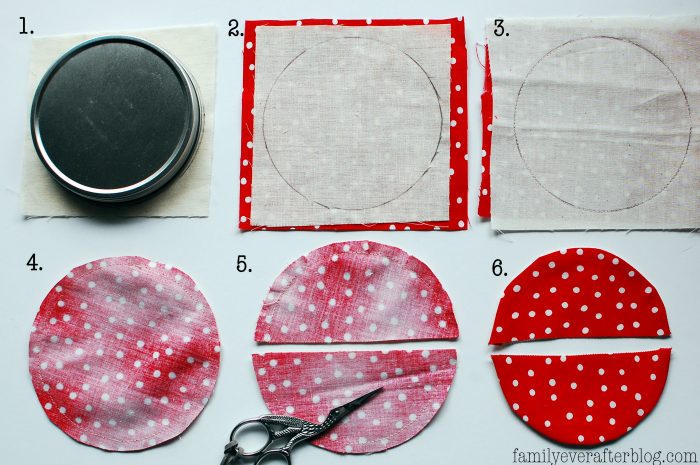
1. Find a circle template the size you’d like to make your bunting. I used the lid of a jar, and my circles measure 4 inches across.
2. Cut several squares of your fabric. Your squares don’t need to be cut to exact measurements but should be slightly larger than your circle template. Trace the circle to just one layer of your fabric. (I traced mine to the muslin).
3. Place right sides together and sew along the circle that you just traced. Be sure you’re sewing through two layers.
Step Two:
4. Now cut your circle from the square. You’ll be cutting about 1/4″ away from the curve you just sewed on.
5. Cut your circle directly in half, and clip your seam allowances in a few places, without cutting through your seam.
6. Turn your circle right side out. Use a point turner to help the seams lay flat, and press.
Step Three:
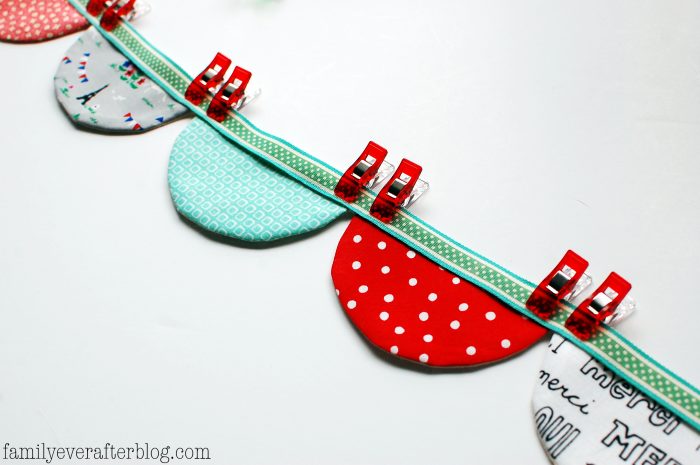
7. At this point, decide what you’ll be using to sew your scallops to. You can use bias tape (it hangs the best with a bias cut double fold tape), or you could use a simple ribbon like I did for this tutorial. I would recommend finishing off the raw edges if they won’t be encased in a double fold tape. Now space your scallops and pin or clip to your bias tape or ribbon.
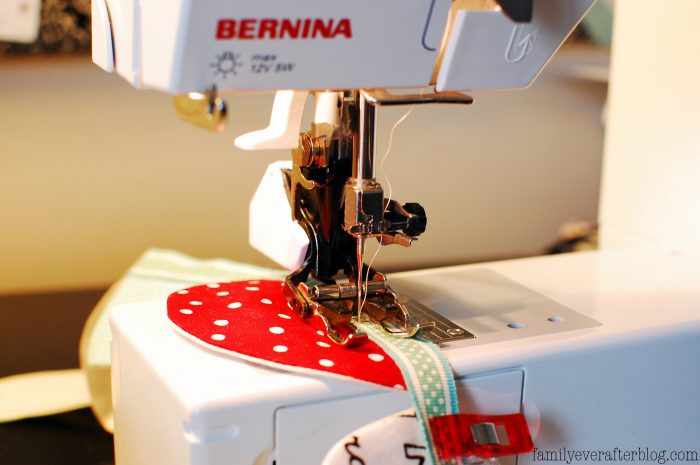
8. Sew close to the bottom edge of the bias tape or ribbon. Finish off the beginning and end with backstitches, and voila!
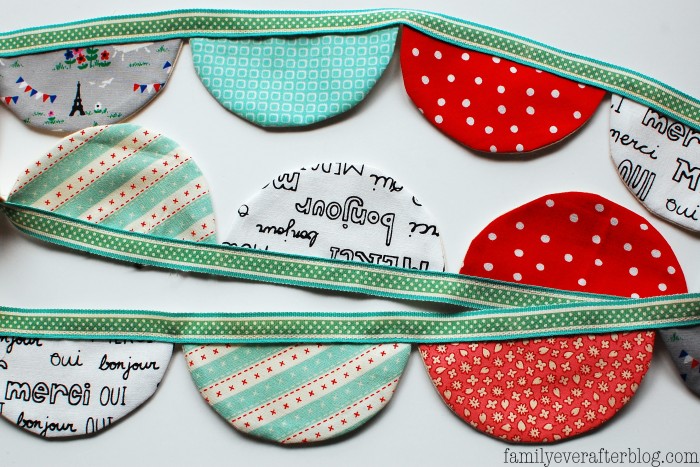
I hope you have a great time creating your own scallop bunting!
_________________________________________________
Thank you so much Rachel!! I bought fabric in Europe a couple of years ago and can’t convince myself to cut it! A bunting might be just the thing to make!
Stop by Rachel’s blog and check out these other projects:
Applique Notebook Cover
How to sew a bandage style knit skirt
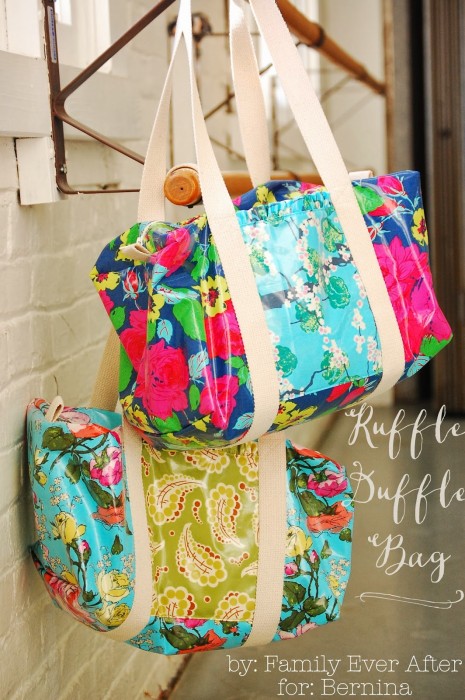
Ruffle Duffle Bag Tutorial

