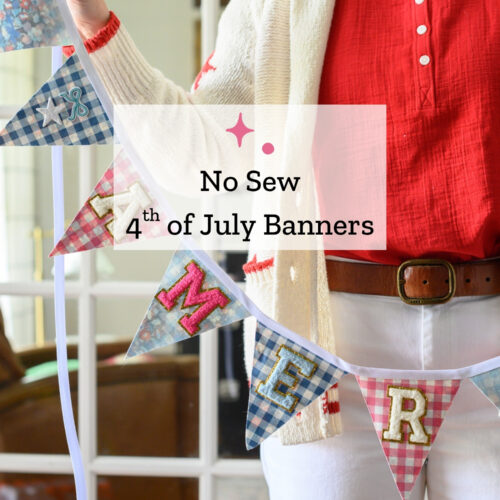
Patriotic No-Sew Fabric 4th of July Banner
With this year marking the 250th anniversary of the USA’s declaration of independence from Great Britain, it is a year of big celebrations. You need decorations to make this year’s celebration really pop. This DIY 4th of July banner is a customizable, no-sew project that will put the finishing touches on your celebration this year.
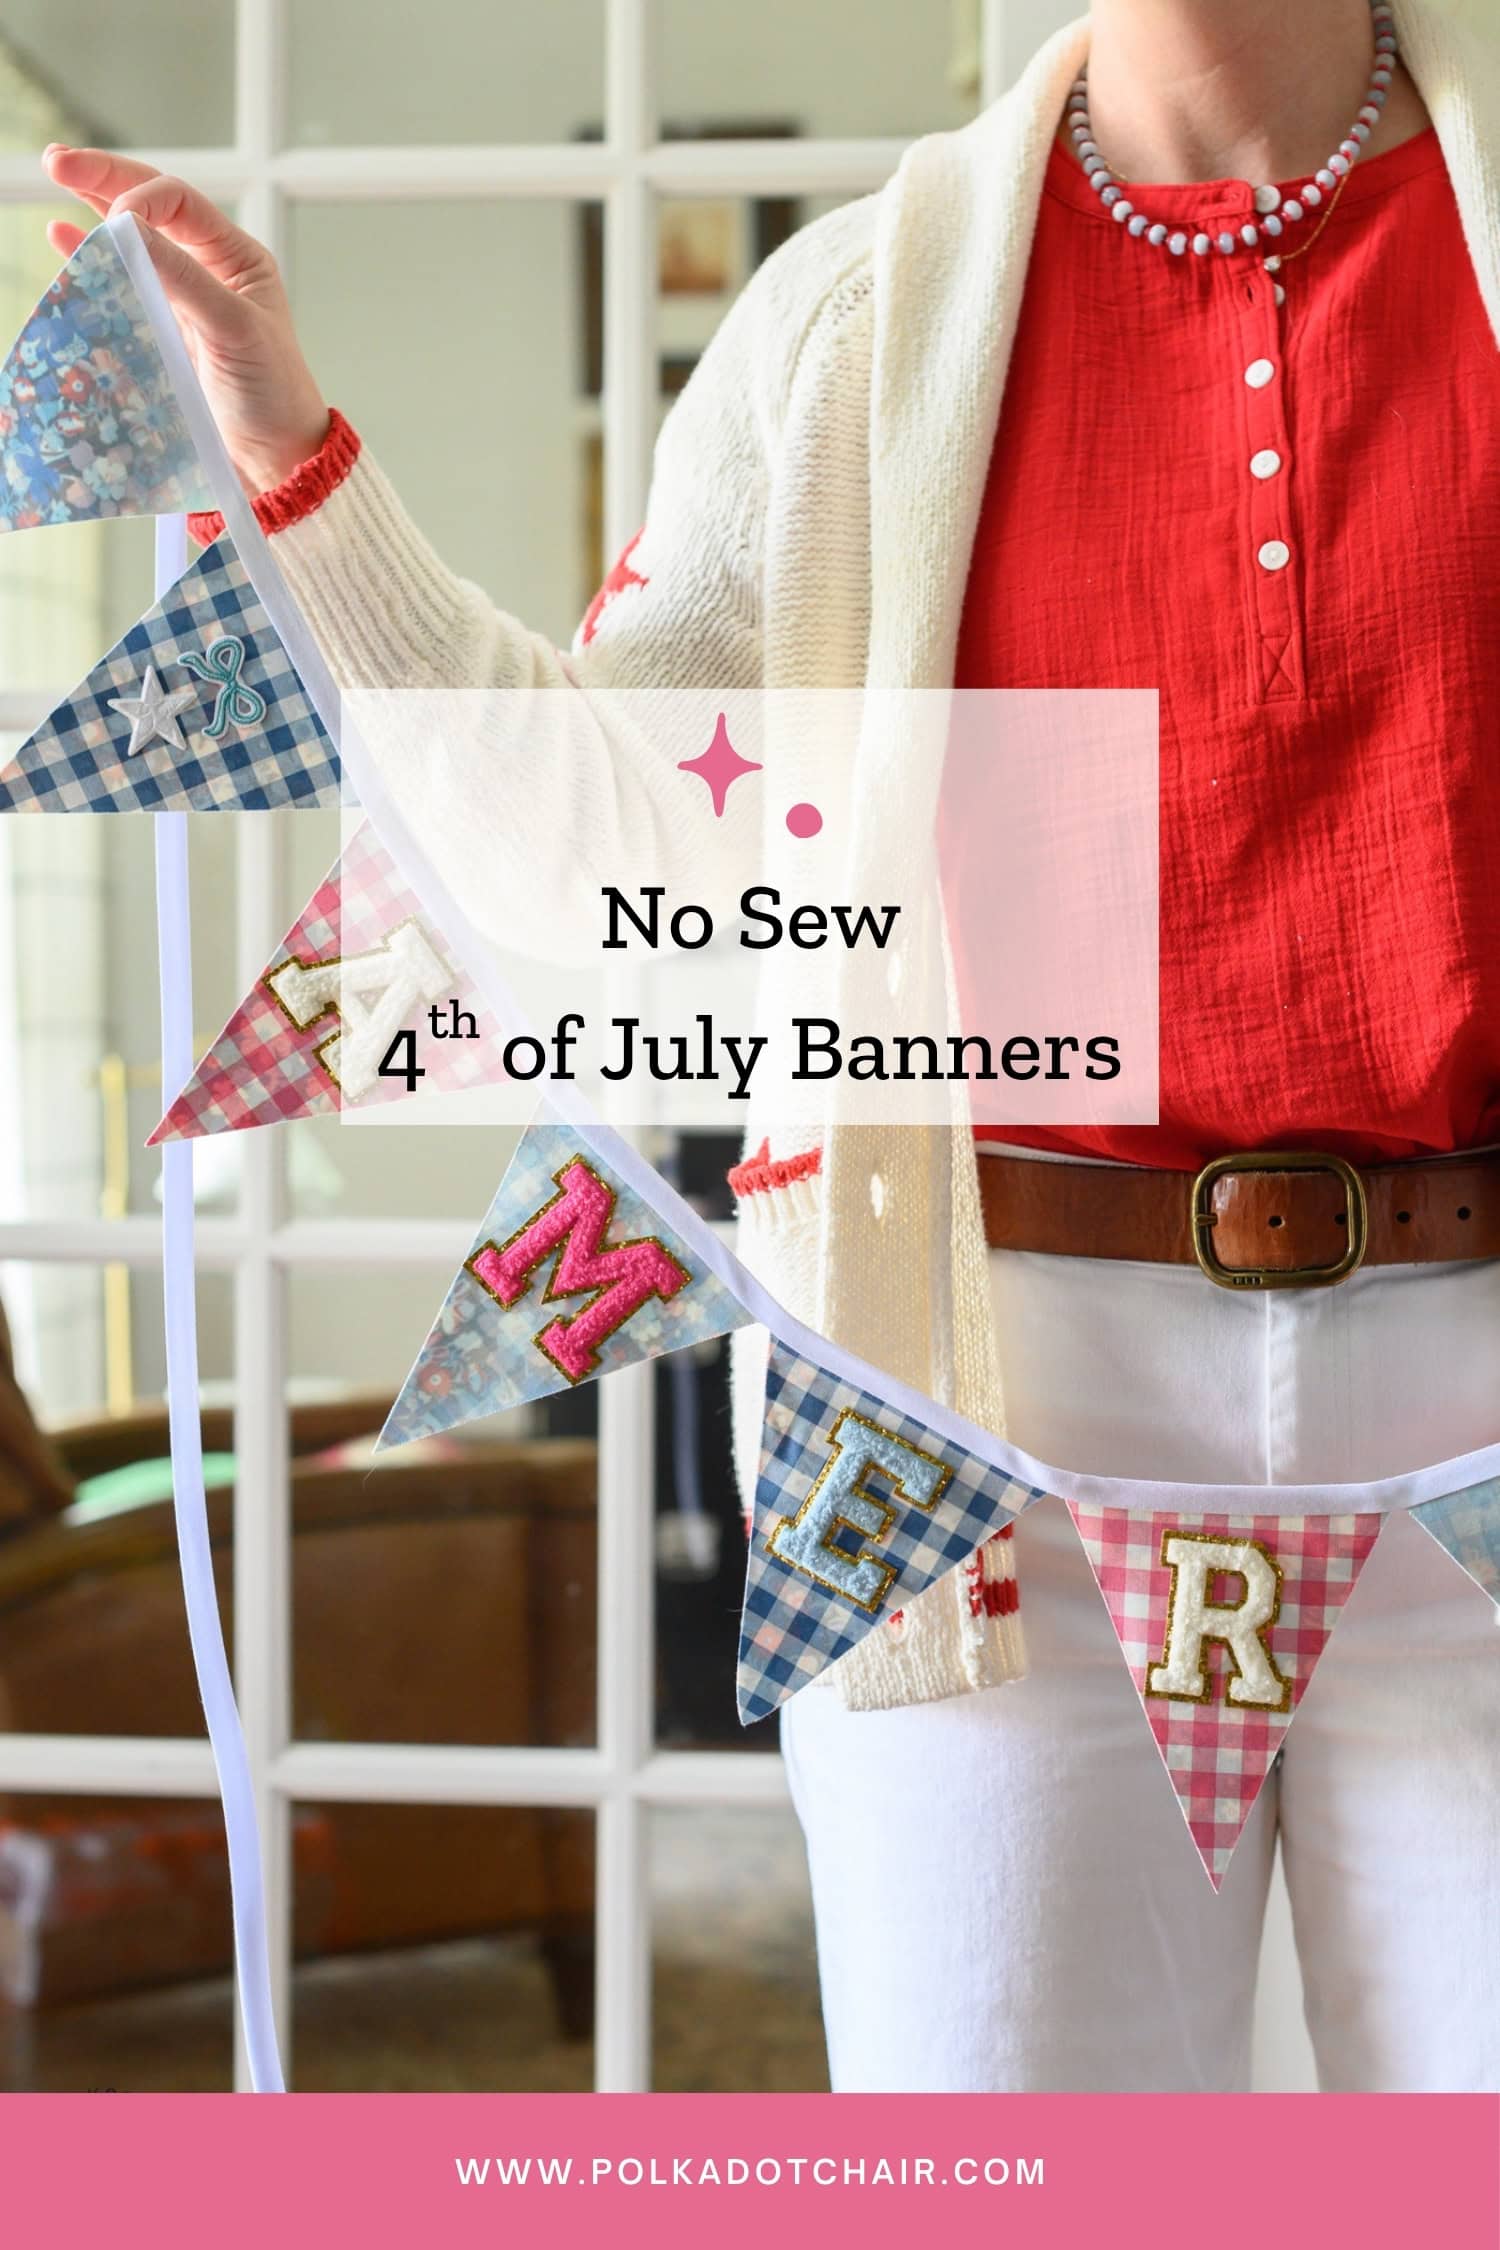
Whether you’re hosting a backyard barbecue, decorating for a neighborhood parade, or gathering friends and family to watch fireworks, this banner is an easy way to add a festive touch to your space. S
ince it’s completely customizable, you can create pennants featuring stars, stripes, patriotic sayings, or even your family’s name. Best of all, there’s no sewing required, making it a quick project you can finish in an afternoon and enjoy all summer long.
Fabric Banner Design Tips
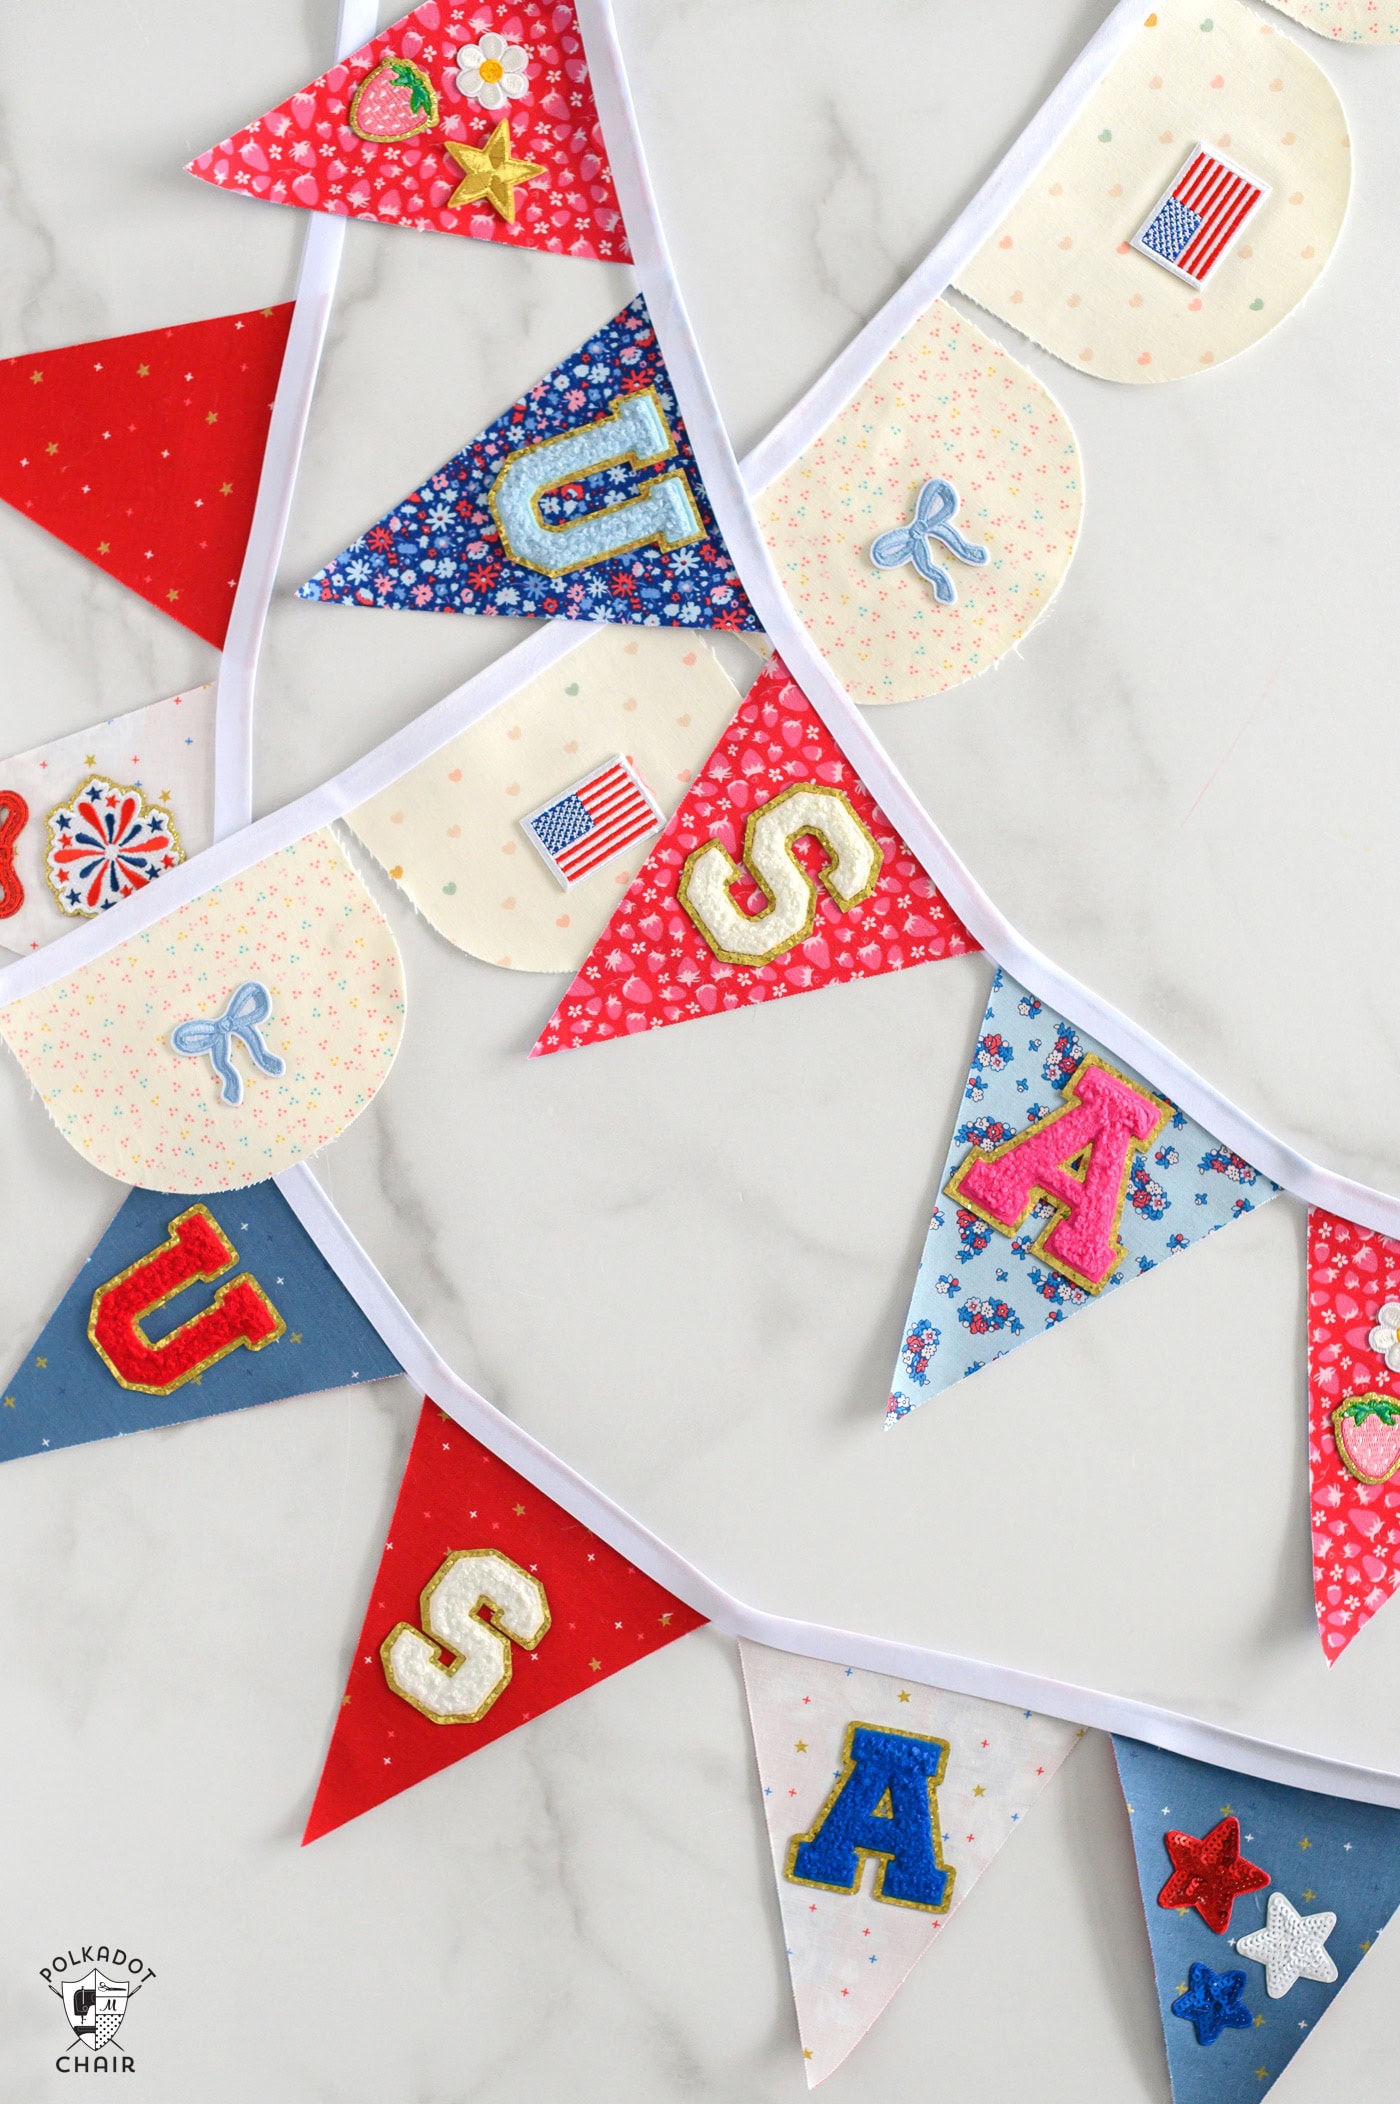
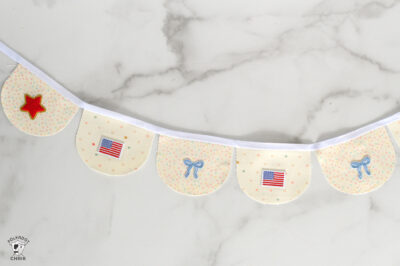
When it comes to picking your design, I would start by deciding which patches you want to use and how many. From there, you can figure out the color scheme you want based on what goes with the patches you have chosen.
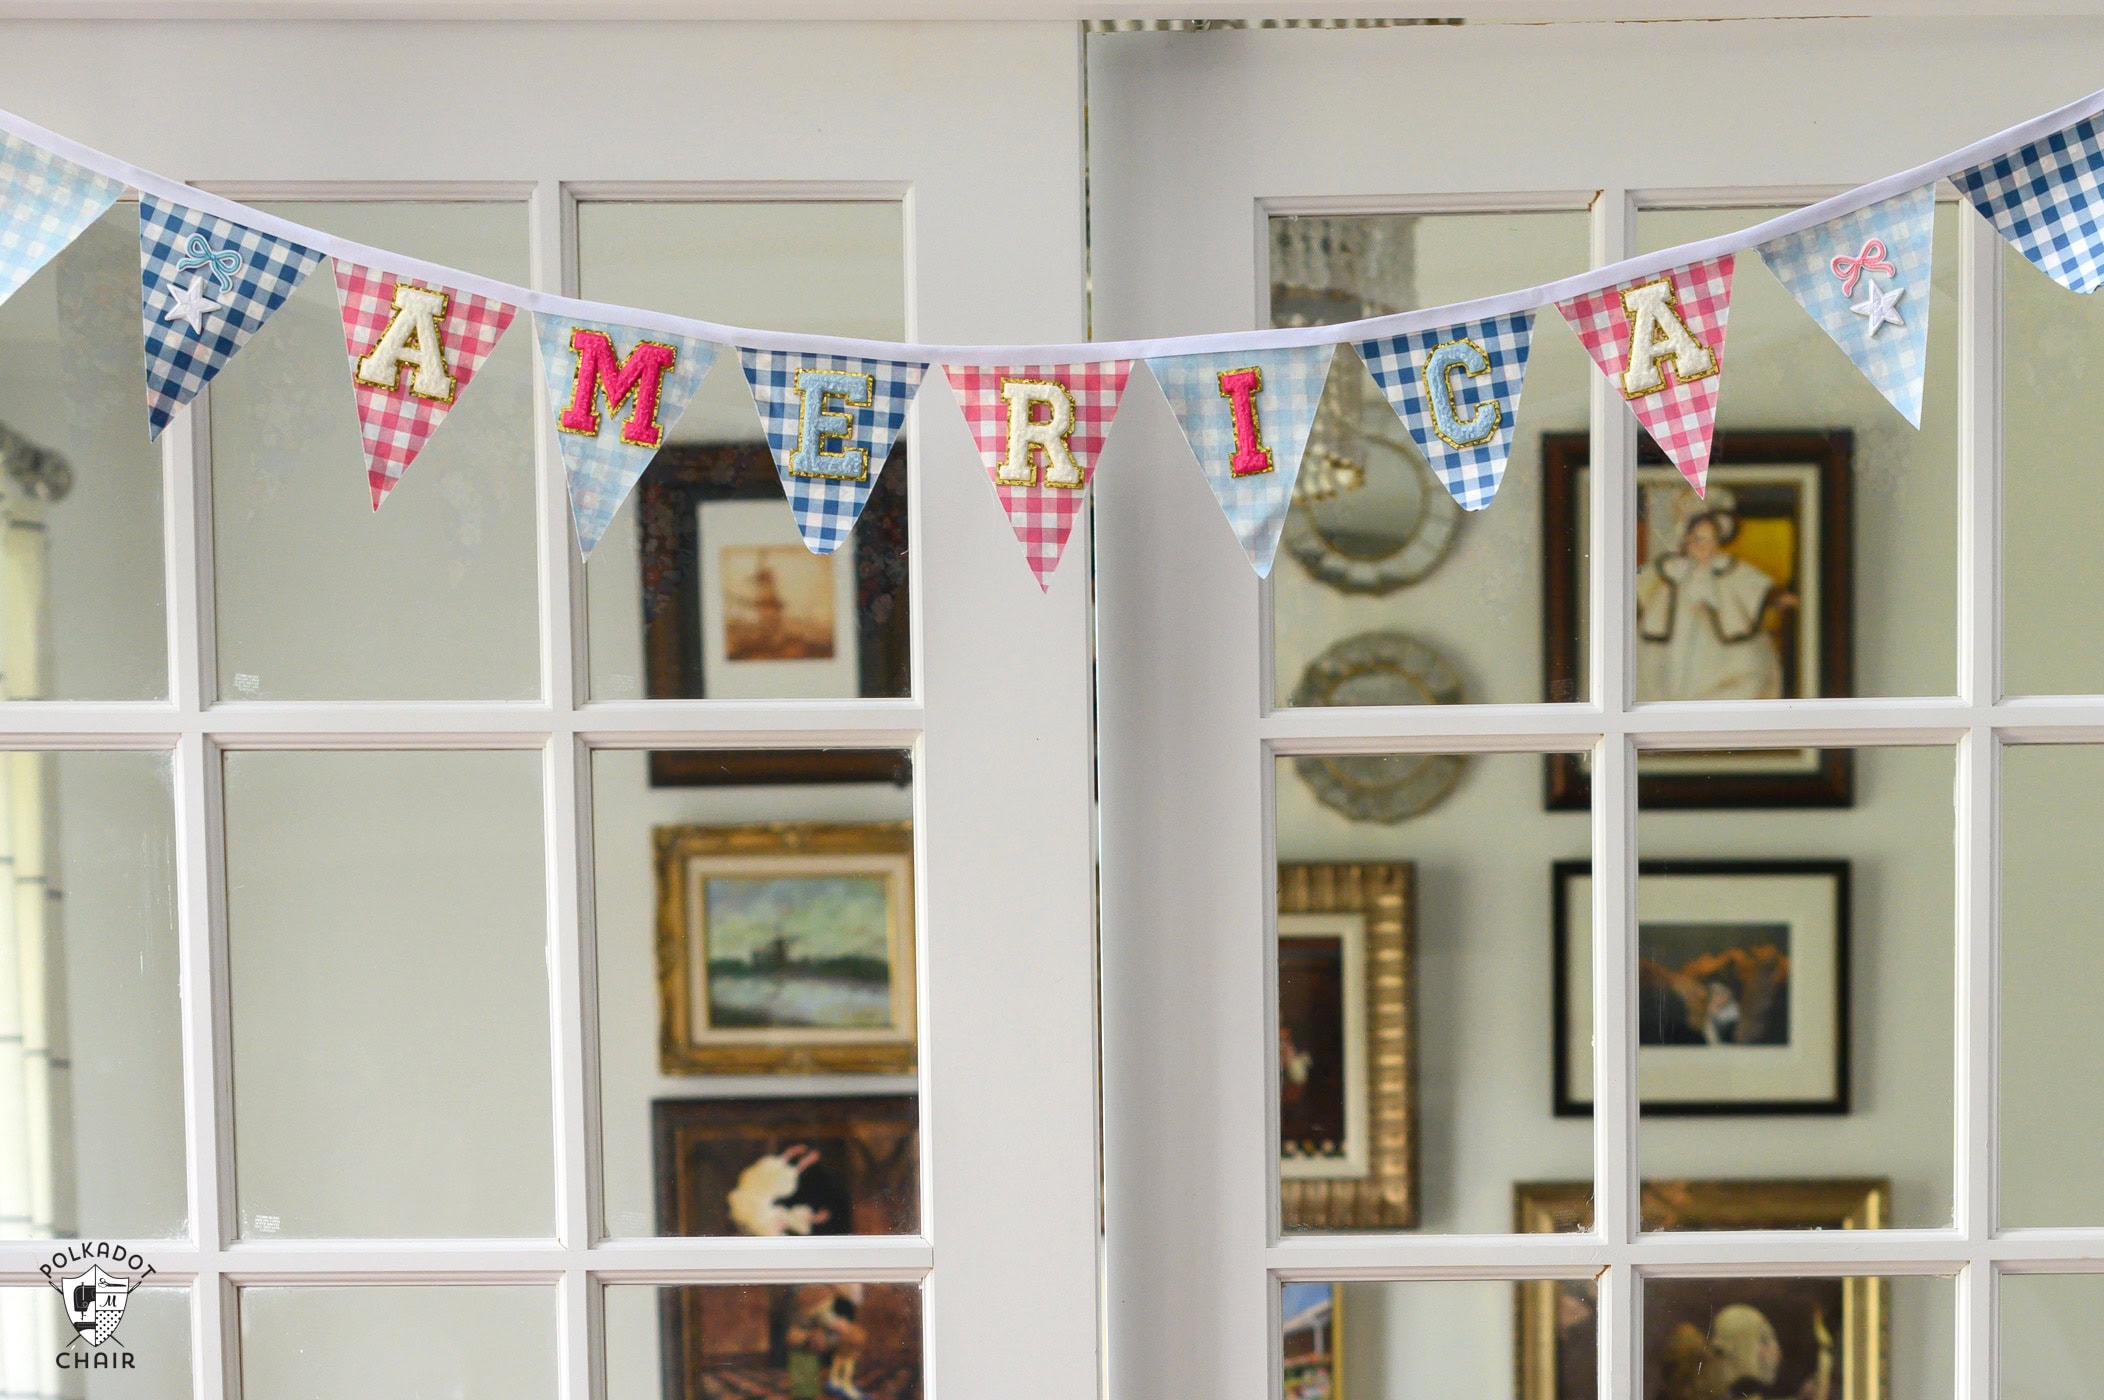
For instance, in this project, we have both a red, white, and blue USA and a pink, white, and blue USA. I used classic red, white, and blue for the red USA banner and pink, blue, and white for the pink USA banner.
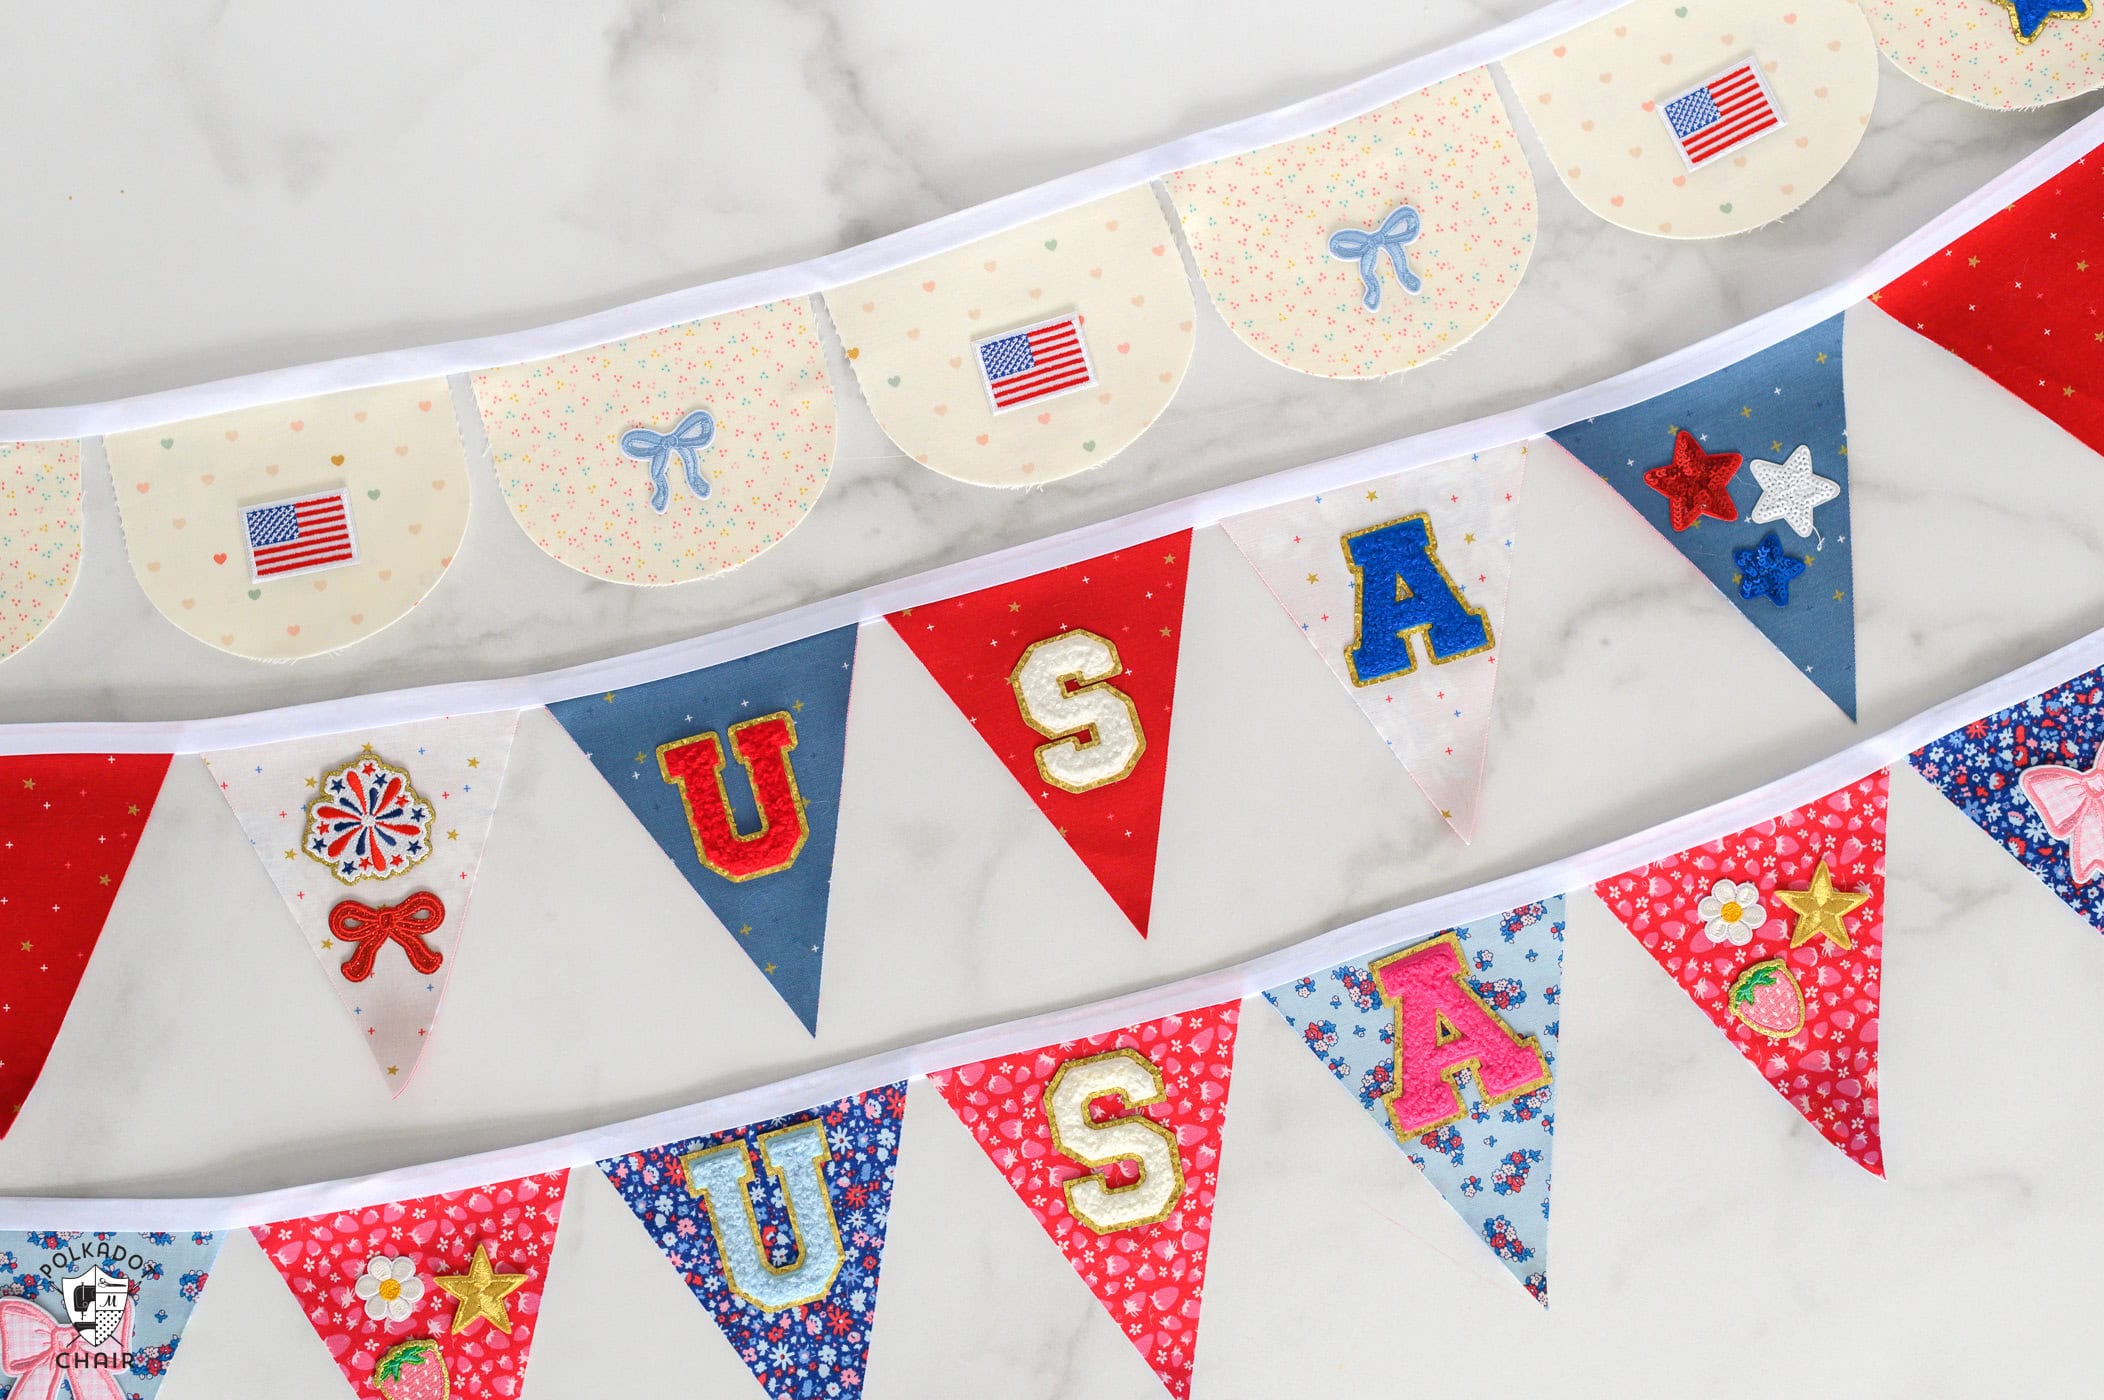
While you can use one type of fabric for the whole banner, I think that it adds a little extra fun and charm to alternate your fabrics.
Banner Details
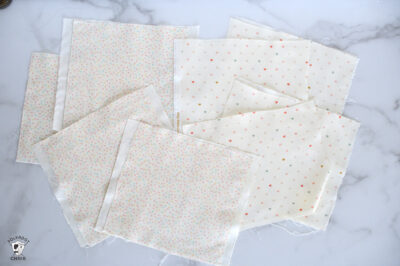
One nice thing about the fusible webbing is that you can pick one fabric for the front and one for the back. In all of the examples I made, I used one fabric on the back, usually in a fun/busy print, and alternated two to three fabrics on the front. I also made sure the prints I used on the side with the patches didn’t clash with them, and you can still clearly see each one.
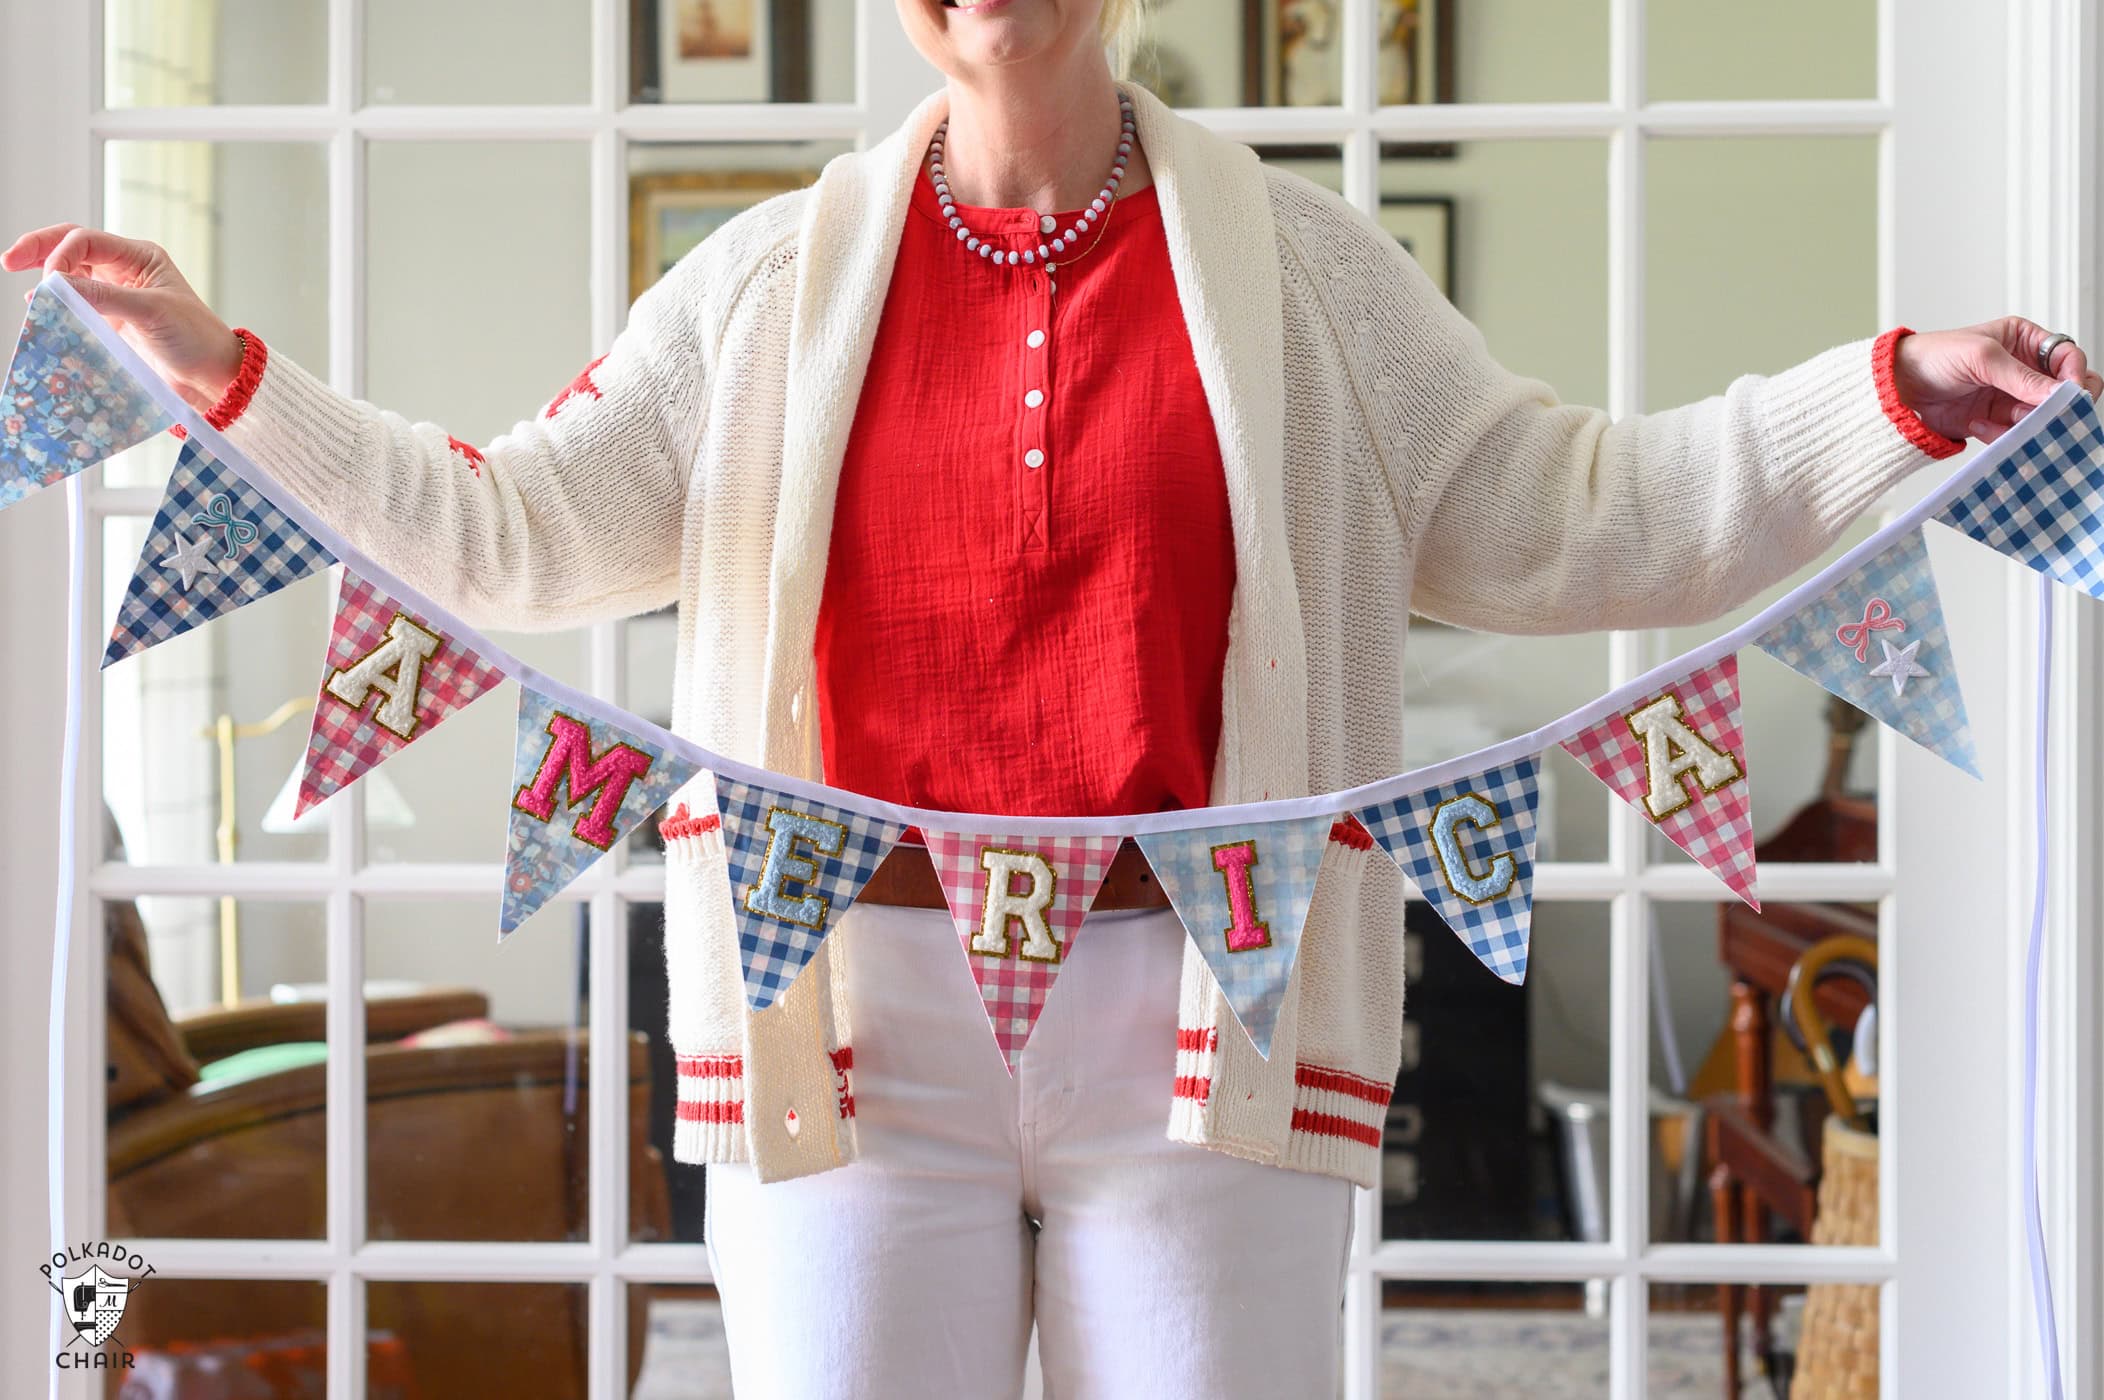
The number of flags, I would recommend between 7 and 11. The longest flag I made, the “America” one, is 11 triangles long, and anything longer would be difficult to use unless you had a really wide archway to cover.
(outfit details: red blouse – necklace)
You also don’t have to cover the entire banner with flags. As long as you cut the bias tape long enough to fill the space you want, any number of flags will look good.

Supplies:
- Fabric ( for the back and for the front)
- Paper-backed fusible webbing
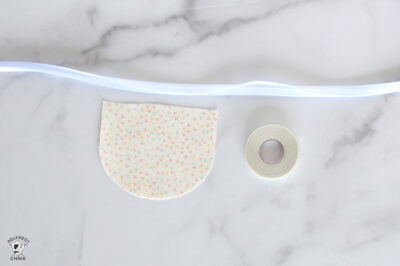
- Bias tape
- Heat and bond tape or basting tape (heat and bond will give a stiffer banner, where the basting tape will be more flexible when hanging)
- Iron
- Fabric Stencil (triangle)
- Patches – Patch Sources: Pastel letters, Blue/white letters, USA sparkle letters, Bows, Stars, Fuzzy stars, Sparkle stars, Hearts, Flowers, 4th of July, Various shapes.
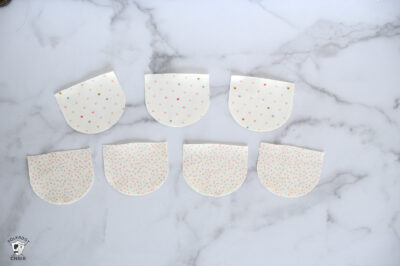
You can use a plastic template to make the triangle flags (linked above). The templates come in three sizes; the flags in this post match the 8×6.6 in triangle. You can obviously make the triangles any size you want; that is just what I used.
A downloadable template is also available above.
Patriotic No-Sew 4th of July Banner
supplies
- 2-3 Fat Quarters fabric for the back and front
- 6-10 patches
- 1 package paper-backed fusible webbing
- 1 package double fold bias tape
- 1 package heat and bond seam tape or basting tape heat and bond is stiffer basting tape will be more flexible
Instructions
- First, you will need to pick out your fabric. For these, I chose a single piece of fabric for the back and alternating fabrics for the front. I would recommend keeping the fabric on the front a simpler print so it doesn’t detract from the patches you chose. Once you know which fabrics you want to use, you need to figure out how many of each one you will need. For this, I drew out my flags on a piece of paper and marked where I wanted each patch to go to figure out how many of each I needed. This is also a great way to help you figure out your fabric/patch patterns if you want to use alternating fabrics.

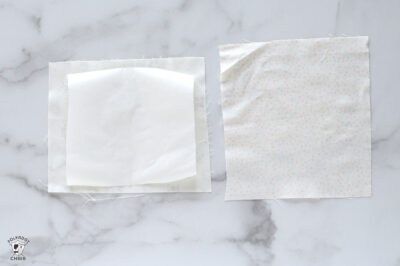
- Now that you have selected your fabrics, you are going to take your fabric stencil and measure its height and width. This will help you determine how much fabric and webbing you need to cut. I like to cut the fabric a couple of inches larger than my stencil so that I have plenty of fabric to work with for each flag. You will then want to cut your webbing into a square roughly the size of your stencil, but smaller than your fabric square.
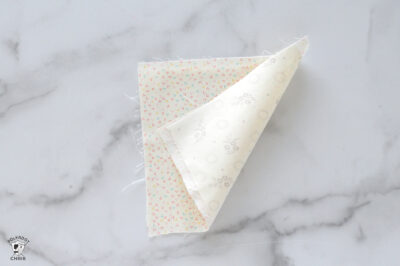
- Iron your fabric pieces so they are nice and smooth. Once you have done that, iron on your fusible webbing by following the instructions on the packaging.
- Cut out your flags using your fabric stencil to make sure you get a nice crisp edge.
- Steps 5 and 6 can be alternated depending on your patches and personal preference. I swapped them when I had patches that were almost too big for my flags to make sure they didn't interfere with attaching the bias tape to the flags. Now you will take your patches and iron them onto the flags. I found some patches with sticker backs, making it really easy to keep your patch in the right place while you iron it onto the flags. This is also where drawing out the plan is helpful to make sure you iron your patches onto the correct fabrics.
- To figure out how much bias tape you need, I recommend laying out each flag with the spacing you want and rolling the bias tape along the top of the flags, leaving enough room at each end to tie it up. I would also recommend marking the point on the bias tape you want to start adding the flags with a pin or a clip, so you keep the length accurate. Now you will need your flags, bias tape, and bonding tape. Simply follow the instructions on the tape packaging. I would recommend making sure you bond both sides of the flag to the bias tape. I bonded the bottom of one flag to the tape, then the top, before moving on to the next flag. An optional step I took was to use a little bonding tape at the ends of the bias tape where it would be tied to something, to keep it neat and in place.
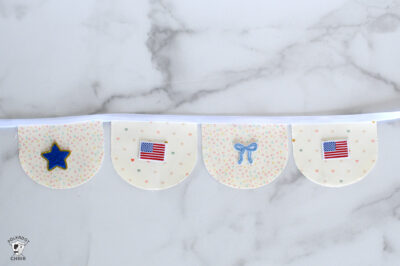
- Your banner is done once you have added all of your flags to the bias tape and ironed on your patches. Now all you have to do is hang it up, and you have the perfect DIY 4th of July decoration.
Similar posts: