Reverse Stencil Wood Sign Tutorial
When I attended SNAP conference in April, I learned a fun new technique for reverse stenciling from the girls at Poppyseed Projects.
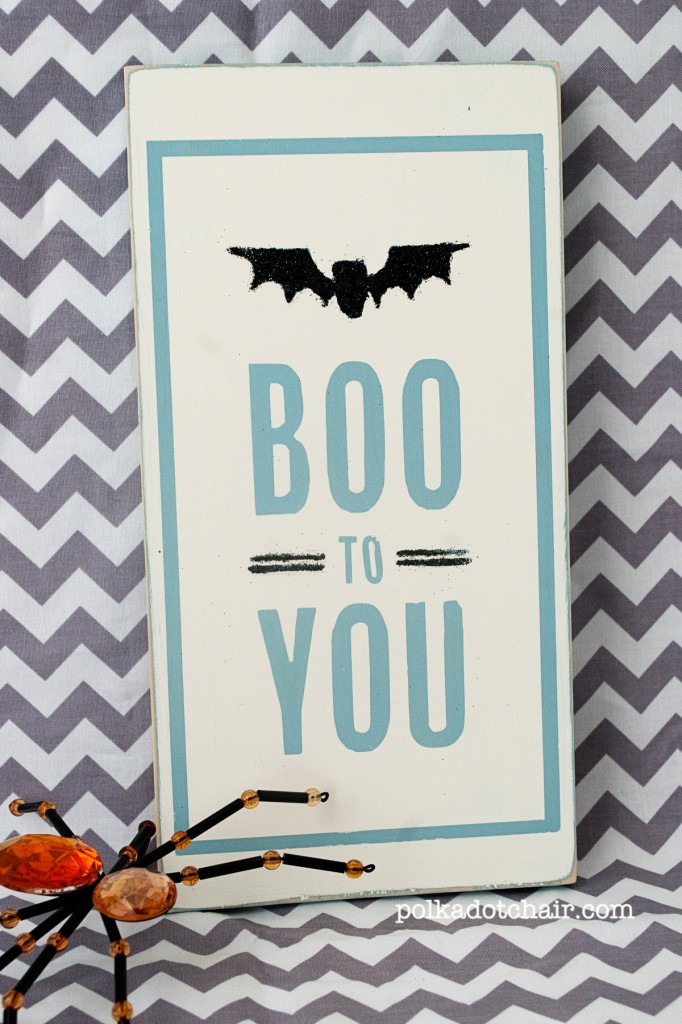
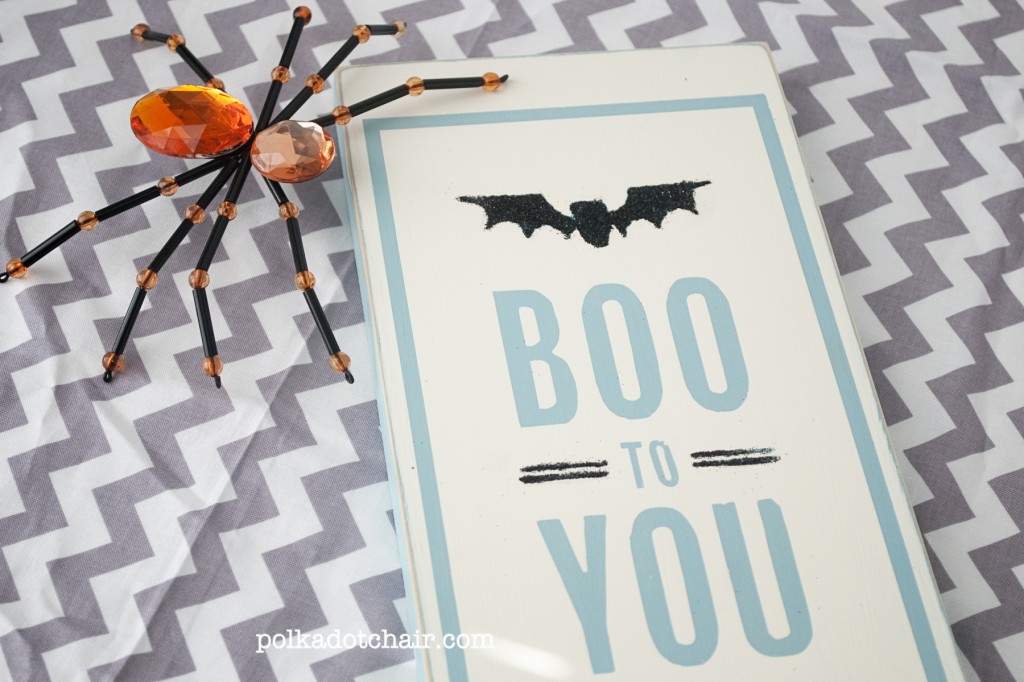
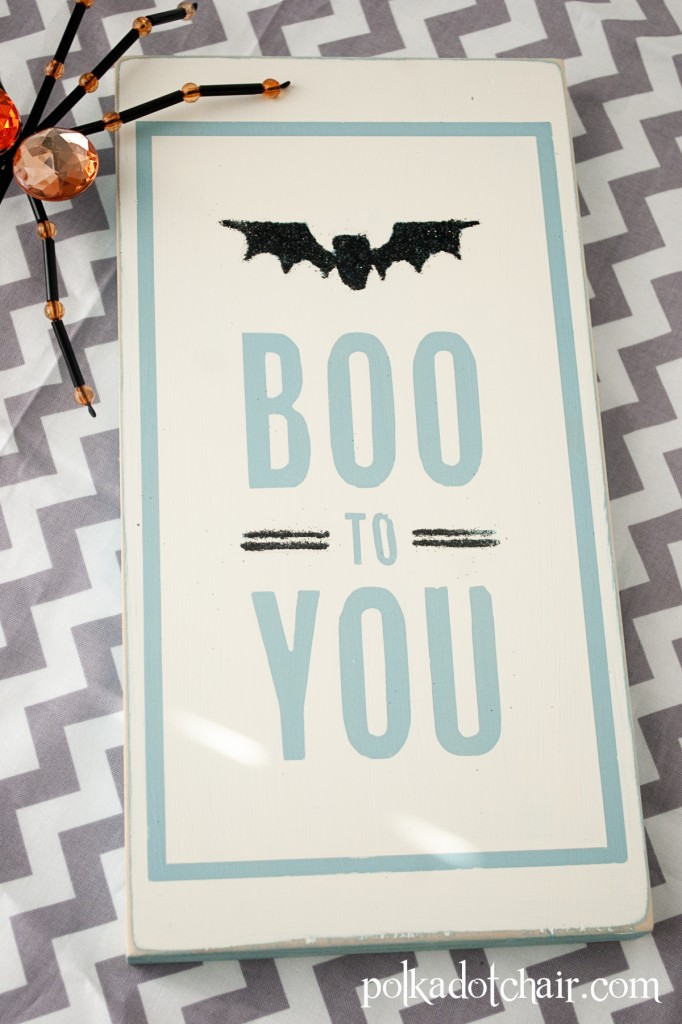
Using this technique I made a fun little Halloween sign using some scrap wood and a stencil cut with my Silhouette machine.
When you reverse stencil you start by painting your board the color you want your words to be, then use your vinyl as a stencil. It doesn’t matter what color your vinyl is because you’re going to rip it off at the end.
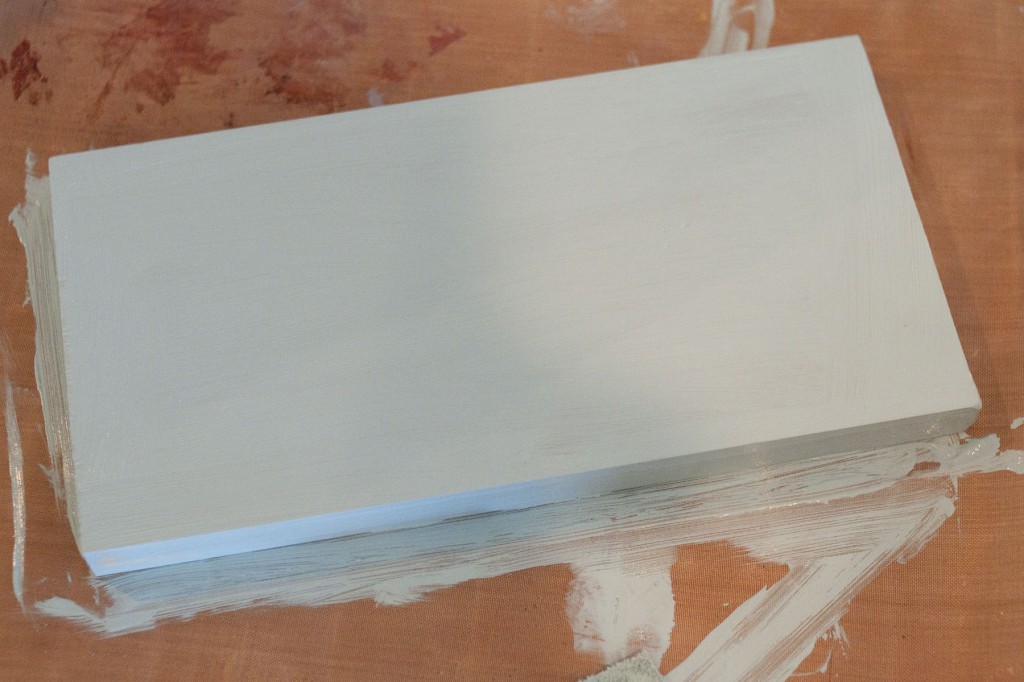
To make my sign, I first lightly sanded my wood board, then painted the entire thing light blue.
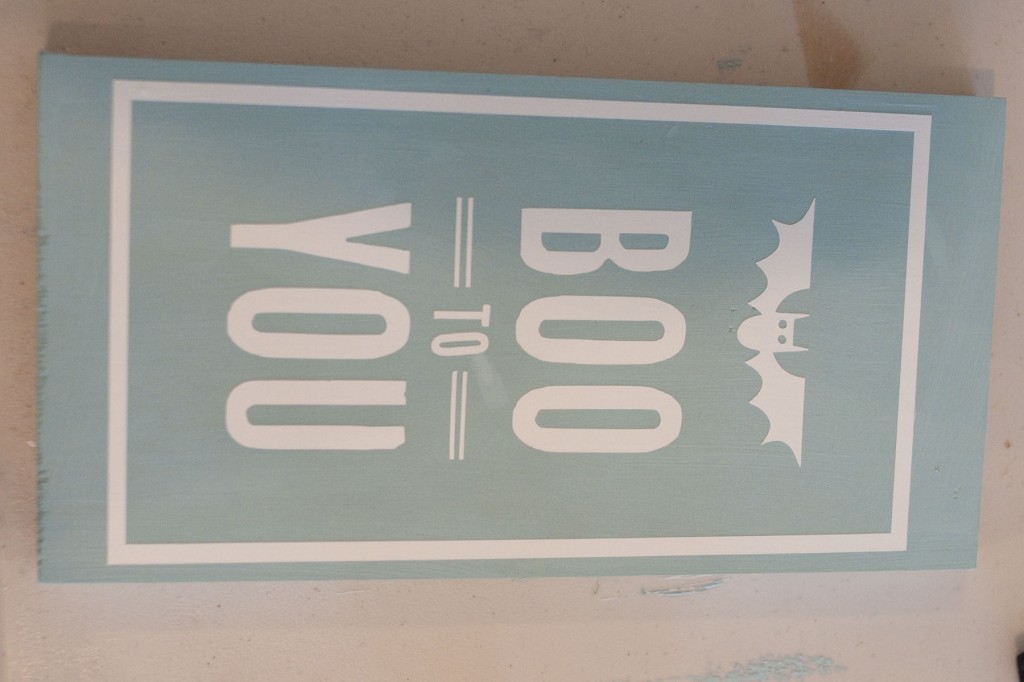
After letting the paint dry completely, I applied my stencil on top of the board.
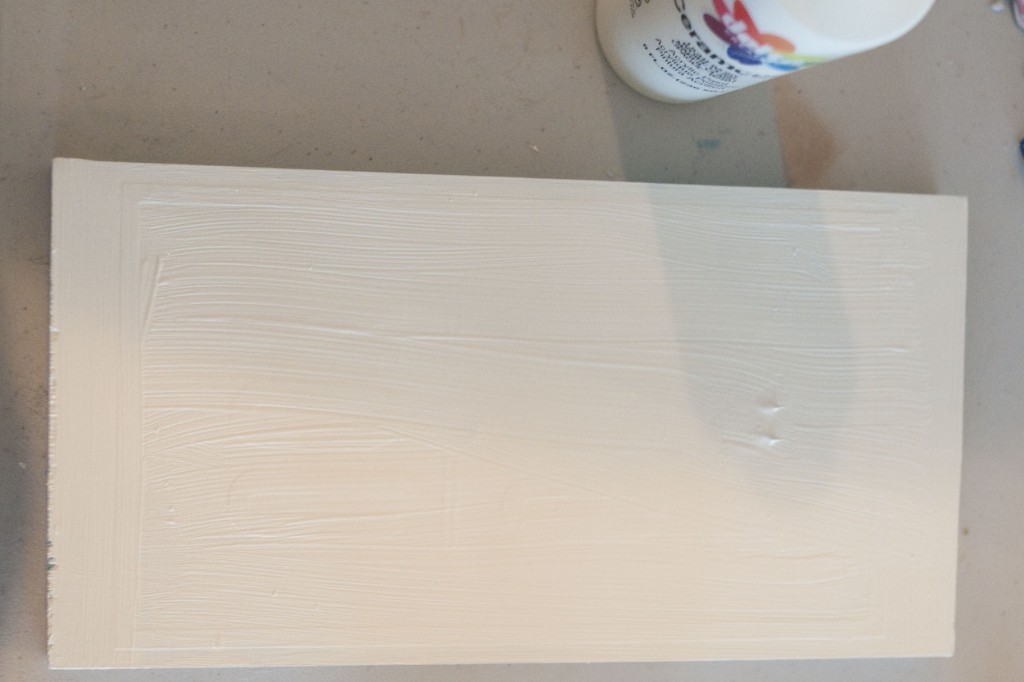
I then coated the entire board (vinyl and all) with warm white paint. I let it dry then peeled off the vinyl.
After pulling off the vinyl, I had a stenciled image on my board. To finish it up, I used some glue and black glitter to add detail to the bat.
If you like at the end you can sand the edges down well. I guess I sanded mine a bit too well, as I broke my handheld sander— oops… time for a new one 🙂

