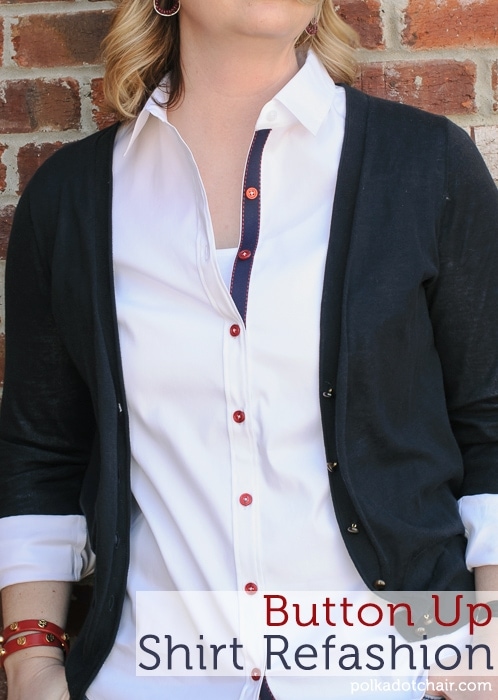
Button Up Shirt Refashion
A big thanks to Jo-Ann Fabric & Craft Store for sponsoring today’s post by providing me with the supplies for the project // Okay, so a small break from the polka dots today, although you could easily make this project with some cute polka dot ribbon.
I don’t know about you but the long winter has left me feeling like I need to redo everything!! We have been cleaning out rooms, painting rooms, and planning new projects around the house. It seems this desire to redo everything has spilled over to my wardrobe.
I took a look at this white shirt in my closet and thought “it could use a little somethin’ somethin’ “but I wasn’t sure what. An idea came to me while I was perusing the Jo-Ann Fabric and Craft Stores Spring Craft Inspiration website. Freshen up the plain white button down with a little bit of nautical inspiration. Perfect for Spring.

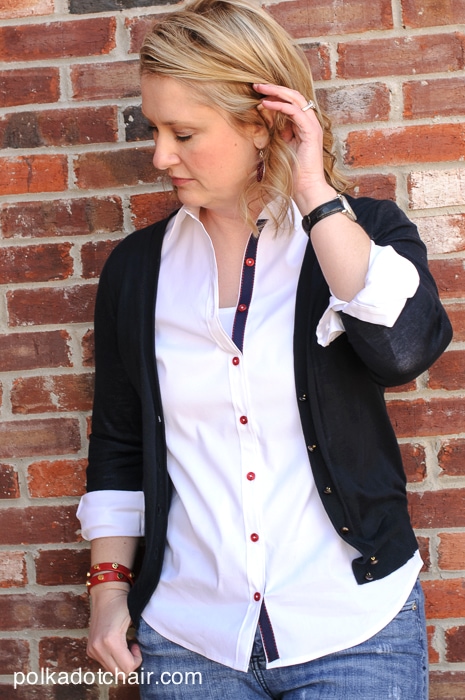
I love wearing button down shirts, I especially love layering them under jackets and sweaters. Since it seems we are in for a cold spring I don’t think I’ll be putting my sweaters away anytime soon, and since I’ve got more than one plain white button down in my closet, I figured I’d “live a little” and change one of them up a bit. (see the winter has gone to my brain, now I’m cutting up clothes too).
The project was actually very simple, I’ll walk you through the steps, but basically you pull the buttons off the button placket of a shirt and iron ribbon onto the placket. Then sew your buttons back on. I went with red buttons, but if that’s too much for you, just stick with the buttons that came with the shirt.
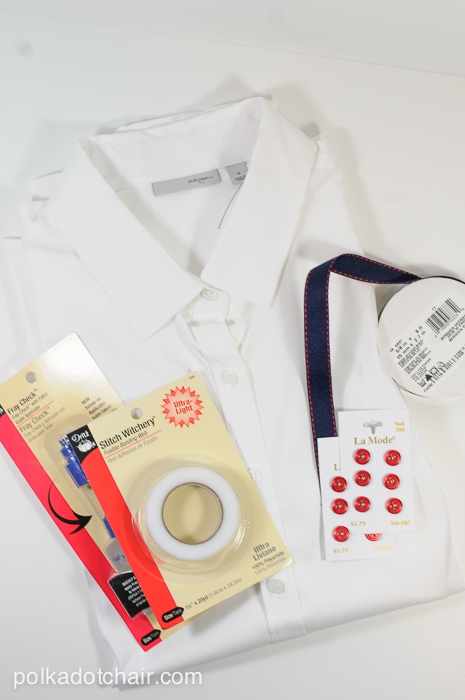
Okay to make one you’re going to need a few supplies, other than the shirt, you can find all the supplies at you local Jo-Ann.
-A button up shirt
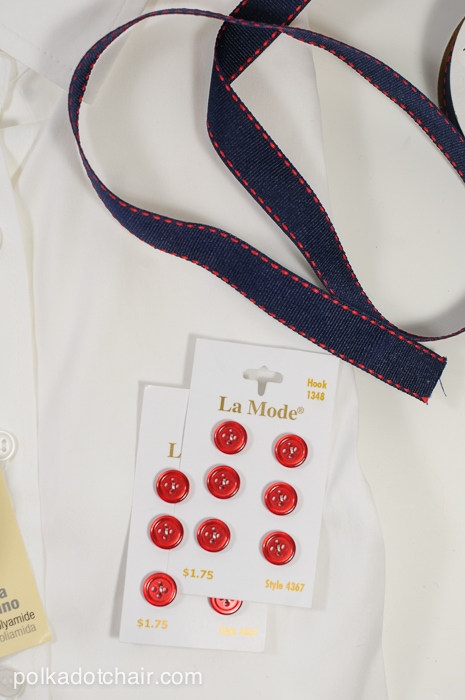
-Buttons (double check that they are the same size as the ones you are pulling off)
-Ribbon the exact width (or slightly smaller) of your button placket
-Stitch Witchery or seam tape the width of your ribbon
-Fray Check
-Iron
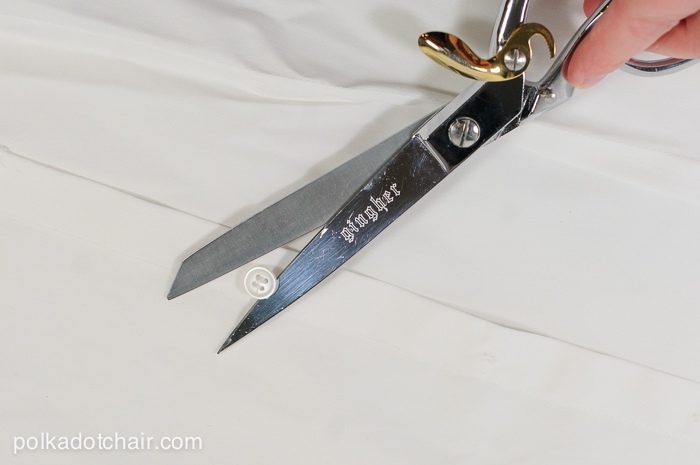
Okay to start off, cut the buttons off of the shirt. On the back of the button placket use a water soluble fabric pen to mark where the buttons were (to make it easier to sew them back on).
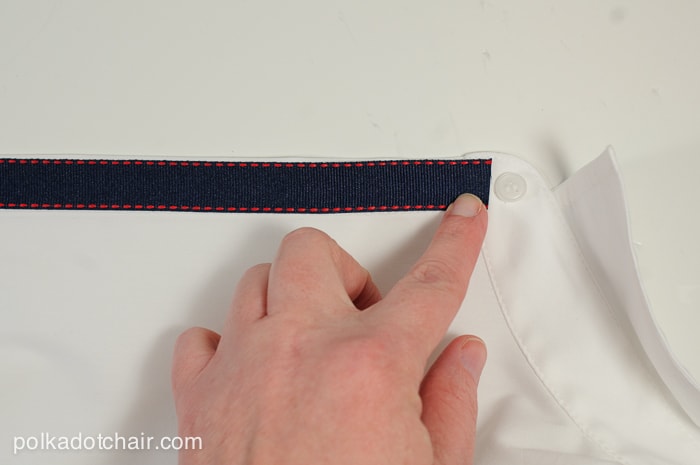
Next, starting from the top down, lay the stitch witchery along the button placket. Make sure it’s centered.
Then lay the ribbon on top of the placket, leave about 1/2” of the ribbon overlap at this point. I found it helpful to do this part on my ironing board and use pins stuck through the shirt into the padding on the board to keep things from moving around.
Press the ribbon in place with an iron. The stitch witchery will act like glue and hold the ribbon down. Stop ironing about 2” from the top and the bottom of the ribbon.
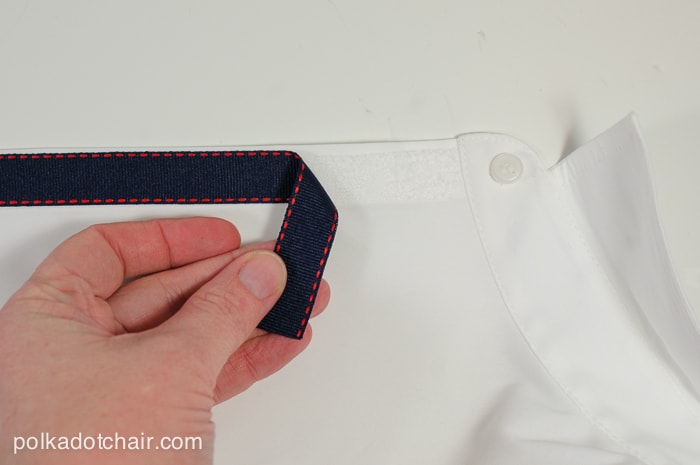
Use chalk to mark what angle the ribbon should be to fit snugly against the collar seam of the shirt. Cut the ribbon at that angle and apply fray check to the end. Let it dry. Repeat with the ribbon at the bottom of the shirt.
When the fray check is dry (don’t skip this step) press the remainder of the ribbon to the button placket.
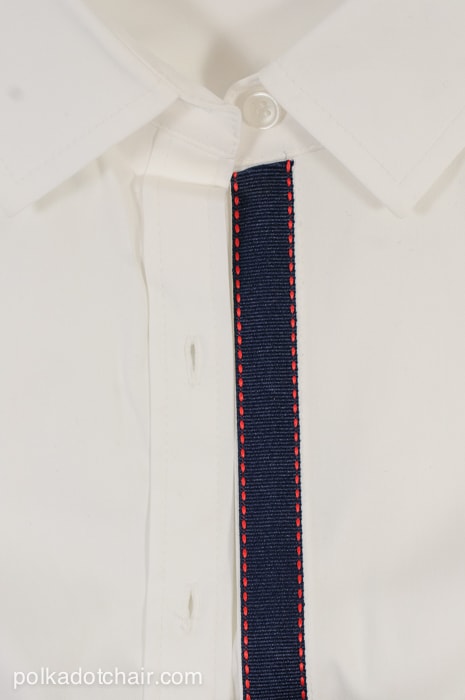
When you’re done you simply need to sew your buttons back on. Easy Peasy!
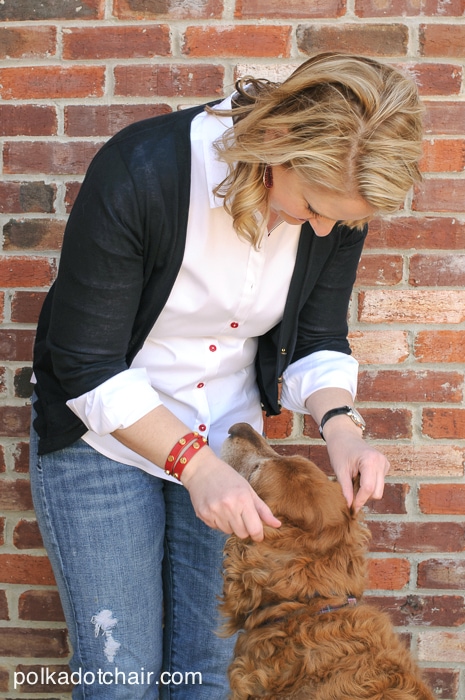
My 12 year old helped me take the pictures for this post (I still haven’t mastered the selfie)… I thought I’d share a few outakes…
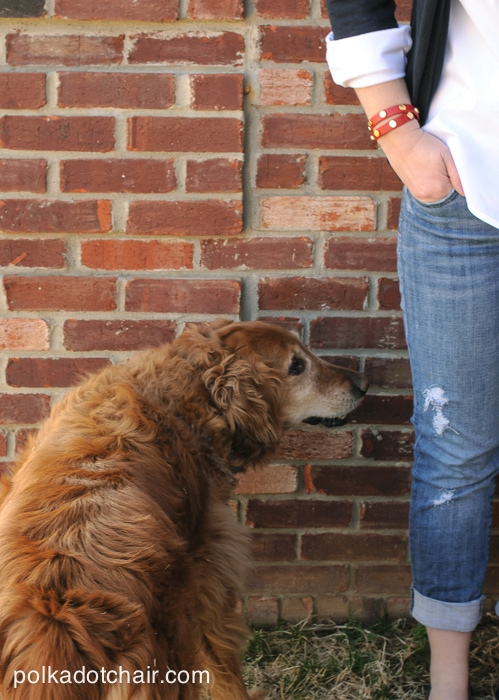
The dog that ALWAYS seems to show up whenever there is a camera around!
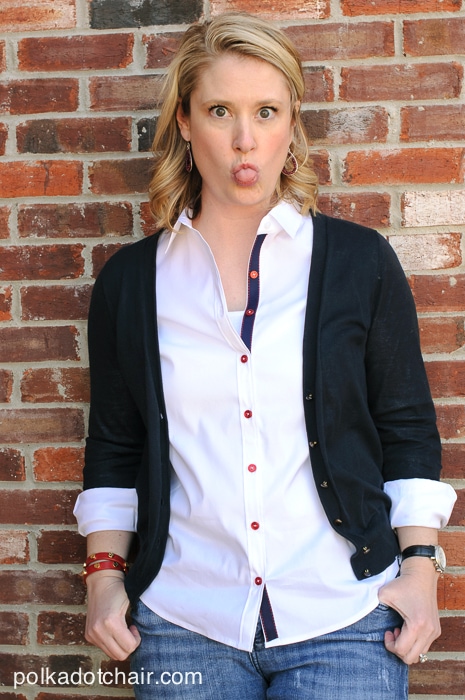
and one more photo — This is how I feel while I’m trying to instruct my 12 year old on how to take my photo on a windy Spring afternoon— “Don’t forget to press the shutter down half way to focus!!– Don’t point the camera at my shoes! – Hold the camera straight” etc. etc.
If you’ve caught the Spring crafting bug like I have, here’s $5 to donate towards your crafting “fix” this month! Stop by Joann before the end of the month to get $5 off a $25 purchase. Just print the coupon and take it to the store.
Connect with me:
![]()
![]()


Adorable! What a great idea – thanks for sharing this clever and easy project. It would be great to do on a cardigan as well!
Oh that’s a great idea! I’ll have to try that next.
What a great idea!
Nice idea! Not just for refashioning but also for shirts made from scratch.
Yes, I think that would be much easier, you could just hide the ribbon under the collar easier…
Just rip a few stitches on the collar band, insert ribbon and re-sew! Beater and no depending on Fraycheck.
LOVE this. I am going to do It. Thanks for the idea/instructions!!!