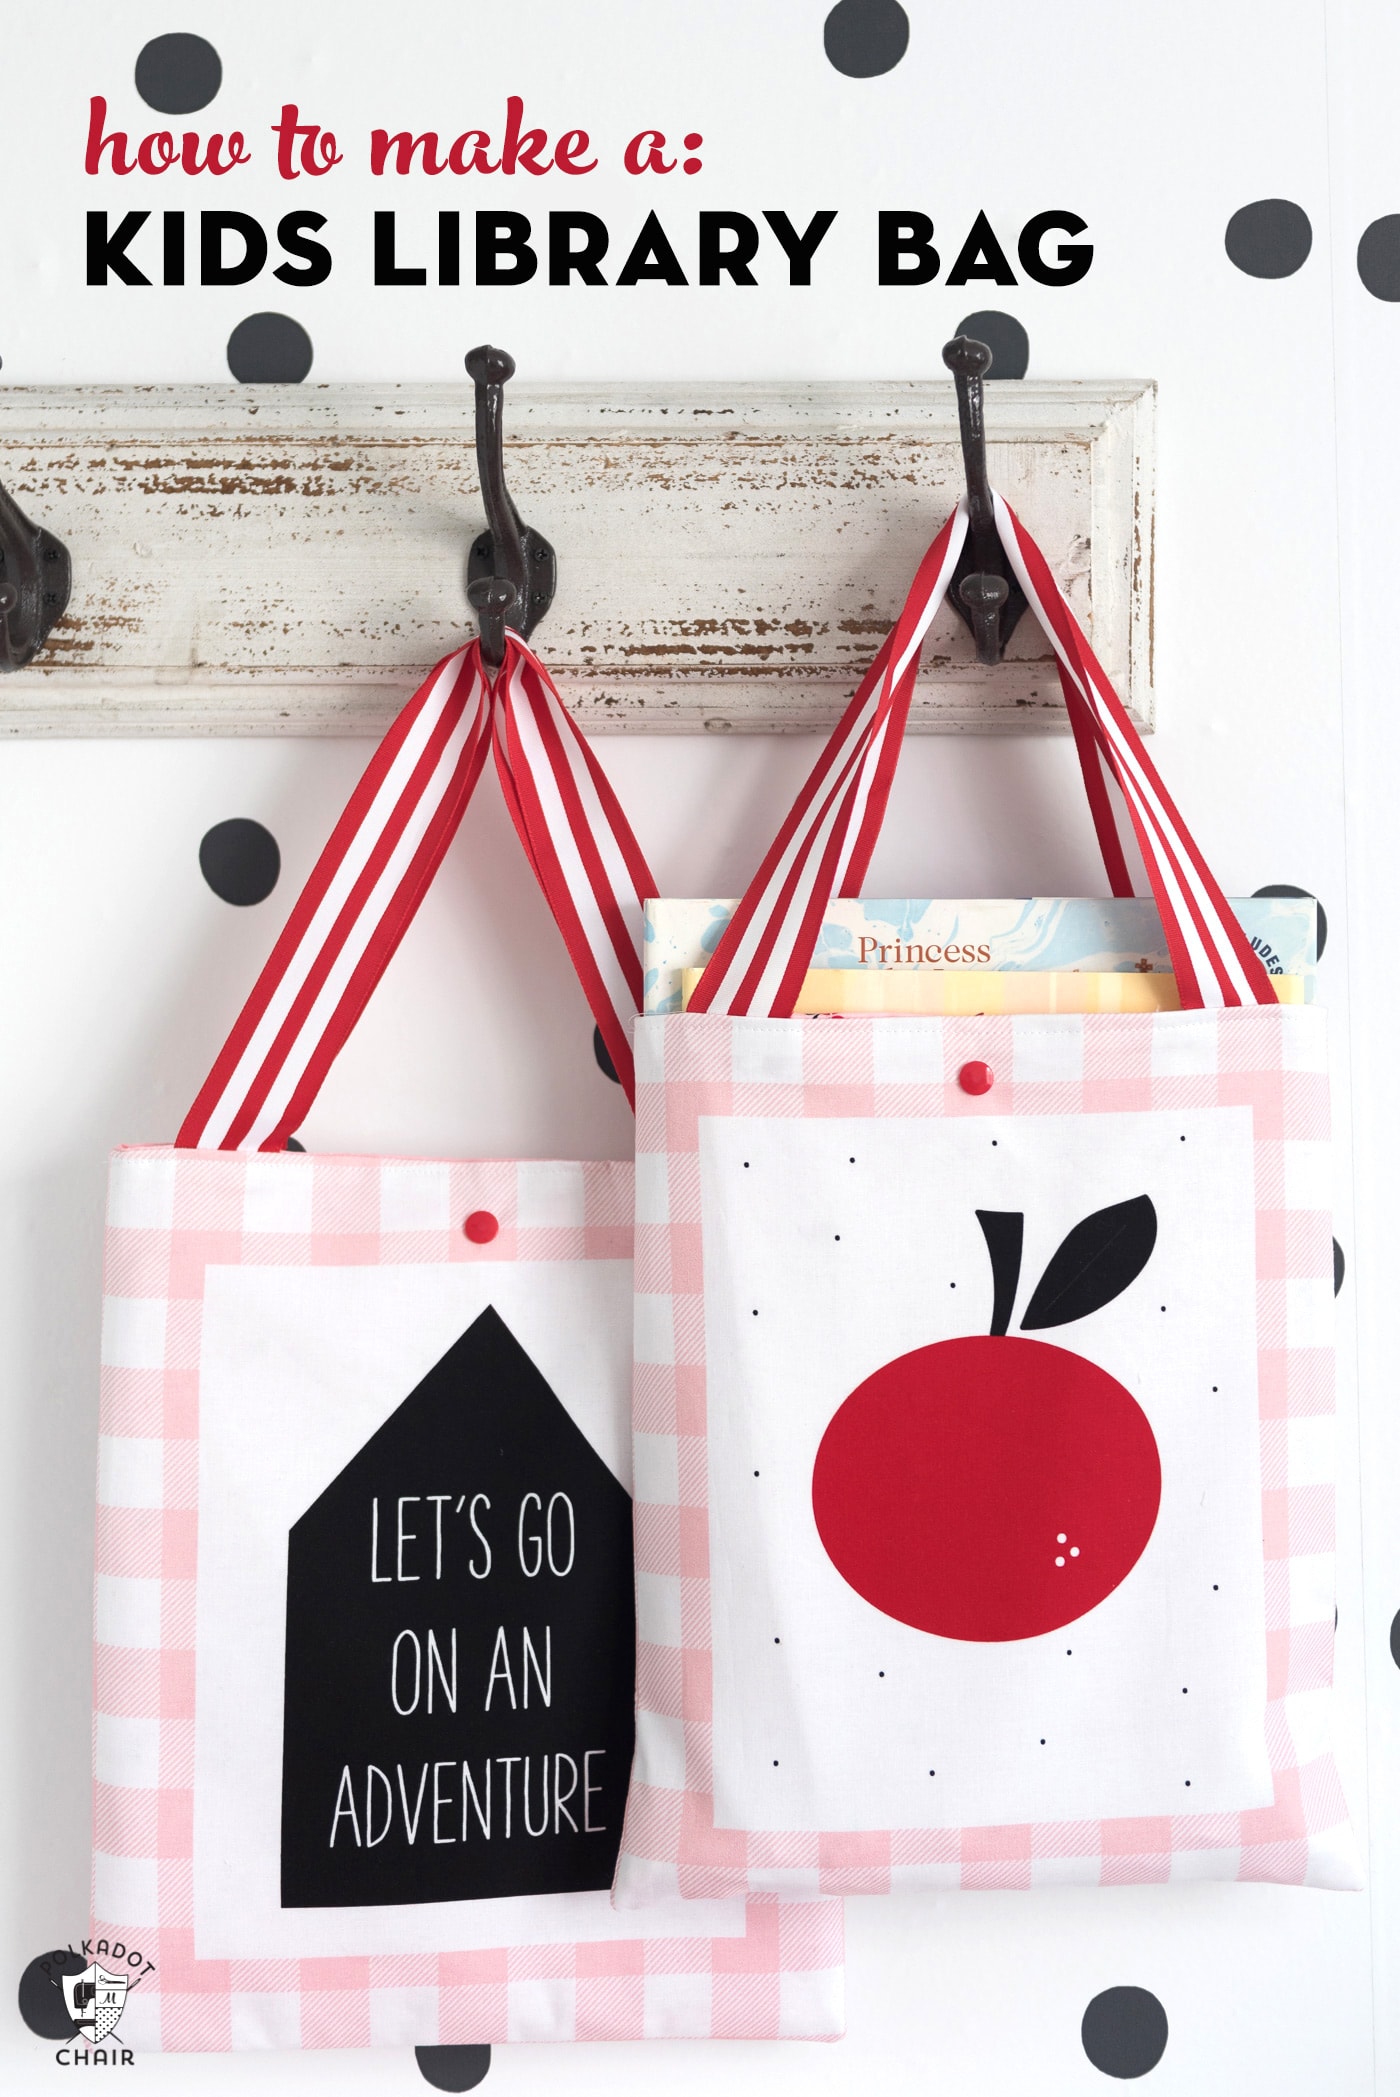
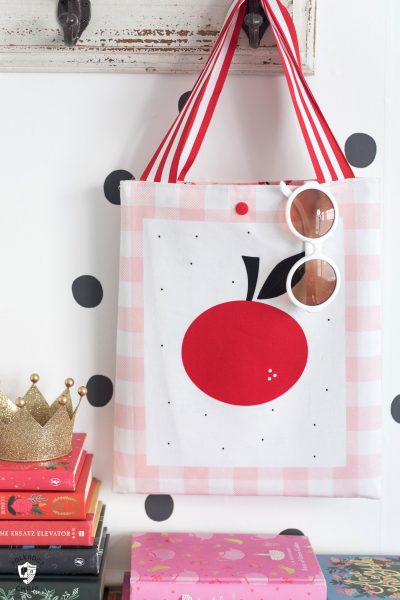
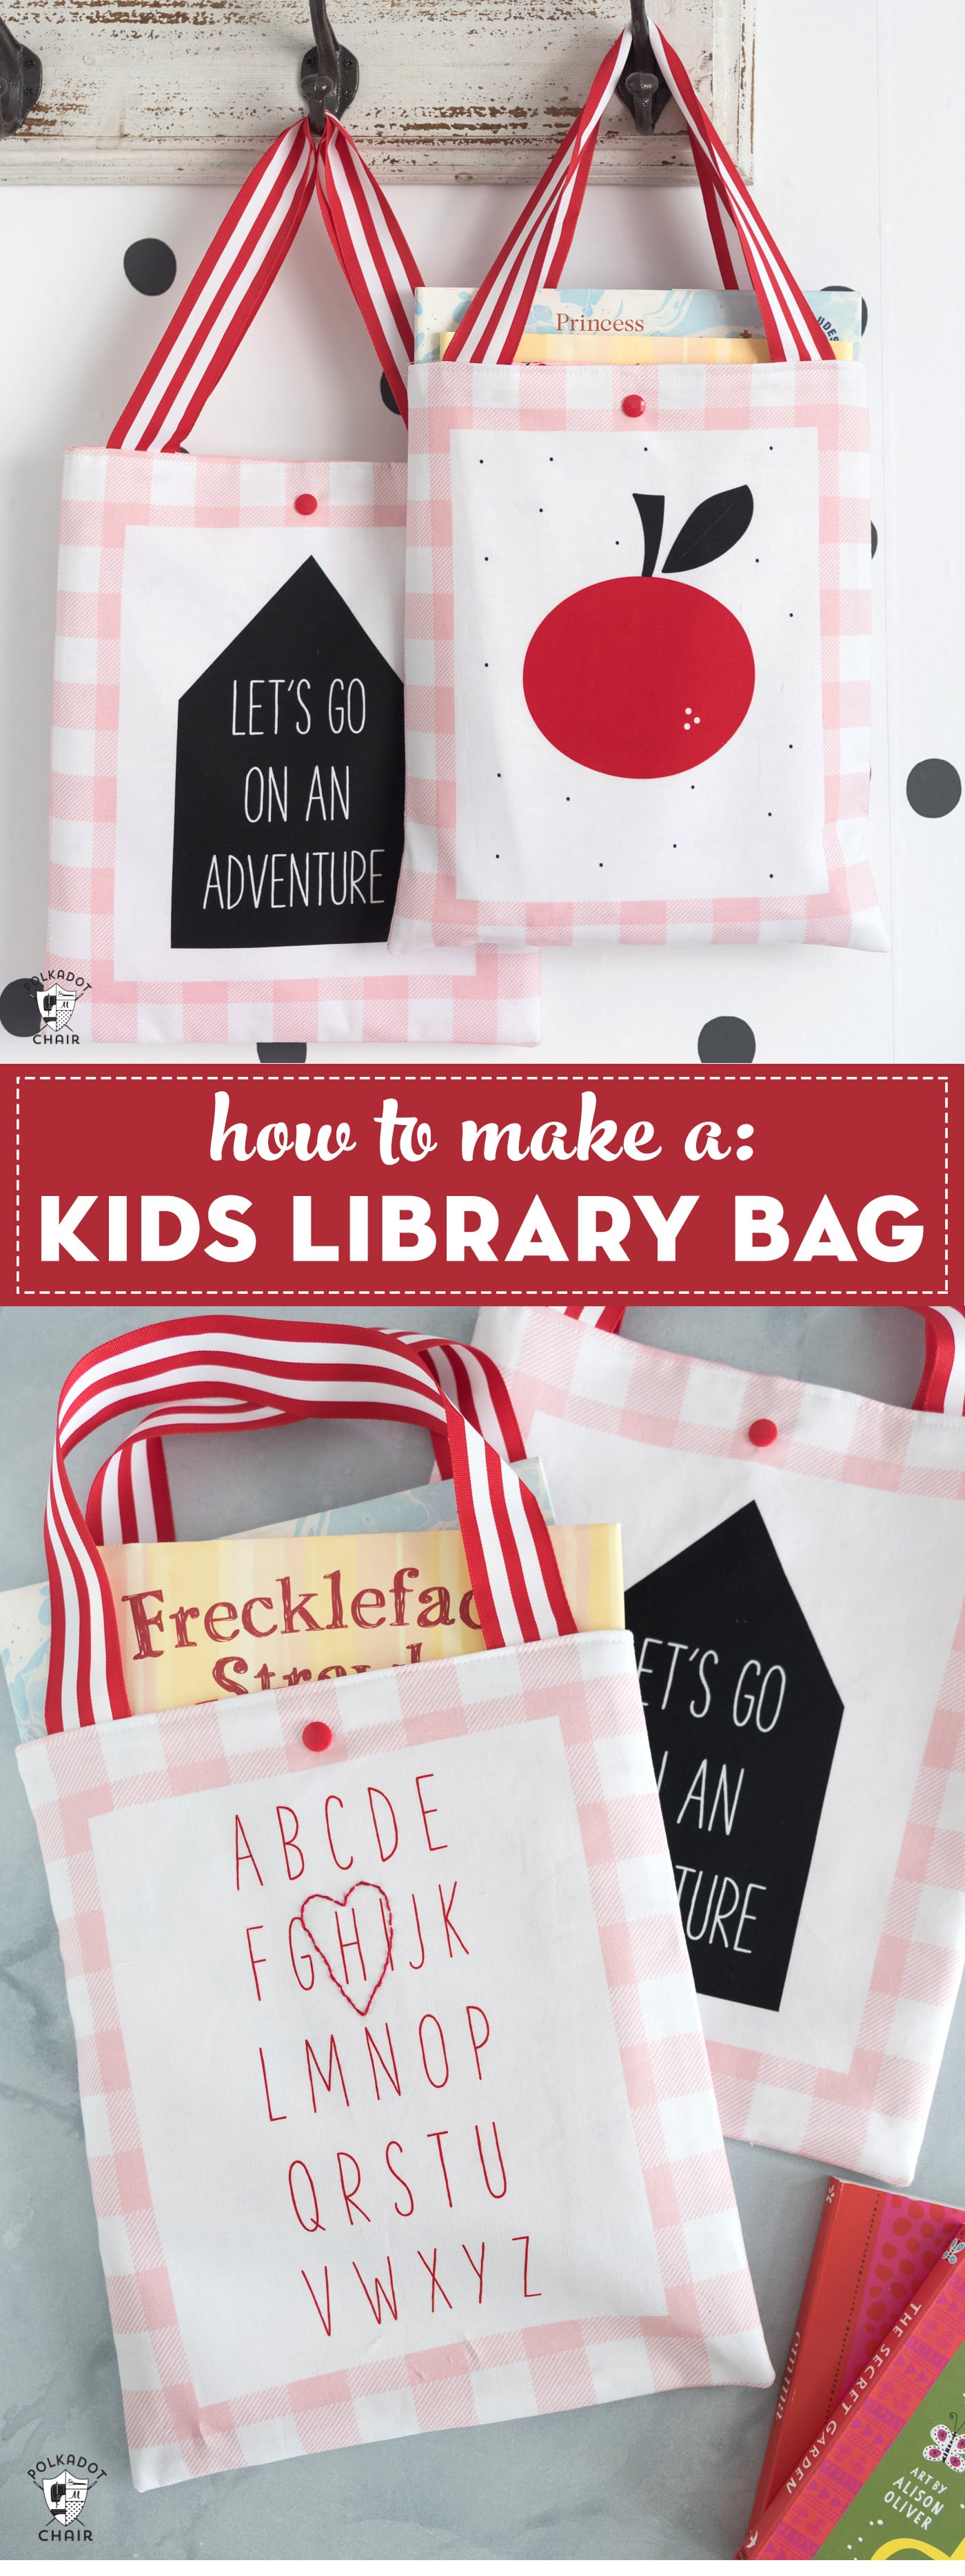
Cute & Simple Kids Library Bag Sewing Pattern
This kid’s library bag is easy to stitch up and perfect for beginners. It’s a super simple free tote bag sewing pattern and makes a great gift!
Our family has a new niece, and I am so excited! I’m excited and happy for my brother and his wife, but also SO excited to have an excuse to sew some baby items again!! I caught the “sewing bug” when my twins (now 17) were babies. Since then, everyone I know has big kids who are teens, so I haven’t had the opportunity to stitch many baby items lately.
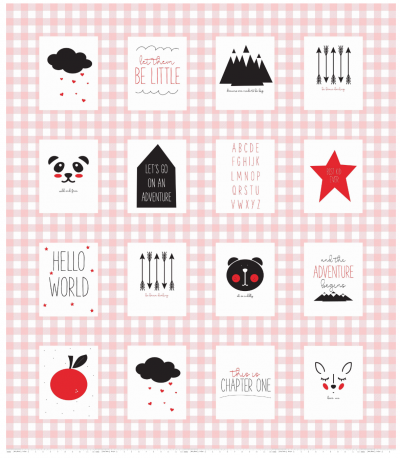
Simple Simon & Co. released their newest fabric line with Riley Blake called Let Them Be Little. It’s a line inspired by their kids and is perfect for babies up to older kids. You can read more about the fabric HERE.
They created a fun panel with a line that you can use to make a quilt. It’s all one piece and is the perfect “cheater quilt.”
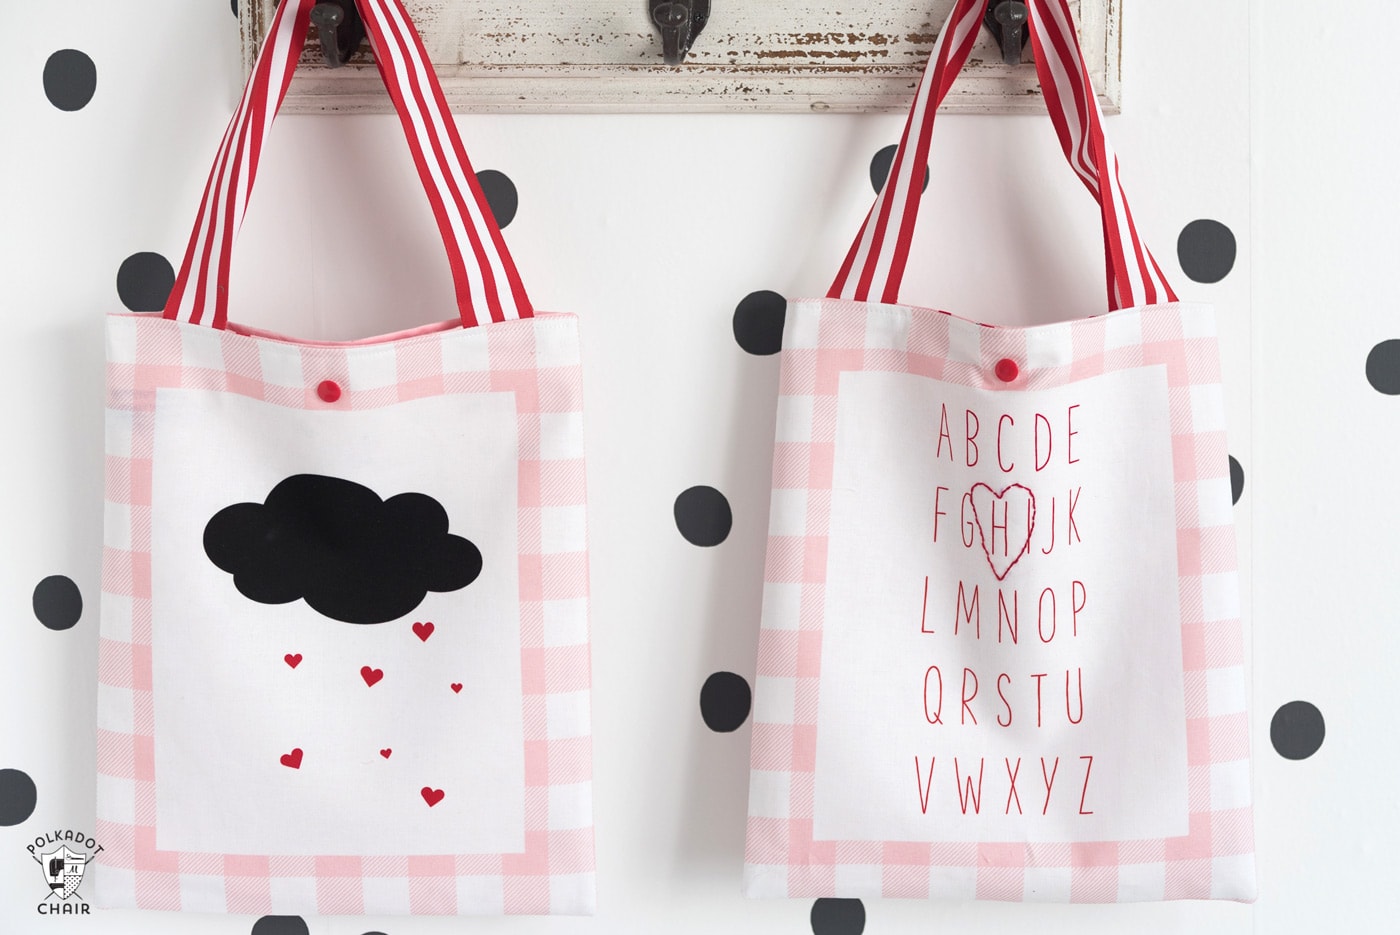
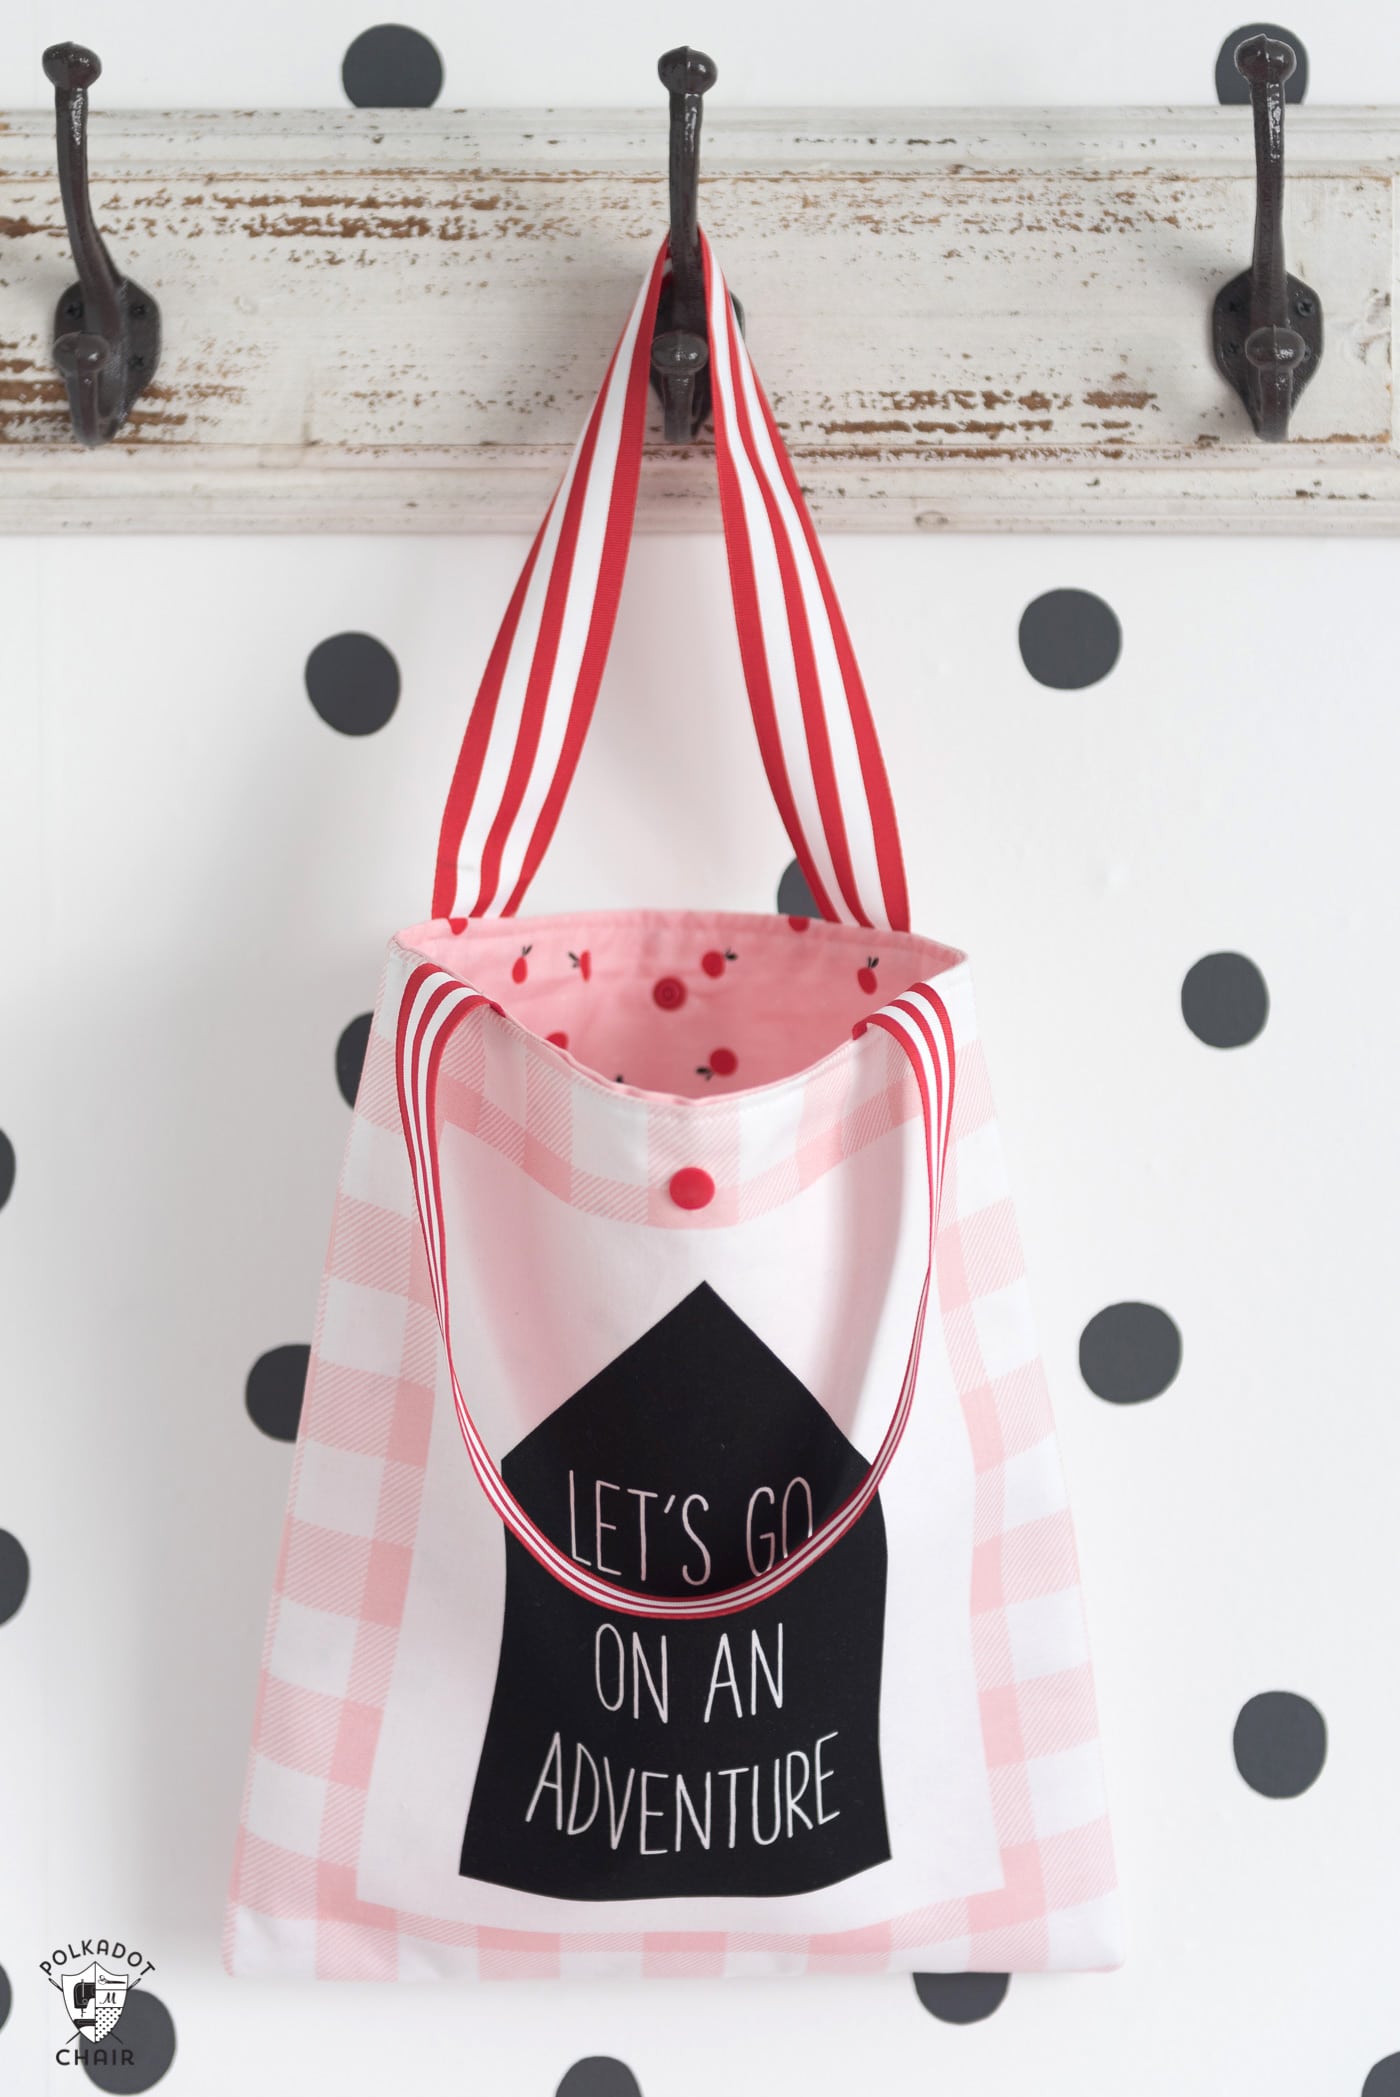
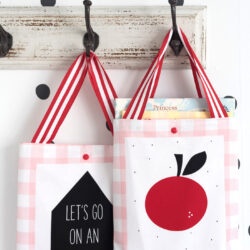
Instead of making a quilt, I cut up the panel and used it to make some library bags. Since I now have two nieces under 8, I thought it would only be fair that I made them each their book bag.
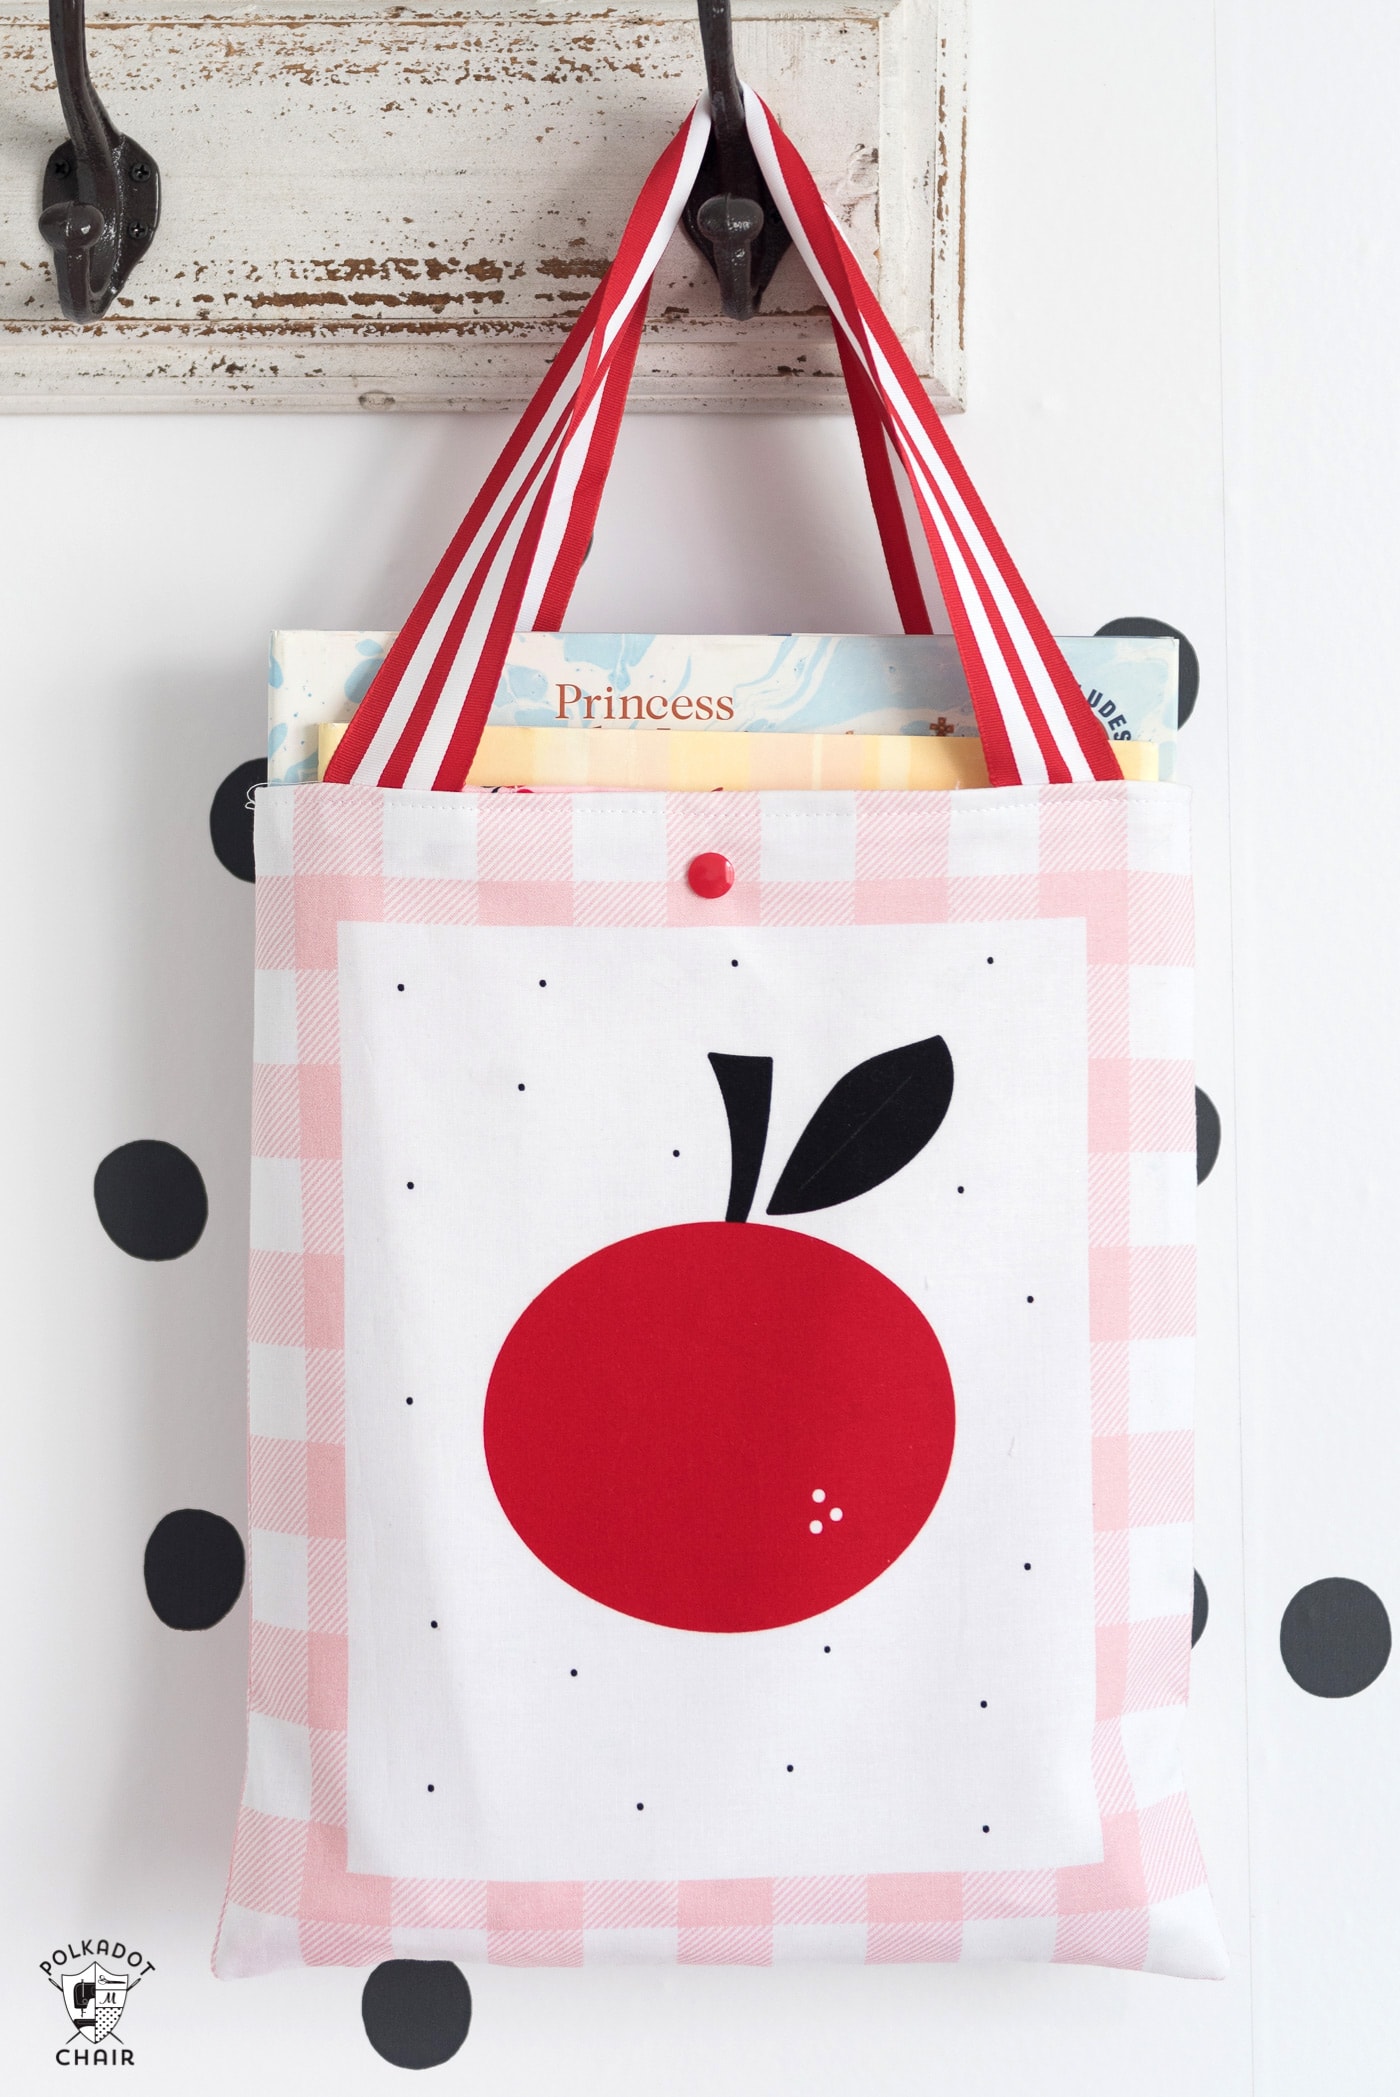
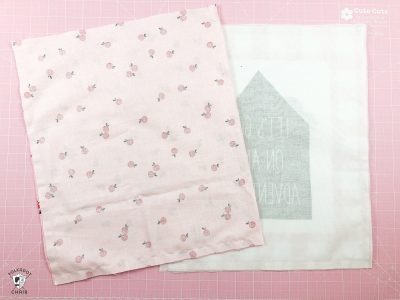
I used one piece of the panel for the front of the bag and one for the back. For the lining of the bag, I used regular fabric yardage.
If you can’t find this exact fabric, there are currently a lot of really cute fabric panels on the market!
Is a Tote Bag Easy to Sew?
These totes bags are SO easy to make. The pattern is great for kids learning how to sew or for someone just making their first tote bag.
It’s also a great pattern to make a quick gift!
Note: You can make this bag with any fabric print; you don’t have to use the premade panel. Instructions and free sewing patterns are included for both versions of the bag.
How Do You Make a Bag Step by Step?
It’s easy! Below is a step-by-step guide that walks you through how to make the perfect book bag for your kids! Interested in making other bags? Check out our beach bag or zip bag tutorials.
Cute & Simple Kids Library Bag Sewing Pattern
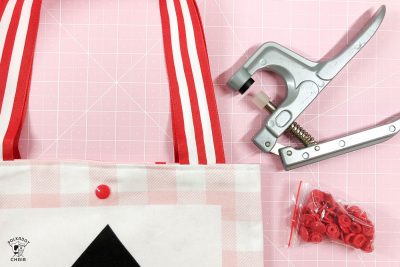
Equipment
supplies
- 1/2 yard fabric for bag outside
- 1/2 yard fabric for bag lining
- 1 yard of 2″ wide ribbon or cotton webbing
- KAM Snap Setter and Snaps this is the set that I purchased
- 1 yard Shape Flex Interfacing
Instructions
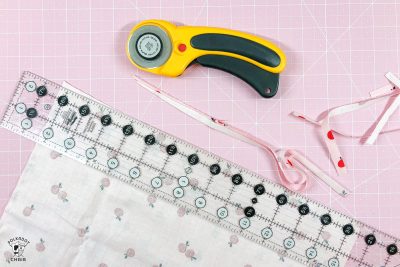
Cutting Directions:
- For the Bag Outside Cut:2 pieces each 12″ x 16″. If you use a fabric panel, cut the pieces out so the panel is in the center of your fabric pieces.
- For Bag Lining Cut:2 pieces each 12″ x 16″

- From Shape Flex Interfacing Cut:2 pieces, each 12″ x 16″
- From Ribbon Cut:2 pieces, each 18″ long
Step One:
- Apply interfacing to the wrong side of your two bag outside pieces.

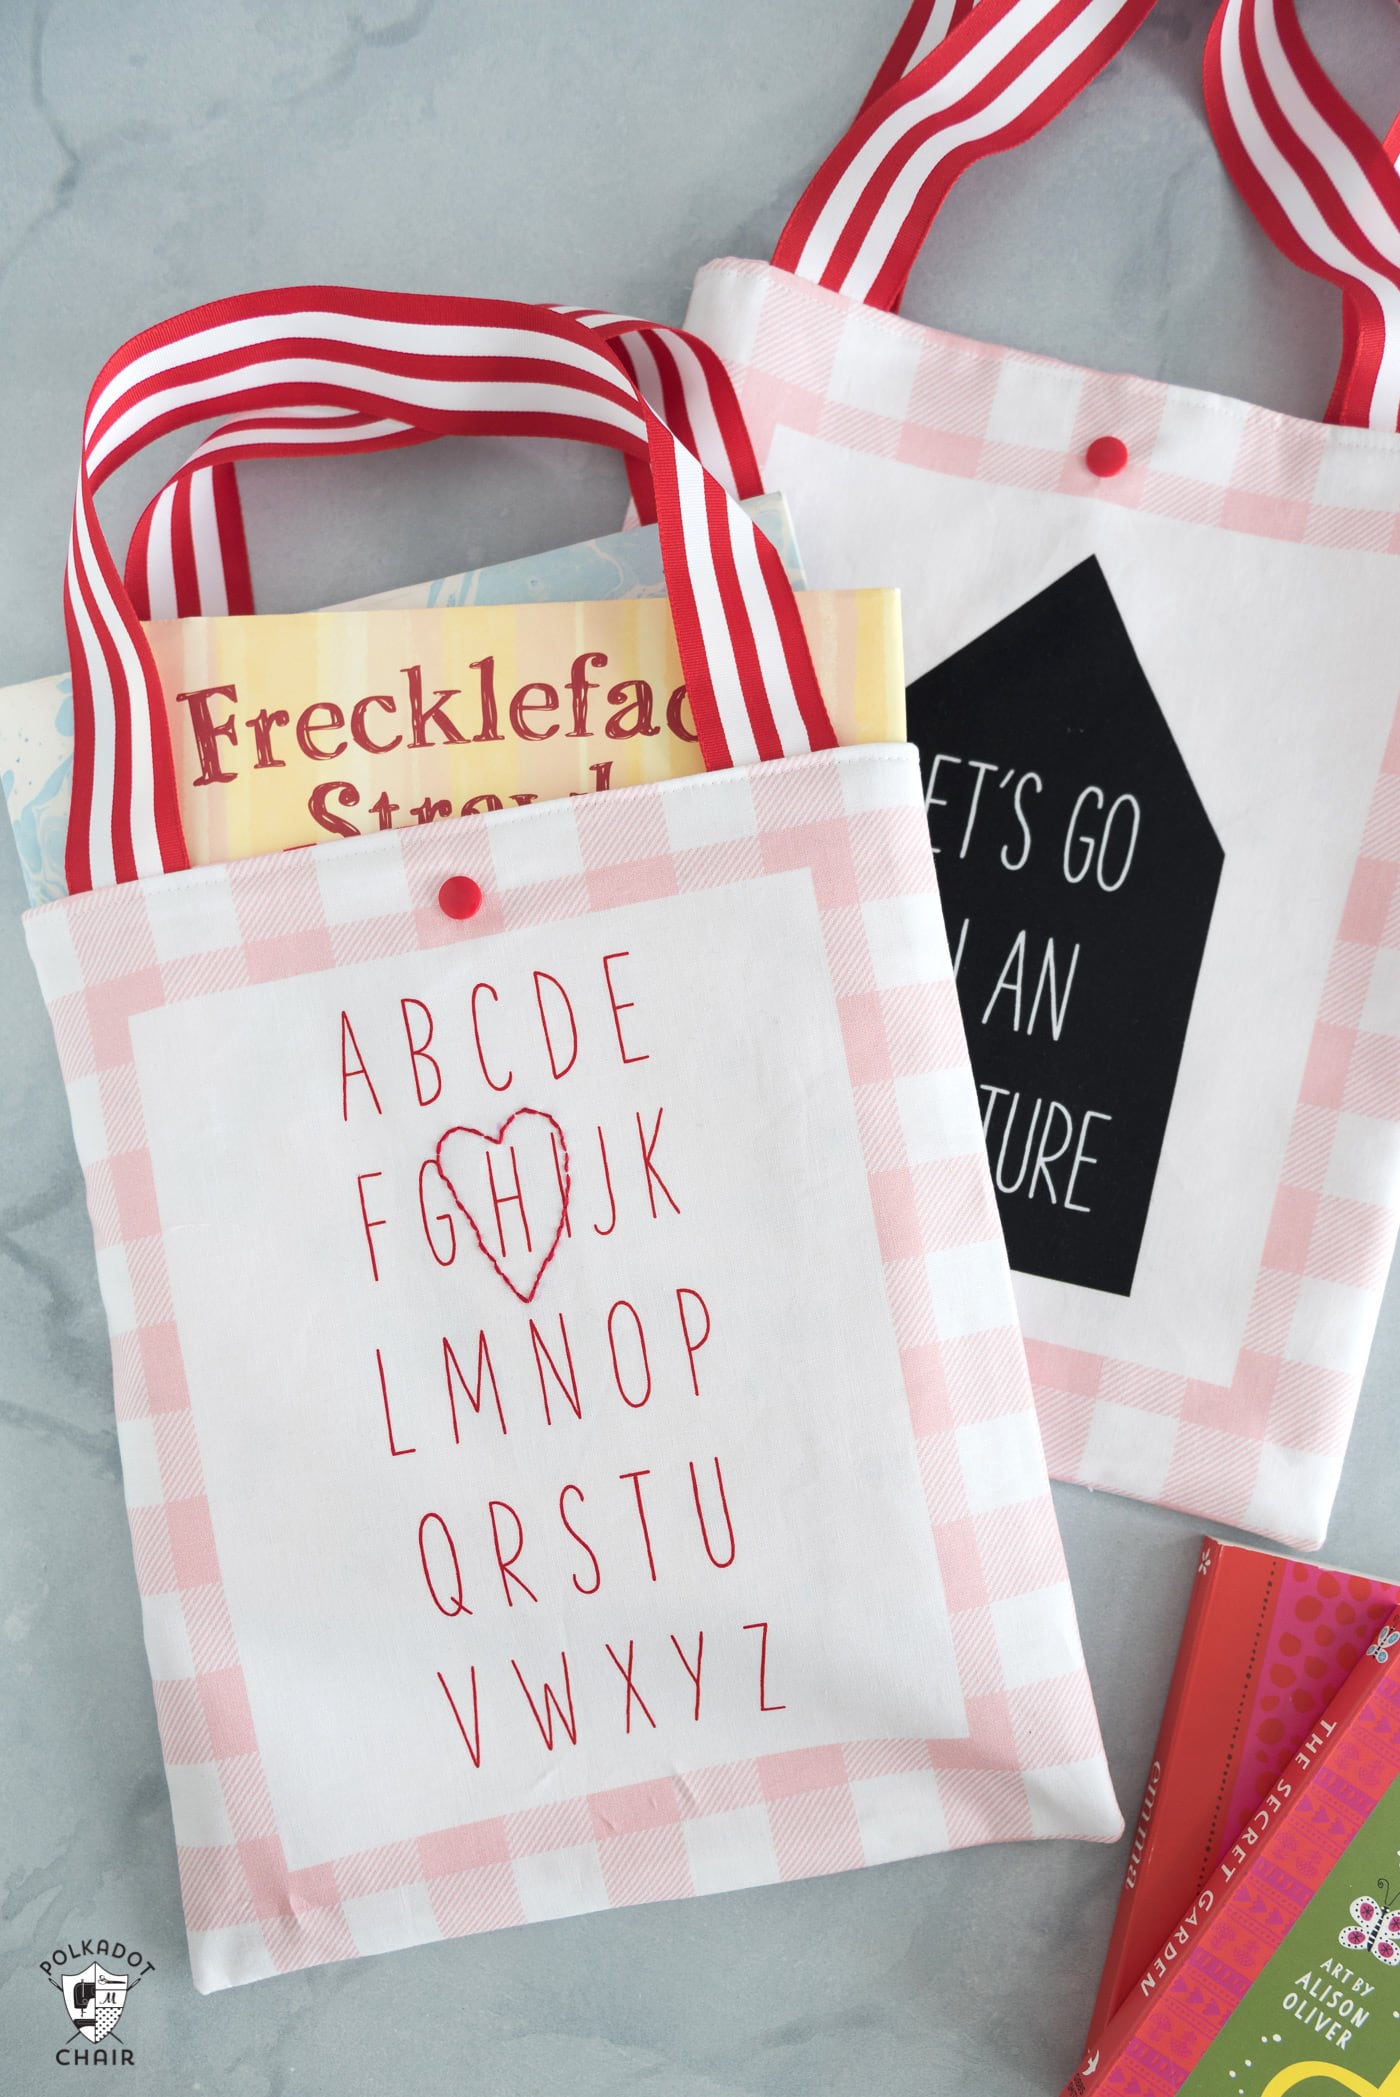
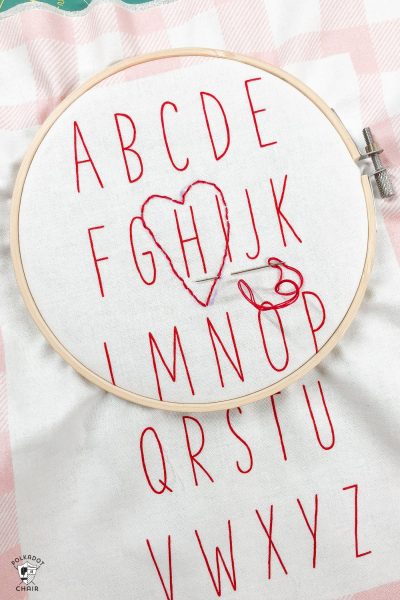
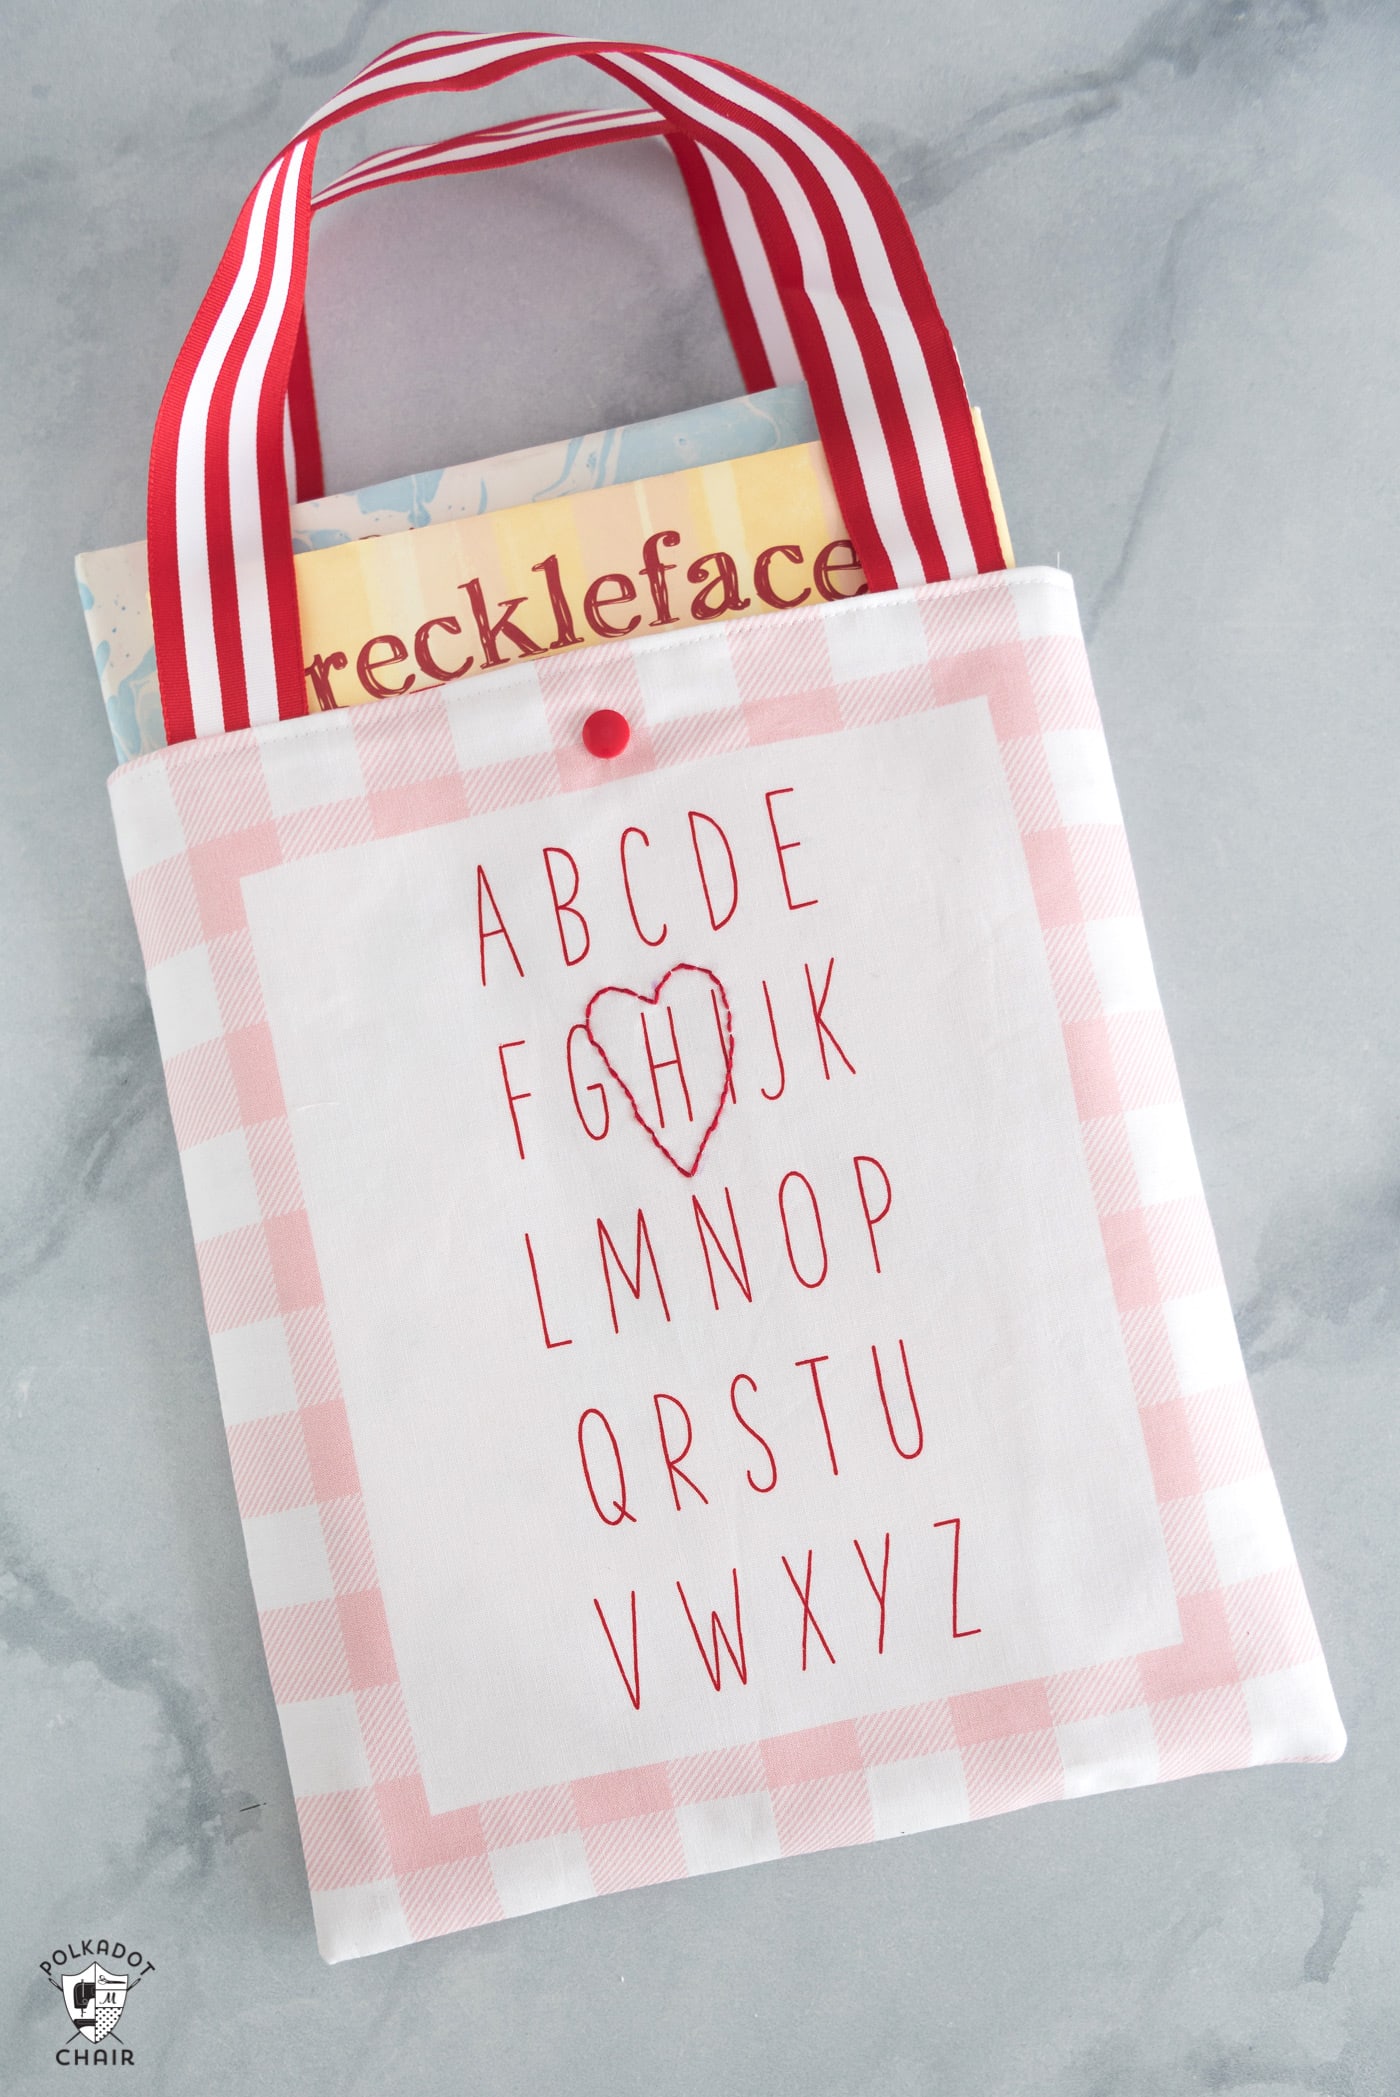
- I used the alphabet section from the panel for one of my bags. I decided to personalize the bag more by adding a bit of embroidery to the front of the bag. I drew a heart around the “H” (the library bag recipient’s initial) and just did a simple backstitch around the outside of the letter.
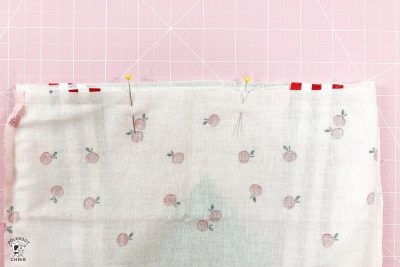
Step Two:
- Stitch the two bag outside pieces together, with the right sides facing with a 1/2 seam allowance. Repeat with the two bag-lining pieces.

- On the bag lining, trim the seam allowance to about 1/8″.

- Press the seam allowance outside open, clip the seam allowance from the bottom corners, and turn the bag right side out.
Step Three:
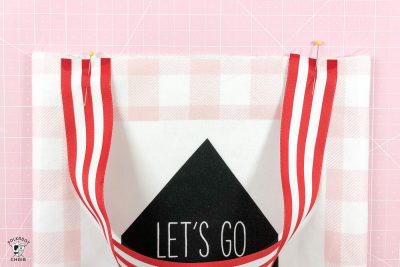
- Measure in 1″ from the outside edge of the bag outside piece on both sides of the bag.
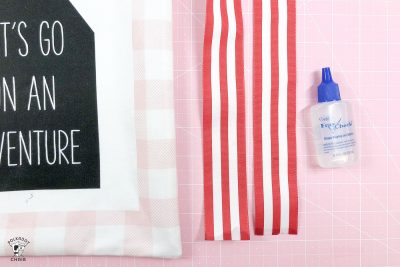
- Finish the ends of your ribbon with a bit of fray check (don’t skip this step; otherwise, the handles will pull out with use).
- Place the ribbon on one side of the tote bag with the raw edge of the ribbon flush with the top of the bag and the edge of the ribbon at the 1″ mark that you placed on the bag. Stitch in place. Repeat with the other side of the ribbon and the other side of the bag.
- Slip the bag outside piece into the bag lining piece so that the right sides of the fabric are facing. Line up the seam allowances of both pieces and pin the lining to the bag outside.
- Stitch around the top of the bag, leaving a 6″ opening on one side.
- Turn the bag on the right side out through the opening. Press the top of the bag well.
- Top stitch the top of the bag, making sure to catch the opening as you sew.
Step Four:
- To finish the bag, set one KAM snap on the top. The snap will be 1″ down from the top of the bag and centered.
- Finish the bag off by pressing it well!
- Now fill it up with books, and gift away.
About the Matching Dress
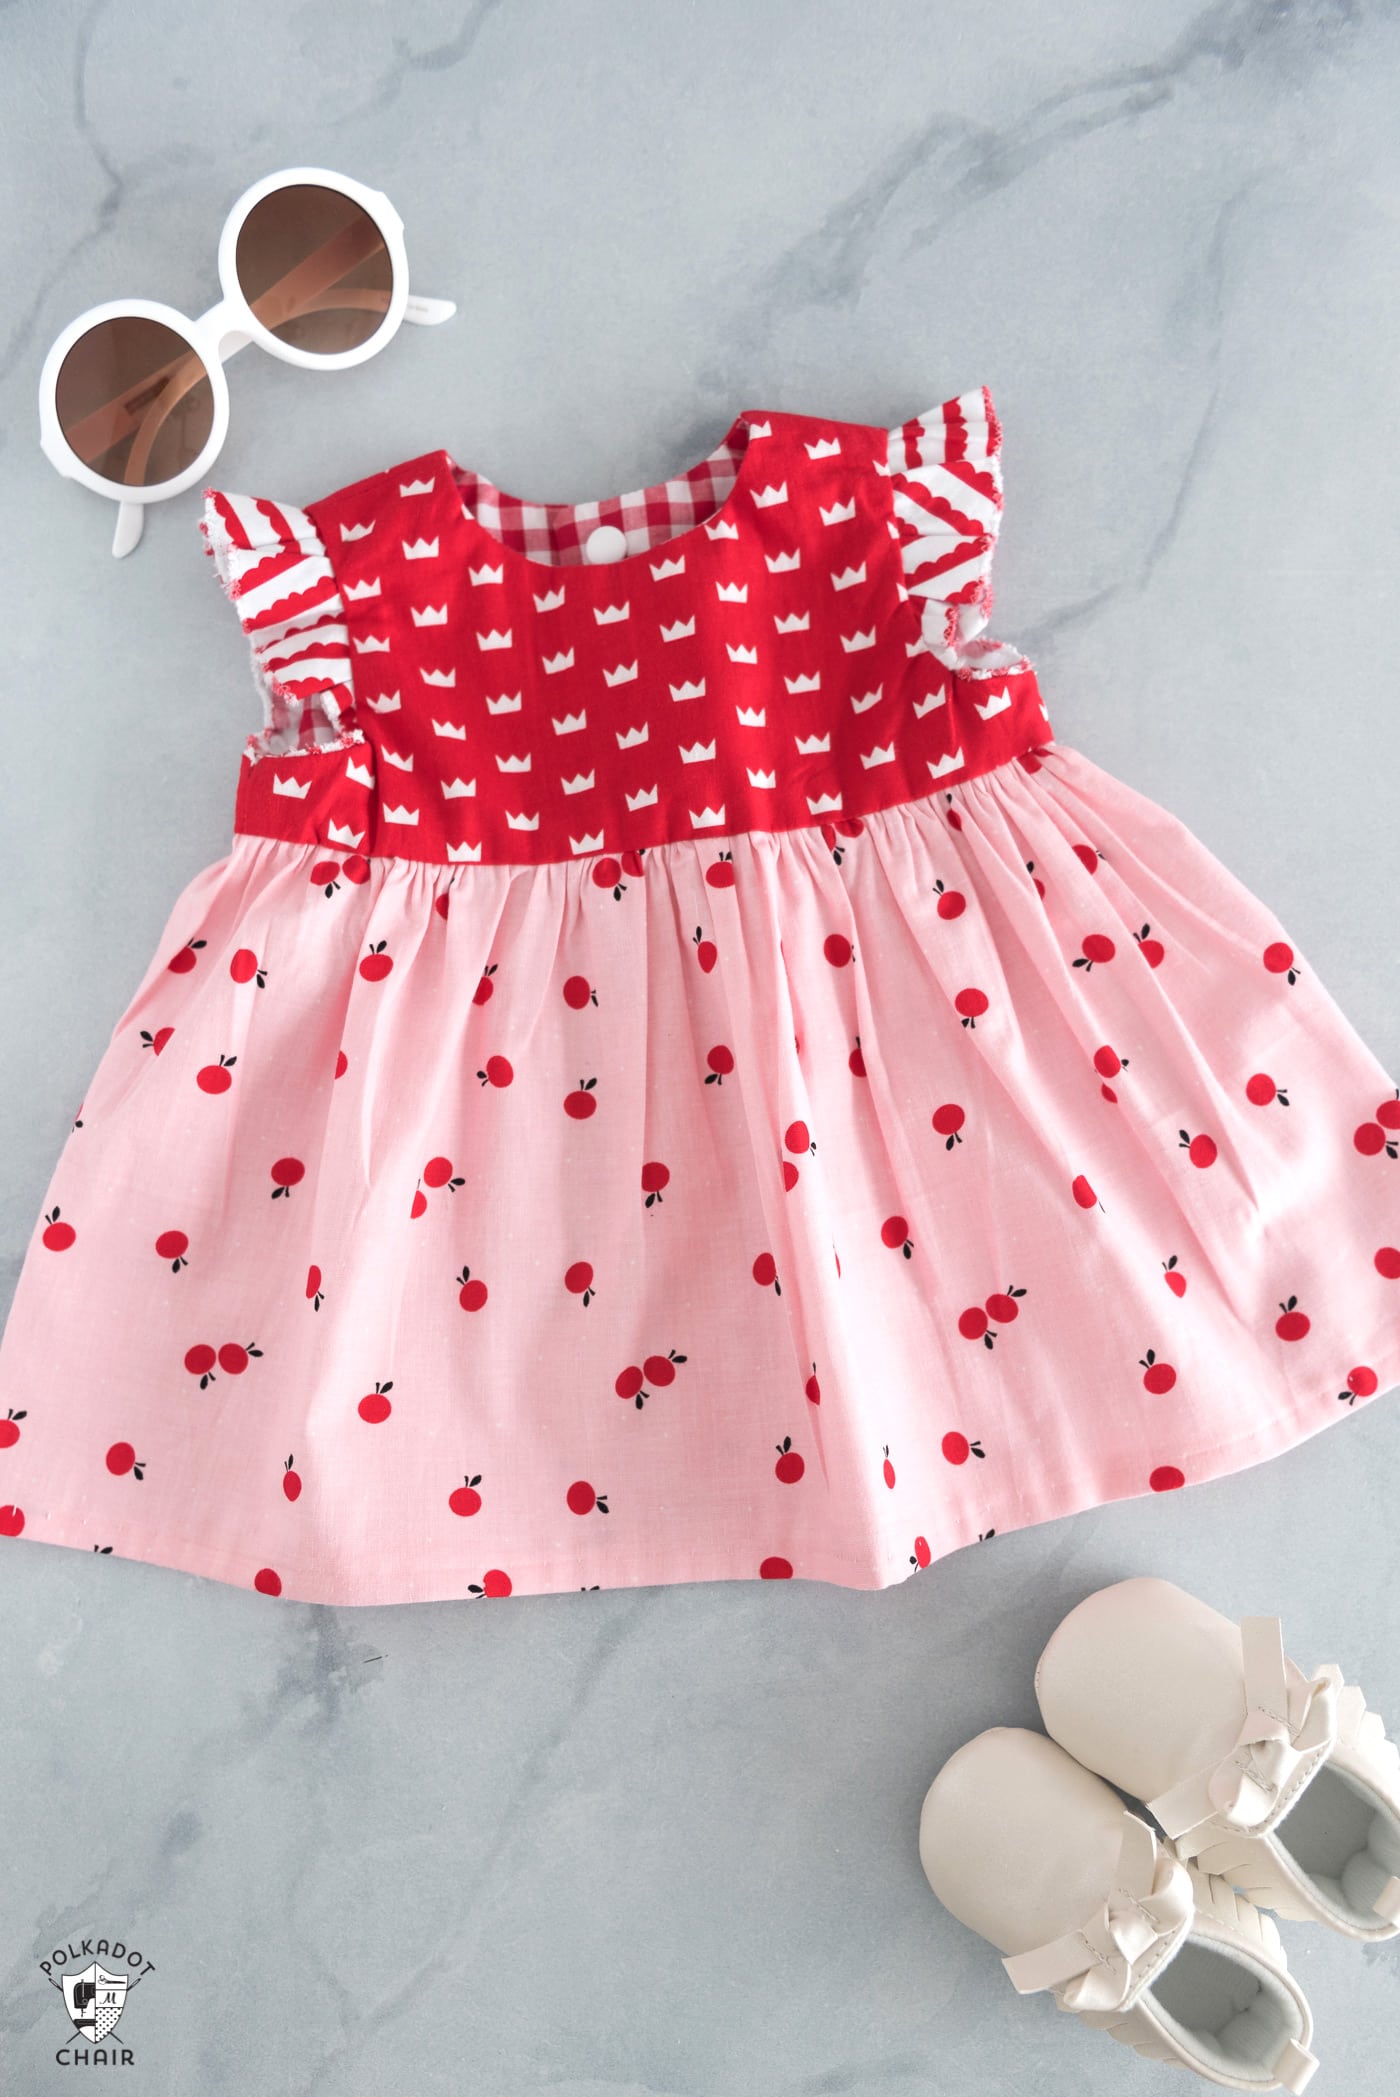
Since I was so excited about the new baby, I made a little dress for my niece and her new library bag.
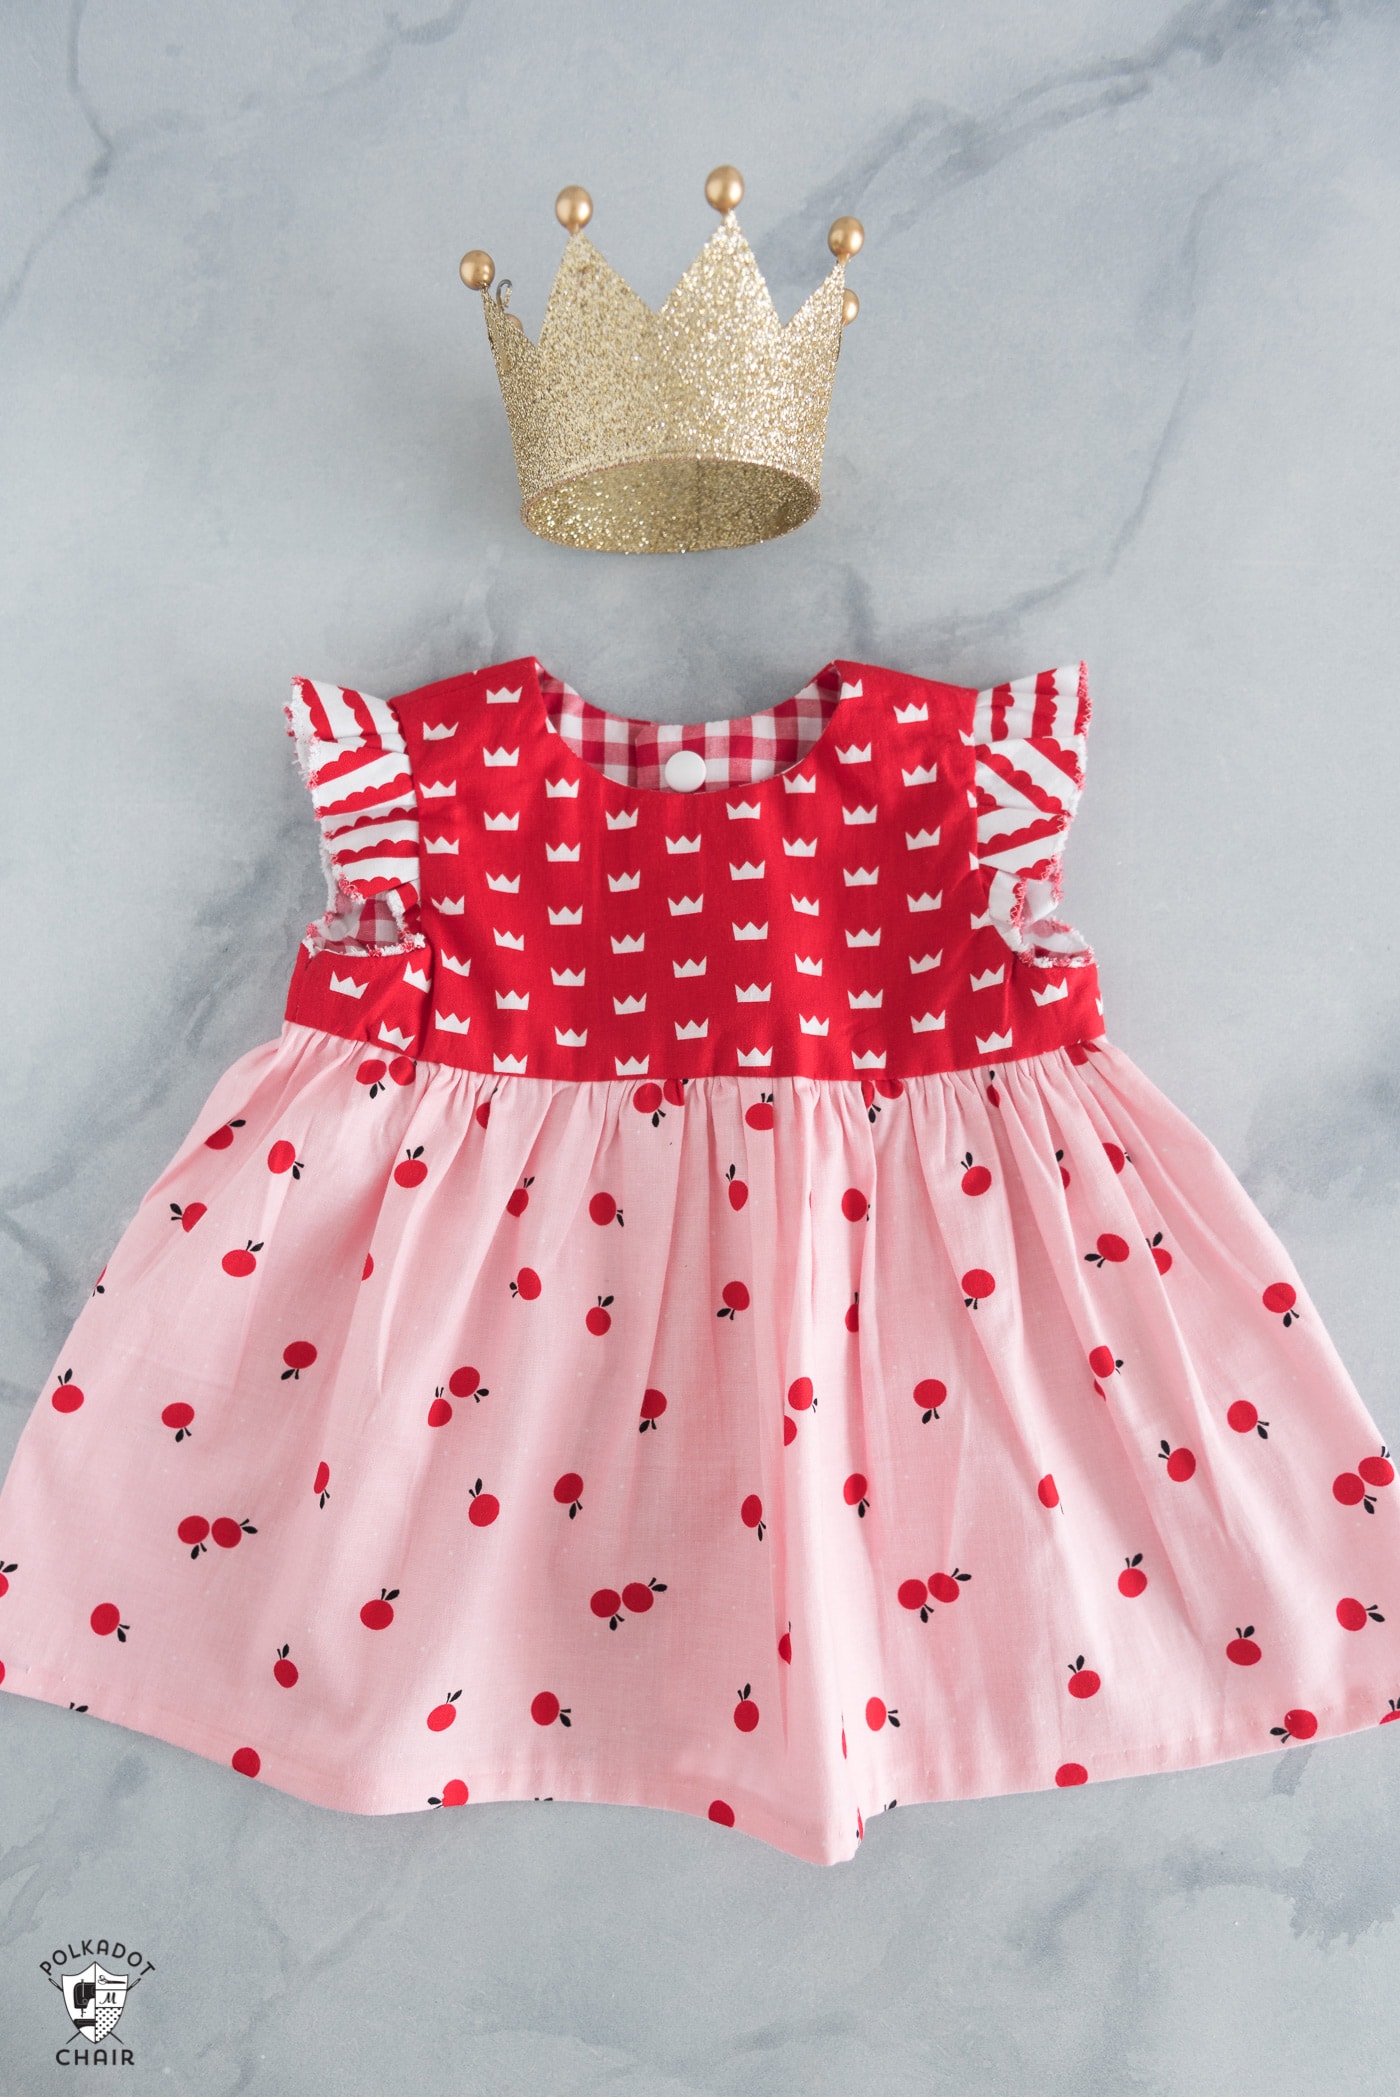
The pattern is the Geranium Dress by Made by Rae. I used some red and pink from the line and finished it with some woven gingham fabric for the lining.
More Bag Sewing Patterns:

Thank you for all your pattern directions. All such cute items.
I have a first great grandchild, Amelia, now 14 months old. Must make the book bag.
Dolores
These library bags are super cute! Thank you for sharing the pattern 🙂