How to Mount a Poster onto Wood, a Kids Room Art Idea
This tutorial showing you how to mount a poster on wood is sponsored by Zazzle. All opinions are 100% mine.
I love decorating my kids rooms, I also love finding fun and unique Artwork for their rooms. I get really excited when I find something that really suits their personality!
Recently my son has started getting very interested in Robotics, he even won a national robotics contest last year! It was one of those “Mom of the Year” moments, as I admit I had no idea what he was working on all year at school until he won a savings bond!
He has plans to continue with robotics and wants to be an engineer when he grows up. It has been great seeing someone find something they are passionate about, especially since he’s only a Middle Schooler.
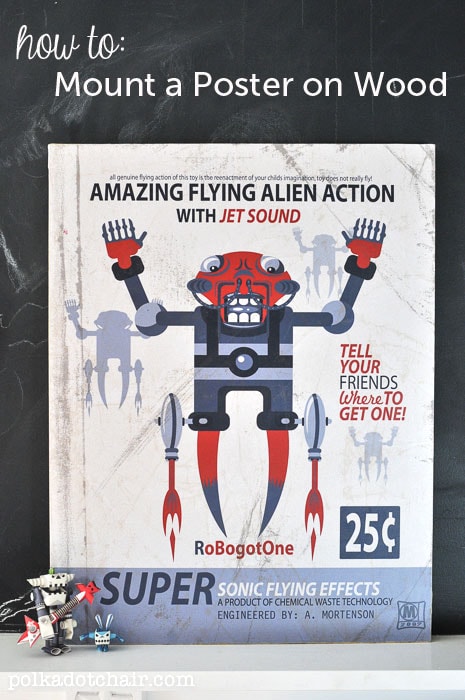
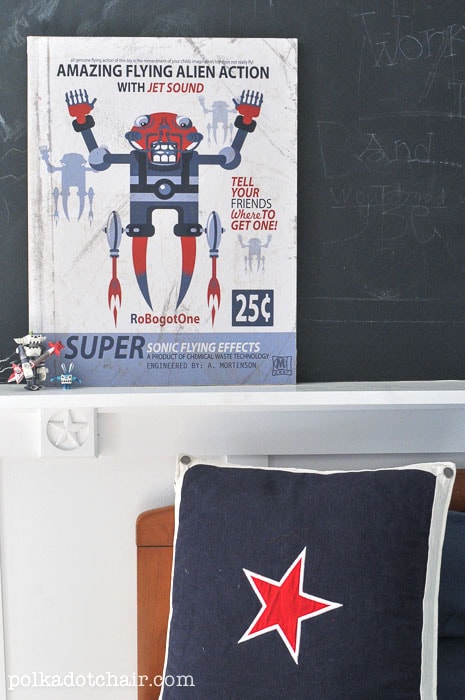
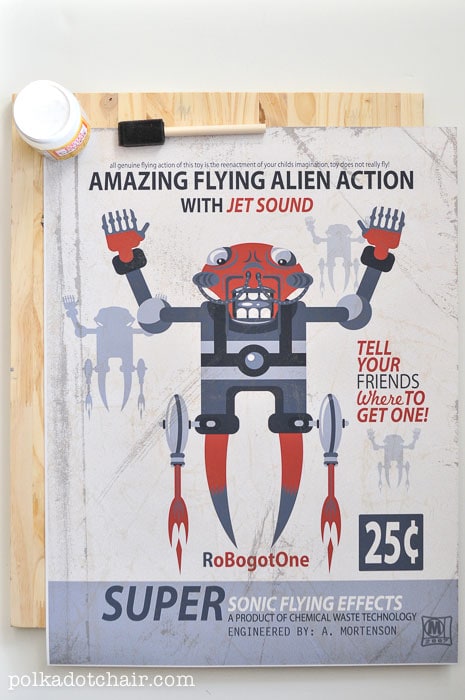
I decided a little “update” to his room was in order. To start it off I added this poster that I purchased at Zazzle to the ledge above his bed. You can see more photos of his room here.
I loved that I could personalize the poster just for him! See the lower corner of the poster, it says “engineered by:” and his name. So cool.
At Zazzle there are hundreds of gifts that you can personalize yourself. Everything from posters, to iPhone cases to watches and cards.
Here are a few of my favorites for the Holidays:
Santa Plates – wouldn’t these be cool for Christmas Morning Breakfast?

The interface was very easy to use. I could pick the font, color and location that I wanted his name on the poster. I then could also pick the size and paper that I wanted the poster printed on. I chose to have the poster printed on Archival Heavyweight paper and could not be happier with the quality. It all arrived quickly and very nicely packaged (no bends in the poster).
I decided instead of framing the poster that I’d rather mount it on a piece of wood. More economical (only $7 for the wood) and a fun break from framed art.
I ordered a 16” wide poster because I knew that I could get a 16” wide board. I then went to the hardware store and bought a piece of plywood (make sure that its flat before you buy it some plywood has a tendency to warp).
The guys at the hardware store cut the wood to size for me for free.
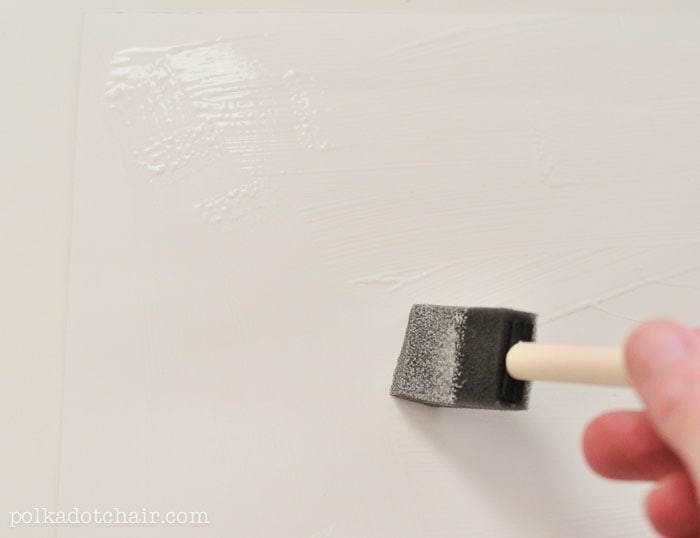
To mount the poster on wood, I applied a thin but even coat of Matte Modge Podge to the back of the poster.
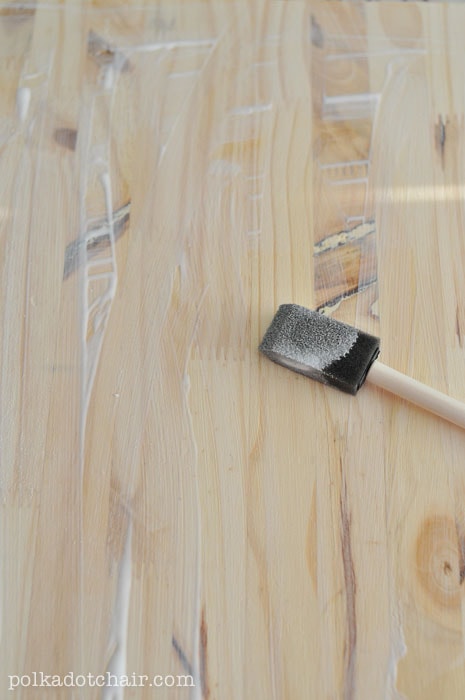
I then applied an even coat of the Modge Podge to the wood.
Next I placed the poster on the wood, made sure that everything was straight and there were no bubbles, then pressed it down firmly onto the wood.
You can use a credit card or other piece of plastic to smooth out the poster to make sure it’s perfectly flat on the wood.
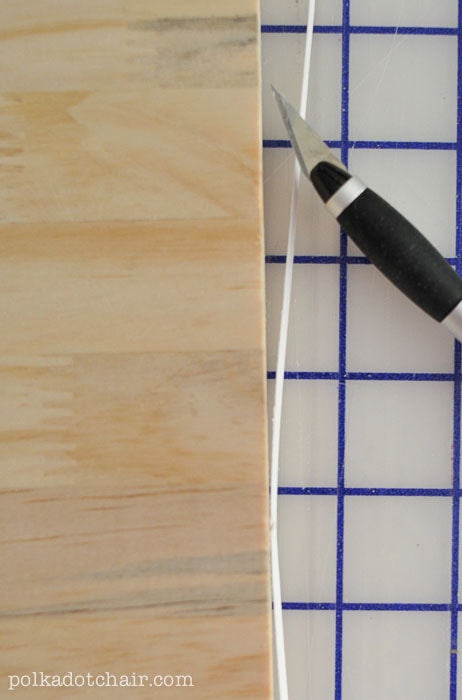
Even though I had the wood cut to size there was still a smidgen of poster hanging over the edge, so I used an exacto knife to trim it down.
The last step was to apply 1-2 coats of the Modge Podge to the front of the poster. You can apply this as thin or thick as you like. You can even mimic the brush strokes in your art to give the piece a nice finish.
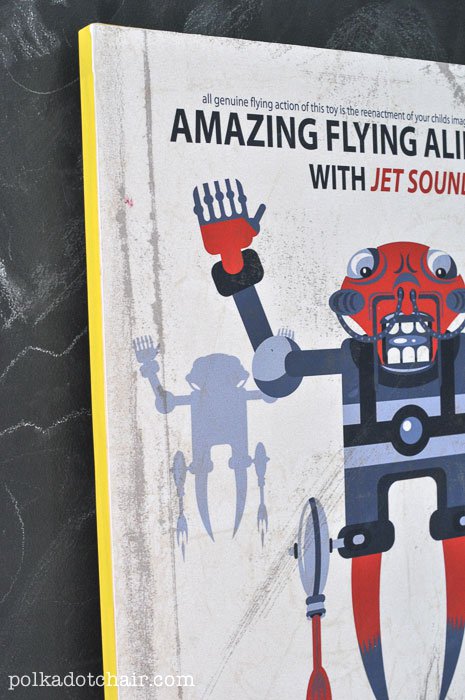
To finish off the edges of the wood, I applied colored masking tape to the edges. You could also use duck tape if you like.
That’s it! An easy and inexpensive alternative to framing!
Connect with me:

