• Skip to primary navigation
  • Skip to main content
  • Skip to primary sidebar

The Polka Dot Chair logo

  • SEWING
    • Free Sewing Patterns
    • Bag Patterns
    • Costumes
    • Apparel
    • Learn to Sew
    • Beginner Friendly
    • Embroidery Projects
    • Tips & Techniques
    • All Sewing
  • QUILTING
    • Quilt Blocks
    • Learn to Quilt
    • Free Patterns
    • Quilt Patterns
    • All Quilting
  • CRAFTS
    • Disney
    • Cricut
    • Printables
    • All Crafts
  • HOLIDAYS
    • Seasonal Projects
    • Valentine’s Day
    • Easter
    • 4th of July
    • Halloween
    • Thanksgiving
    • Christmas
    • All Holidays
  • TUTORIALS
  • ABOUT
    • About Me
    • My Fabric Collections
    • Published Books
    • Press
    • FAQ’s
    • Contact
  • SUBSCRIBE
  • SHOP
menu icon
go to homepage
subscribe
search icon
Homepage link
  • SHOP
  • ALL PROJECTS
  • SEWING
  • QUILTING
  • CRAFTS
  • HOLIDAY PROJECTS
  • ABOUT
    • Published Books
    • My Fabric Collections
    • Facebook
    • Instagram
    • Pinterest
    • YouTube
  • ×

    Home » Holidays » Christmas

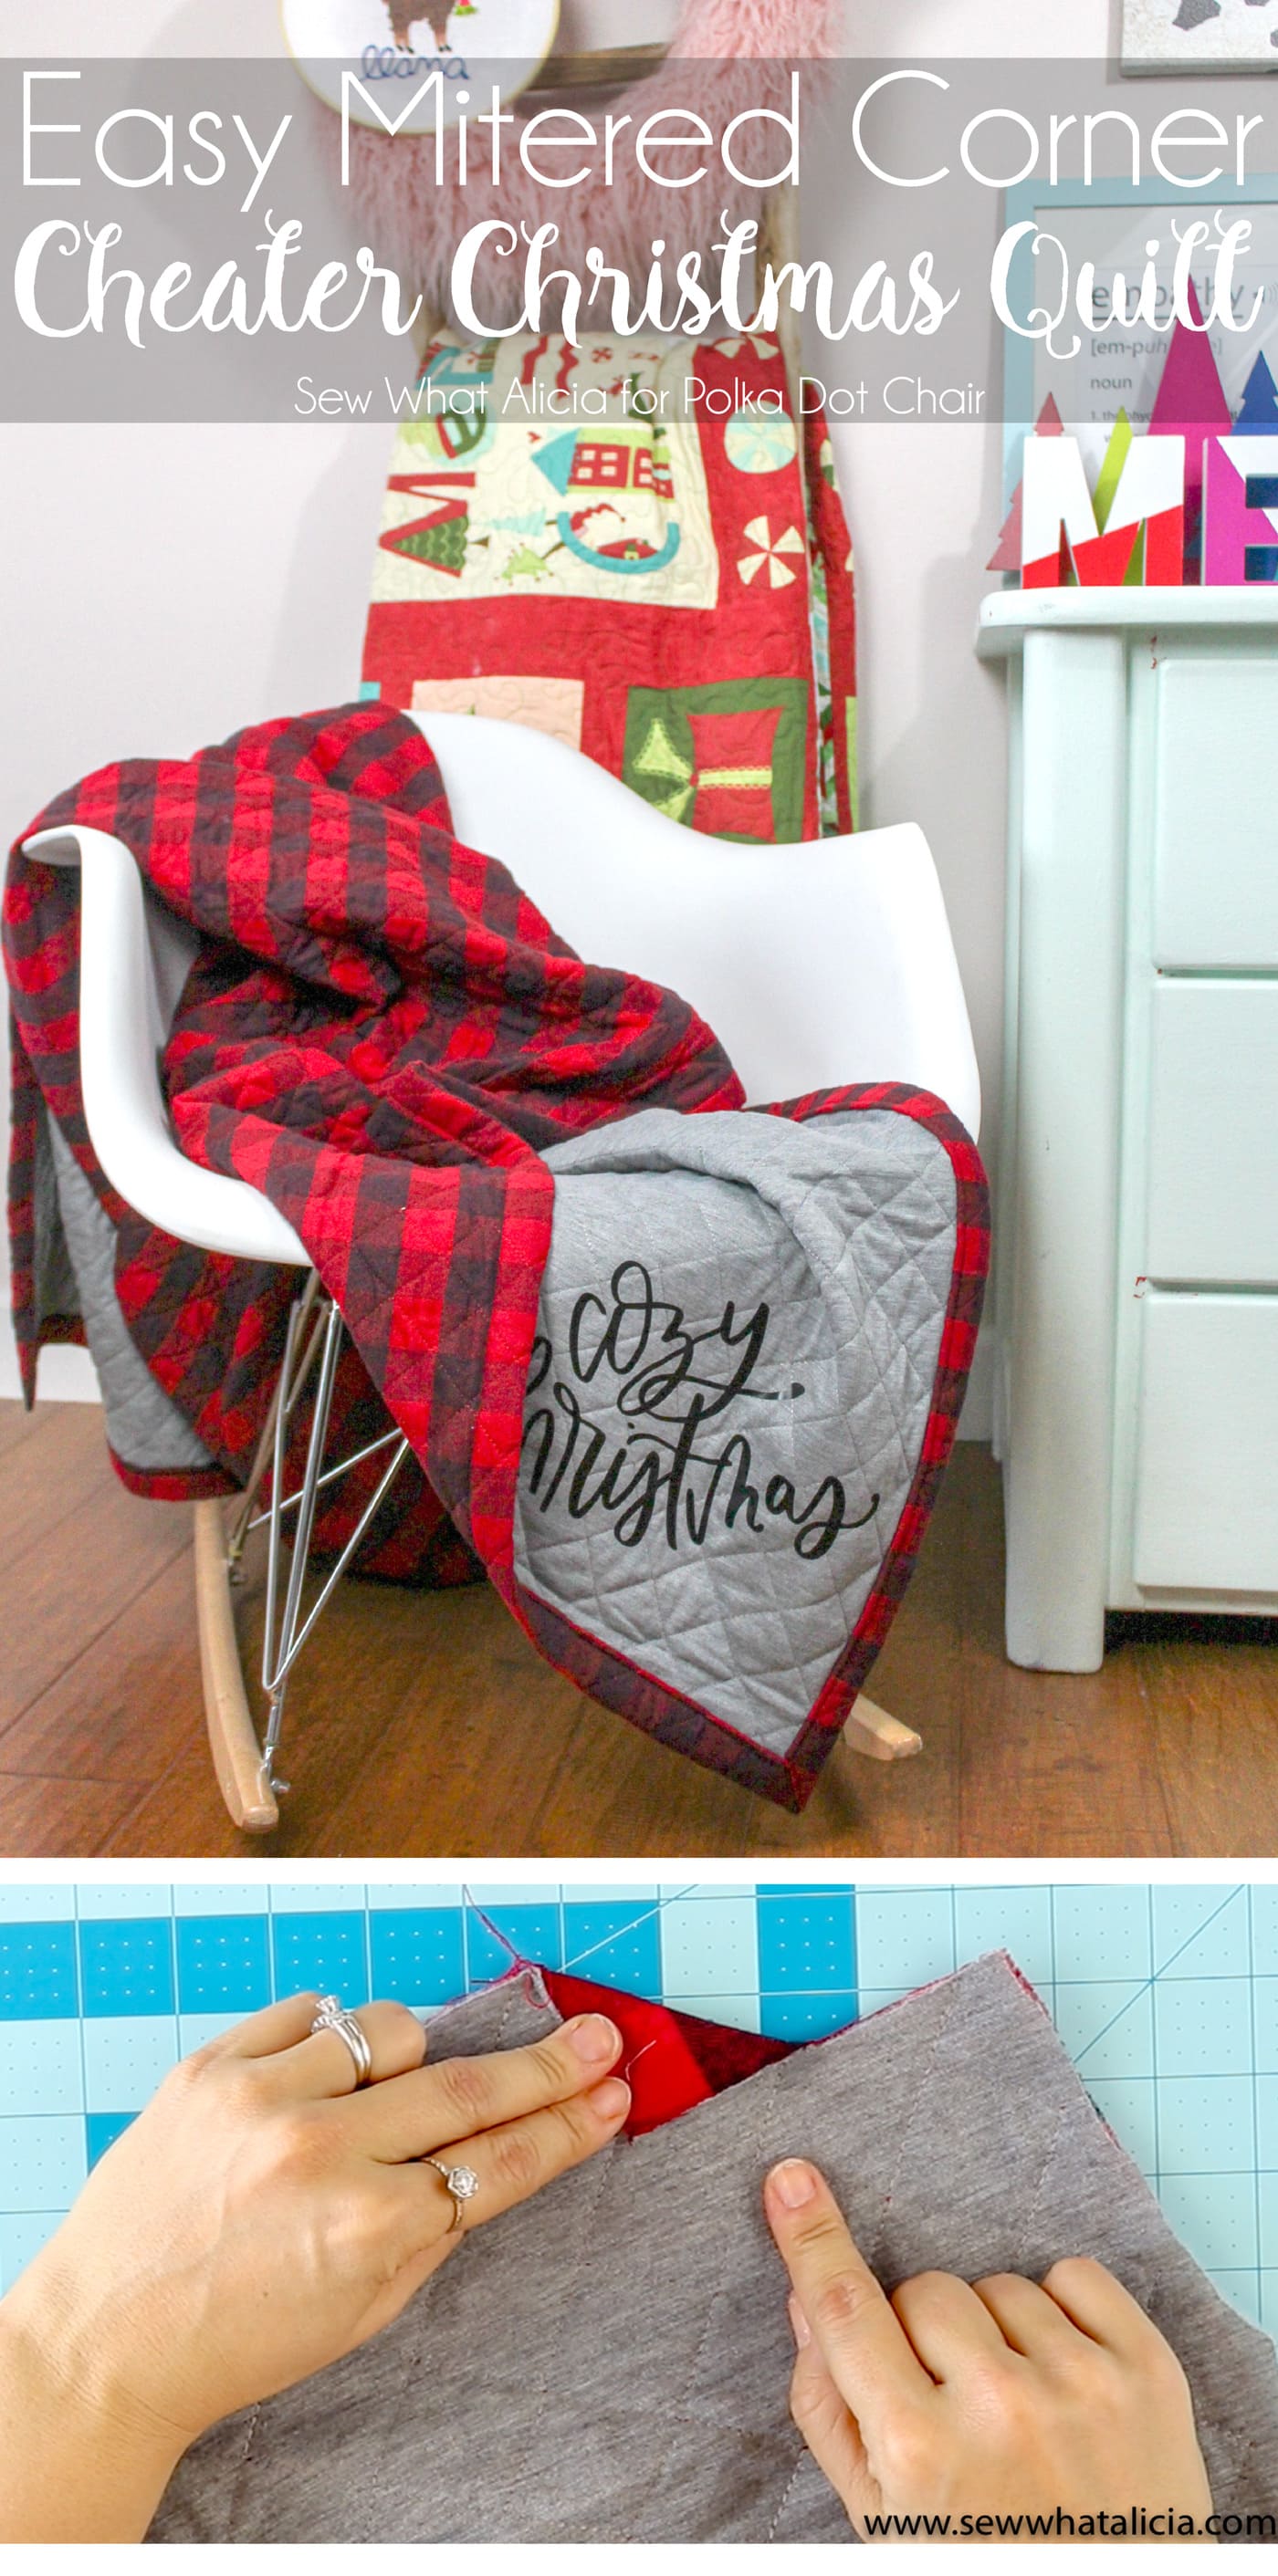
    Cute and Cozy Cheater Christmas Quilt Tutorial

    Updated: May 24, 2019 by Melissa Mortenson · This post may contain affiliate links · This blog generates income via ads · 7 Comments

    Alicia from SewWhatAlicia is back with us again today sharing a simple tutorial for this Cozy Cheater Christmas quilt! This project would make a wonderful handmade Christmas gift. 

    Simple Cheater Christmas Quilt

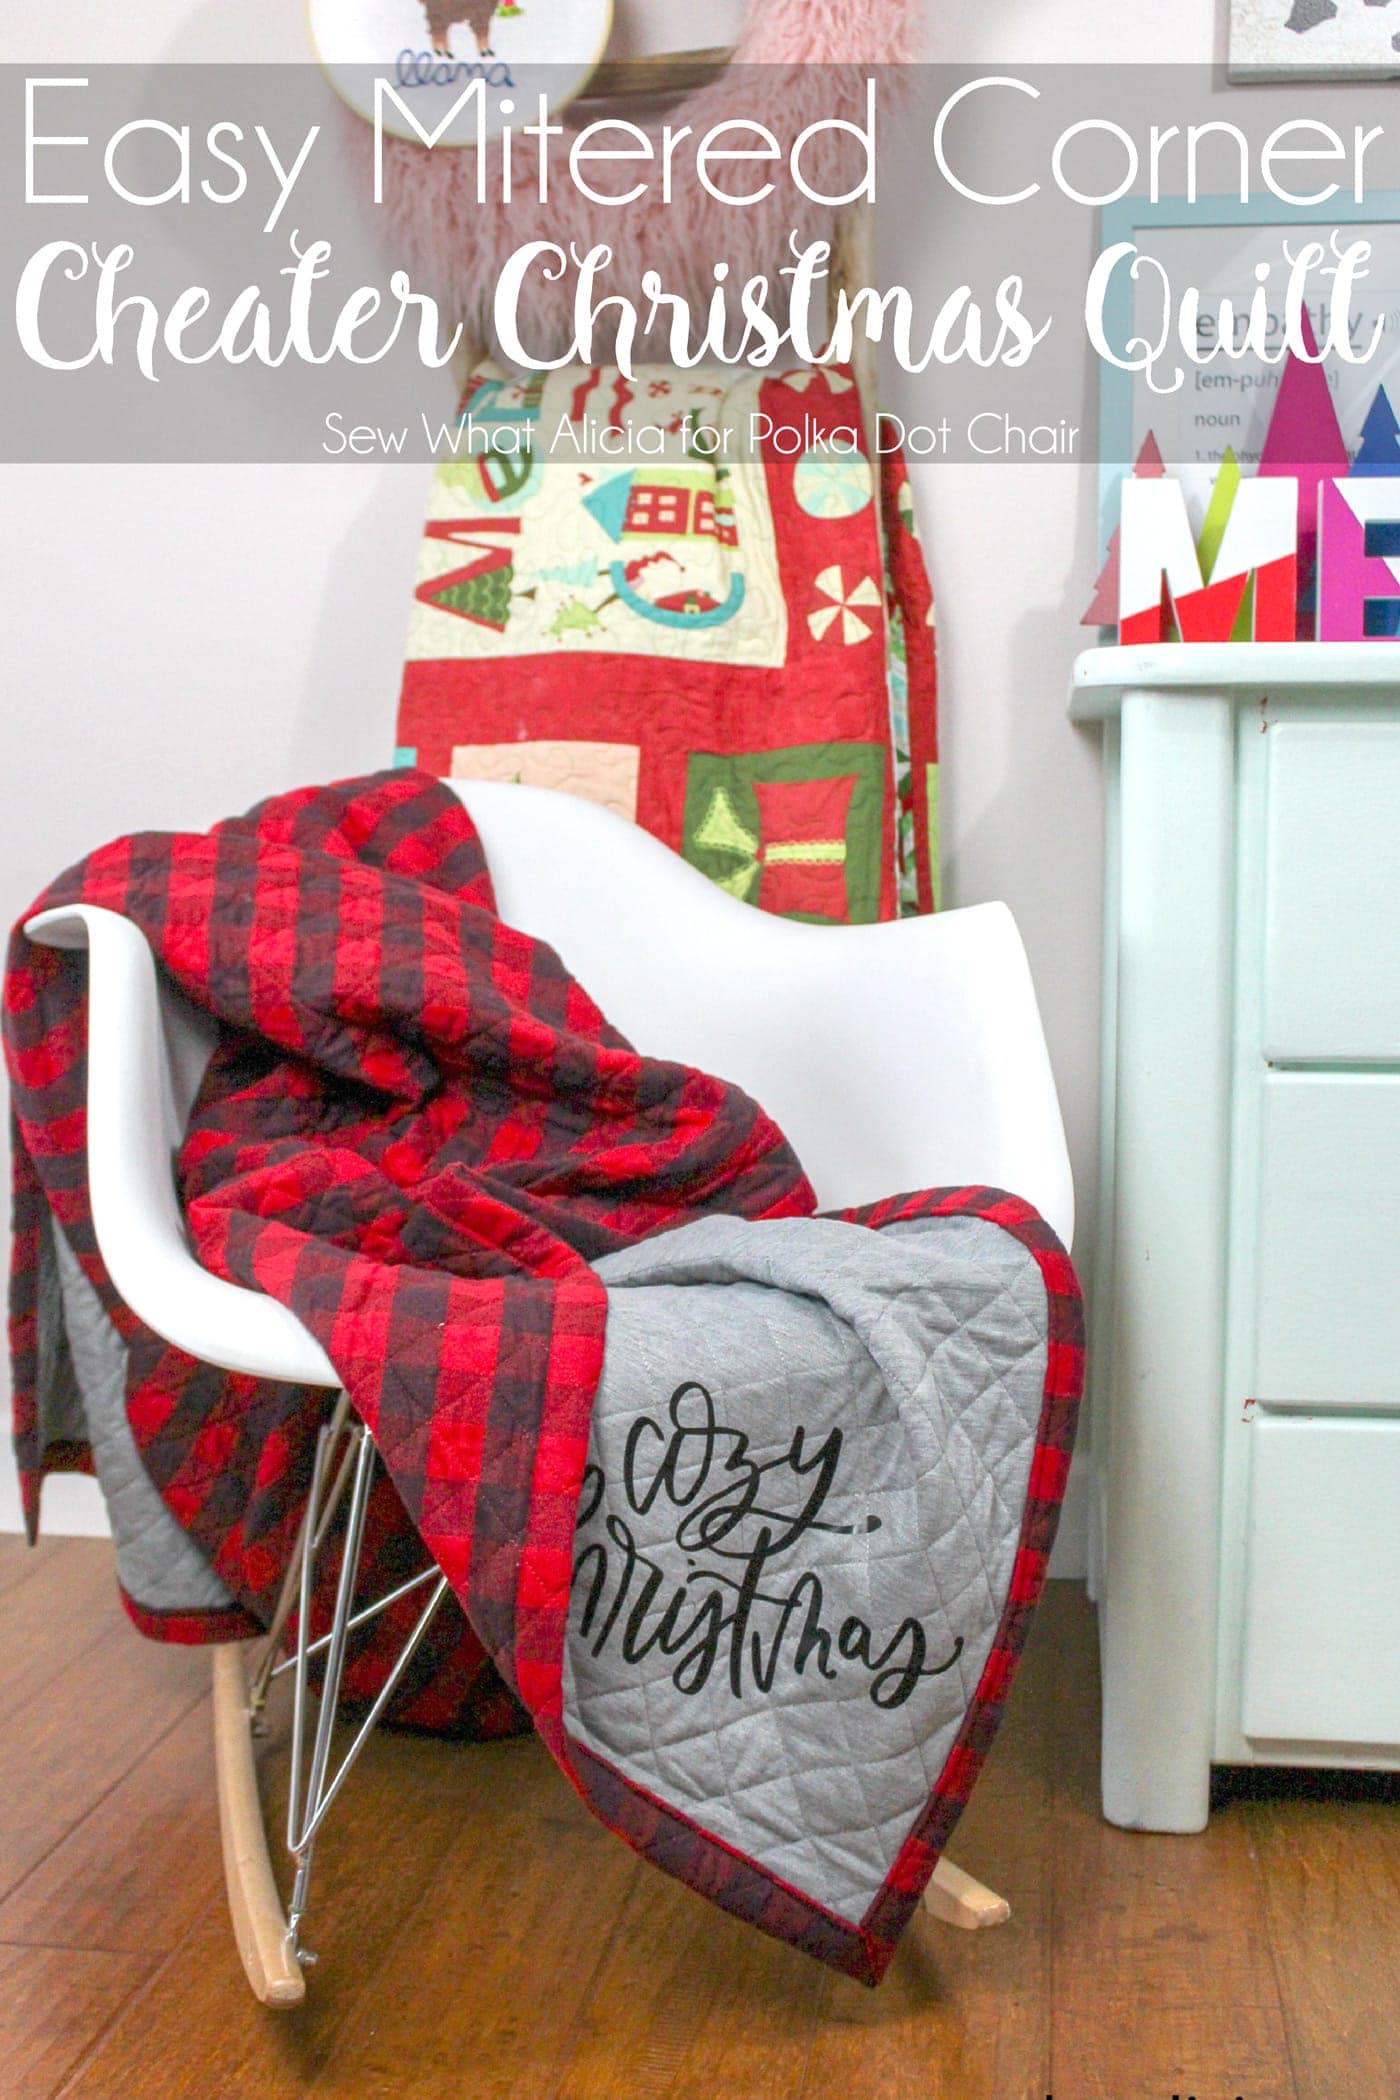
    Hi friends! Alicia here again from Sew What Alicia. I love all things Christmas. I wish I had the time and means to make an amazing quilt for every single person in my life. But I don’t so I have a quick and easy cheat so that you can create Christmas “quilts” for everyone you know!!!

    Cheater Quilt Supplies:

    Simple Cheater Christmas Quilt

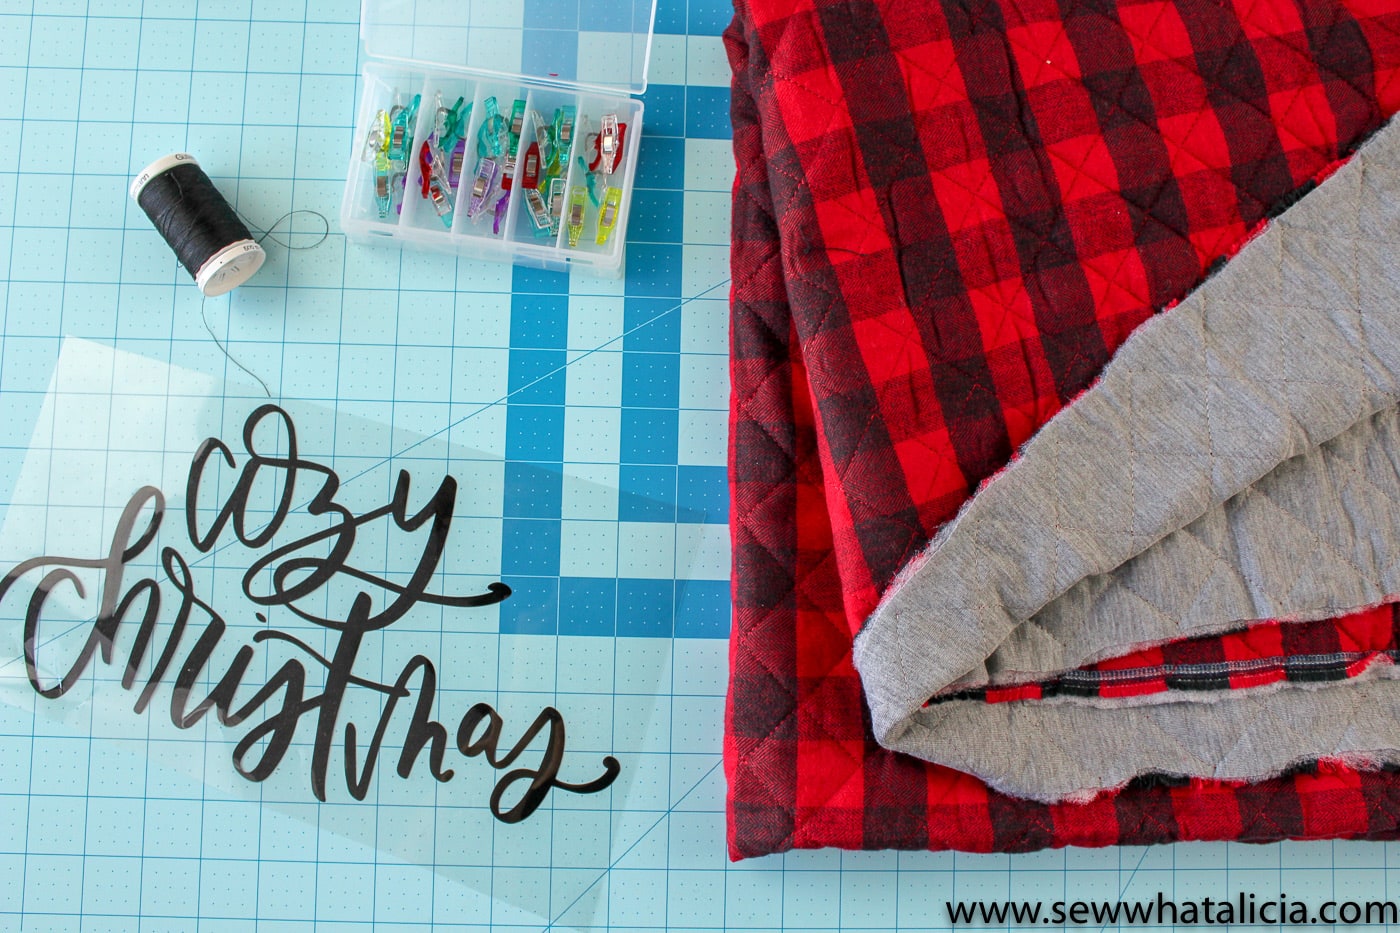
    2 Yards Quilted Red Buffalo Check Fabric (you can buy this by the yard at the fabric store)

    Coordinating Thread

    Walking Foot

    Cozy Christmas cut file

    Easy Christmas Quilt Instructions:

    This blanket has a wide binding edge. It worked better with the bulk of the fabric and it looks really nice with the large bound edge.

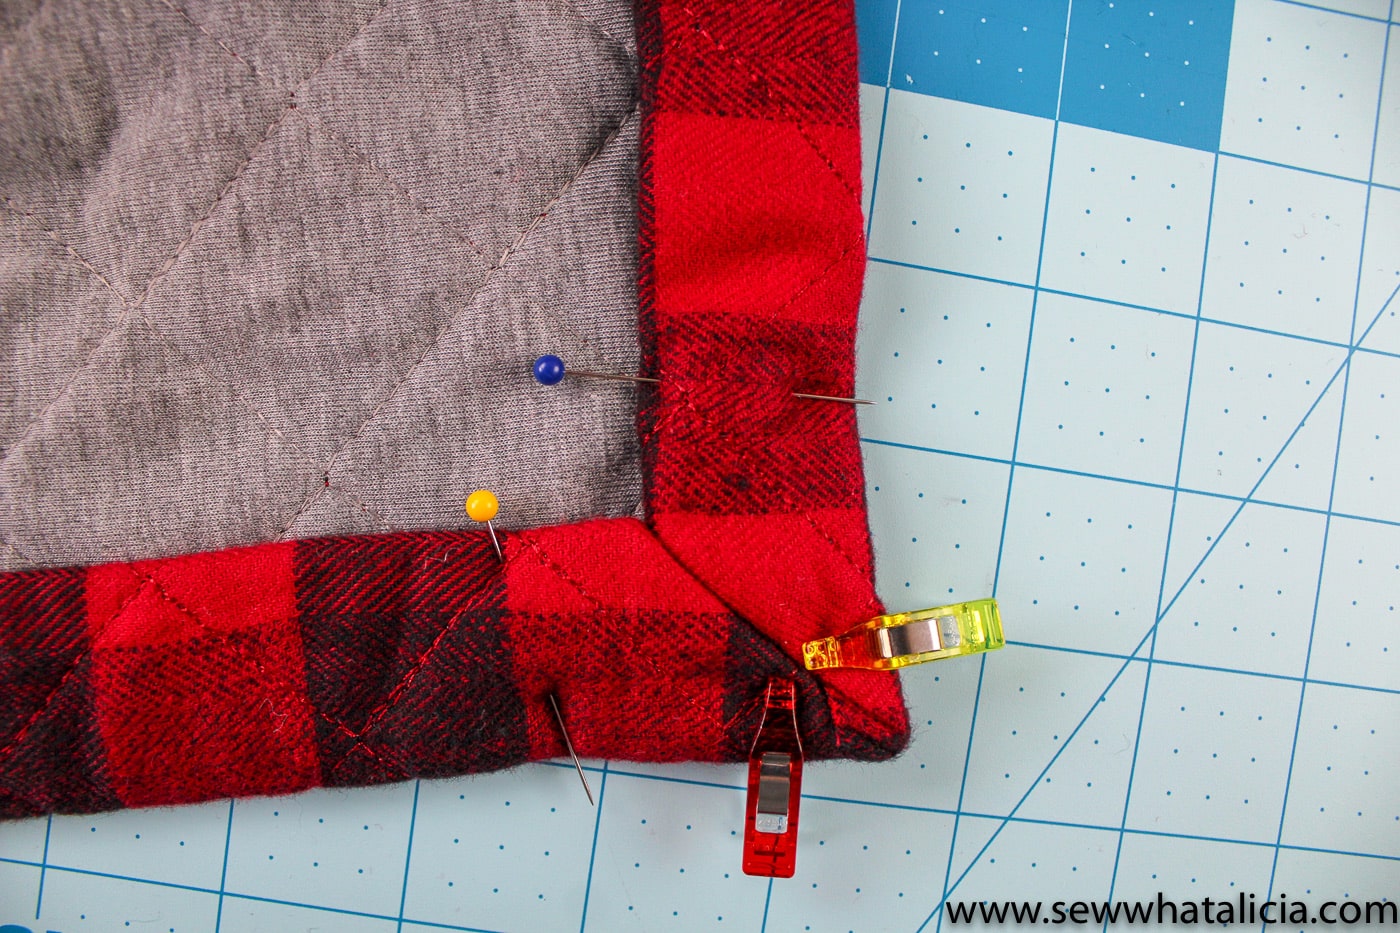
    Step One: Create the Mitered Corners

    Cut a 2″ square from each corner of the fabric.

    Simple Cheater Christmas Quilt

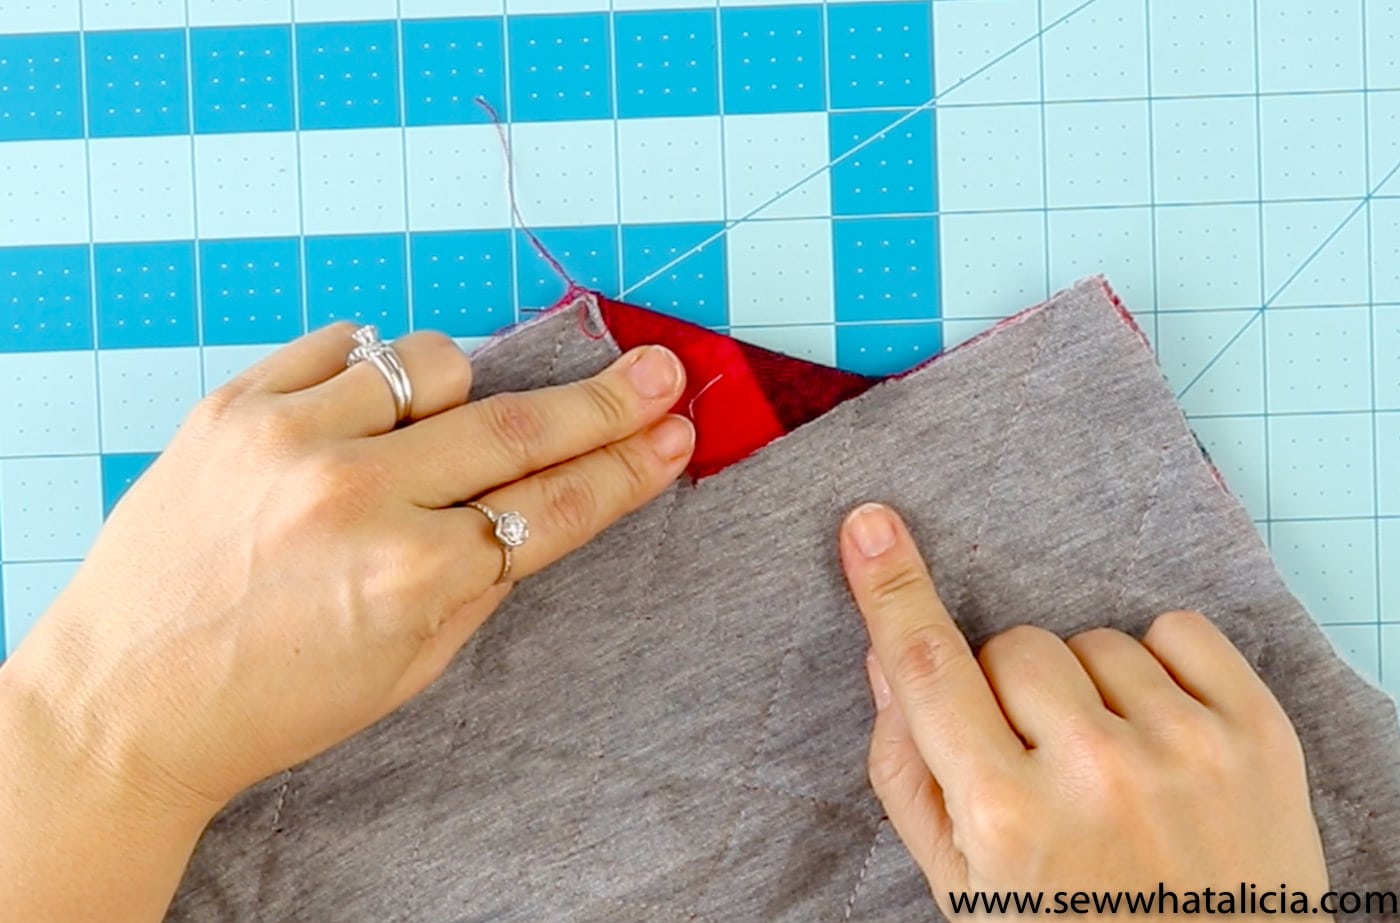
    Fold the edge of one side of the corner over into a triangle. Fold the fabric towards the side where you want the strip of bound edge to show. In my example I wanted the red and black check to show against the gray.

    Simple Cheater Christmas Quilt

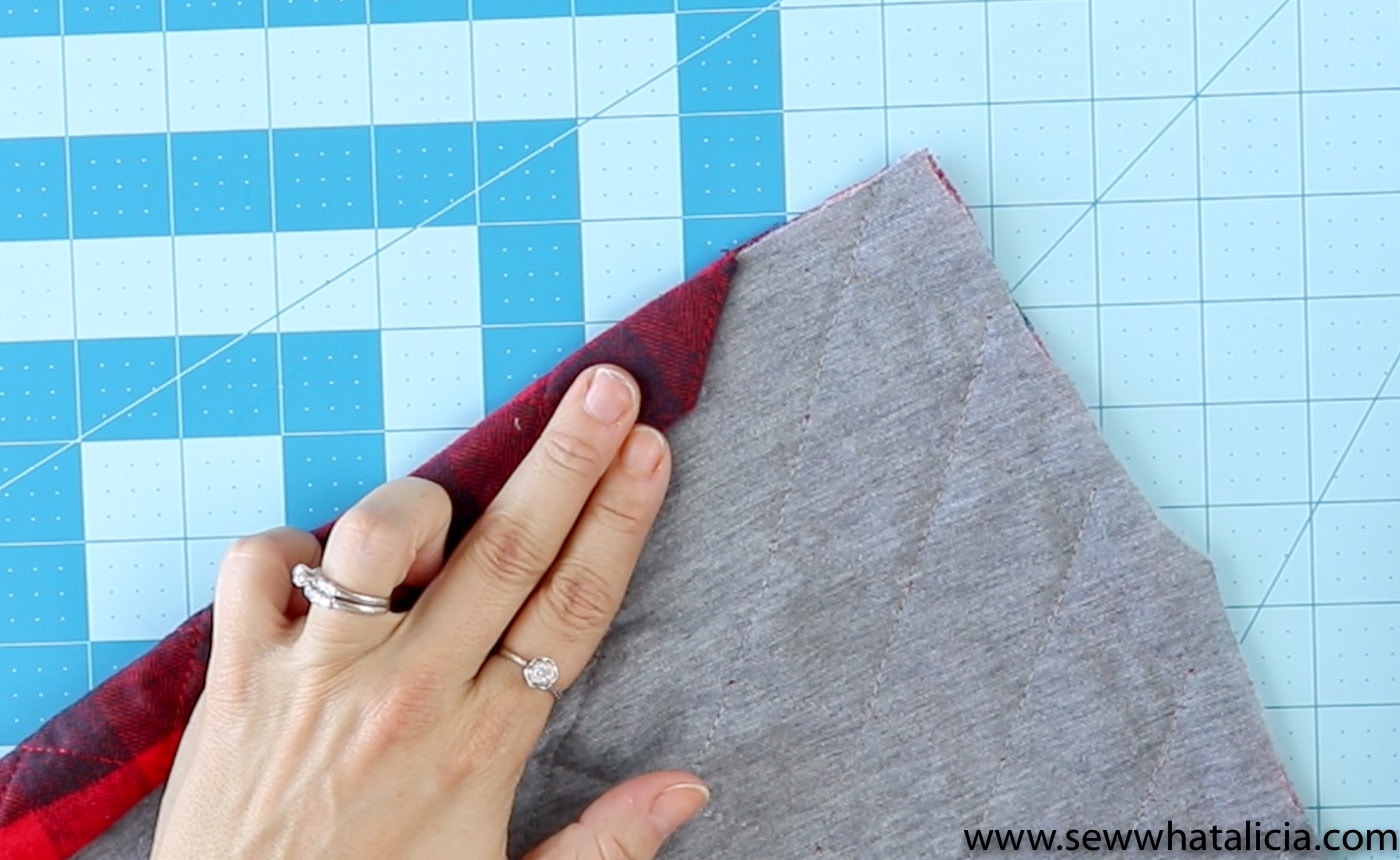
    Now fold the edge over until it lines up with the bottom of the triangle (~1″.) When you get close to the second corner you will fold that corner down into a triangle before folding the fabric down. Pin, clip, or press in place. Then fold under again another 1″. Pin, clip, or press in place.

    Step Two: Stitch down the Quilt Border

    Simple Cheater Christmas Quilt

    Repeat this with all four corners and sides.

    Simple Cheater Christmas Quilt

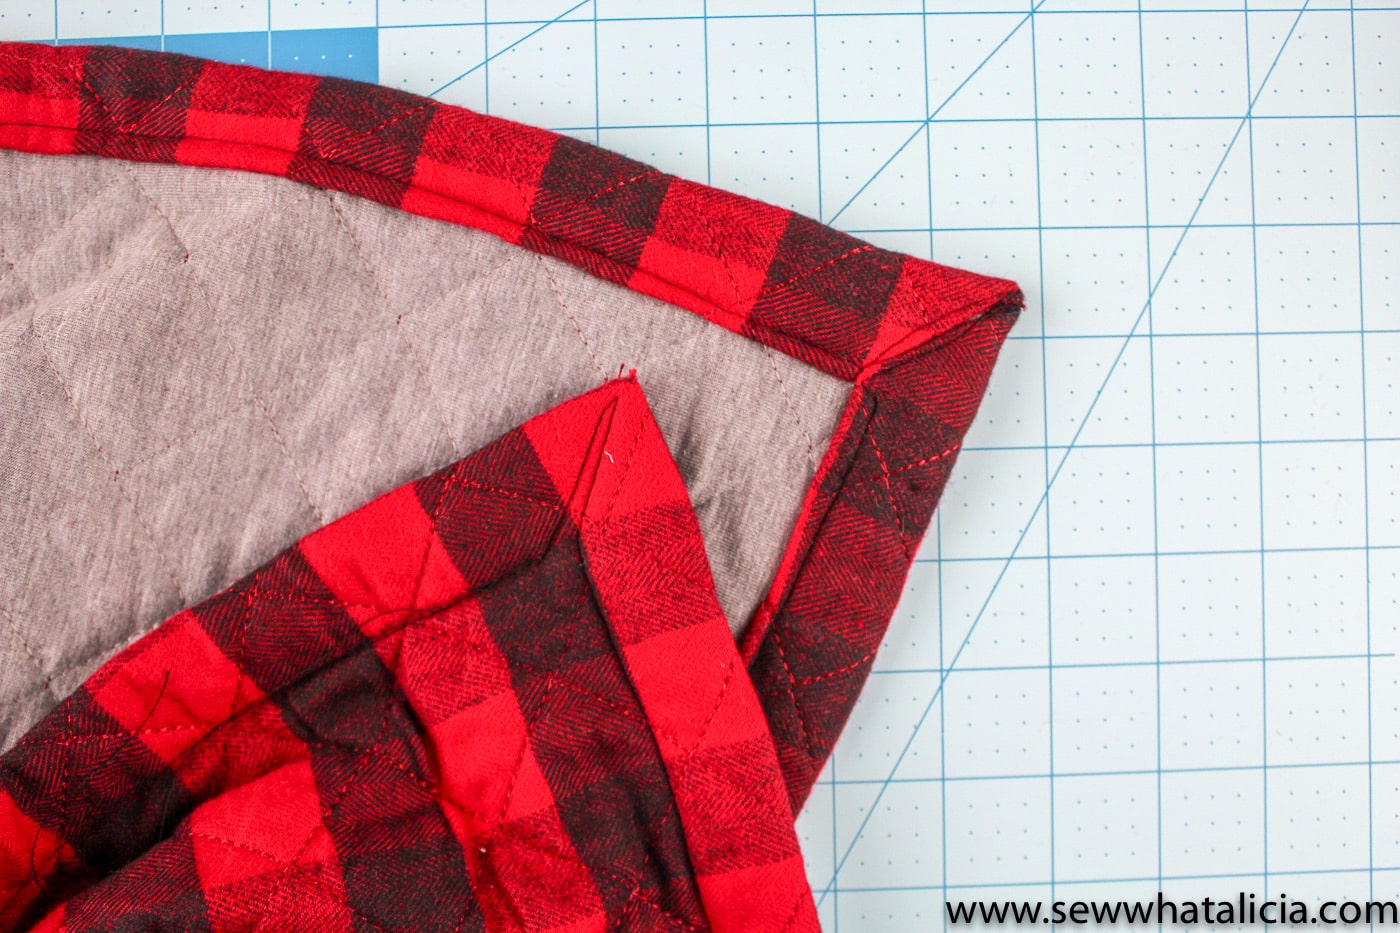
    Attach the walking foot to your sewing machine. I highly recommend using this foot because you are sewing through three layers of quilted fabric so your machine will need the help to feed it through. I used a straight stitch to attach the binding. You could also use a zig zag if you like the look of that better. Be sure to stitch all the way up to each corner to tack the mitered corners in place.

    Simple Cheater Christmas Quilt

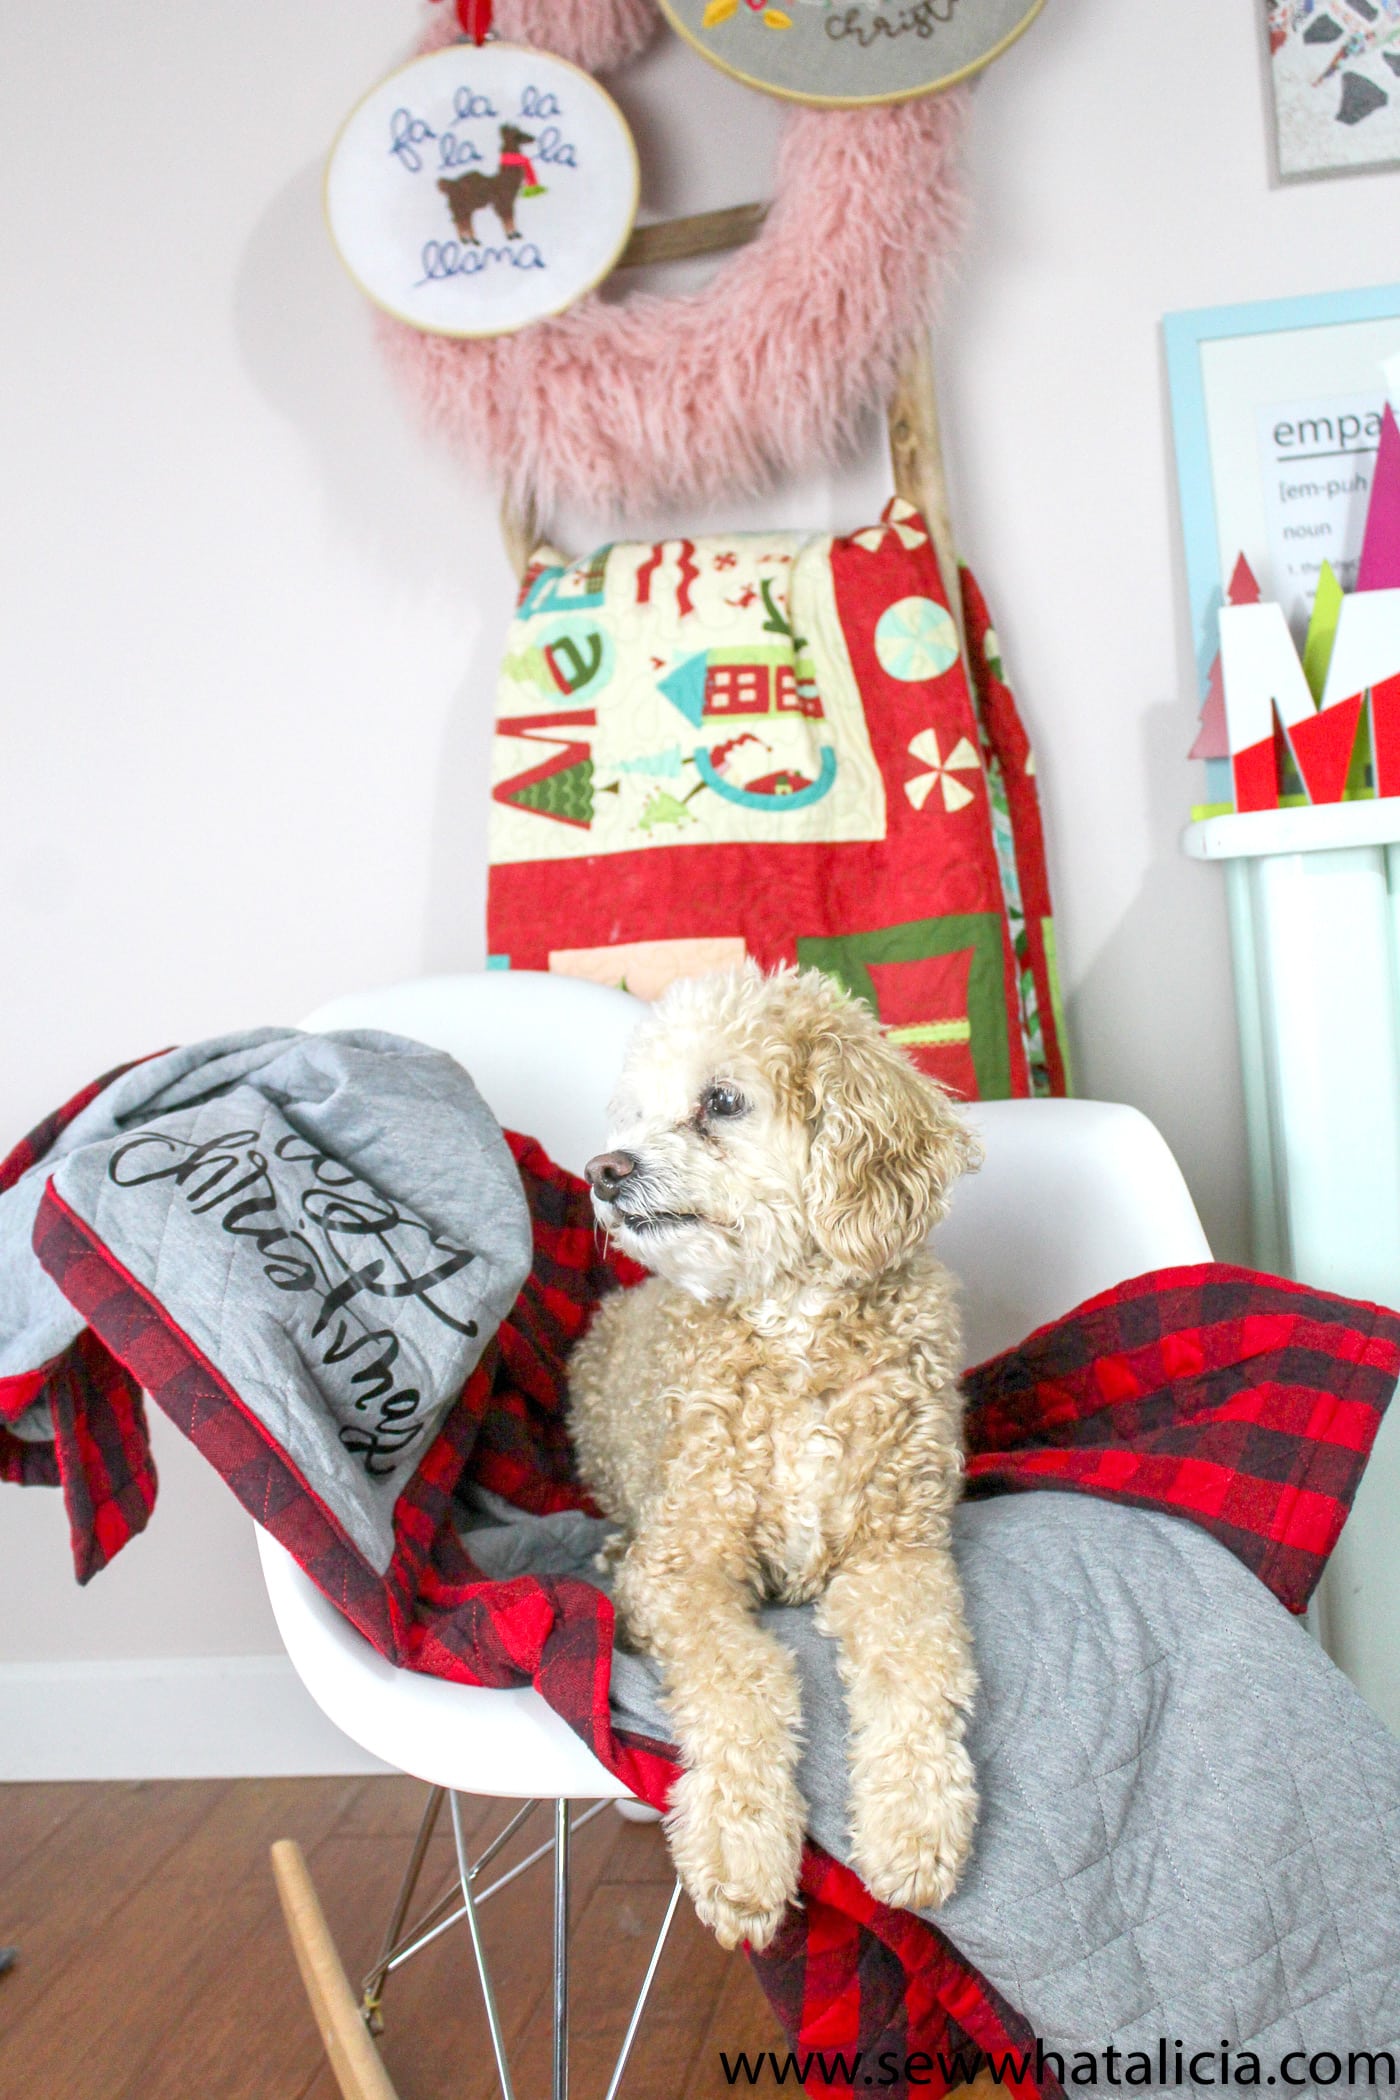
    Step Three: Add a Fun Iron-On

    To add a fun touch cut out the “Cozy Christmas” saying using your Cricut or Silhouette and then attach it using your EasyPress. If you are like me you will need to make at least 4 blankets because nobody can agree on who gets to use this comfy quilt!

    Simple Cheater Christmas Quilt

    See how much quicker that is than an actual quilt? I know nothing compares to an actual quilt, but this is a great compromise that will save you time and still let you create something beautiful! Plus it is super comfy and sweet! This fabric would also make an awesome robe or tree skirt.

    Thanks for letting me share this tutorial with you. If you love this you might also love:

    More Great Projects from Alicia:

    Gnome Ornament

    Felt Ornaments to Sew

    Fa La La Llama Embroidery

    About the Maker:

    I am a wife and a mother and a jill of all trades! I love to sew and craft, I love yoga and running, and I am a hard working momma to two special boys! Most days, I can usually be found at the sewing machine or at yoga class…haha just kidding I am usually chasing my two boys around but I squeeze those other things in whenever I get a chance, which is not as often as I would like!

    Connect with Sew What Alicia

    Facebook // Pinterest // Instagram // Twitter //


    More Fun Quilt and Blanket Tutorials:

    Easy Peasy Fleece Blanket Tutorial

    Simple Double Gauze Quilted Blanket Tutorial

    More Projects You'll Love!

    • Santa Hat Quilt Blocks Pattern
    • 20+ Festive Christmas Stocking Sewing Patterns
    • Free Reverse Applique Christmas Table Runner Pattern - such a cute and fun Christmas craft or sewing project #tablerunner #tablerunnerpattern #christmas #ChristmasDecor #ChristmasCraft #ChristmasProject
      Reverse Applique Christmas Table Runner Tutorial
    • Mini Christmas Stocking Garland Sewing tutorial by Melissa of polkadotchair.com
      Mini Christmas Stocking Garland Tutorial
    « How to Make a Simple Holly Felt Christmas Garland; a Cricut Project
    DIY Travel Jewelry Roll | A Cricut Maker Project »

    • Share
    • Email

    About Author

    Melissa Mortenson

    Melissa Mortenson is a blogger, designer, and content creator. She is the Polka Dot Chair blog founder and has been sharing fresh and creative ideas with readers since 2008. She is the author of “Project Teen, Handmade Gifts your Teen will Actually Love.” Her work and designs have been featured on HuffPost, TODAY, Pioneer Woman, HGTV, BuzzFeed, Better Homes & Gardens, and many other established publications. Her first fabric line, “Derby Style,” debuted in January 2015 through Riley Blake Designs.  Additional fabric collections have followed it in subsequent years. A mom of 3, she considers herself lucky to be living in Kentucky.

    Reader Interactions

    Comments

    1. Mary Lynn Parson says

      November 15, 2018 at 11:01 pm

      This is absolutely wonderful! I am off to find this fabric! Thank you!

      Reply
    2. C. Roper says

      November 16, 2018 at 10:26 am

      This is a very cute idea! What is the finished size?

      Reply
      • Melissa Mortenson says

        November 16, 2018 at 1:02 pm

        It depends on what size fabric you buy. Each one is different at each store. So just subtract 4″ from whatever you buy and that’s the size

        Reply
    3. Donna Viar says

      November 18, 2018 at 9:30 pm

      I am having trouble finding the fabric. Where did you get it? Did you buy it plain and do your own quilting?

      Reply
      • Melissa Mortenson says

        November 19, 2018 at 11:53 am

        If you go to fabric.com and type quilted fabric into the search box you’ll find a lot of choices

        Reply
    4. Deborah says

      November 24, 2019 at 9:06 pm

      So did you use two quilted fabrics? Did you use anything between them? Thanks! Looks fun!

      Reply
      • Melissa Mortenson says

        November 27, 2019 at 9:32 pm

        Yes the fabric was pre-quilted and nothing was placed between it.

        Reply

    Leave a Reply Cancel reply

    Your email address will not be published. Required fields are marked *

    This site uses Akismet to reduce spam. Learn how your comment data is processed.

    Primary Sidebar

    Hello! It’s nice to meet you.

    I’m Melissa. I like to design things, like fabric, printables, and projects.

    I’m also a Mom and a Maker. I am like most of you, just trying to do my best every day. Some days I succeed, many days I fail.  I find joy in creating, if you do too, then I hope that you find something here bring a little “happy” to your life.  Find out more about me here.

    COPYRIGHT POLICY

    All my images and text are copyrighted. You may NOT use any images from this site in any kind of Video (this includes YouTube). If you would like to feature my work, you may use ONE (1) NON-COLLAGED image and must “follow” link back to my original blog post. You may NOT edit, crop, or change my images in any way without written permission. You MAY NOT print out or copy and distribute any text, images or patterns from this site. All patterns, content, instructions, and templates are for personal use ONLY! Thank you! Violators will be reported.

    Footer

    ↑ back to top

    About

    • Privacy Policy
    • Disclaimers
    • About Melissa

    Newsletter

    • Sign Up! for emails and updates

    Contact

    • Contact
    • FAQ
    • Press
    • Fabric Collections

    Welcome to the Polka Dot Chair! Here you’ll find easy, step-by-step, sewing, quilting, and crafting projects. We design projects for Makers of all skill levels. Beginners are welcome!

    DISCLAIMER:

    While every effort has been made to ensure the accuracy of the content on this website, the information is made available without warranty of any kind. The Polka Dot Chair accepts no responsibility or liability, whether direct or indirect, as to the currency or accuracy of the information, nor any consequence of its uses. This website is not intended to substitute the advice of a professional.

    Copyright © 2020 Polka Dot Chair

    [ Placeholder content for popup link ] WordPress Download Manager - Best Download Management Plugin