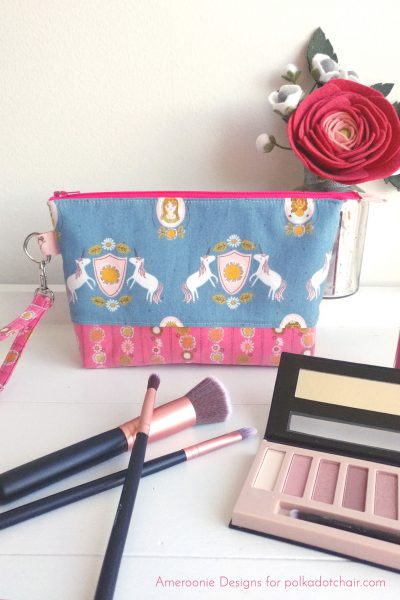
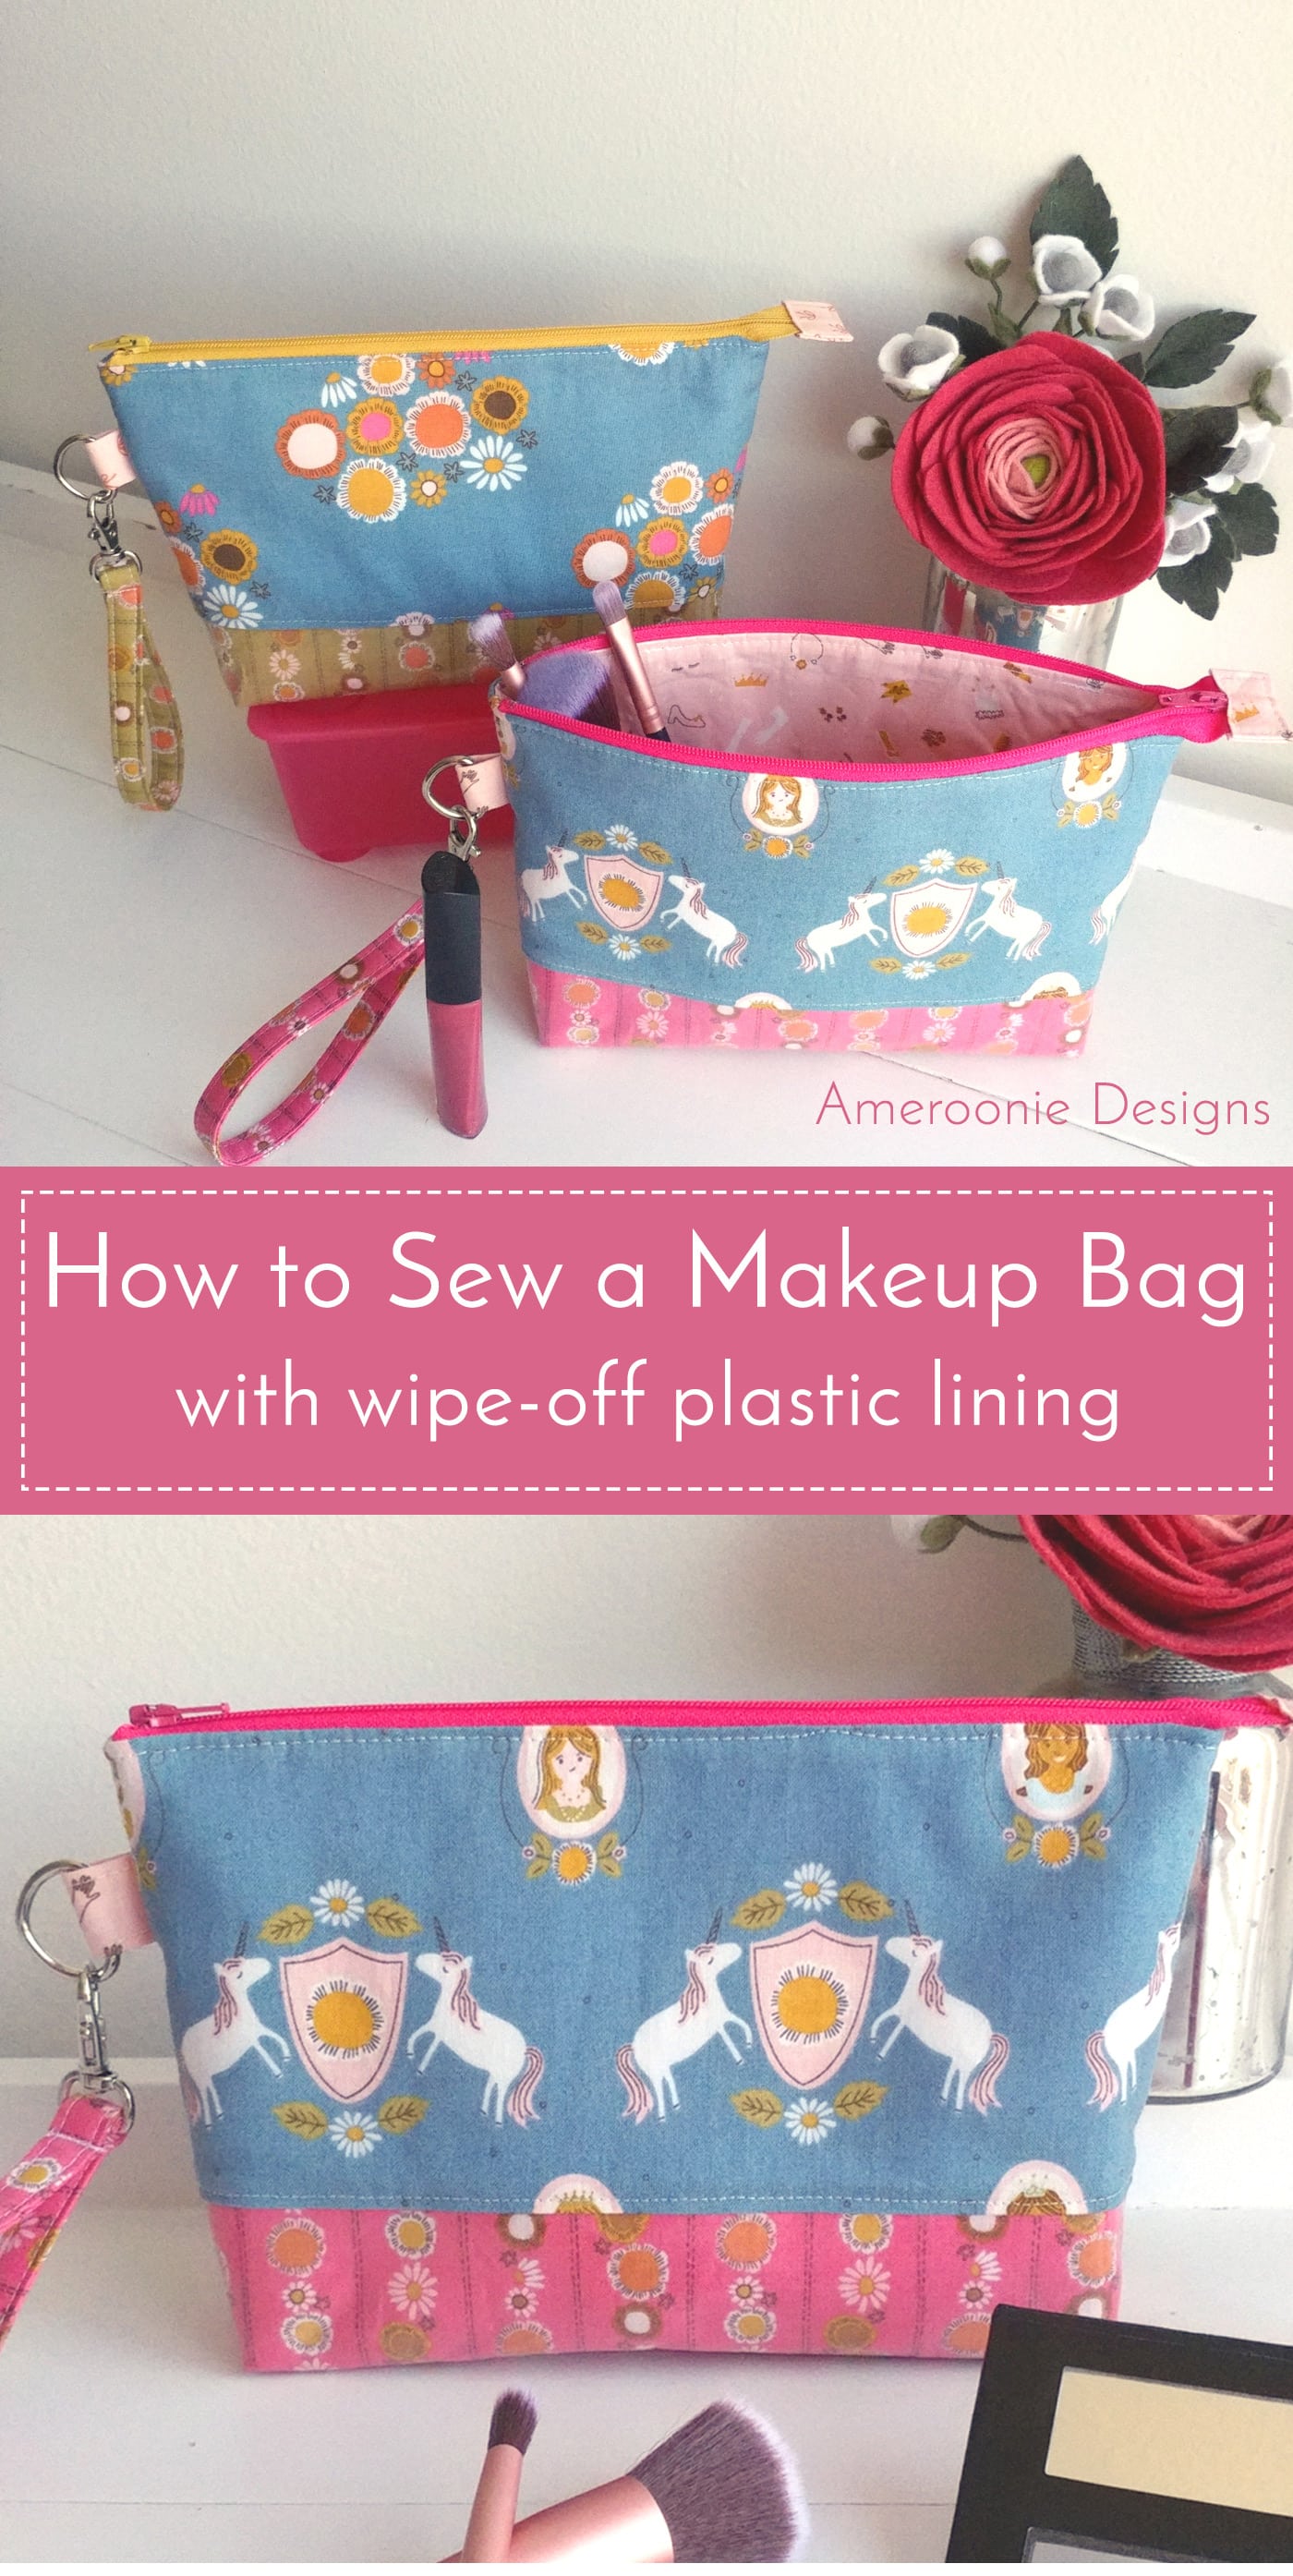
Sew a DIY Makeup Bag with Vinyl Lining
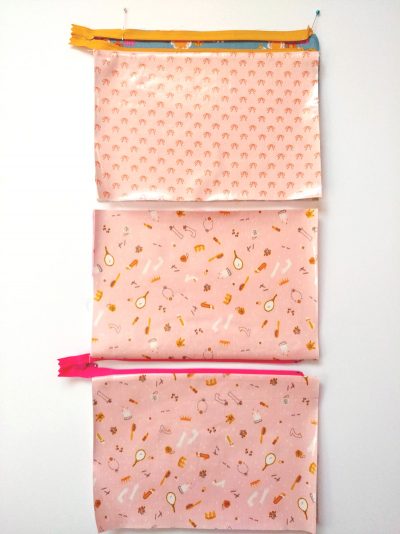
This makeup bag is extra helpful because the interior wipes clean, thanks to the vinyl lining. Follow along with our free makeup bag sewing pattern to find out how to sew one!
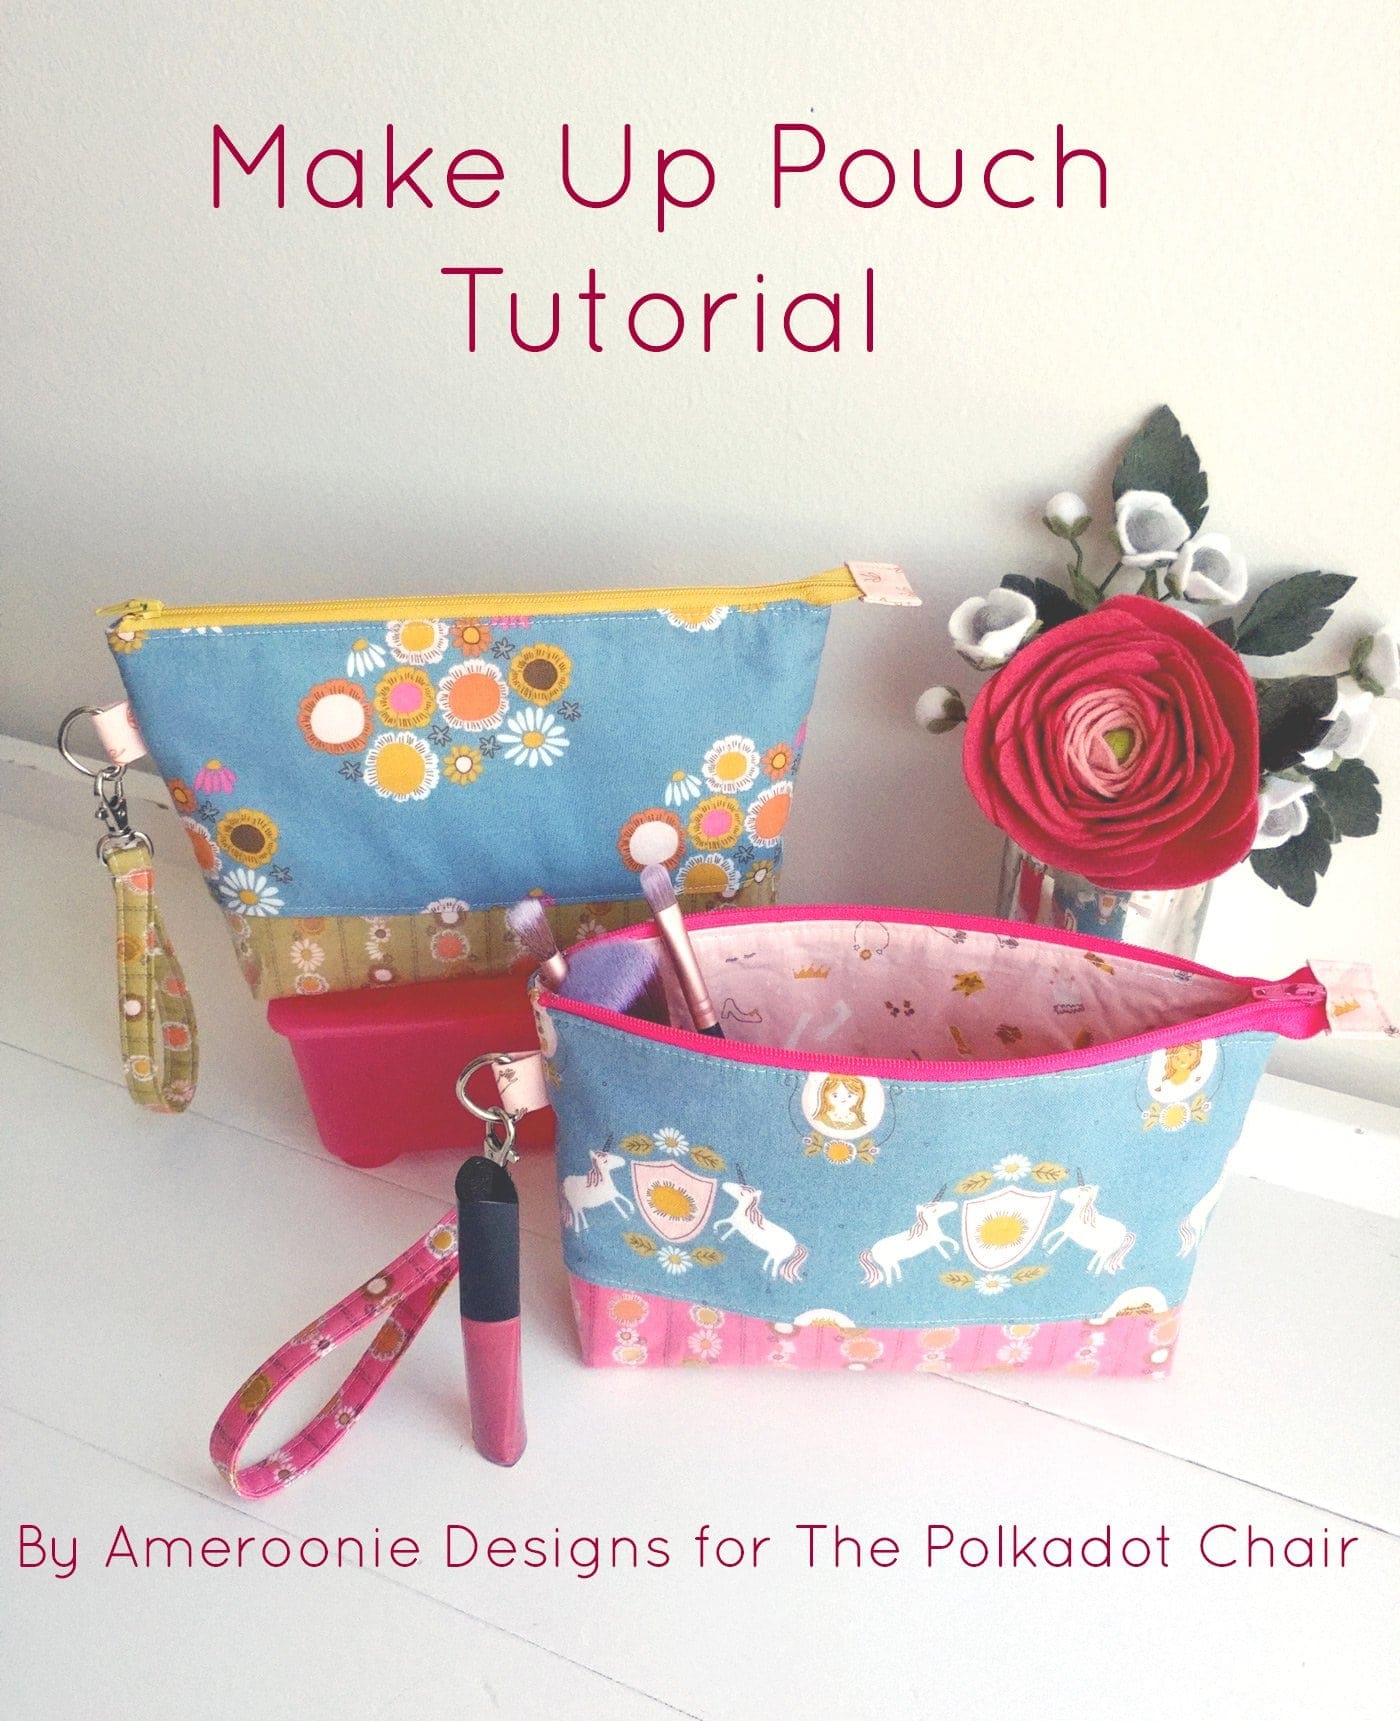
Amy from Ameroonie Designs wrote an adorable DIY Makeup Bag pattern to share today. I LOVE making cosmetic and makeup bags; you can never have too many, in my opinion. Plus, they make great gifts for moms or girlfriends.
What kind of fabric do you use to line a makeup bag?
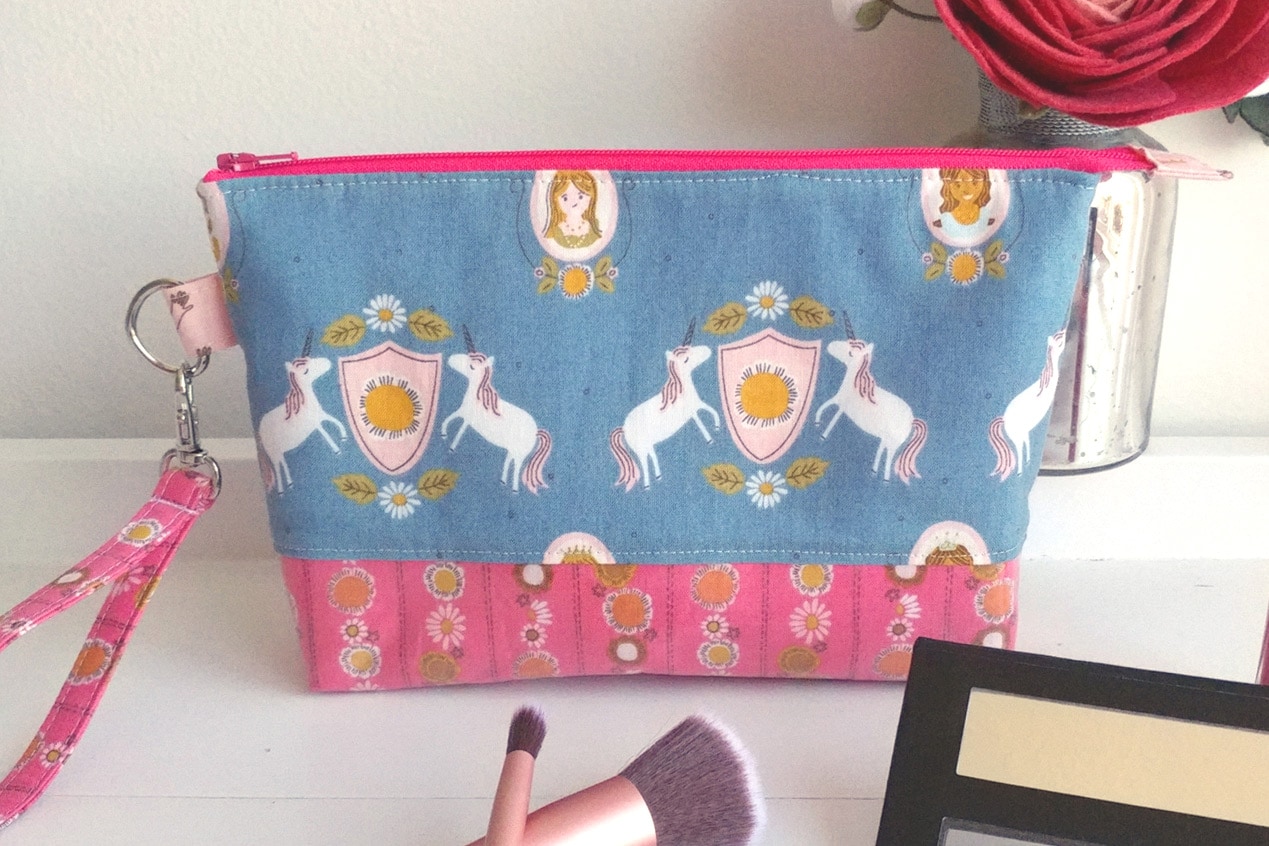
A makeup pouch is always lovely to keep your things organized at home or on your travels. But makeup can spill, and counters get dirty- so it’s nice to have a pouch that you can wipe clean!
Using either laminated cotton or creating your vinyl-coated fabric (as we do in this tutorial) lets you create a wipeable interior and bottom to a makeup pouch that isn’t too small or big- it’s just the right size.
Interested in other bag designs? Check out some of our other makeup bag or tote bag tutorials.
Are you ready to make one for yourself?
Vinyl Lined Makeup Bag Sewing Pattern
Equipment
- Thread
supplies
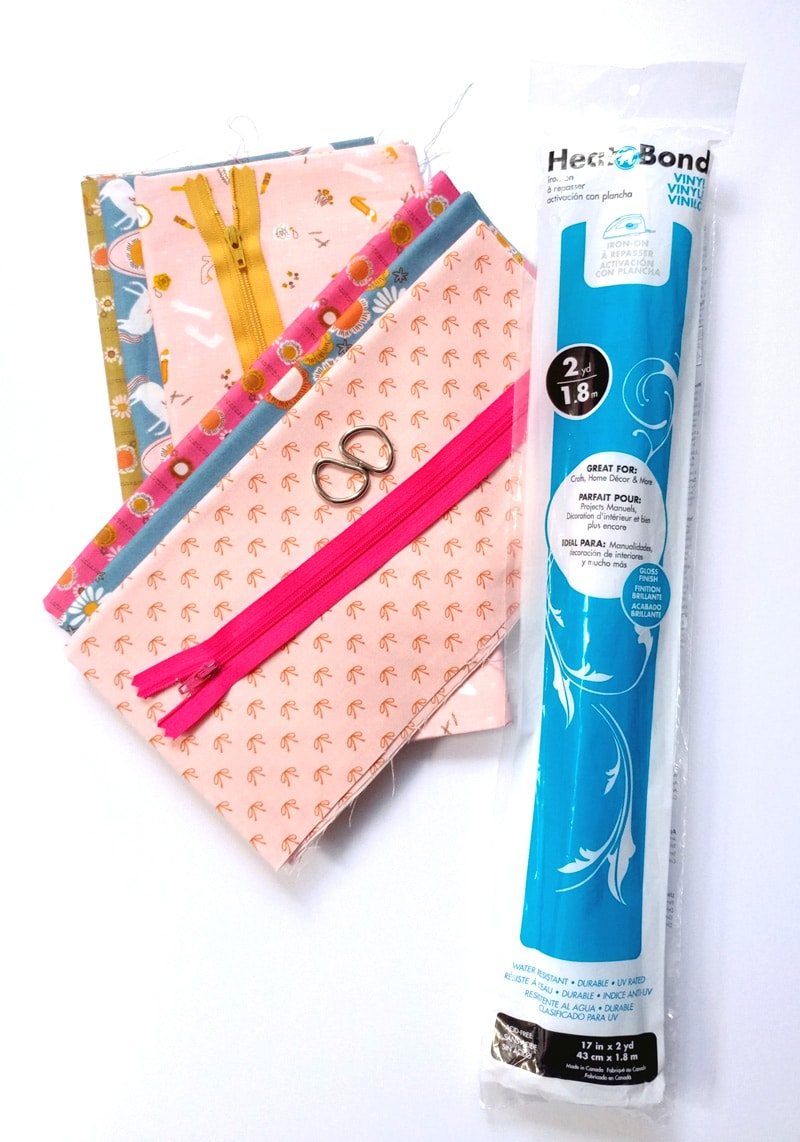
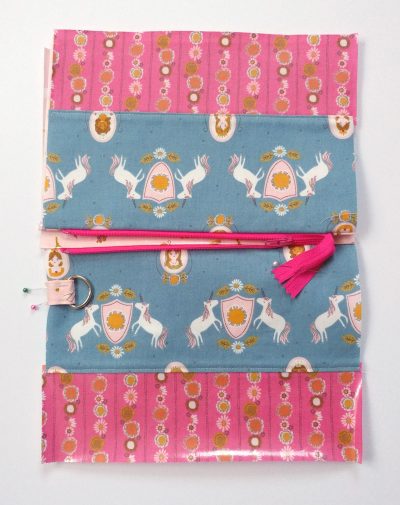
- 1/4 yard Fabric I am using three different prints but you only need 2. 1/4 yard of each is more than enough. (if you are using laminated cotton, one of your prints should be that) For this project, I am using Guinevere by Citrus and Mint for Riley Blake Designs
- 1 9″ zipper
- 1 package Fusible fleece
- 1 D-rings if you would like a way to attach a wrist strap
- 1 package Heat N Bond Vinyl
Instructions
- *If you are not using laminated cotton, you will need something to coat your fabric with vinyl, such as this Iron on vinyl by Heat n Bond
- Note: I am making two different pouches in the following pictures so that the fabrics may vary from step to step. You will follow all the steps shown, regardless of the fabrics in the photo.
Cutting Directions for Makeup Bag:
- Note: I am including the steps needed if you are doing the iron on vinyl.
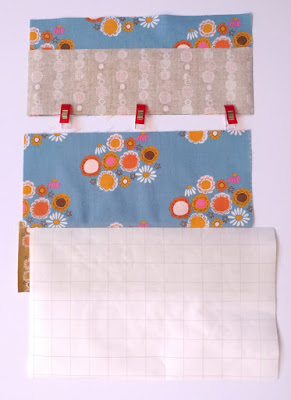
- Main exterior fabric: (the blue fabrics in this case)cut 2 pieces 4 1/2″ X 10″
- Exterior accent fabric: (the mustard fabric)1 piece 7″ X 11″
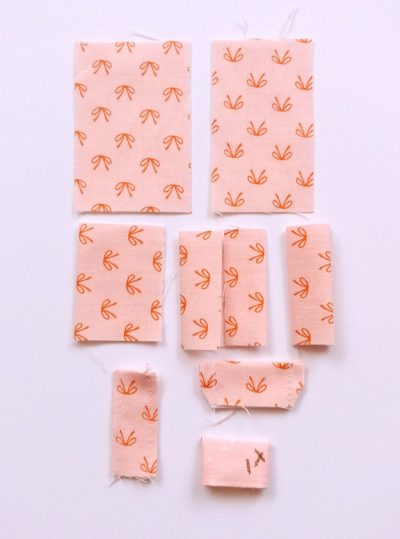
- Lining fabric: (pink fabric)1 piece 15″ X 11″1 piece 2″ X 3″1 piece 1 3/4″ X 3″
- From Iron On Vinyl:1 piece 6 1/2″ X 10 1/2″1 piece 14 1/2″ X 10 1/2″
- From fusible fleece:2 pieces 6 1/2″ X 9 1/2″
- Follow the manufacturer’s instructions to adhere the vinyl coating to the associated pieces. DO NOT discard the paper backing. Then, cut the following. OR if you are using laminated cotton, cut the following:
- Exterior accent fabric:2 pieces 3″ X 10″
- Lining fabric:2 pieces 7″ X 10″
- All seam allowances are 1/4″ unless noted otherwise.
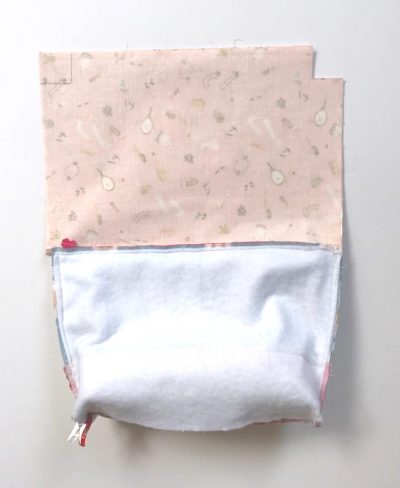
Step One:
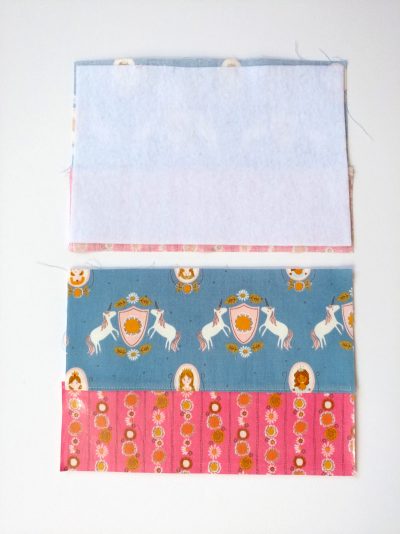
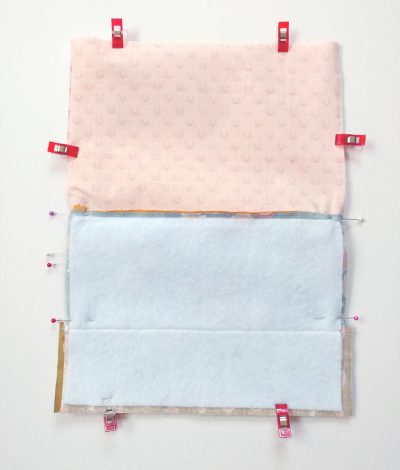
- Line up the top of the exterior bottom piece with the bottom of the Main exterior piece. *TIP: coated fabrics do not heal from pin holes as easily as regular cotton fabrics, so I recommend pinning within the seam allowance or using binding clips to hold pieces together.

- Sew together and press the accent fabric away from the main fabric. *TIP: DO NOT touch your iron to the coated fabrics. Use the paper backing from the IOV or a press cloth to cover any coated fabrics when at the iron.
TIPS:
- Here are a few tips if you are having trouble feeding your coated fabrics through your sewing machine.
- Increase the stitch length on your machine. Use a walking foot or Teflon foot.
- If you don’t want to purchase a new foot, try covering the bottom of your presser foot with matte clear tape.
- Use a pin or sharp scissors to open the hole where the needle goes through.
- Coated fabrics also stretch a bit more than regular cotton, so try to have your coated fabrics on the bottom when feeding them in your machine if possible.
Step Two:
- Fuse the fleece to the back of both exterior pieces.

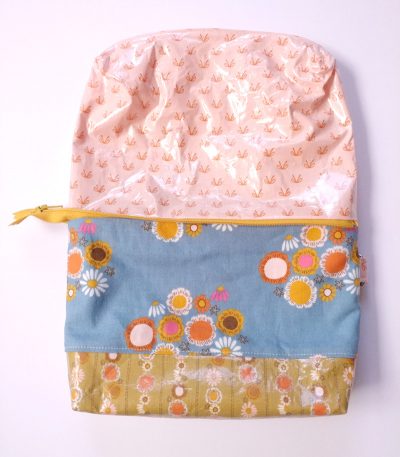
- Top stitch along the seam between the primary and accent fabrics.
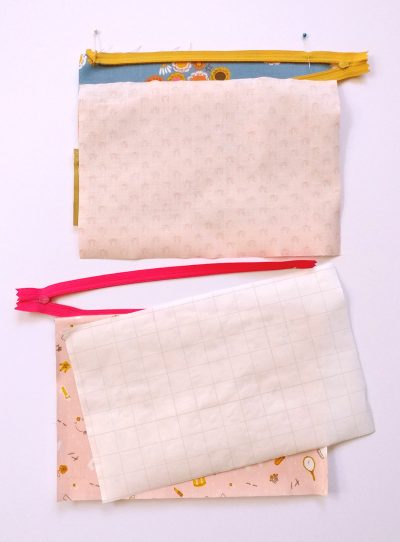
- Take your zipper and line it up, right side down, with the top of the front exterior piece. It’s easier to do this if the zipper is fully opened.

- At the free end of the zipper (the left side), fold up the zipper tape outside of the metal stop so it is perpendicular to the zipper, with the pin in place.
- On the right side of the zipper, measure 1″ from the end of the pouch’s exterior and pin the zipper in place there.
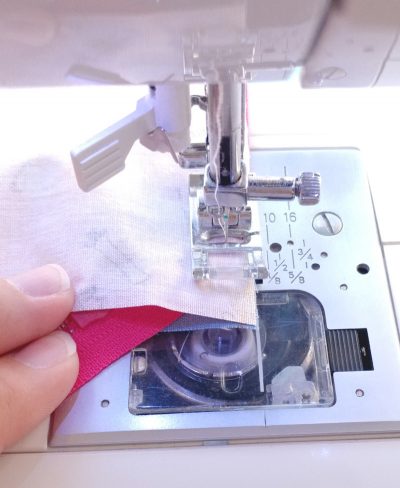
- Place your lining right side down, and line up all three pieces: the exterior, zipper, and lining. Sew along this edge until you reach the pin 1″ from the edge of the fabric. (You may choose to use a zipper foot at this point, but I usually don’t).

- With the needle in the down position, lift the presser foot. Pull the loose end of the zipper away from the line you are stitching toward the inside of the fabrics you are sewing. Put the presser foot down and sew the fabrics together, keeping the zipper out of the seam. Press both pieces of fabric away from the zipper.
- Attach the fabrics to the second side of the zipper in the same manner as the first. Just make sure the metal tabs on the loose ends of the zipper line up. I line up the sides of the exterior pieces and then make sure the zipper is positioned so the metal tabs line up before I begin pinning the zipper down. Again, press the fabrics away from the zipper.
Step Three:
- Take your two small 3″ long pieces to the ironing board and press them in half along the 3″ length.

- Open up this crease and bring the raw edges into the middle to meet at the crease, press.
- Fold up the original crease to enclose the raw edges.
- On the 2″ piece, sew along both 2″ edges using an edge stitch.
- On the 1 3/4″ piece, reverse the center fold to put the two raw edges on the outside, then sew up both short sides using a 1/4″ seam allowance. Clip the bottom corners (the ones by the center fold)
- Turn right side out and press.

Step Four:
- Place your pouch with the exterior facing up. Close the zipper about 1/4 of the way. Fold the lining of the front piece up and away from the exterior front piece. Pin the loose end of the zipper against the front piece to keep it from getting caught in the seams while assembling.
- Fold the 2″ piece from the previous step around the D-ring. Pin in place 1″ down from the zipper on the side opposite the free end of the zipper.

- Fold down the back exterior piece and begin lining up the edges. Make sure the seam allowances from the zipper are pinned toward the lining.
- Sew around all four edges, leaving an opening in the bottom of the lining for turning.
Step Five:
- Mark 1″ squares on all four corners. Cut out the squares.
- Pull out the edges of the corners and line up the seams to create a straight line. Sew along this line with a 1/4″ seam allowance to box the corners.

- Turn the pouch on the right side out through the opening in the lining. TIPS: remove the pin holding the free end of the zipper first! You’ll thank me later!
- Fold under the seam allowances of the opening and sew them shut with an edge stitch.
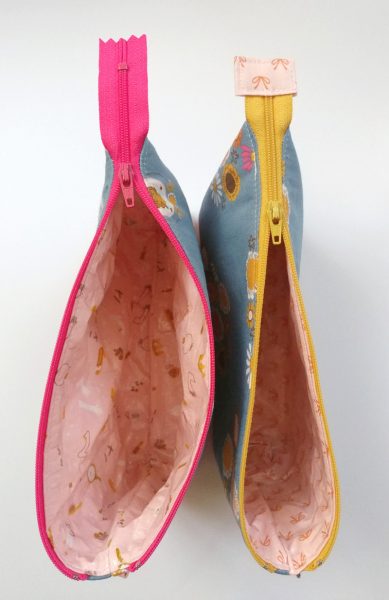
- Push the lining to the inside of the cosmetic bag. Press the fabric away from the zipper again. Top stitch around the top of the cosmetic bag.

Finishing:
- Trim the loose end of the zipper so it is just over 1″ away from the edge of the pouch. If using a 9″ zipper, I trim just under the metal stop. Slide the tab made from the 1 3/4″ piece of fabric over the end of the zipper. I put the zipper on top of the seam allowance. Sew around all four sides of the tab.
- Do one final press of the pouch.
- TIP: DO NOT press the outside of the makeup bag with the two lining pieces touching. This will only glue your lining pieces together as the plastic will melt to the plastic on the other side. When you press, make sure you’re only pressing the front or the back of the bag. Not both!

- Now you have a pouch you can take anywhere without worrying about what might happen. If you have enjoyed this tutorial- I hope you’ll come to my blog, Ameroonie Designs, and see what other projects I have for you!
Now you have a pouch you can take anywhere without worrying about what might happen. If you have enjoyed this tutorial- I hope you’ll come to my blog, Ameroonie Designs, and see what other projects I have for you!
About the Maker:

Hello! I’m Amy Chappell, the person behind Ameroonie Designs. I’m a sewing and quilt pattern designer, and I’m proud to say that my work has been featured in several print publications and popular DIY websites.
I am the mom of six kids- which is a big reason I create and sew. I find that I am happiest when I am making things, and taking time to be happy makes me a better mom.
Join me in my exclusive Let’s Sew Friends membership, where you’ll find small, manageable monthly sewing patterns, live classes, and lots of video tutorials!
Other Great Projects on Ameroonie Designs:
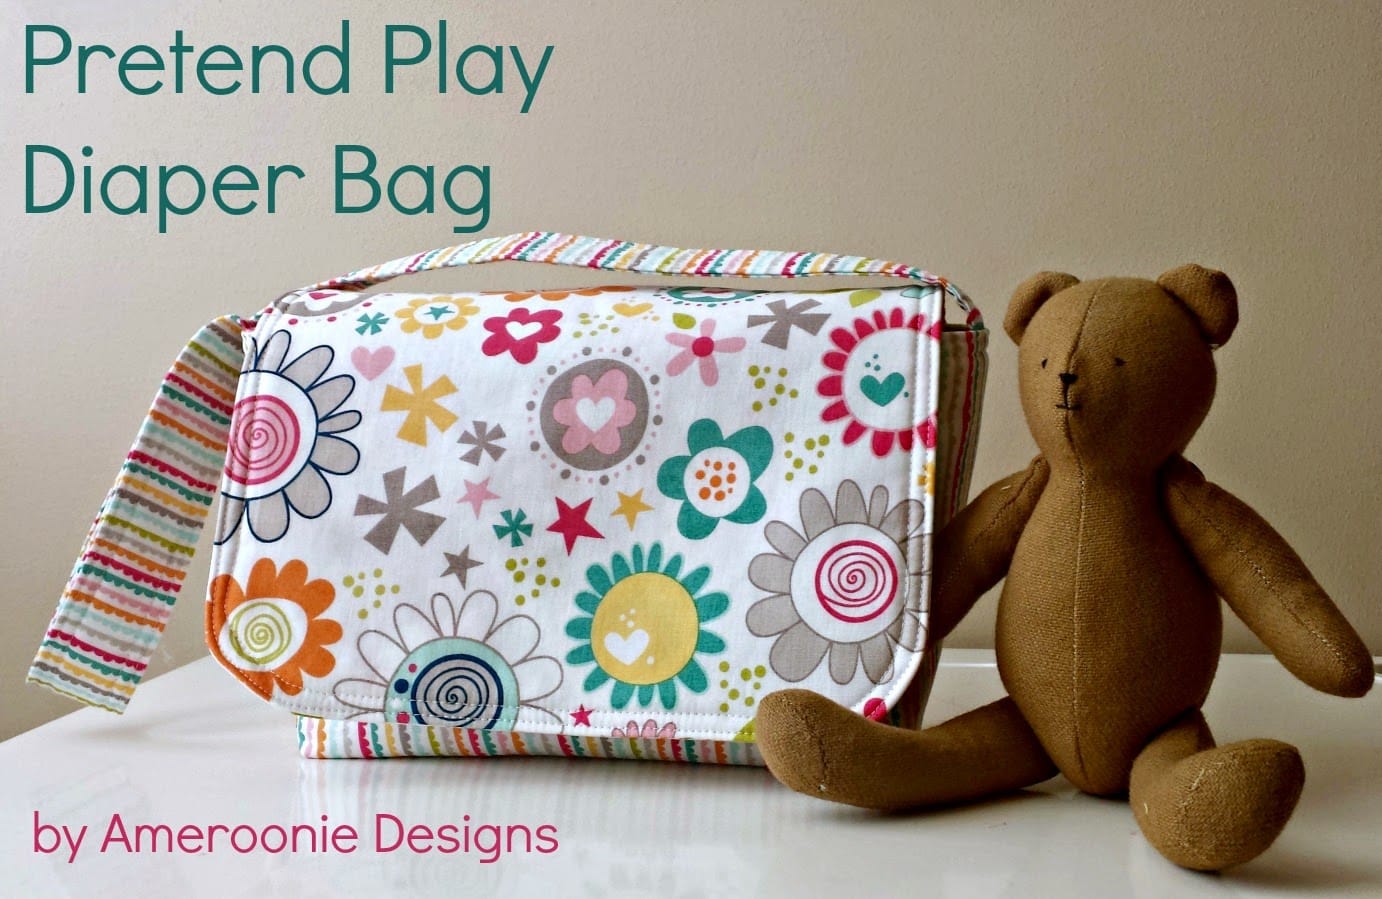
Pretend Play Doll Diaper Bag Tutorial
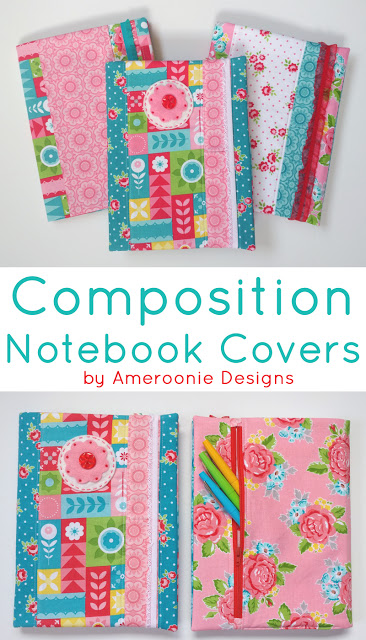
Composition Notebook Cover Tutorial
You May Also Like:
Must Know Bag Making Tips & Tricks
Tips for Working with Laminate Fabrics
How to Make a Pom Pom Zipper Pull.


I’m using regular cotton and the iron-on vinyl but I’m very confused about attaching the vinyl in your instructions. You say “Follow manufacturers instructions to adhere the vinyl coating to the associated pieces.” – but what “associated pieces” would that be? The vinyl isn’t the same size as any of the other pieces. Could I please get more detail on that step? Thanks!