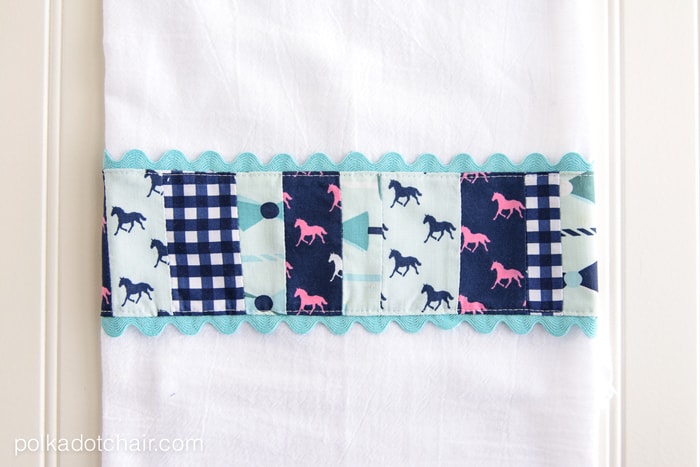
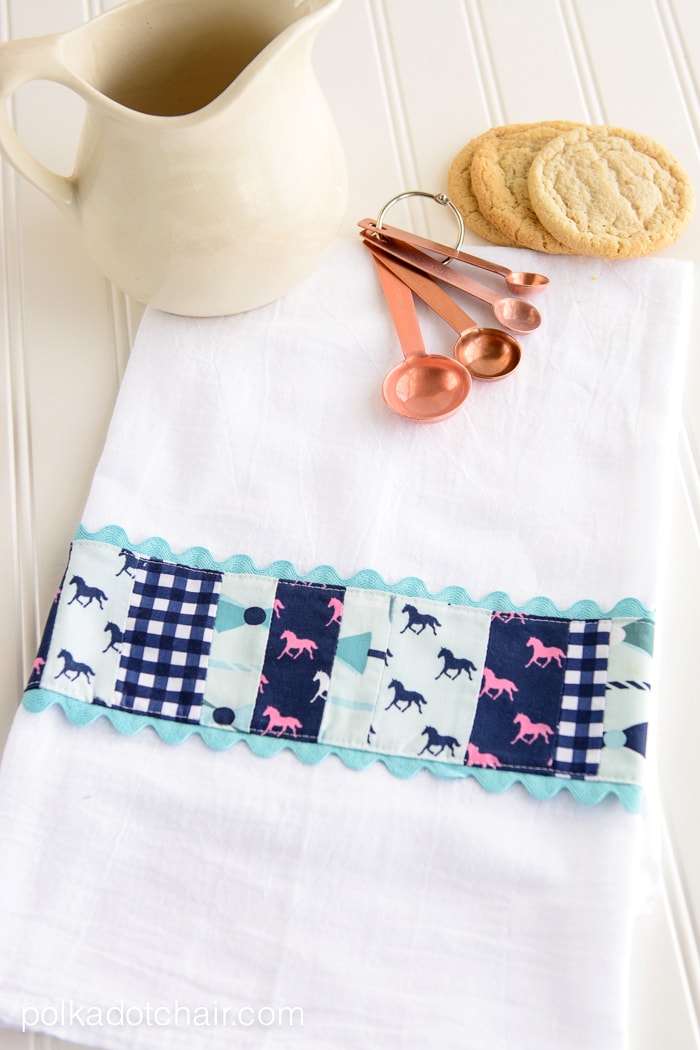
DIY Embellished Dish Towel
This Embellished Dish Towel tutorial first appeared on Flamingo Toes as a part of their Scrap Busting Series. Make sure you pop on over there to check out all of the other great scrap busting projects that were shared.
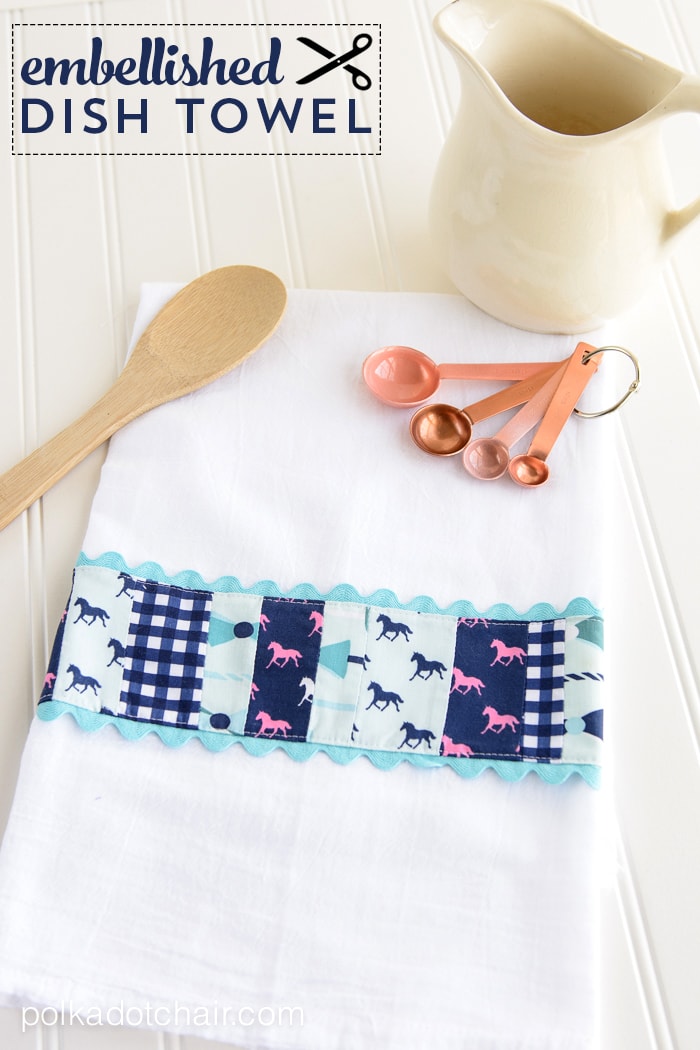
I’m really excited to be here with you today sharing a tutorial for an embellished dish towel. It’s a great scrap busting project and heaven knows that I’ve got a MILLION scraps of fabric. This project is our Ten Minute Tuesday Project this week, it might take you a few more than 10 minutes to stitch up but it’s still a really quick sew and would make a cute hostess gift.
I keep my fabric scraps in bins organized by color. I think it makes it easier to figure out ways to use them when they are organized. Usually when I’m designing a project I’ll think “this project is blue”.. or pink or red or whatever. If you’re at a loss as to how to keep your fabric scraps organized, give it a try it really helps a lot!
Today I’m going to show you how to take some of those scraps to very simply embellish a flour sack dish towel. This project is pretty quick to make and would be a great gift for a new bride.
To make one you’re going to need:
Flour Sack Dish Towels
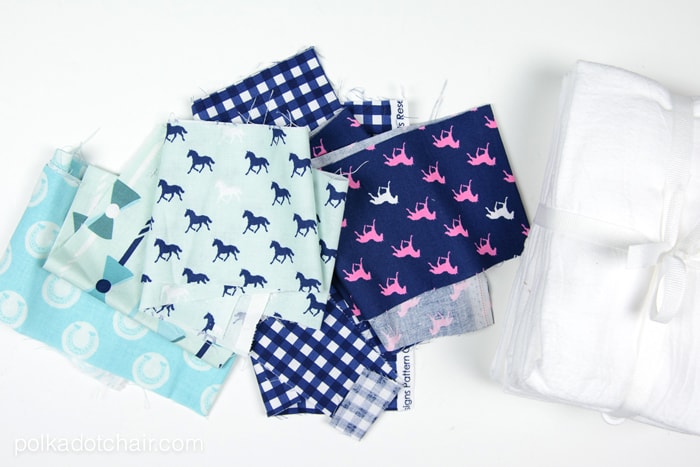
Scraps of Fabric
Ric Rack
Step one:
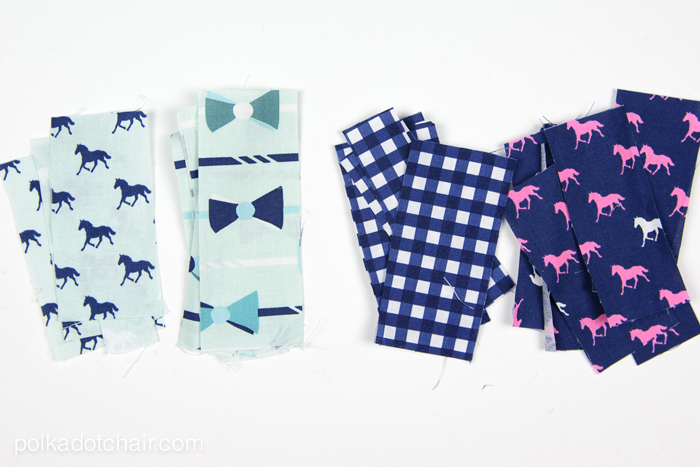
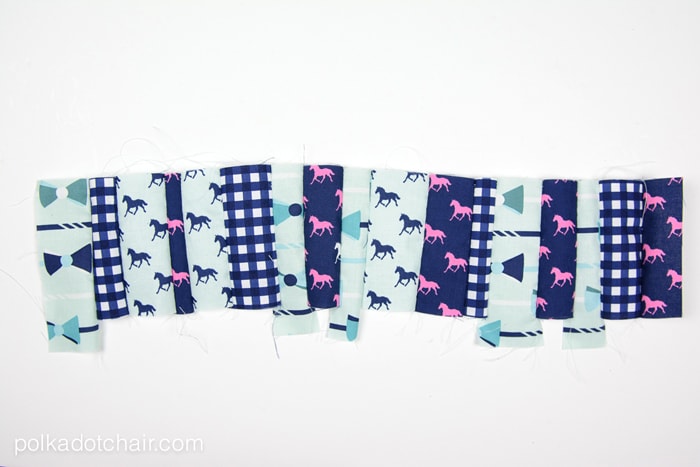
Cut your scraps into strips of varying widths… from 1 1/2″ to about 3 1/2″ . Each one should be around 4″ – 5″ tall also.
Begin randomly stitching the strips together using a 1/4″ seam allowance on your sewing machine. It will look like a bit of a mess until you attack it with your iron. Keep stitching until it’s the same width as your towel.
Press all of the seams to one side being careful not to distort the seams too much as you press (you can stretch the fabric with your iron if you’re not careful, press the fabric up and down, not side to side). After it’s pressed, trim it so that all of the strips are the same height and about 1/2″ wider than the towel.
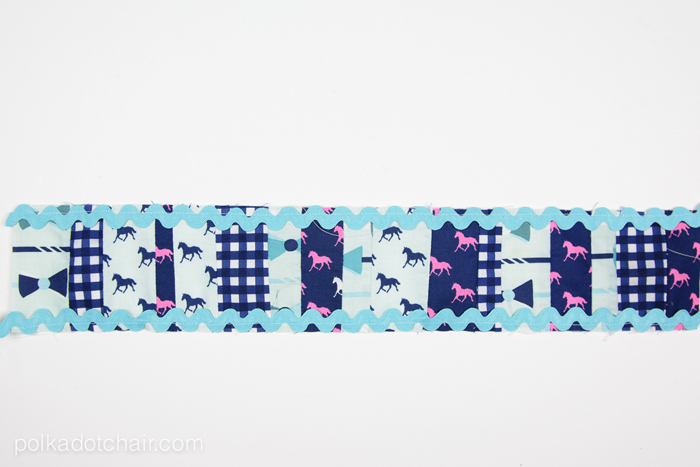
Pin one strip of ric rack to each side of the sewn strips and stitch it in place going down the center of the ric rack.
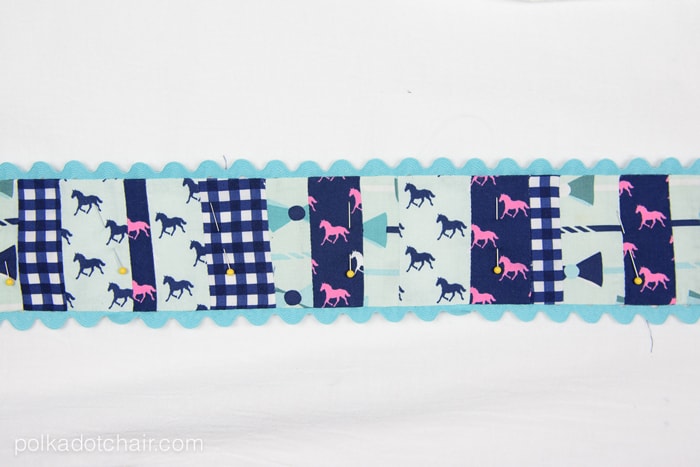
Turn the ric rack to the wrong side of the fabric strips and press. Pin the sewn piece to the towel, turning under the raw ends of the strip 1/4.” Stitch to the towel around all 4 sides.
That’s it. You’re done! Pat yourself on the back!!
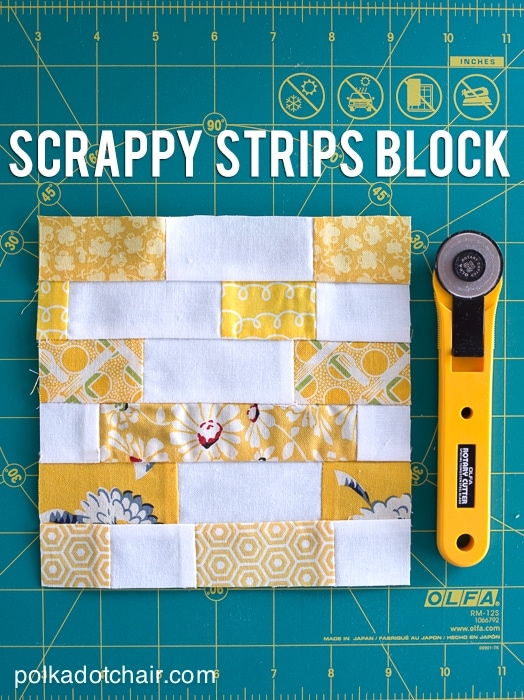
I hope you’ve enjoyed this project.. here are a few other scrap friendly projects from my blog that you may enjoy.

