Make a Clever Wrist Scrunchie Pincushion with our Free Sewing Pattern
Create a cute and clever pincushion that fits on your wrist with our free Wrist Scrunchie Pincushion Sewing Pattern.
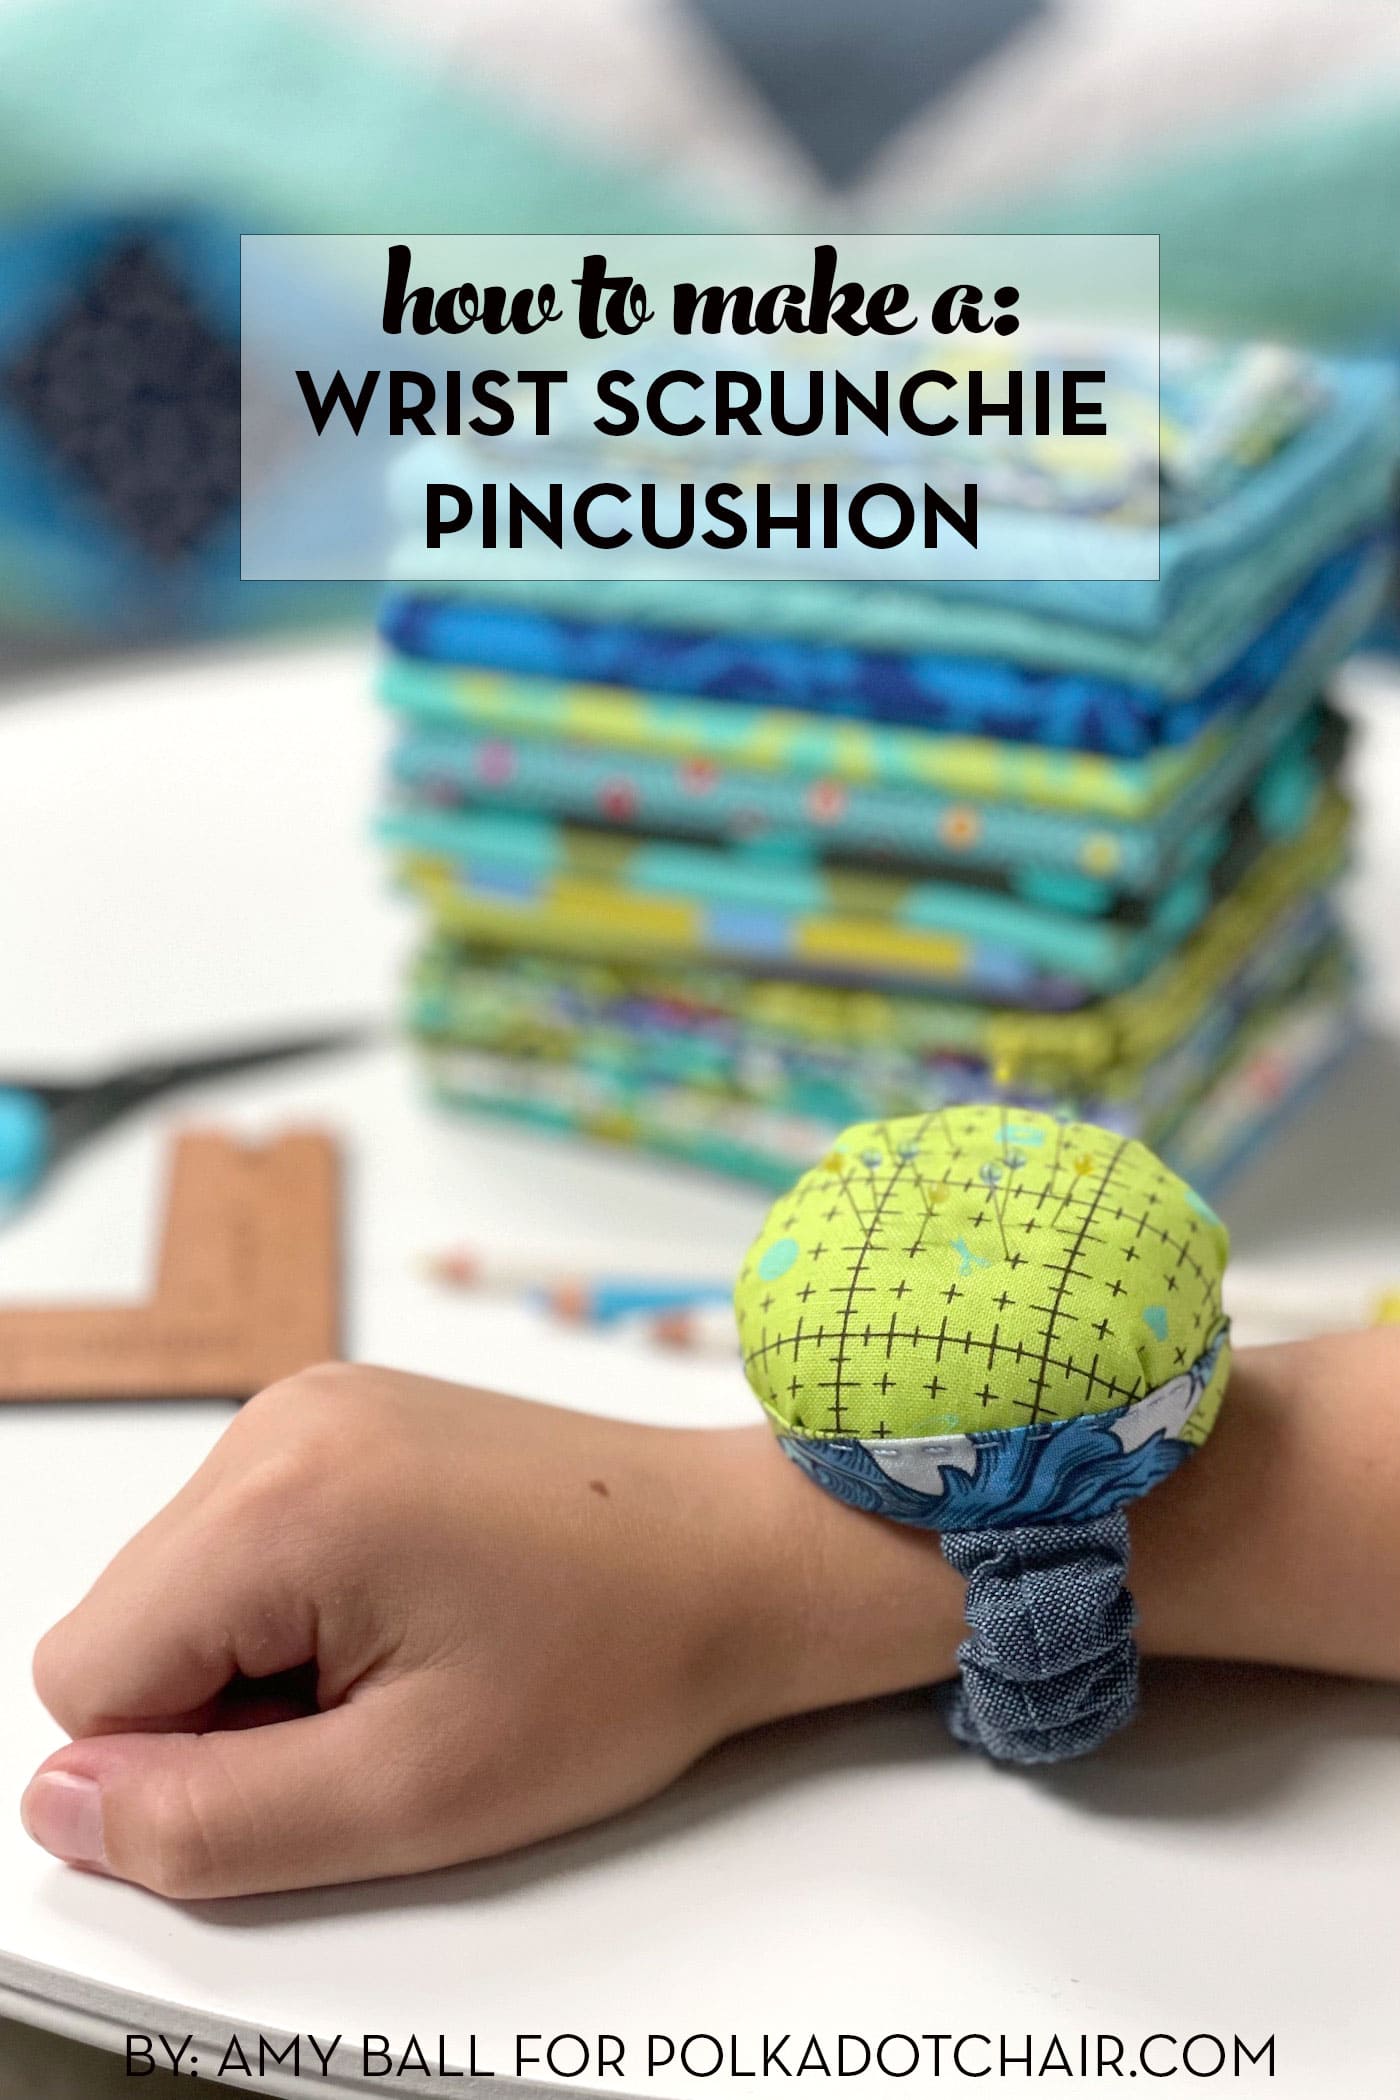
Have you ever been working on a project that involves moving around your sewing space at the sewing machine, then cutting and pinning fabric around the other side of the table, and then over to the ironing board?
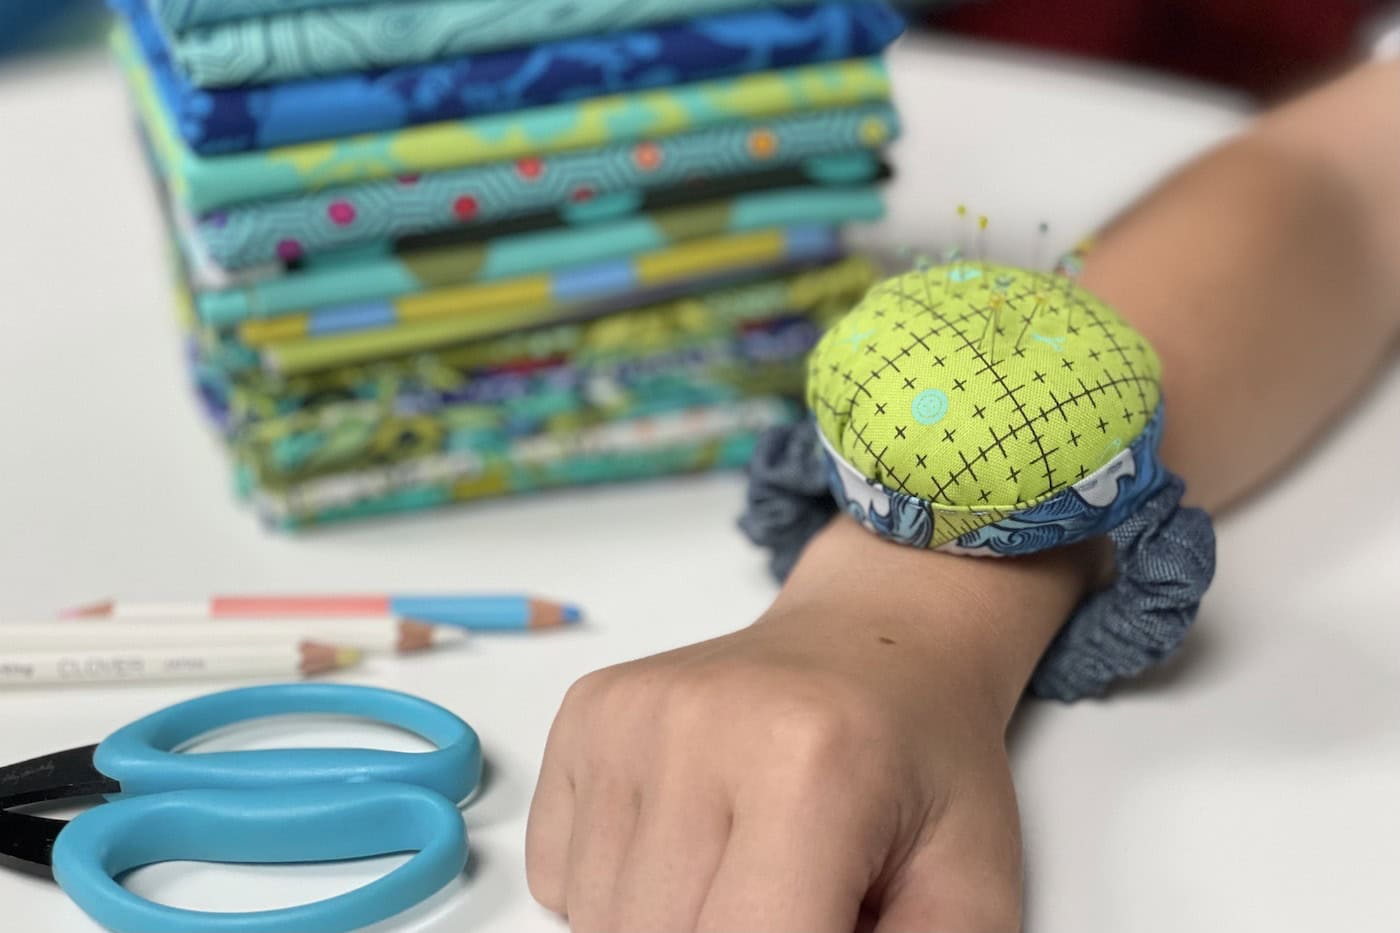
When doing this, I always waste time hunting for my pin cushion, which is never where I need it to be. But the solution is simple…a pin cushion you wear!
Supplies Needed
Supplies
- Basic Sewing Tools
- Sewing Machine
- Cutting mat
- Rotary Cutter
- Quilting Ruler
- Pins
- Marking Pen
- Binding Clips
- Scrunchie Fabric: 1/4 Yard Fabric
- Base Fabric: Large Scrap
- Pin Cushion Fabric: Large Scrap
- Band Fabric: Fat Eighth
- Cardboard: 5” square
- Elastic ½” wide: 1/4 yard
- Stuffing
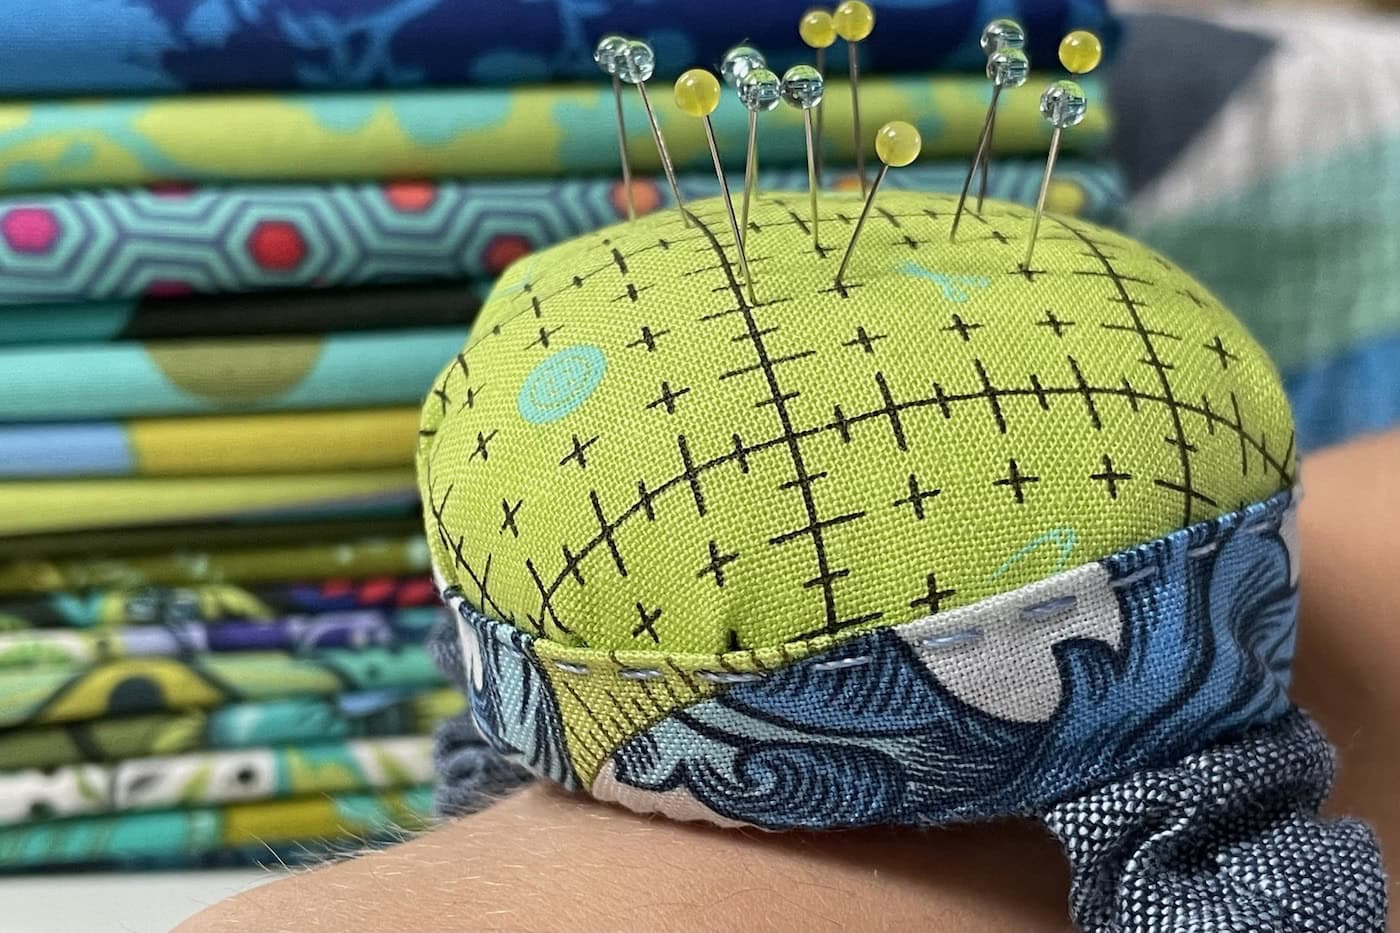
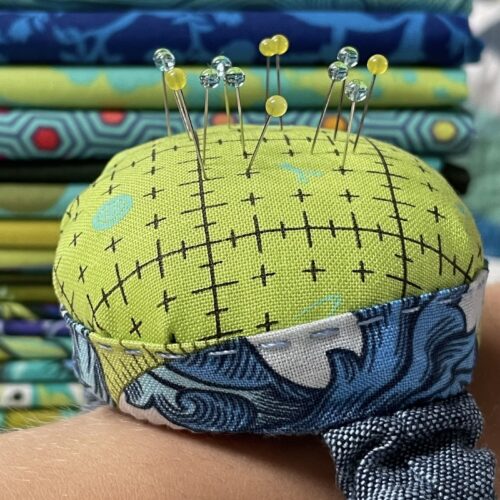
I’ve designed this pin cushion to be worn on your wrist or lower arm, so you always have a supply of pins (and a place to put them, too) close by.
These would make great gifts for your quilting and sewing friends!
It has two layers of cardboard so you won’t accidentally get any pins into you, and the pin cushion is on a Scrunchie-style wristband, so it looks super cute, too.
Wrist Scrunchie Pincushion Sewing Pattern
Equipment
supplies
- 1/4 Yard Fabric for Scrunchie
- 1 Large Scrap Base Fabric but there is enough left from the Scrunchie Fabric for the Base Fabric too
- 1 Large Scrap Pin Cushion Fabric
- 1 Fat Eighth Band Fabric
- 1 piece Cardboard 5” square
- 1 piece Elastic ½” wide about 10" long
- 1 small package Stuffing
Instructions
Cutting:
- From the Base Fabric, cut 4½” diameter circle (1). From the Pin Cushion fabric, cut 5½” diameter circle (1). From Band Fabric cut 1½” x 10” (1). From Cardboard, cut 2¼” diameter circle (2).
- NOTE: The Scrunchie Fabric and Elastic will be cut during the construction steps.
Construction:
- Start by measuring the elastic on your wrist (or lower arm, depending on where you’d like the pin cushion to sit). I don’t like things too tight, so I measured so that the elastic isn’t stretched at all when it’s around my wrist (the stretch will be used to get the band over my hand). Add 1” to your desired length.
- Cut the Scrunchie Fabric three times the length of your elastic and 2½” wide. For example, my elastic is 8” long, so my Scrunchie Fabric is 24” x 2½”.
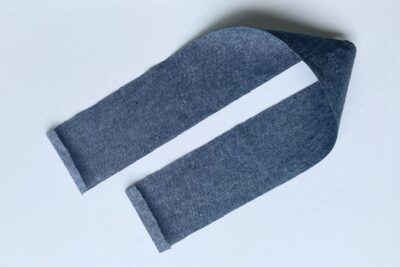
- Take the Scrunchie Fabric and press both short ends in by ½”, wrong sides together.
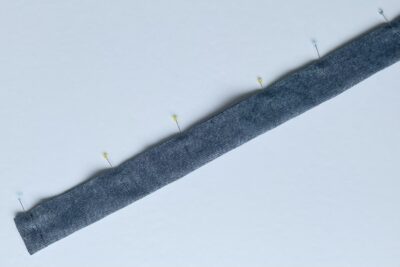
- Now fold the Scrunchie Fabric along the length, with the right sides together, so the raw edges are together. Pin.
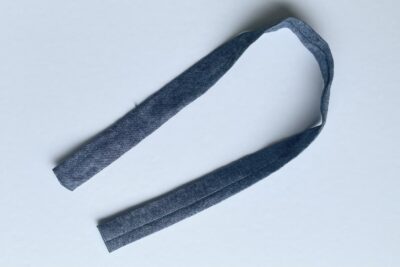
- Sew together using a ¼” seam allowance and press the seam open.
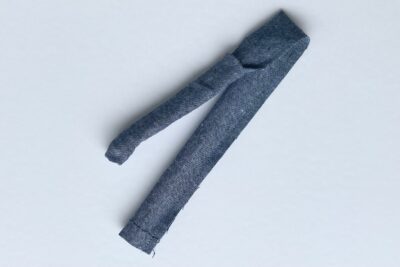
- Carefully turn the Scrunchie Fabric tube right side out.
- This is a bit fiddly, so take your time.
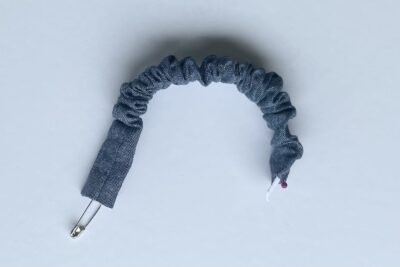
- Attach a safety pin to one end of the elastic and feed it through the Scrunchie Fabric tube. I recommend pinning the other end of the elastic to the fabric to ensure you don’t pull it through, too.
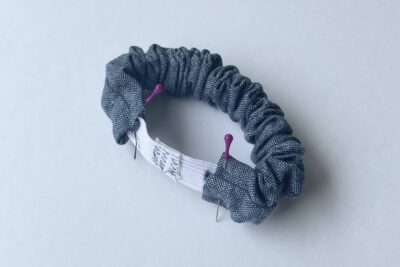
- Pull the two ends of the elastic out of the Scrunchie Fabric tube and overlap them by ½”. Sew them together using a zigzag stitch. Sew a few times to secure the elastic ends together. Be careful not to catch any of the Scrunchie Fabric.
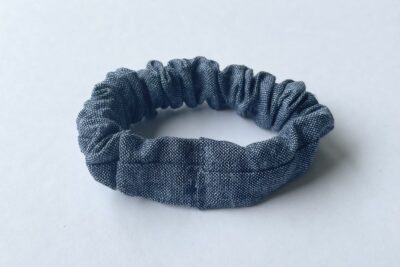
- To hide the elastic, overlap the Scrunchie Fabric tube edges by about ¼” and sew together close to the folded edge, catching the elastic inside, too. Set aside the completed Scrunchie band.
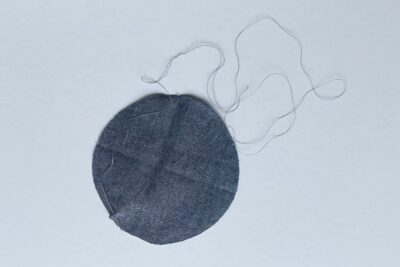
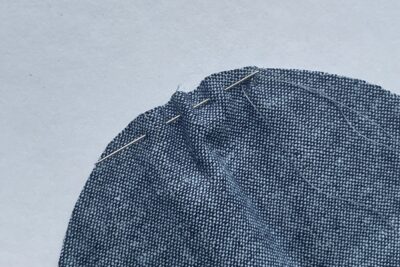
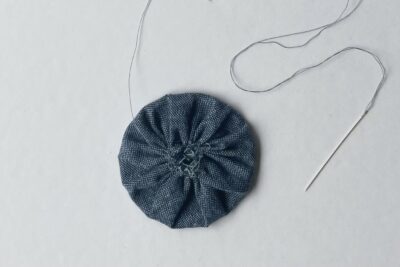
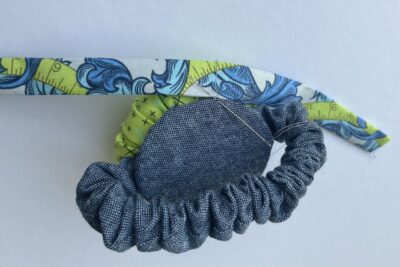
- Take the Base Fabric circle with the wrong side facing you. Using a long piece of thread, secure the thread with a couple of hand-sewn stitches and then sew a running stitch around the circle’s edge (about ¼” from the raw edge).
- (close up)
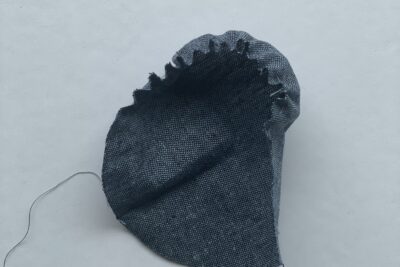
- Once you’ve reached about halfway around the fabric circle, start gathering the edge by gently pulling the thread and scrunching the fabric.
- Continue the running stitch until you get back to where you started.
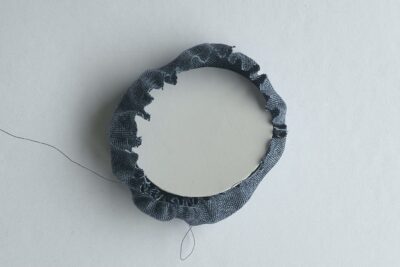
- Put one of the cardboard circles inside the loosely gathered circle and gather the fabric more tightly (still careful not to snap the thread!) so it encloses the cardboard.
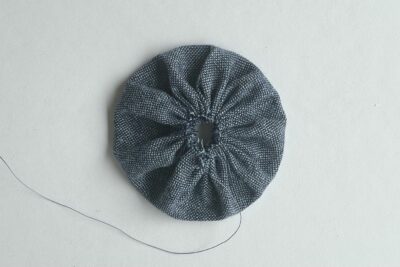
- Sew a few stitches once the cardboard is enclosed to secure all the gathers.
- Leave the long thread tail, as you will need this later.
- Repeat steps 10 to 12 using the Pin Cushion Fabric circle.
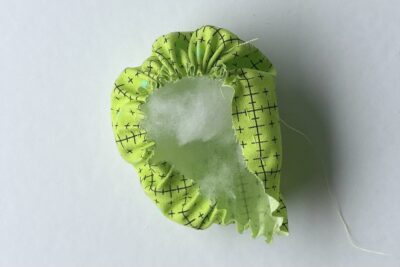
- Stuff the circle with stuffing. The amount of stuffing is up to you, but I’d recommend really filling it out so you end up with a nice, puffy pin cushion.
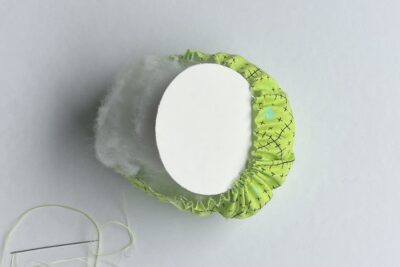
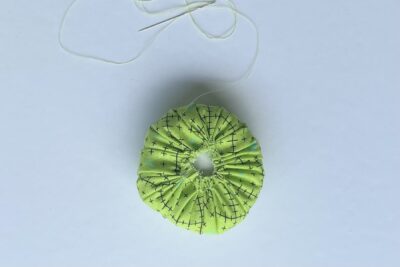
- Once the pin cushion is as full as you want it to be, add the second cardboard circle and gather the fabric more tightly (still being careful not to snap the thread!) so it encloses the cardboard.
- Sew a few stitches to secure all the gathers. Leave the long thread tail, as you will need this later. Set the pin cushion aside.
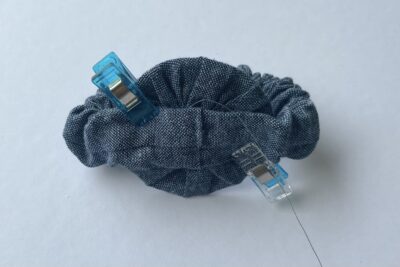
- Take the Base circle, with the gathered side facing up, and place the Scrunchie band over the top so the joining seam of the Scrunchie is over the center. Smooth out any gathered fabric on the Scrunchie so the section over the Base circle is flat, and clip in place.
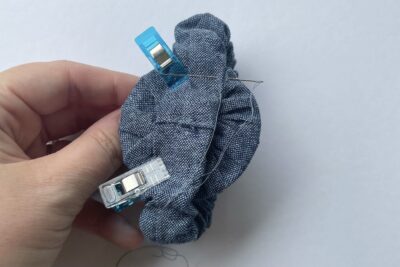
- Rethread the long tail of thread from when you gathered the fabric around the Base circle and use it to secure the Scrunchie band to the Base. This will all be covered up later, so it doesn’t need to be super neat, but try to make it as secure as possible. You can now trim away any remaining thread.
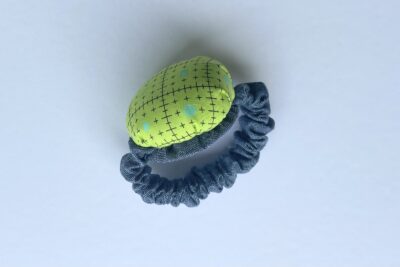
- Now take the Pin Cushion and, using the long thread tail, hand sew it to the Scrunchie/Base from the previous step. Line up the Pin Cushion edges with the Base circle edges and have the gathered side of the Pin Cushion onto the Scrunchie/Base so the Scrunchie band becomes sandwiched between the Base circle and the Pin Cushion.
- These aren’t the easiest of surfaces to hand sew together, so take your time. I’d recommend sewing about halfway between the edge and the central gathers, sewing a small stitch into the Pin Cushion fabric and then one into the Base fabric. Roughly in line with each other, then move a little way along and repeat until you’ve gone all the way round. If you find this too fiddly then you can always use a glue gun!
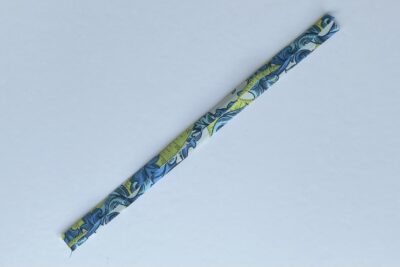
- Take the Band Fabric and press one long edge in by just over ½”, wrong sides together.
- Then repeat with the second long edge, but this time press in by a little less than ½”.
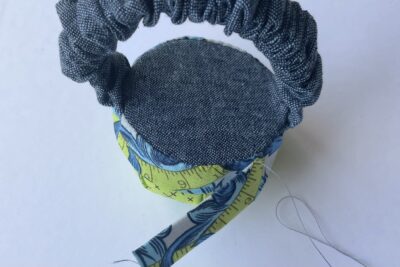
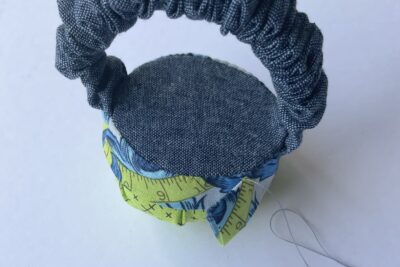
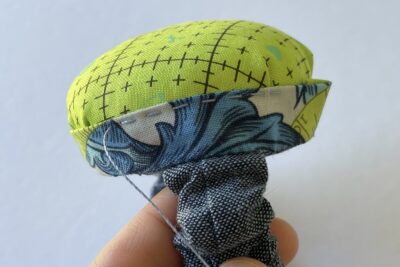
- Take the pressed Band Fabric and line up the bottom pressed edge with the Base Circle. Start with the center of the Band Fabric lined up with the center of one side of the Pin Cushion (see photo for guide) and hand sew using small whip stitches that go through the Base fabric and the band fabric. Work your way around until you get to the first end of the Band and secure in place with a few extra stitches.
- Then go back to where you started and work the other way around using the same small whip stitch. Stop stitching when you are about 1” away from the first Band end.
- Overlap the Band fabric and trim away any excess, leaving at least ½” overlap. Fold the excess under by about ¼” and finish hand sewing to secure the rest of the Band.
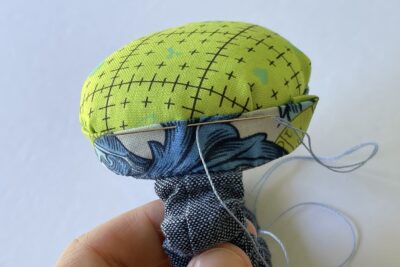
- You now need to attached the top edge of the Band to the Pin Cushion. You can do this using the same small whip stitch as the previous steps or you can swap to a thicker thread and using a chunky running stitch for a more decorative finish.
- Make sure you always catch some fabric from the Pin Cushion if you choose the running stitch option so that the band is secured.
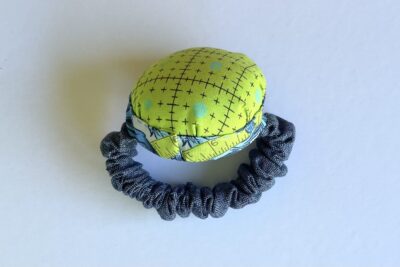
- Finished!
About the Designer

Amy lives in the north of England with her husband and son. When she’s not sewing and quilting, Amy can usually be found baking or reading. You can find her on Instagram @amyatthegate

