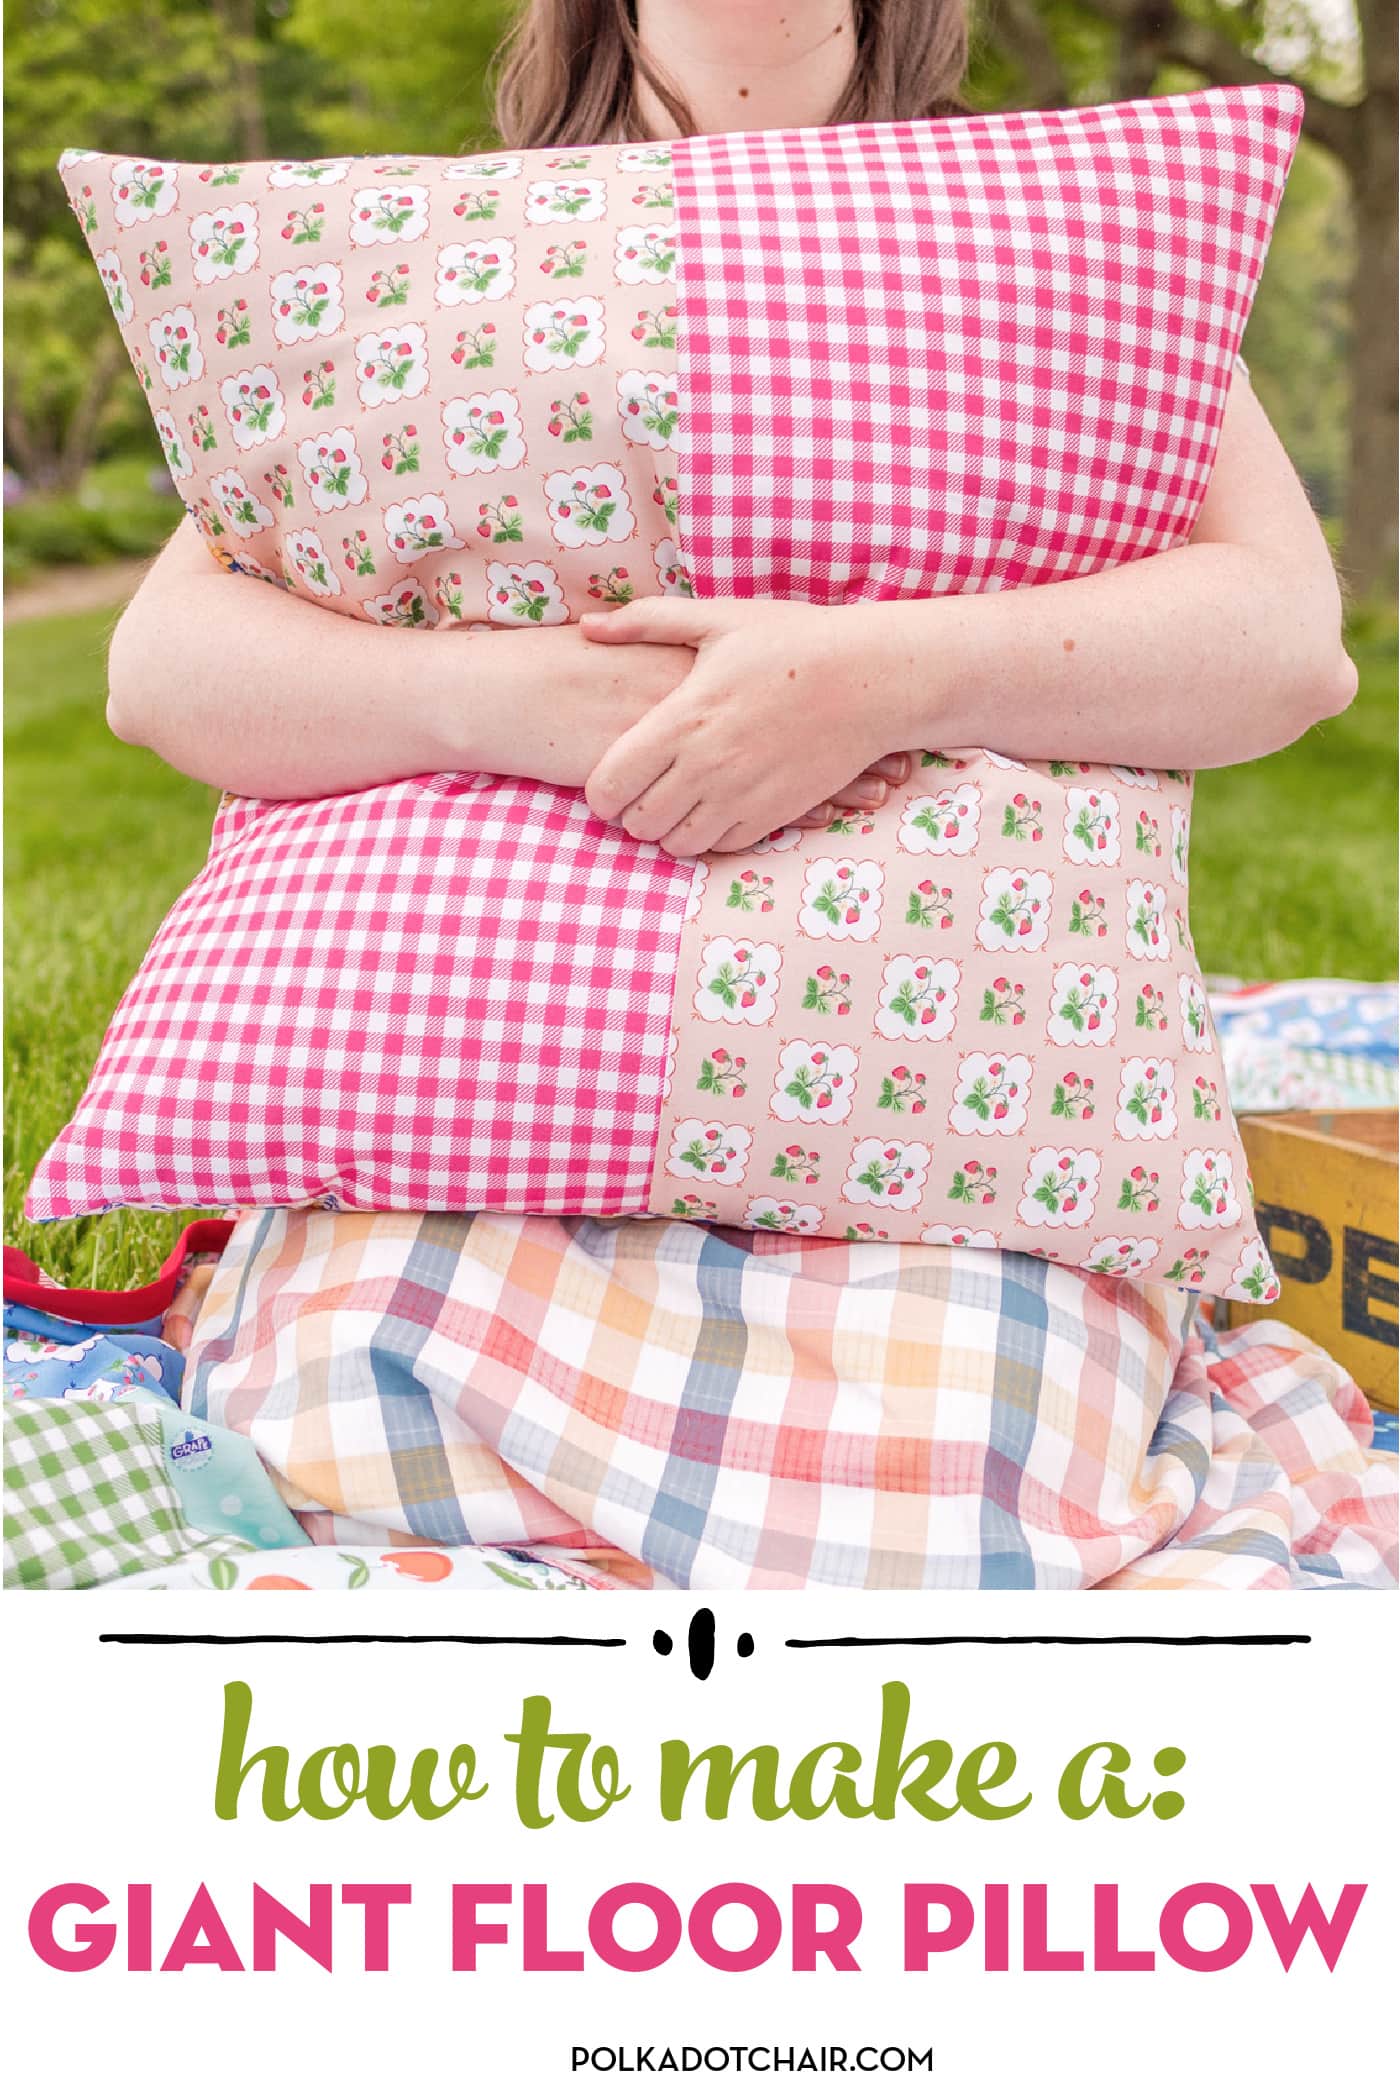
DIY Giant Floor Pillow Pattern
Learn how to make a giant floor pillow with this free sewing pattern! These big pillows are perfect for kids’ rooms, family rooms, or to use outdoors during the summer!
Sometimes I make things and then forget I made them. Funny huh? Normally what happens is that I’m up against a deadline and need to sew a lot of samples at one time (usually for a fabric line lookbook). After the sewing is done, I move on to the next project.
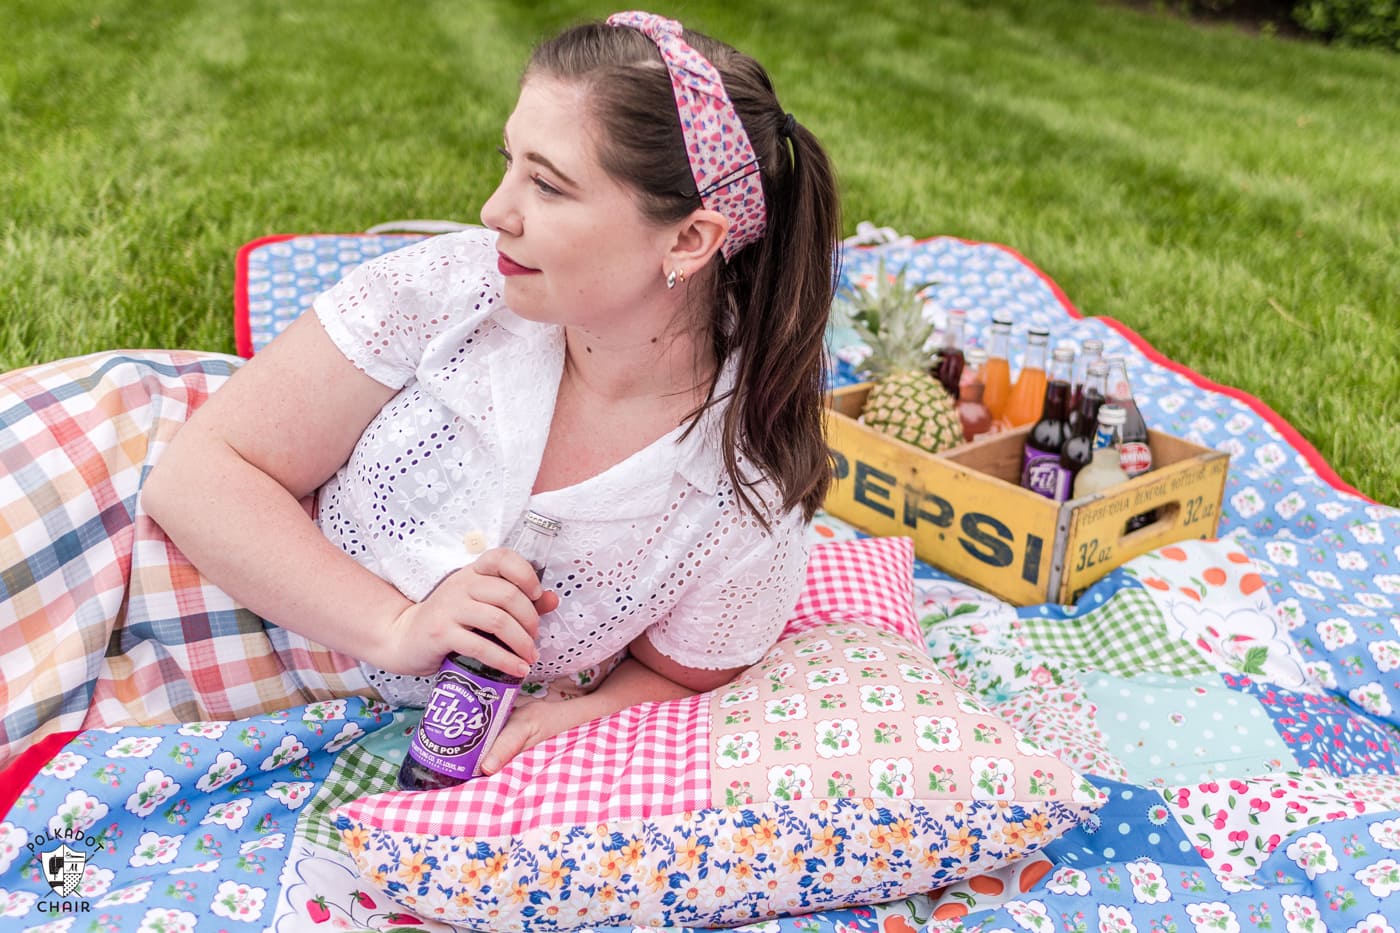
Today’s sewing pattern is one of those projects. I made these giant throw pillows for my Summer Picnic fabric collection photoshoot. With the weather warming up outside, I noticed that we’ve been pulling these pillows out to use more often. I realized that I never shared a tutorial with you on how to make them!
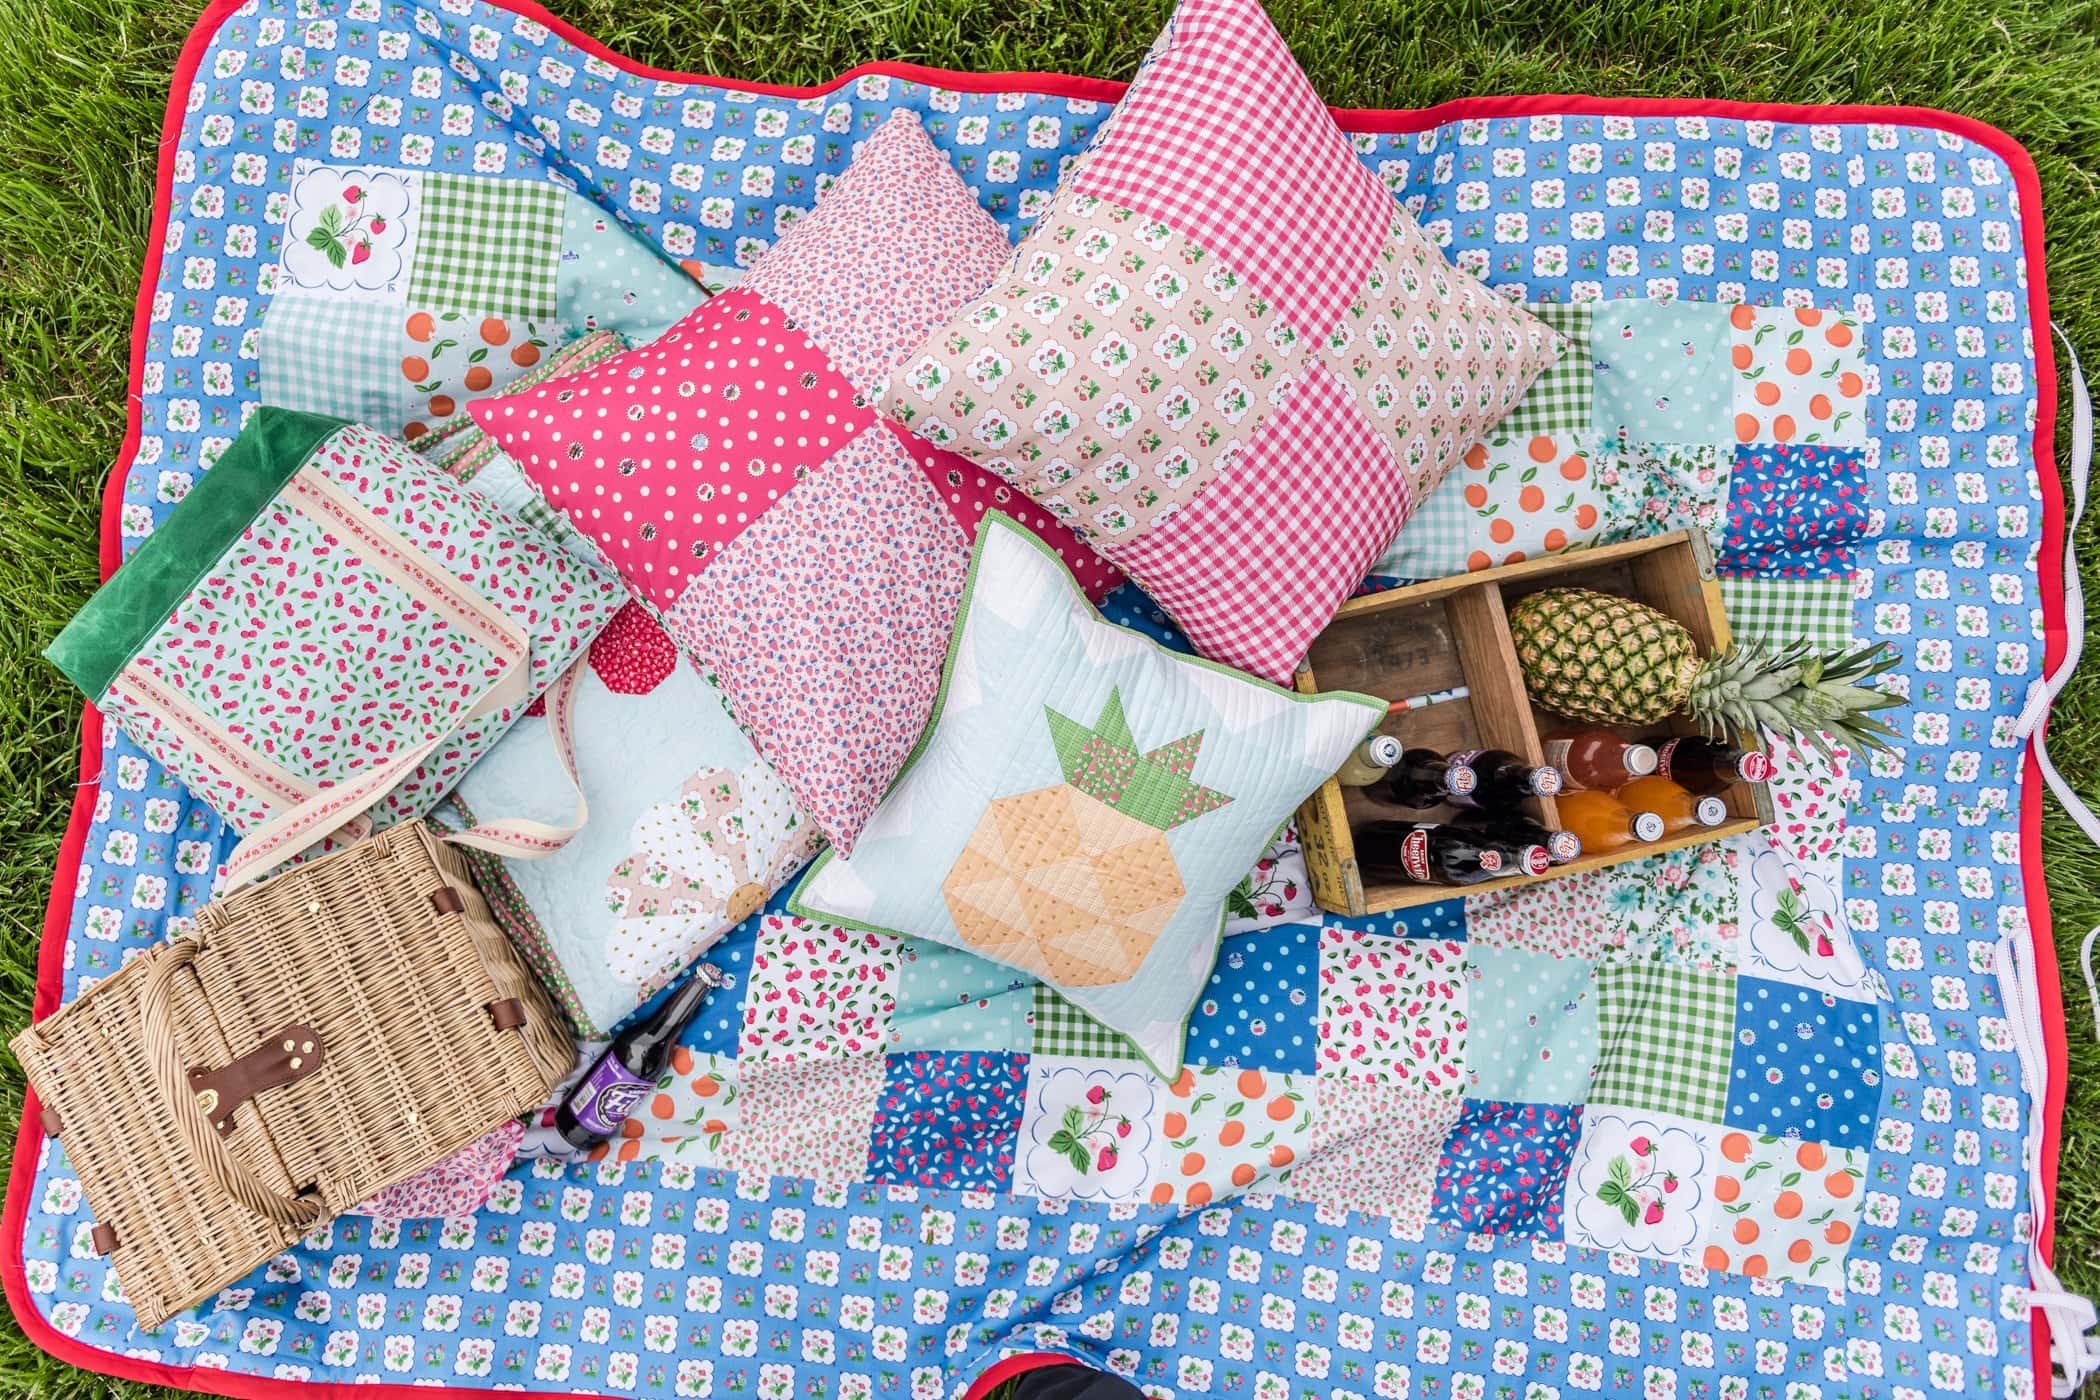
We use these pillows outside as they match our outdoor picnic blanket – but you can also use them for a kid’s room or in your family room! How cute would they be sewn with some novelty fabrics?
About the Pillows
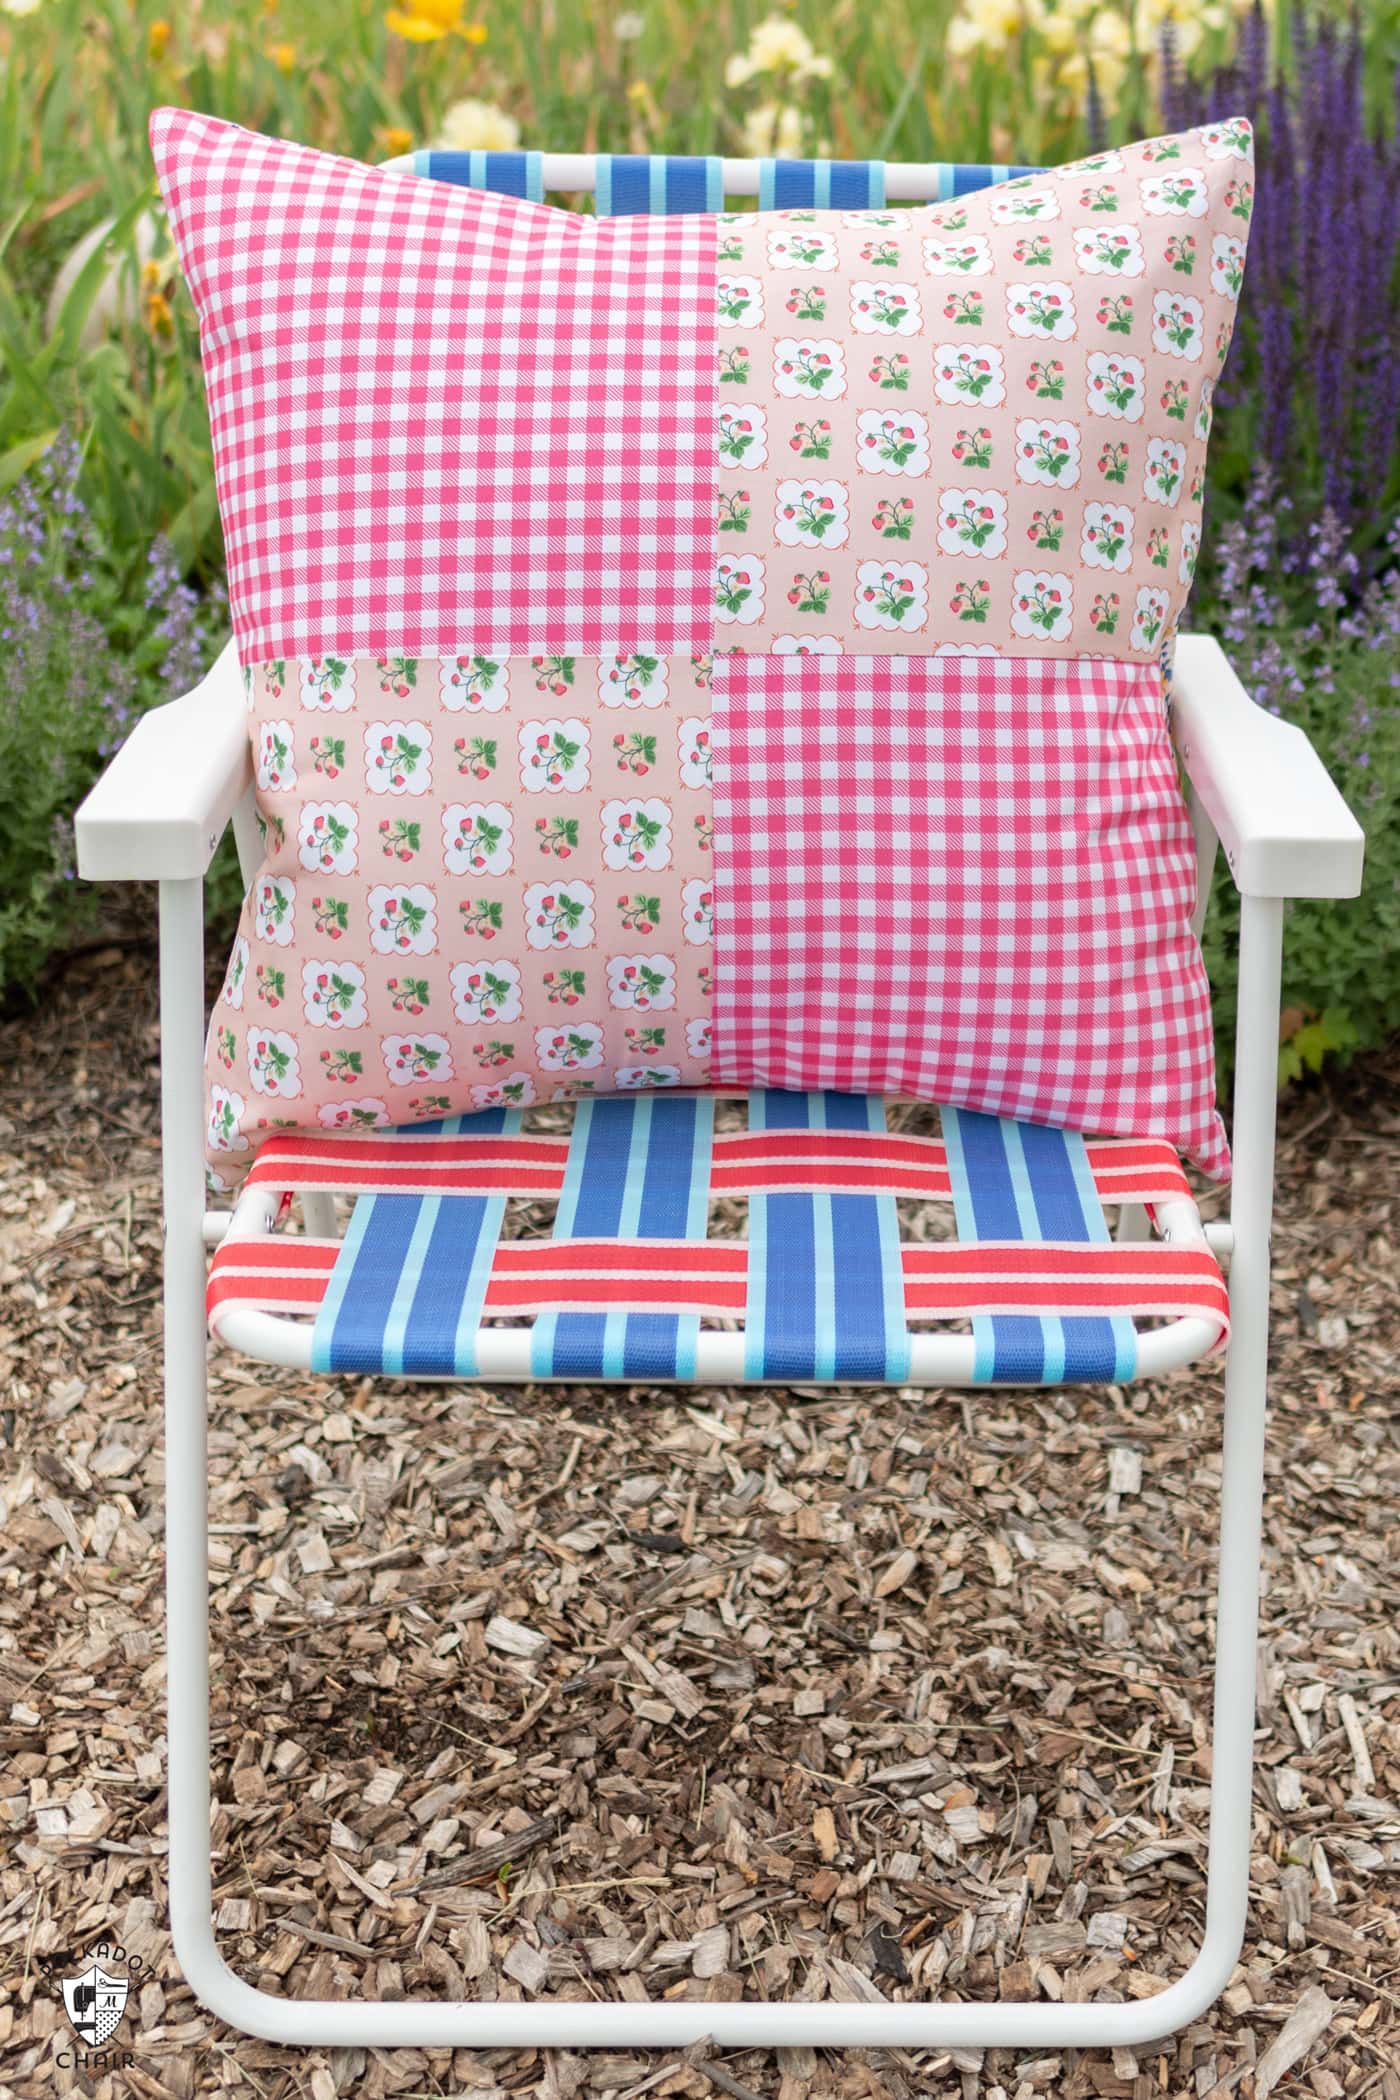
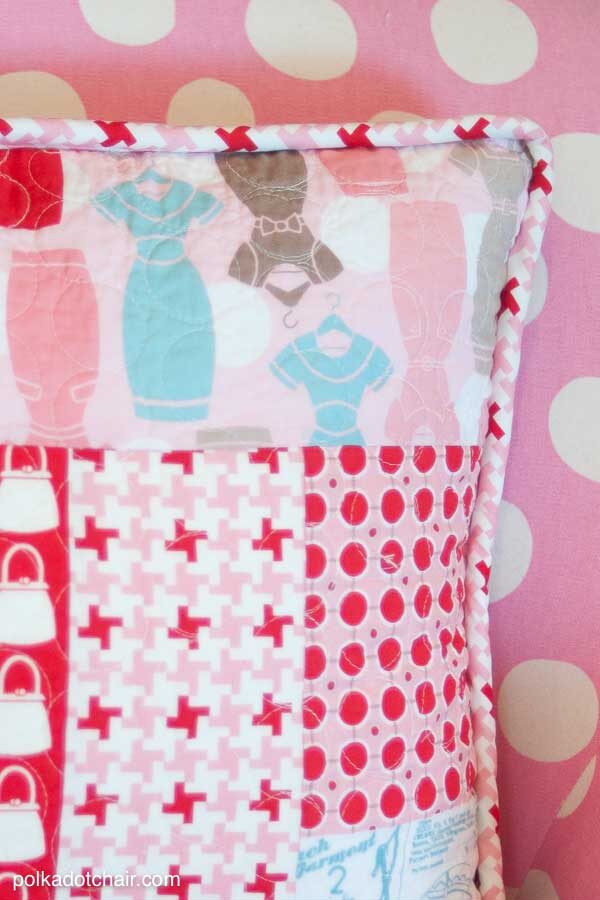
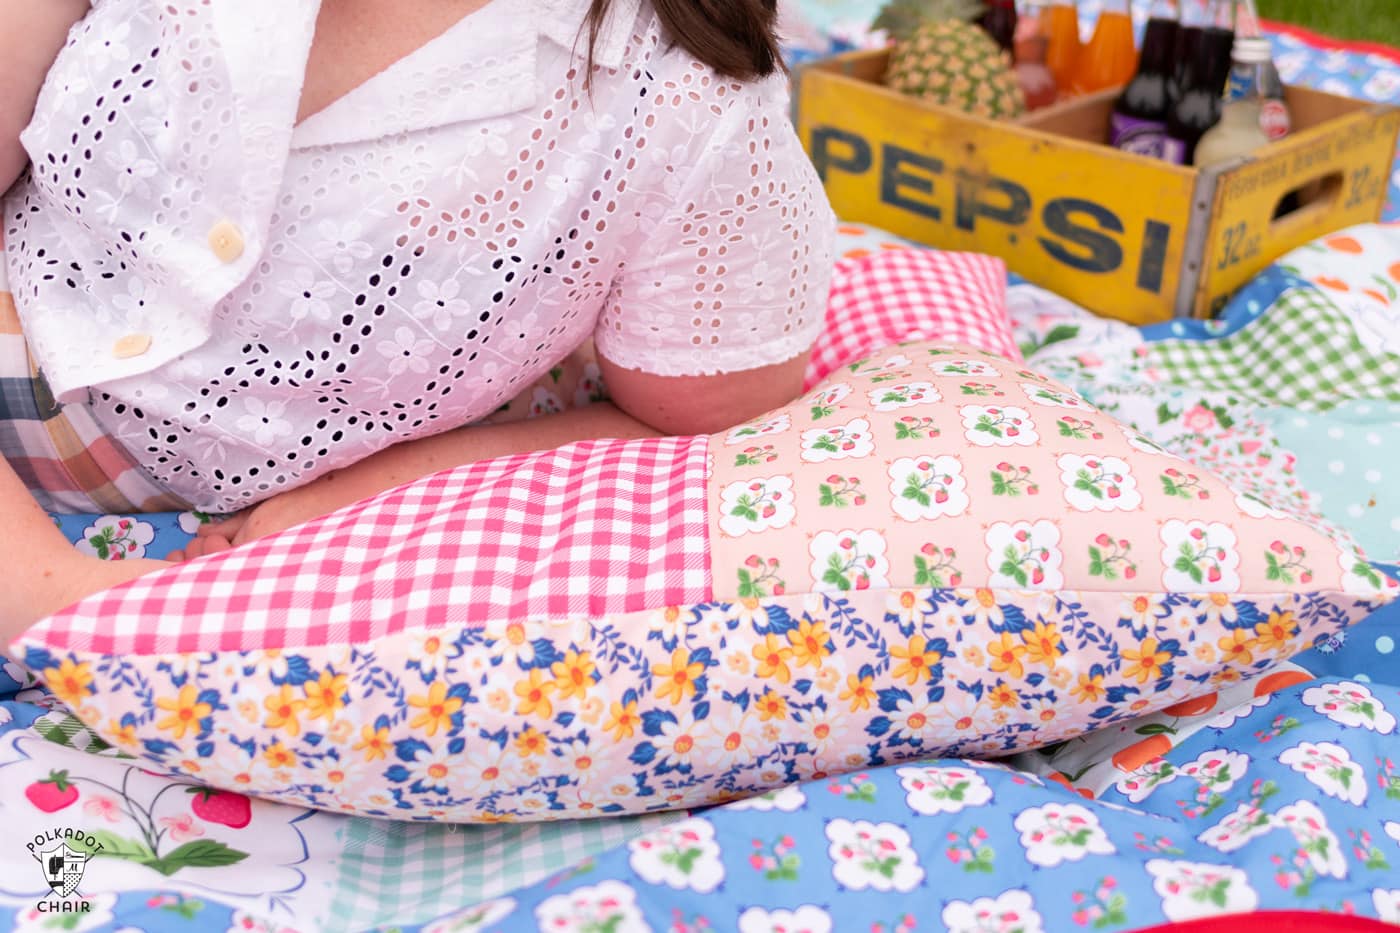
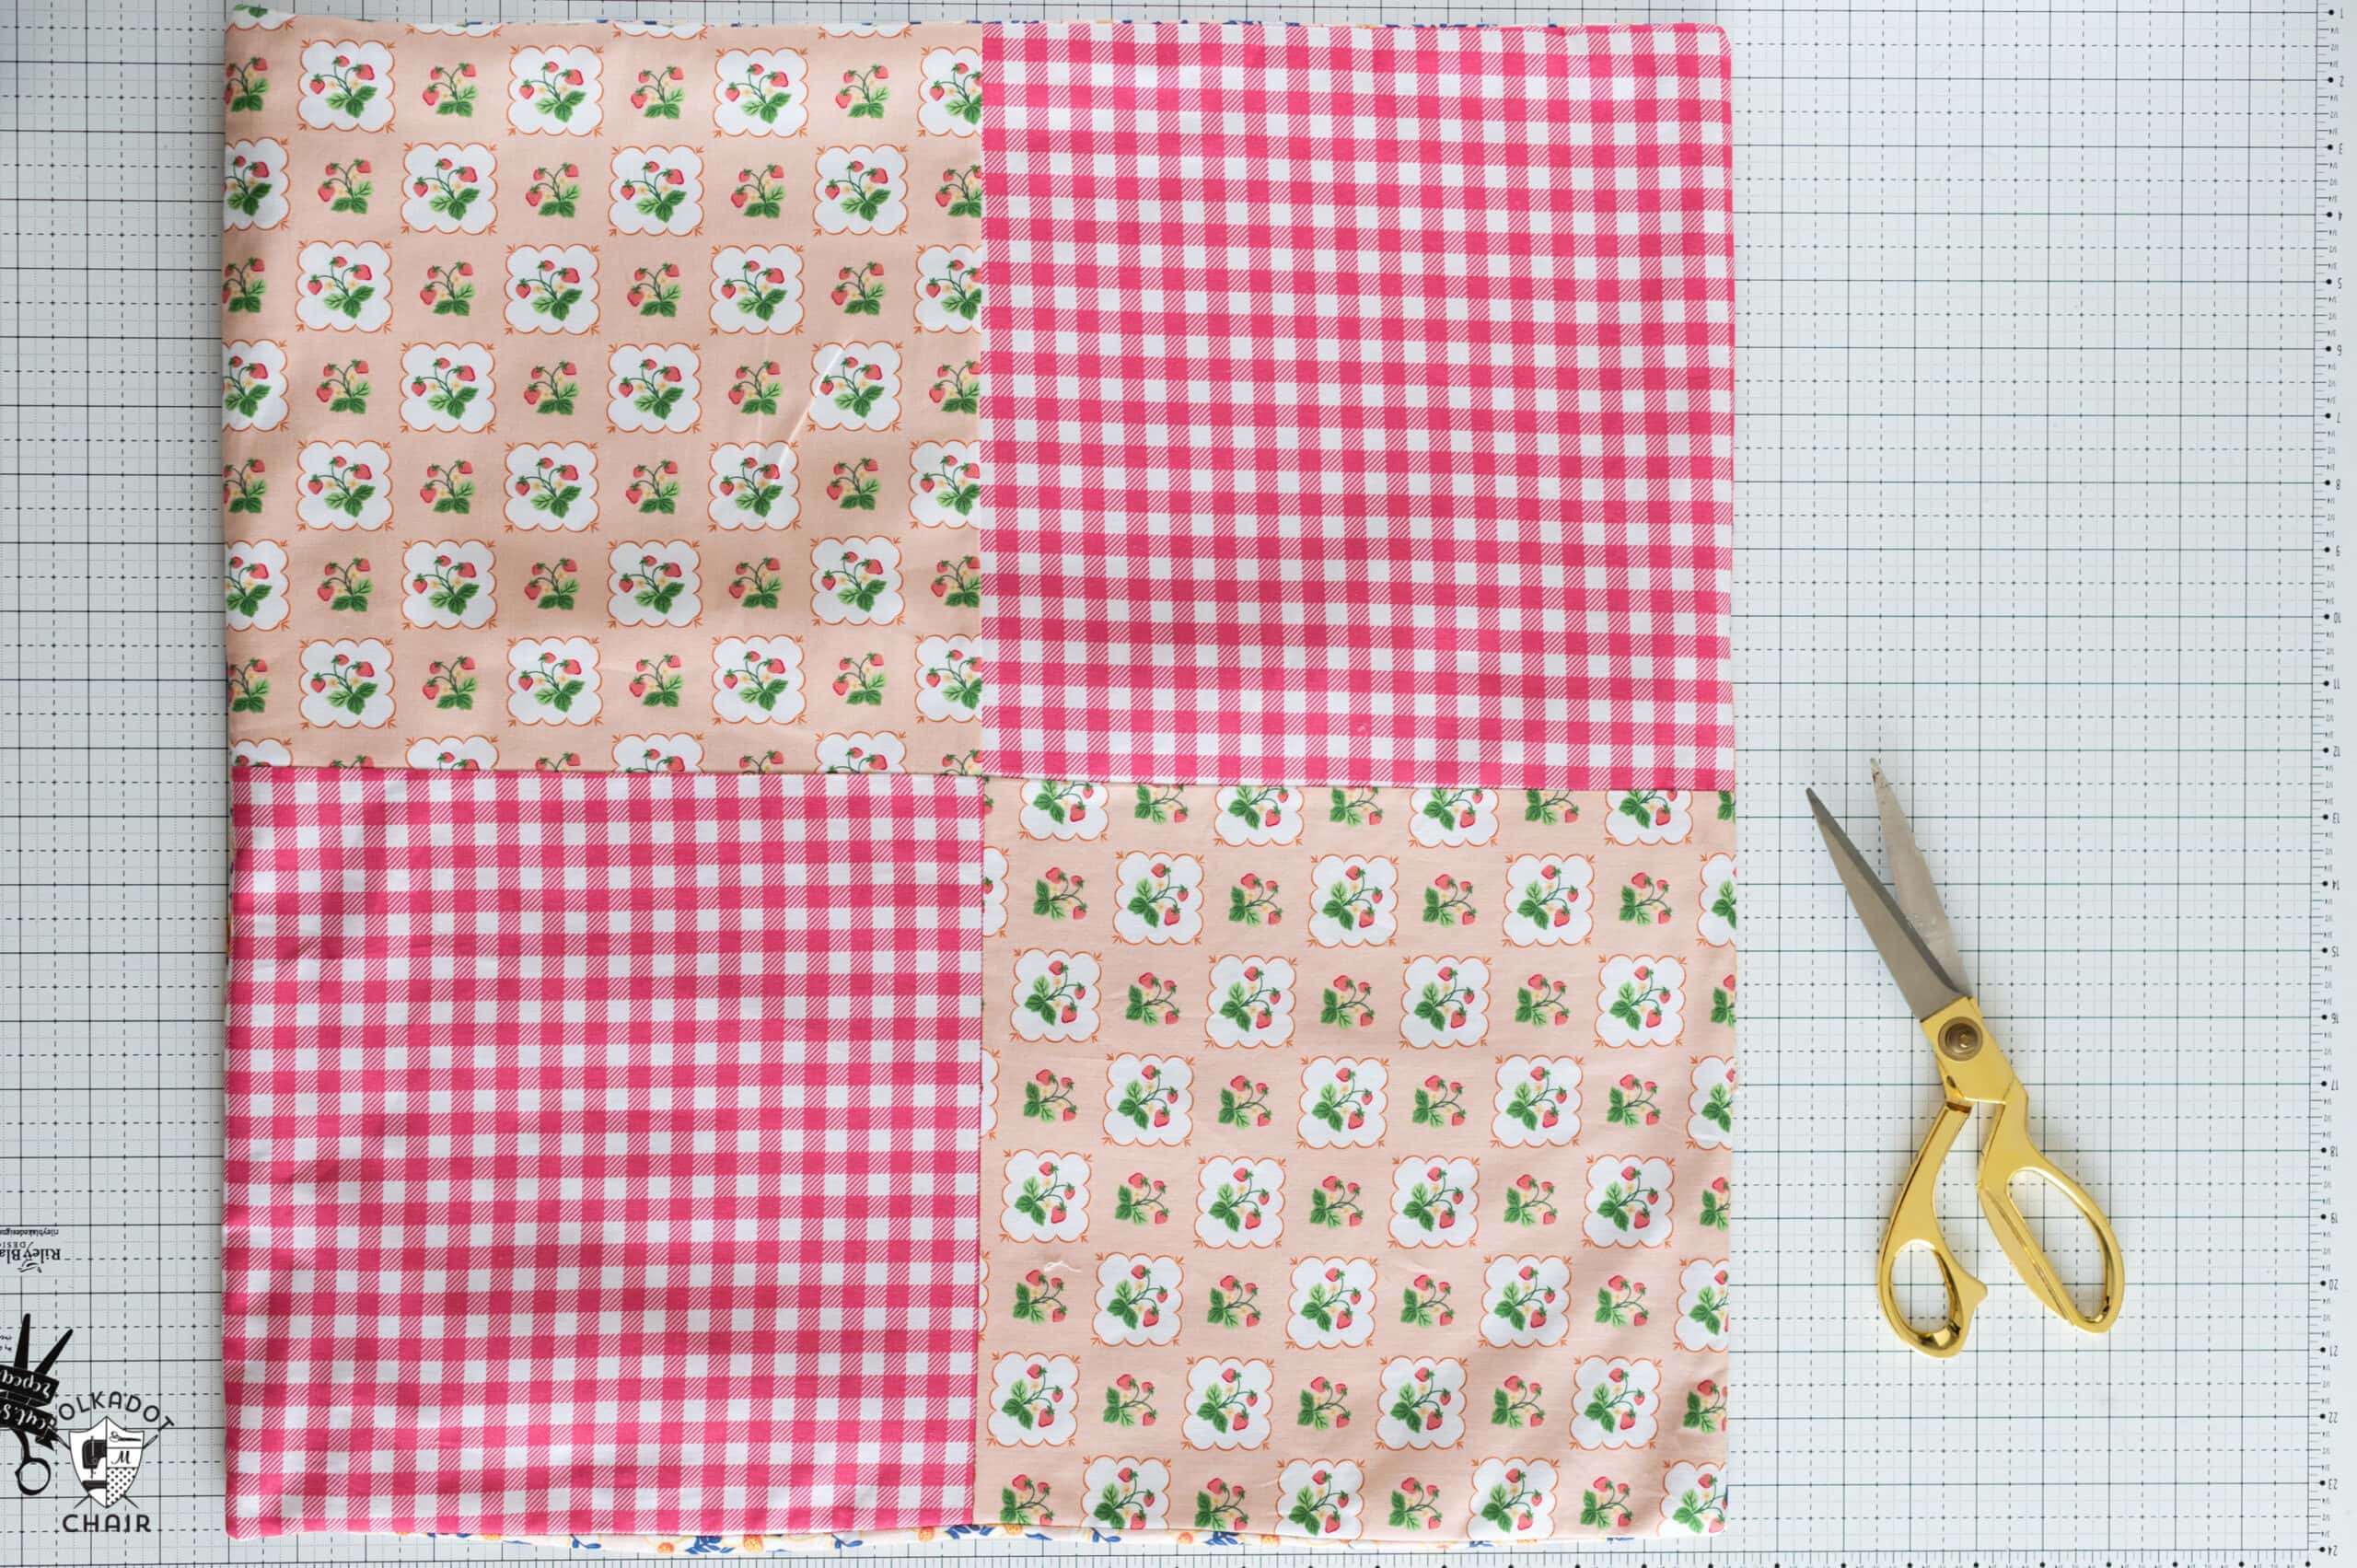
The floor pillows in this tutorial measure 24″ x 24″. They are big and fluffy and oh so comfy! They are made using 3 different fabrics and have an envelope closure on the back.
They are lined on the front side only with fusible fleece. Since the pillow covers are made from quilting-weight cotton, they are pretty lightweight (especially compared to a home-dec-weight fabric).
The fusible fleece gives the fabric a bit more body and makes it so that the wrinkles in the pillow insert do not show on the front of the finished pillow.
Supplies
Here’s what you’ll need if you’d like to make a pillow.
- 24″ Down Pillow Insert (this is my favorite one)
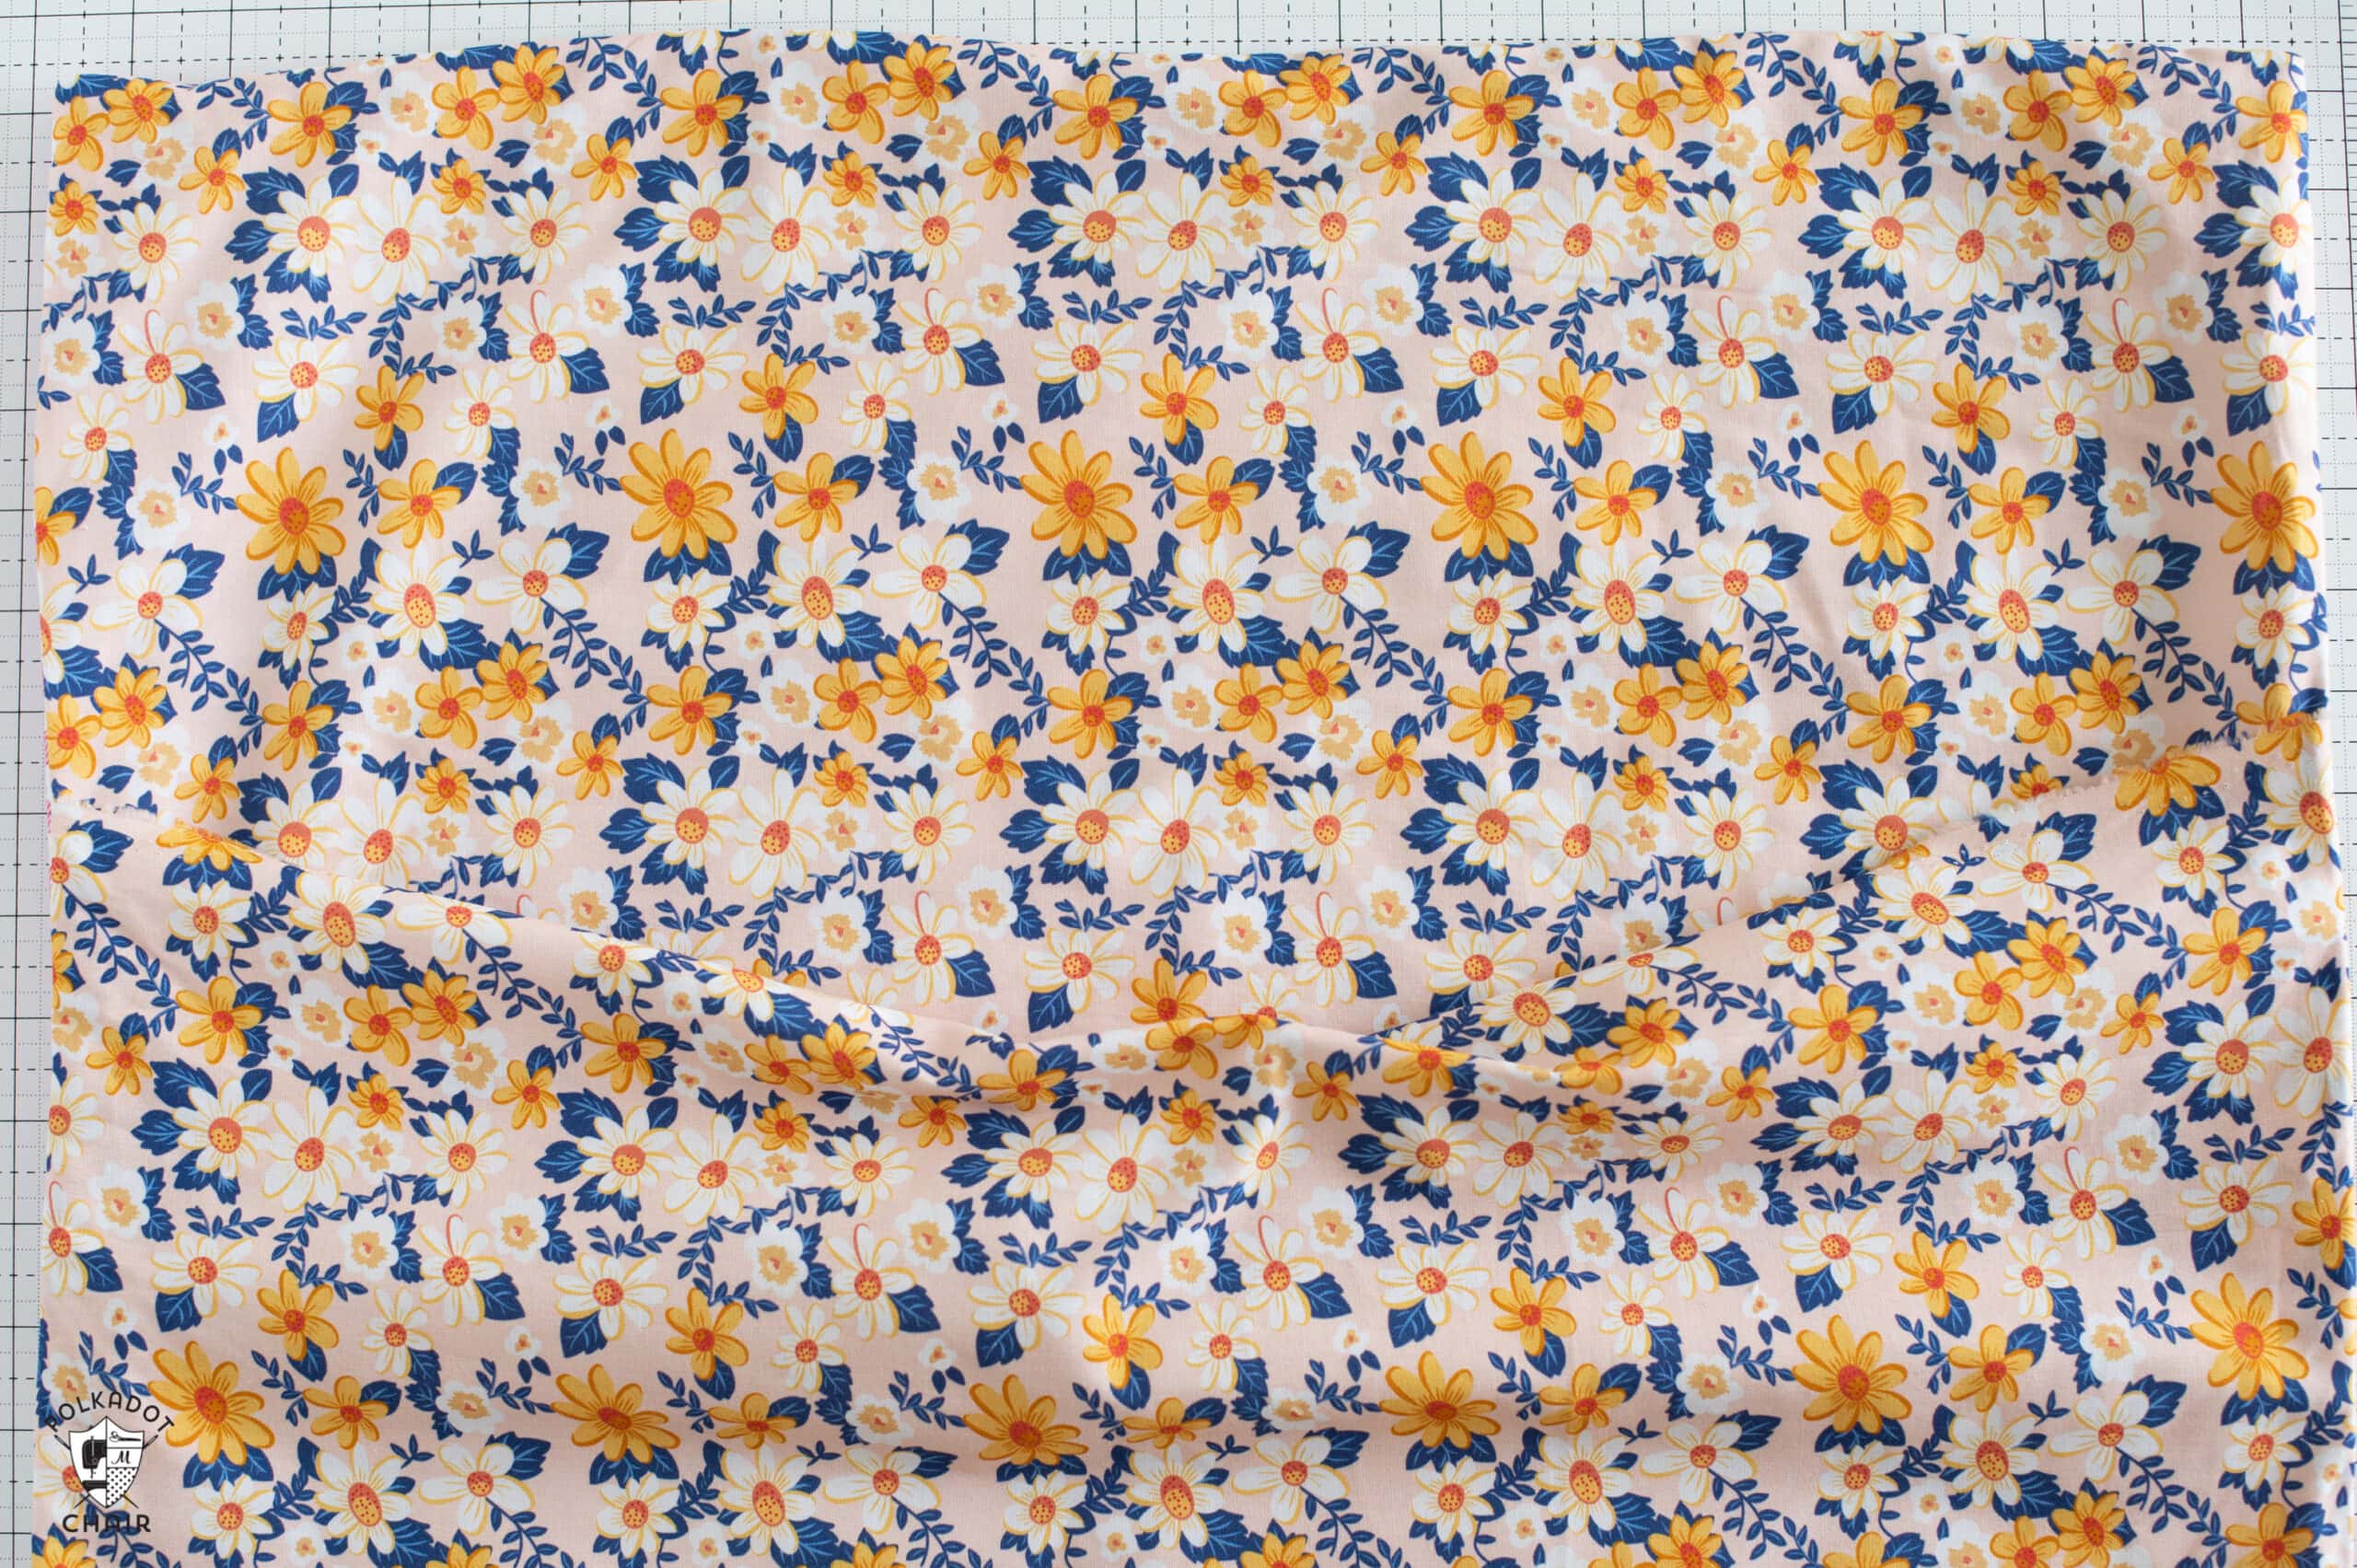
- 3/8 Yard of two different fabrics for the front
- 1/2 Yard of fabric for the back
- Fusible Fleece
Directions

DIY Giant Floor Pillows
Equipment
supplies
- 3/8 yard Fabric for two of the squares on the front of the pillow
- 3/8 yard Fabric for the other two squares on the front of the pillow
- 1/2 yard Fabric for the back of the pillow
- 1 24" Pillow Insert I prefer down or down alternative, it will give the pillow the best "fluff".
- 1 yard Fusible Fleece
Instructions
Cutting
- From Fabric A Cut:2 pieces 12 1/2" x 12 1/2"From Fabric B Cut:2 pieces 12 1/2" x 12 1/2"From Pillow Back Fabric Cut:2 pieces 24" x 16"From Fusible Fleece Cut:1 piece 24" x 24"
Construction
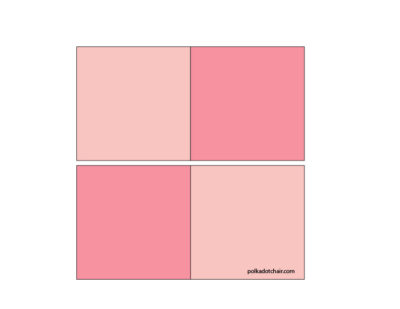
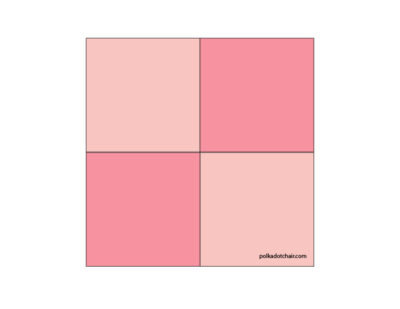
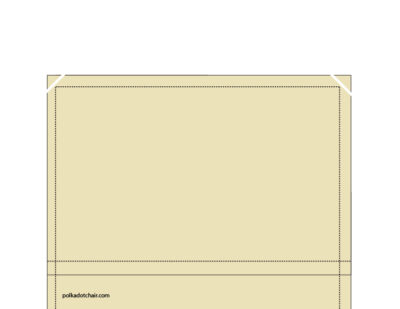
- Sew the four 12 1/2" squares of fabric together as shown in the diagram. Use a 1/4" seam allowance for this step.

- You will sew two squares together, twice, then sew the two rows of squares to each other.
- Apply the fusible fleece to the wrong side of the sewn unit.
- Turn under one of the long sides of the 24" x 16" piece 1/2" and press. Sew along the pressed edge to create a hem.
- Repeat step 3 with the other 24" x 16" piece of fabric.
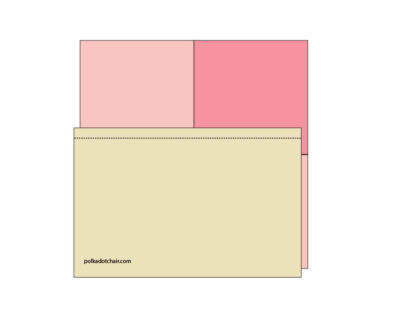
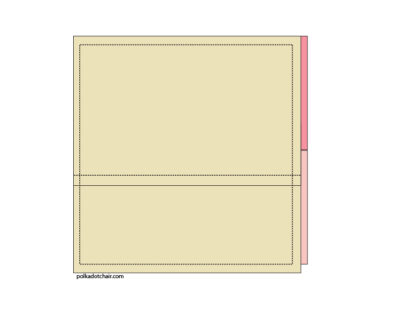
- Place the sewn pillow front piece and one of the 24" x 16" pieces of fabric together right sides facing. The raw edge of the 24" x 16" piece should be flush with the top of the pillow.(note: the diagram is offset for illustrative purposes only)
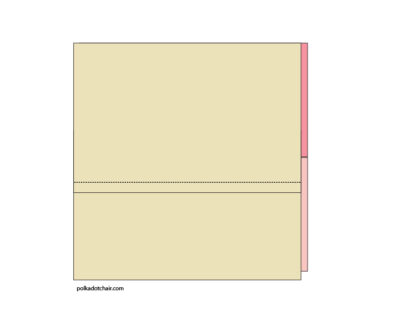
- Place the other 24" x 16" piece of fabric on top of this, the piece flush with the bottom of the pillow this time.
- Pin well.
- Sew around the perimeter of the pillow cover with a 1/2" seam allowance. After you have sewn the pillow, go back and add a second stitching line as reinforcement over the portions of the seam where the pillow back meets the pillow front.
- Clip the corners of the pillow, turn right side out and press.

If you would like to add a zipper to the back of your pillow, you can follow our tutorial, which will show you how to add a zipper to the back of any pillow cover, regardless of size!