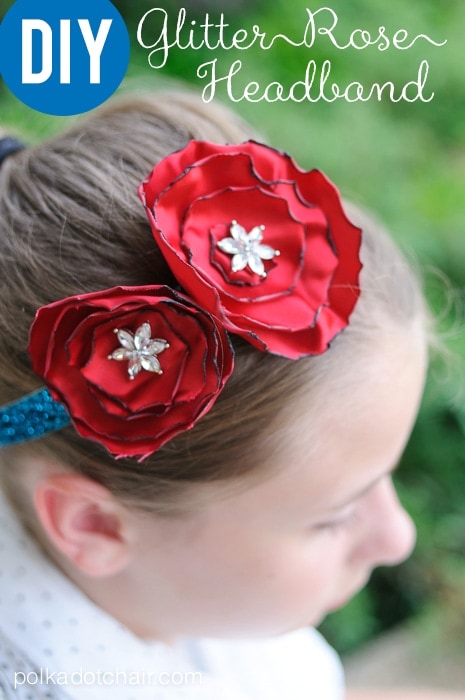
DIY Glitter Rose Headband
Thanks to Jo-Ann Fabric and Craft Stores for providing the supplies for today’s tutorial.
After a few weeks of feeling like I’m interrupted every 5 minutes while I’m trying to work, I have decided to take an “if you can’t beat ’em, join ’em” stance on Summer and am enlisting the help of my kids for a few blog projects. This accomplishes 2 things 1) gets them away from the T.V. for a short period of time and 2) gives me blog projects.
Today’s project is brought to you courtesy of my 13 year old daughter. She came home from camp this year excited that she learned how to make satin roses, and has taken to making bunches of them the last few weeks. I casually mentioned to her that I needed a “Red, White & Blue” project for Jo-Ann Fabric and Craft Stores Big Bling promotion, and she excitedly suggested that we make some headbands together.
All during the month of June, Jo-Ann has been sharing great DIY Craft projects that are perfect for kids to tackle themselves this summer. They call it the Big Bling… because what kid doesn’t want to “bling” out everything they own..
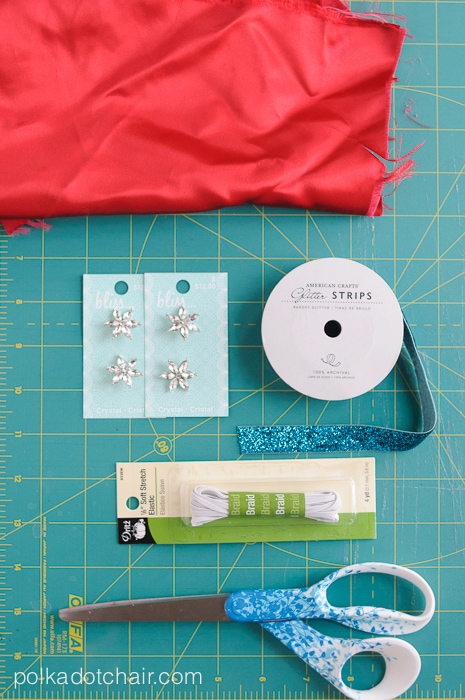
Now let’s chat about how to make those glittery headbands! You’re going to need:
-Satin Fabric
-Glitter Ribbon
-1/8″ elastic
-Scissors
-Hot Glue Gun
-Needle & Thread
-Blingy Buttons
-Candle
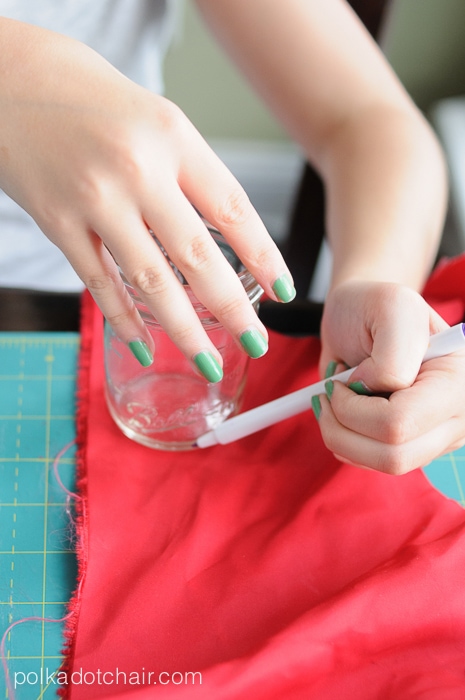
Start out by tracing 3 -4 circles in descending sizes onto your satin. My daughter used some mason jars, cups and mason jar lids as her guides for tracing the circles.
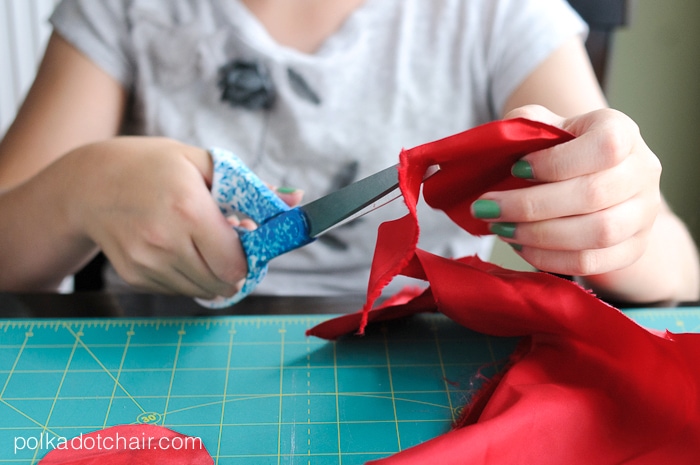
Next cut out each of your circles.
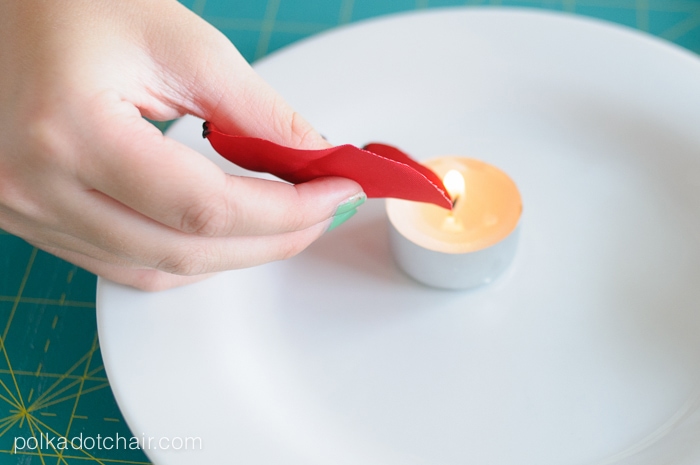
I supervised my daughter for the next step, you can decide if your kids are old enough to do this by themselves, be warned, it does involve fire….
With a candle gently burn the edges of all of the circles. They will melt and curl up slightly.
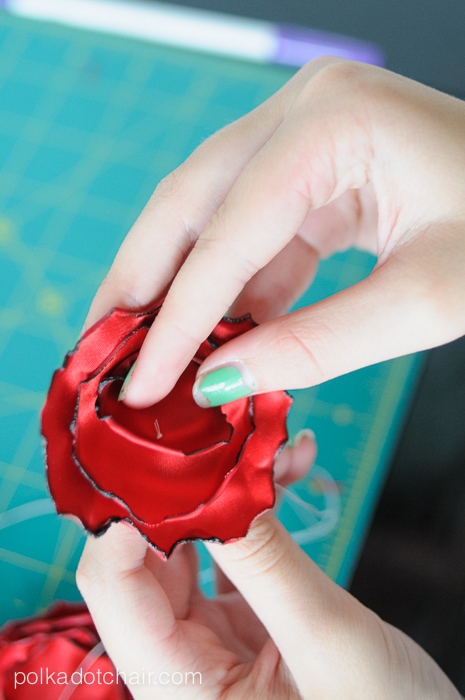
After you’ve burned the edges of all of your circles, layer them on top of each other and use a needle and thread to sew them together. Just place a couple of stitches through the center.
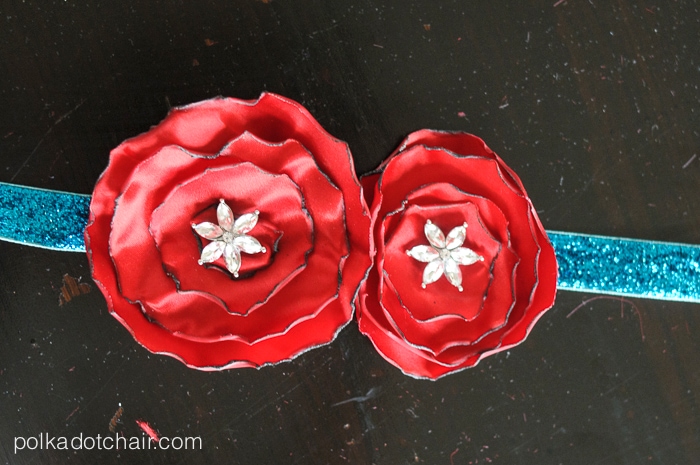
Next sew the button to the center of the flower.
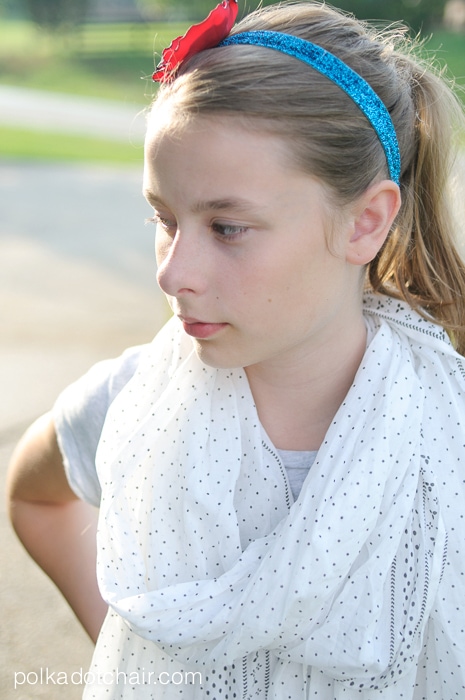
Cut a piece of ribbon to 16″ long. Burn the ends so that it doesn’t fray. Then sew the flowers onto the ribbon for the headband in the spots that you’d like them.
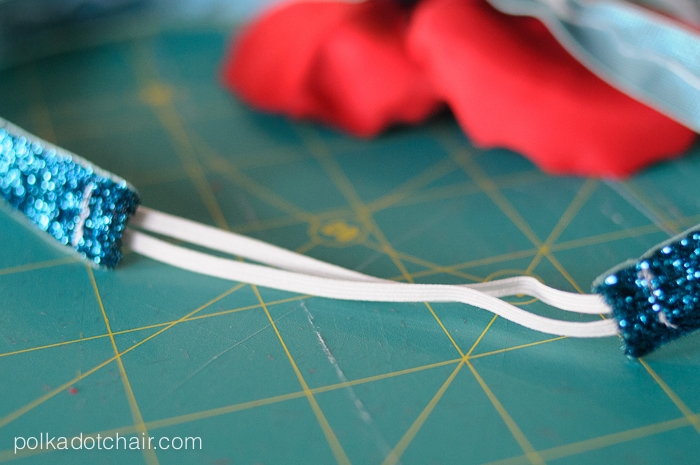
Cut two pieces of elastic to 5″ long, and stitch to the ends of the ribbon. Make sure you backstitch.
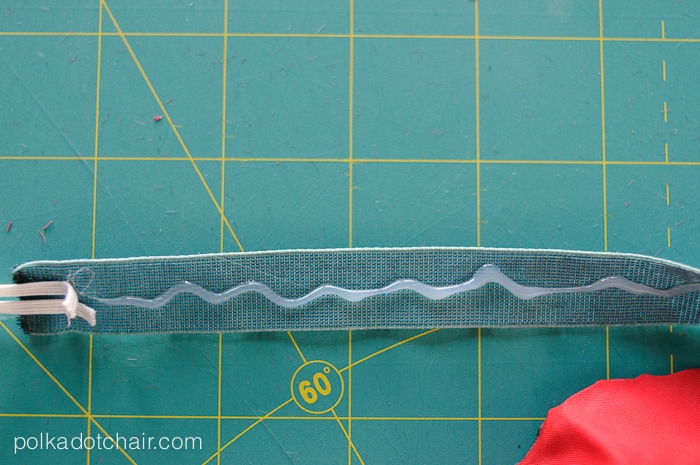
To help keep the headband from sliding around, apply a thin line of hot glue to the wrong side of the ribbon.
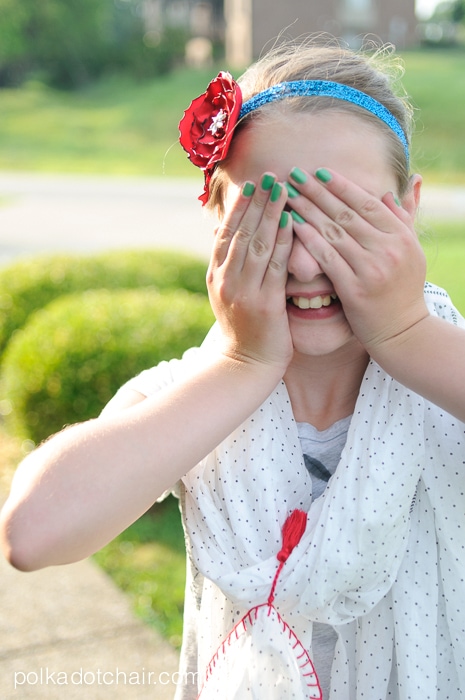
That’s it, so easy you can make a bunch in all different colors! My daughter is going to wear hers this weekend, as it’s the perfect little 4th of July accessory.
Connect with me:

