DIY Interchangeable Halloween Wreath

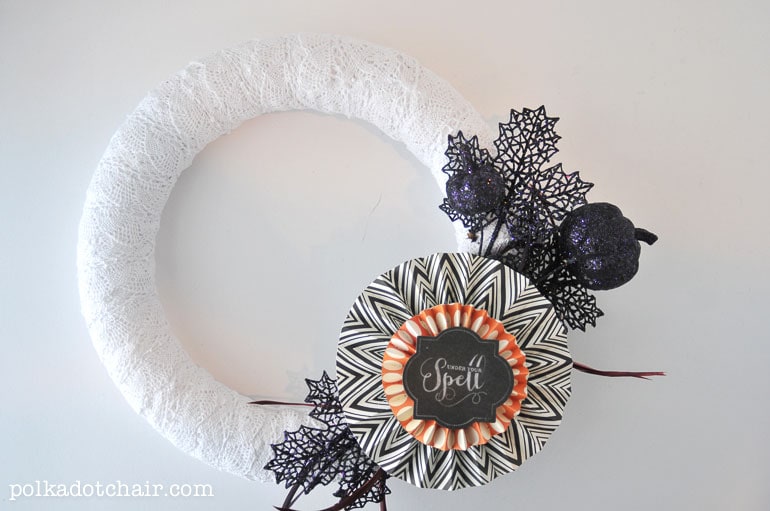
I’ve added a bit to my Halloween Decorations this year, although not as much as in years past. This year’s addition is a Halloween Wreath, and it was so easy to make. I’m going to show you how. The best part about this wreath it’s interchangeable!
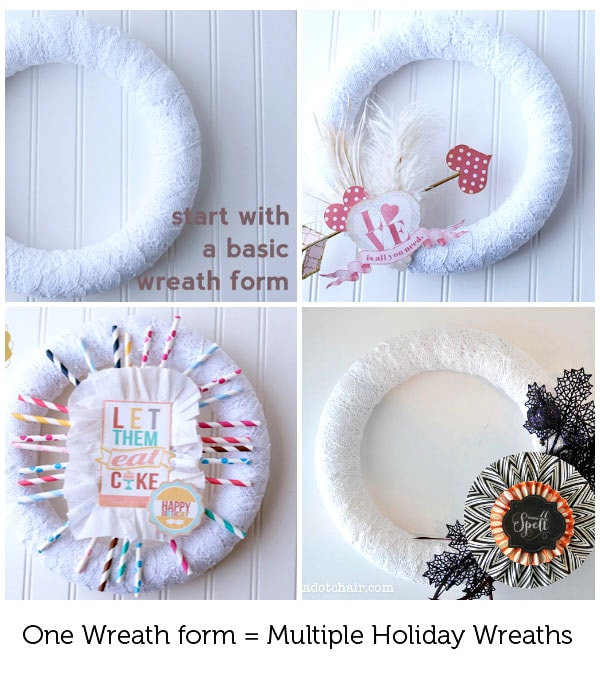
In February I was getting ready to wrap yet another wreath form for yet another holiday. I was tired of always going to buy a new wreath for each holiday. So I got the idea to make one wreath form interchangeable. You can read more about how I made it here.
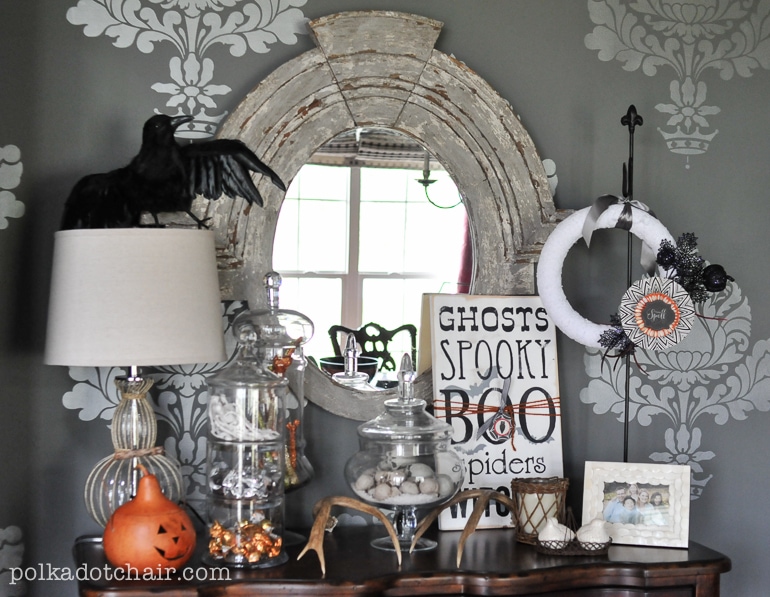
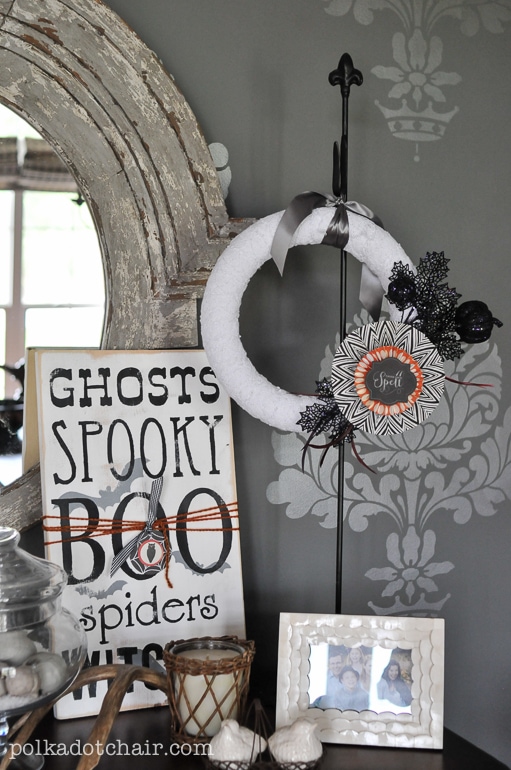
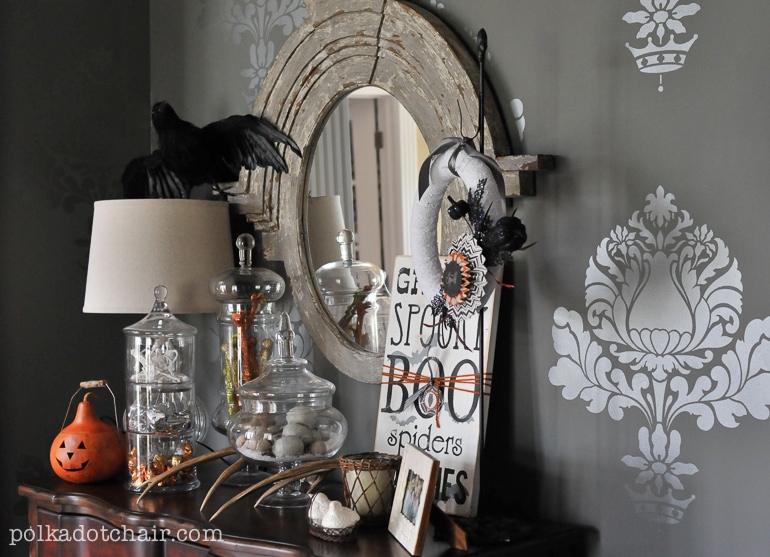
This is the version of the wreath that I made for Halloween. I added it to the halloween display in my Dining Room (see more about the stencils on the wall here, the wood sign is from Amazing Mae – if you want one request a custom item in her shop).
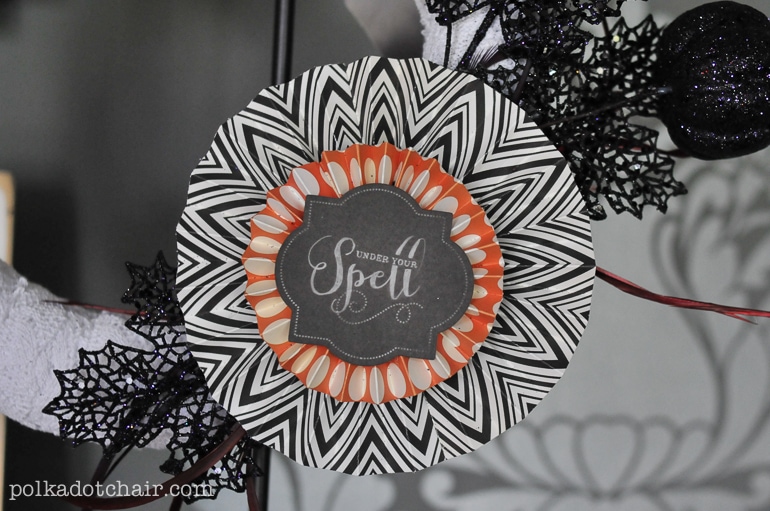
Today I’m going to show you how to make the paper rosette that is on the front of the wreath. I adore making paper rosettes and have been using them on crafts for years!
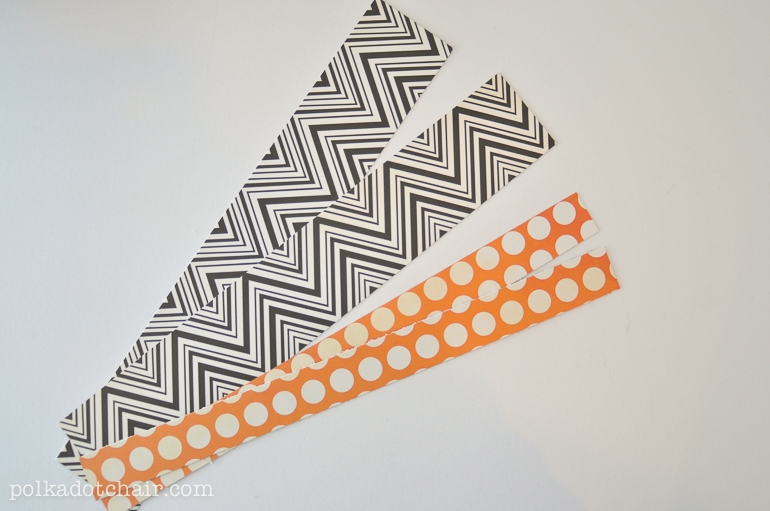
Begin with 2 strips of 2” wide 12” scrapbook paper and 2 strips of 1” wide 12” scrapbook paper. My paper is all from the Pebbles Halloween Paper![]() by American Crafts.
by American Crafts.
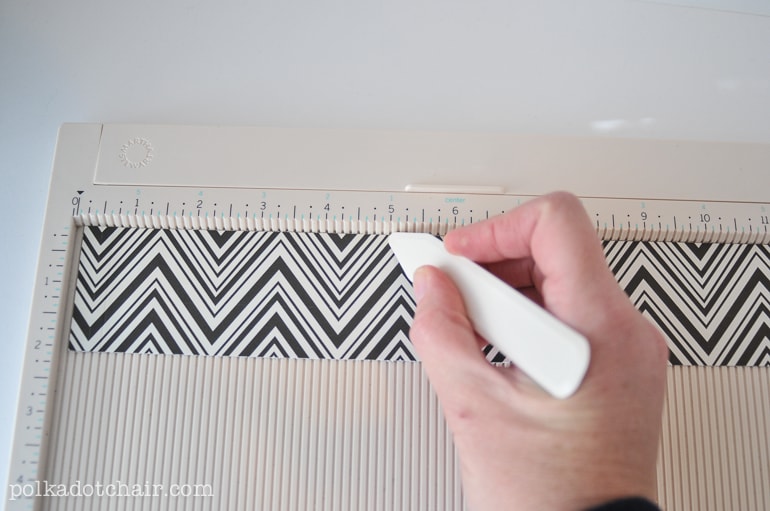
Start by scoring the paper every 1/2” using a scoring tool. There are other ways to do this but if you are going to make a lot of these I’d recommend a scoring tool, saves loads of time!
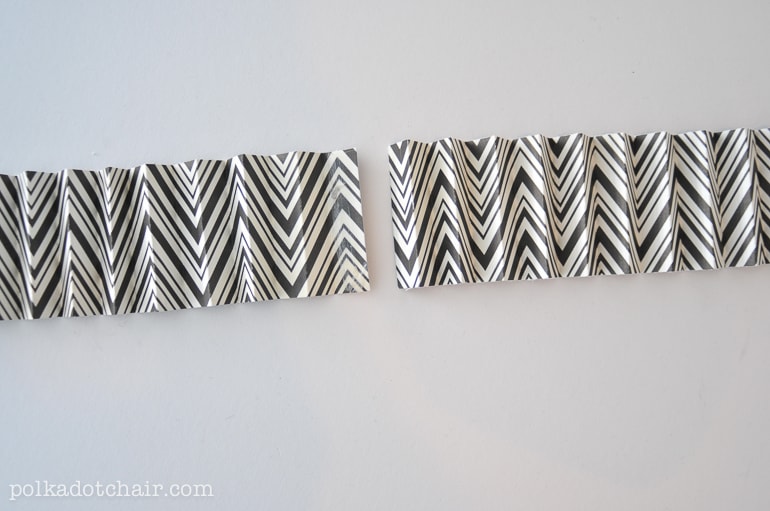
Next fold both 12” strips accordion style. Apply a bit of adhesive to the end of one of the strips and nest the 2nd strip it.
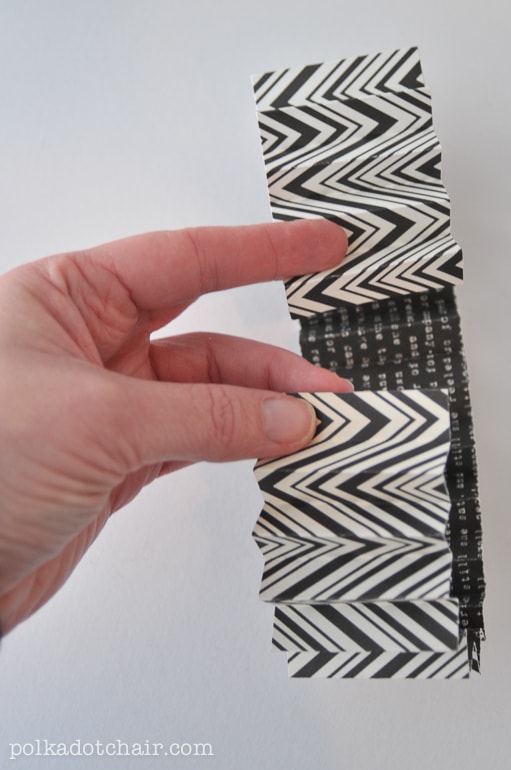
Repeat for the other side so that you have one big circle.
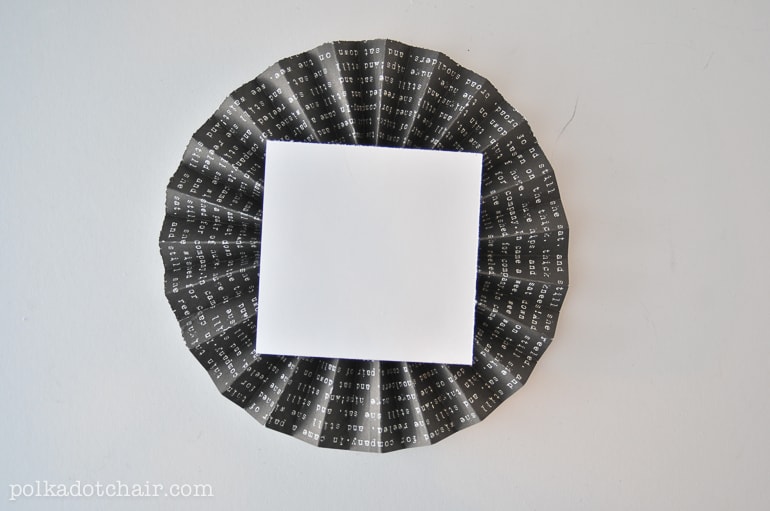
Flatten out the circle and using a hot glue gun attach a square of paper to the back. This will flatten out the rosette and keep it in place.
Repeat with the 1” wide strip, then just glue the two rosettes on top of each other.
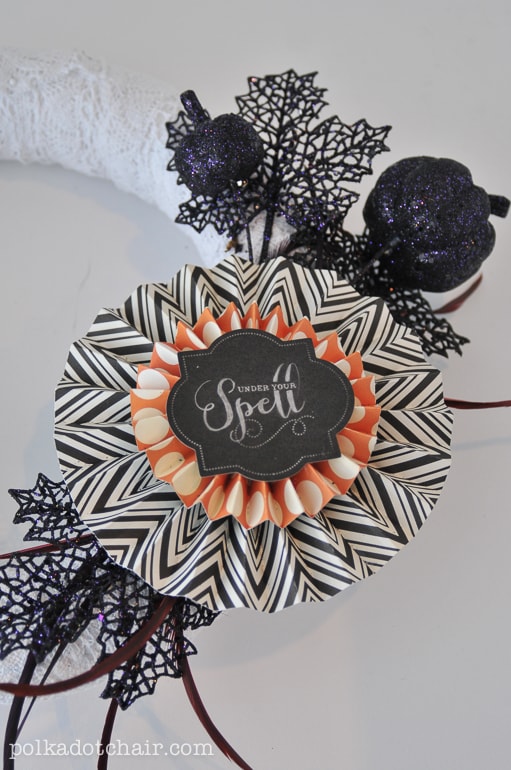
To finish off my rosette I added a chalk art tag that is from the Pebbles Chalkboard Label Stickers![]() . I used a bit of hot glue on the back just to make sure it didn’t go anywhere.
. I used a bit of hot glue on the back just to make sure it didn’t go anywhere.
I then simply attached the rosette to the wreath with a few straight pins.
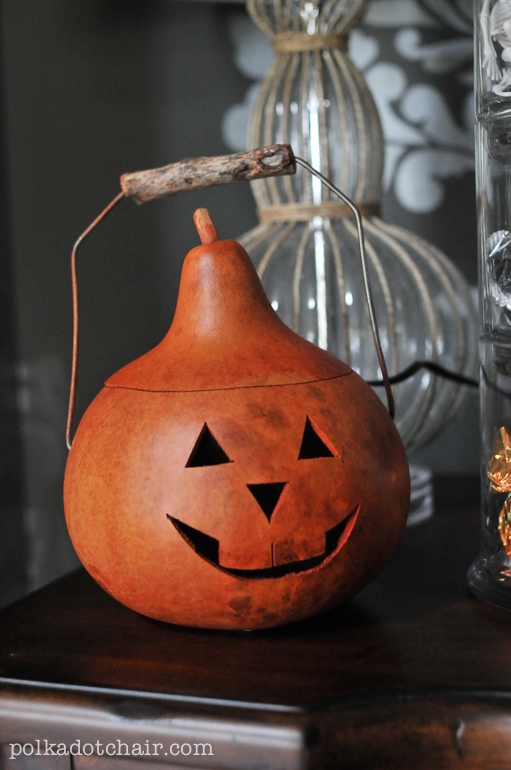
Here are a few more photos of my Halloween Display…