
How to Make a Double-Sided Machine Embroidered Tag
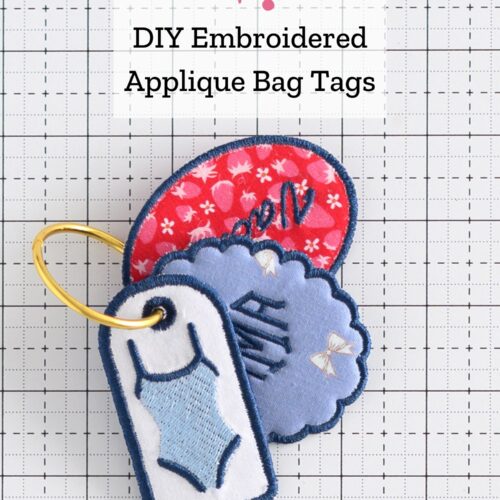
Learn how to make a double-sided appliquéd bag tag using machine embroidery and fun foam with this free tutorial.
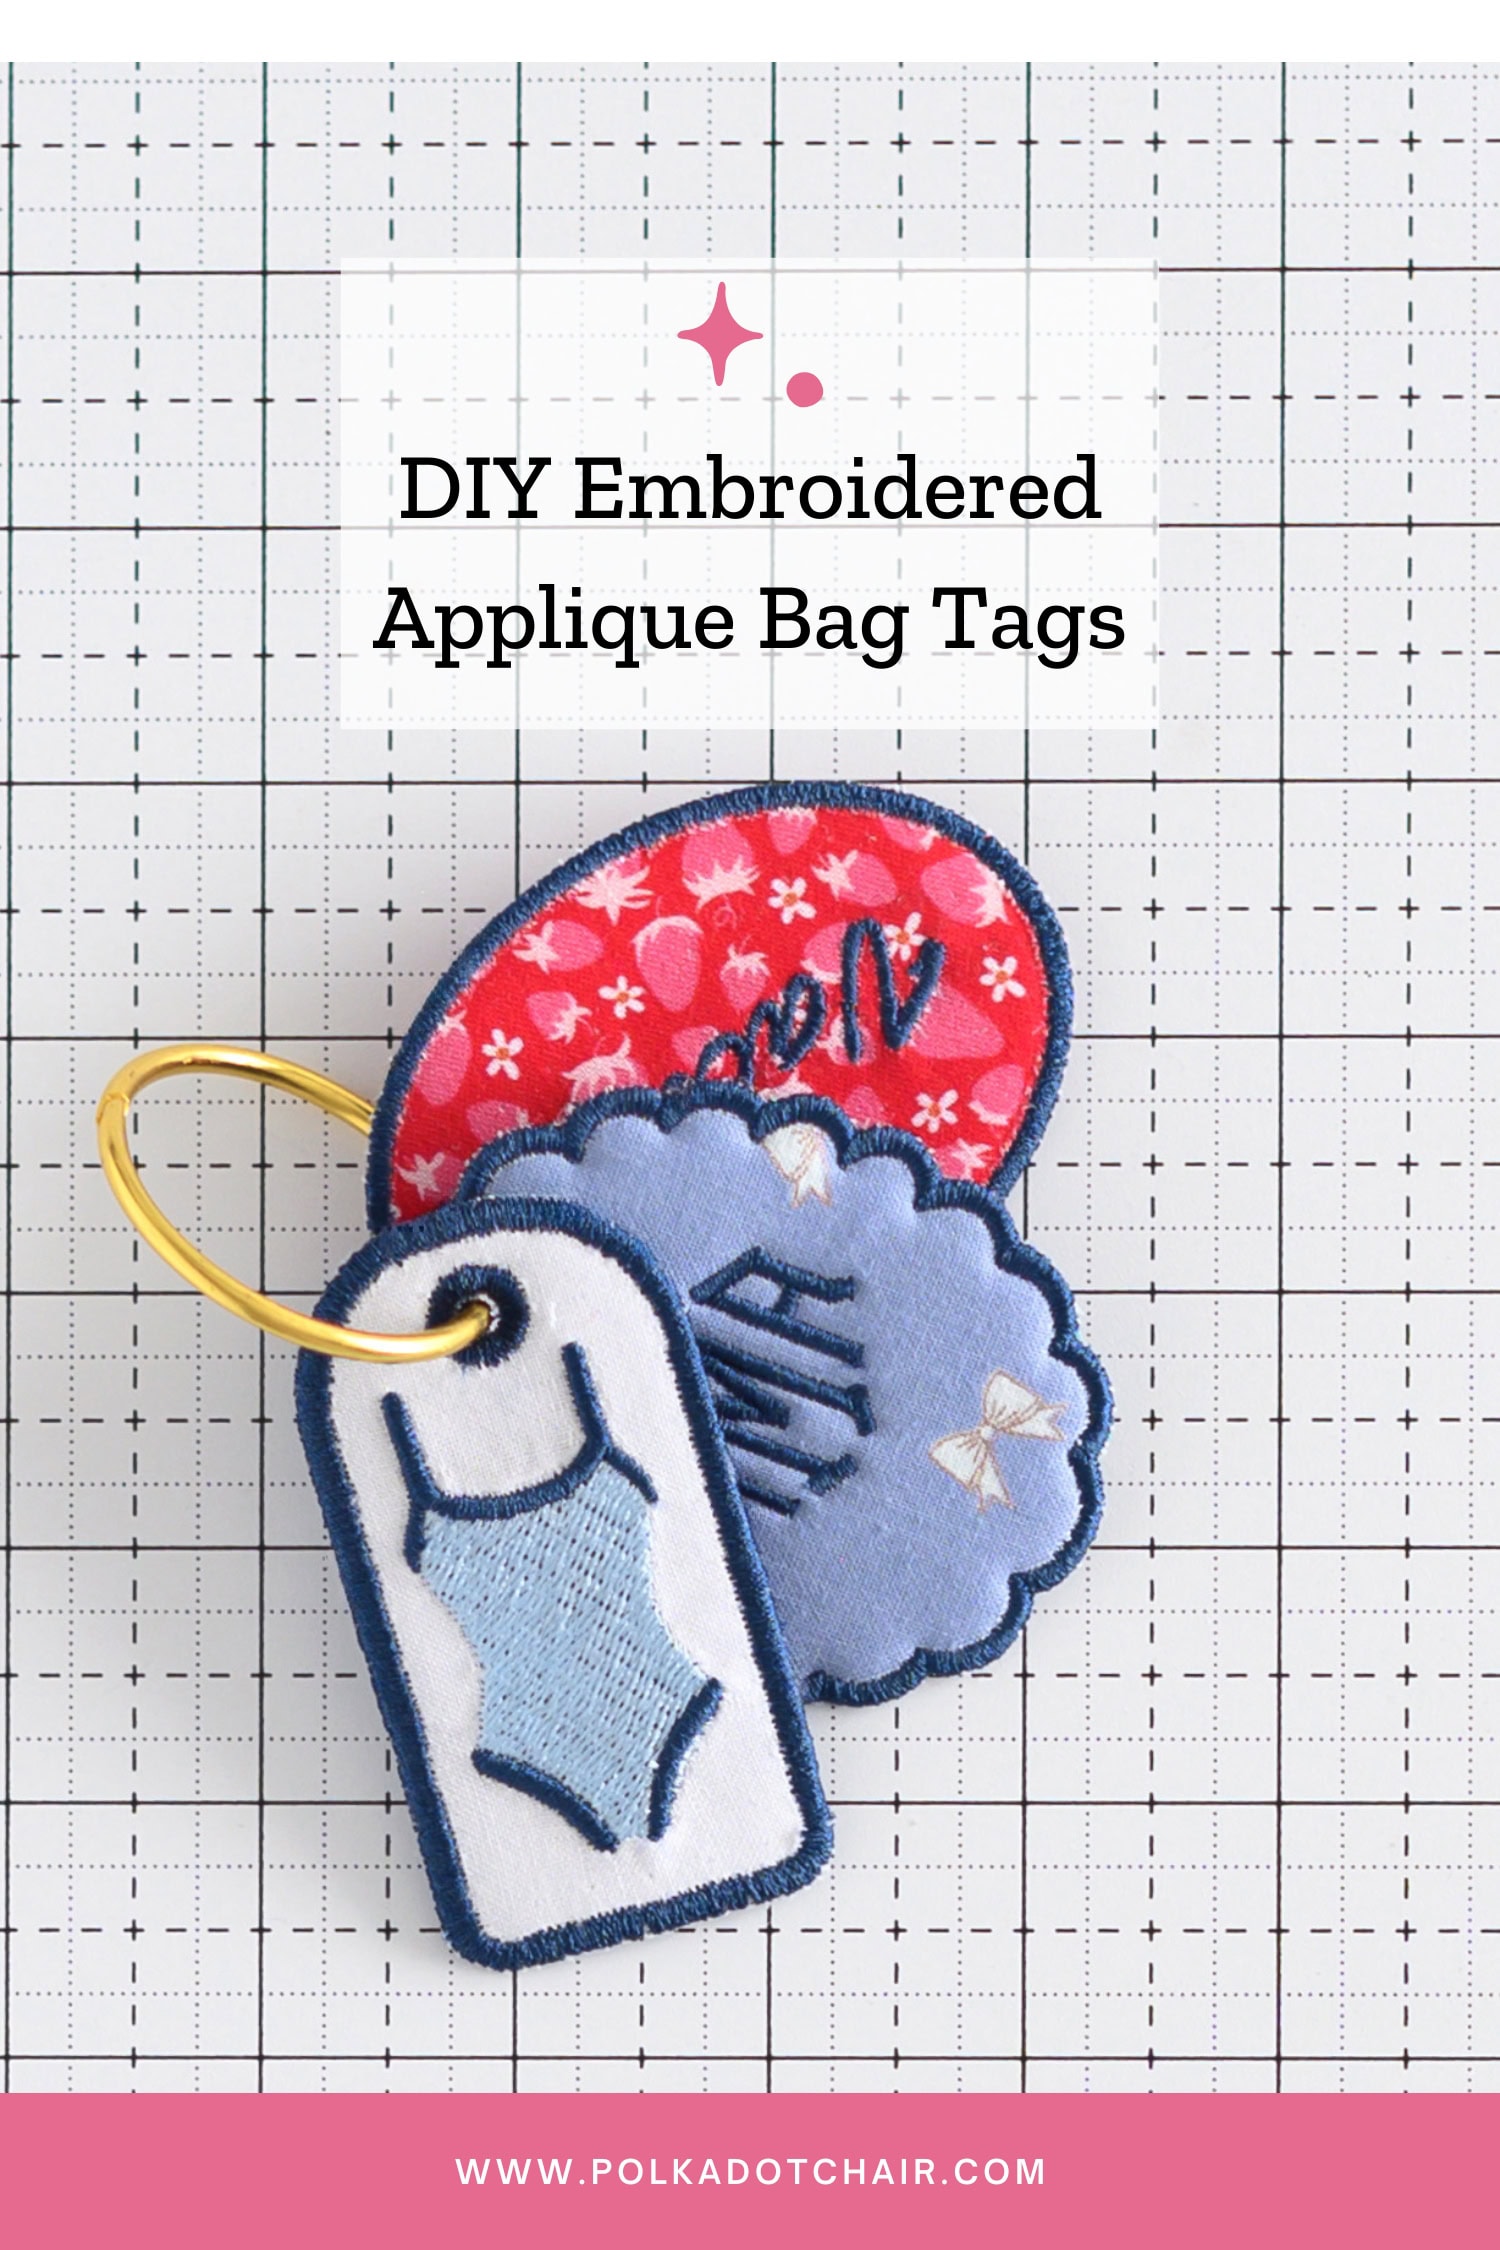
Machine Embroidery seems to be having a bit of a “moment” lately. Many of you (myself included) have sewing machines that come with embroidery capabilities but haven’t really dug into HOW to embroider with the machine or what kinds of projects you can make.
I know that personally, when I got my Bernina 770QE, the embroidery software for the machine was so expensive that I did not explore any of the embroidery module options. Since that time, there has been new embroidery software that is much more affordable, and a plethora of embroidery designs available online.
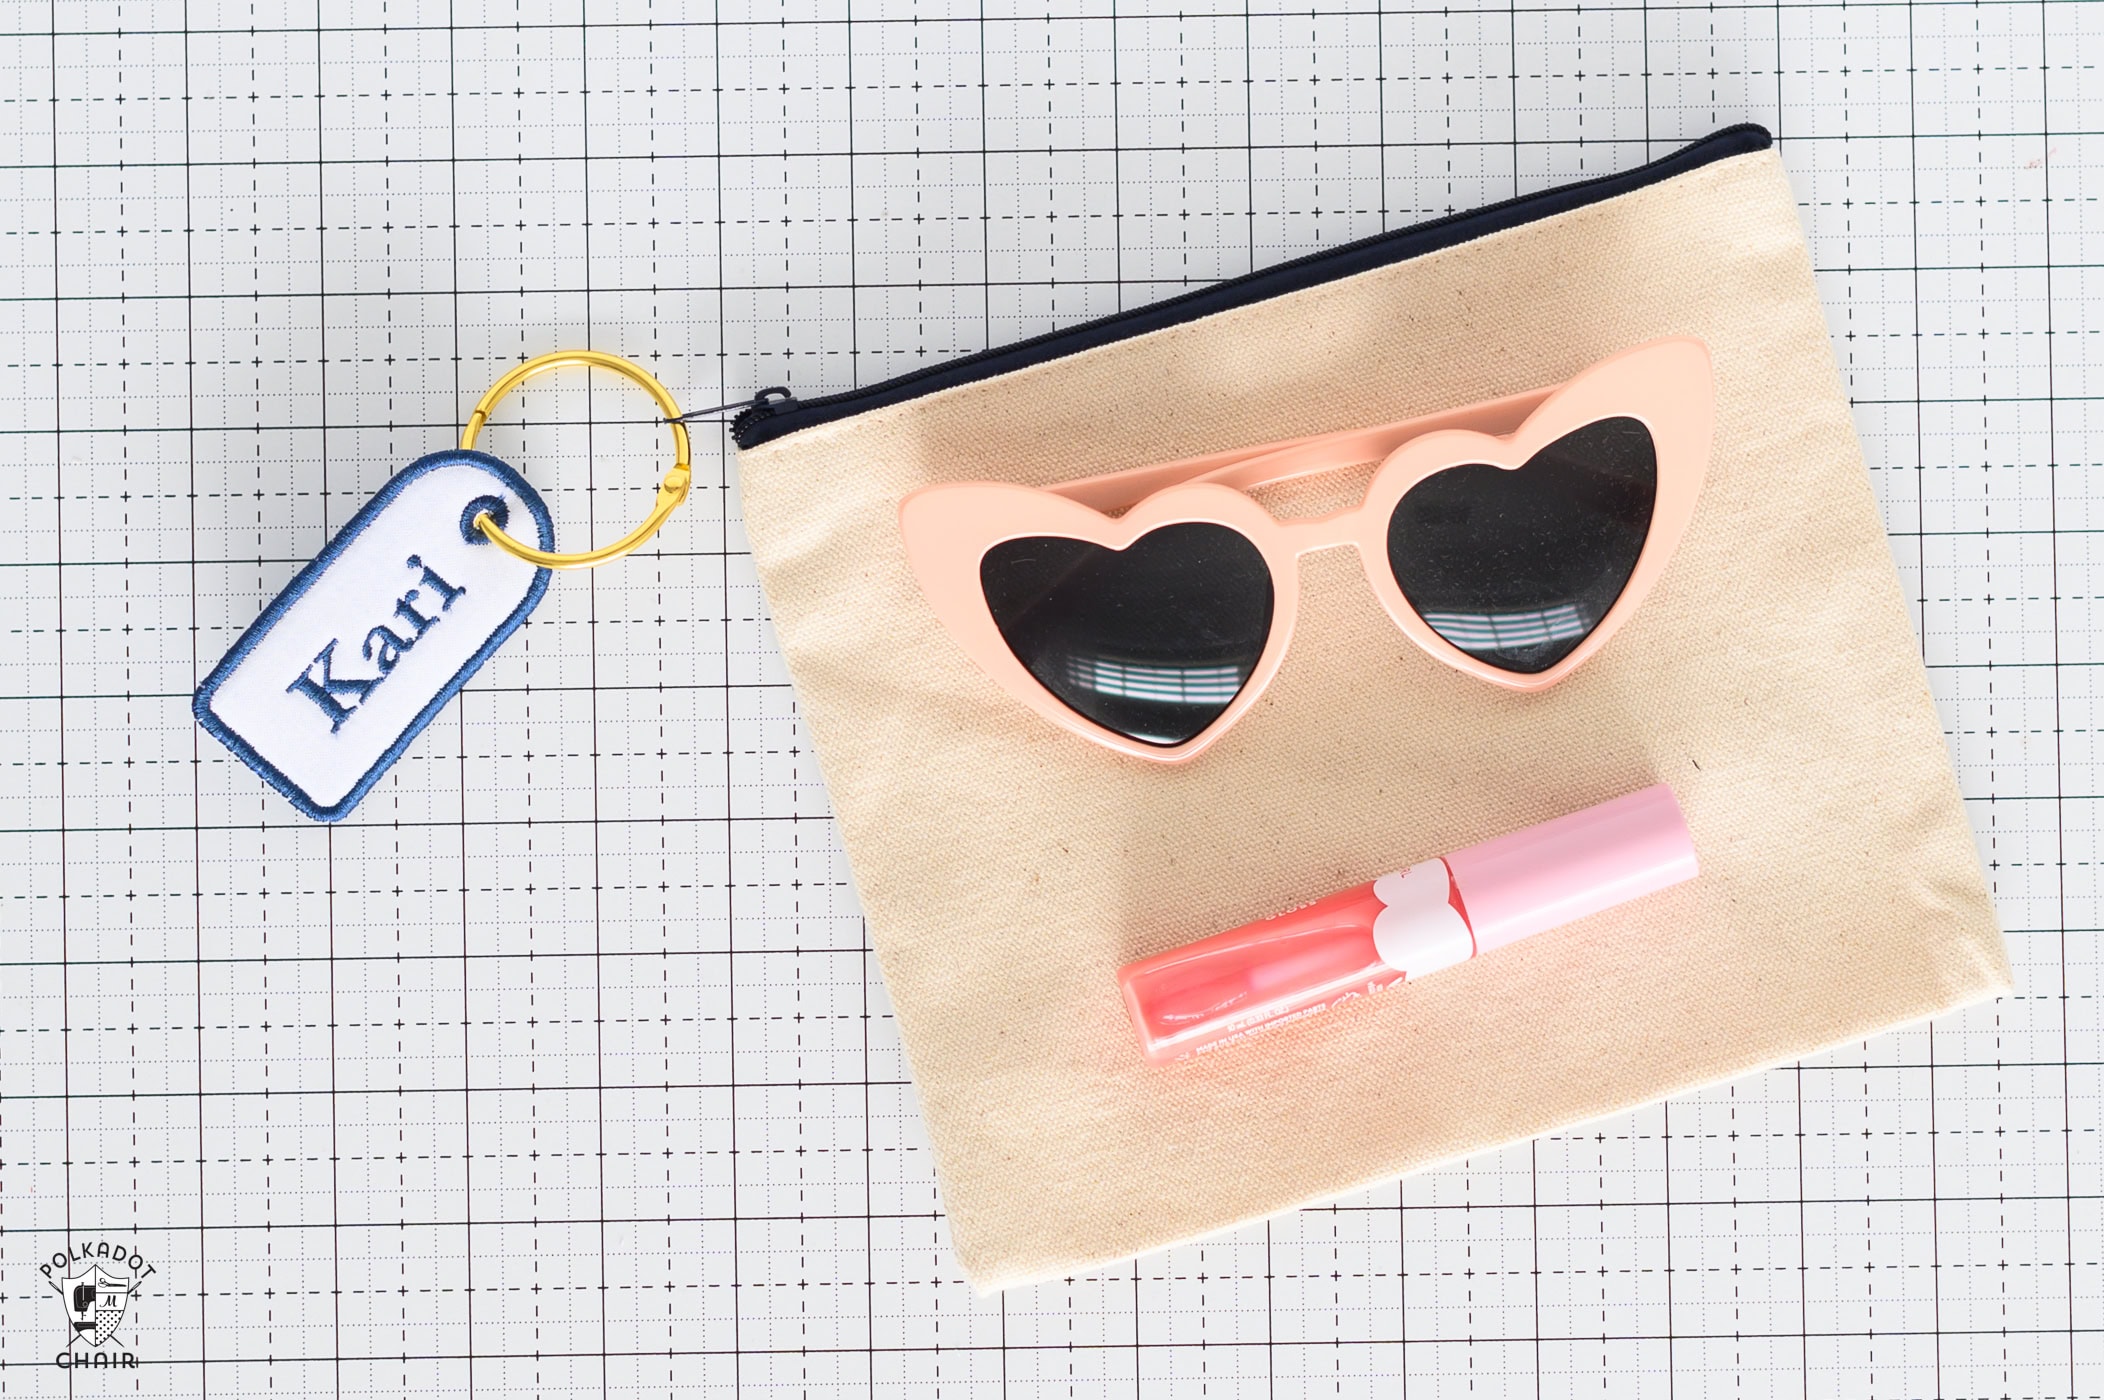
I’m excited to introduce a new series of simple machine embroidery tutorials! Whether you’re new to embroidery or looking for quick projects that put your machine to use, each tutorial will walk you through the process step by step and help you create something fun and useful.
What is Machine Embroidery?
Many home sewing machines can also embroider using a detachable embroidery arm and hoop. Instead of guiding the fabric by hand, you select or upload a design, attach the hooped fabric and stabilizer to the machine, and let the embroidery arm move the hoop as the design is stitched. You’ll need 40 wt Rayon embroidery thread, a machine embroidery needle, stabilizer, and hoop, and an embroidery-capable sewing machine.
How Does a Machine Embroider Applique?
Machine appliqué uses an embroidery machine to stitch fabric shapes onto a larger piece of fabric. The machine first stitches a placement line to show where the appliqué fabric belongs; you remove the hoop from the machine, cut away the excess fabric, then secure the fabric and finish the edges with a decorative stitch.
Why a Bag Tag?
A family member texted me the other day, asking for a double-sided tag for her son’s backpack, with his name on one side and her phone number on the other. She couldn’t find any online, so naturally she came to me. After some thought and watching tutorials on other people making embroidered tags with a plain fabric backing,
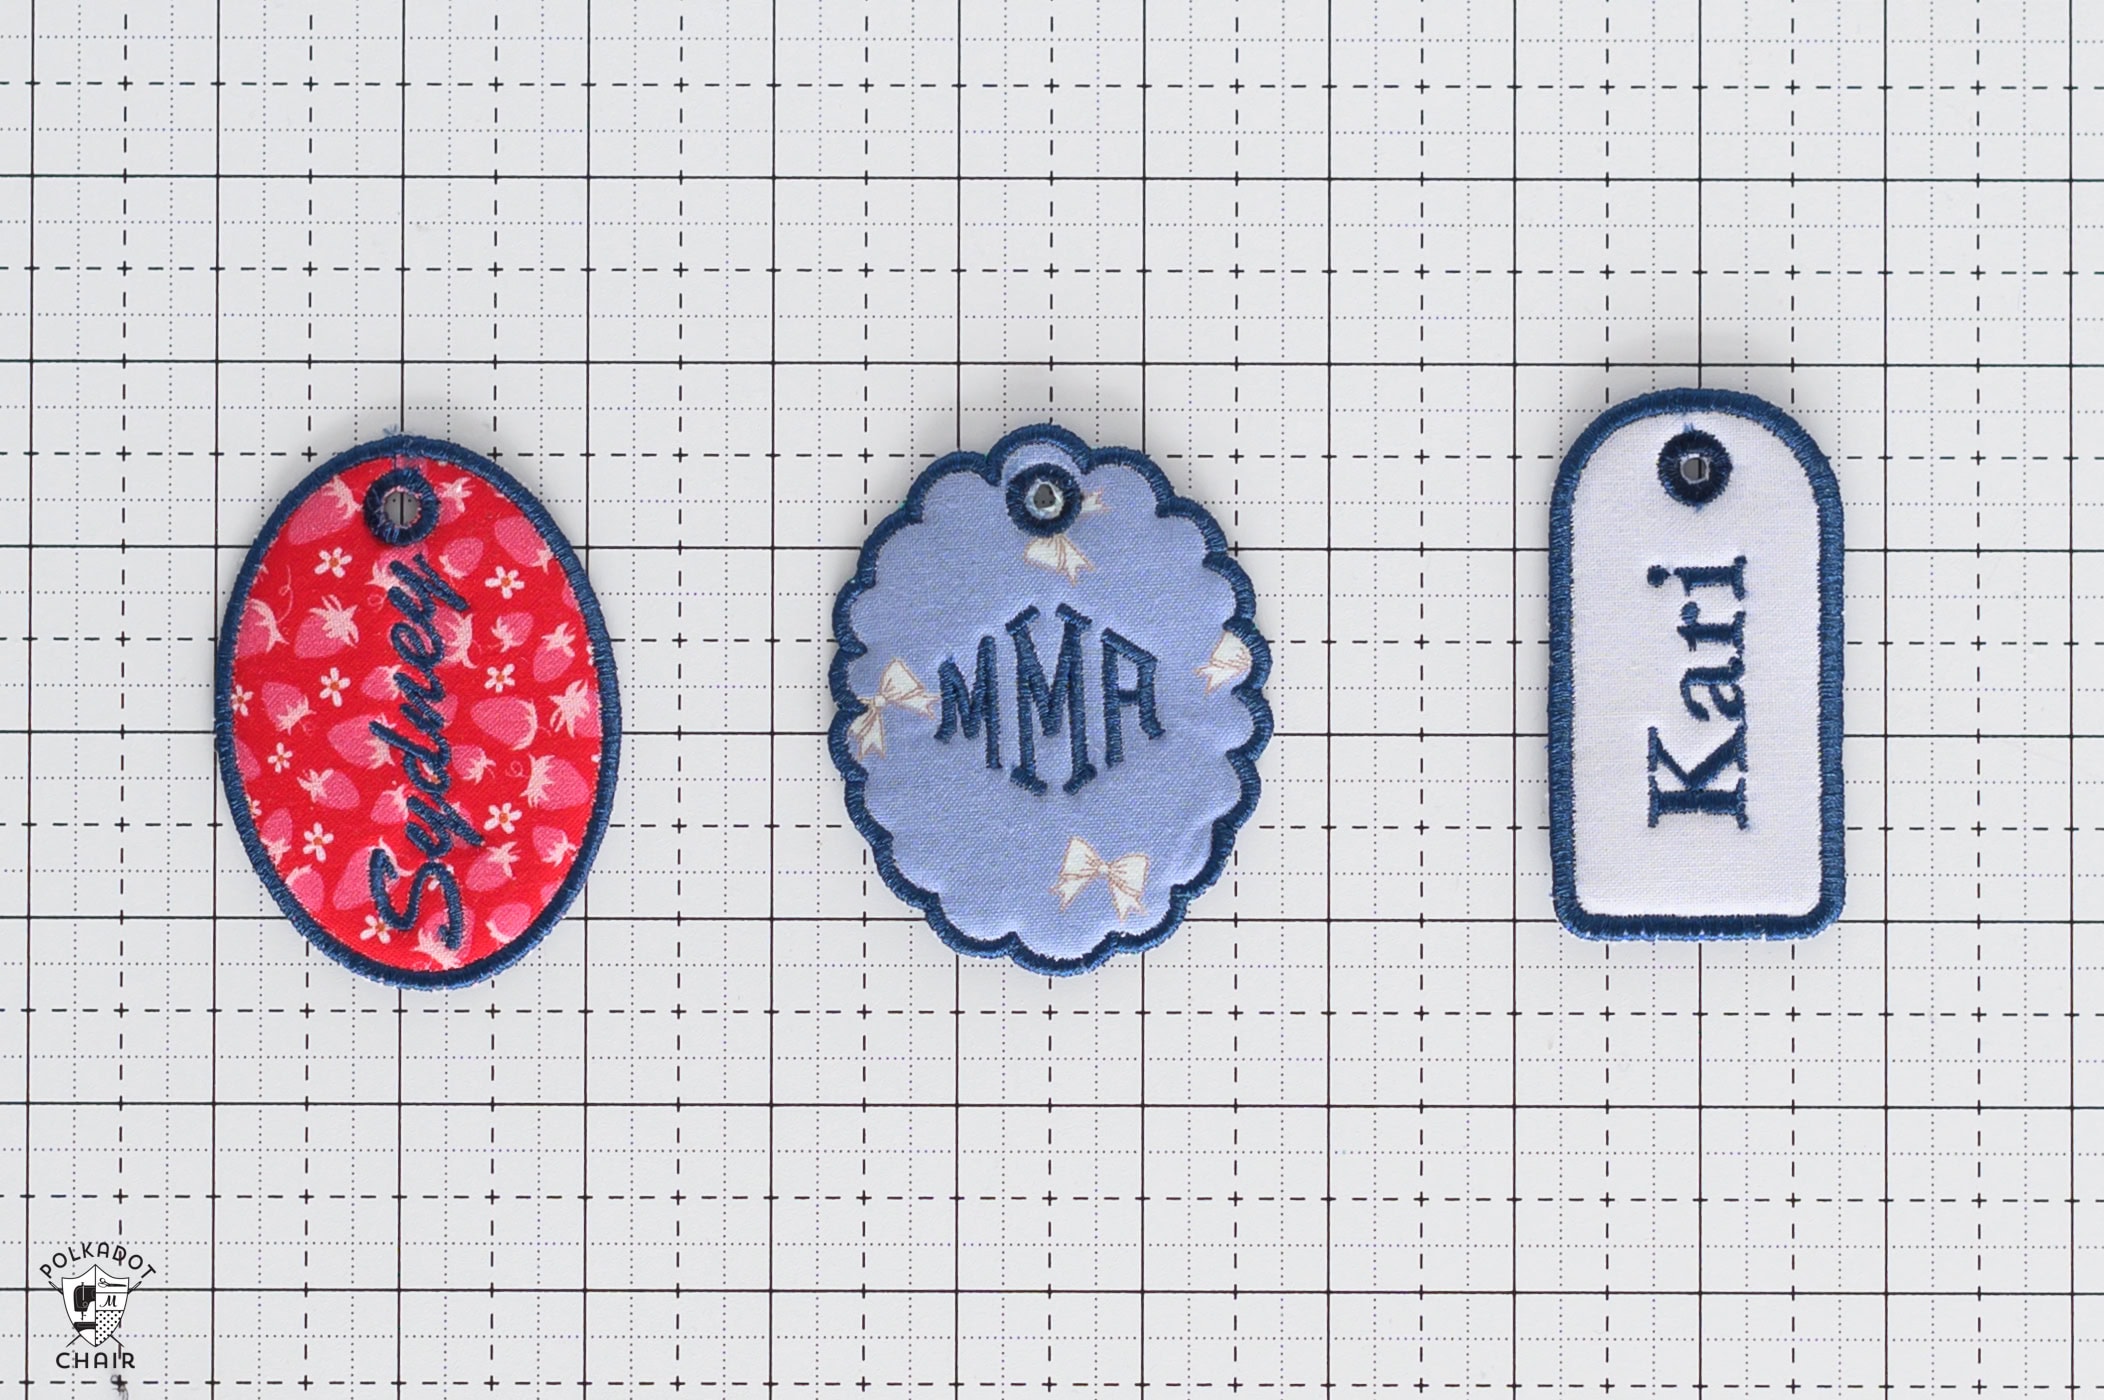
I thought: why couldn’t you embroider the back of the tag? After some brief trial and error, I managed to figure it out. If you have also been wanting a double-sided embroidered tag, here is how to make one.
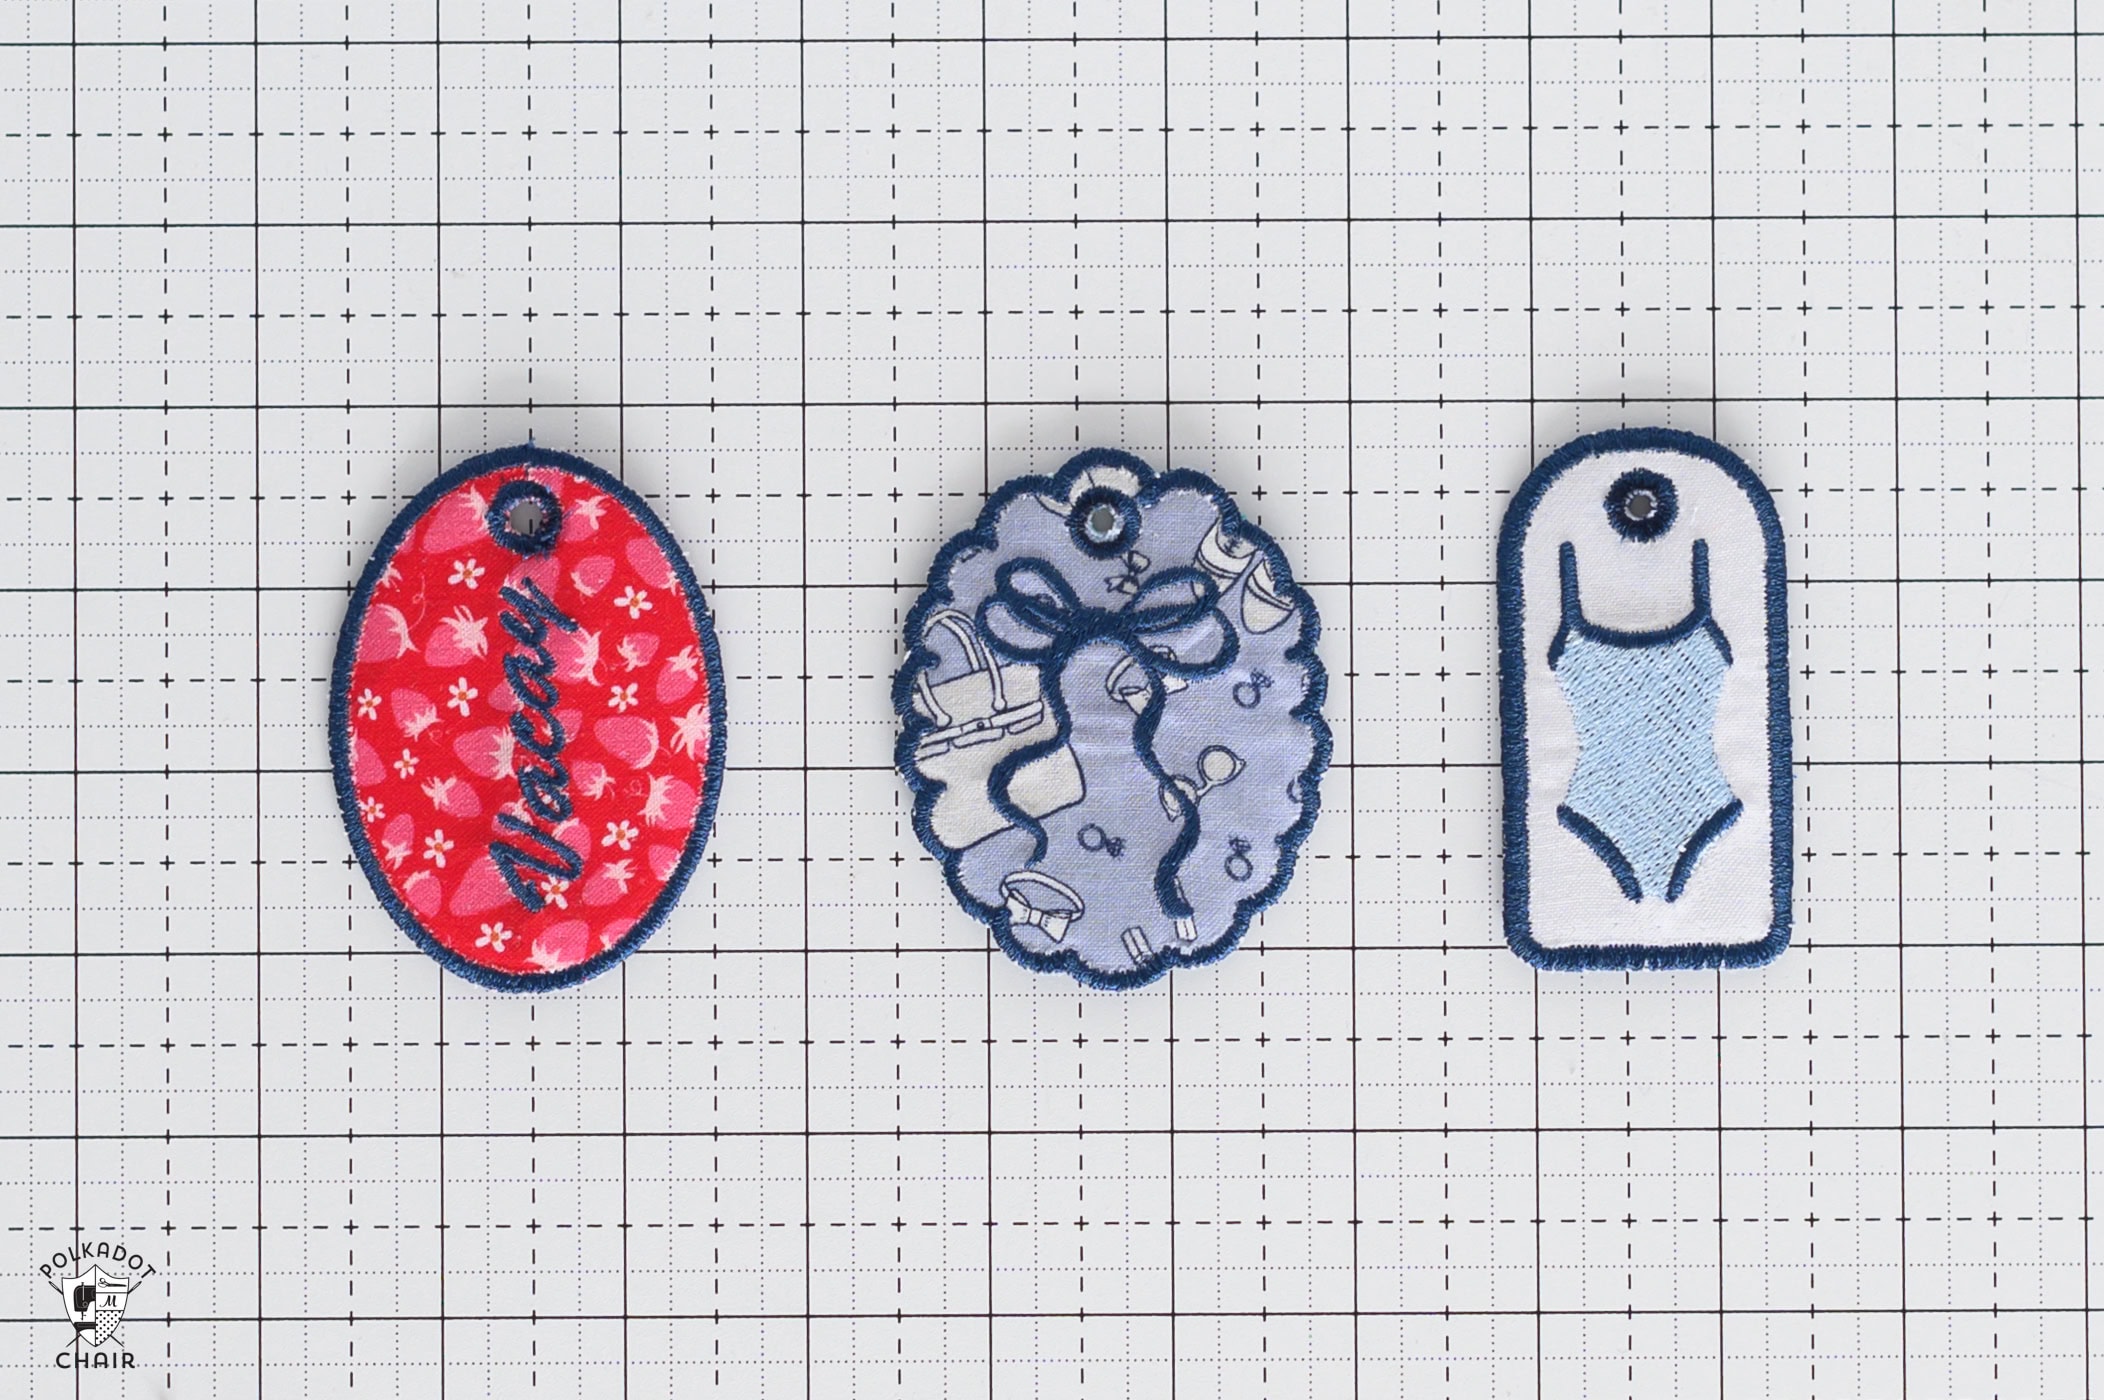
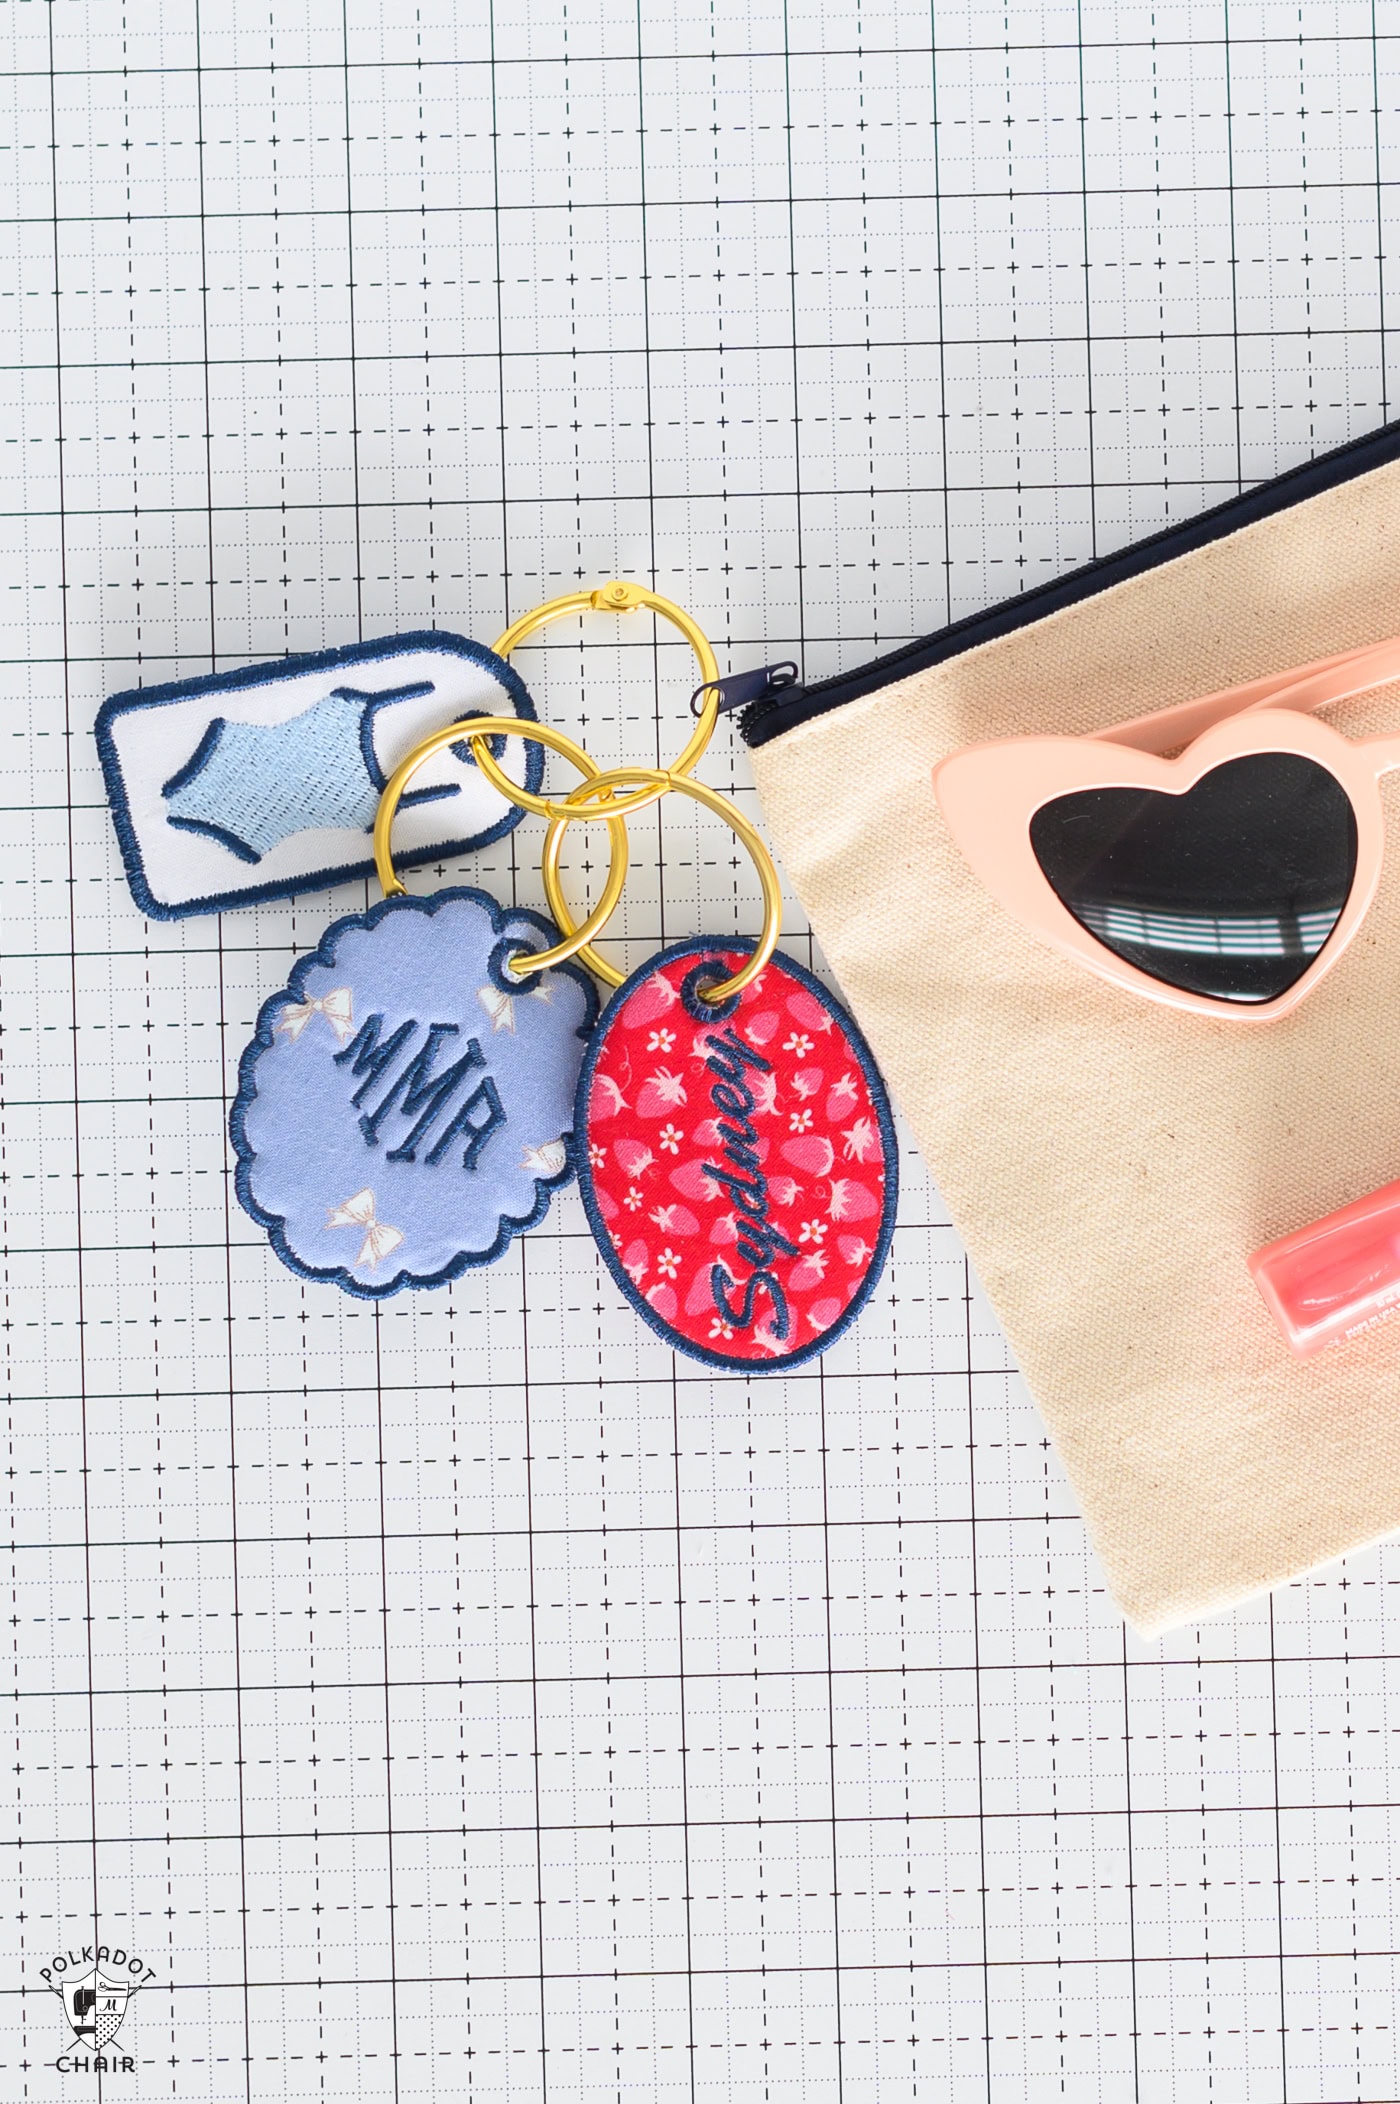
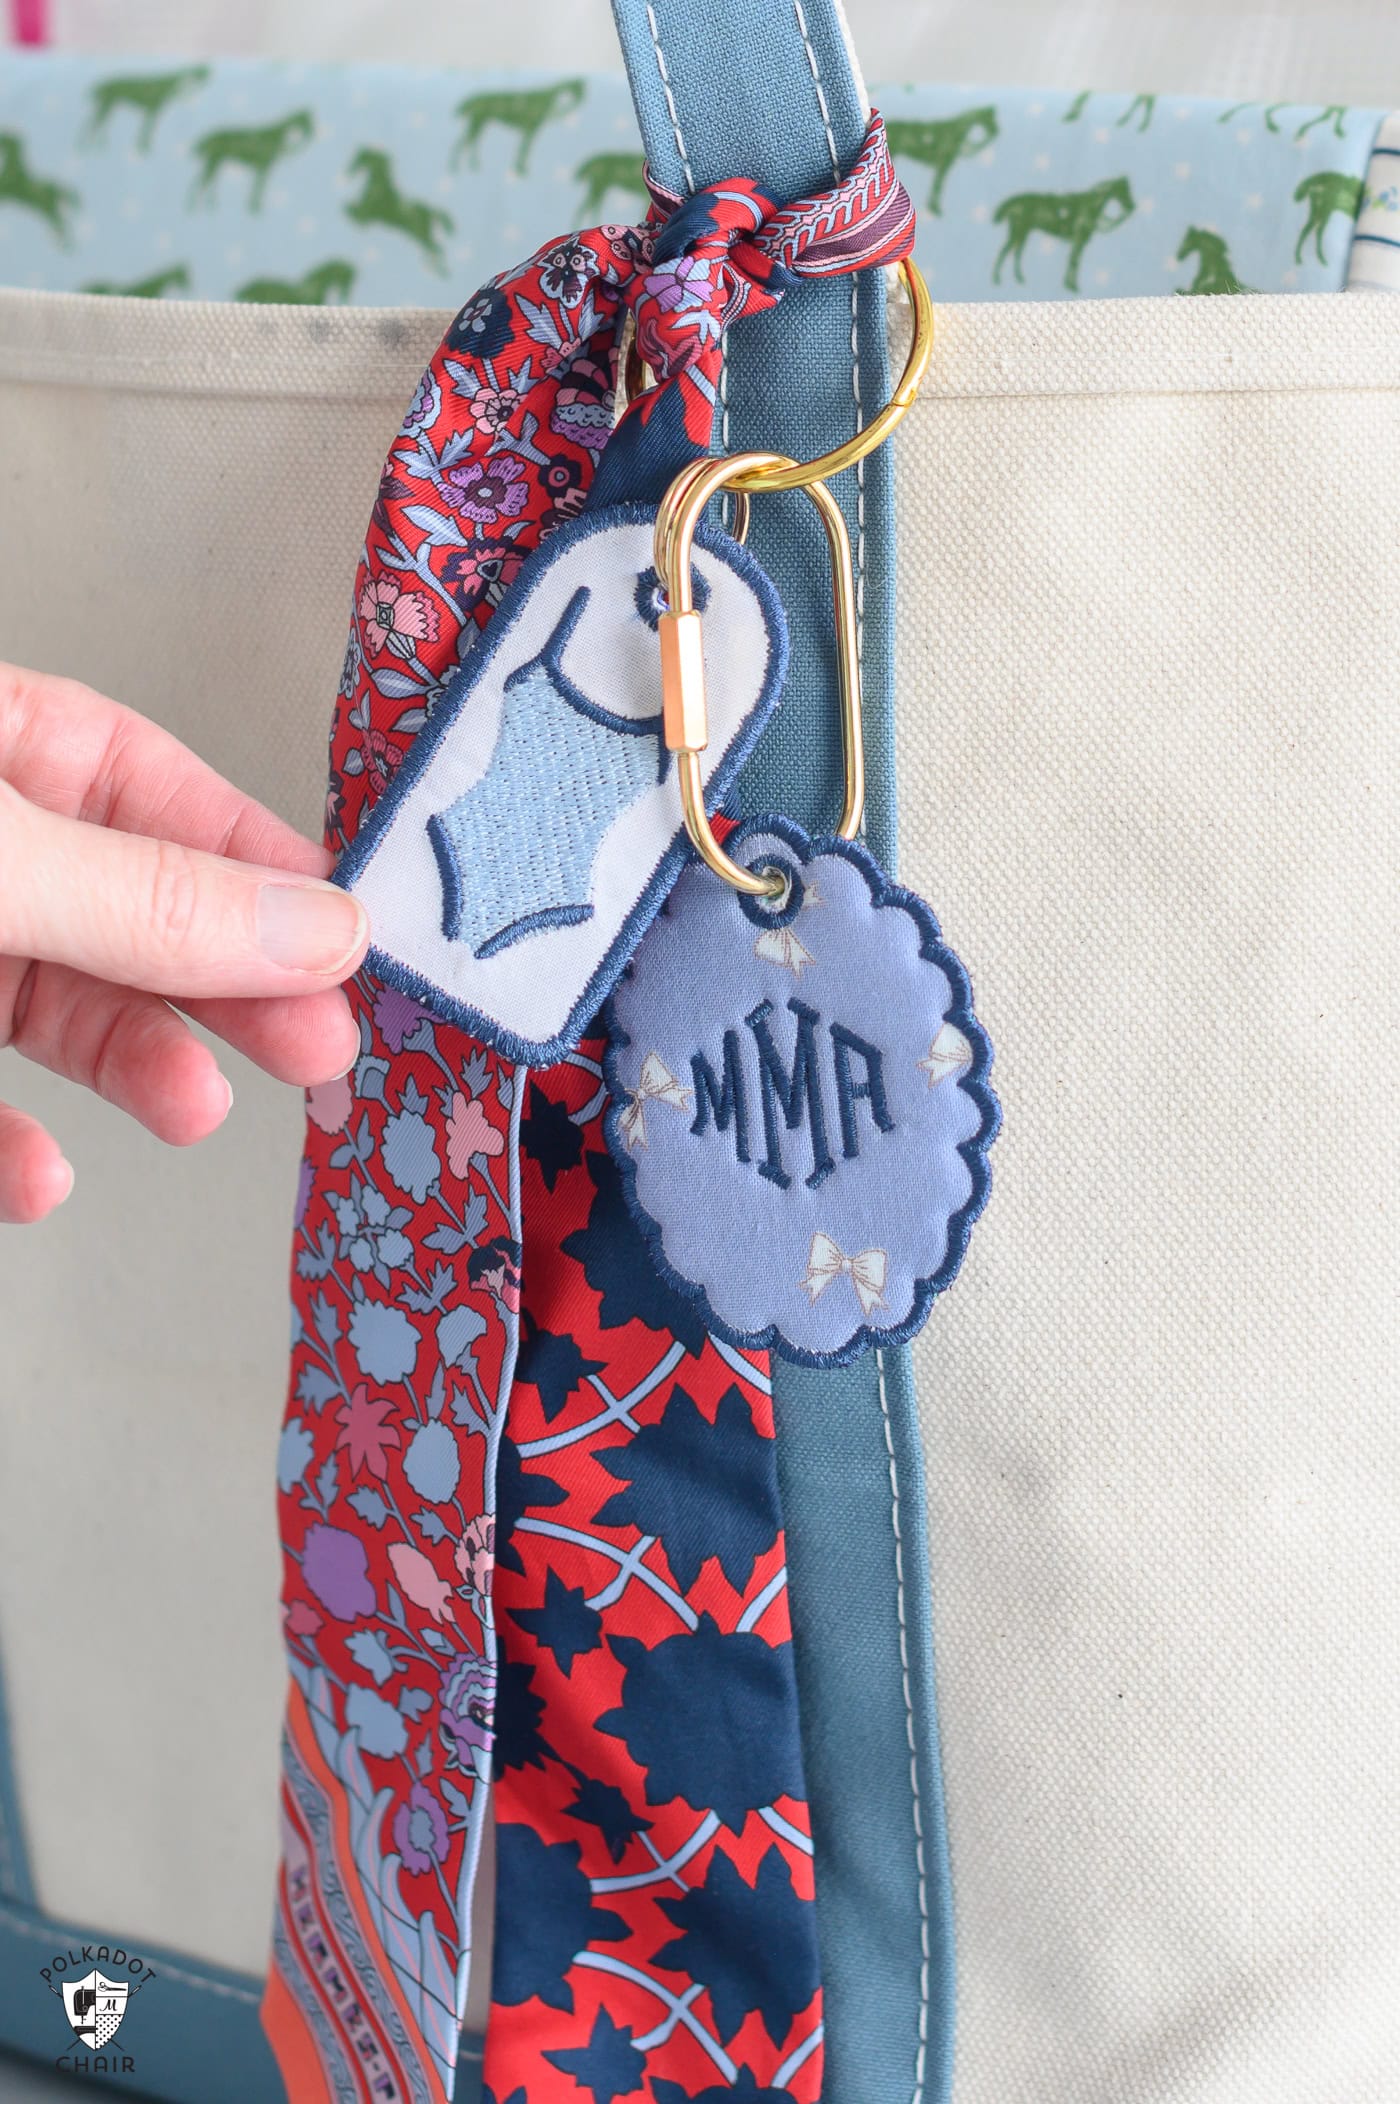
These tags are also great for use as bag charms, luggage tags, or just for fun!
What is Embrilliance?
Embrilliance Essentials is embroidery software that allows you to view, resize, combine, personalize, and prepare embroidery designs on your computer before transferring them to your machine.
This program has simple tools for adding lettering and arranging designs. Because Embrilliance works with many common embroidery file formats and machine brands, it is a helpful option for both beginners and experienced machine embroiderers.
Depending on the software that comes with your specific machine, you may not need this software. To make the tags, you’ll need the ability to combine two embroidery files into one and to change the stitching order of the satin and tackdown stitches.
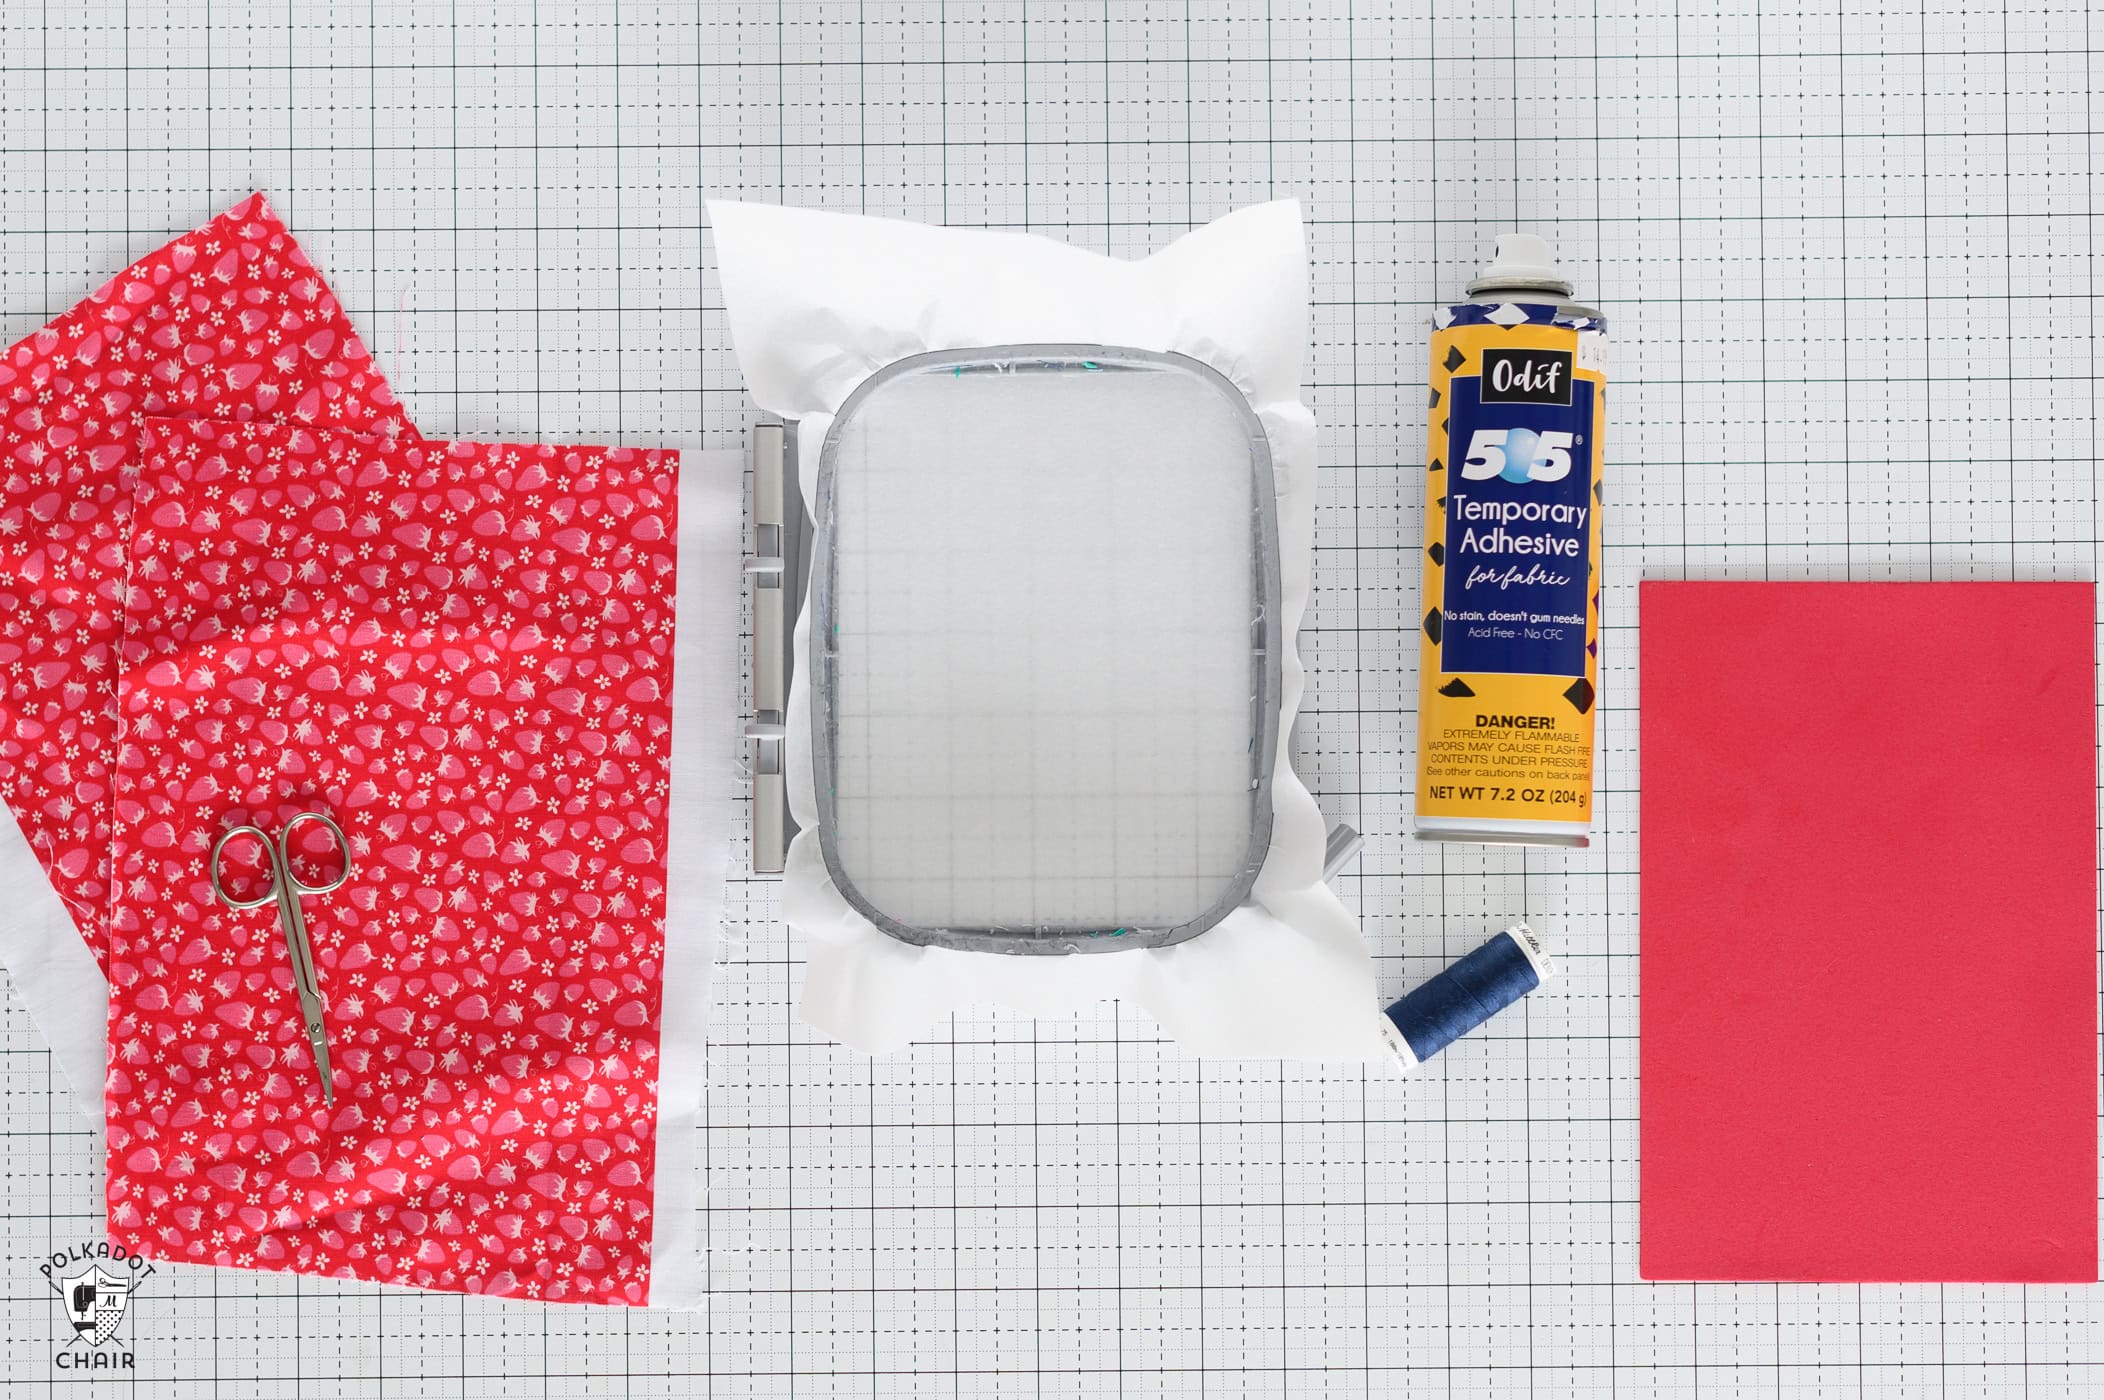
Materials Needed
- Fabric (two pieces: one for the front and one for the back)
- 40wt Rayon Embroidery thread (for this project, I recommend white or navy)
- Fun Foam sheet (note that if you use a light-colored fabric, darker colors of foam might show through)
- Heat N Bond Lite Interfacing
- Heavyweight tear-away embroidery interfacing
- Basting Spray
- Curved appliqué scissors
- Embroidery hoop (should have come with your machine)
- Iron
Embrilliance Design Steps
For Reference, you should have the following Stitching Steps, in this order, set up in your file before transferring the file to your sewing machine.
- Placement Stitch
- Tack Down Stitch
- Top of Tag Image/Text
- Tack Down Stitch for Fabric on Back of Tag
- Final Edge Satin Stitch
Step One: Design the Front of the Tag
I found a group of tag files on Etsy that include an extra stitch to allow fabric to be added to the back of the tag.
You can find the link to the package I bought here.
You will need to create two files for these tags, one for the front and one for the back.
In Embrilliance software, import the tag file.
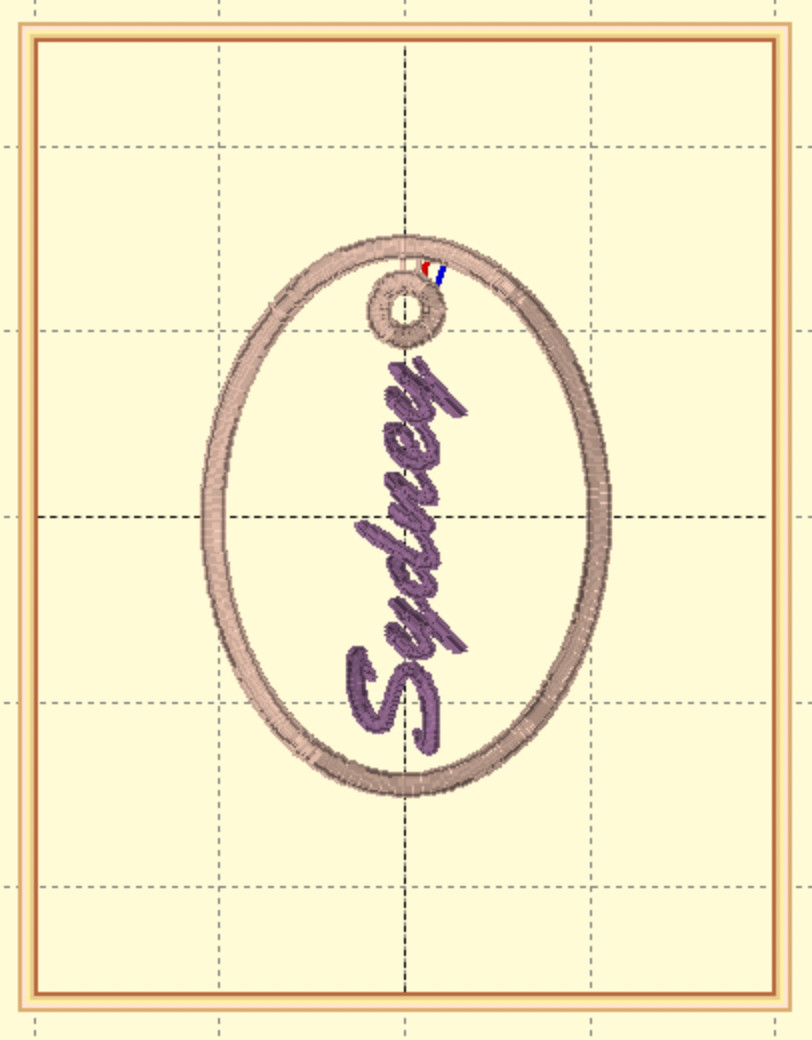
For the front of the tag, place the design you want at the center. Make sure it is centered in the tag.
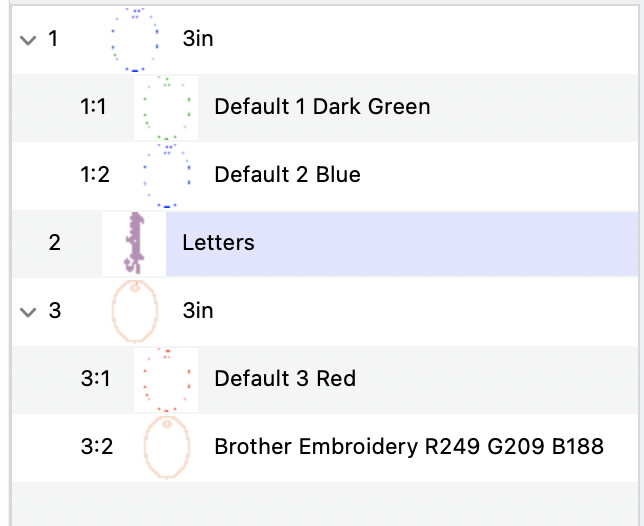
In the Embrilliance sidebar, move the front of the tag design to the third step of the tag embroidery file. The steps of the file should be: two outline appliqué stitches, your design, another outline appliqué stitch, and the final satin stitch for the tag.
Step Two: Design the Back of the Tag
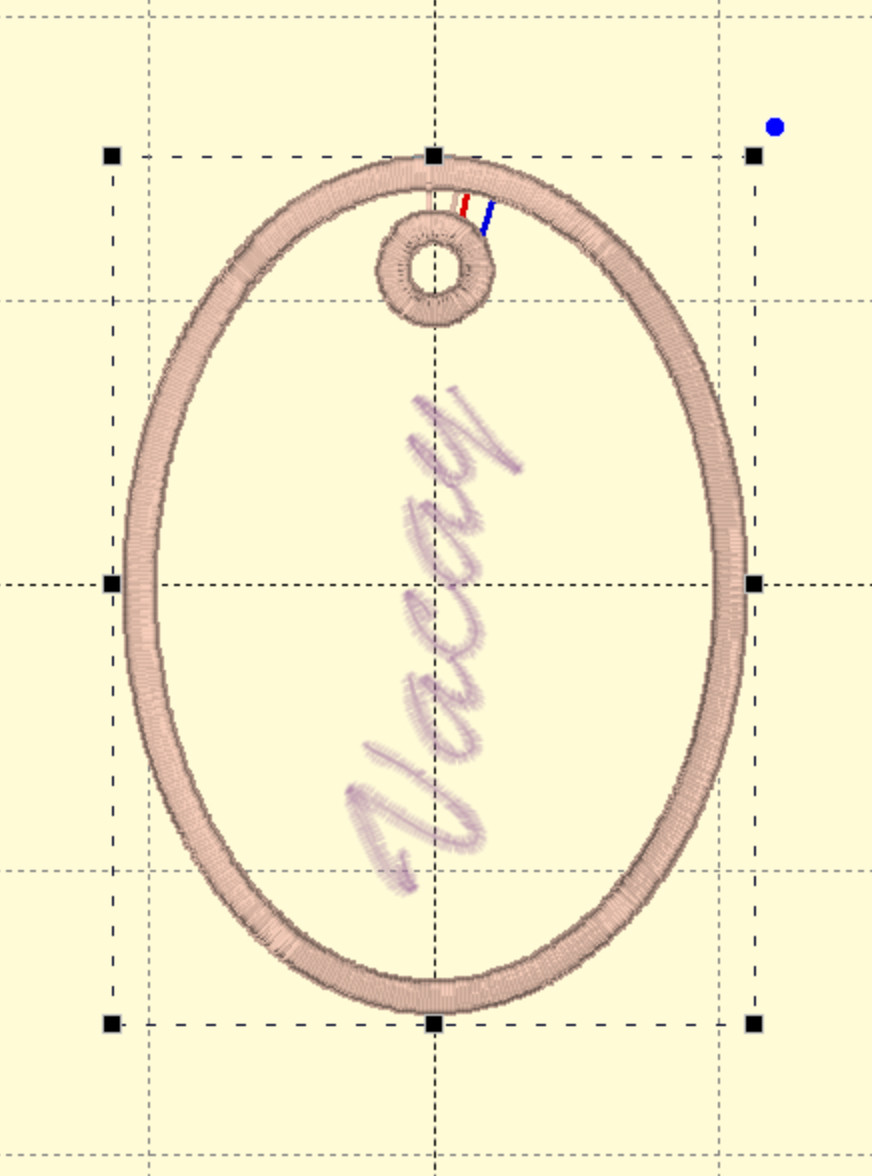
For the back, start with the tag image, again centered in the hoop. Then fill in the design for the back of the tag as you did for the front. However, this time, once everything is where you want it, delete the tag file. Do this to ensure the back design fits within the tag’s dimensions without overlap.
Double Sided Embroidery Tag: Machine Embroidery Steps

supplies
- 2 pieces Fabric for tag front and back
- 1 Foam Sheet
- 1 package Heat N Bond Lite
- 1 package Heavyweight Tearaway Stabilizer
- 1 spool 40wt Rayon Embroidery thread
- 1 can Basting Spray
Instructions
Step One:
- First, using your iron, apply the iron-on interfacing (Heat-n-Bond Lite) to both pieces of fabric you need for the tag.
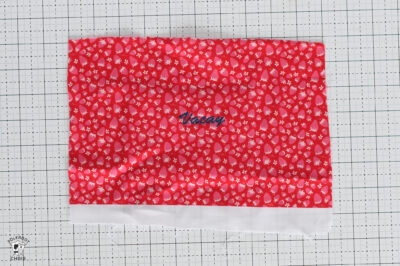
- Embroider your fabric and design for the back of the tag as you normally would. Remove from the hoop and set aside.

Step Two:
- For the top of the tag, hoop only the tearaway interfacing. Put the hoop on the machine and run the first stitching line. This is a placement line that shows you where to place your fabric.
- Next, using the first stitch on the hoop as a guide, float your piece of foam on top of your tear-away interfacing, then float your fabric on top of the foam. You will want to use a basting spray on both layers to secure.
- Run the next stitch on the machine. It will tack the fabric and foam in place.
- You can then either remove the hoop from the machine, cut away the fabric close to the tack-down stitching line, and pull away the foam, OR let the machine embroider the image/text for the top of the tag. It’s up to you. Just make sure you cut away the fabric before the final satin stitches.
- TIP: Use curved-edge appliqué scissors to make it easier to cut the fabric away from the design.
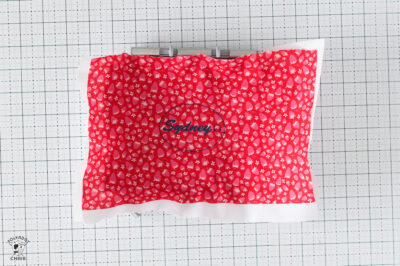
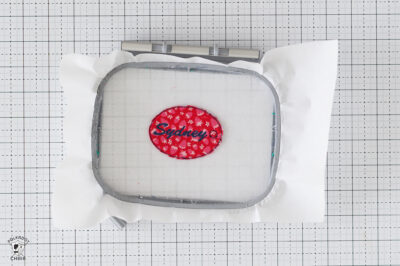
Step Three:
- With the hoop still removed from the machine, flip it over and spray it with basting spray. Line up your bottom fabric design with the upper portion of the tag.
- To do this, I like to put a pin through the hole in the tag so you know where to line it up. Once on, you can fold the fabric edges around your design to check whether you are centered on the tag. Then you will put the hoop back on the machine.
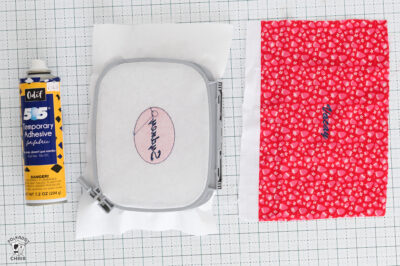
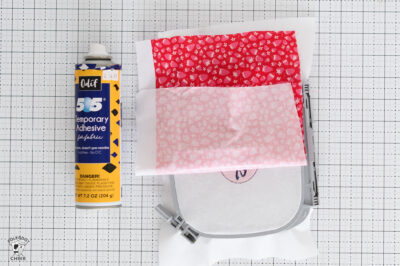
Step Four:
- With the hoop back on the machine, the next stitch will sew one outline stitch for the tag, which should be the next step on the embroidery file.
- Once that is done, remove the hoop again and cut the back fabric as close as possible to the stitched outline, just as you did with the top layer in Step 2.
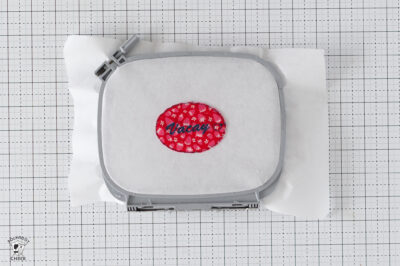
Step Five:
- TIP: For the final satin stitch along the edge of the tag, use the same thread on both the top and bobbin.
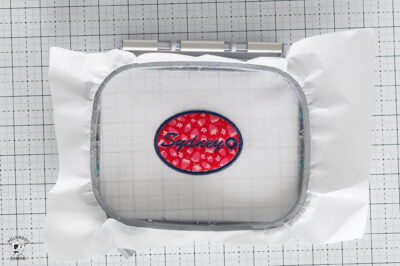
- Time to finish up the tag with a satin stitch! Again, this should be the next/last step in your embroidery file.
- Run the final satin stitch. If you are unhappy with the thread coverage on the edge of the tag, you can run the final satin stitch one more time. (Each machine is different; my Bernina lets me scroll back and forth through the stitching steps. Just scroll through the stitch steps until you get to the final stitch, then run it one more time).
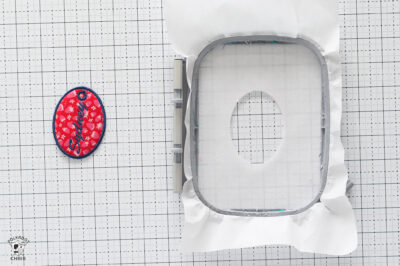
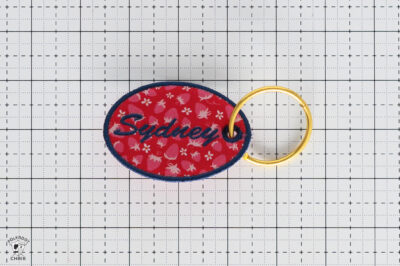
- Once your satin stitch is complete, you simply pull it off the interfacing in the hoop, punch or cut out the hole in the tag, and attach a key ring to finish.
Thank you so much for the tutorial! I keep having issues with the foam showing thru on the edges in spots, even if I do the final stitches twice. Any tips?
Thank you so much! This will be great for keys to different things with “Shed” on one side and the address on the other! Especially as a caretaker of places for people