
Bow-Tied Quilted Christmas Stocking Tutorial in 3 Sizes!
This beginner-friendly Christmas stocking sewing pattern includes three stocking sizes and features a charming quilted bow detail at the cuff for just a little bit of something “extra”. The stockings were made with my Claus & Co fabric collection for Riley Blake Designs, but you can easily customize them with your favorite Christmas fabrics.
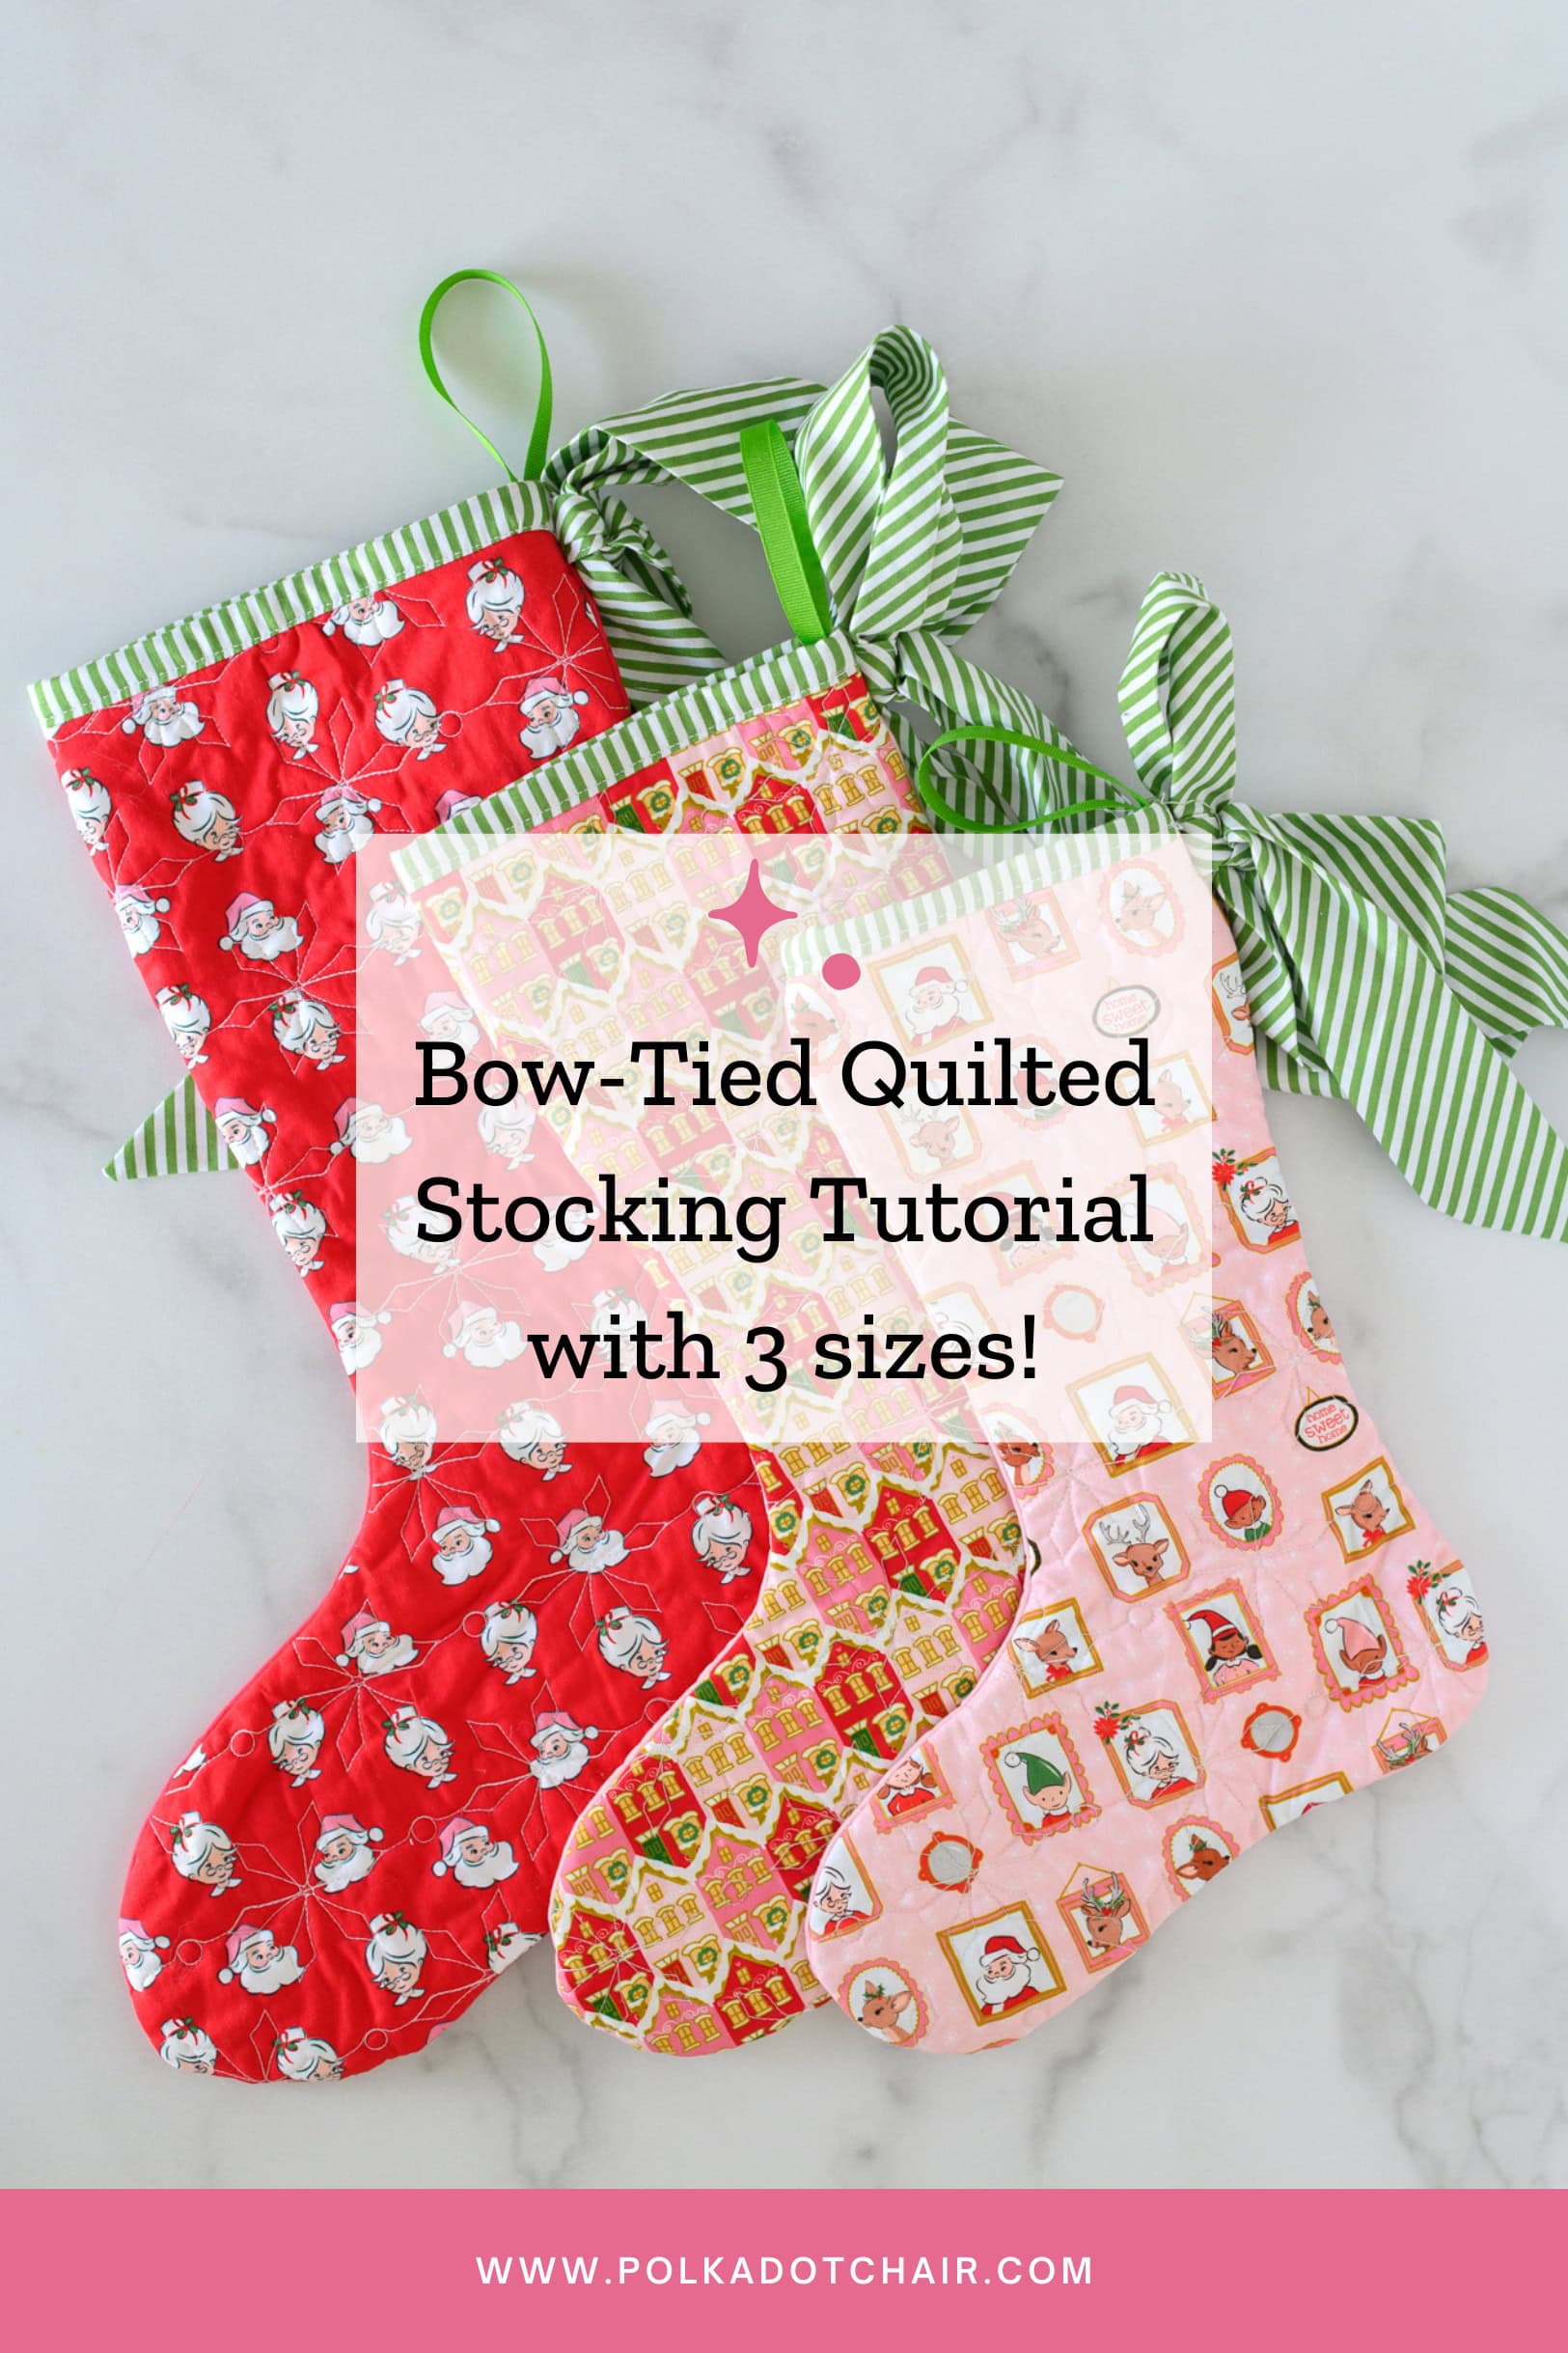
What better way to celebrate Christmas in July than by getting a head start on your holiday sewing? This free quilted Christmas stocking pattern is the perfect project to stitch now, so you’ll have handmade stockings ready to hang when the holiday season arrives. If you’ve been looking for a free Christmas stocking sewing pattern, this tutorial includes everything you need to make beautiful quilted stockings in three different sizes.
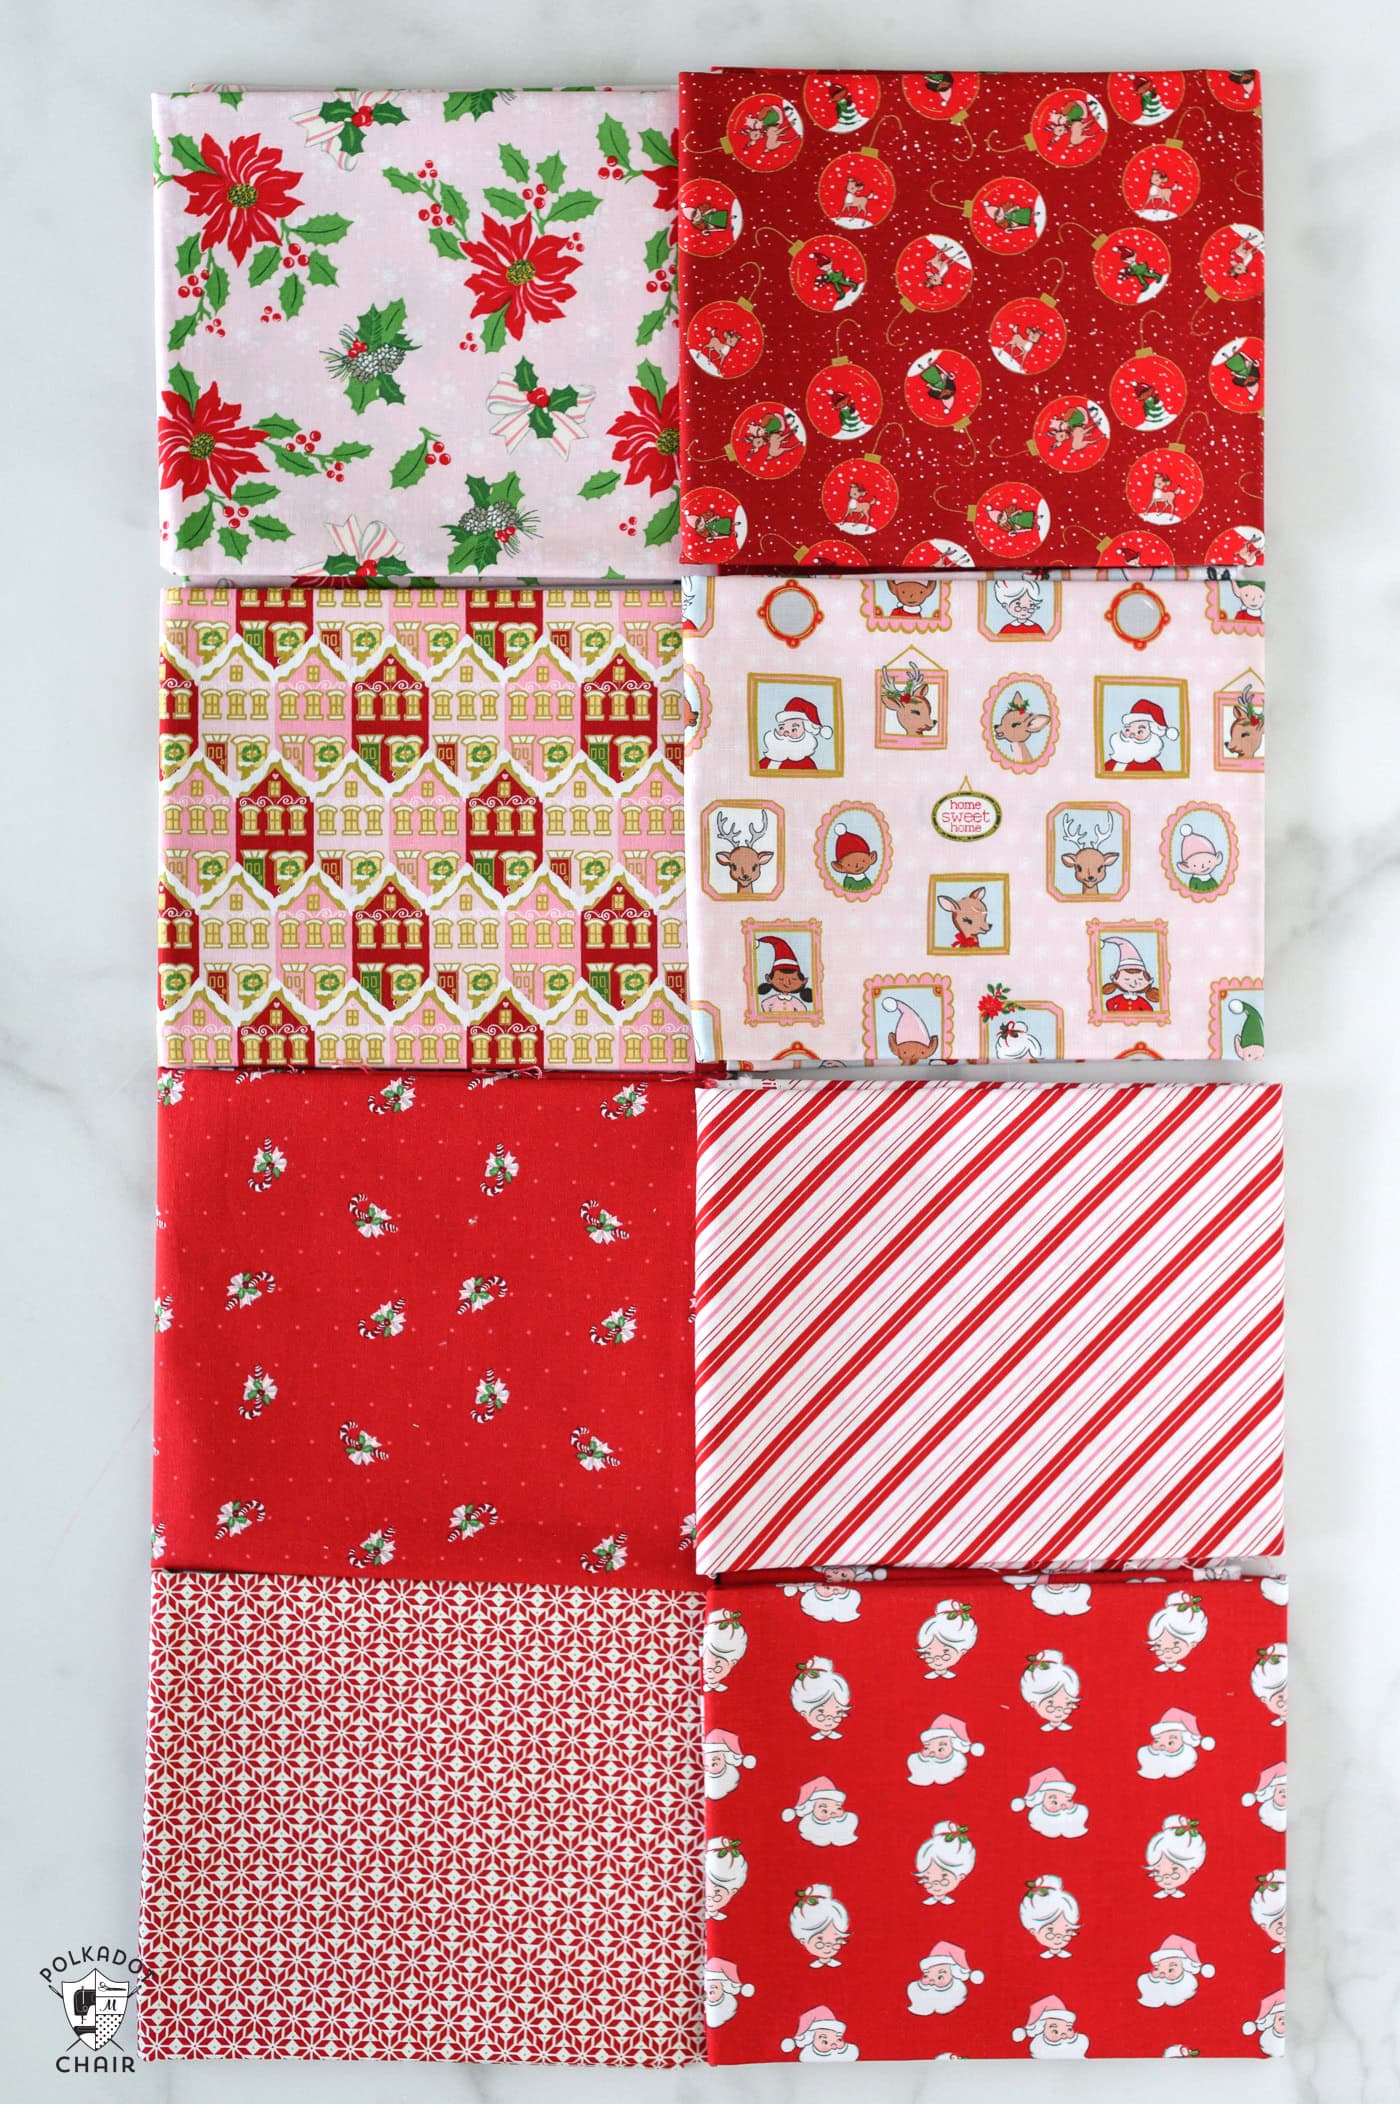
The pattern was designed using fabrics from my Claus & Co collection for Riley Blake Designs and features a unique bow detail on the seam. The bow not only makes a charming addition, but it also provides an easy way to hang the stockings when you’re finished!
The large stocking is the perfect size to become a family Christmas stocking that you’ll enjoy using year after year. The small stocking is ideal for tucking in a thoughtful gift, making it a fun and festive way to surprise friends, neighbors, teachers, or coworkers during the holiday season.
How to Get the Pattern Pieces:
Simply fill out this form, and we will email you a PDF of the pattern pieces. You’ll still need to follow the directions on this webpage to complete your project.
Techniques you will need for this Tutorial
Basic Machine Quilting Instructions
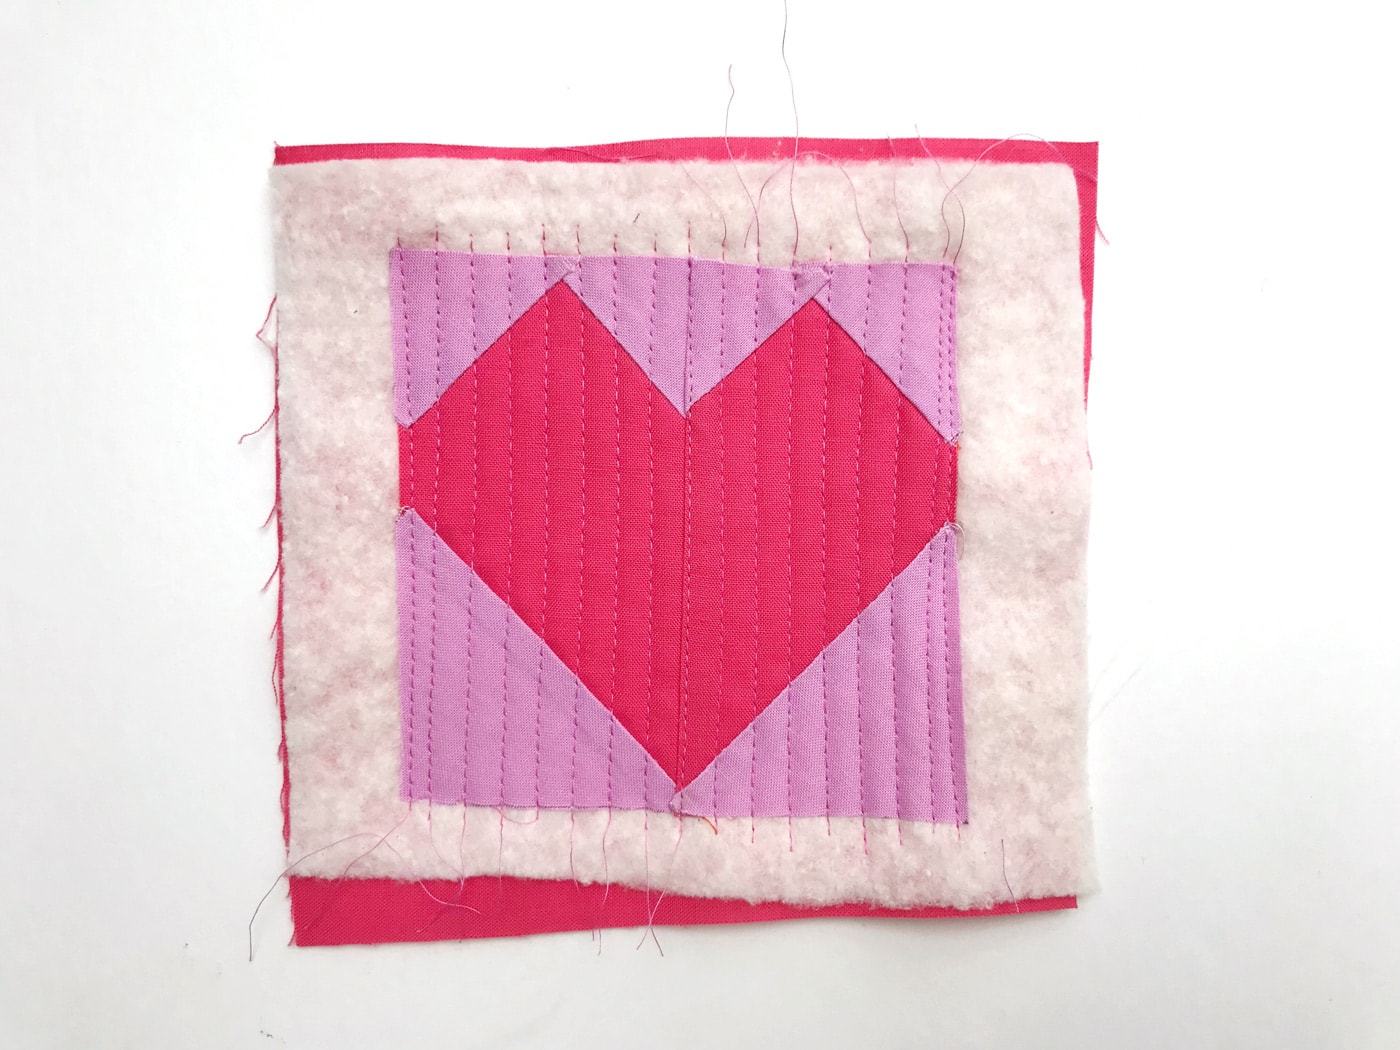
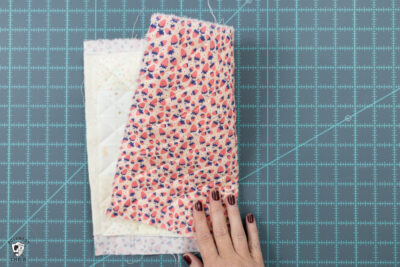
(example of a quilt “sandwich” featuring a quilt block, batting, and backing fabric)
- Make a quilt sandwich by layering your quilt top, batting, and backing fabric. Smooth all layers well and secure them with safety pins, basting spray, or your preferred basting method.
- Attach a walking foot to your sewing machine. A walking foot helps feed all three layers evenly and reduces shifting while quilting.
- Increase your stitch length to approximately 3.0–3.5 mm. Test your stitch length on a fabric scrap before quilting your project.
- Begin quilting near the center of the project and work outward whenever possible. This helps prevent wrinkles and puckers from forming.
- Sew straight, evenly spaced quilting lines using the edge of your walking foot or a guide on your machine to maintain consistent spacing. Quilt as densely or as sparsely as desired, keeping in mind the batting manufacturer’s recommended maximum quilting distance.
Tips:
- Use a quilting or topstitch needle appropriate for your fabric.
- If you’re unsure of the spacing between quilting lines, a 1” grid always looks great!
- If needed, use a quilting glove or Supreme Slider to help the project move smoothly under the needle.
Cutting on the Bias
To cut a fabric strip on the bias, fold the fabric so the selvage edges are at a 45° angle to the fold, or align your ruler’s 45° marking with the fabric’s straight grain. Cut the required width strip across the fabric at this 45° angle. Bias-cut strips have more stretch, making them ideal for curved edges and rounded shapes.

Supplies Required for Stocking
- 1/2 yard Fabric for Stocking Outside
- 1/2 yard Fabric for Stocking Lining
- 1/2 yard fabric for binding and bow
- 1/2 yard white fabric for Quilted backing – this is not the lining fabric and does not show on the completed project.
- Quilt Batting
Quilted Bow Stocking Sewing Pattern
Equipment
supplies
- 1/2 yard Fabric for Stocking Outside
- 1/2 yard Fabric for Stocking Lining
- 1/2 yard Fabric for Binding and Bow
- 1/2 yard Fabric for Quilted backing This is not the lining fabric and does not show on the completed project.
- 1/2 yard 1/4 wide ribbon for hanging loop
- Quilt Batting
Instructions
- Note: the instructions are the same for all 3 sizes of stockings.Finished Sizes:Small: Approx 13" TallMedium: Approx 15" TallLarge: Approx 17" Tall
- Print out the pattern for the stockings. Tape the pieces together as shown.Trace the size of stocking you want onto a piece of tissue paper to use as a pattern piece.


Step One: Quilting
- Using the machine quilting instructions above, create 2 quilted rectangles in the sizes noted below. One “quilt sandwich” should contain: Stocking front fabric, batting, and quilt backing (NOT the lining fabric); the second one should contain: Stocking Back Fabric, batting, and quilt backing (again, this is not the lining fabric)Note: photo is from another project, just to give you an idea of what a "quilt sandwich" looks like

- Rectangle Sizes: Small: 13” x 16” Medium: 15” x 18” Large: 17” x 20”
Step Two: Cut
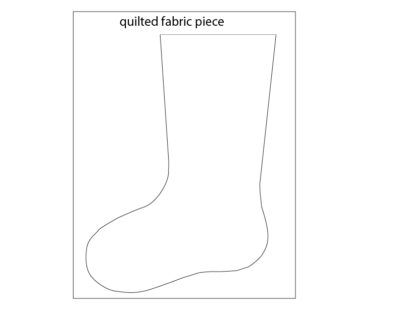
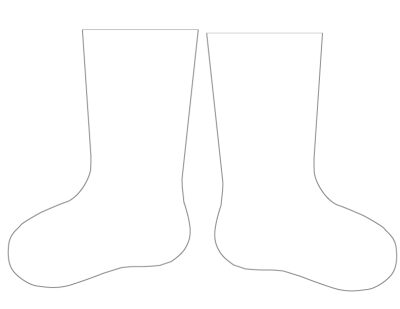
- After quilting, using the stocking template as a guide, cut out a stocking front and back piece from the quilted rectangles.
- Remember to flip the pattern piece over to cut out one of the pieces.
Step Three: Sew
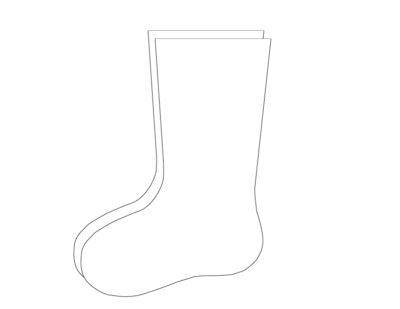
- Sew the two quilted stocking pieces together, right sides facing, with a 1/4” seam allowance. Clip the seams or use pinking shears around the rounded portions of the stocking toe and heel.
- Turn the stocking right side out and set aside.
Step Four: Lining
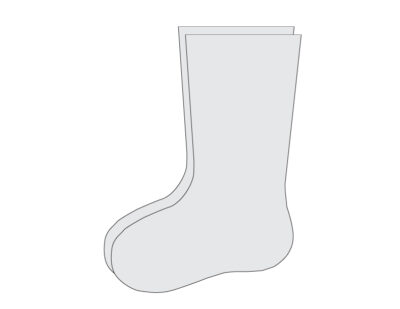
- Cut out two stocking lining pieces using the same stocking pattern piece. Sew them together right sides facing, with a generous 1/4” -3/8” seam allowance. The extra seam allowance will help the lining fit into the quilted stocking pieces.
- Slip the stocking lining into the sewn stocking piece and align the top right edges. Baste the top edge together to hold the layers in place.
Step Five: Binding
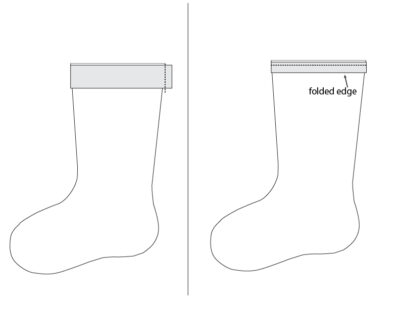
- Cut one 2″ × WOF strip of binding fabric. Trim the strip to the length needed for your stocking opening, and sew the two ends together to make a loop.
- Fold the binding strip in half lengthwise with the wrong sides together and press.
- With the raw edges aligned, pin the folded binding to the right side of the quilted stocking front, matching the raw edge of the binding to the raw top edge of the stocking.
- Stitch the binding in place using a 1/4” seam allowance.
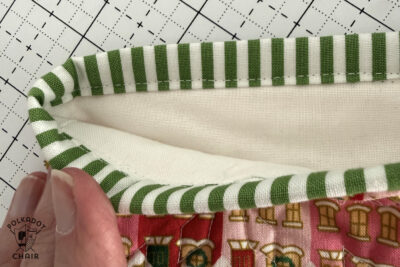
- Wrap the folded binding over the raw edge to the back of the stocking. The folded edge should cover the stitching line.
- Secure the binding with clips or pins, then stitch in the ditch from the right side of the stocking, catching the folded edge of the binding on the back. Alternatively, hand-stitch the binding to the back using a blind stitch for an invisible finish.
Step Six: Bow
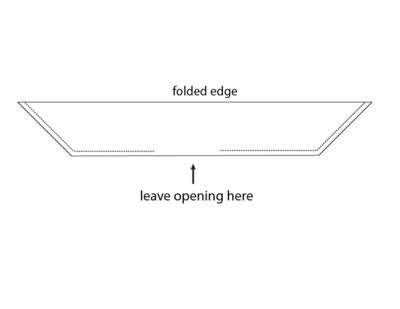
- Cut a piece of fabric 4 1/2" on the bias. Small: 4 1/2" x 30"Medium: 4 1/2" x 35"Large: 4 1/2" x 39"Fold in half lengthwise, right sides facing. Cut each end of the piece at a 45-degree angle. Sew around the perimeter of the piece, leaving a 2” opening in the center.
- Turn the piece right side out through the opening, and press well. Hand stitch the opening closed.
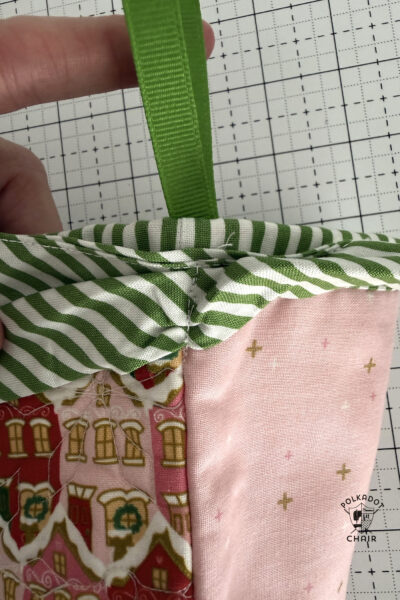
- Pinch the center of the bow piece so that it’s about 1” wide and stitch in place. Sew the center of the bow piece to the stocking along the side seam where the binding meets the stocking.

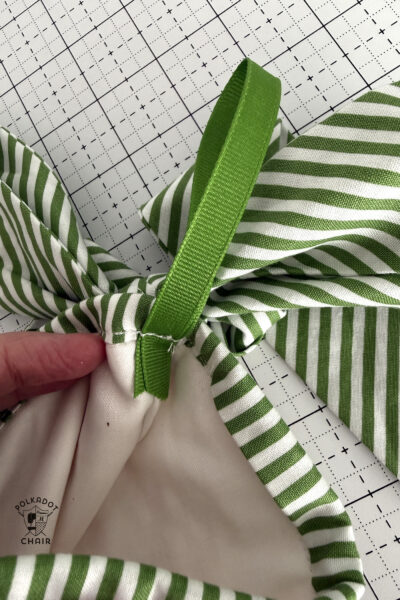
- Cut a piece of ribbon to 8” long. Loop the ends of the ribbon together and place them at the top of the stocking, on the inside of the stocking, at the side seam. Stitch in place.
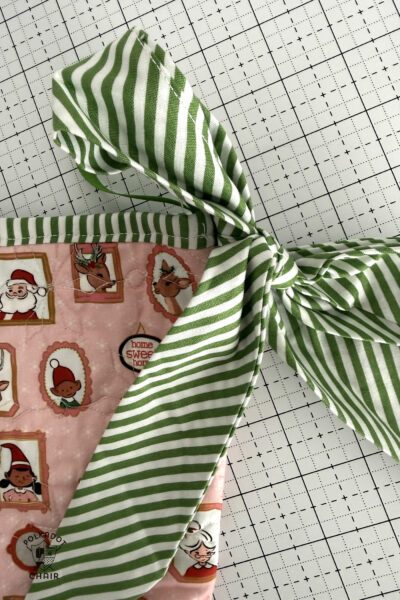
- To finish the stocking, simply tie the bow.
I printed out the template for the Christmas stocking and it looks pretty large. Is there a smaller version?