Easy DIY Leather Christmas Ornaments
If you’re someone like me who loves to “Make all the things” then you’re going to love today’s tutorial. Melissa from Made by Melli is back with us sharing this tutorial for these adorable DIY Leather Christmas Ornaments. If you like this project you may also like this Cat Embroidery Hoop Christmas Ornament Tutorial.
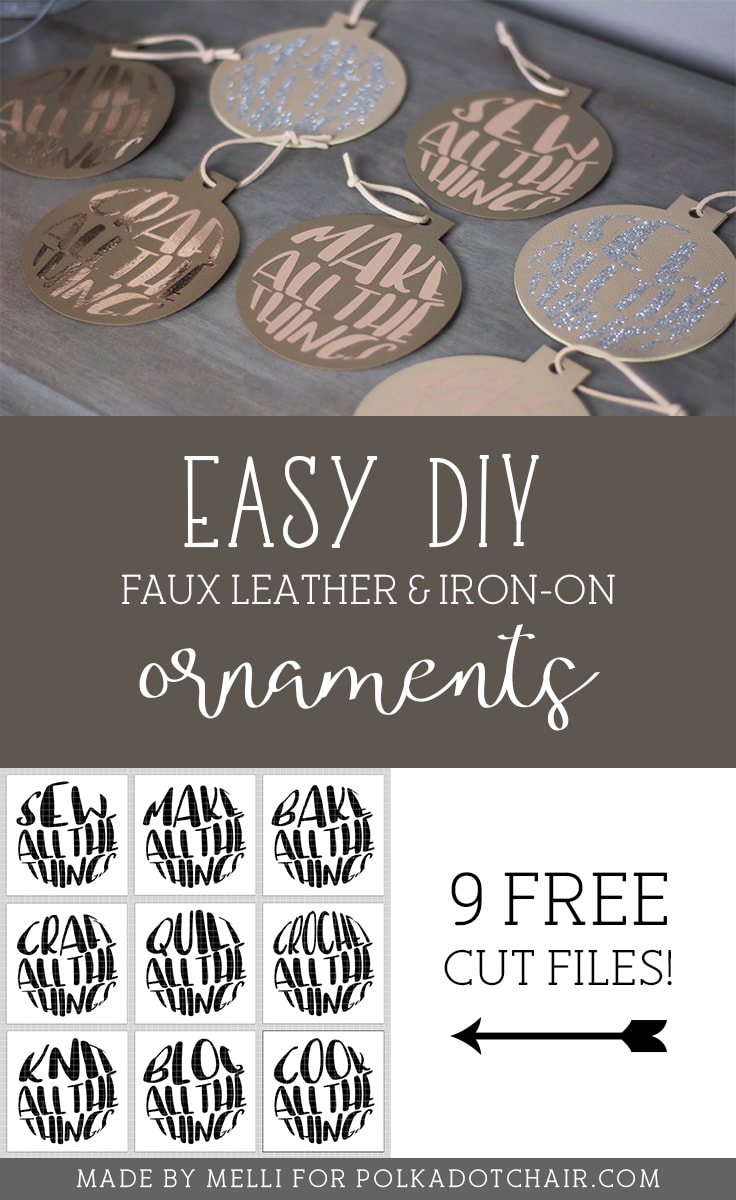
Gift-giving is one of my favorite parts of the Holiday season, and I really love giving personalized gifts! There’s something about giving a perfectly tailor-made gift for the recipient – it’s thoughtful and (almost) always appreciated.
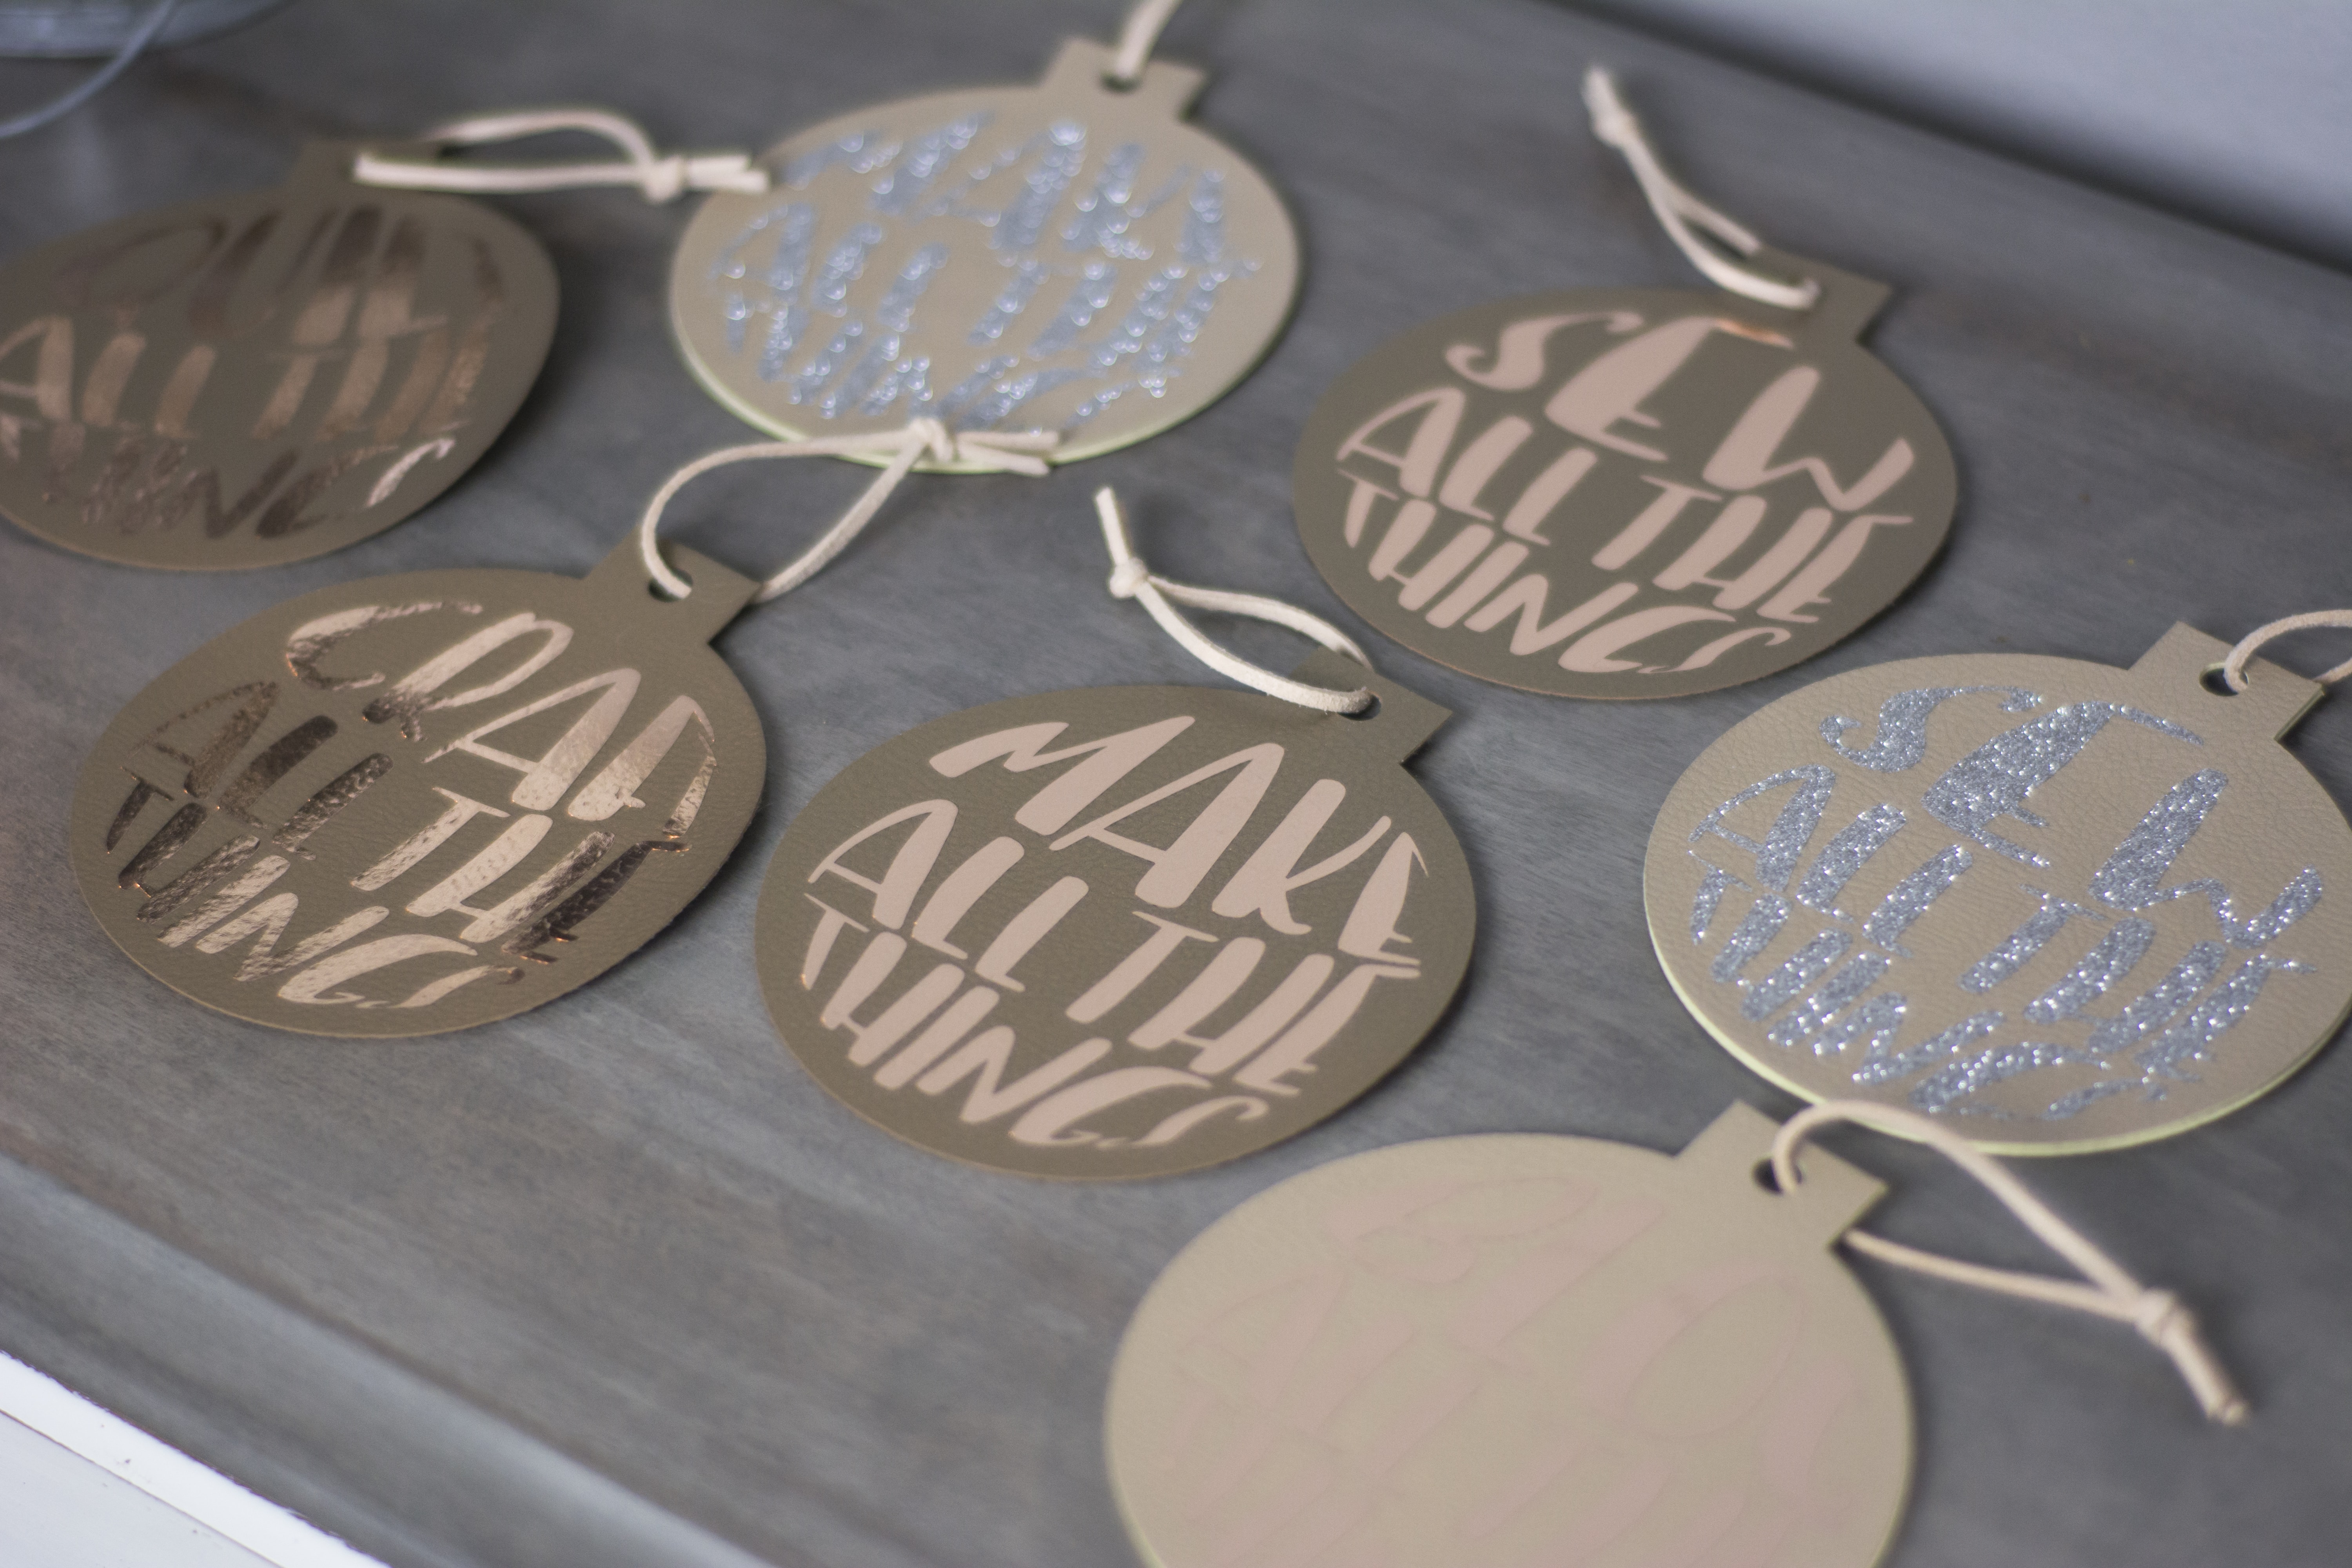
My friends & family love to do “all the things”, so I created customized leather Christmas ornaments based on their crafts of choice (or “craft” in general for those who do it all – you know who you are!). I adore how these ornaments turned out, and they come together pretty quickly. Let’s get started!
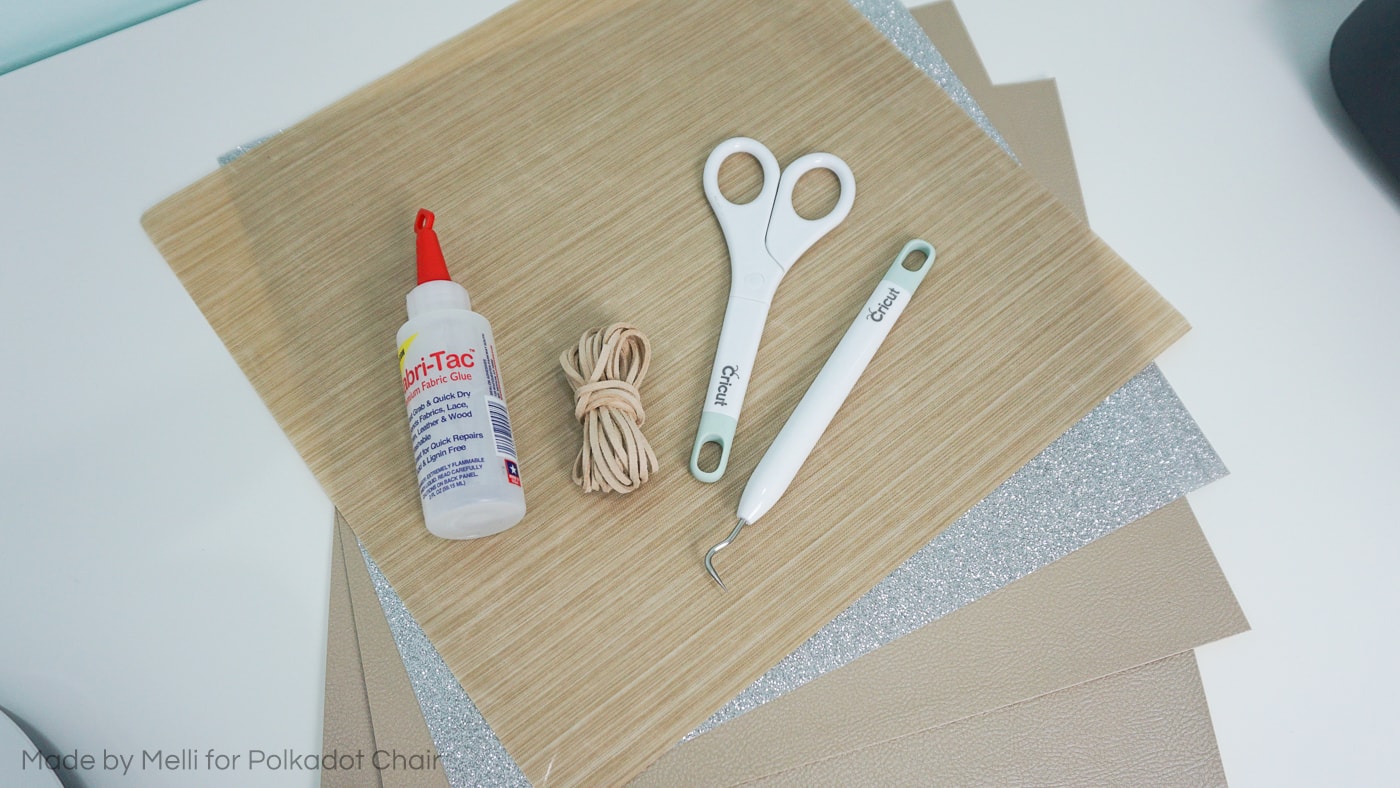
Here’s what we need for this project:
- Faux Leather
- Iron-on Vinyl (I used Foil & Glitter)
- Suede Cord (I got mine here) or Ribbon/String
- Fabri-Tac Glue
- Scissors
- Weeding Tool
- Cutting Machine (I used my Cricut Maker)
- Cricut EasyPress or Iron
- Teflon Pressing Sheet
Instructions:
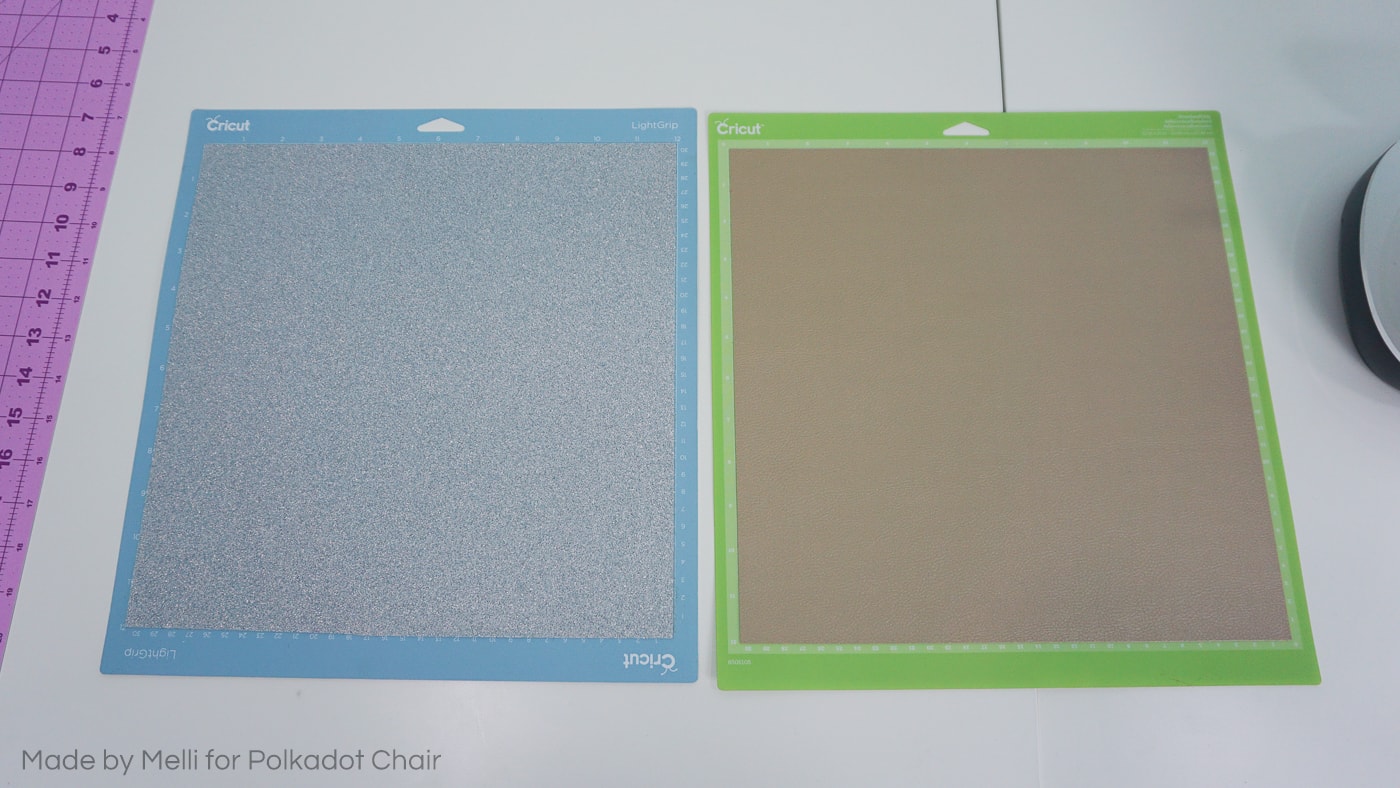
Use your cutting machine to cut the ornament shapes from the Faux Leather, and the wording designs from the iron-on. Be sure to mirror the wording designs! Cut 2 ornament shapes per 1 ornament (front & back).
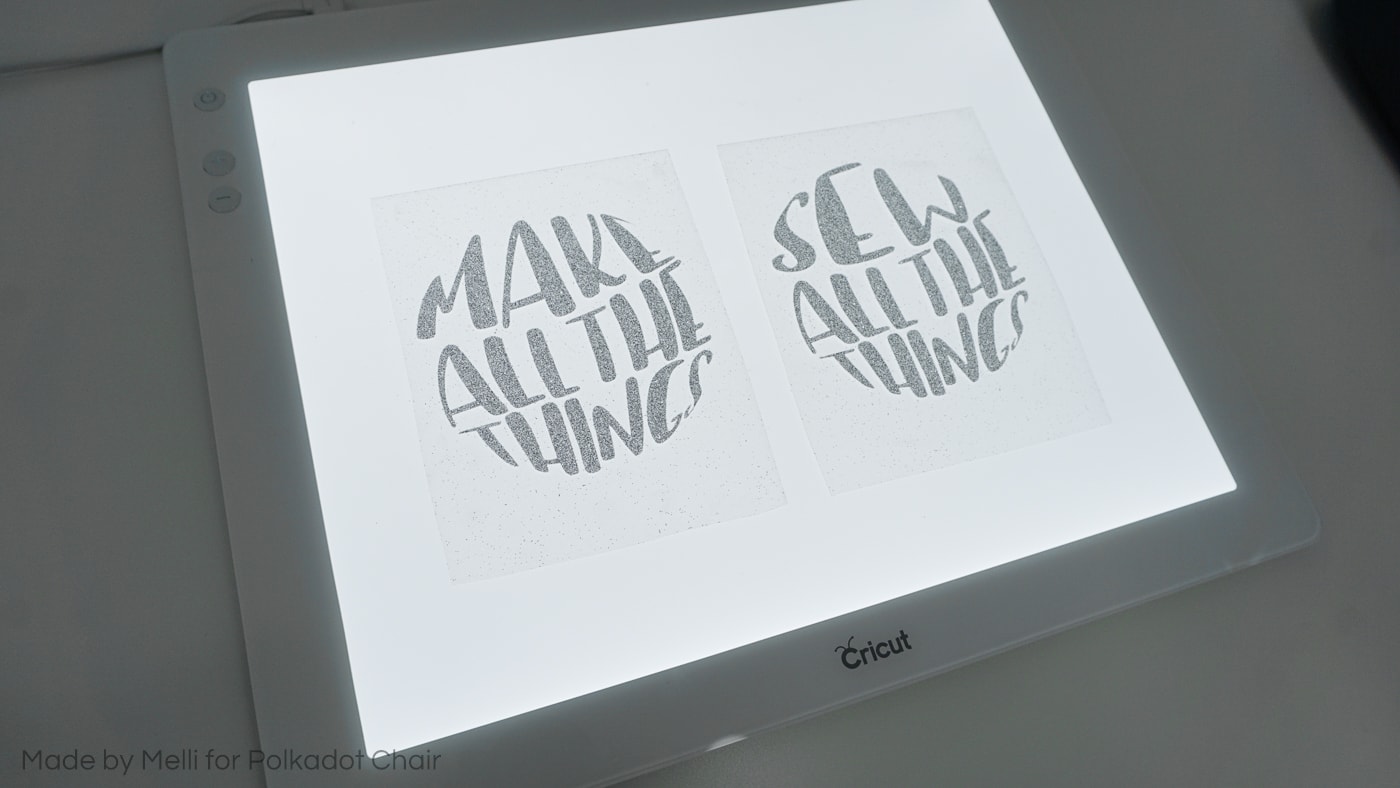
Weed your iron-on designs.
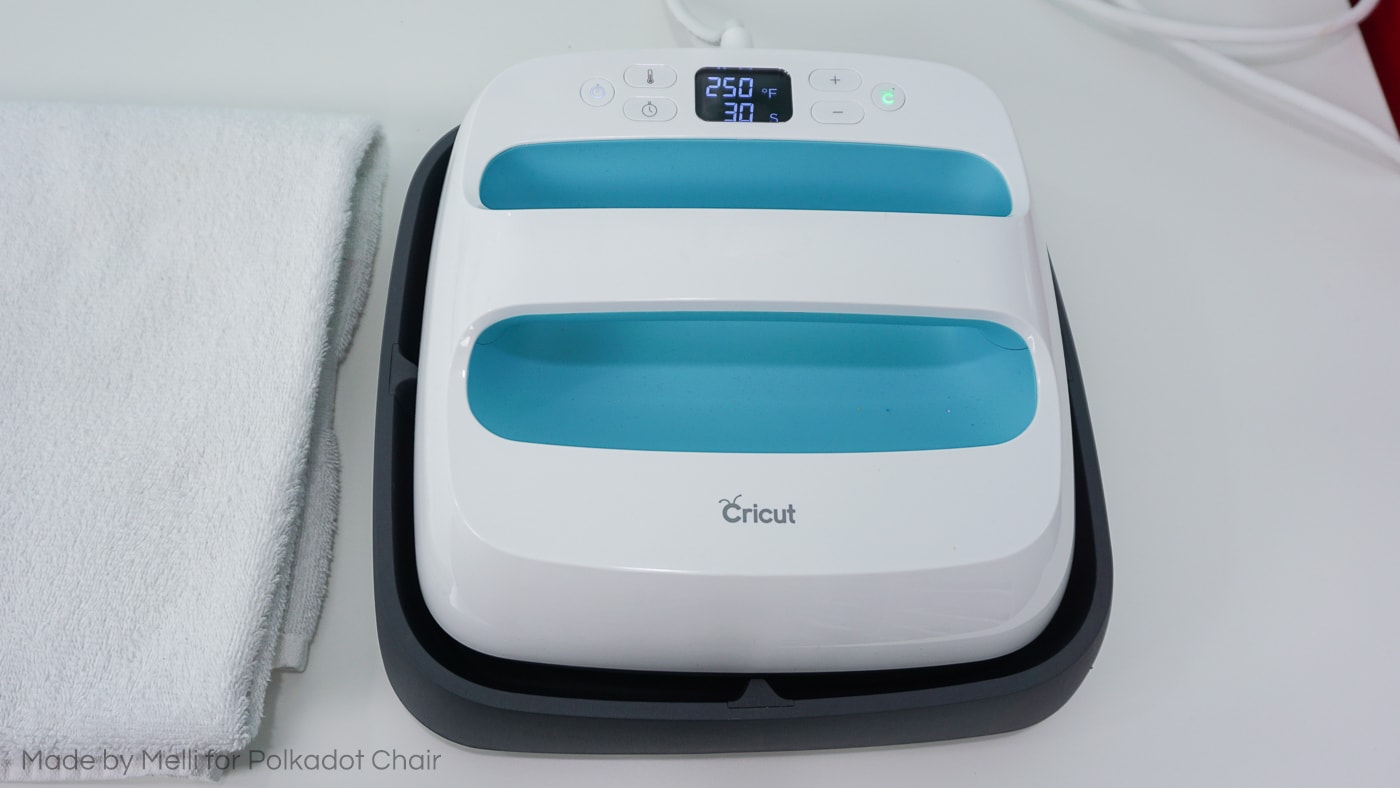
Check the EasyPress Quick Reference Guide to determine the time & temperature for the materials you’re using. For glitter iron-on on Cricut Faux Leather, it’s 250° for 30 seconds.
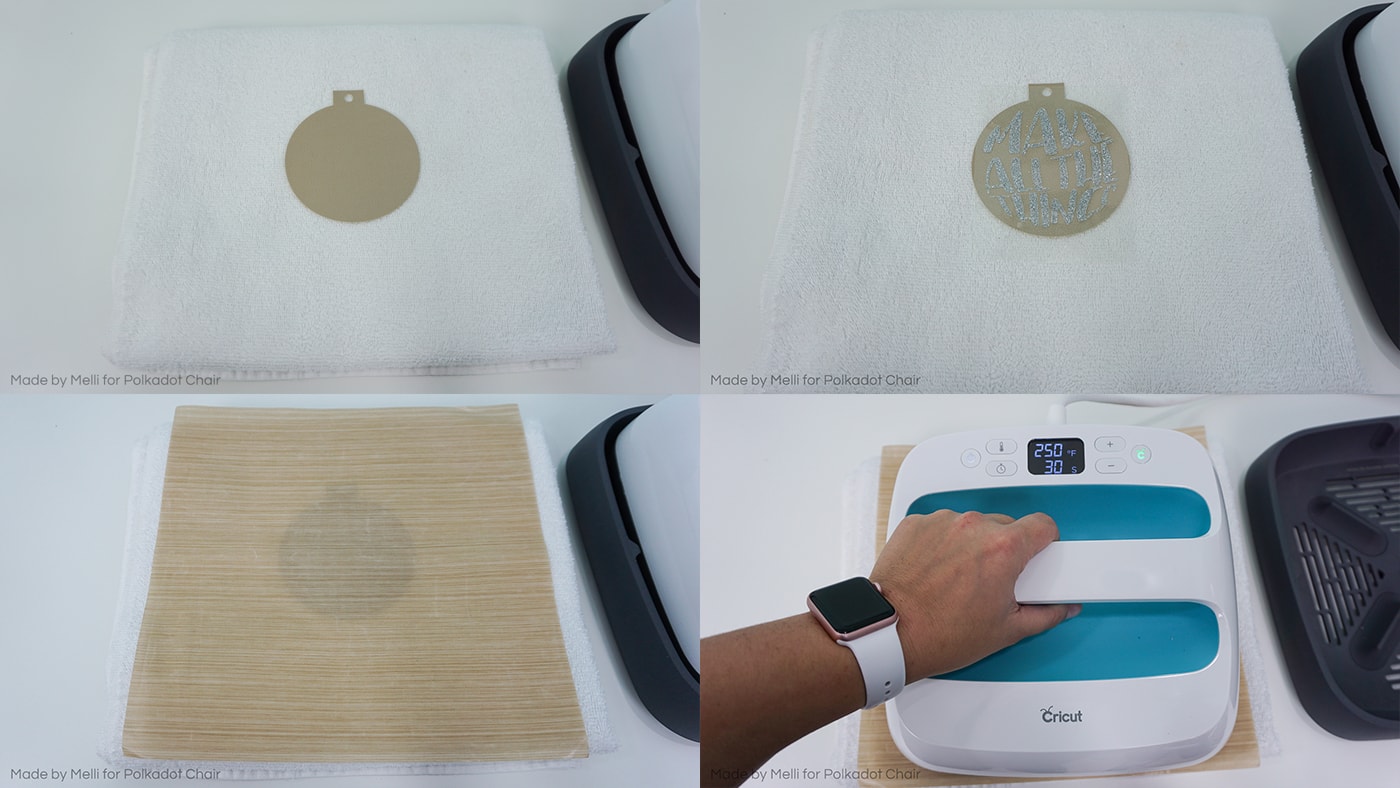
Now we are going to press the Iron-On material to the faux leather. Place your Faux leather right side up, then place the weeded iron-on design with the sticky side of the plastic carrier sheet down. Place the Teflon sheet on top to protect your faux leather, and press for the recommended time based on your materials.
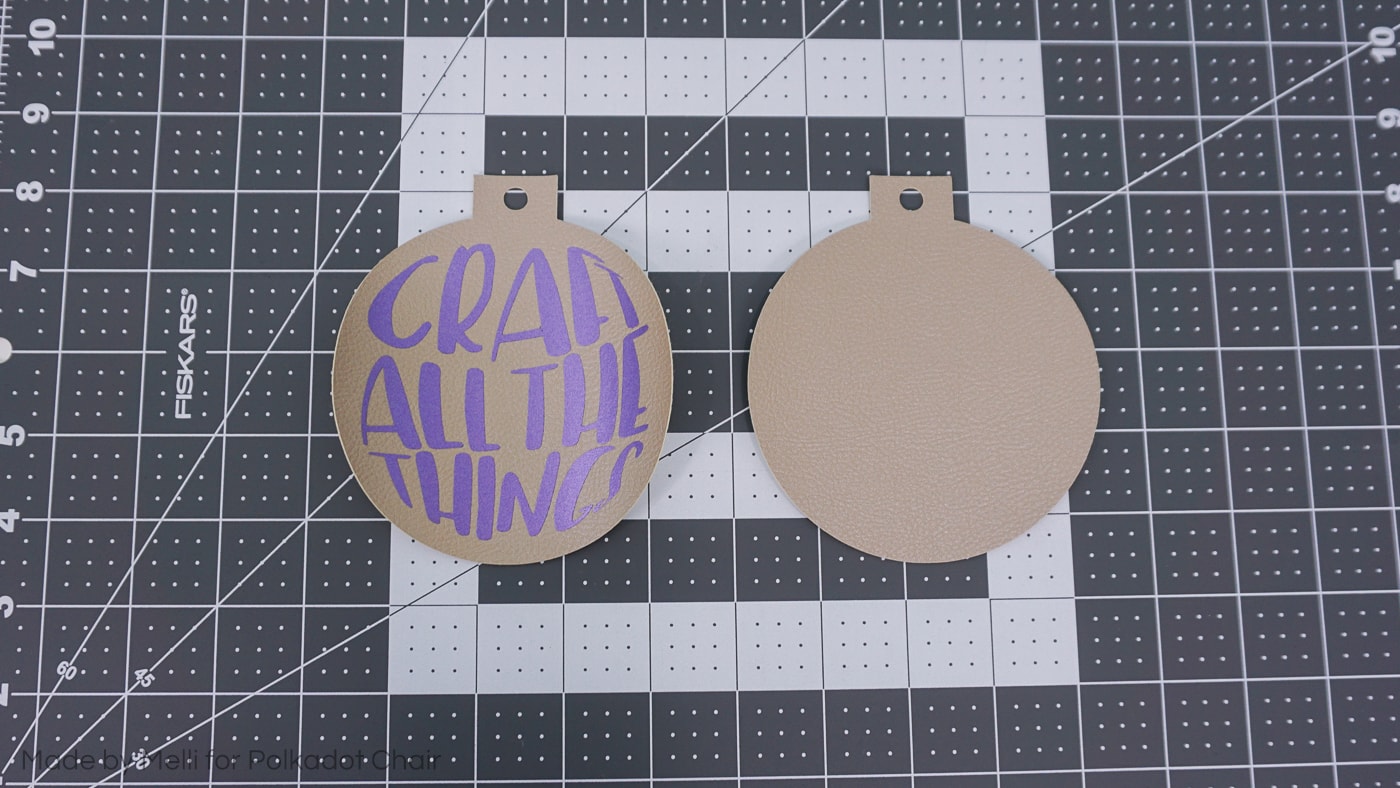
We will now glue 2 faux leather ornaments together so the ornament is nice and finished on both sides! Optional idea – you could further personalize the ornament by adding the recipient’s name & the year on the back of the ornament.
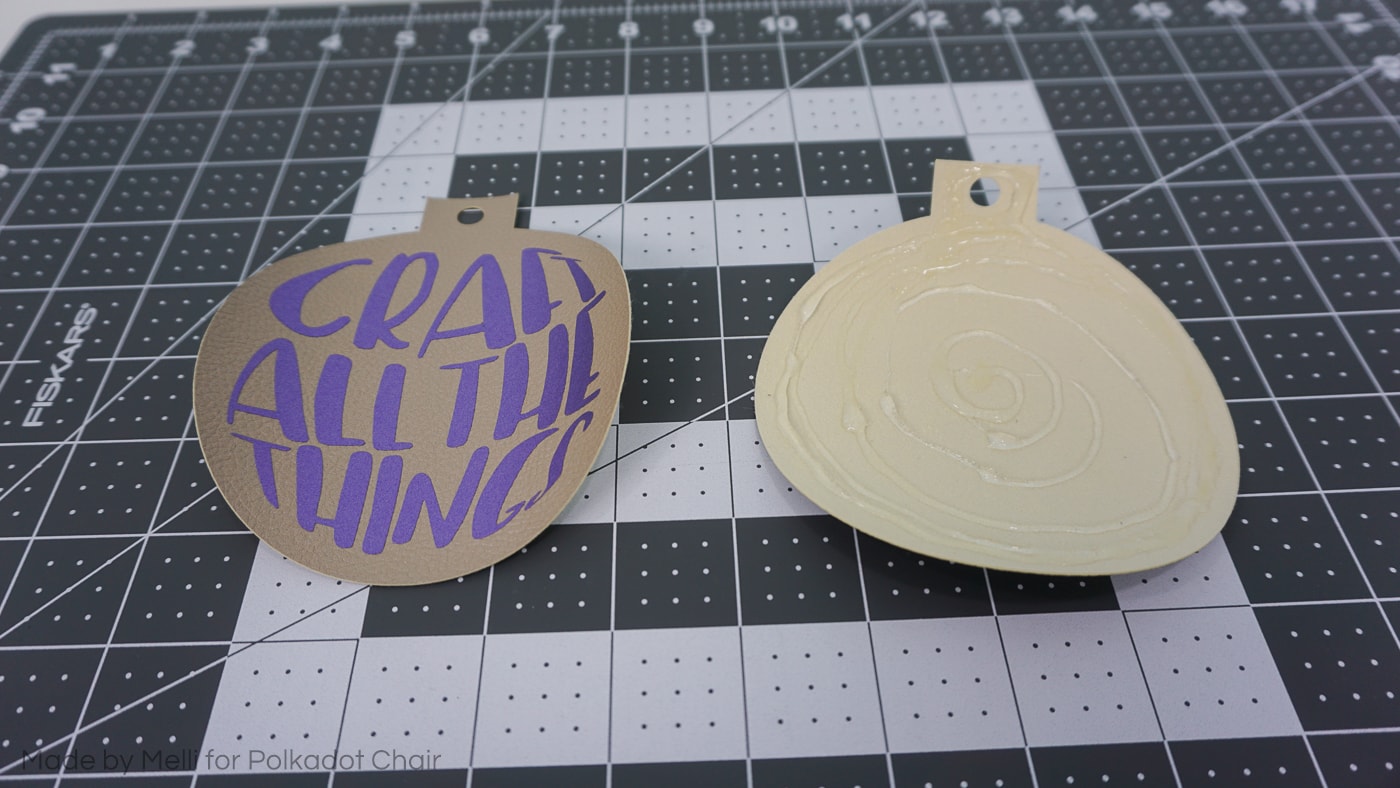
Apply the Fabri-Tac glue to the wrong side of the back of the ornament.
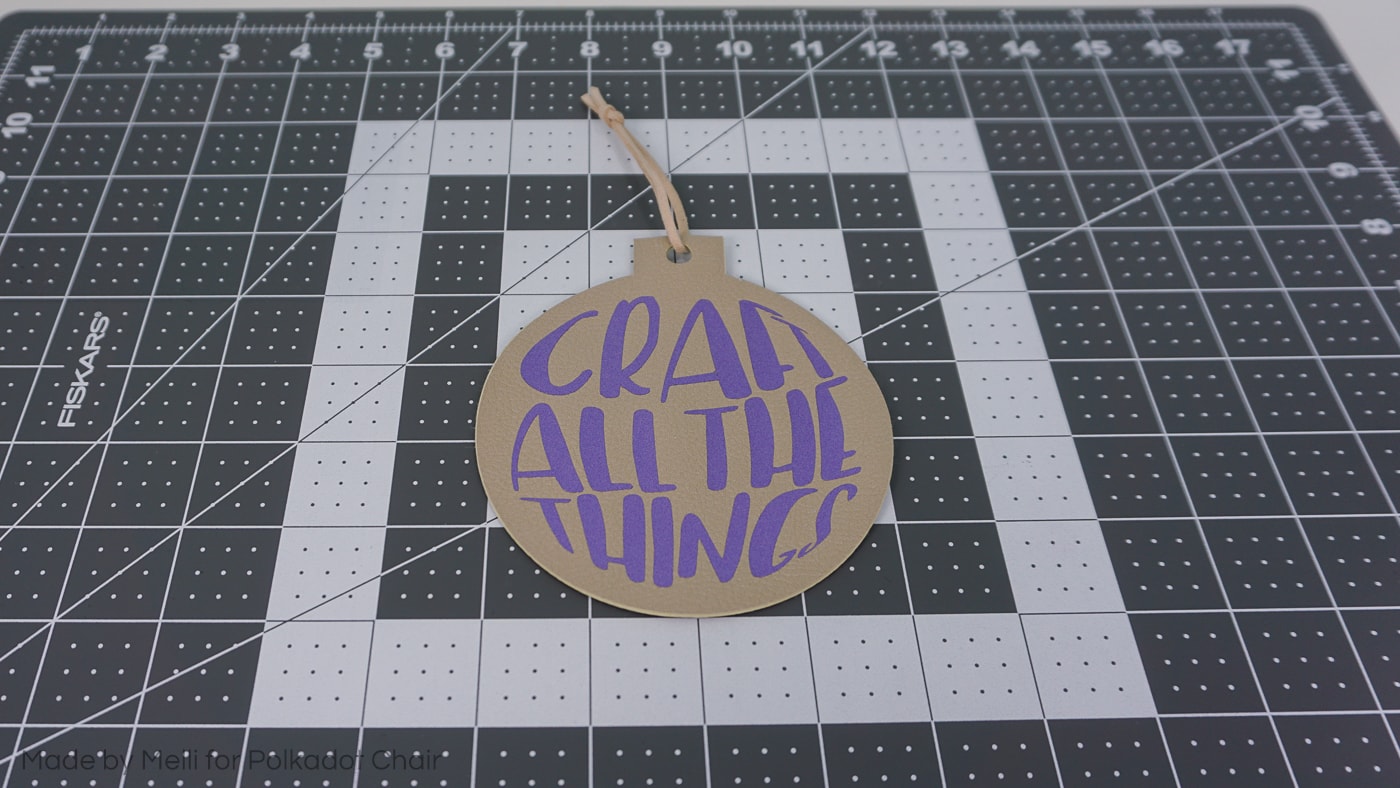
Place the front of the ornament on the back. Cut about an 8″ length of suede cord or string, thread it through the hole in the ornament, and tie a knot at the top. Our ornament is all finished and ready to be given as the perfect gift!

I hope you enjoy creating these ornaments for those people in your life who love to “do all the things”!
About the Maker:

Hi! I’m Melissa of Made by Melli. By day, I’m a stay-at-home wife & mom to 3. Once the kids are in bed, I let my creativity out – usually in the form of sewing & crafting. Sewing has helped me through my journey of finding and staying true to myself in the midst of (never-ending) mom, wife, and household duties, and helps keep me sane. Being able to create something gives me a sense of joy and satisfaction, and I hope to share that with you!
Other Great Projects on Made by Melli:
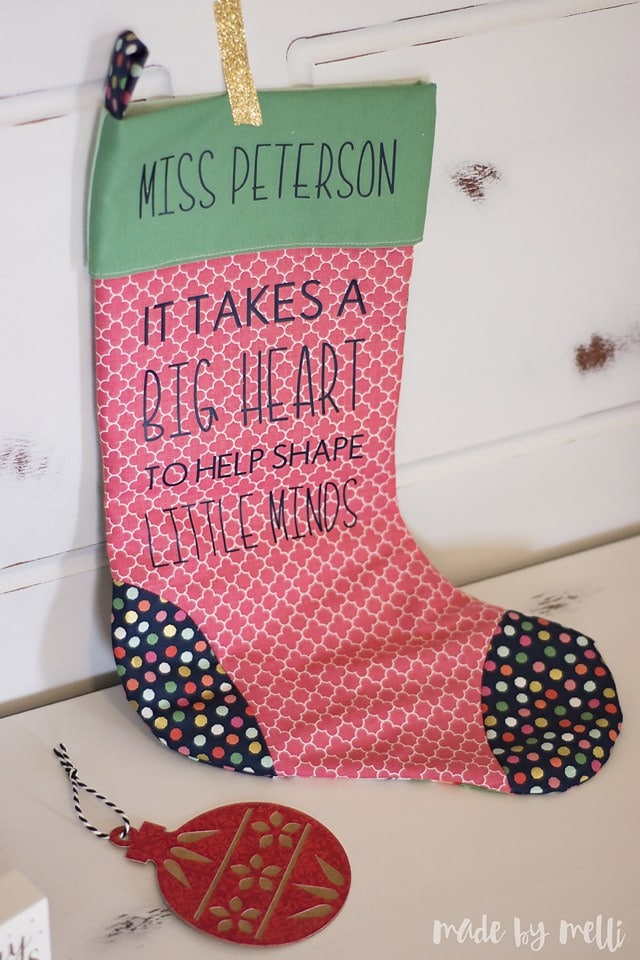
DIY Christmas Stocking Teacher Gifts
DIY Faux Leather Bows
Ballet Bag Tutorial with Free Cut Files

