Flamingo and Peacock Free Embroidery Pattern
Jessica from Cutesy Crafts is sharing a gorgeous free embroidery pattern that contains a great message. If you like this project, you may also like this Gratitude Embroidery Pattern.
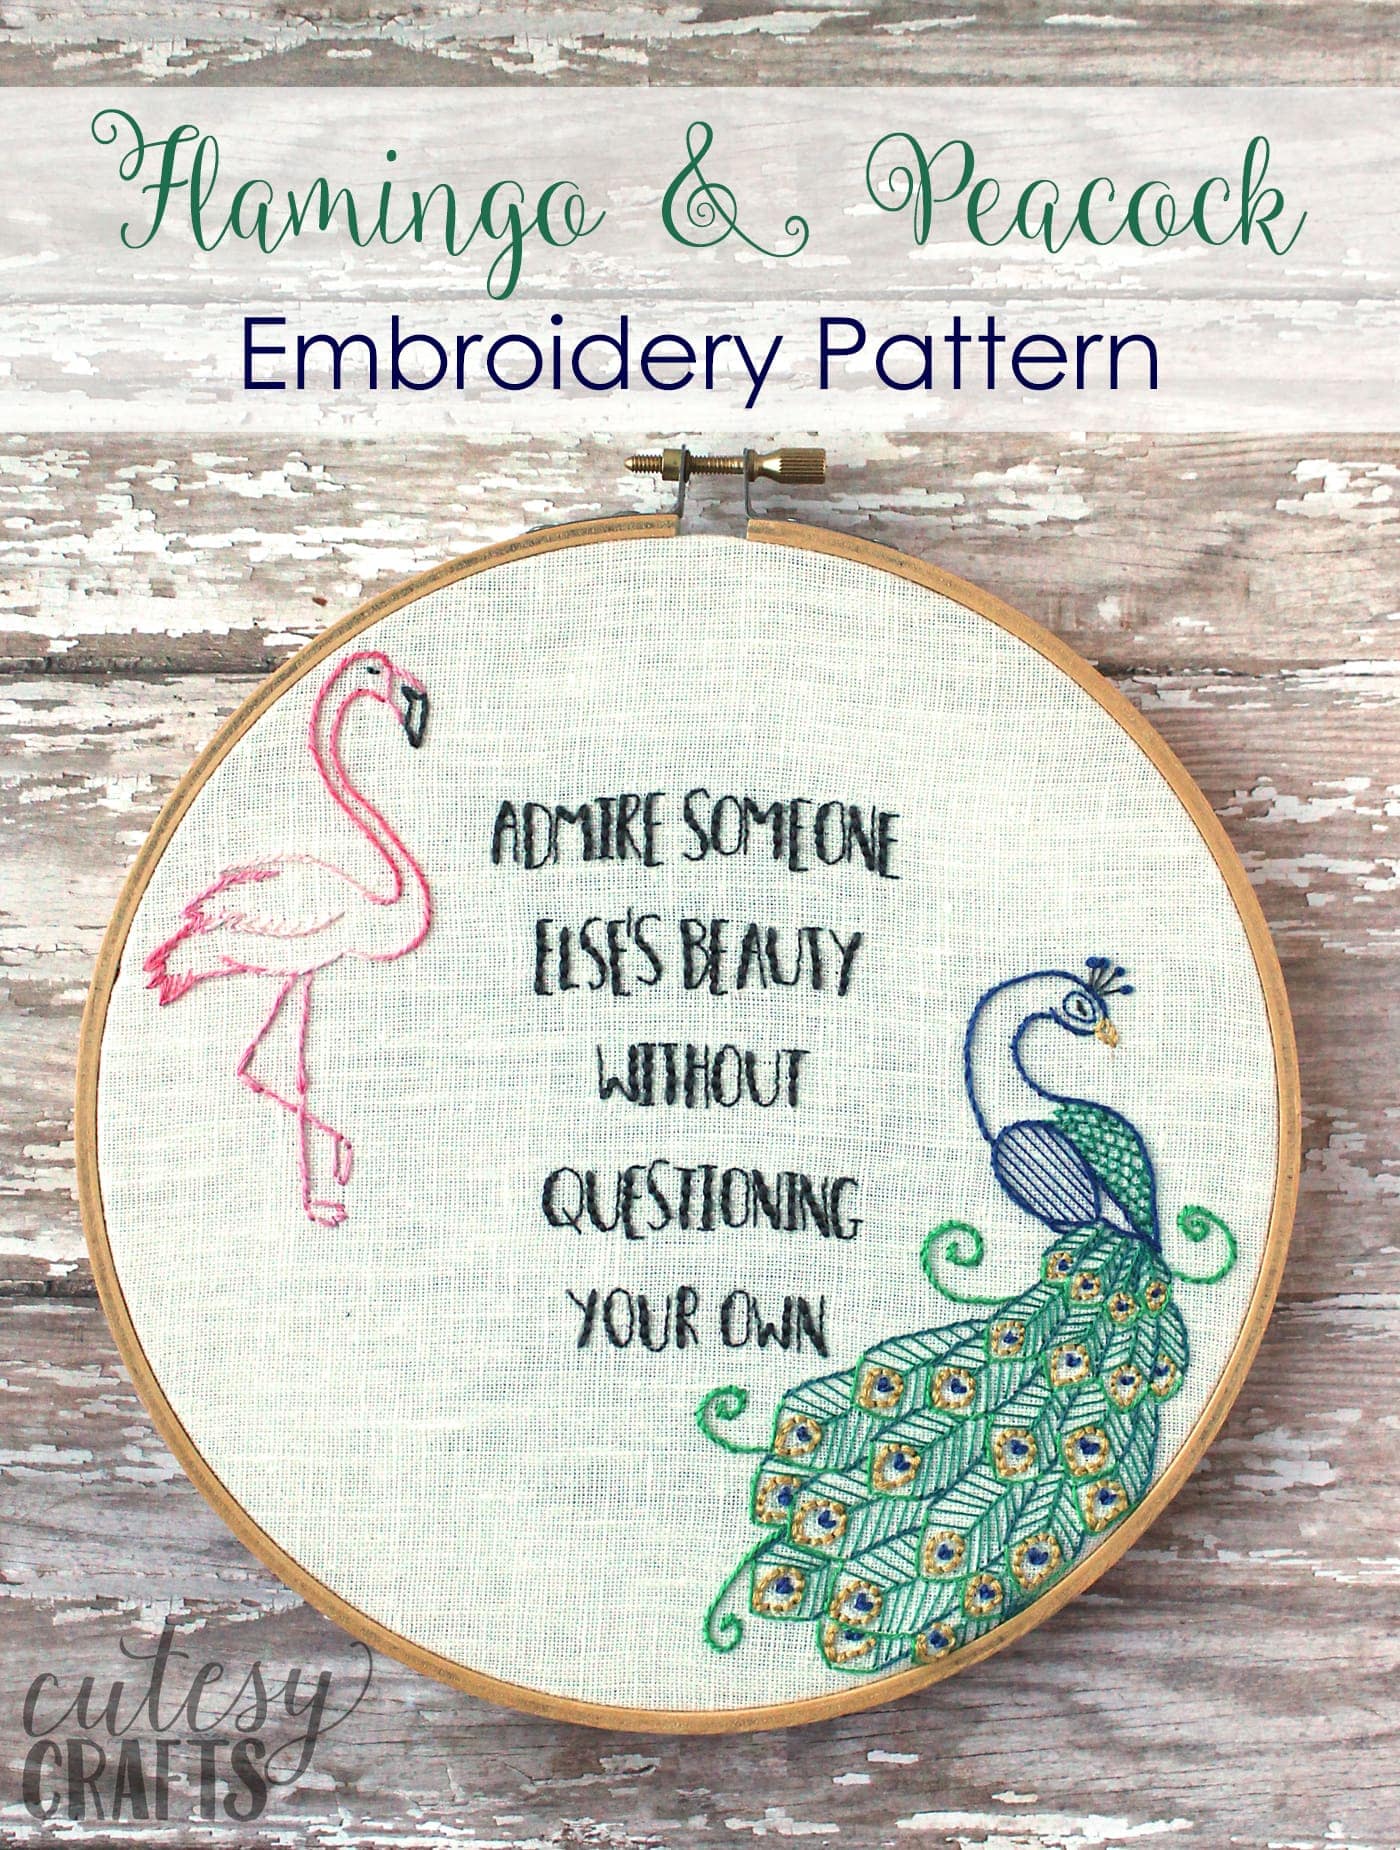
I don’t know about you, but even when I’m trying hard not to, I sometimes get caught up in the “compare” game.
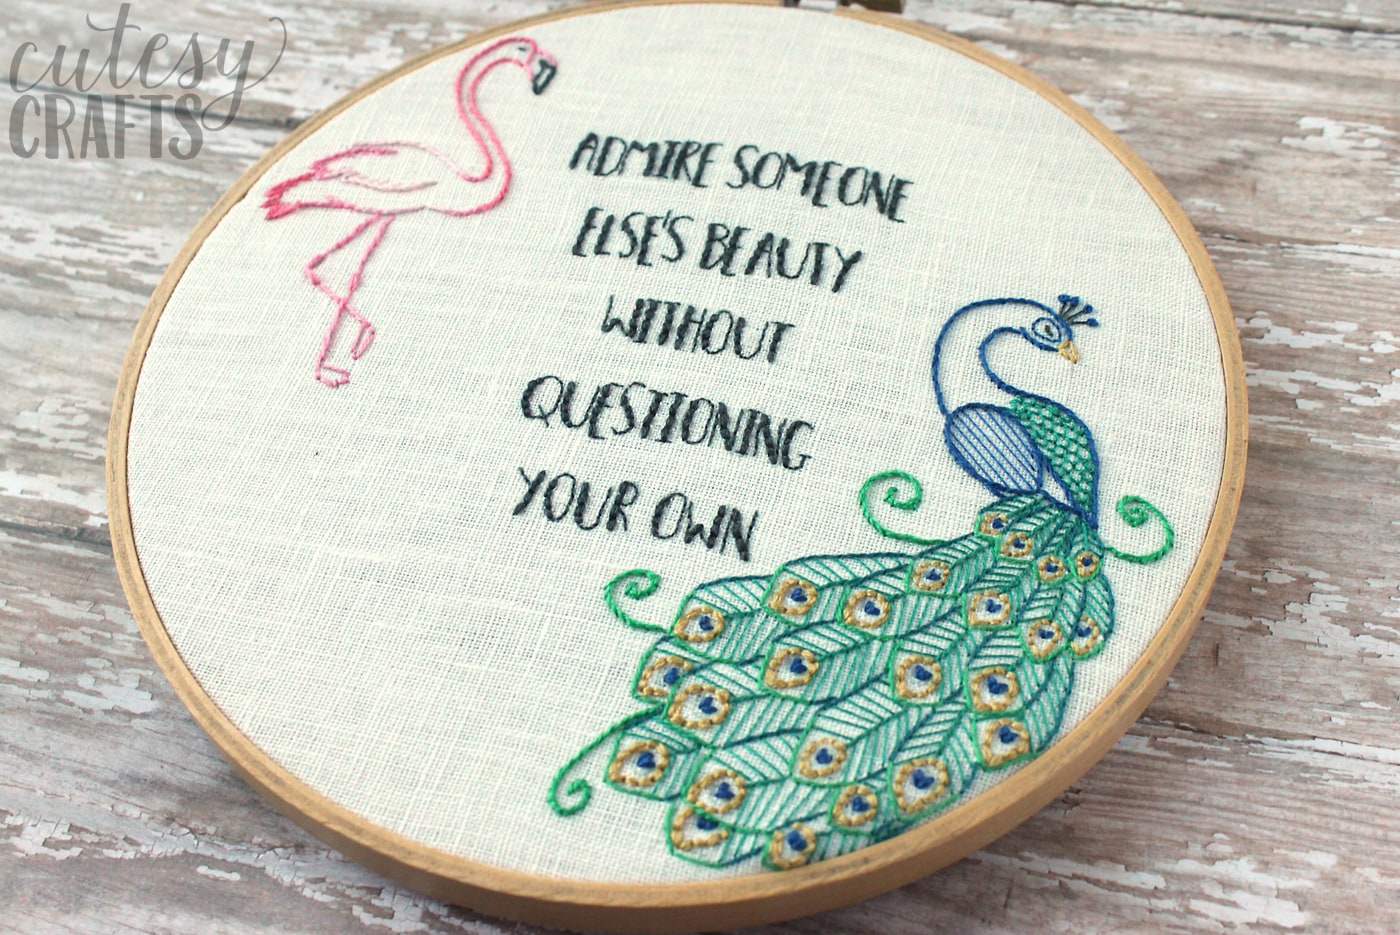
I was browsing social media when I came across a graphic with a flamingo and a peacock saying, “Admire someone else’s beauty without questioning your own.” It really inspired me. No one doubts that a flamingo and peacock are beautiful, but they are stunning in completely different ways.
Without questioning your own, you can be happy for someone else’s beauty, creativity, parenting skills… whatever it is. It’s a great reminder to try and be genuinely happy for others.
Unfortunately, I don’t know where the quote originated, and the graphic has been redone many times; otherwise, I’d love to give someone credit. I’m sharing my version with you in this flamingo and peacock embroidery hoop. I love how it turned out, and I’m excited to give you the free embroidery pattern today!
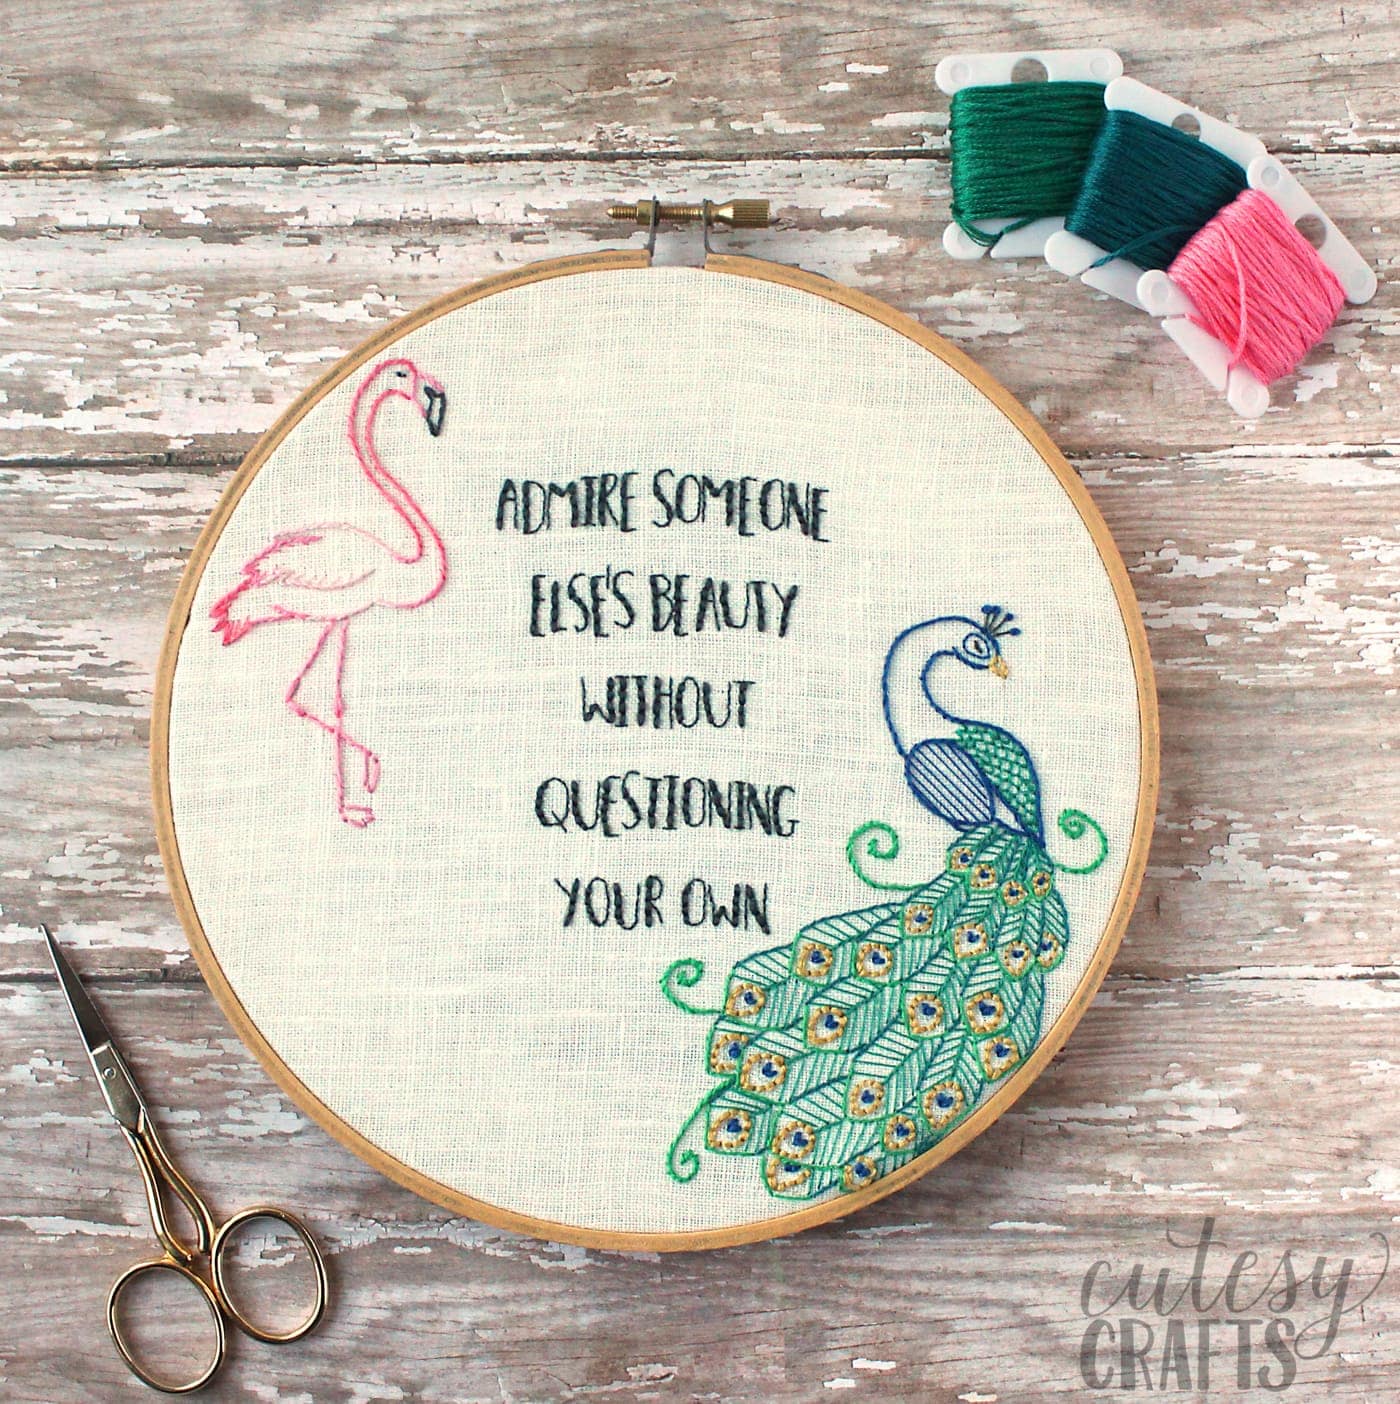
Project Supplies
To make this flamingo and peacock embroidery hoop, you’ll need:
- Flamingo and Peacock Embroidery Pattern- instructions to download included below.
- 7-inch embroidery hoop
- white linen fabric
- embroidery floss (DMC colors: 3799, 834, 911, 991, 3808, 824, 963, 894, and 3706)
- dressmaker’s carbon paper for tracing (optional)
- felt for backing (optional)
How to Get the Printable
Fill out this form, and we will email you the PDF of the embroidery pattern. You will still need to read the directions on this page to finish your project.
Embroidery Instructions
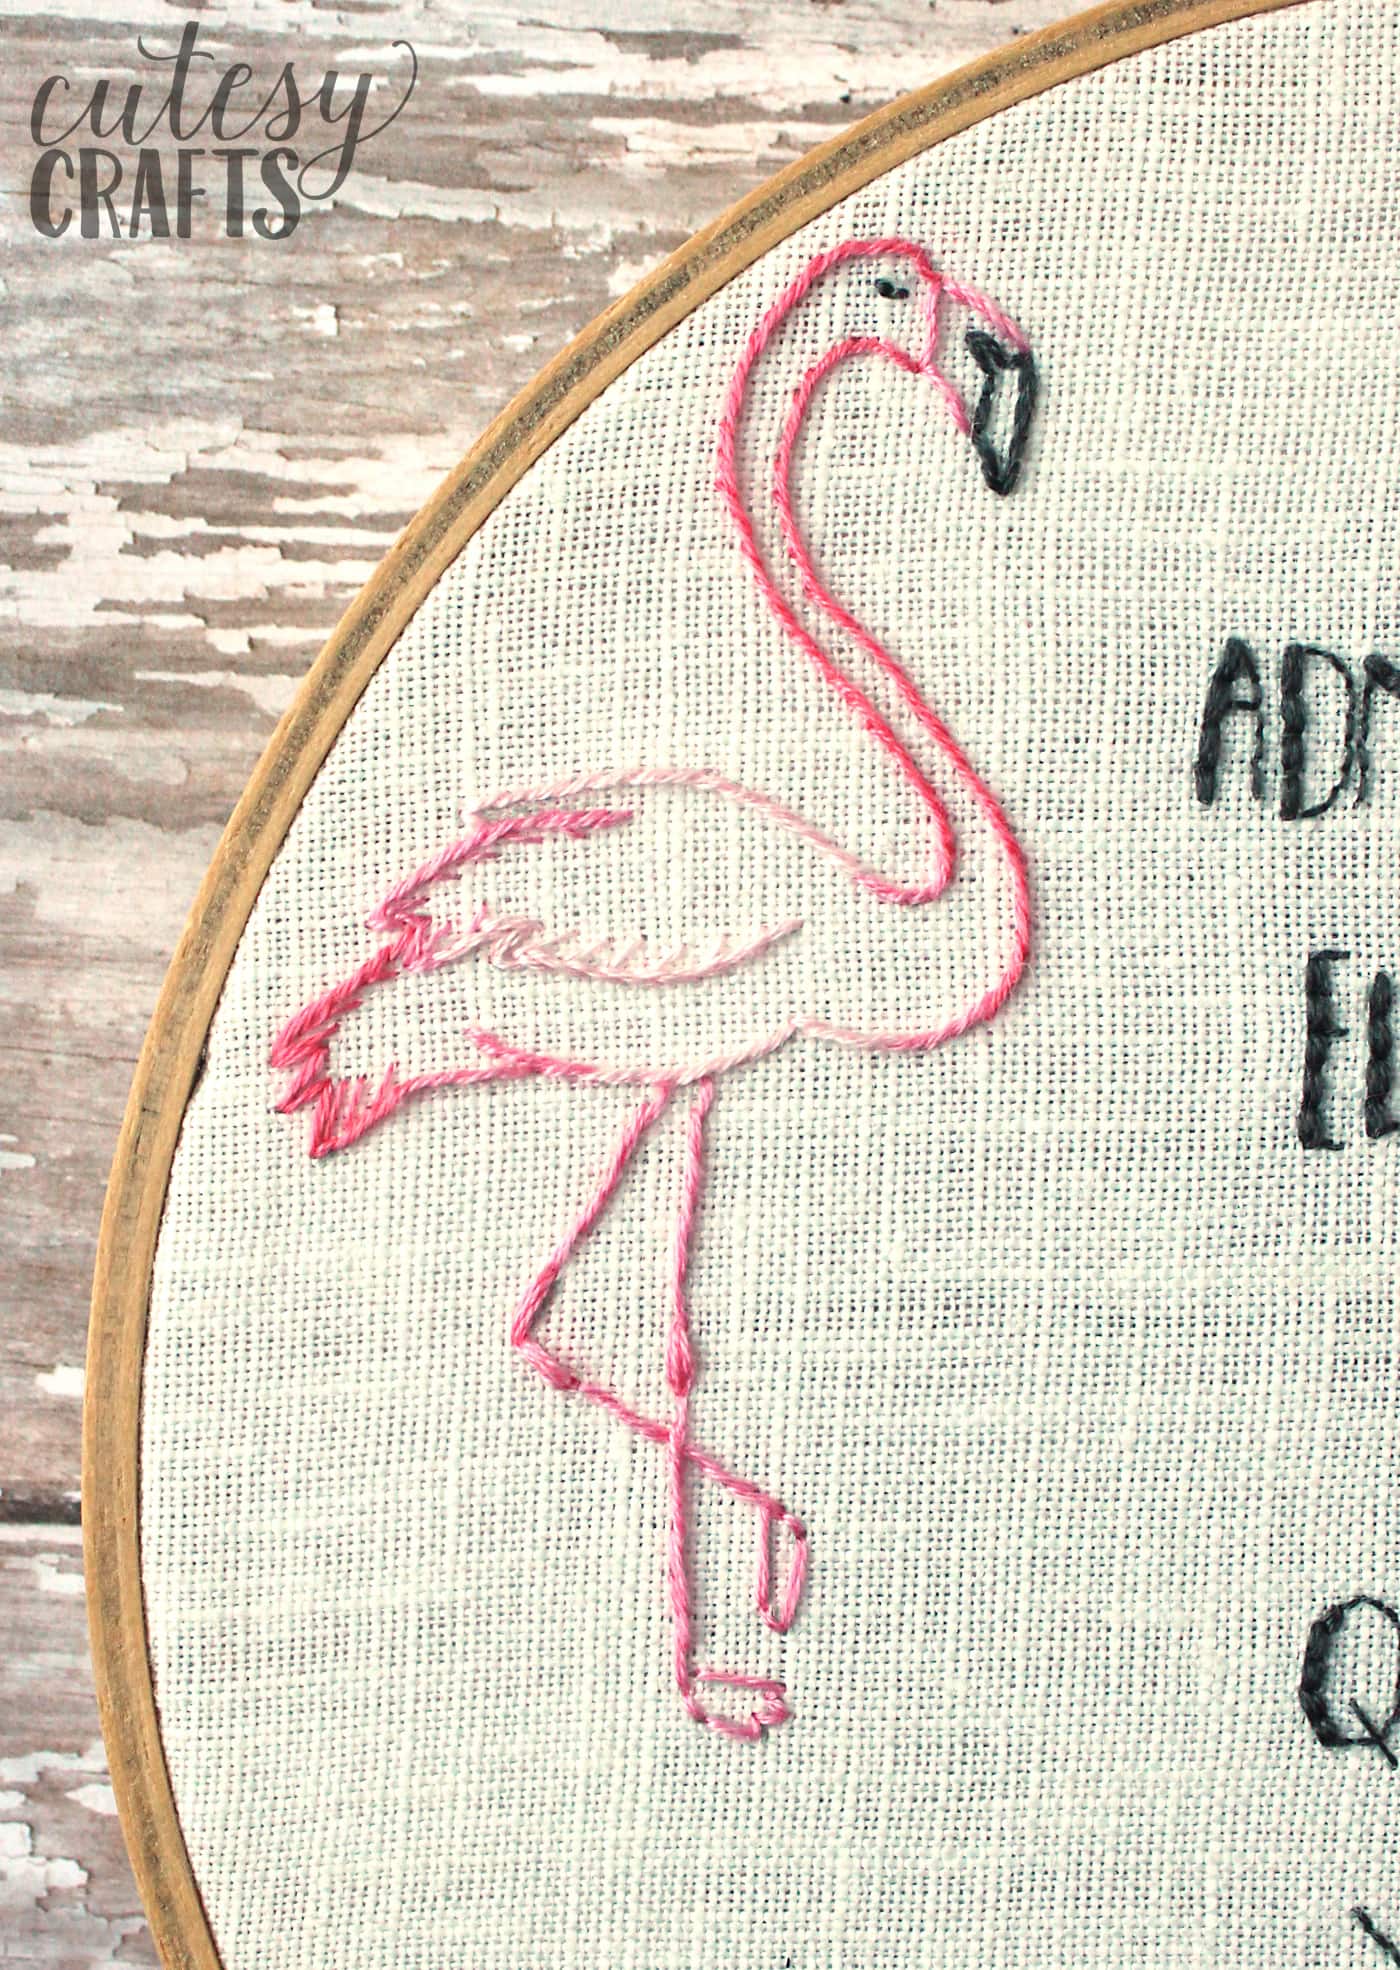
The flamingo was the easiest part of the hoop. The body is just a stem stitch, and I changed thread colors at different parts using dark, medium, and light-colored pink floss. I noted on the pattern where to make the color changes.
Just remember that the dark and light pinks always have a medium pink in between them.
The peacock is a little more difficult, but you can add as much or as little of the details as you want.
I use a lot of single strands of floss, which makes it hard to tie knots in the end. You could try some knot-free methods for securing the thread, which would probably help.
I might have broken some kind of embroidery “rule” using one strand of floss, but I really wanted the feathers and other parts to be more delicate. It was all worth it because I love how he turned out.
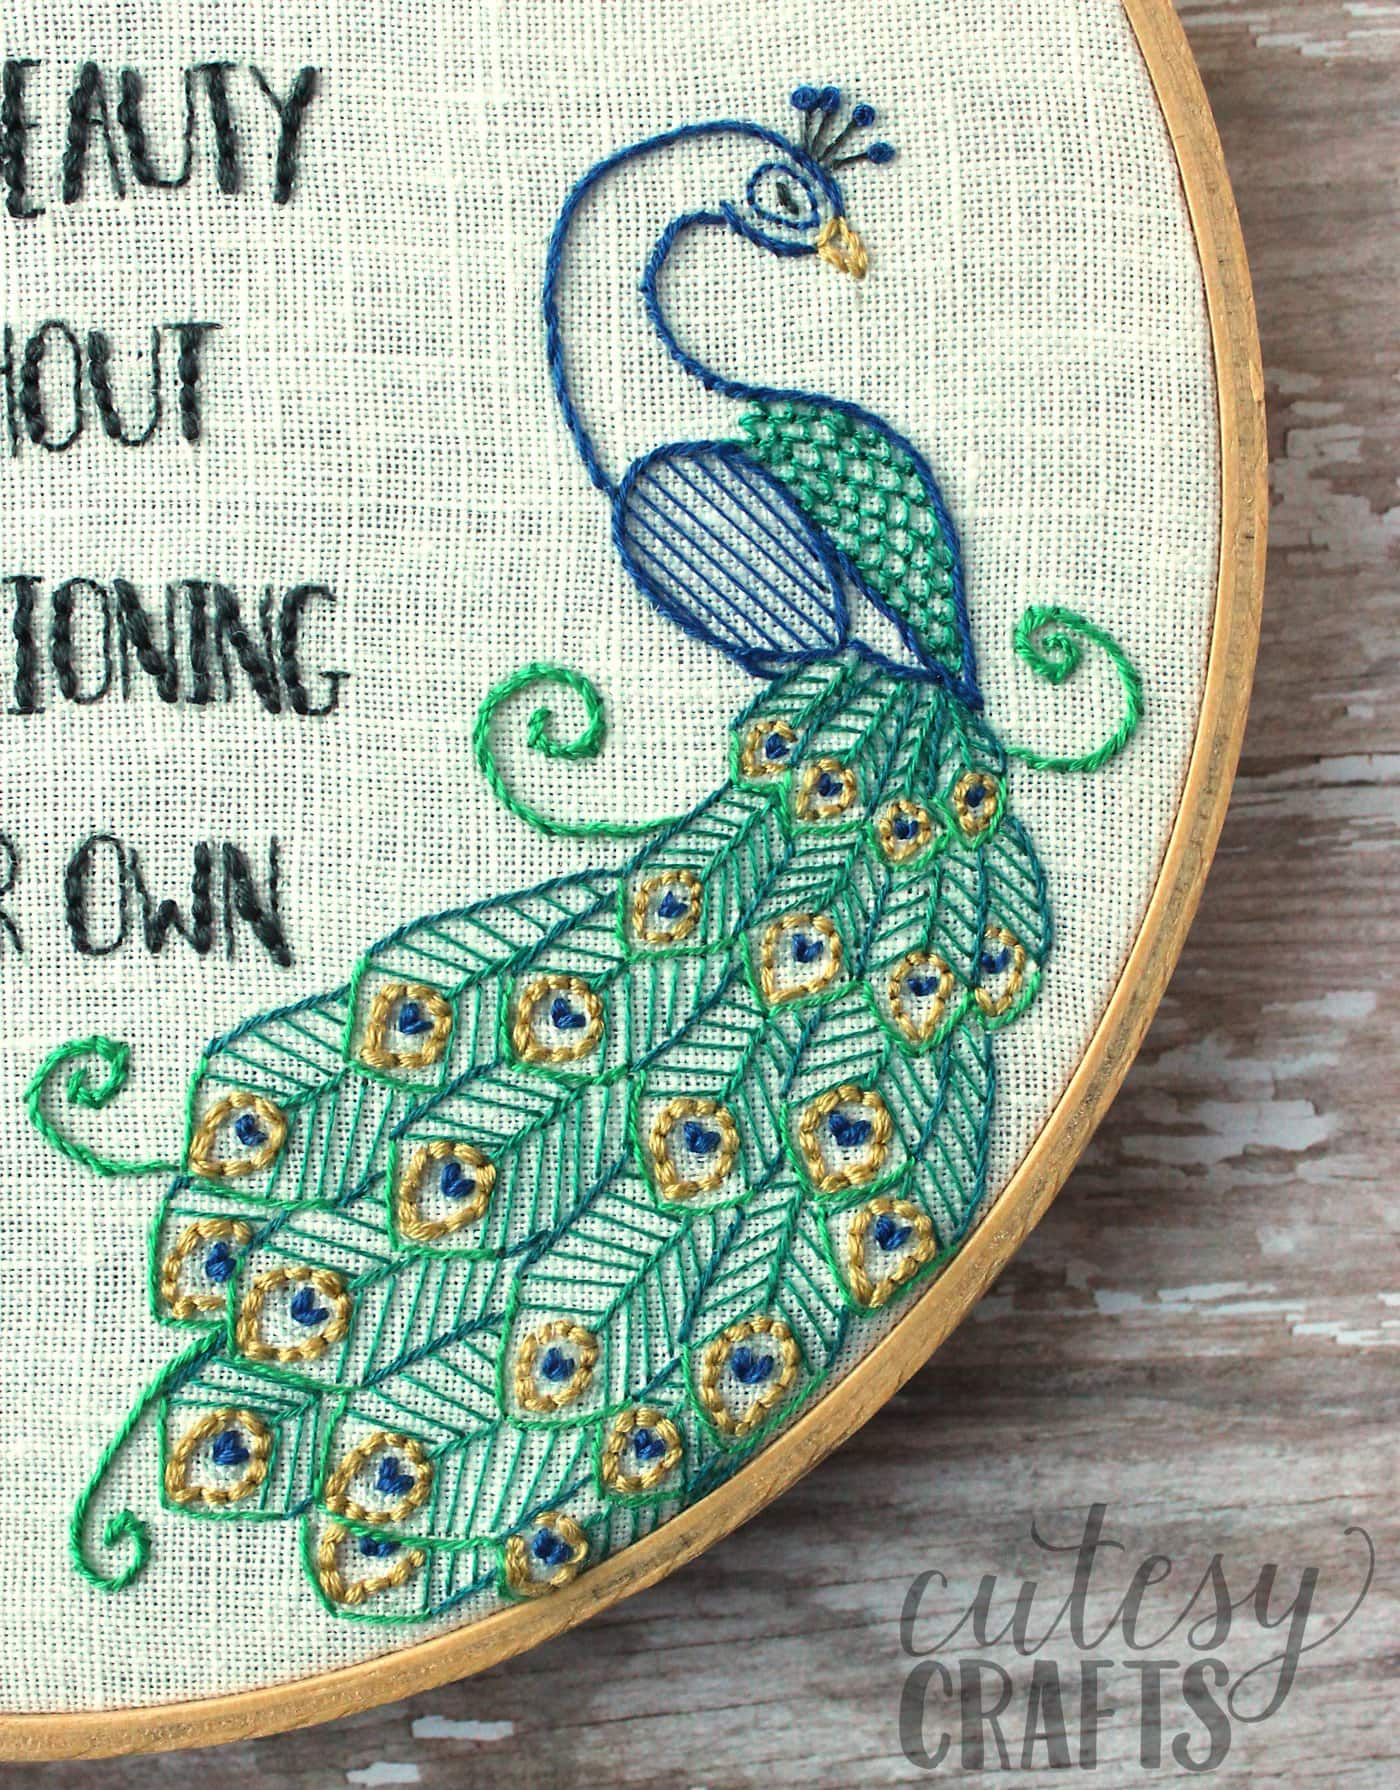
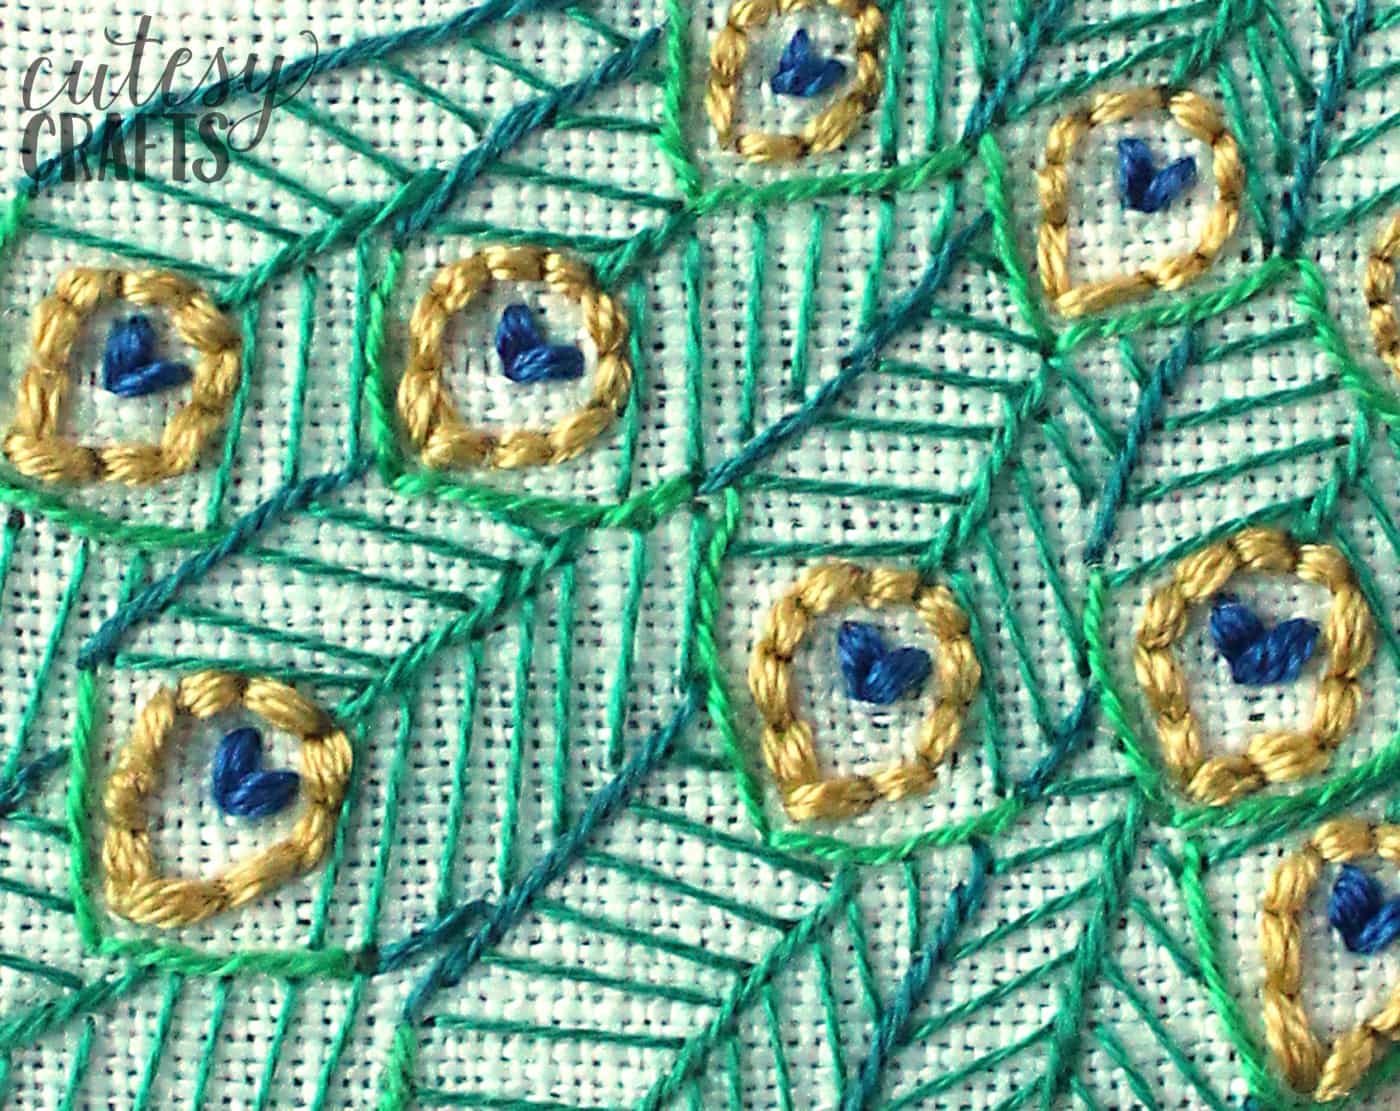
Here’s a nice close-up of the feathers for you. I used three colors of green on the feathers, which I noted on the pattern. I didn’t know what stitch to say the dark blue center was, so I just called it a “straight stitch.”
You are just making a “V” with the thread. I didn’t include the lines for the feathers on the pattern because that made it difficult to trace. Just fill in the feathers on both sides with evenly spaced straight stitches.
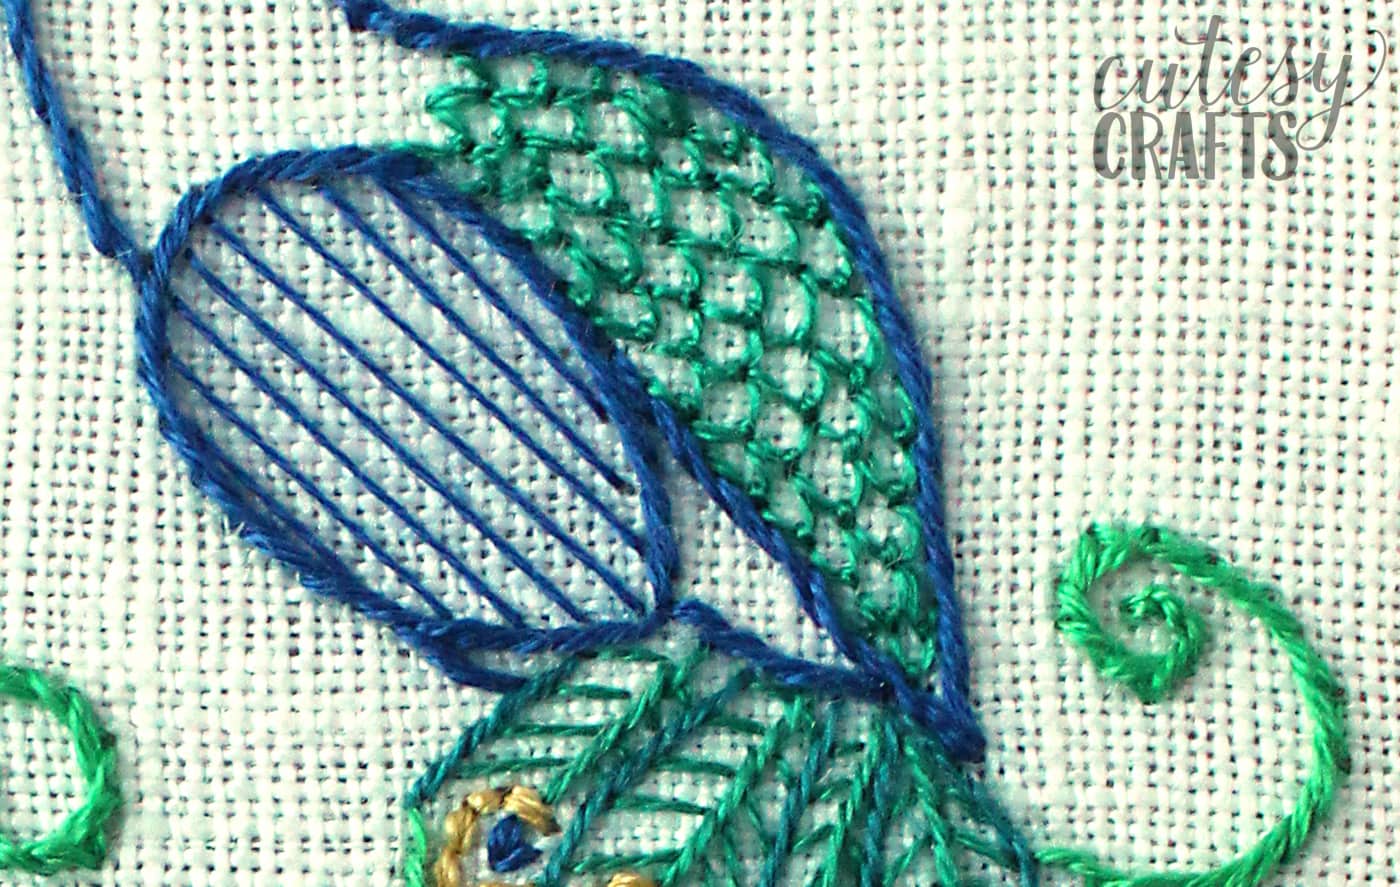
The back of the peacock has a loose fly stitch, with no tail, to make little scallops. If you are a beginner, you could easily leave this out.
The letters were done using a full strand of floss for the thick parts and a single strand for the thin parts.
You could also use two strands for the thin parts, but I liked the contrast using the single strand. I included two images of the pattern since there is a lot going on in the instructions. I figured tracing the one without all the words and arrows would be easier.
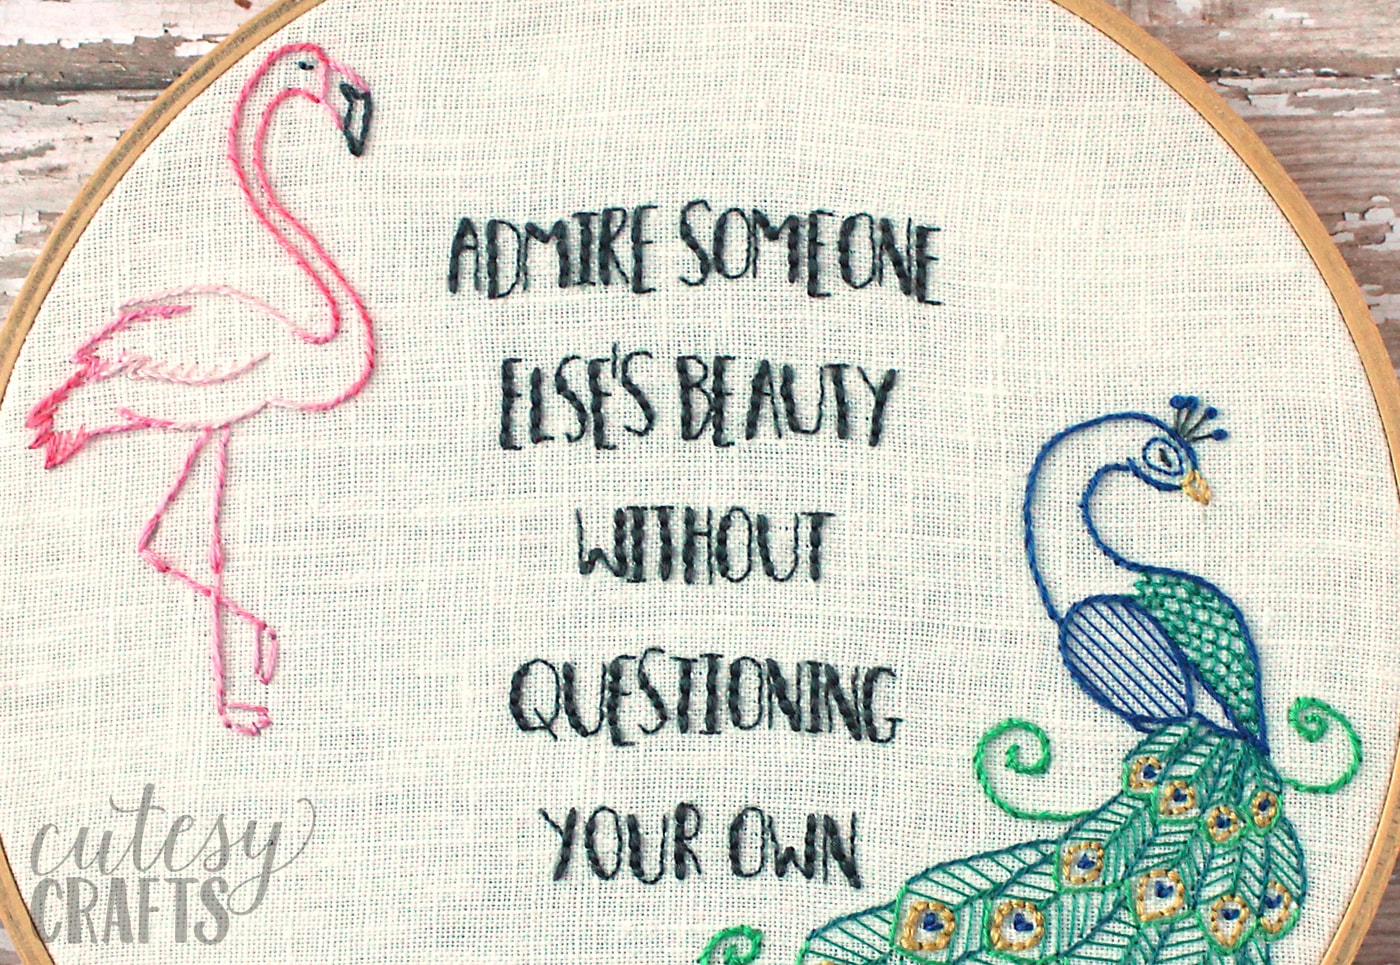
We are all beautiful in our own way! Hope you love this pretty reminder as much as I do.
About the Maker:

Hi, I’m Jessica, and I blog at Cutesy Crafts. I’m a stay-at-home mom to four cute kids, and I love all things crafty! My blog is filled with all kinds of crafts, mostly for my kids and my home. I believe that handmade items are special because of the details and special touches that a machine can’t reproduce. For that reason, I’m also a big fan of hand embroidery. I hope I can inspire you to be creative!

