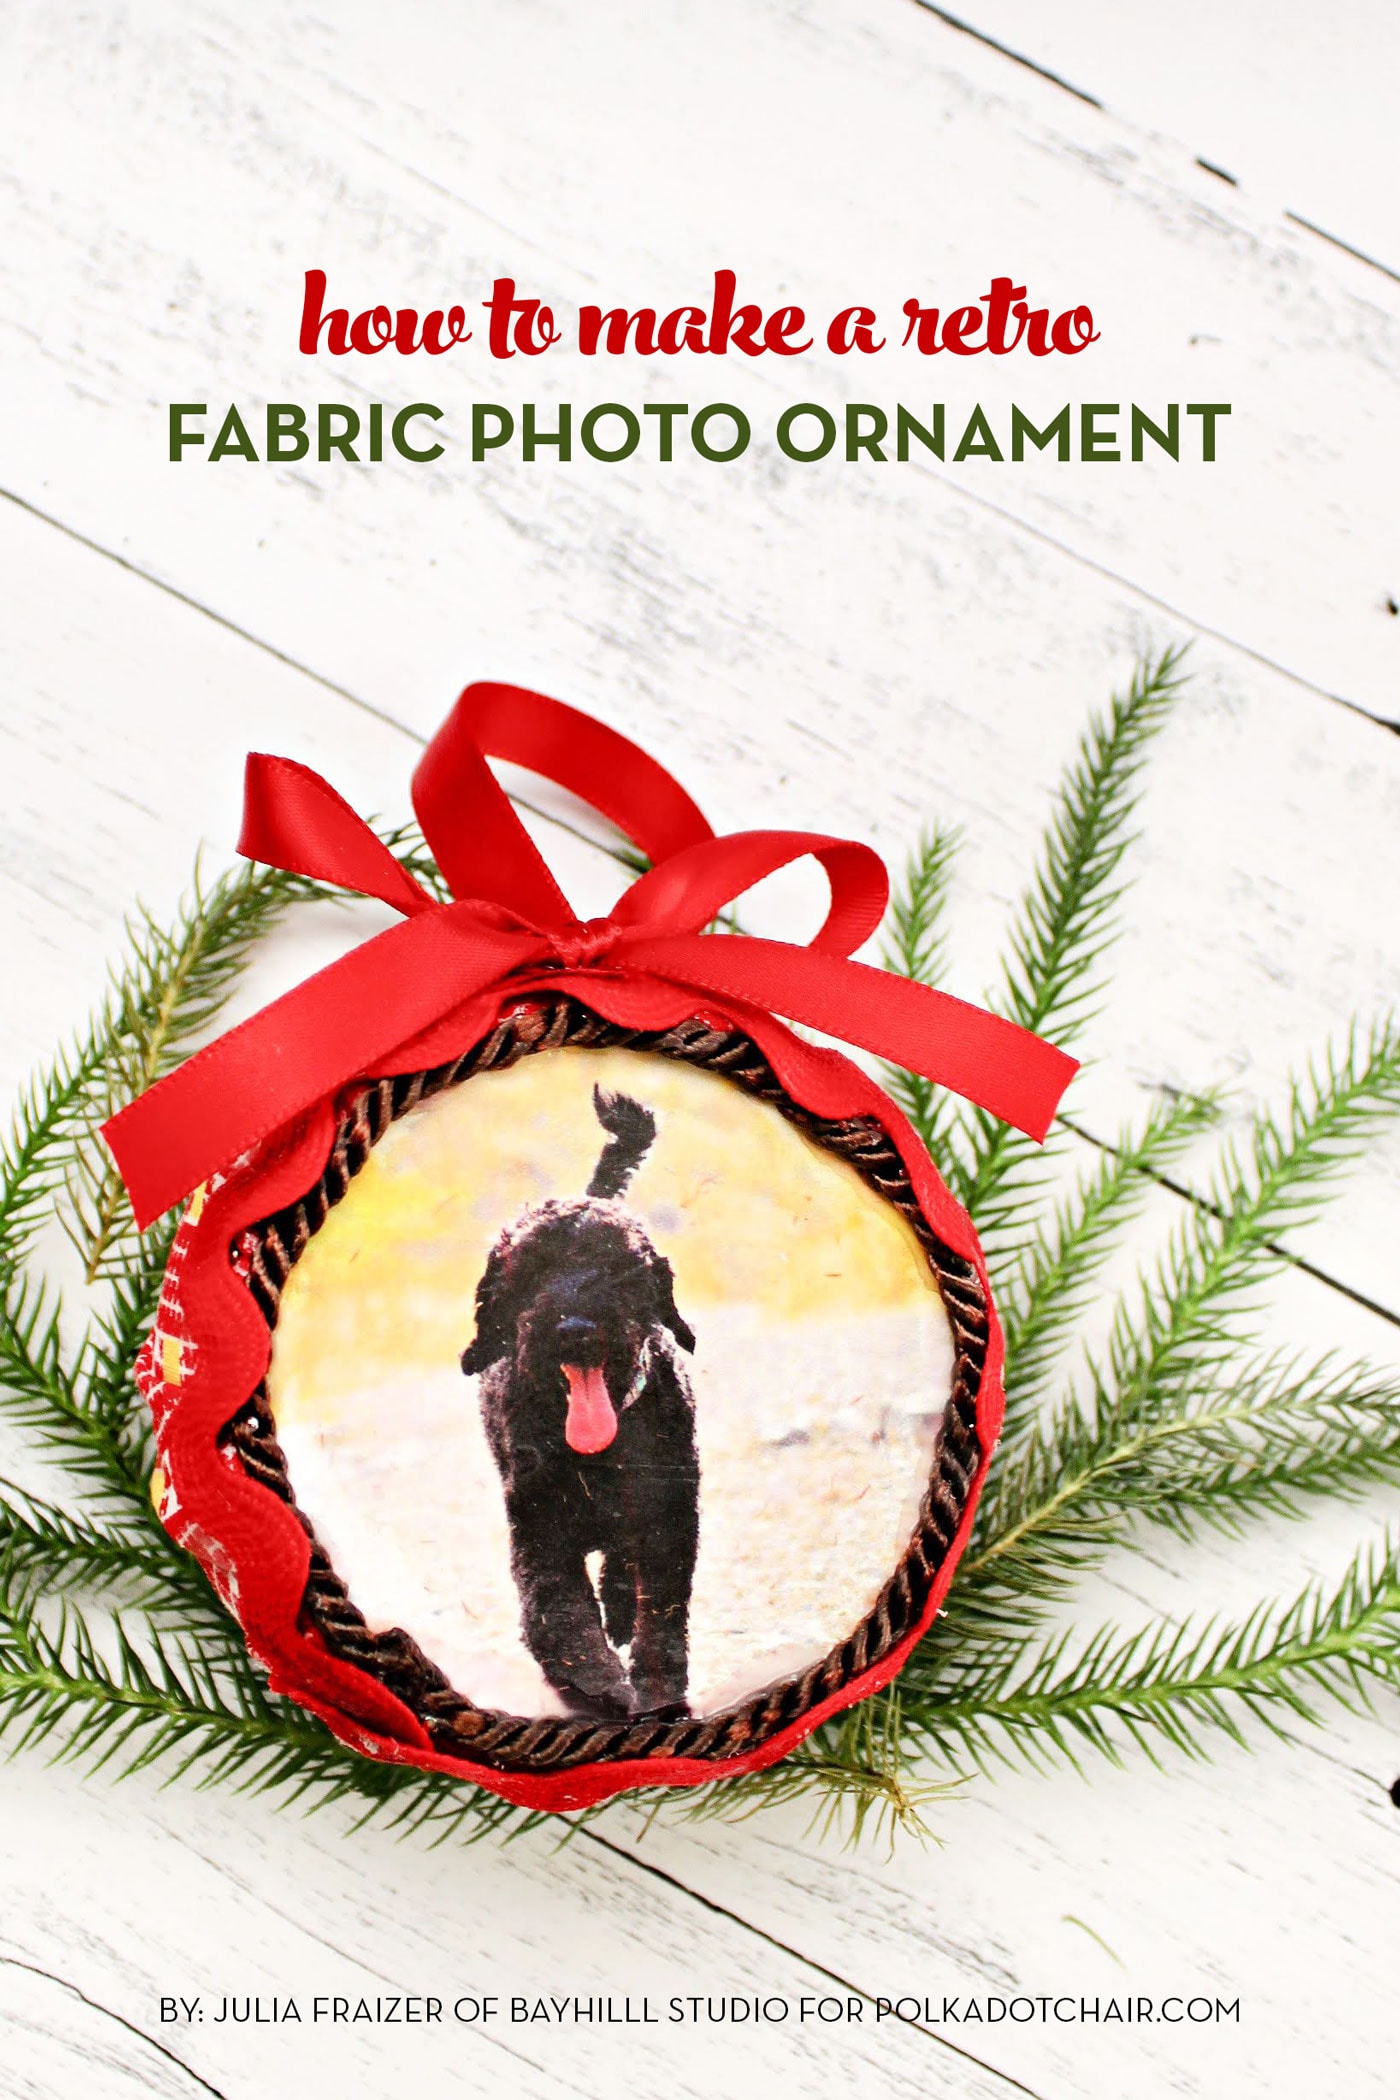
How to Make a Retro Fabric Christmas Ornament with a Photo
Display your favorite photo on your Christmas tree with this fun retro-inspired ornament. Learn how to create a photo Christmas ornament using our fun 70’s inspired fabric Christmas ornament tutorial.
It may be May, but it’s never too early for a Christmas craft! Each month this year, Julia from Bayhill Studio is sharing a free DIY Ornament tutorial with all of us! This month she’s made a cool retro-inspired ornament! I’m sure I had one of these when I was a kit! I love craft projects full of nostalgia!
Here are all of the ornament tutorials shared so far:
- July: Paper Poinsettia Ornaments
- August: Paper Memory Christmas Ornaments
- September: Kimekomi Fabric Ornaments
- November: Granny Rocker Christmas Ornaments
- December: String Christmas Ornaments
- January: Retro Diorama Ornaments
- February: DIY Splatter Paint Glass Ornaments
- March: Blown Egg Ornament
- April: Retro Photo Ornament Tutorial
- May: Vintage Folded Fabric Ornament
- June: Patchwork Heart Ornament
- July: Improv Pieced Heart Ornaments
- October: Plastic Canvas Gift Card Holder
- November: Yarn Stitched Jingle Bell Ornament
70’s Retro Ornament Tutorial
Hello, friends! It’s Julia from Bayhill Studio. Today I’m recreating a fun little ornament from my childhood. This photo ornament is a great way to spotlight children, grandchildren, and even a favorite pet!
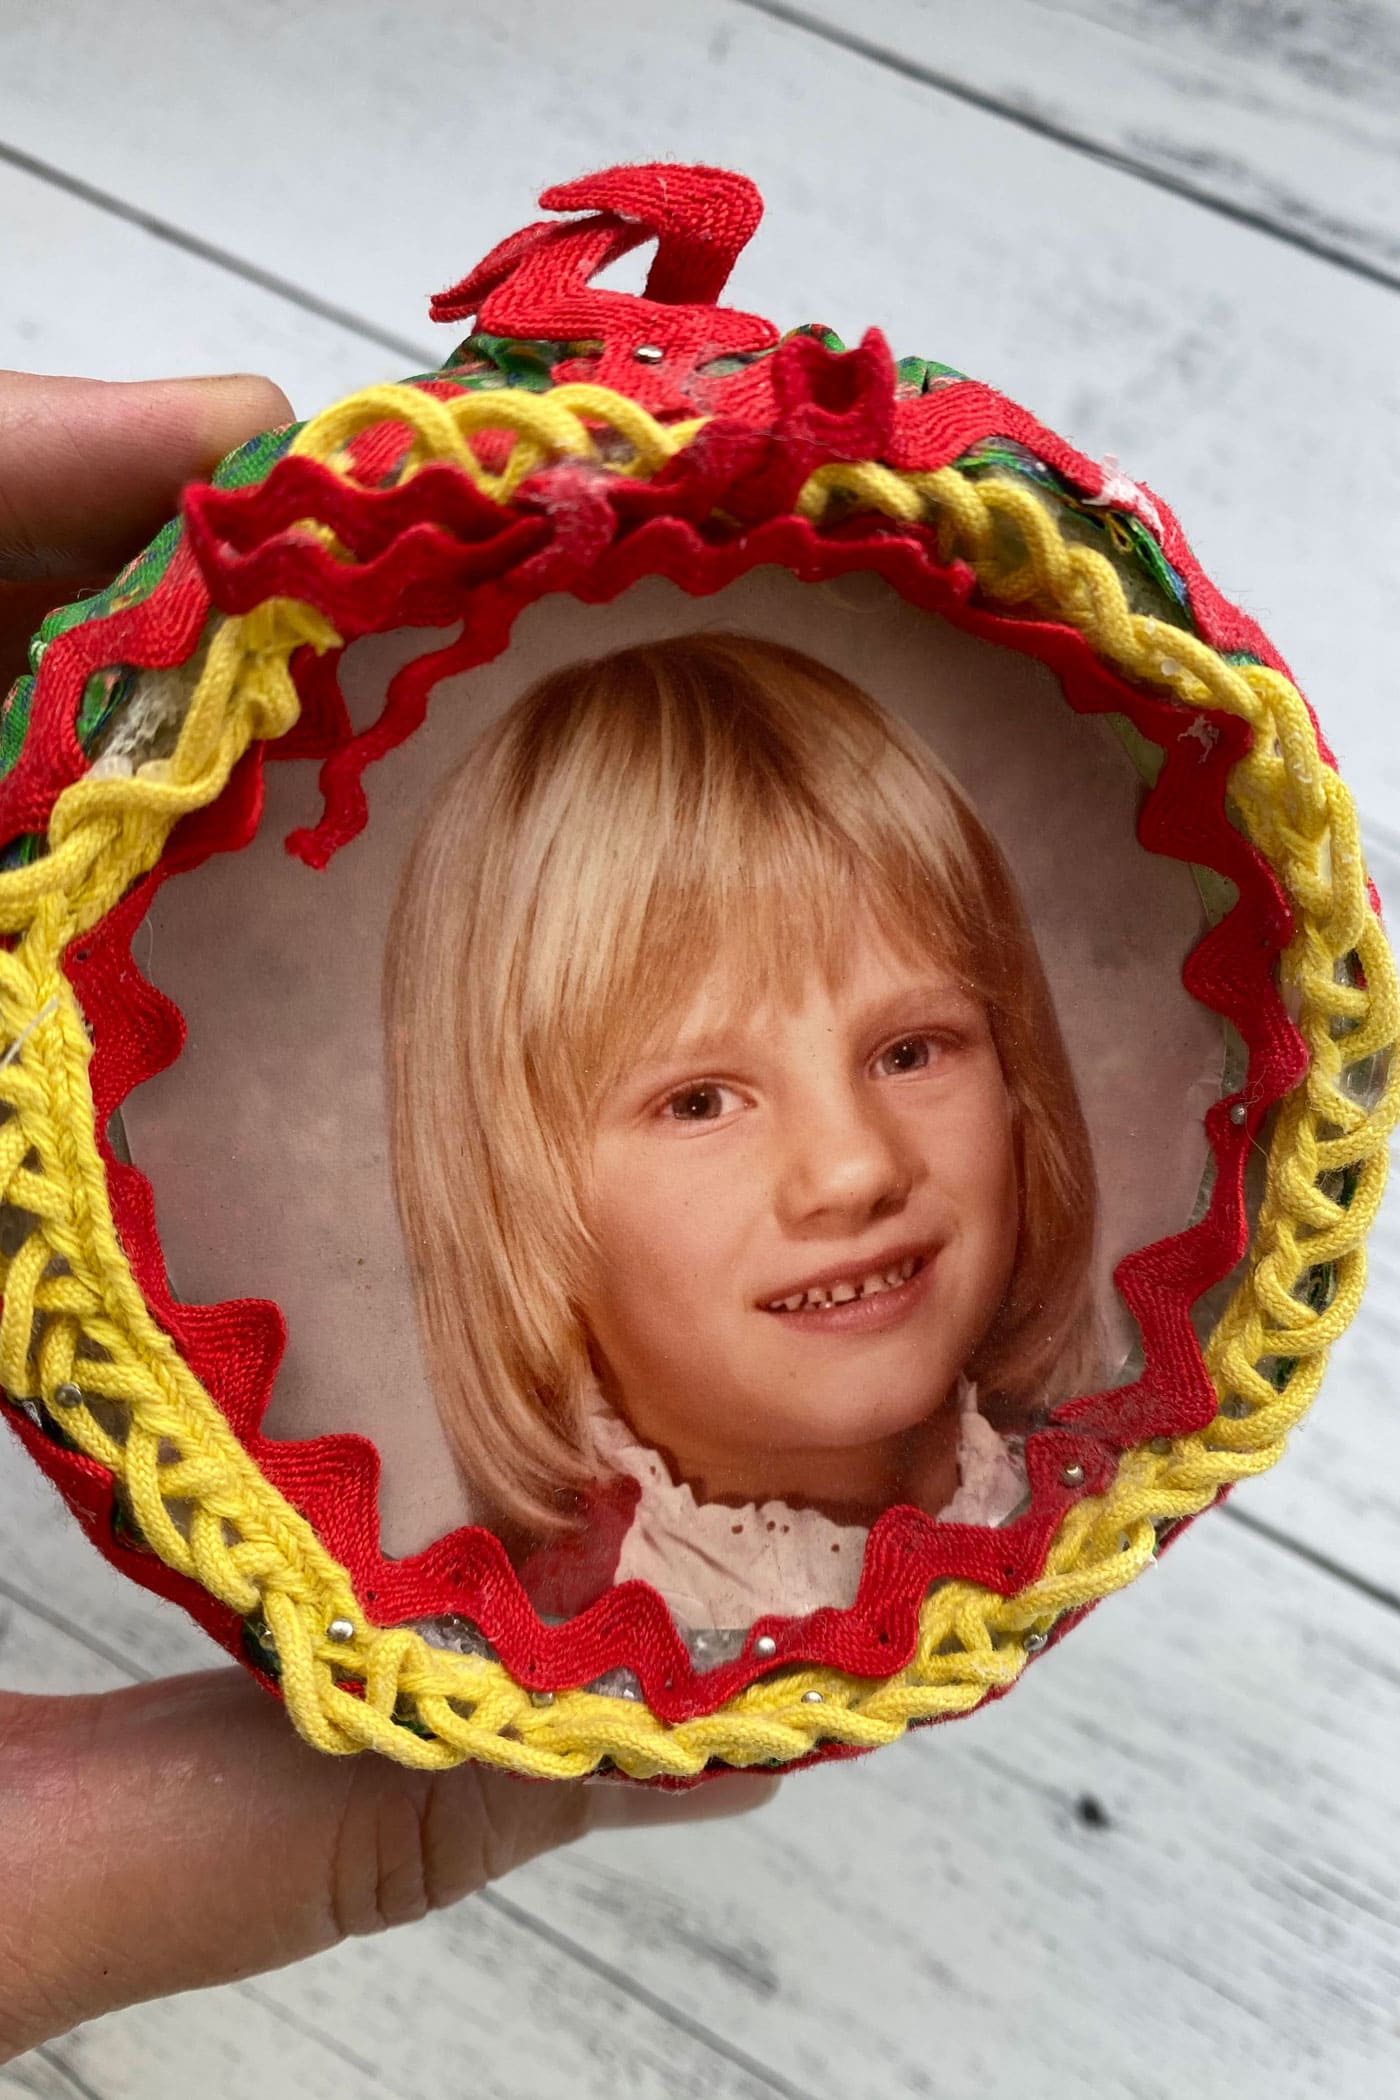
Here is a look at the ornament, which my mom made sometime in the mid-1970s.
You can see this ornament has definitely seen better days, but still, it is one of my very favorite ornaments to put on the tree because my mom made it, and because of the style of the fabric and trim, my haircut, and outfit all make this a fun glimpse of the 1970s.
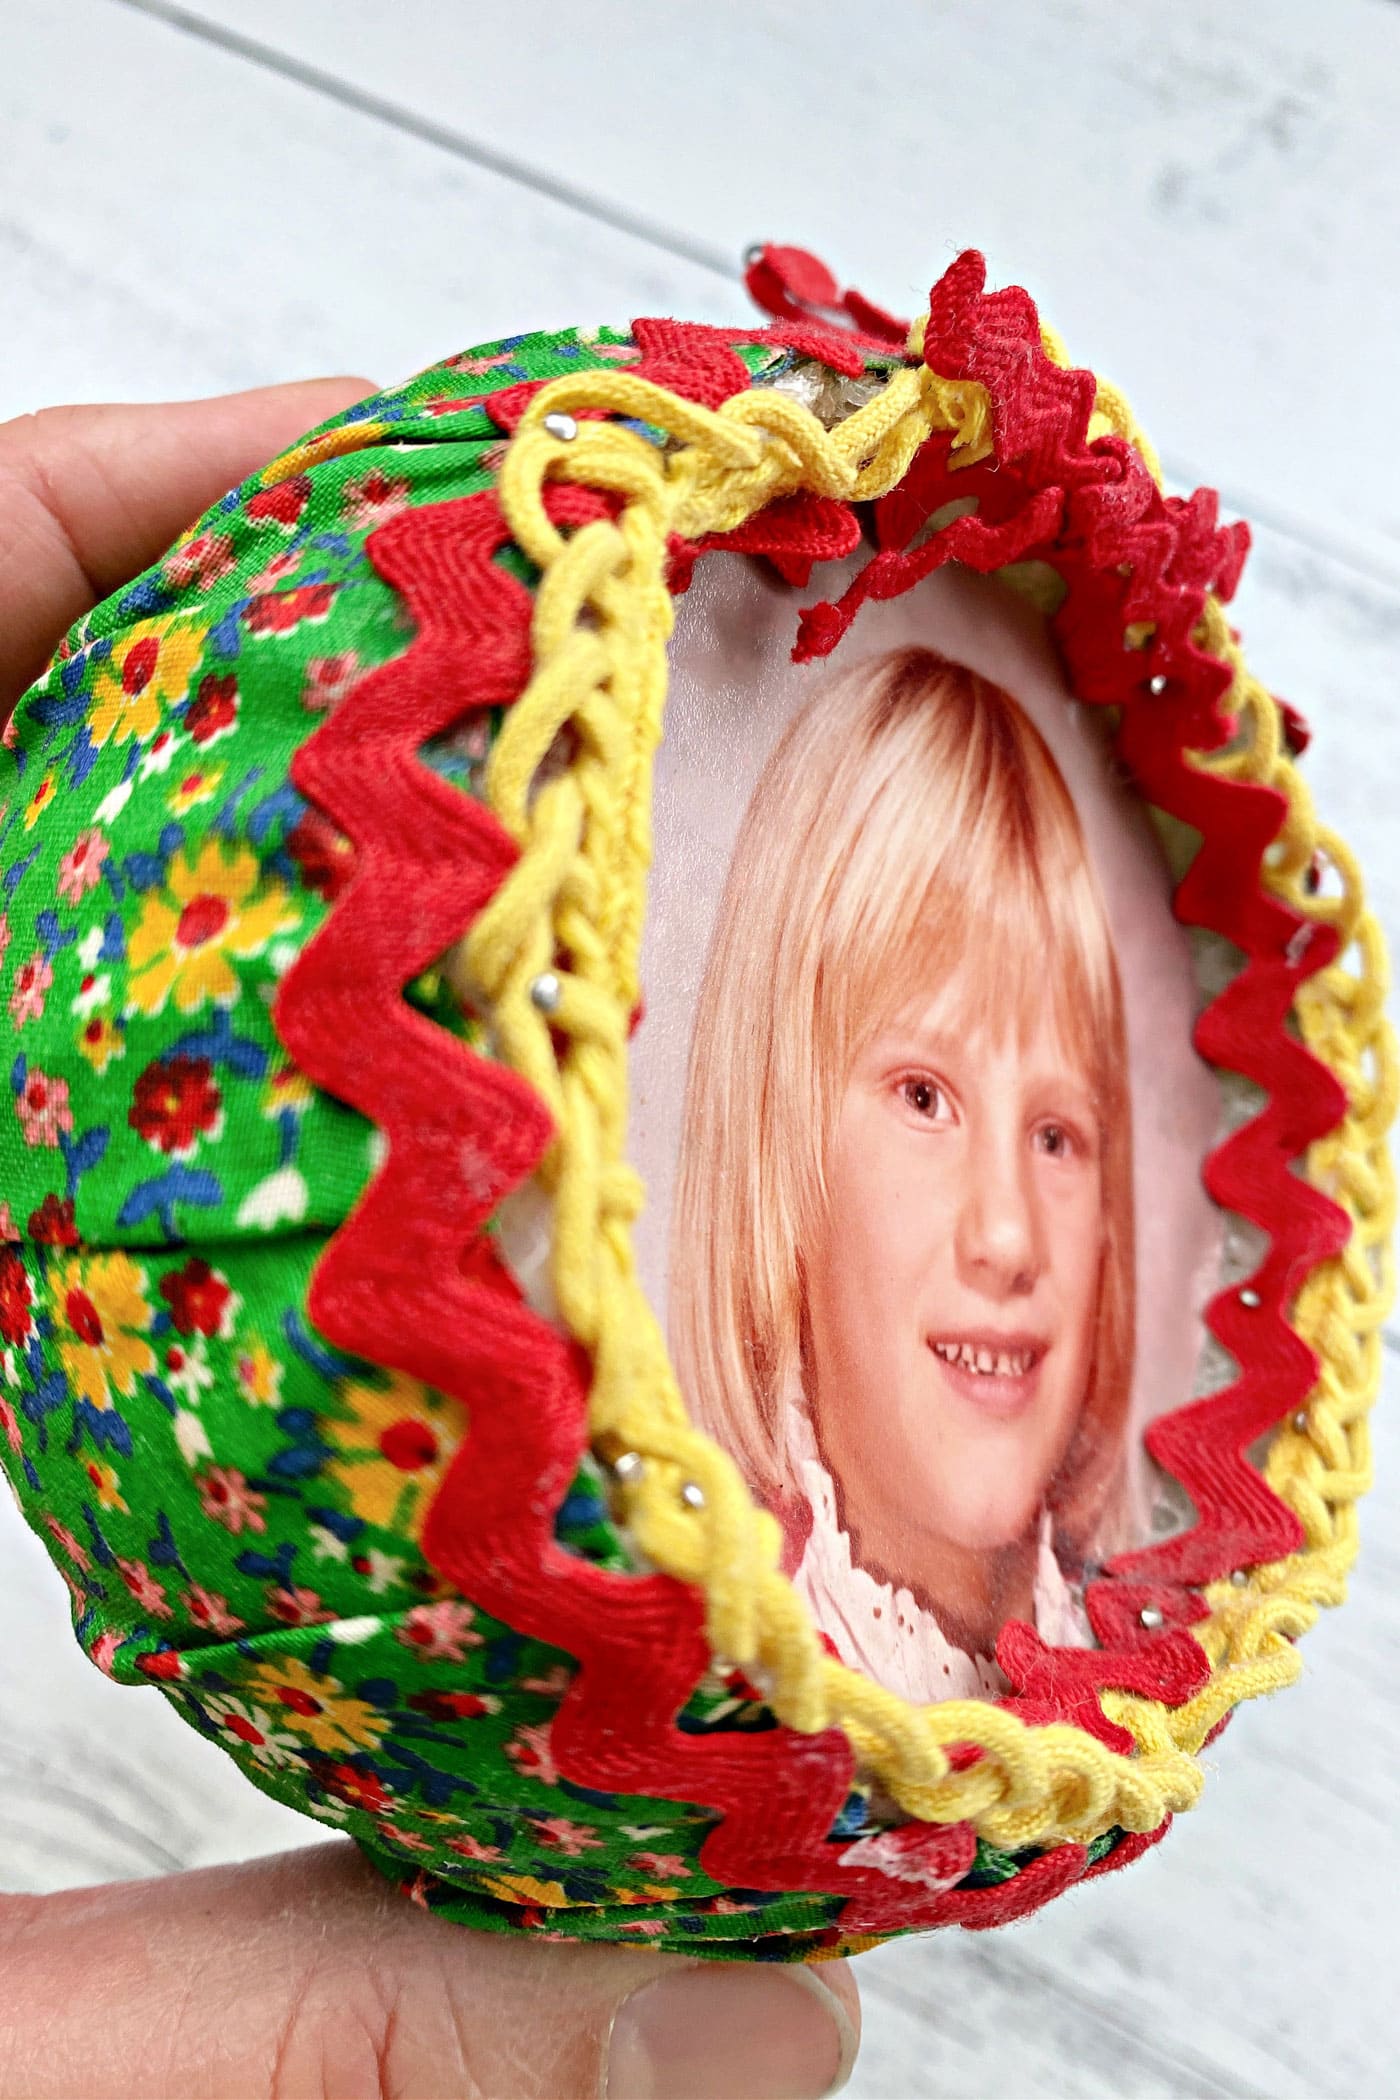
I decided to make my ornament slightly different than the original. It looked like my mom carved out the styrofoam to create a little inset circle where the school photo was placed.
The sides of the inset portion looked a bit messy and weren’t totally covered by the ric rack trim, and I didn’t really want to be cutting out styrofoam, so I decided to change it up a bit, and I think it turned out great!
So the following are instructions for my updated 2023 version of this very simple, customizable ornament that I hope will become as much of a keepsake for you as mine has been.
Photo Ornament Supplies
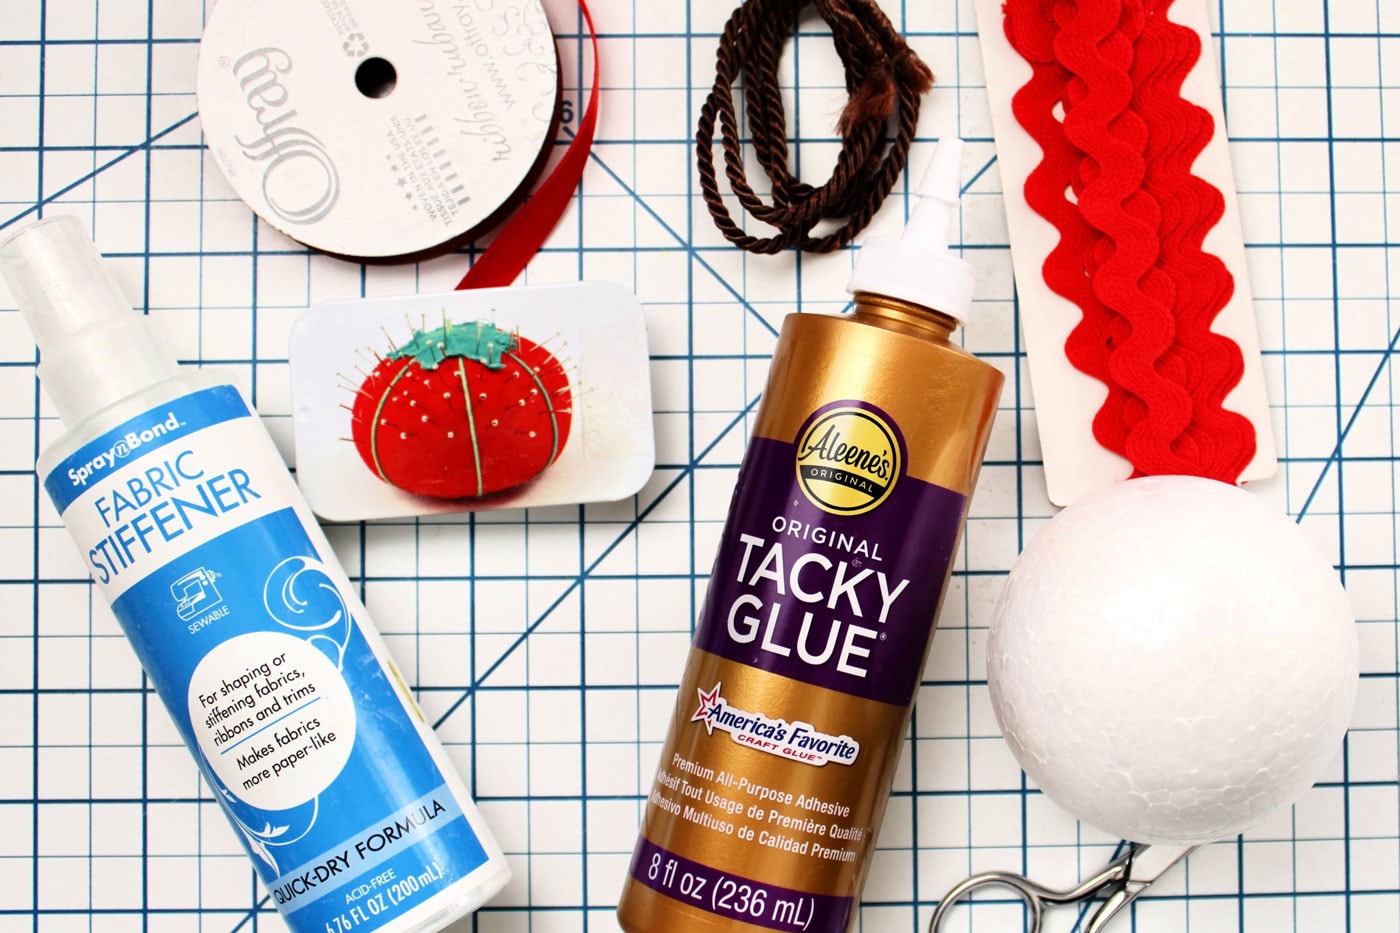
To make this project, you will need the following:
- A styrofoam ball – any size. Mine is 3” round, but the original 1970’s ornament was 4”-5” round
- Spray n Bond Fabric Stiffener or Mod Podge
- Tacky Glue
- Shirt Pins
- Trim – I used ½” ric rack and ⅛” braided cord trim
- Ribbon
- A photo. I printed mine onto cardstock. The photo in the original ornament is a regular school photo. Either will work.
- A scrap of fabric that can fit around the ball.
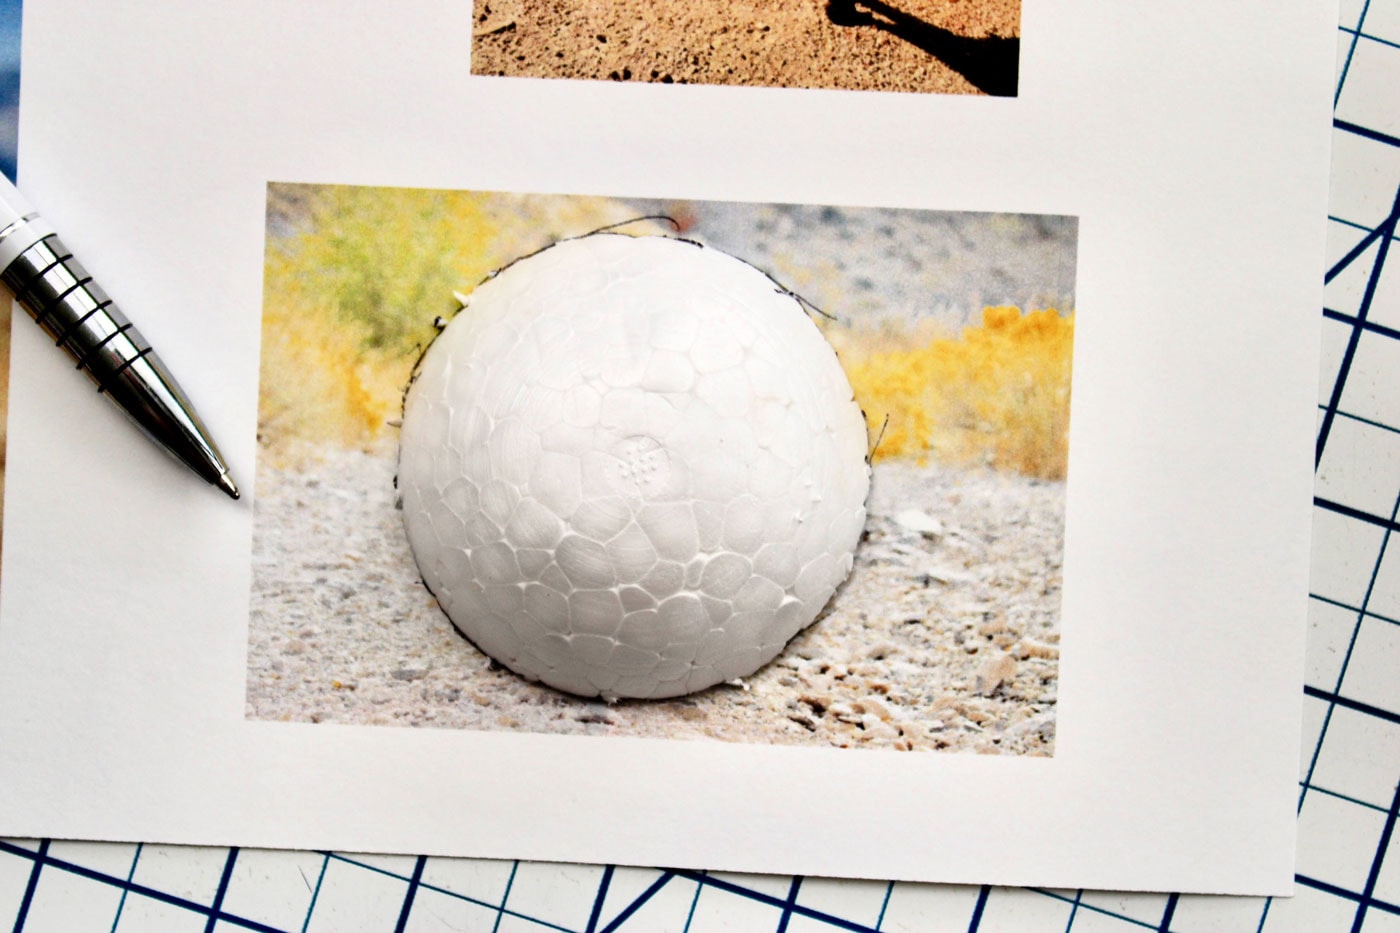
Step 1: Prep the Styrofoam
Slice a section off of the foam ball. You aren’t cutting it in half. You want to cut the round portion of one side to have a flat place to place your photo.
Step 2:
If you are printing a photo, make sure to print it so it fits the dimension of your foam ball.
Take the small cut portion of the foam ball and place it over the subject of the photo. Trace around the edges.
Step 3: Cut the Photo to Size
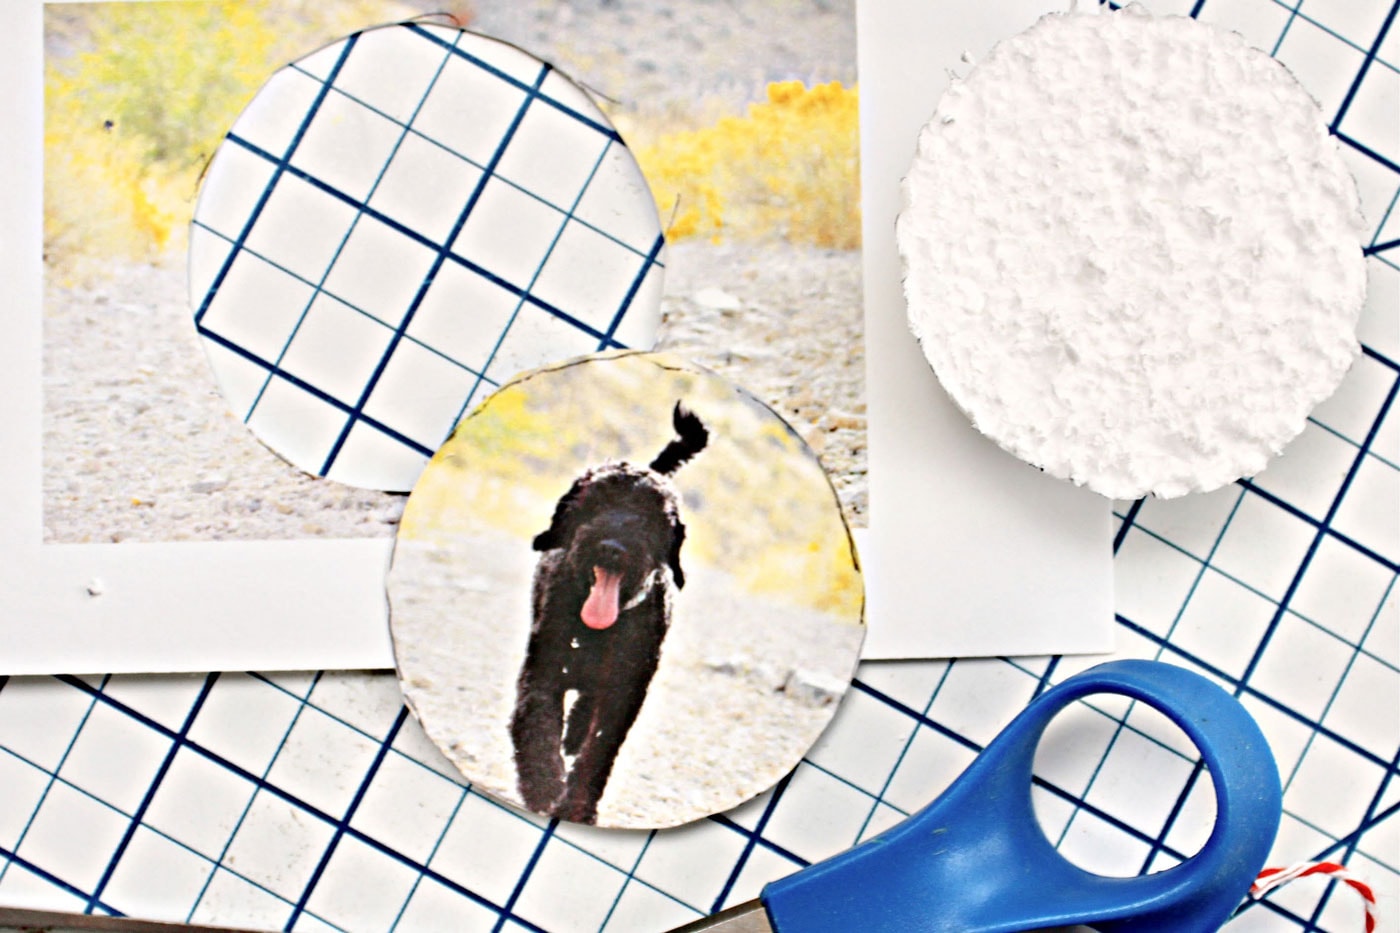
Cut out your photo. At this point, you could use laminating sheets to laminate your photo. I opted not to, but if you are going to laminate it, I would do it now. Set the picture aside for a later step.
Step 4: Add Medium to Fabric
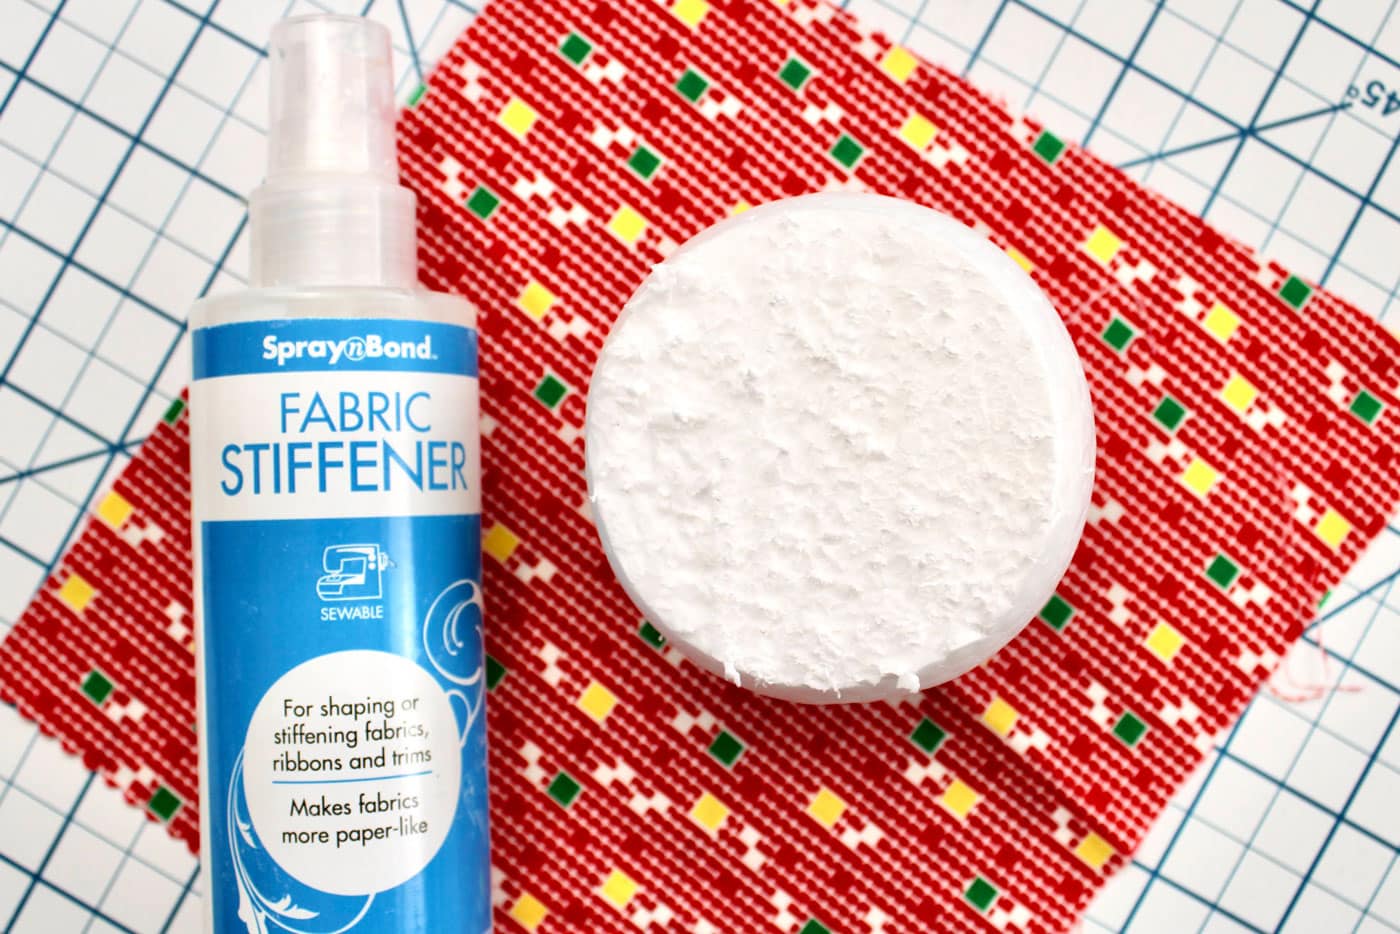
Now let’s get messy! Take your fabric stiffener or Mod Podge and completely saturate your fabric.
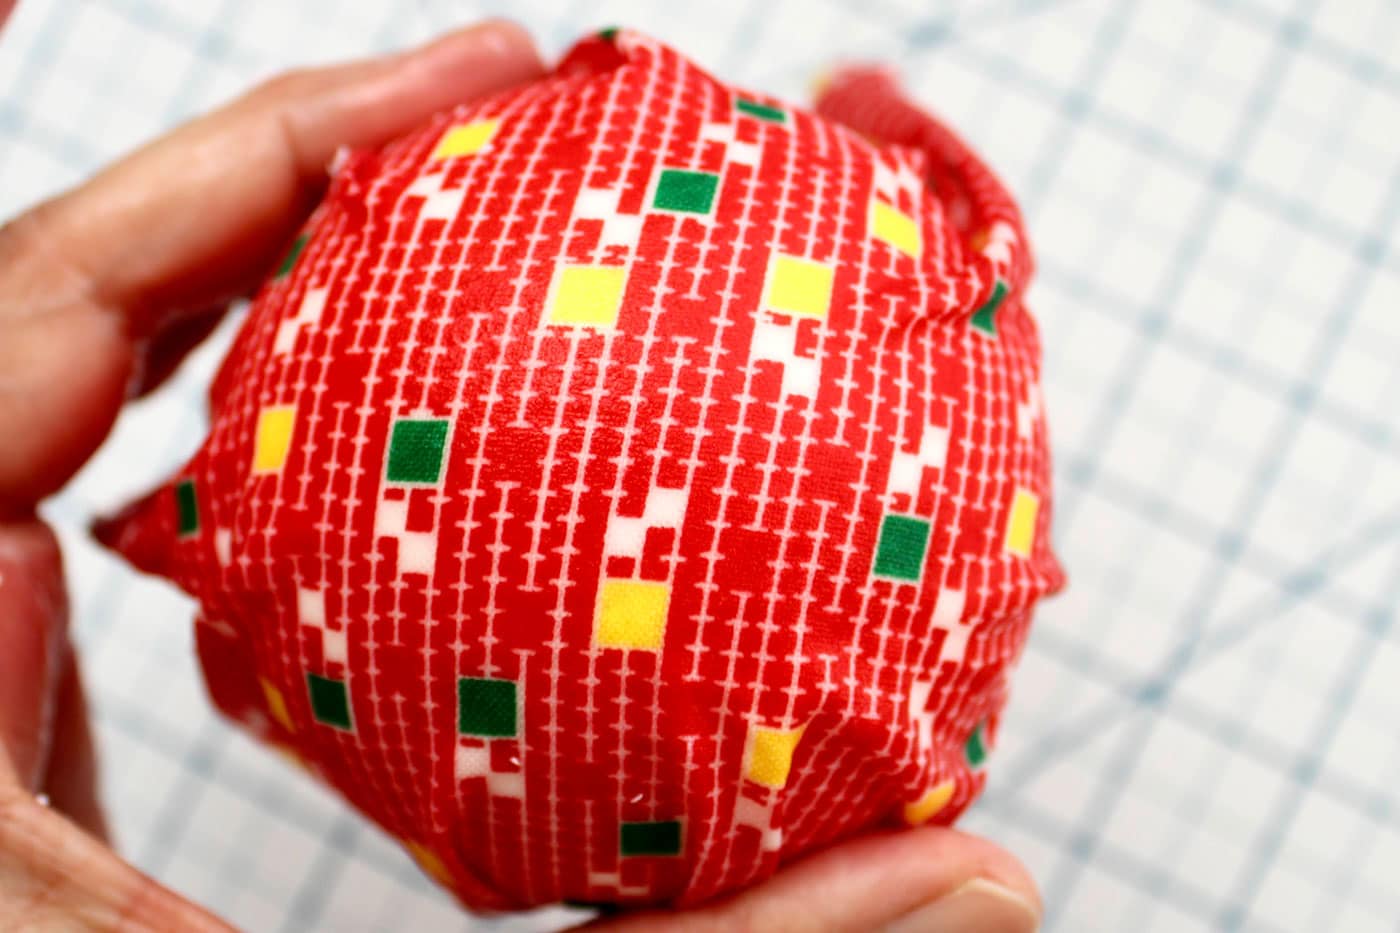
Step 5: Add Fabric to the Ball
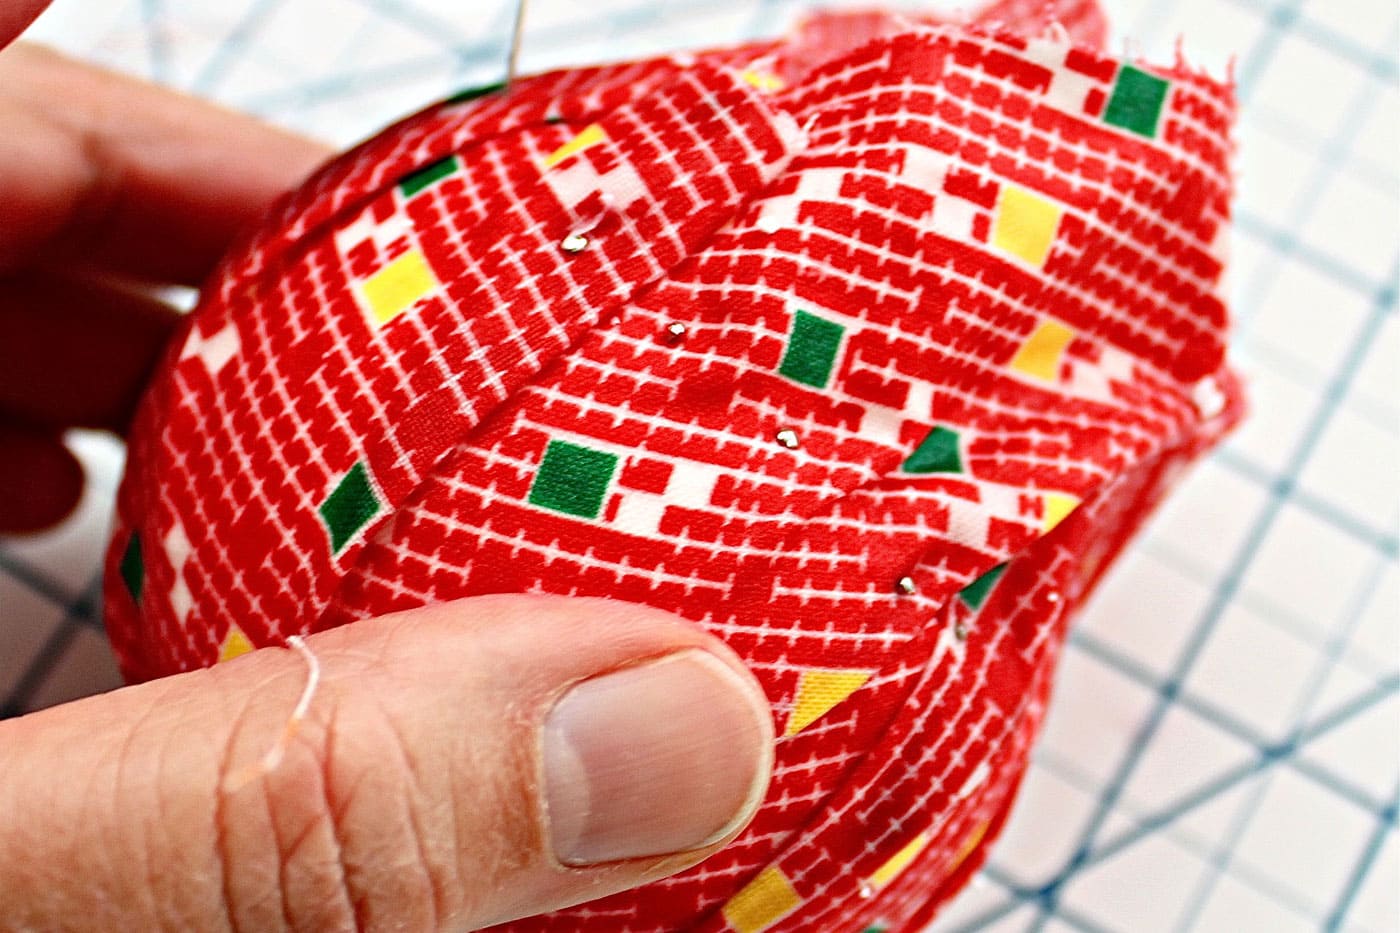
Wrap it around the back of the ornament so the fabric edges are extending past the cut portion of the foam ball.
Step 6. Pin the Fabric
Generously pin around the edges right at the cut edge of the foam ball.
Step 7: Cut the Fabric to Size
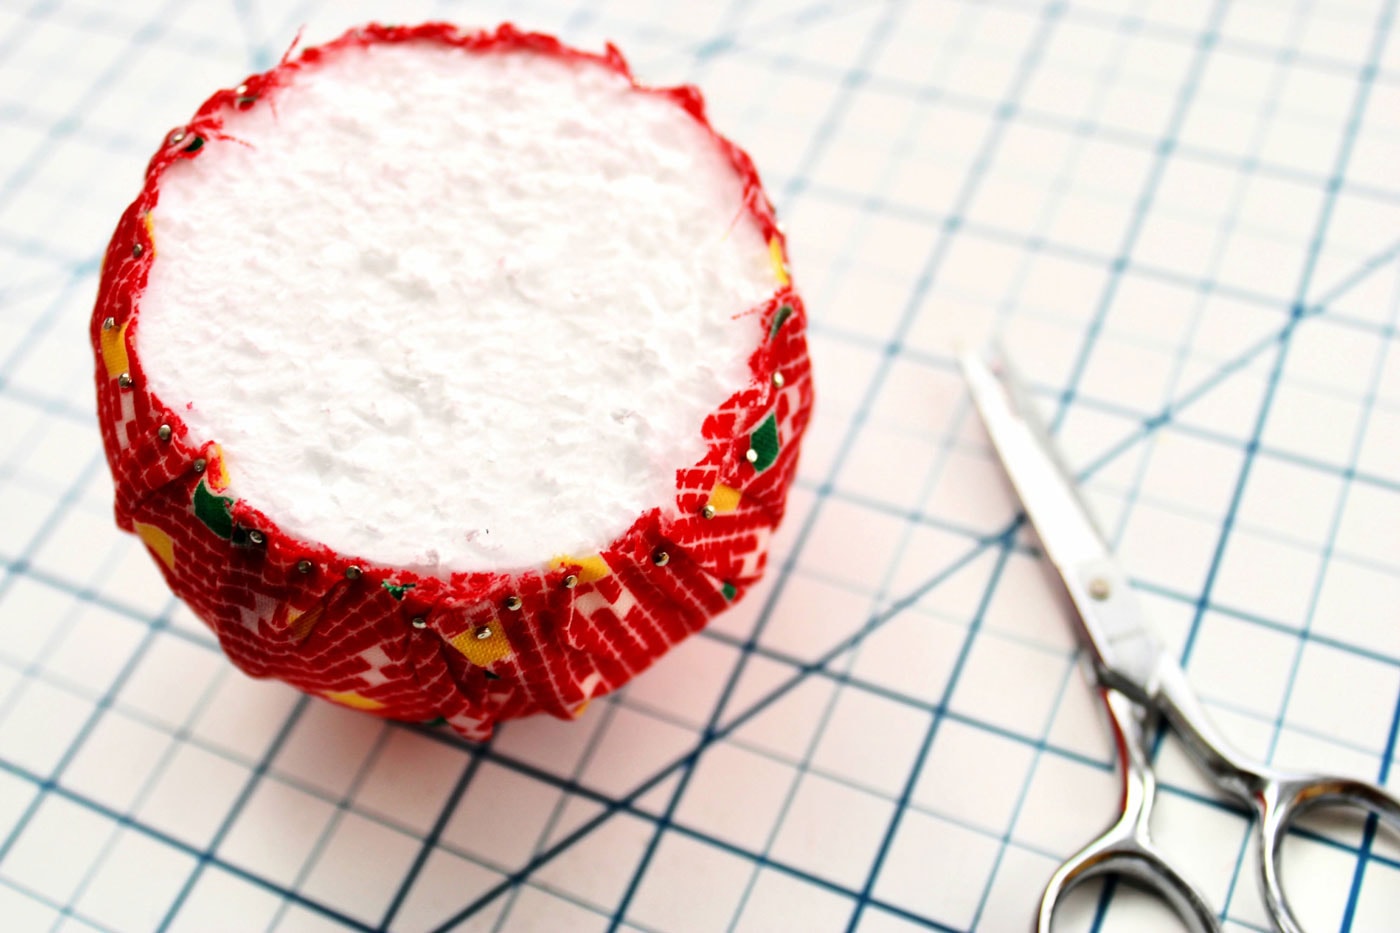
With a sharp pair of scissors, cut the fabric so it is flush with the cut edge of the foam ball. I cut mine while the fabric was still wet.
This did get sticky fabric stiffener on my scissors, which I cleaned off immediately. I opted to do this instead of waiting for it to dry because the fabric gets very stiff and will be more difficult to cut through after it has dried.
Step 8: Apply Glue to the Ball

Add glue to the cut surface of the foam ball.
Step 9: Add the Photo
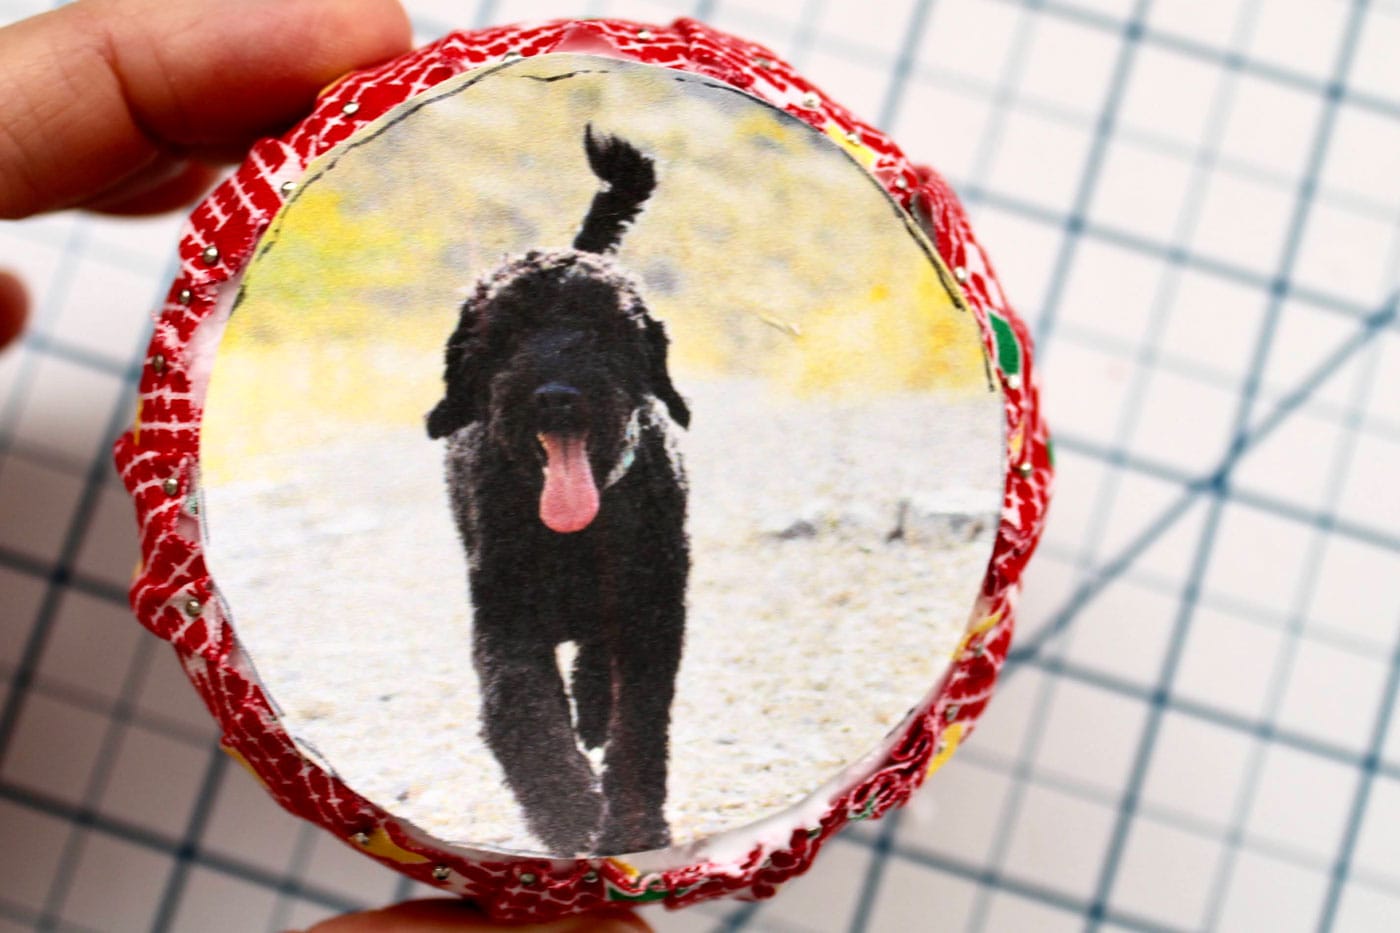
Add the photo and allow it to dry completely.
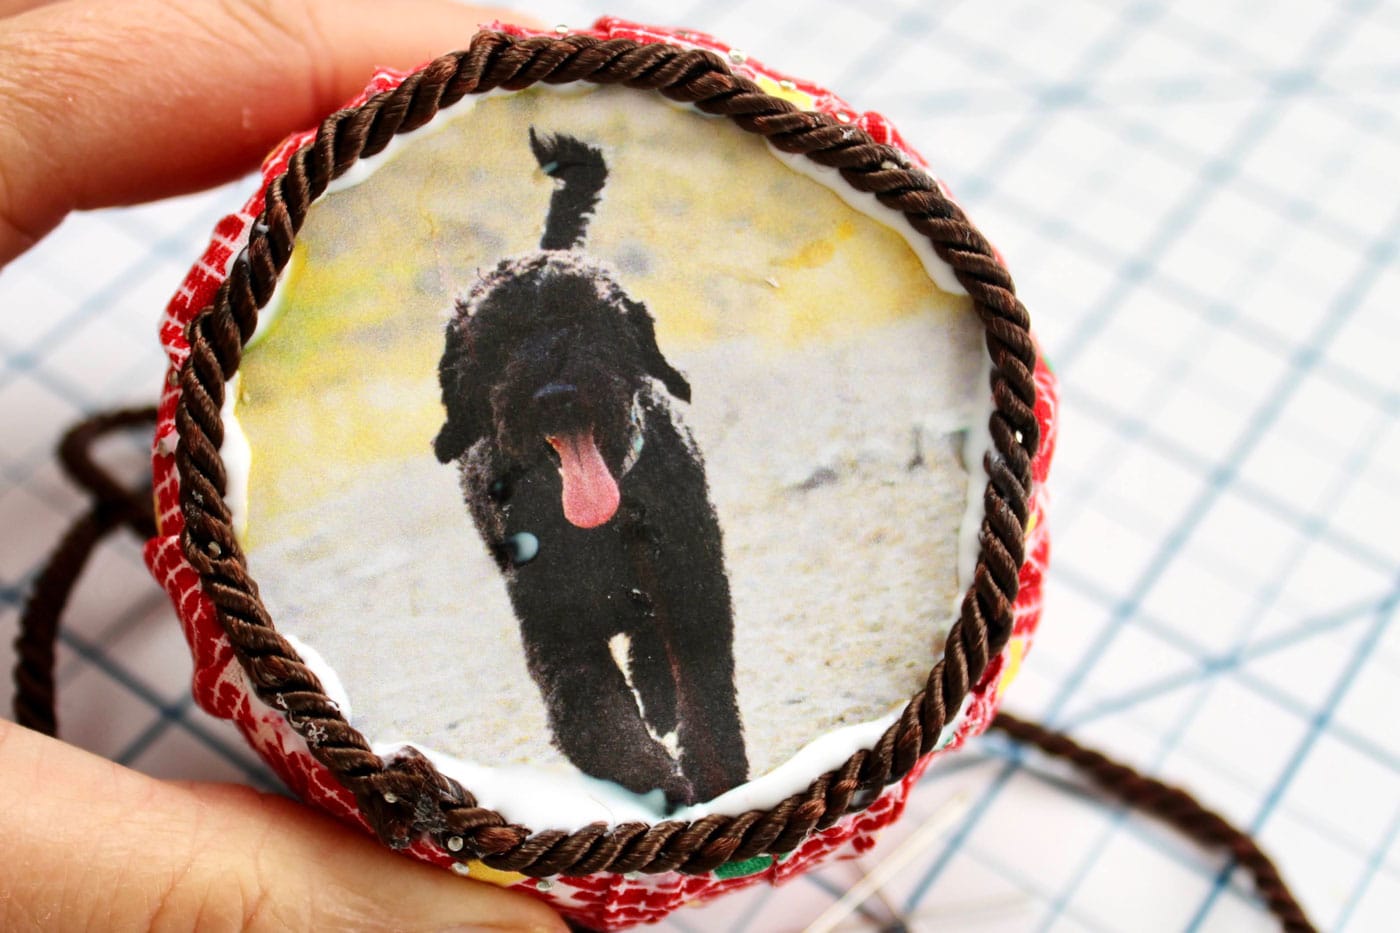
Step 10: Add the Trim
Glue and pin the braided cord trim around the perimeter of the photo. I really liked using the cord trim because I was able to bury my pins into the cording for the most part.
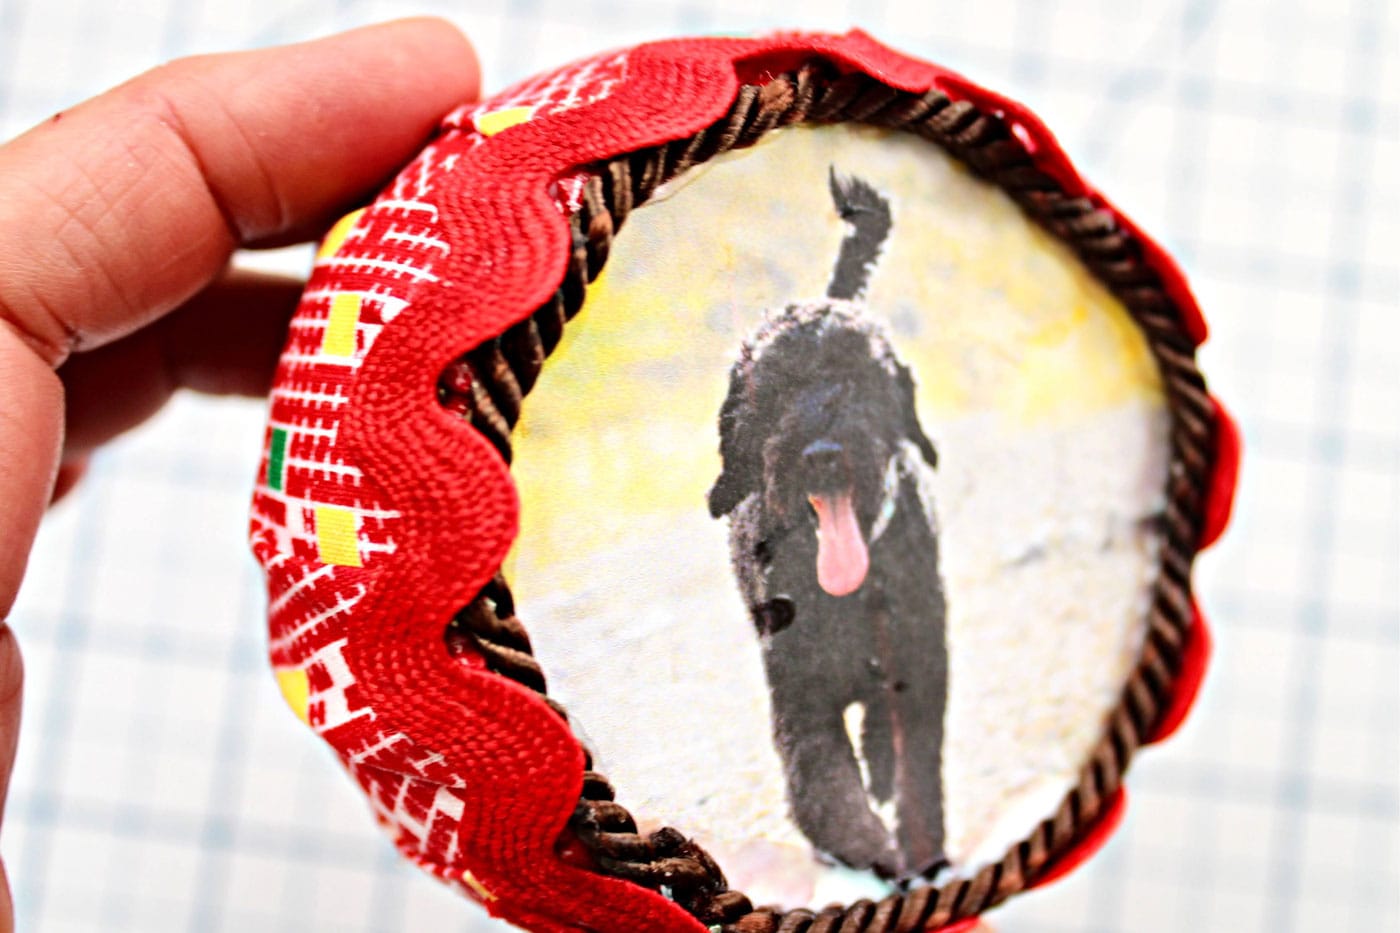
Add the ric rac trim by gluing it into place. I also secured the end with one small pin for good measure. Use a ric rac that is nice and wide like this one so it can extend a little past the edge and hide all of those little pins.
Step 11: (Optional)
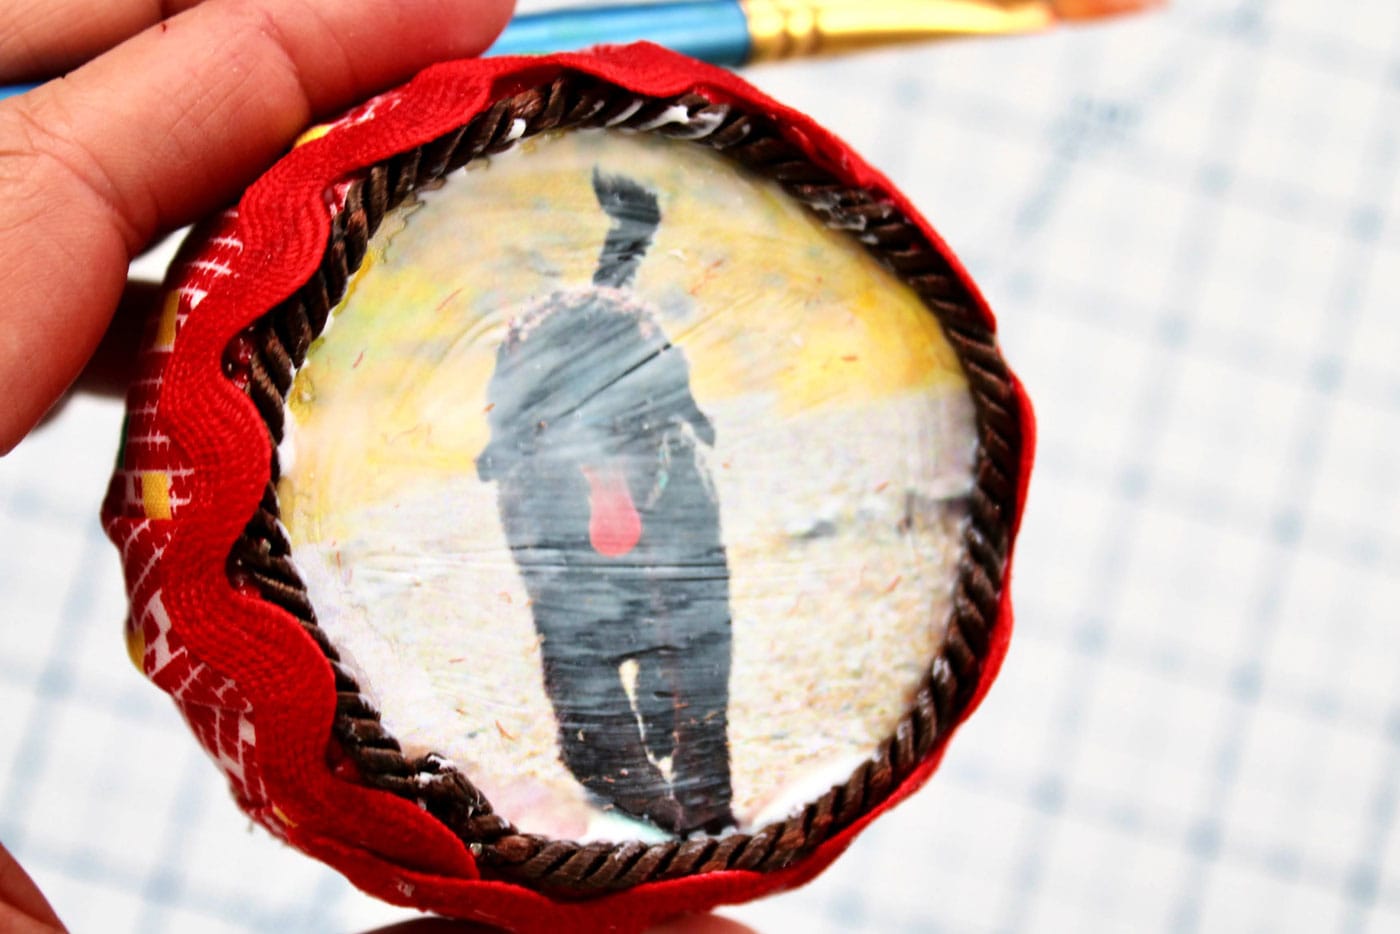
This step is for people who printed their photos on cardstock like mine. I noticed in the previous step that I got a drop of glue on my photo. I liked how it dried with a bit of shine, so I decided to paint a thin layer of glue over the surface of my photo.
When it dries, it has a nice sheen to it, and you can see the brush strokes, which I like, but if you don’t want that look, skip this step.
Step 12: Attach the Ribbon
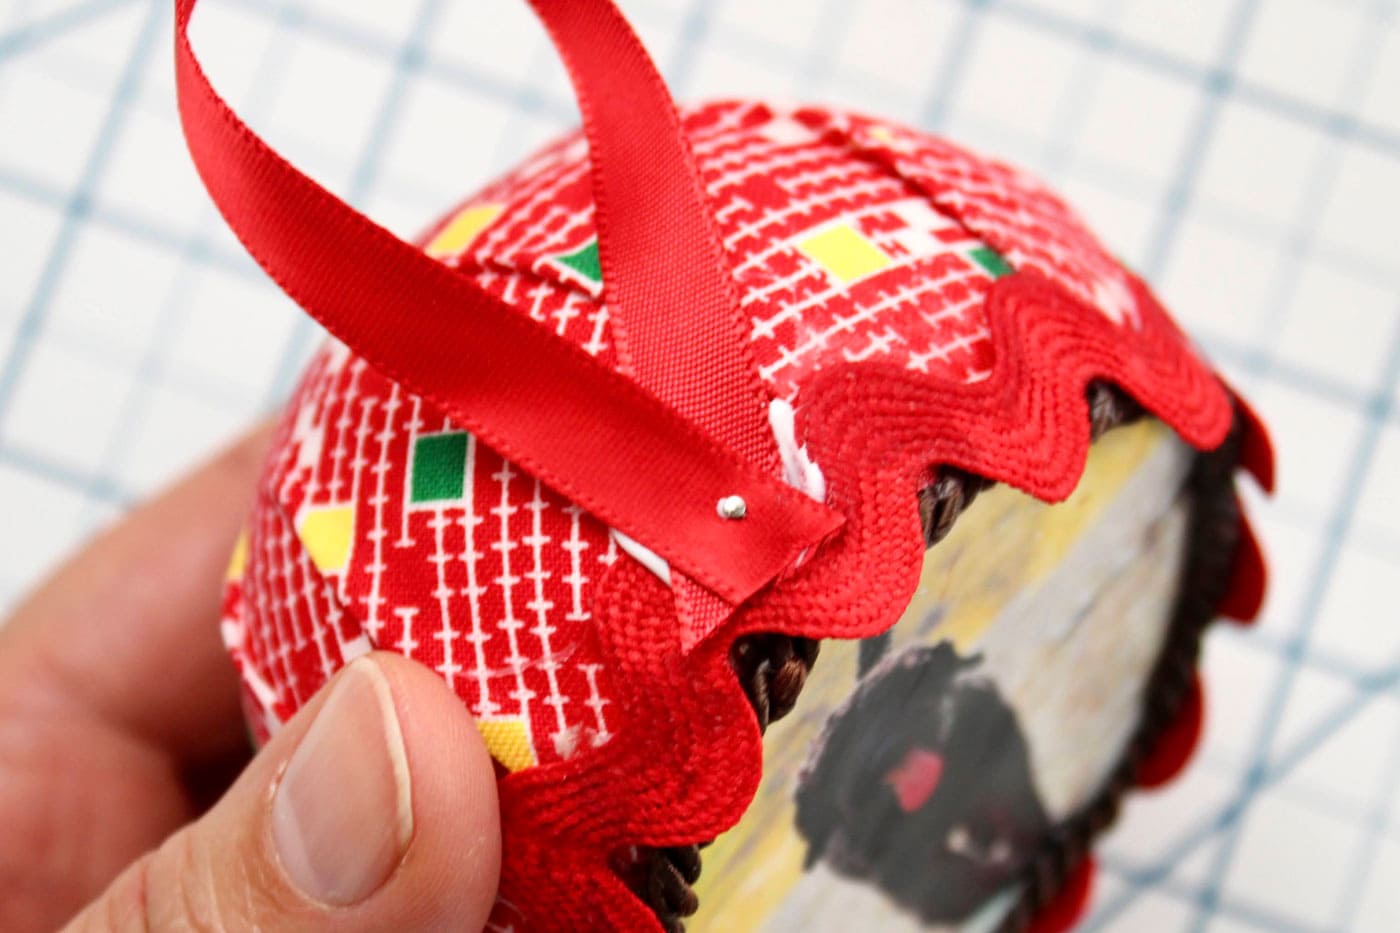
Add a drop of glue to the top of the ornament on or near the ric rac trim. Pin a small loop of ribbon into place as shown.
Add a drop of glue over the ribbon ends. Tie a little ribbon bow and pin it into place right on that drop of glue.
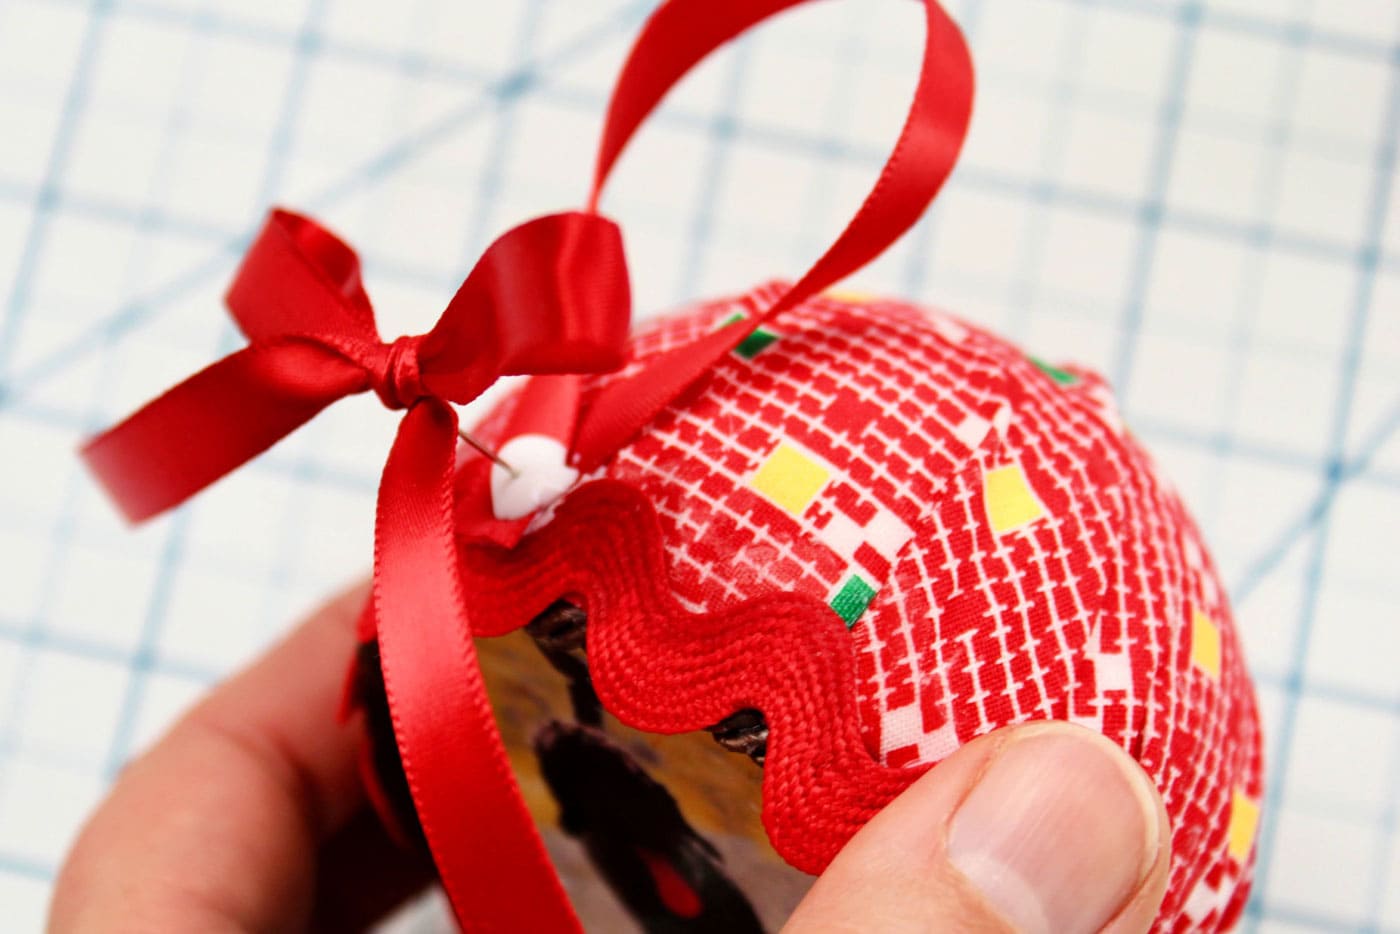
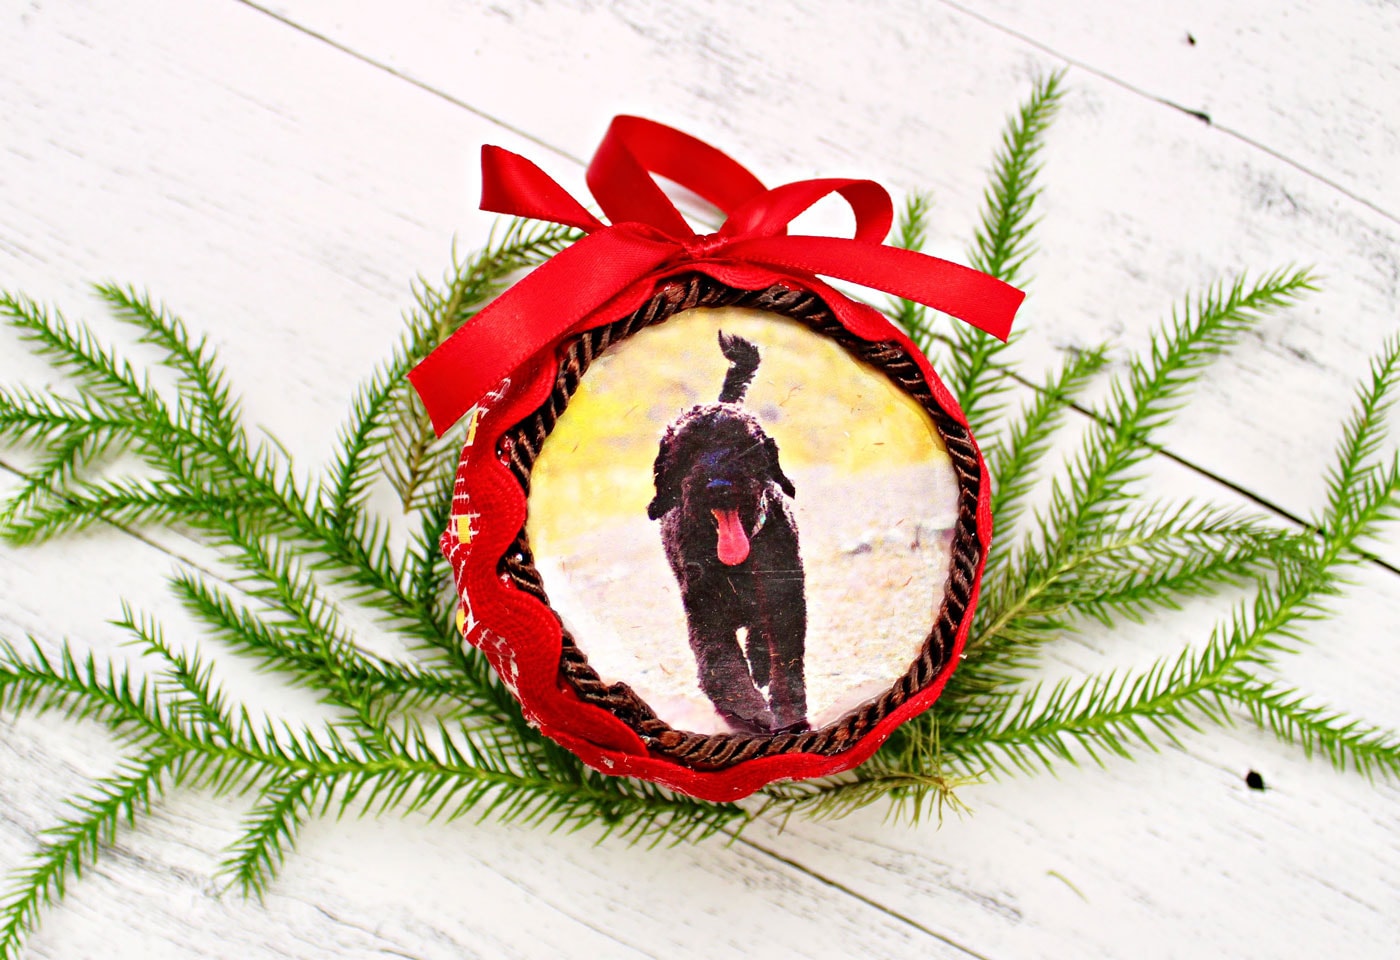
Let the glue dry, and your ornament is ready to gift or hang on the tree!
That’s all there is to it! This project is super easy, if not a little messy, and is a fun way to display photos on your tree.

Thank you so much for stopping by! I hope you’ll make your own Fabric Photo Ornaments and share them with me on Instagram @bayhillstudio. Take a moment to subscribe to my YouTube Channel and follow me on Instagram for more creative content and project inspiration. Have a blessed day!
About the Designer

Julia Frazier is the founder of Bayhill Studio. Julia designs quilts and projects geared toward beginner quilters and crafters. You’ll usually find her at her sewing machine or hiking in the nearby mountains. Follow Julia on Instagram @bayhillstudio, and subscribe to her YouTube channel for new and exciting projects and tutorials. Be sure to check out her Bayhill Studio website for a growing list of tutorials and patterns.
Also by Julia
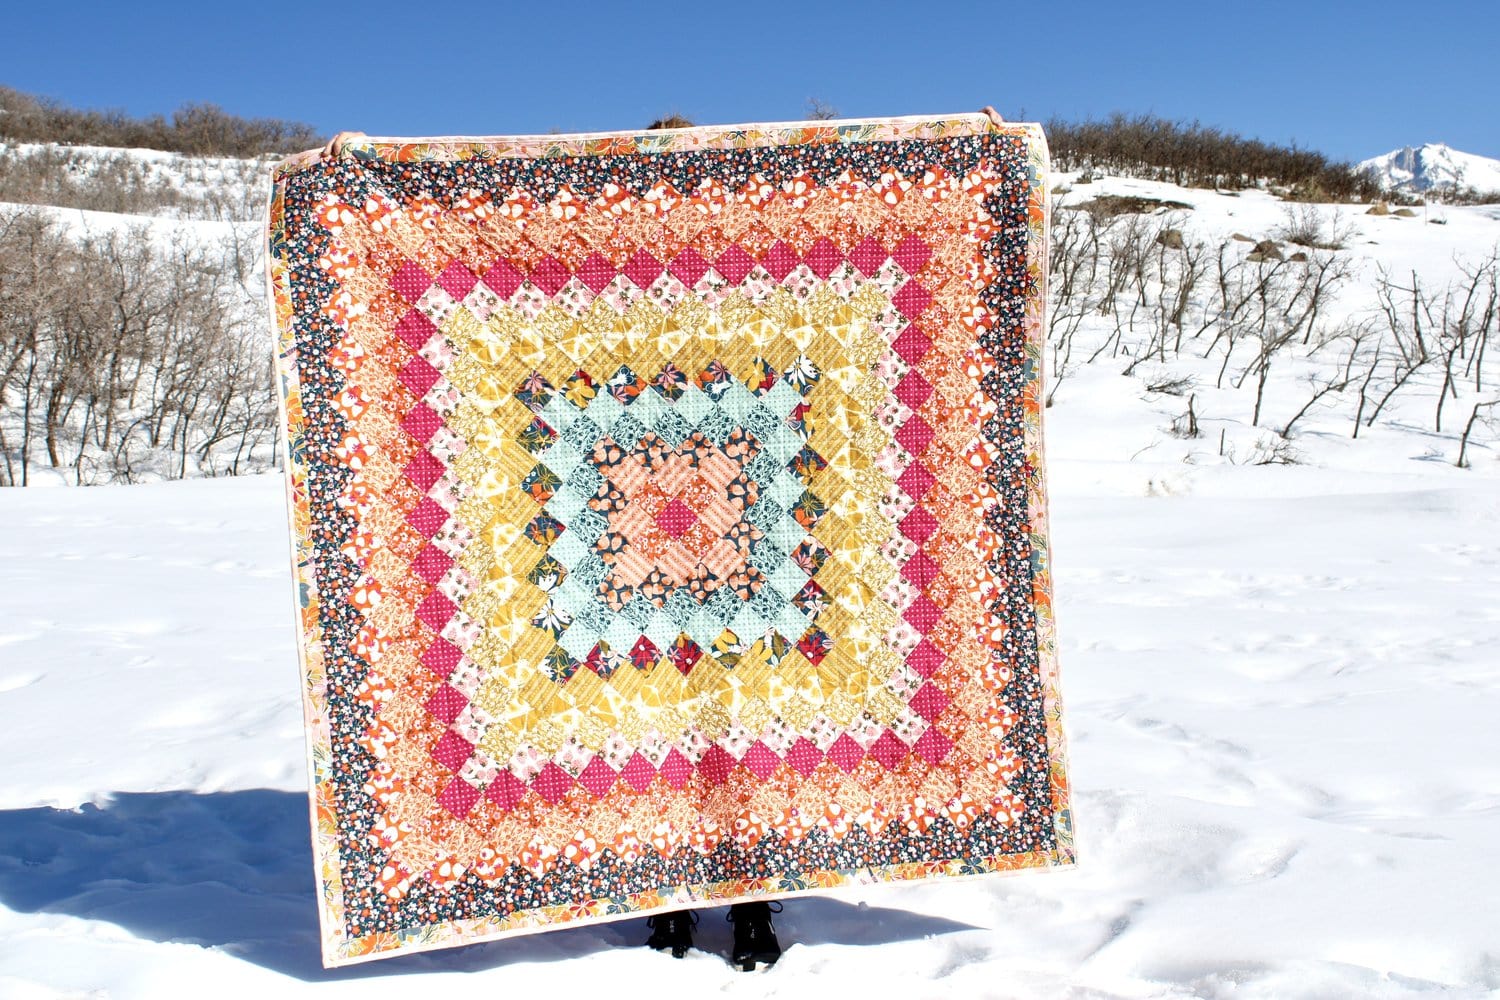
Giant Granny Square Trip Around the World Quilt