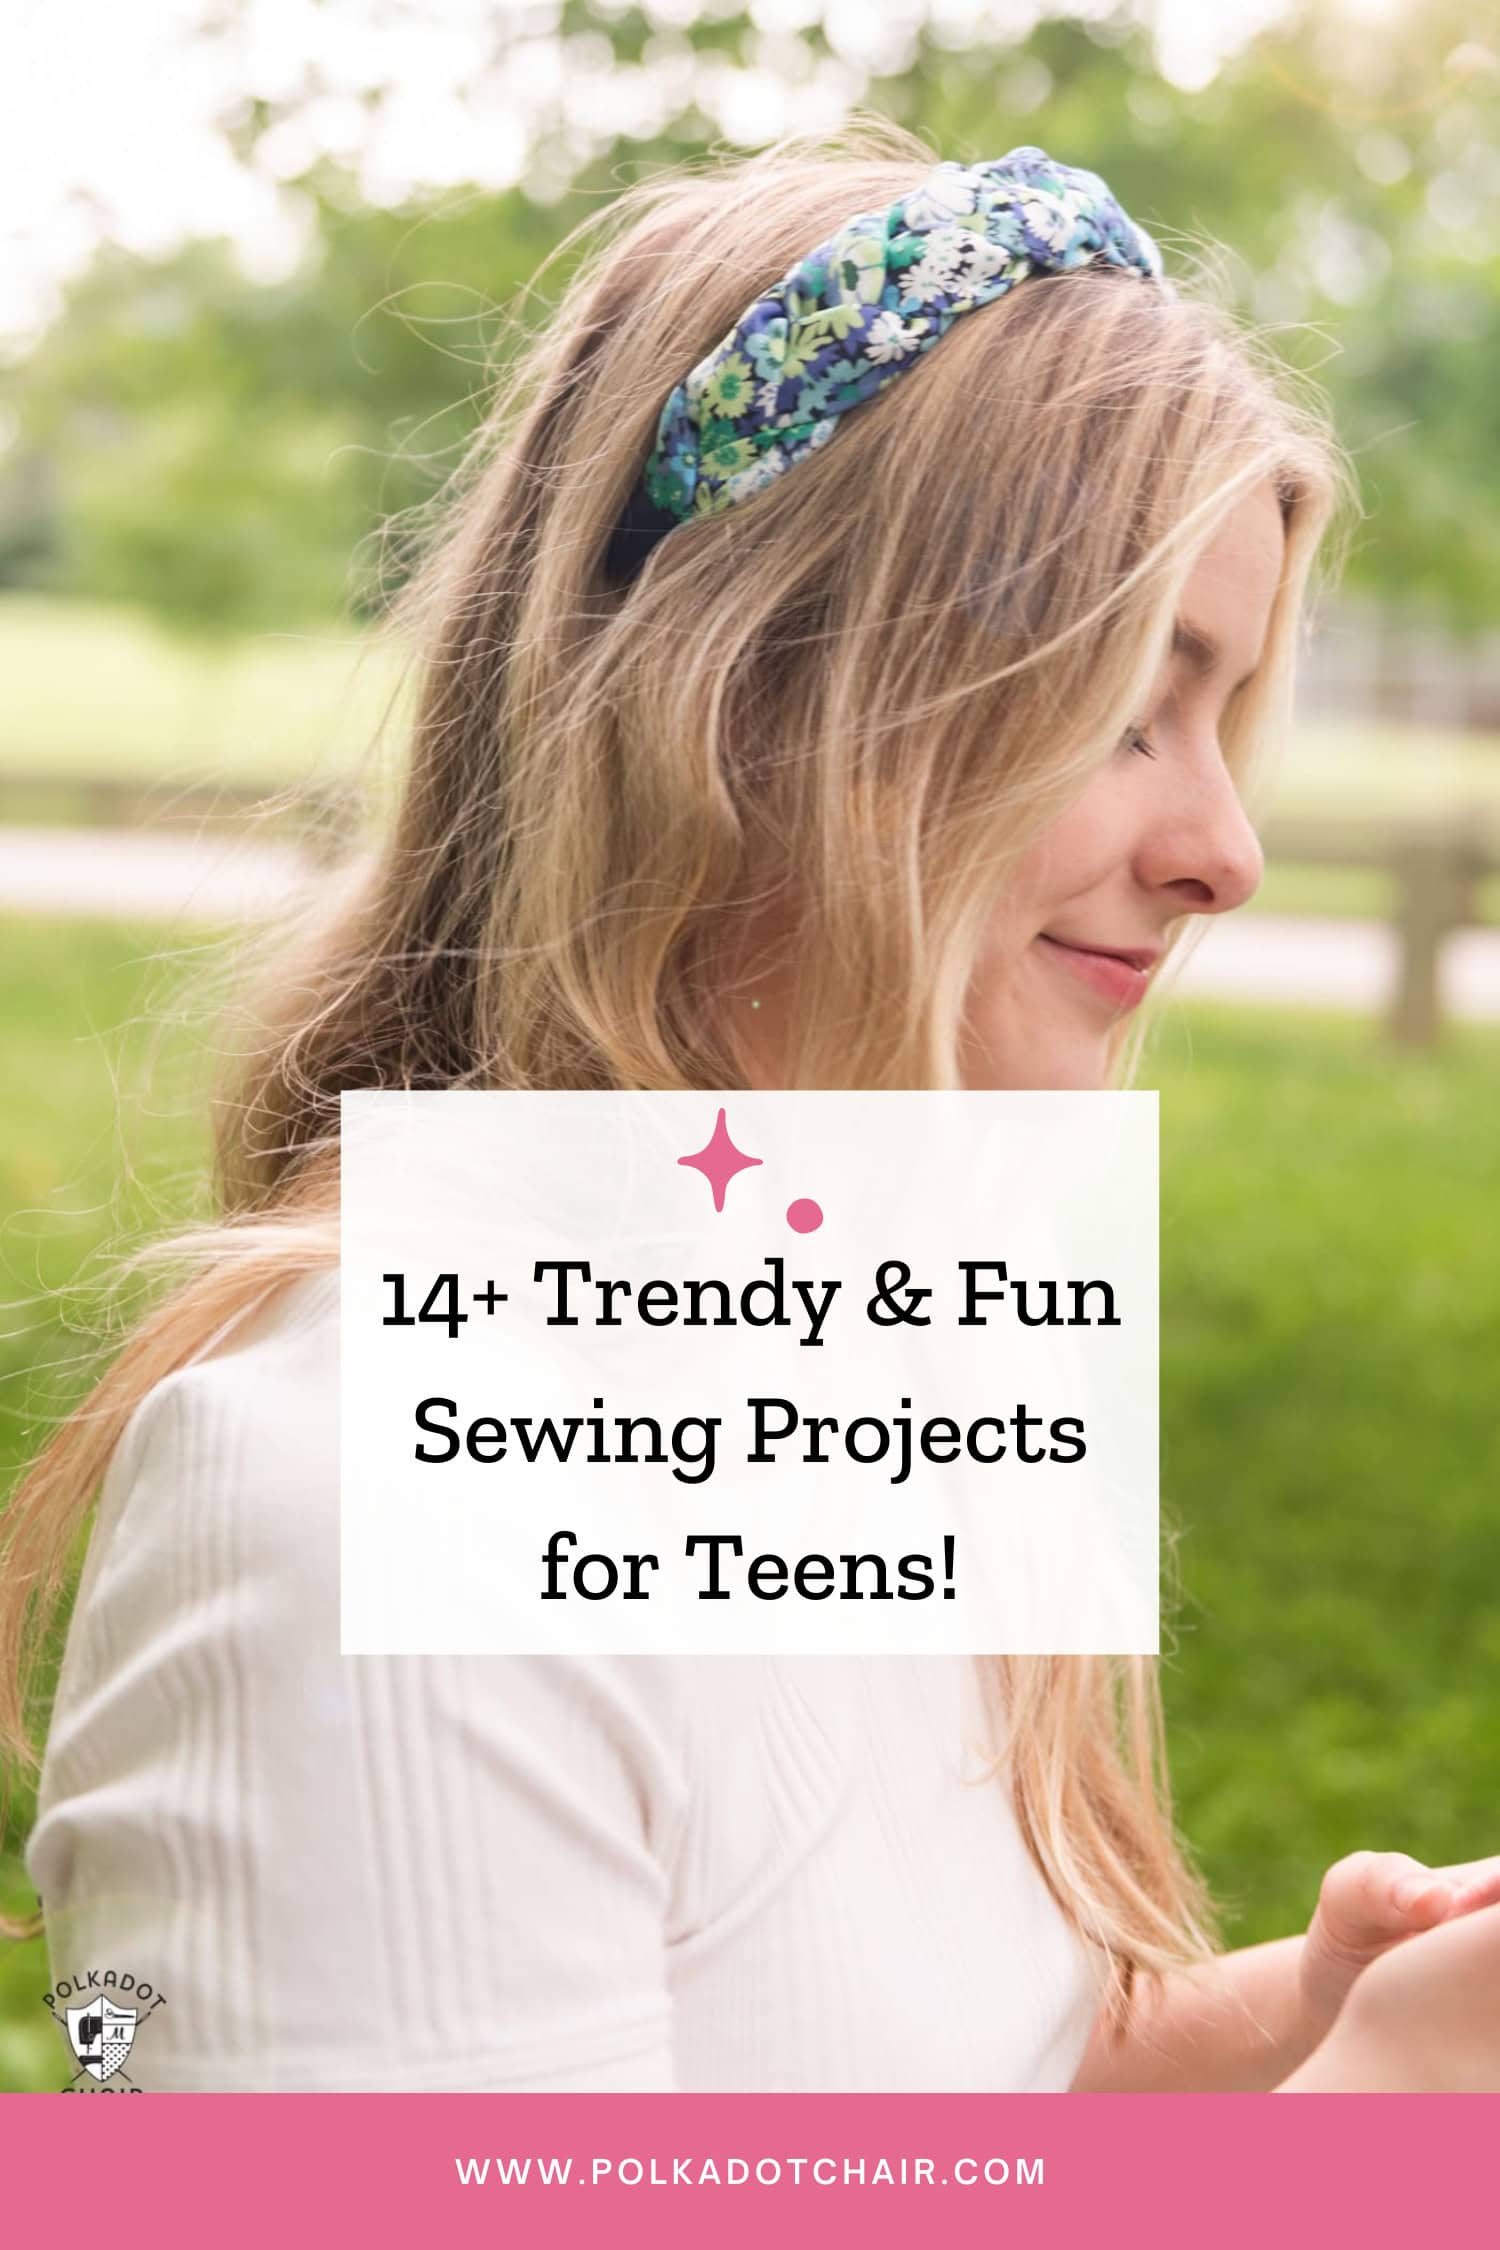
Tutorial: Charming Gathered Table Runner

After I finished up my last Moda Bake Shop Project (to be posted in March), I had a bunch of charm squares left over and knew that I could not let them go to waste! If they get put in my “scrap bucket” they are likely to sit there forever, so I thought I’d make this easy table runner.

This table runner is made from the new Sherbet Pips line, yardage is not out yet, but I have seen pre-cuts for sale.
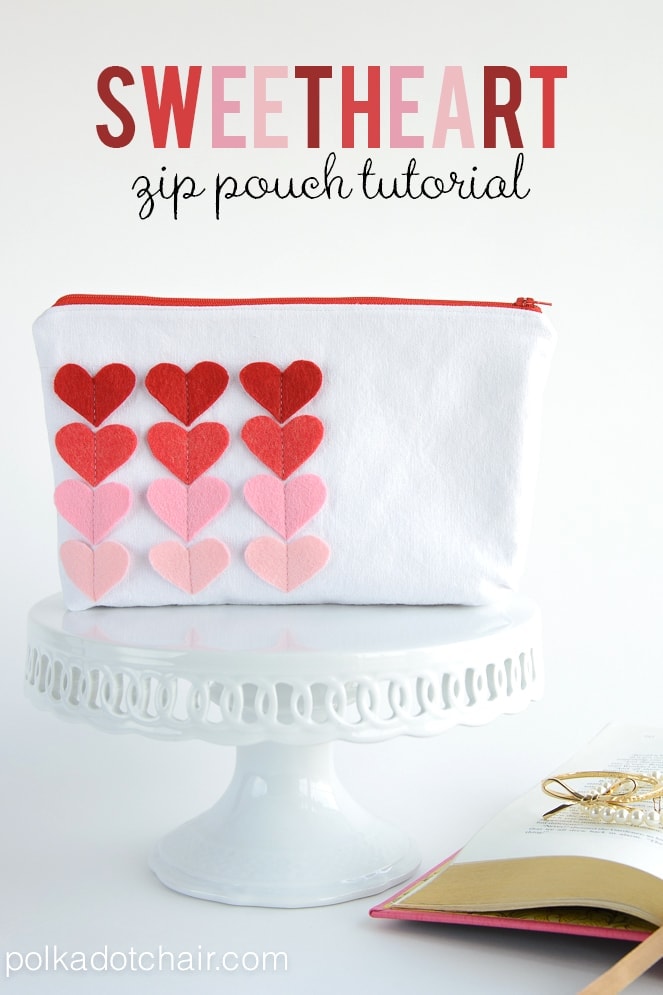
At first I was going to appliqué the hearts onto the center, then I realized that I would like to use this runner until Spring, and the hearts make it too Valentiney to me. So instead I attached them with buttons! That way after Valentine’s day I can just take off the hearts and leave the runner out longer. You could do the same thing with a Christmas runner. I think I’m going to do the same thing for Easter.

I thought that gathering the charm squares gave it a fun twist!

Okay now onto the tutorial!
You will need:
1/2 yd fabric for backing
1/2 yd white batting (I use quilters dream cotton)
3 Jelly Roll strips for binding
2 buttons
6 Jelly Roll strips cut to 14″ long. (or if you don’t have Jelly Roll strips, cut white fabric to 2.5″ x 14″)
1-2 Charm packs (buy 2 if you are picky about which prints to put in your runner) from those charm packs pick out:
12 Charm Squares in color 1
12 Charm Squares in color 2
3 Charm Squares in color 3 (for center)
2 Charms for Hearts

To begin:
Sew 6 charm squares together 4 times… soo… you will have
2 rows of 6 RED charm squares
2 rows of 6 GREY charm squares (or whatever color scheme you choose).
Sew 3 charm squares together of color 3 (in my case white).
Press seams OPEN. (it will make it easier to gather).

Beginning with your grey charm row, run 2 rows of gathering stitches down each long side of your row.
Pull up on gathering threads and pin to one of your 14″ white strips. Sew.

Repeat with a 2nd white strip on the other side of your grey row.
Press seam towards white strip.

It should look like this.
Next gather and attach your RED row and so on until all rows are sewn.
It should look like this:
ROWS
1- White Strip
2- Grey Gathered Row
3- White Strip
4- Red Gathered Row
5- White Strip
6- White Row of 3 charms that is NOT gathered (the 3 charms sewn together)
7- White Strip
8- Red Gathered Row
9- White Strip
10-Grey Gathered Row
11- White Strip
Next cut your batting and backing to 18″ x 37″ (this will give you 2″ extra to work with on each end)
Quilt and bind- if you want to see how to do this- check out my last table runner tutorial here

Next take 2 charm squares and make a “sandwich” with the charm square on top, batting in the middle and fabric on the back.
Draw a heart on with disappearing ink.
Stitch around the heart
Trim off extra

You will have 2 quilted hearts.

Stitch 2 buttons to the center of the runner, and stitch 2 button holes in the hearts.
Trim threads, press well and you’re done!
I hope you like it! Let me know what you think, it’s really easy to sew, I did it in an afternoon!

Made this for my bestie for Christmas (we both love Valentine’s day!). Forgot to get a pic before I gave it away! Sorry. This tutorial is awesome and you are so inspiring.
I love the Sherbert Pips fabric! I read her blog now too. It is really cute 🙂 And that gathering technique for the table runner is perfect. I think I will use that in my next doll quilt 🙂
This is so pretty! Love the gathered strips and the removable hearts!! I linked to your tutorial over at Craft Gossip Sewing:
http://sewing.craftgossip.com/tutorial-charming-gathered-table-runner/2011/02/13/
–Anne
I agree with Traci, the detachable heart idea is brilliant. Darling runner. Hope you have a wonderful Valentine’s Day and weekend!
Very cute! Planning on making one each of my girls to have for their birthdays. Not a huge table runner fan, but these are fun for special occasion. Very cute idea! Thanks for sharing.
Cute! Cute! Love it!
I love this. And, I really love that you made the hearts detachable because I know if I made a runner, I would want to leave it on the table for more than a month!
That is a whole lotta awesome!!! Thank you for the tutorial! Brilliant idea to put the hearts on with buttons! You could certainly add any shape to make it seasonal! Great idea!
Thanks for the inspiration. Can’t wait to make my own.
that is gorgeouse, I love it! I have never done anything ruffley, so will try my hand at it soon so I can learn something new!
Super cute!! The gathering gives it a nice twist, something extra fun.
I LOVE IT! So cute, I think this is a great tutorial for all seasons, thank you for sharing! ~Sam
so cute melissa. 🙂 I love things that are so versatile!
That’s so cute! Very effective way to show off the fabric. I’m hoping my little local quilt shop here in Romsey gets that line in so I can easily get some to make a lovely quilt.
Love it! No pun intended. I love the ruched effect. Must be put on my to-do list. 🙂
I have never been a fan of table runners…but if I had one that looked like that I think I would be. I love it!!!
Adorable! Thank you so much for the tutorial!