How to Use Cricut SportFlex Iron-On & Free Ballet SVG Files
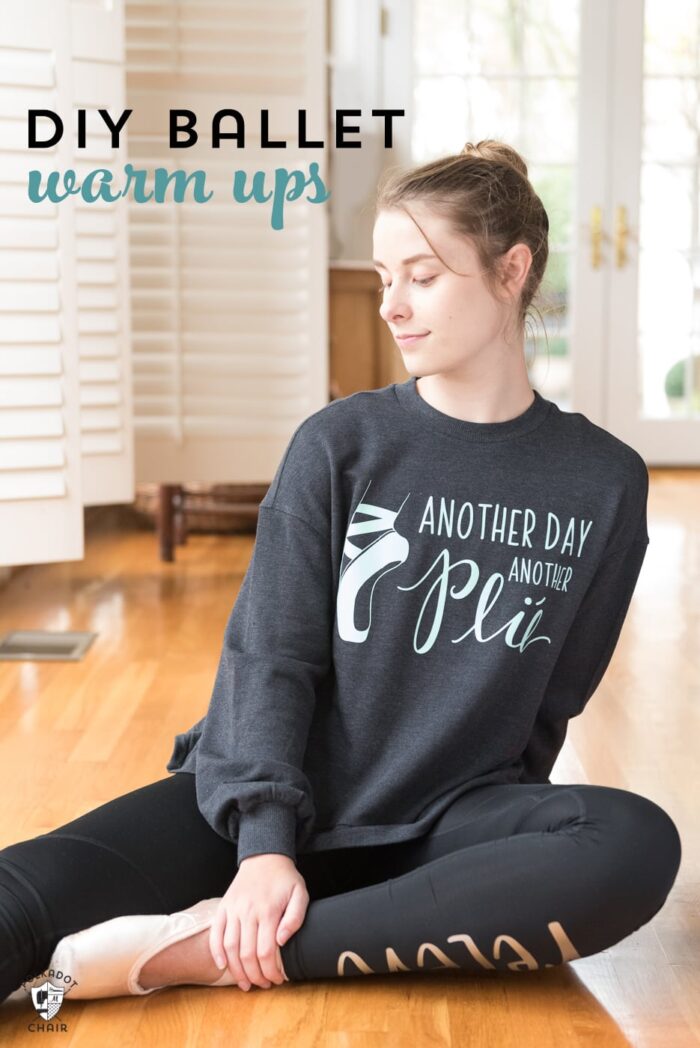
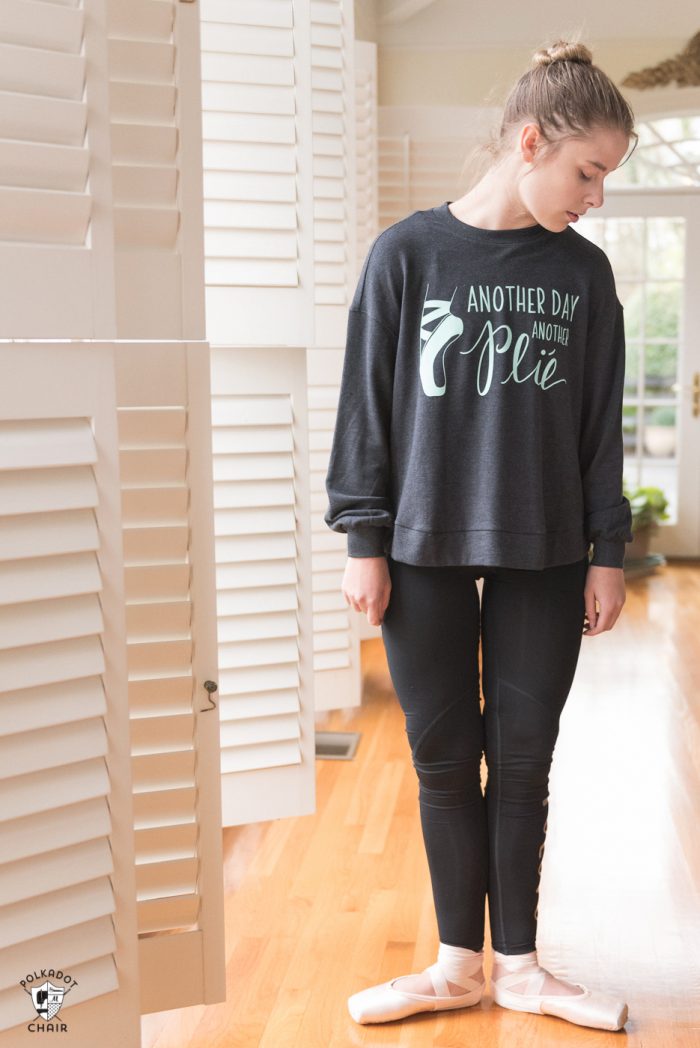
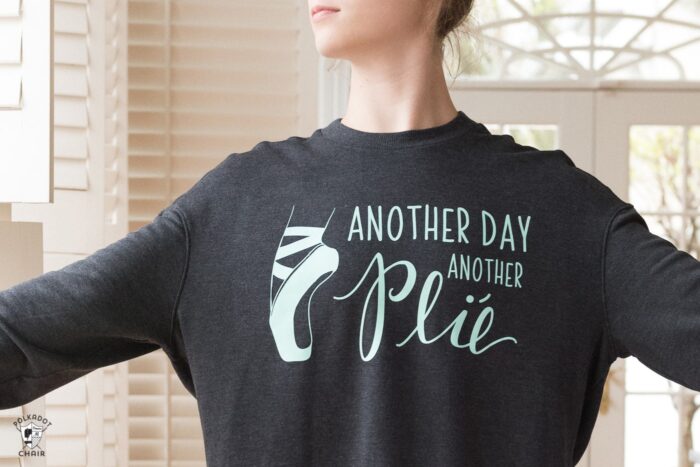
Today I’m excited to be sharing another fun Cricut Iron-On project with you. My daughter and I collaborated to create these DIY Ballet Warm-Ups, and have even included a set of hand-lettered Ballet SVG files for you to use. I am also going to teach you how to use Cricut SportFlex Iron-On. This post is sponsored by Cricut. I’m thrilled to be working with a company that I love and whose products I use on a regular basis!
Recently I’ve discovered that my youngest daughter has a talent for hand lettering. She’s also quite the dancer and has been practicing Ballet since she was 3 years old.
This year she decided to move to a more challenging Ballet studio to see if dance is something that she’d like to pursue in college or beyond (long story short, she realized she doesn’t want to).
Ballet Themed SVG Files for Cricut Machines
I’ve always used my kids to help me design the projects that I offer on this site. I think they have a unique perspective and, most of the time, think of things MUCH better than what I would have dreamt up by myself. They helped me design the Harry Potter pencil pouch iron-ons from last summer and our Disney Halloween t-shirts and costumes.
Since she’s our resident ballerina and an expert hand-letterer (is that a word LOL!?) I decided to draft her into the family business. She helped me to create the images for this post! I had fun collaborating with her.
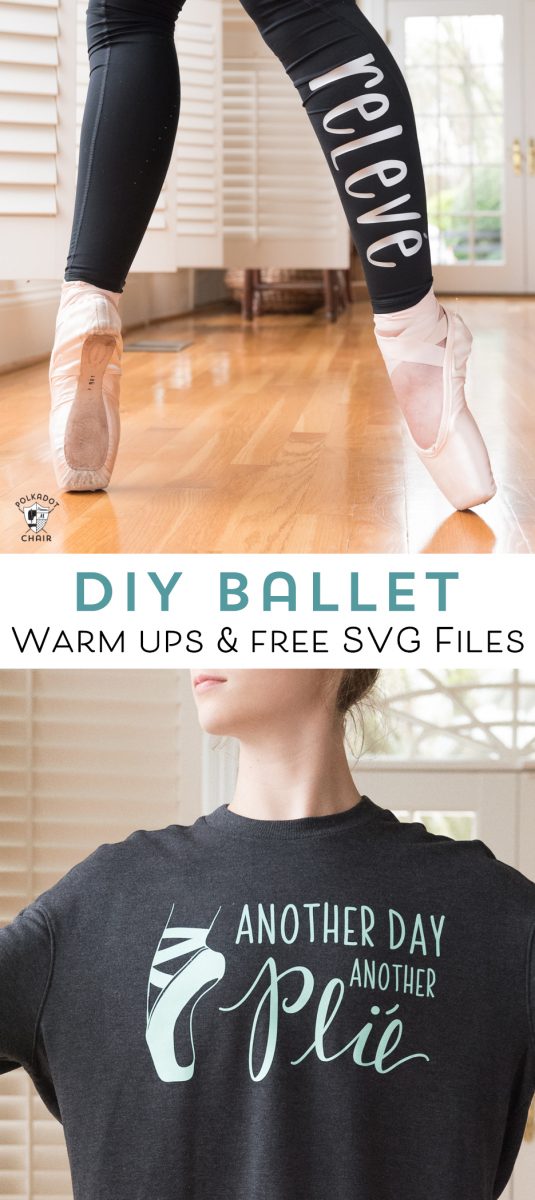
We bounced ideas back and forth for sayings for the ballet warm-ups. She’d tell me when something was a stupid idea or if it was too overdone. In the end, we came up with 3 designs that we are really excited about. She drew the ballet shoes and did the hand lettering herself! I think I may have found a new employee!
Working with Cricut SportFlex Iron-On
I’ve used my Cricut to make iron-on for tee shirts for years. I’ve played around with their different materials so when Cricut introduced their new SportFlex iron I got soooo excited. I have been using the Lite Iron-On on exercise clothes and have not had bad results, and was intrigued that there was something designed JUST for that type of material.
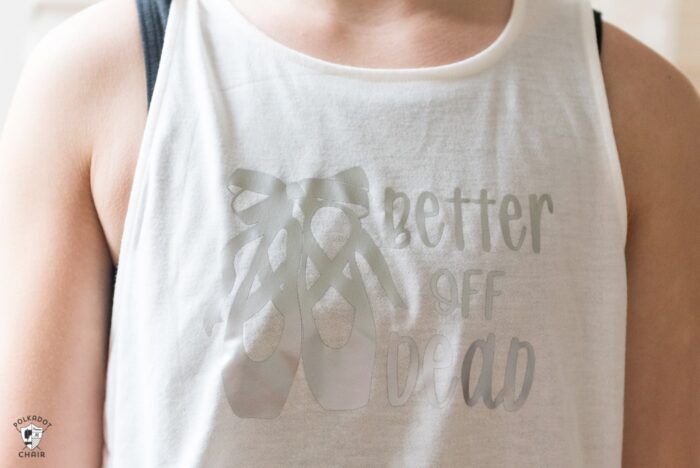
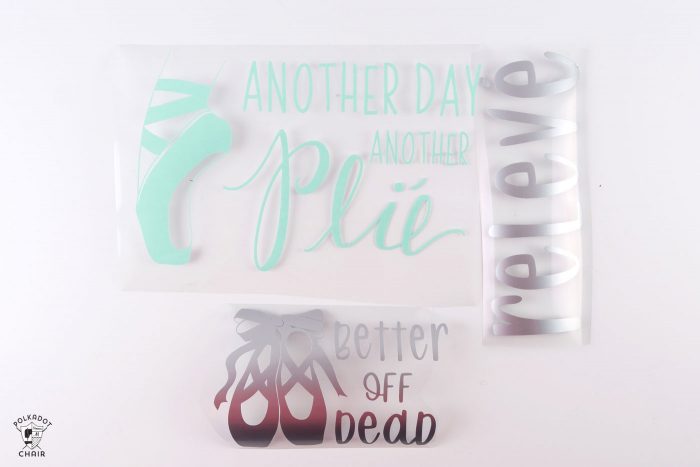
(for those of you wondering why her shirt says “better off dead”… when you wear out your pointe shoes you say they are “dead”, so it’s a reference to dancing so much that you wear out your shoes all the time)

Cricut sent me a sample pack of SportFlex to play around with and let me tell you, I’m hooked!! This stuff is so cool. Last week while I was finishing up today’s project my husband walked in and asked me where I bought the sweatshirt! It looked so good he didn’t think I made it. SCORE!
Frequently Asked Questions about SportFlex
How is the SportFlex Iron-On Different?
Well, it’s designed to stretch for one. It’s also designed specifically for polyester and nylon fabrics. Which, are the types of fabrics you see most often in exercise clothing. It’s meant to adhere in a way to help it stand up to multiple washings.
What would you use SportFlex for?
Today, I’m going to show you how I made these DIY Ballet Warm-Ups, you can also make anything else “sport” related. Think jerseys for a kid’s sports team, iron-on for sports bags and duffles. Backpacks, Decorating your leggings, or even Halloween costumes made from polyester or nylon fabrics. I can think of a million uses.
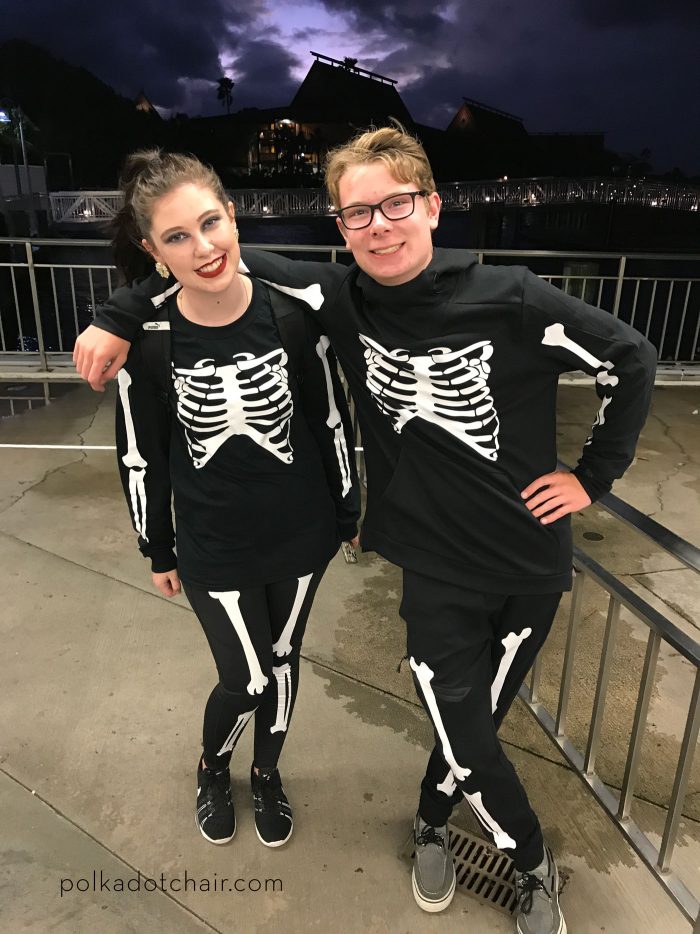
(our kids Halloween costumes for the Disney World party last Fall, we used regular iron-on but the SportFlex would have been AMAZING for this!)
Many people have been using it to create their personalized running gear. Since I’m not the least athletic, I thought I’d use it to make ballet clothes for my daughter. However, I do have a fun idea to use it for “running” themed items that I’ll share later next month.
Using SportFlex with a Cricut EasyPress:
Cricut has also recently released a mat specifically designed to work with the EasyPress (if you keep wondering what in the world I’m talking about when I mention the EasyPress, you can CLICK here to read all about the machine and my review of it).
Since the EasyPress is designed to deliver a precise amount of heat in a precise location, the foundation on which it’s placed when ‘doing its thing’ matters. You want a material that keeps the heat on the iron-on, not passing through it.
Ironing boards, designed to pull the heat out of an iron (and your clothes), are not ideal for use with the EasyPress. Cricut recommends using either a folded towel or an EasyPress Mat.
What is the EasyPress Mat?
It’s a mat that is lightweight, it protects your surface from the EasyPress heat and ensures that the heat goes where it was designed to go, to the iron-on itself and.. just as a side note, it works pretty great to keep by your sewing machine to press quilt blocks!
Okay, enough talk; let’s get to the tutorial!
How to Use Cricut SportFlex Iron-On:
Supplies for the Custom Ballet Warm-Ups:
Sources are linked:
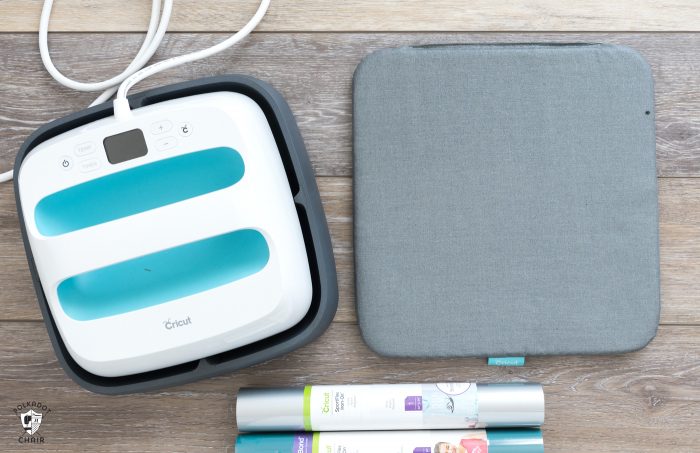
- Cricut Machine, Explore or later – I use a Maker Machine
- Cricut EasyPress
- EasyPress Mat
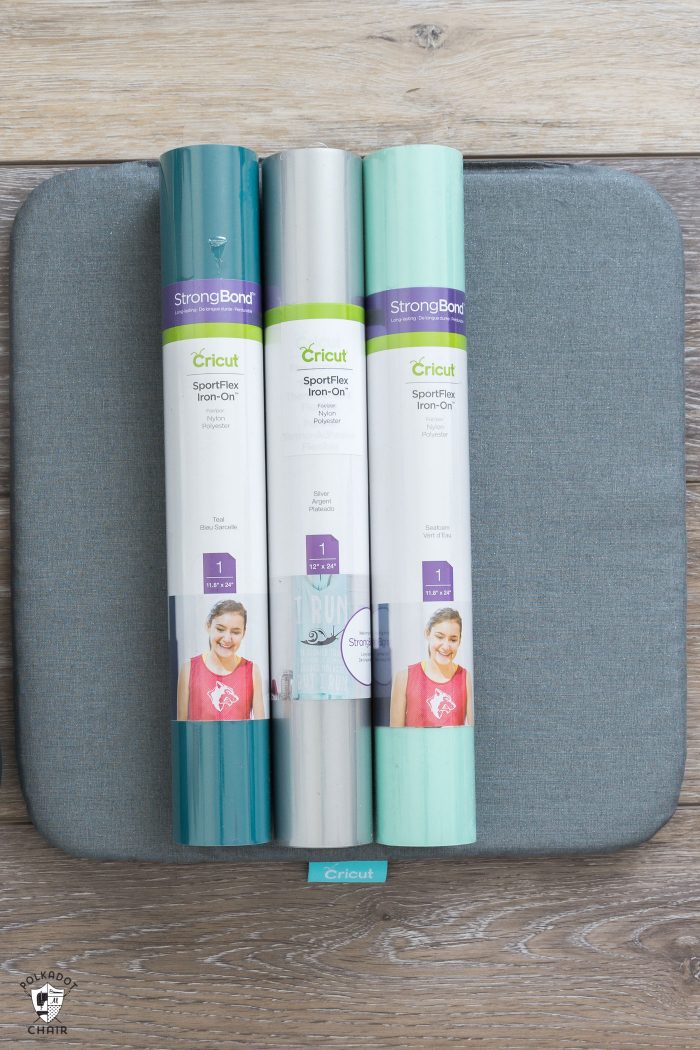
- Cricut SportFlex Iron-On
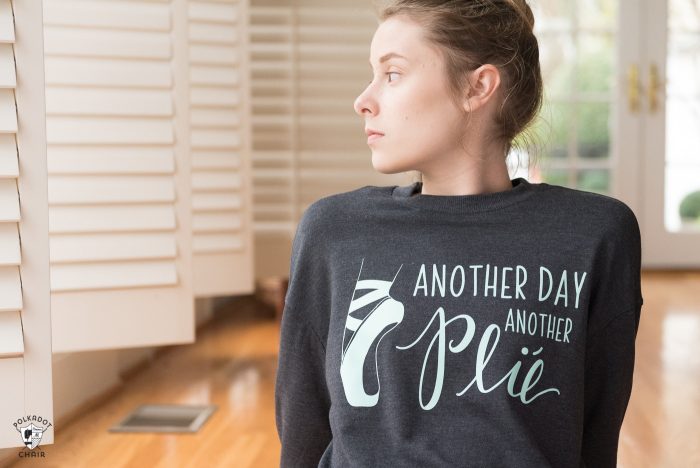
- Another Day Another Plie´ Ballet SVG File
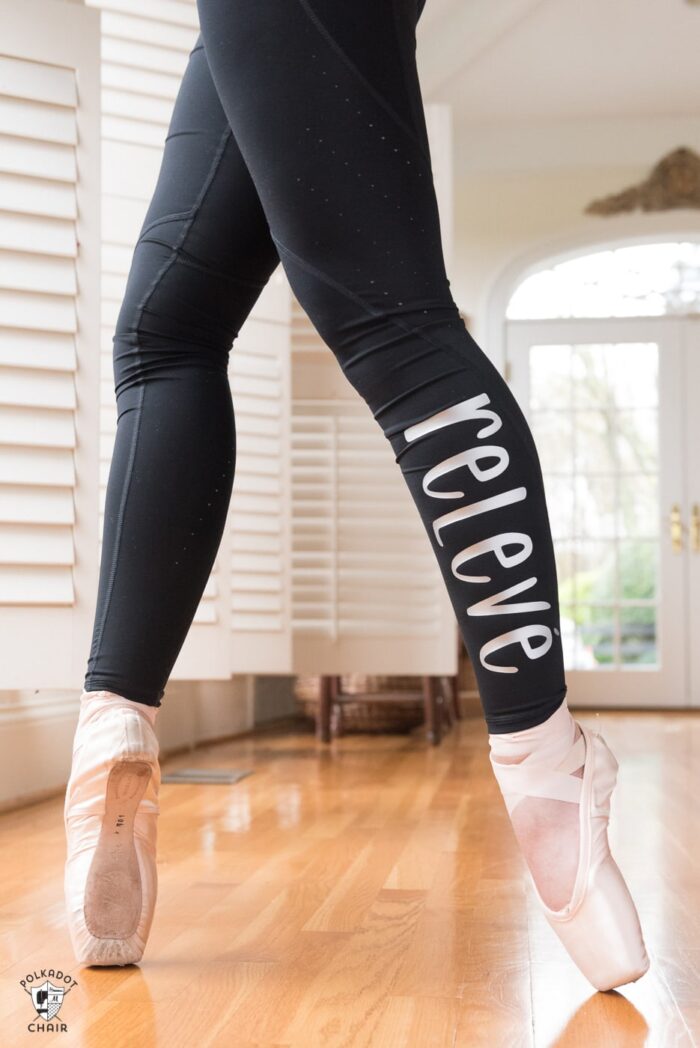
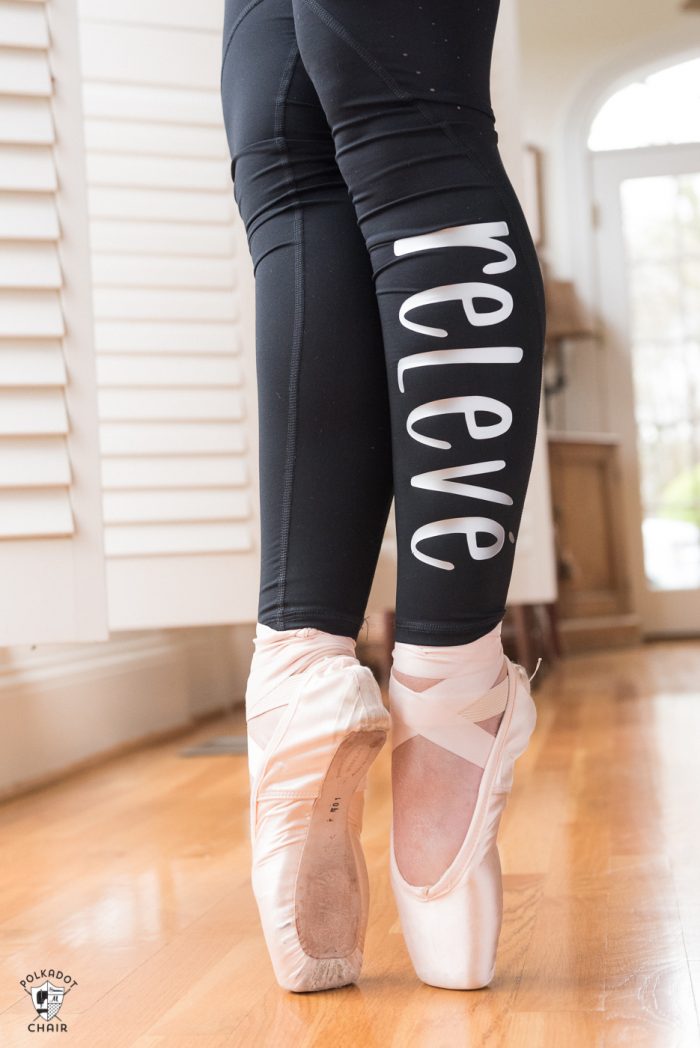
- Releve´ Ballet SVG File
- Ballet Shoes SVG file with “better off dead”
- Sweatshirt
- Tank Top
- Leggings
Instructions to use the Ballet SVG Files:
Download the Files by following the instructions below:
Cricut SVG File: Note: all files in the Library are for personal use only. You may not sell items you make with the files. To get these files into the Cricut Design space, you need to visit OUR CRICUT LIBRARY and follow the directions. When prompted, select the button and save the file as an SVG to your computer. Please do not open it in a new window. It will load as an image, not an SVG. Next, go to the Cricut Design Space page with your browser. Select NEW when the screen pops up; select IMAGE. Then select – upload. Upload the image you obtained. It’s ready to use in Design Space!
Just a note: these are just for personal use, you can’t make stuff to sell with them.
Step One: Import the SVG Files into Design Space
Open the Cricut Design Space and click UPLOAD then upload the file. Give it a name and insert it into your canvas in the design space.
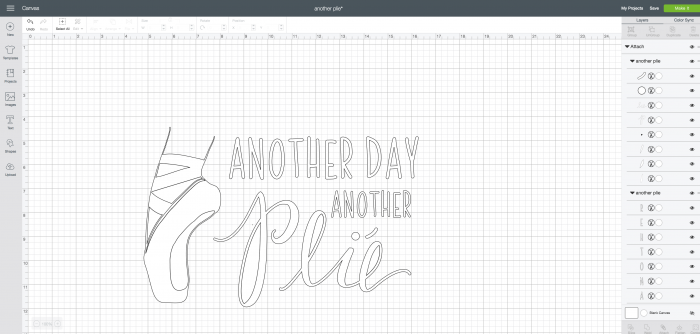
The files always come in as black, I like to change them to white so that I can see the cut lines better- click on the circle next to the item on the far right-hand side and change the color from black to white.
Size the image as you’d like. Then using your mouse, highlight the entire image and click ATTACH in the lower right-hand corner. This will make sure that your image cuts just the way you see it on the screen.
Step Two: Prepare the Cricut Mat & Cut Out
Load the SportFlex onto the mat, shiny side down. Then click MAKE It on your screen. Select “mirror image for iron on” on the screen.
On the next screen, select SportFlex iron-on. Then load the mat into the machine and let it do the work!
Eject the mat from the machine and remove the excess iron-on – this process is referred to as weeding.
Tip:
I like to cut the carrier sheet around the iron, close to the edge, just to make it easier to handle.
What Settings do you use on the EasyPress for SportFlex Iron-On?

(here’s a handy chart to print out to use, just right-click and select, Open image in a new tab, then print from there).
Step Three: Applying Iron to Clothing
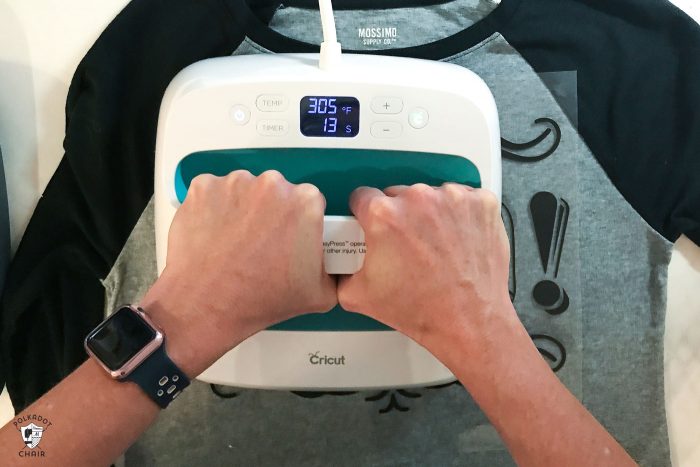
Next, place the item to which you are applying the iron-on on the EasyPress mat. Make sure it’s flat and free of wrinkles. My sweatshirt was polyester, so I set my EasyPress to 305 and 30 seconds. If you don’t have the mat, NO WORRIES, a folded towel works great!
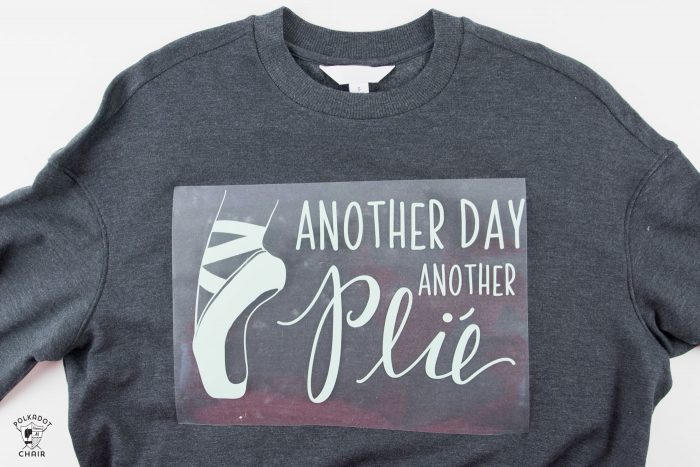
I then pre-heated my sweatshirt by placing the EasyPress on it for 5 seconds.
Next, I placed my image on my sweatshirt and then made sure that my EasyPress Mat was right under the design. I then put a piece of parchment paper OVER the iron on. Since my fabric was polyester and I didn’t know how it would react to the direct heat of the EasyPress, I used a pressing sheet a barrier. You can also use a Teflon sheet. You just don’t want to melt your fabric with your EasyPress!
After the EasyPress, I flipped my sweatshirt over and pressed it for 15 more seconds on the back.
Then I just pulled off the plastic carrier sheet, and VOILA! A sweatshirt!
How to Add Iron-On to Leggings
I followed the same instructions for both the leggings and the tank top.
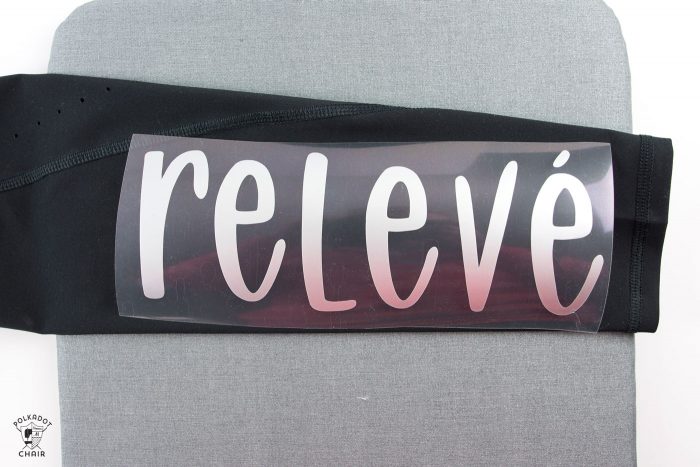

Just look how well that’s holding up on those leggings! Stretch and all!!
I’m sure you can tell by the number of Cricut Iron-On posts this month that I’m pretty much obsessed. It’s so fun for me to think of an idea for a t-shirt or a tote bag and be able to make it myself! My kids love it too and are starting to come up with ideas of their own, they are even starting to use the machine themselves.
You may also like these Cricut Projects:
Free Sewing Room SVG Files (to decorate your quilt rulers!)
How to DIY a Vintage Soda Crate
How to make your own Disney Cruise T-Shirts & Tote Bags
This is a sponsored conversation written by me on behalf of Cricut. The opinions and text are all mine.