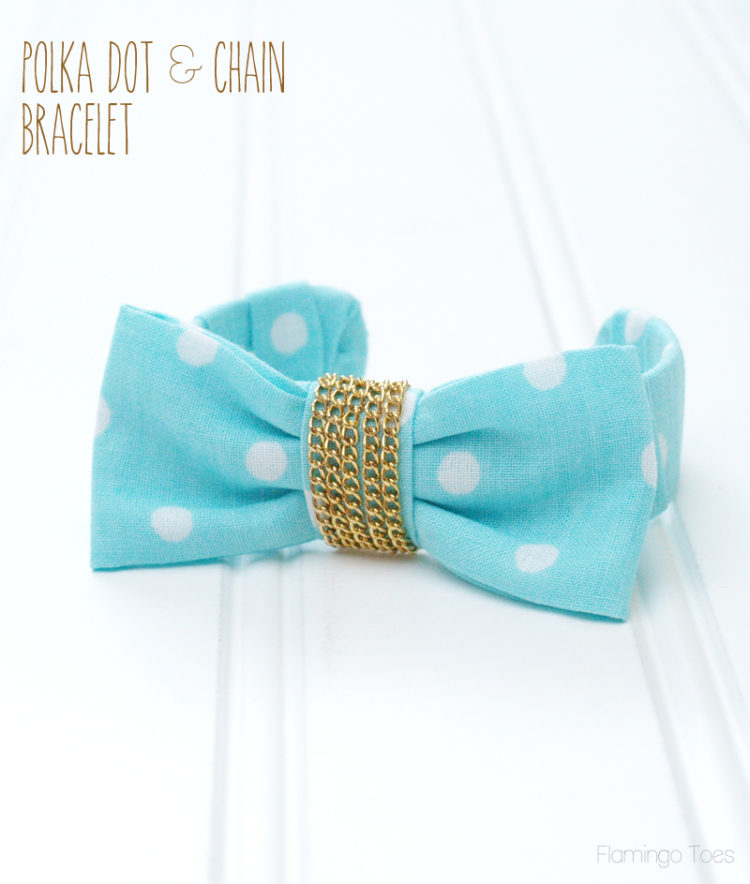
DIY Polka Dot Chain Bracelet by Flamingo Toes
Hello Polka Dot Chair readers! My name is Bev and I blog over at Flamingo Toes.

I am so excited to be here for Project Polkadot! This is such a fun series – I have already added a ton of projects to my to-do list!
This Spring I have been all about the color combo of mint and gold – I’ve kind of gone a little crazy making things with that combo. I just can’t seem to stop though. So I thought it would be fun to bring those colors to today’s project – along with some Polkadots of course!
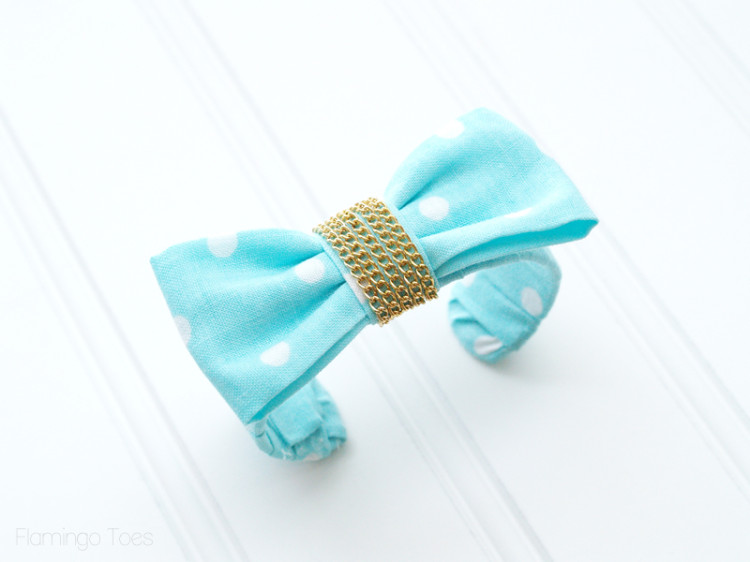
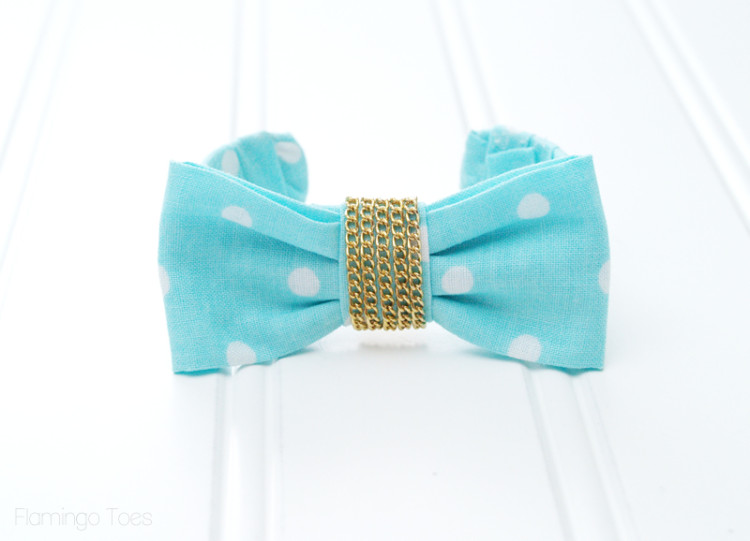
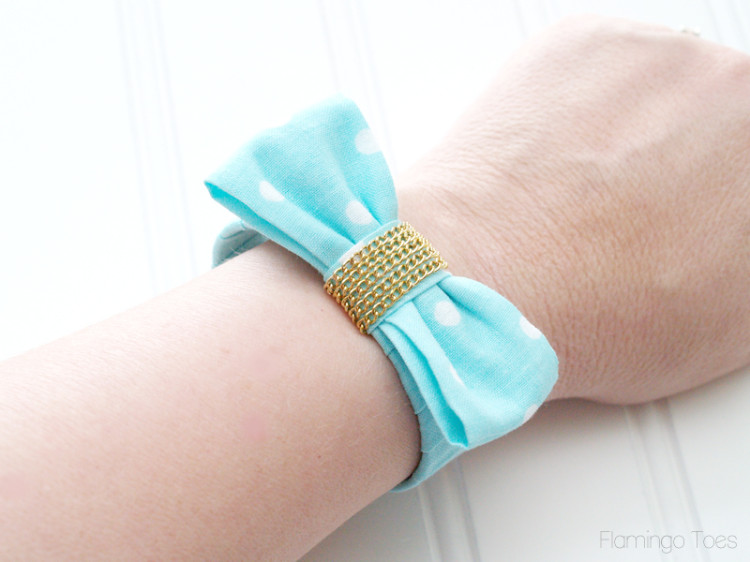
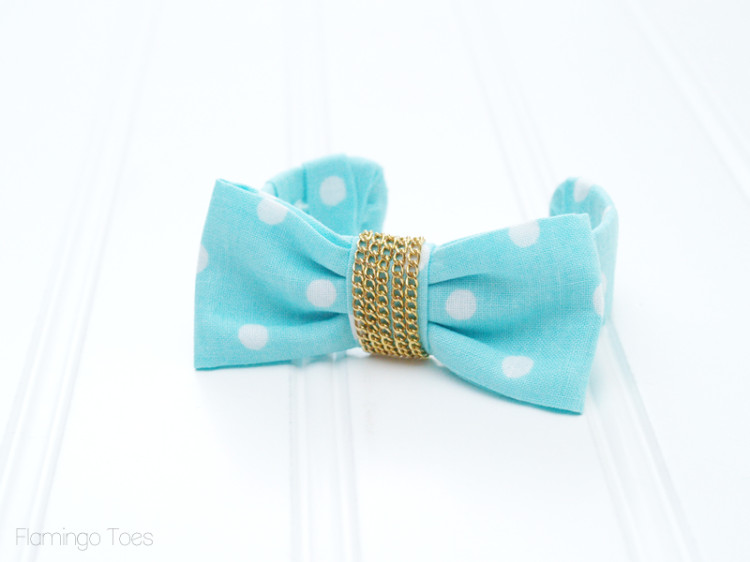
So today I’m sharing this yummy new Polkadot and Chain Bracelet.
This sweet bracelet is super easy to make! Just some fabric and chain and a bracelet blank and you have a fun new accessory for Spring.
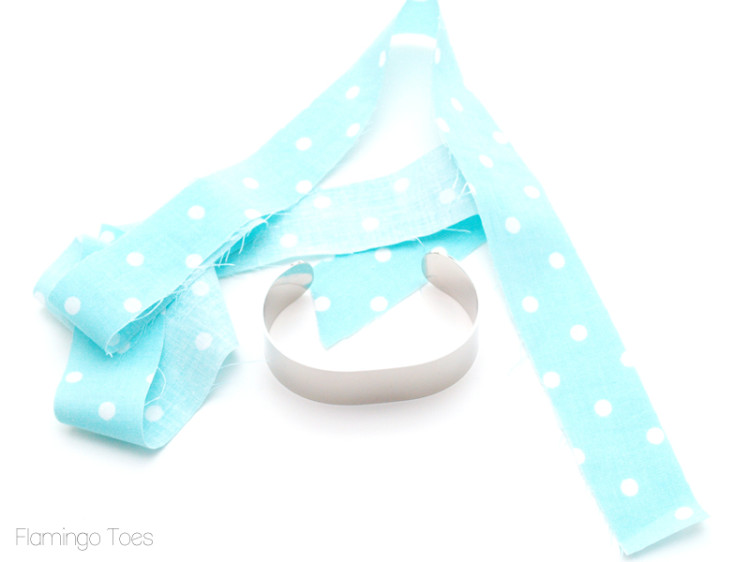
Here’s what you’ll need to make one up!
- small amount of fabric (Polkadots optional but highly preferred)
- gold chain
- bracelet blank
- needle and thread
- glue
Start by cutting a long strip of fabric about 2″ wide.
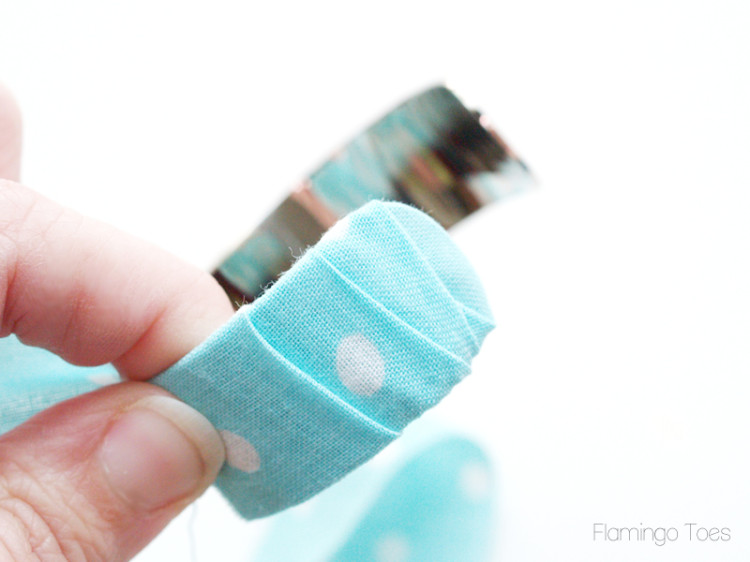
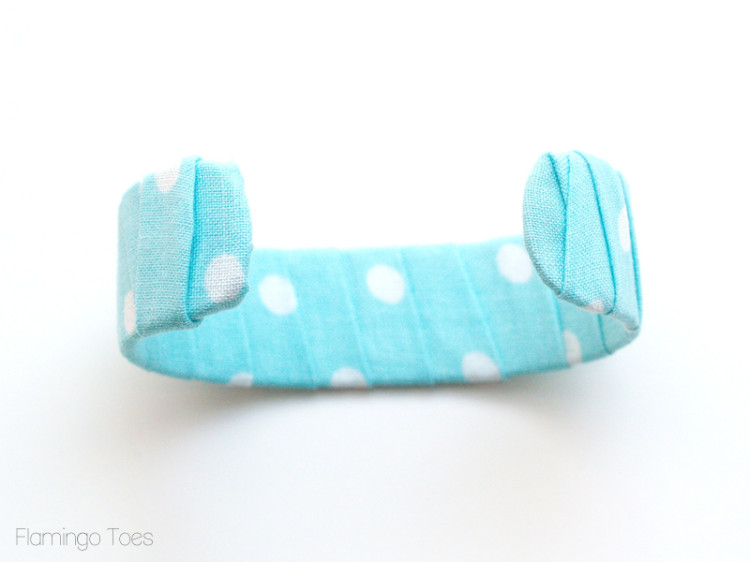
Wrap the end of the fabric in half around the end of the cuff, then begin wrapping the fabric around the bracelet blank. I folded one end in but you could leave the edges raw if you prefer.
Continue wrapping until the entire cuff is covered – making sure that the other end is wrapped. Fold the end under and glue or sew down.
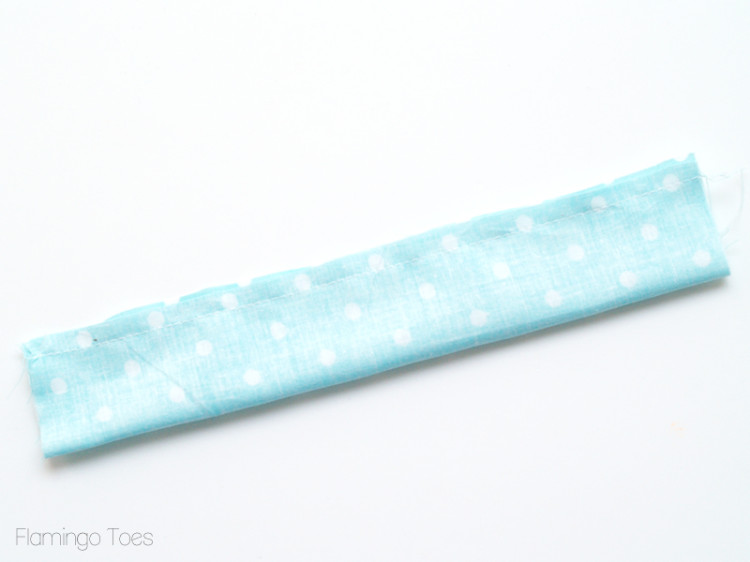
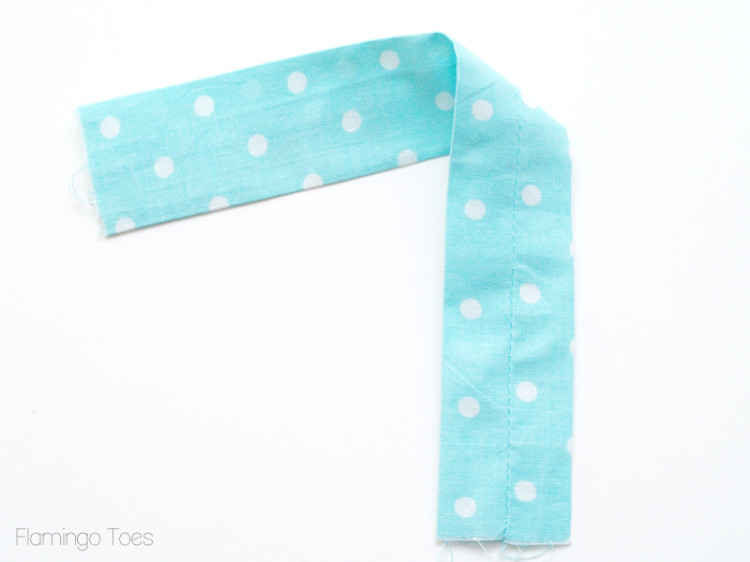
Cut another length of fabric, twice the length and width you’d like your bow. My finished bow is about 2 1/2″ by 1 1/2″. Fold the fabric in half wrong sides together and sew down the long side.
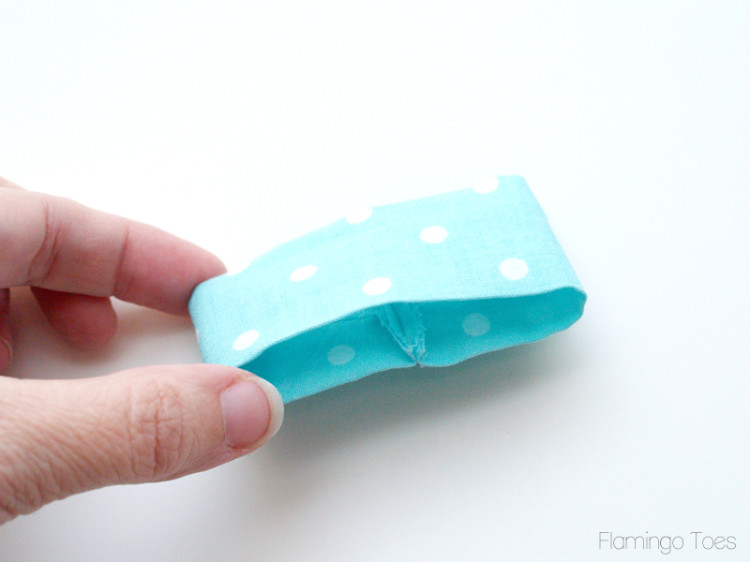
Turn the tube right side out and press the seam in the center.
Bring the two short ends together and sew. Press the seam open and flip it to the inside.
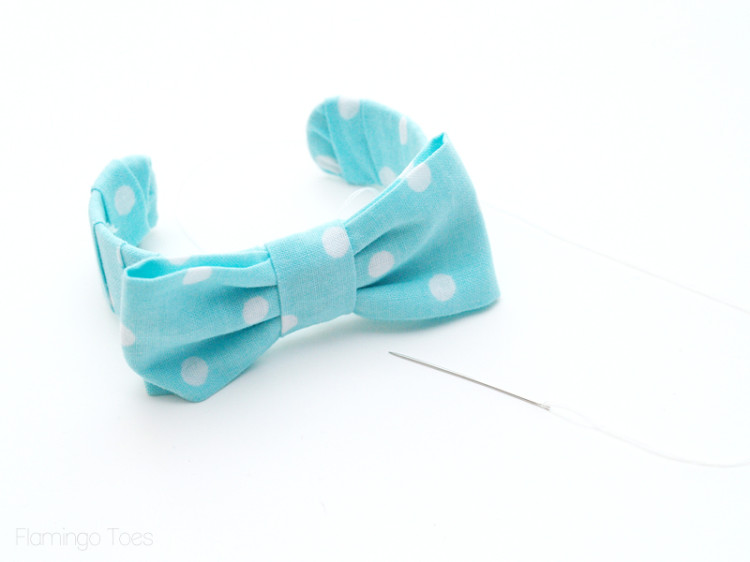
Cut one last short strip of fabric – about 2″ x 4″. Place the bow on top of the cuff. Fold the long sides of your center piece under and wrap them around the bow and the cuff. Overlap the ends under on the back side and sew down by hand.
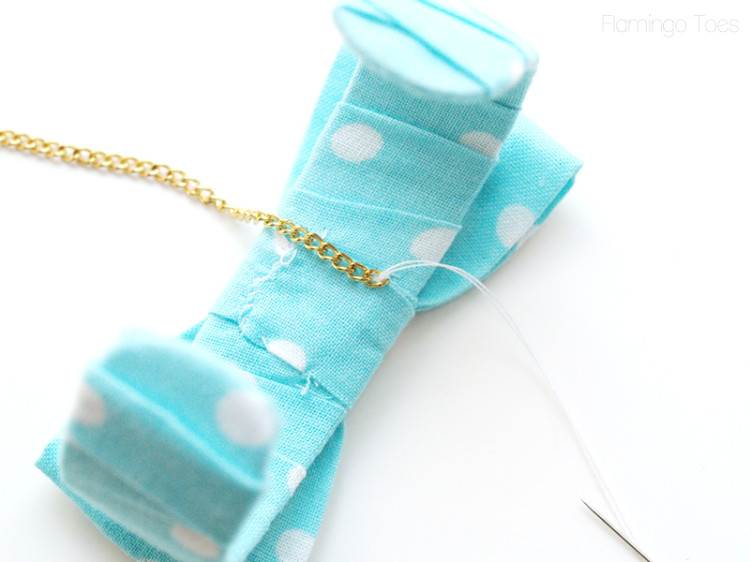
Take the end of your small gold chain and sew the first link to the back of the cuff, on the side of the bow center.
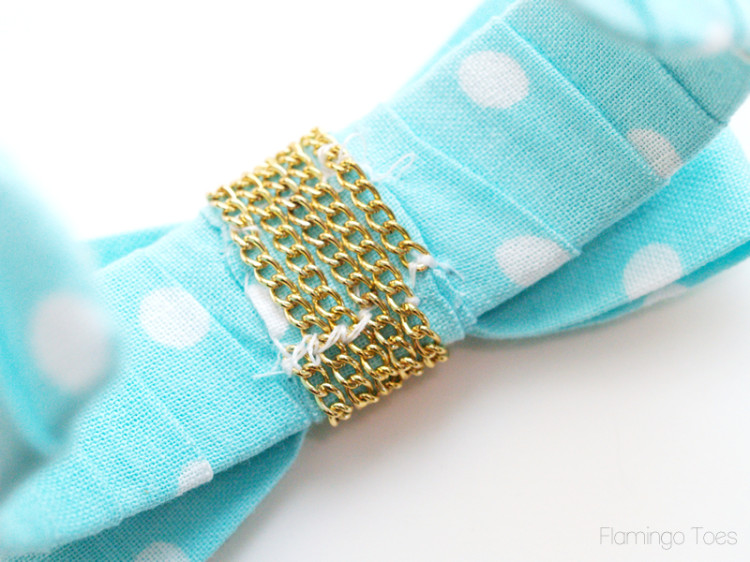
Wrap the chain around the bow center as many times as you’d like. Tack the chain down each time it goes around, this will keep it from slipping around when you wear the bracelet.
And that’s it! You now have a super cute new bracelet = just perfect for Spring!
I hope you give it a try!
I’d love for you to come over and visit Flamingo Toes. Here’s a couple of my favorite projects but you can check them all out on my Tutorials Page!
Thanks so much for including me in the series Melissa!
______________________________
Thank you so much Bev! Man, you guys are all killing it this month with your polka dot projects! This is another one to add to my list!!! I’m in love, bows AND polka dots?!?

