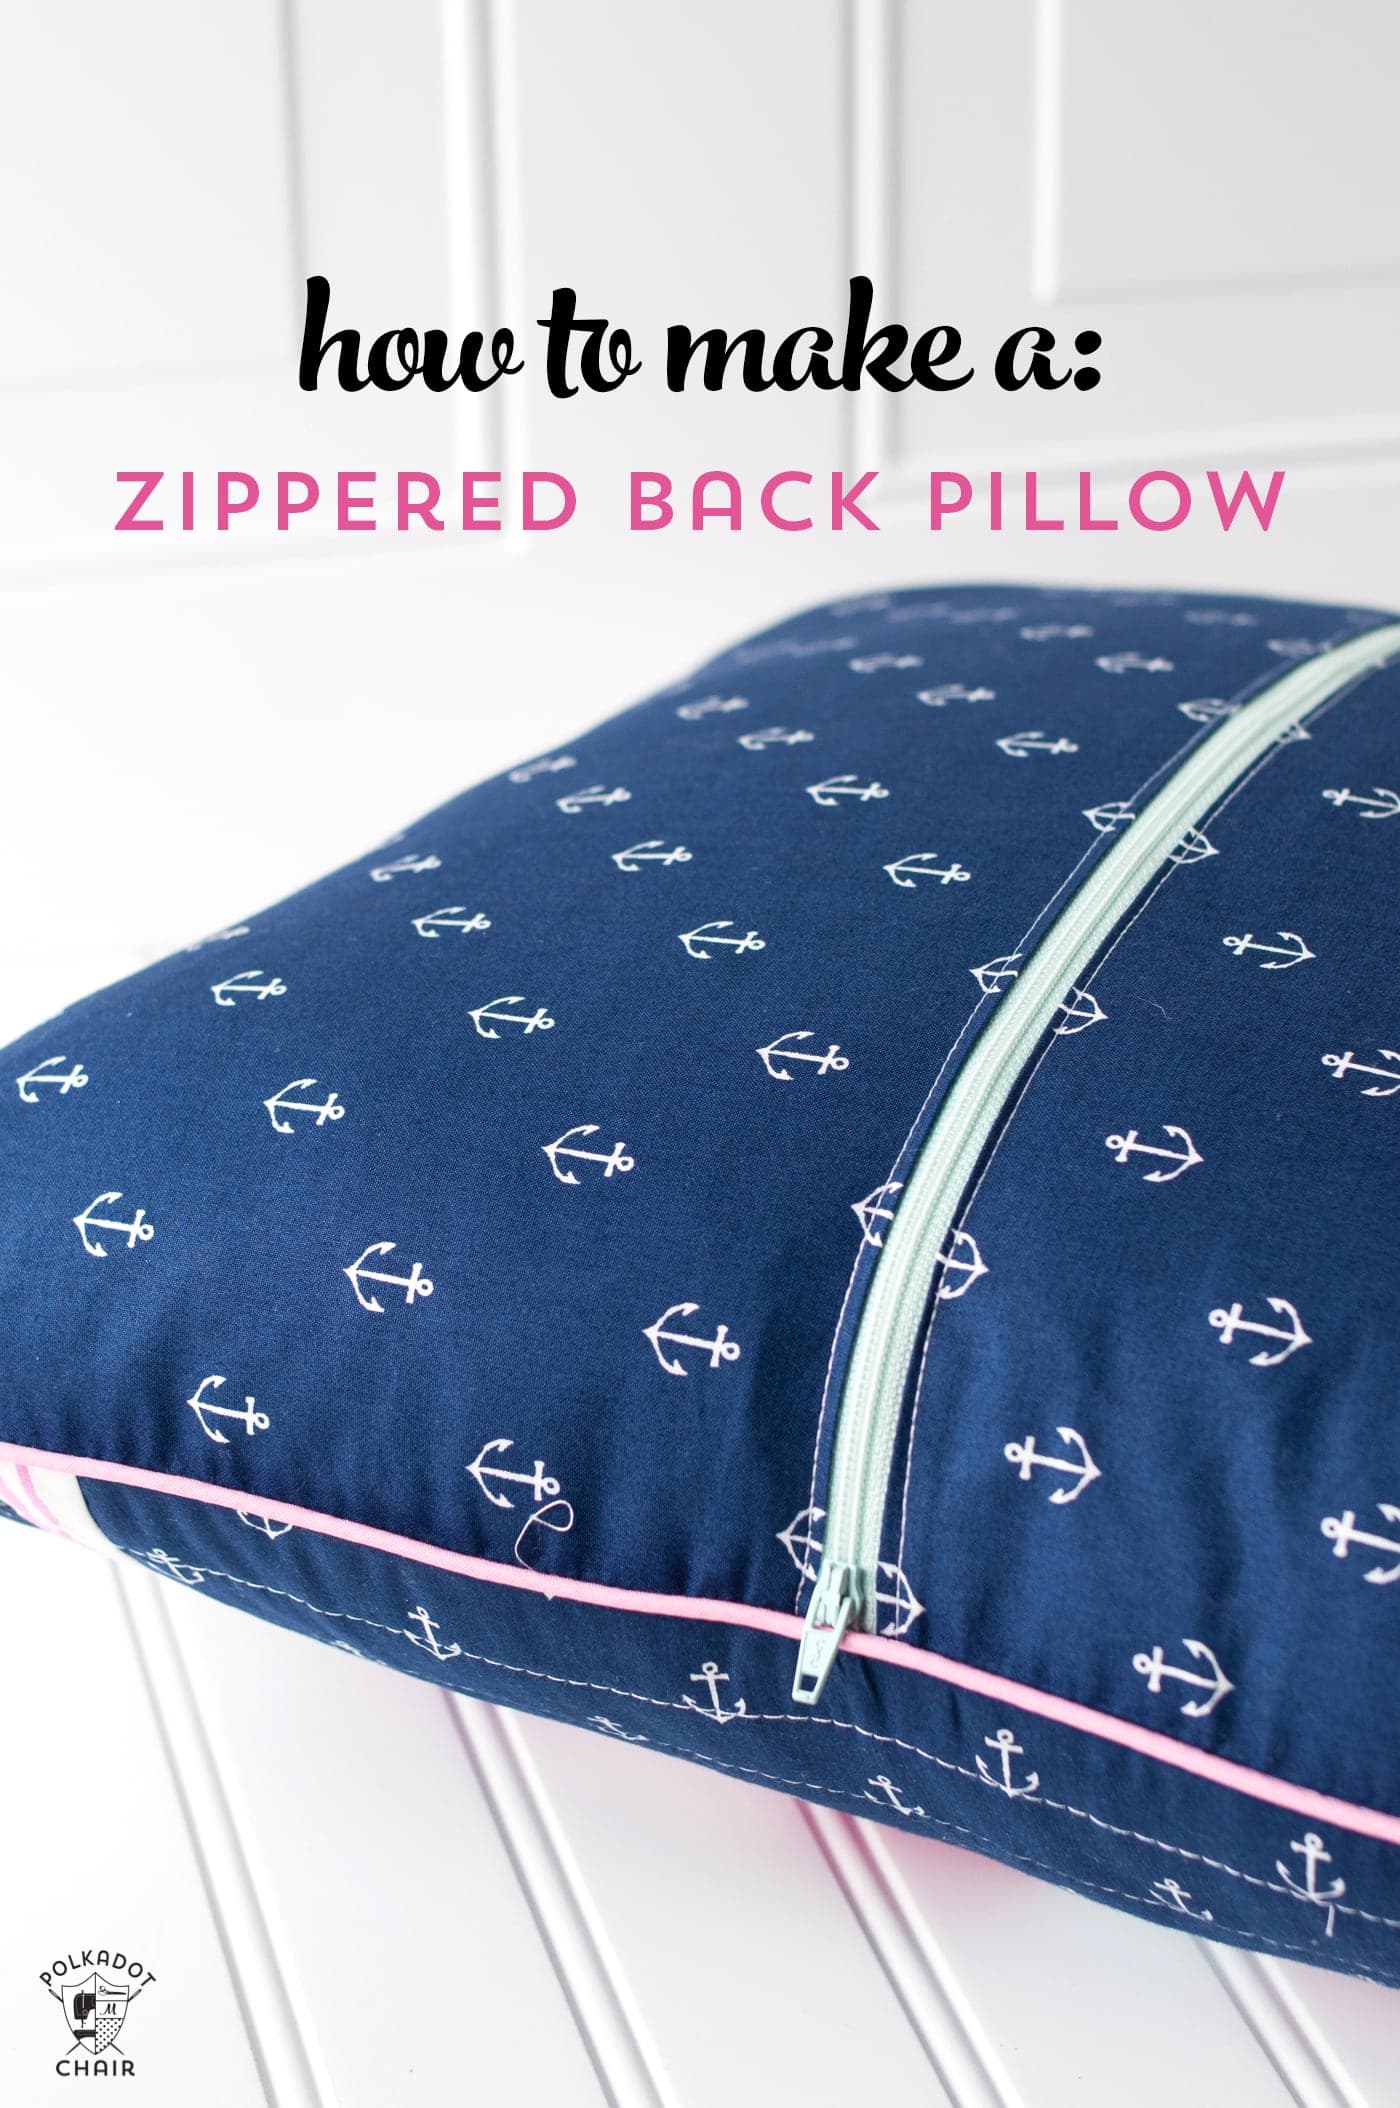
Sewing Lesson: How to Add a Zipper to a Pillow Back
Today, I will show you how to adapt ANY pillow pattern to add a zippered back. I prefer a zipper closure on my pillow instead of an envelope back. Do not be afraid of the zipper! This is a straightforward project suitable for a beginner seamstress.
Most of the time, when you find pillow tutorials online or in stores, the pillows have a back that is sewn on. This presents a problem if the pillow is one that you think will need to be washed—for example, a pillow for a child, such as the one featured in my On the Go Reading Pillow Tutorial.
You can easily make a zippered back for ANY size pillow!
What is the Best Way to Sew a Pillow Back?
There are three primary methods for creating the back of a pillow.
- Sewn On Back
- Envelope Back
- Zippered Back
Which one is best? It comes down to personal preference; however, since you’re here, I’ll tell you that my choice by FAR is the zippered back.
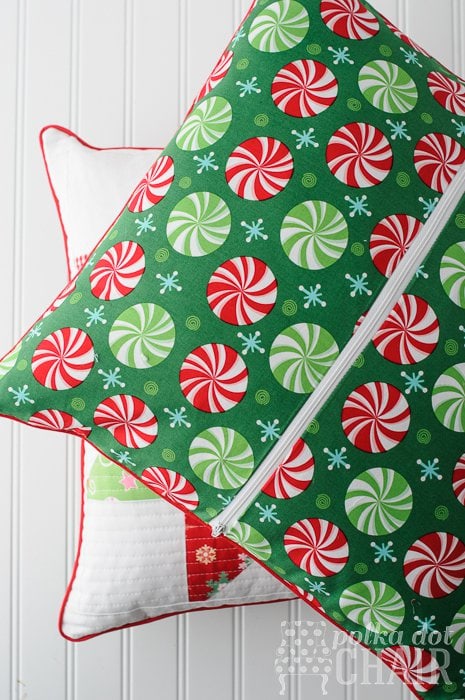
Adding a zipper to the back of a pillow allows you to remove it quickly and easily. This is great when you are creating a seasonal pillow cover or a pillow sham for a child. You can also easily remove an envelope back for a pillow. However, I find that many envelope pillow backs do not hold the pillow tightly enough.
When I use an envelope as a back on a pillow, I also secure it with a safety pin, contrary to my intention.
Before You Start
- This only works with a polyester zipper. You can not do it with a metal zipper.
- You can use any length zipper as long is it is longer than the width of your pillow.
- Use polyester thread, as it is stronger than cotton thread. This will help your pillow hold its shape as the form is taken on and off several times.
- Zippers get hot when they are ironed. Use caution.
How to Calculate the Size of the Pattern Pieces
Here is how to size it to your specific pillow; today’s tutorial assumes an 18″ x 18″ pillow form.
- Take note of your sewn pillow dimensions and divide by 2. So if you’re using an 18″ pillow, half of that is 9″.
- Add 1″ to this measurement, so 10″.
- Cut both of your back panel pillow pieces to 10″ x 18″ (the width of your pillow).
You can adjust these for other pillow sizes.
For example, a 16″ pillow would require two pieces, each 9″ x 16″
Your zipper can be any length as long as it is polyester and longer than your pillow’s width.
Video Instructions
Instructions

Sewing Lesson: How to Add a Zipper to a Pillow Back
Equipment
- Zipper foot for Sewing Machine
supplies
- Zipper of your choice
- Fabric of your choice
Instructions
- Attach the zipper foot to your sewing machine.
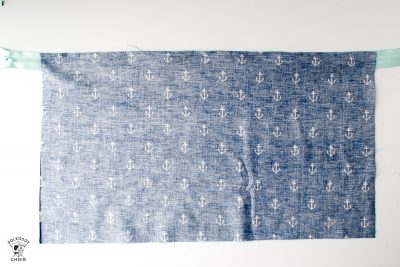
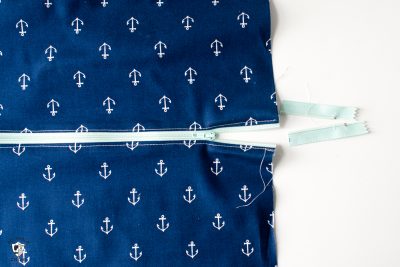
- Center the zipper over one 10ʺ x 18ʺ rectangle of fabric; depending on your zipper size, there will be 1ʺ or more of zipper extending past the ends.
- Pin the right side of the fabric to the right side of the zipper, then stitch it in place.
- Repeat for the second rectangle and the other side of the zipper.

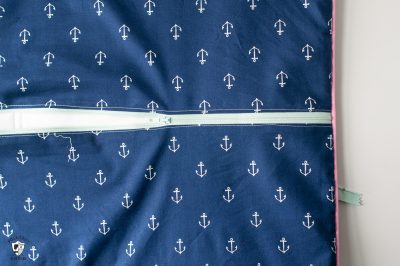
- Press the fabric seam allowances away from the zipper.
- From the right side, edgestitch along the sides of the zipper.
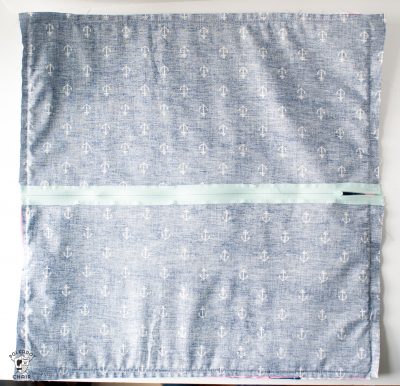
- Slide the zipper pull to the center of the pillow.
- Trim the pillow back to 18ʺ square (or whatever size of pillow you are working with), avoiding the zipper.
Finishing
- Pin the pillow back to the front, right sides together.
- If your pillow front has piping attached, attach a piping foot to your machine (you may also be able to use a zipper foot).
- Stitch the pillow front to the back, sewing over the stitching used to attach the piping. When you sew over the part with the zipper, backstitch several times. This “weak point” in the seam needs to be reinforced.
- Trim away the excess zipper.

- Unzip the zipper and turn the pillow right side out.

- That’s it! Now you have an easy-to-remove pillow cover!
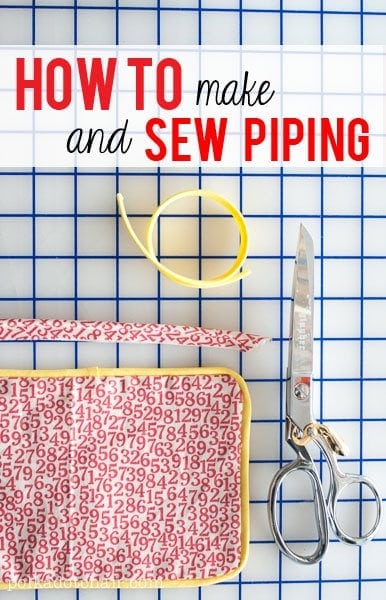
If you’re wondering how I added the piping to the pillow front, you can follow this tutorial, which teaches you how to sew and work with piping.