DIY Gold Polka Dot Hat Boxes
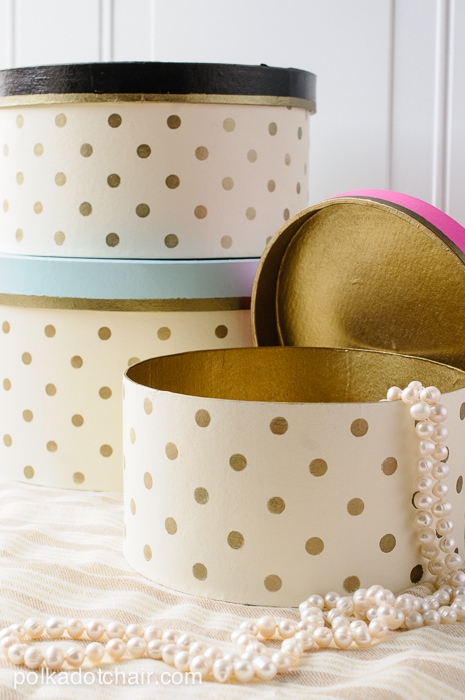
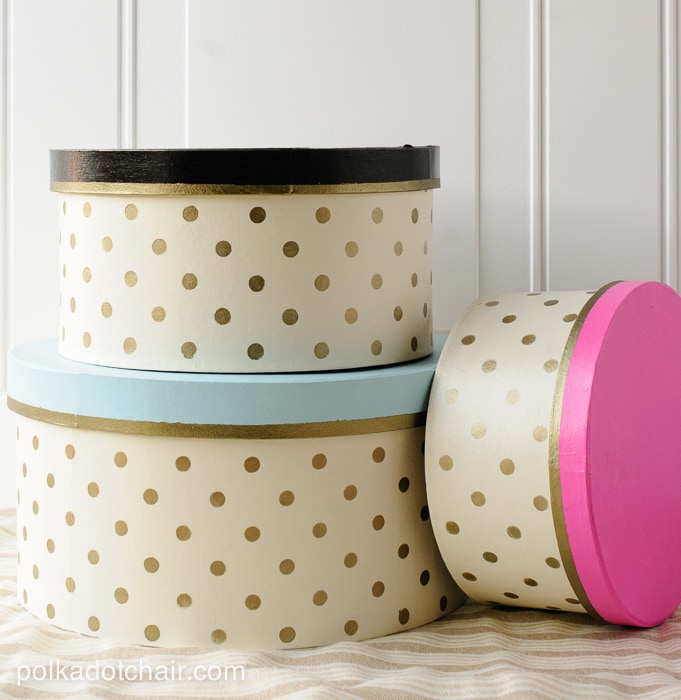
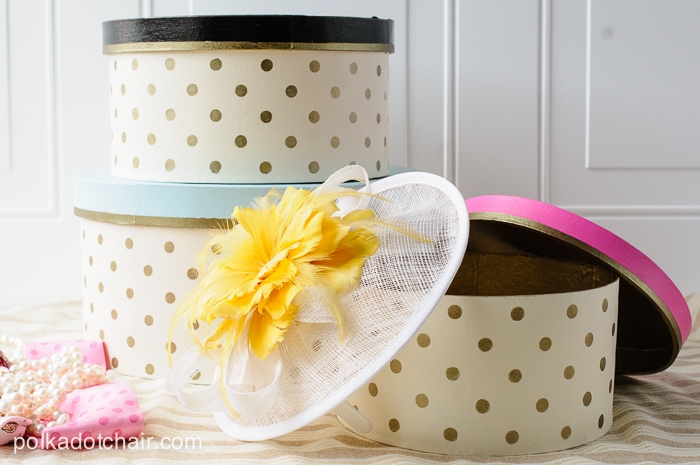
Use a polka dot stencil, paper mache boxes, and a bit of paint to create a custom set of designer-inspired hat boxes!
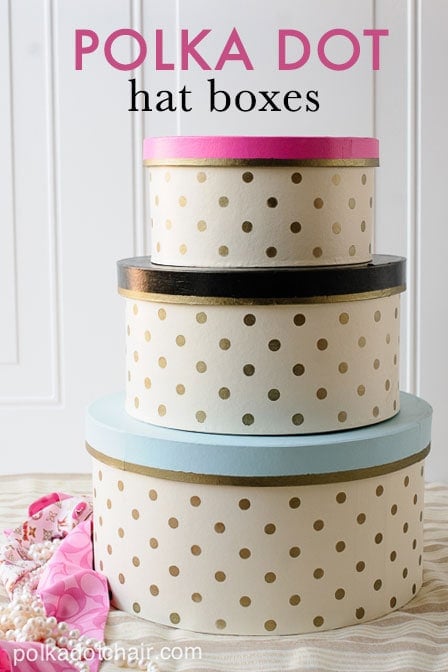
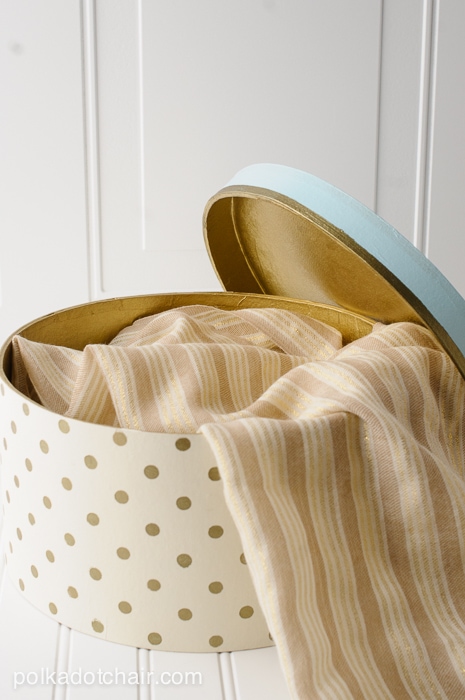
A big thanks to Royal Design Studio for providing the supplies for this project // Today’s polka dot project, these DIY Gold Polka Dot Hat Boxes, would make a perfect addition to a closet, a child’s room or could even be used as a very special way to gift wrap a present.
They are made very inexpensively using paper mache boxes that you can purchase at a craft store, acrylic paints, gold spray paint, stencils, and gold stencil creme.
About the Tutorial
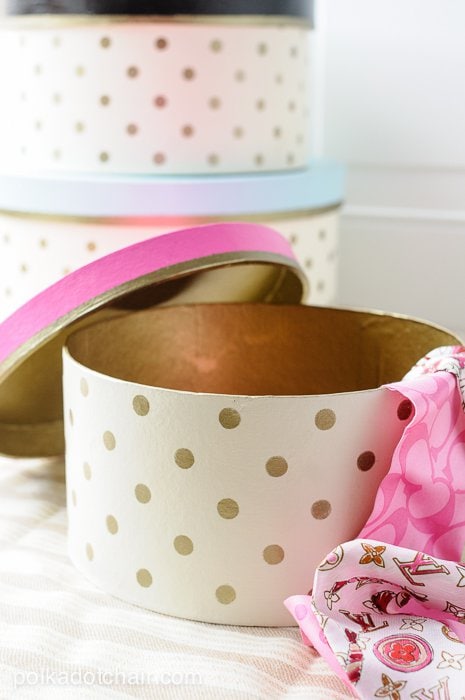
I love the idea of taking something that is super simple (a plain box) and changing it in a way to make it much more glamorous.
I must admit that I absolutely adore how these boxes turned out! I’ll be using them in my closet to add a bit of girlish charm. They would make great and stylish storage for your Derby Hats & Fascinators.
Hat Box Supplies
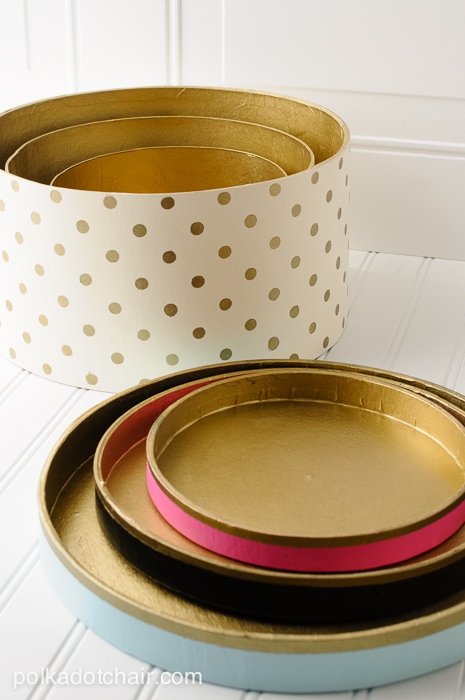
If you’d like to make your own set of boxes it’s very simple you’re going to need:
- Set of paper mache boxes
- Acrylic Paint
- Gold Spray Paint
- Painters Tape
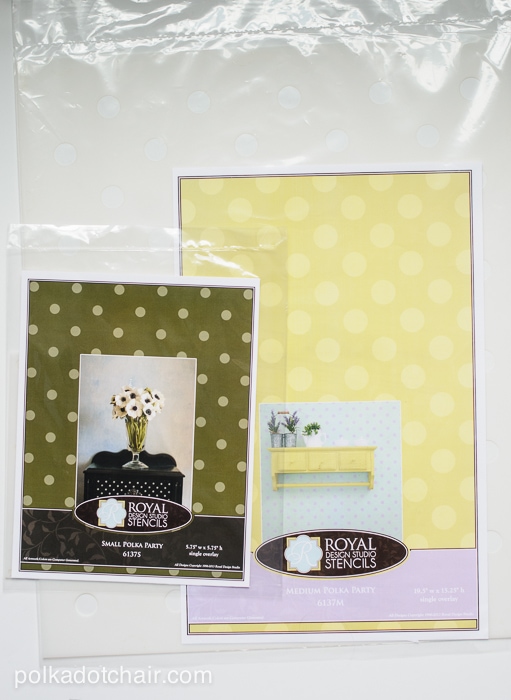
- Royal Designs Studios- Small Polka Party Stencil
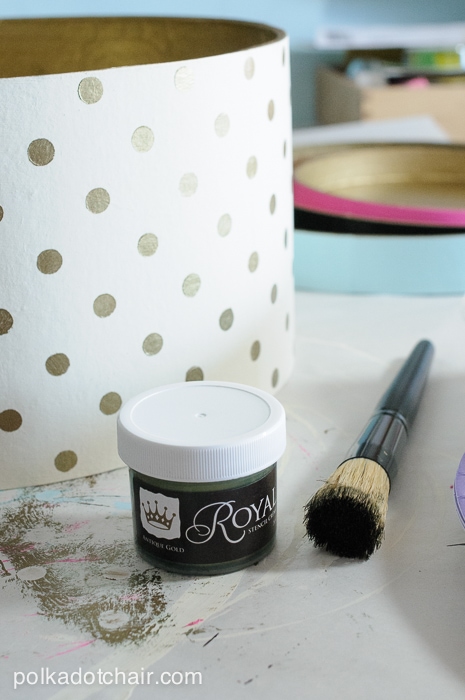
- Royal Designs Studios- Stencil Creme in Gold
- Stencil Brush
- Spray Polyurethane
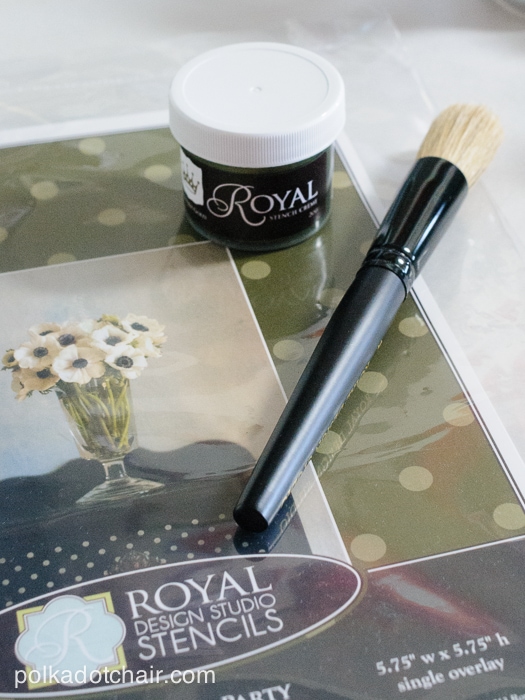
I’ve used Royal Design Studio Stencils once before and had a GREAT experience. I adore them, they are so easy to use. We stenciled our entire dining room. It was really easy and 2 years later I still absolutely love it. It’s one of the first things people remark on when they walk into our home.
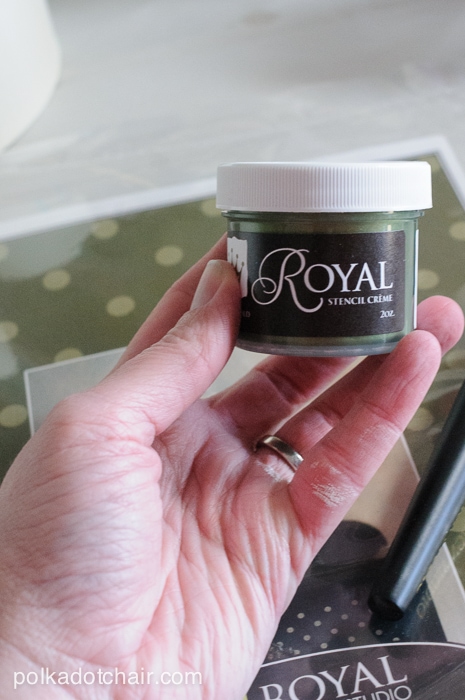
What are Stencil Cremes?
For this project, I tried out their stencil cremes. I kinda wish I had this for my last project, they were so simple to work with. The cremes are pretty much a concentrated pigment made specifically for stenciling. If you’re curious about the cremes, you can click here to read more about using them.
Okay, so now let’s talk about how to make the boxes.
Instructions
Step One: Paint
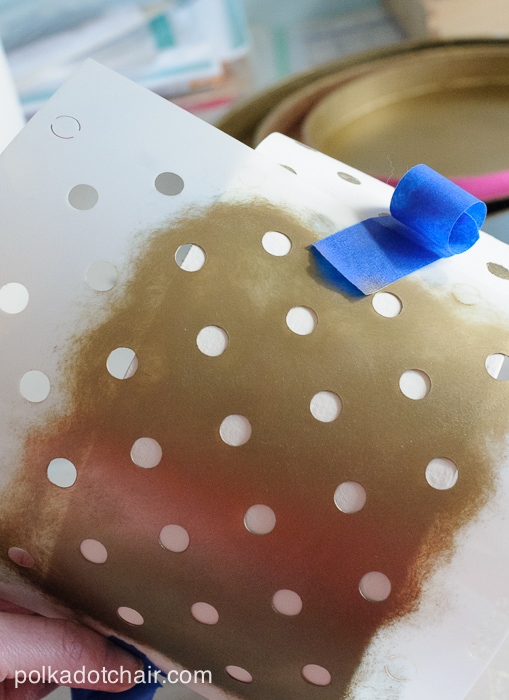
First, Mask off the outsides of the box with painter’s tape. Spray paint the inside of the boxes and the lids gold.
Remove the painter’s tape and paint the outside of the boxes with acrylic paint.
Step Two: Stencil
After it has dried, line up your stencil on the box to make sure the dots are straight across the bottom. Use a piece of painter’s tape at each end to secure the stencil and keep it from moving around.
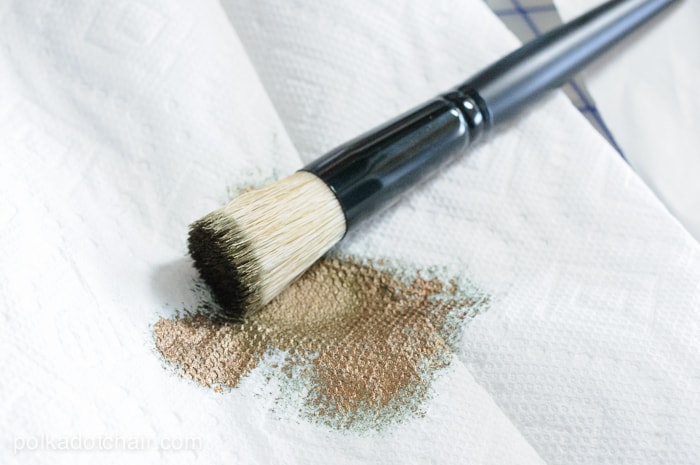
Dip your stencil brush in the stencil creme. Then, get a bit on the brush and dab off the extra onto a paper towel.
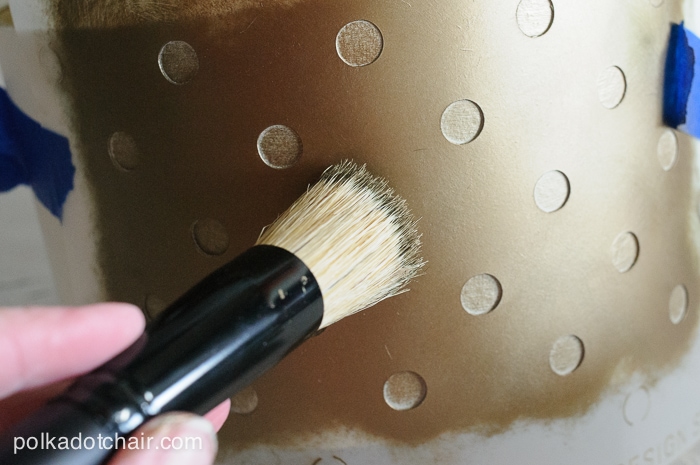
Moving in a circular motion apply the creme to the stencil. If you need more, go back and dip and dab your brush again. DO NOT get too much paint on the brush, that is the single biggest mistake you can make.
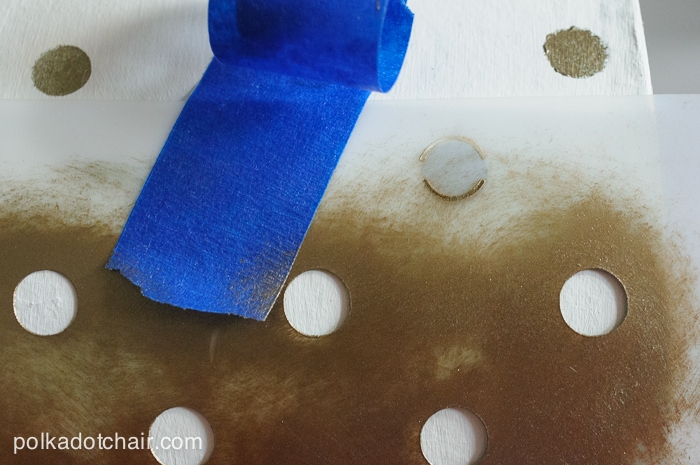
Remove the stencil and line up the stencil with the registration marks and the previously stenciled dots. Repeat. Keep going until you get back to where you started.
To make the stripes on the lids, tape off the edge of the lid leaving about 1/4” exposed. Using your stencil creme and brush apply the creme to the edge of the lid. Remove tape and let dry.
When you’re done and the project is 100% dry spray the outsides of the boxes and the lids with a light polyurethane.
