How to Make a Hitchhiking Ghosts Haunted Mansion Sign
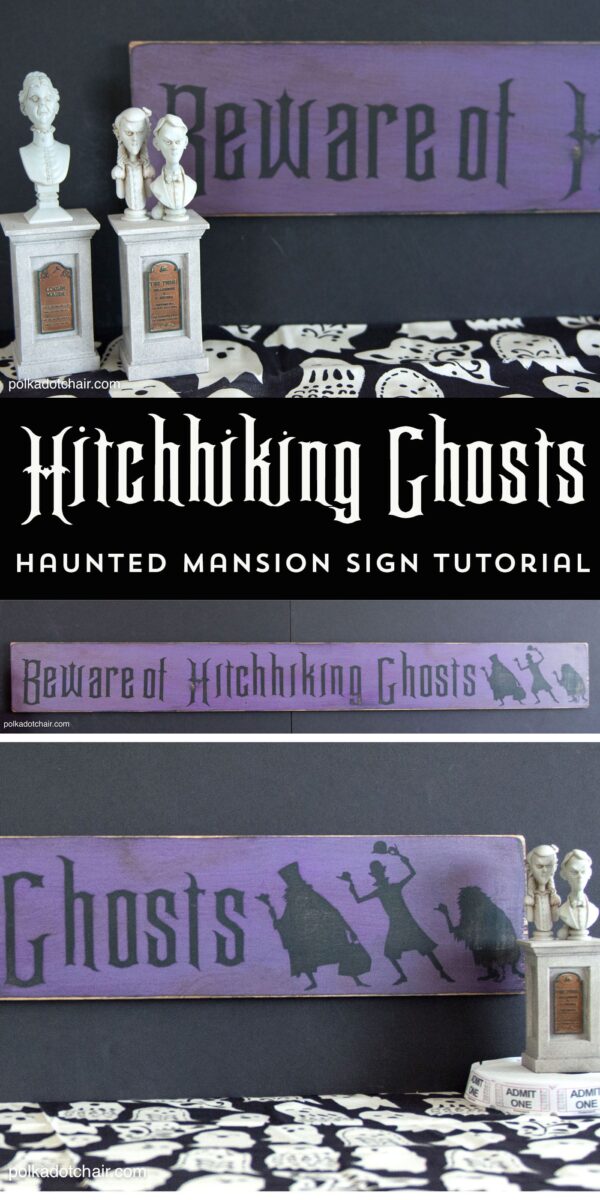
Today I’ve got a fun DIY Halloween Haunted Mansion Sign Tutorial for you. I’ve even included a free cut file for the sign that you can download! This sign is inspired by the Hitchhiking Ghosts at the Haunted Mansion in Disney World, feel free to personalize it any way that you like!
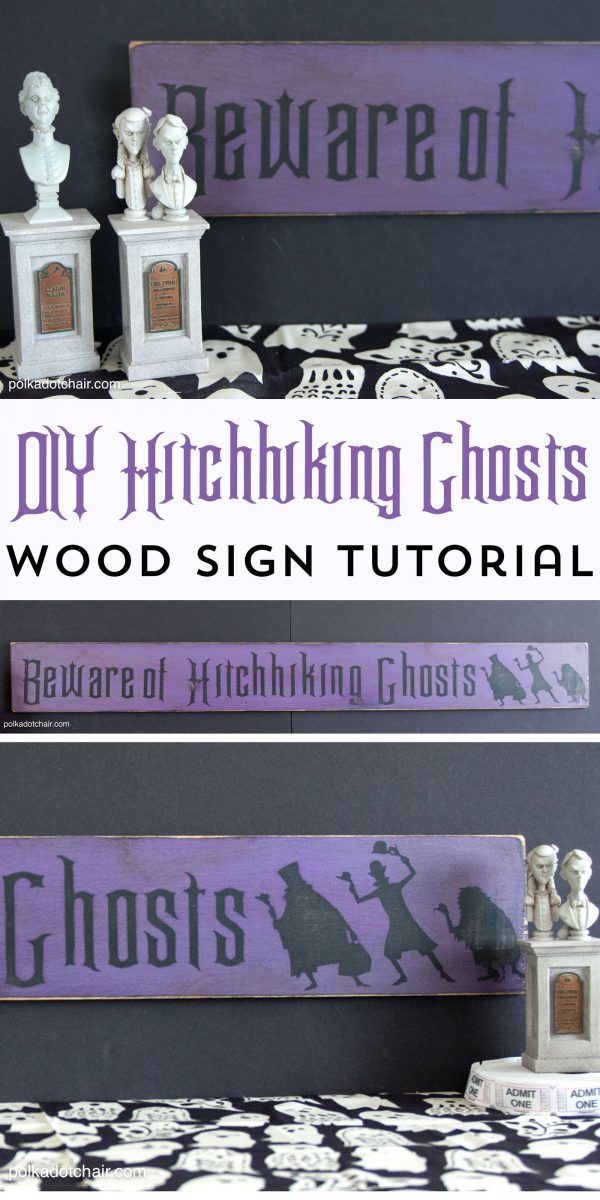
Last year I got the idea to make a sign to hang above our front door that said “Beware of Hitchhiking Ghosts”, inspired by the Haunted Mansion ride at Disney World. It’s one of my favorite rides in the park, which probably comes as no surprise to many of you, I’ve not been shy in professing my love for all things Halloween.
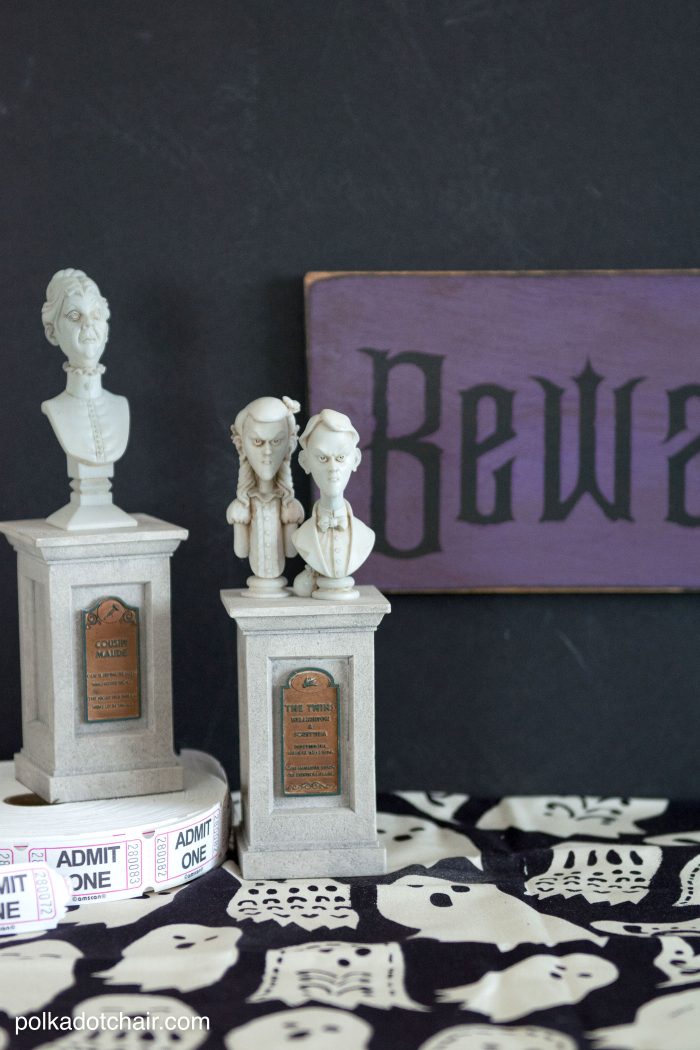
I got the sign 50% done last year and realized the day before Halloween that it would not get done in time. I put it away, intending to finish it this year. (Tell me I’m not the only one that has long “to make lists” than “free time” lists!) A few weeks ago, I got the sign-out and finished it up. It’s now hanging above our front door (on the inside of the house) in plenty of time for Halloween!
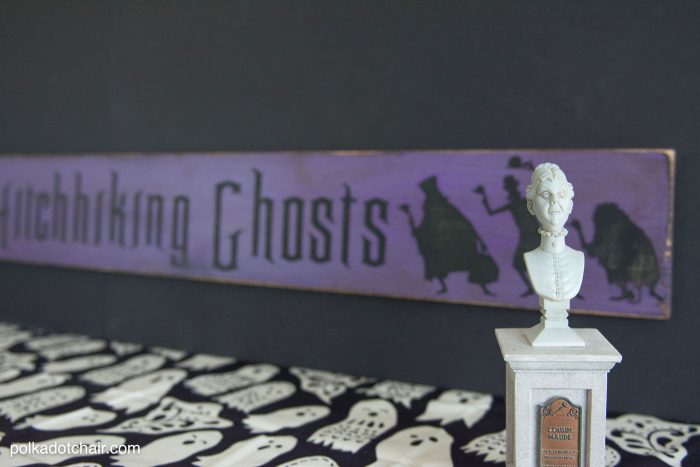
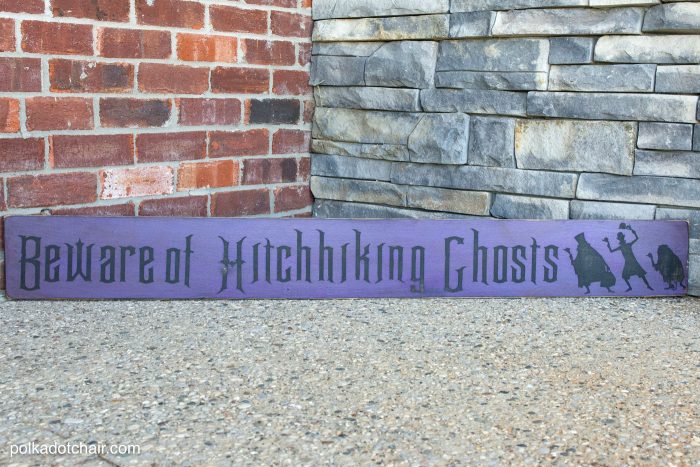
I did not realize it when I designed it, but it is almost impossible to get a good photo of the whole sign. The sign is 4′ long, and I can’t seem to get all of it in the camera frame! I’ve included several shots and photos in this post so that hopefully, you have a good idea of what the finished project looks like.
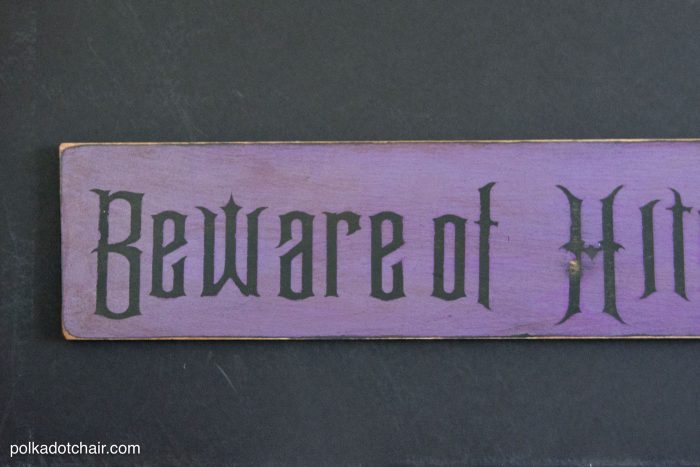
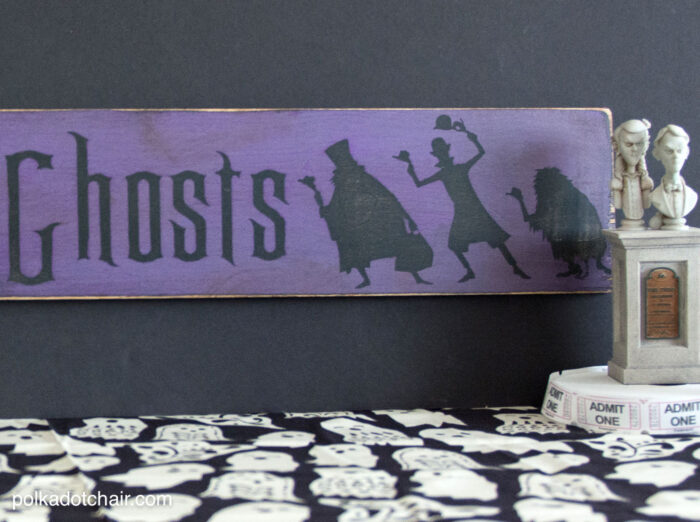
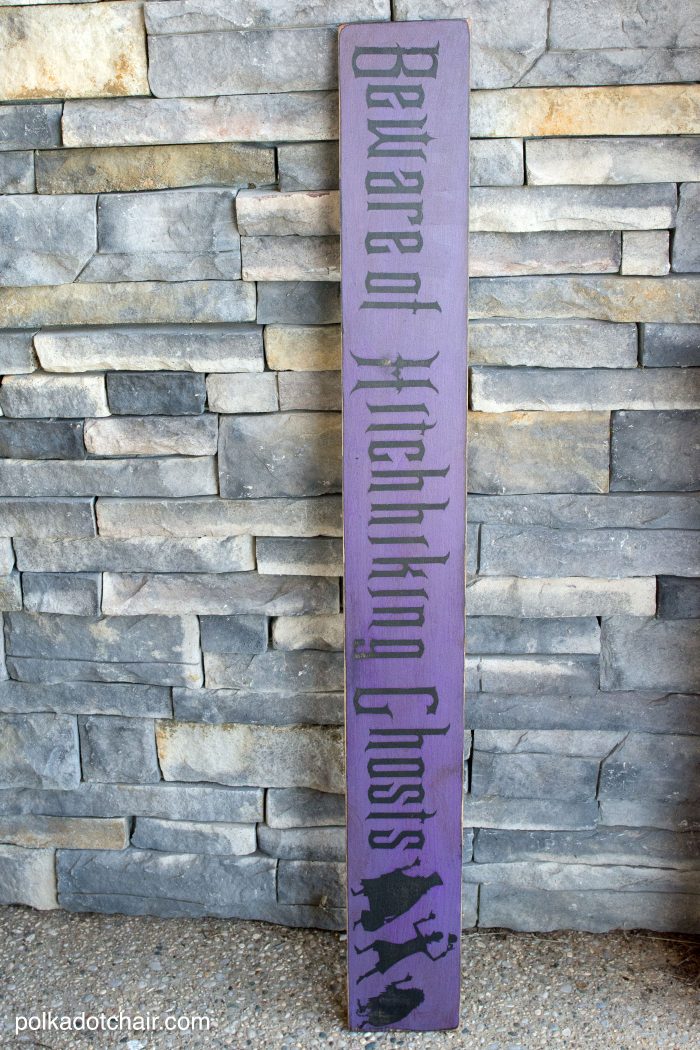
“Beware of Hitchhiking Ghosts” Wood Sign Tutorial
The sign is made using a reverse stencil technique with vinyl lettering and craft paint.
Want to make one?
Halloween Sign Supplies
- Wood Board, mine is 4′ long by 6″ wide but you can make the sign ANY size you want. You’ll just need to cut your vinyl the correct size with your Cricut.
- Cricut Machine
- Vinyl, any color
- 2 colors of craft paint
- Sandpaper
- Distress Wax
- Waxing Brush
- Piece of Chalk
- Gracey’s Mansion Font (download for free online, just google it)
- Hitchhiking Ghosts Silhouette SVG cut file (download on the Free Cricut Downloads PAGE of this site)
Instructions
Step one:
In the Cricut design space software type each “word” in the phrase. Each word is a separate “image”. Make sure that each word has the exact same size font. My sign is 48″ long. So the words in total were about 38 ” long, and the image was 6″ wide. Make sure you leave space for spacing between words. If your sign is shorter (say 12″ long) you can cut the entire phrase out all at the same time.
Step Two:
Cut out the words on ANY color of vinyl (you are going to peel it off so don’t worry about the color). Also, cut out the silhouette of the ghosts.
Paint your board the color you want your letters (mine are black). Let the paint dry completely.
Using a piece of chalk, chalk a line on the wood board so that you can align your lettering correctly.
Peel off the letters and apply to the board.
Step Three:
Paint the board again, this time the color you want the board to be (mine is purple). It may take two layers of paint.
Let the paint dry.
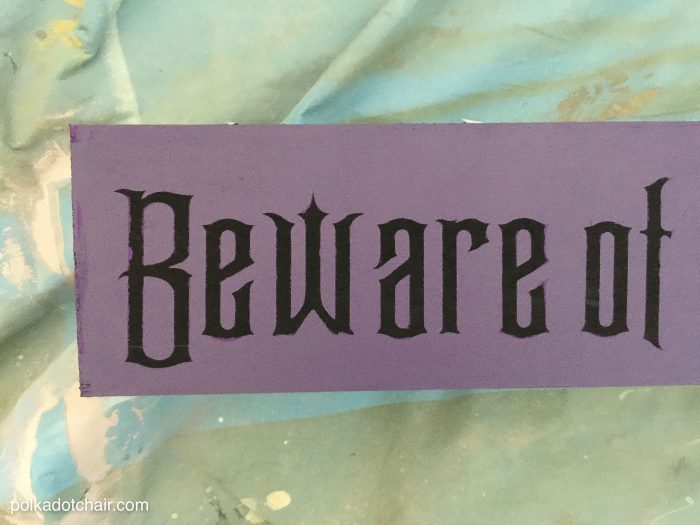
Peel off the vinyl lettering.
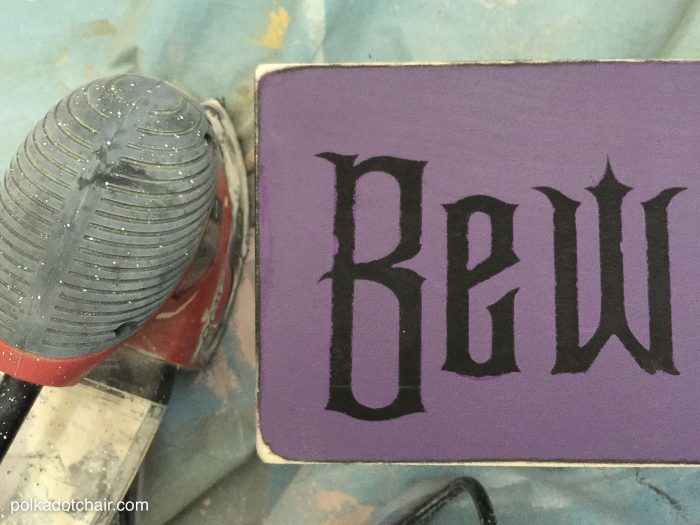
Using sandpaper (I like to use an electric sander), sand the sign to distress it. Pay special attention to the edges and corners.
Wipe off the extra dust.
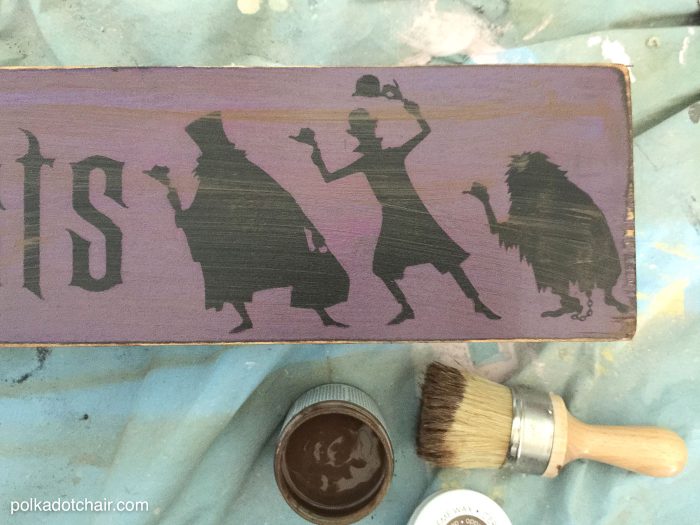
Step Four:
Apply a thin layer of distress wax. For this project I used the Americana Chakly Finish Distress wax, you can use another brand if you have it.
Wipe off the layer of wax using a clean cloth. Rub it well to “shine” up the board a bit. If desired apply a second coat of distress wax to darken the distressed finish.
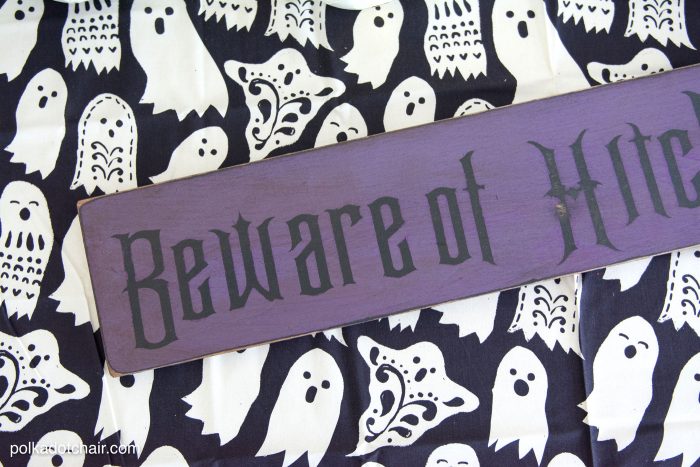
That’s it! Now just hang it up. I used command picture hanging strips to hang my sign.
To see all of the other DISNEY inspired Crafts on this site just CLICK HERE.
