How to Finish your Block of the Month Quilt; and PDF Version
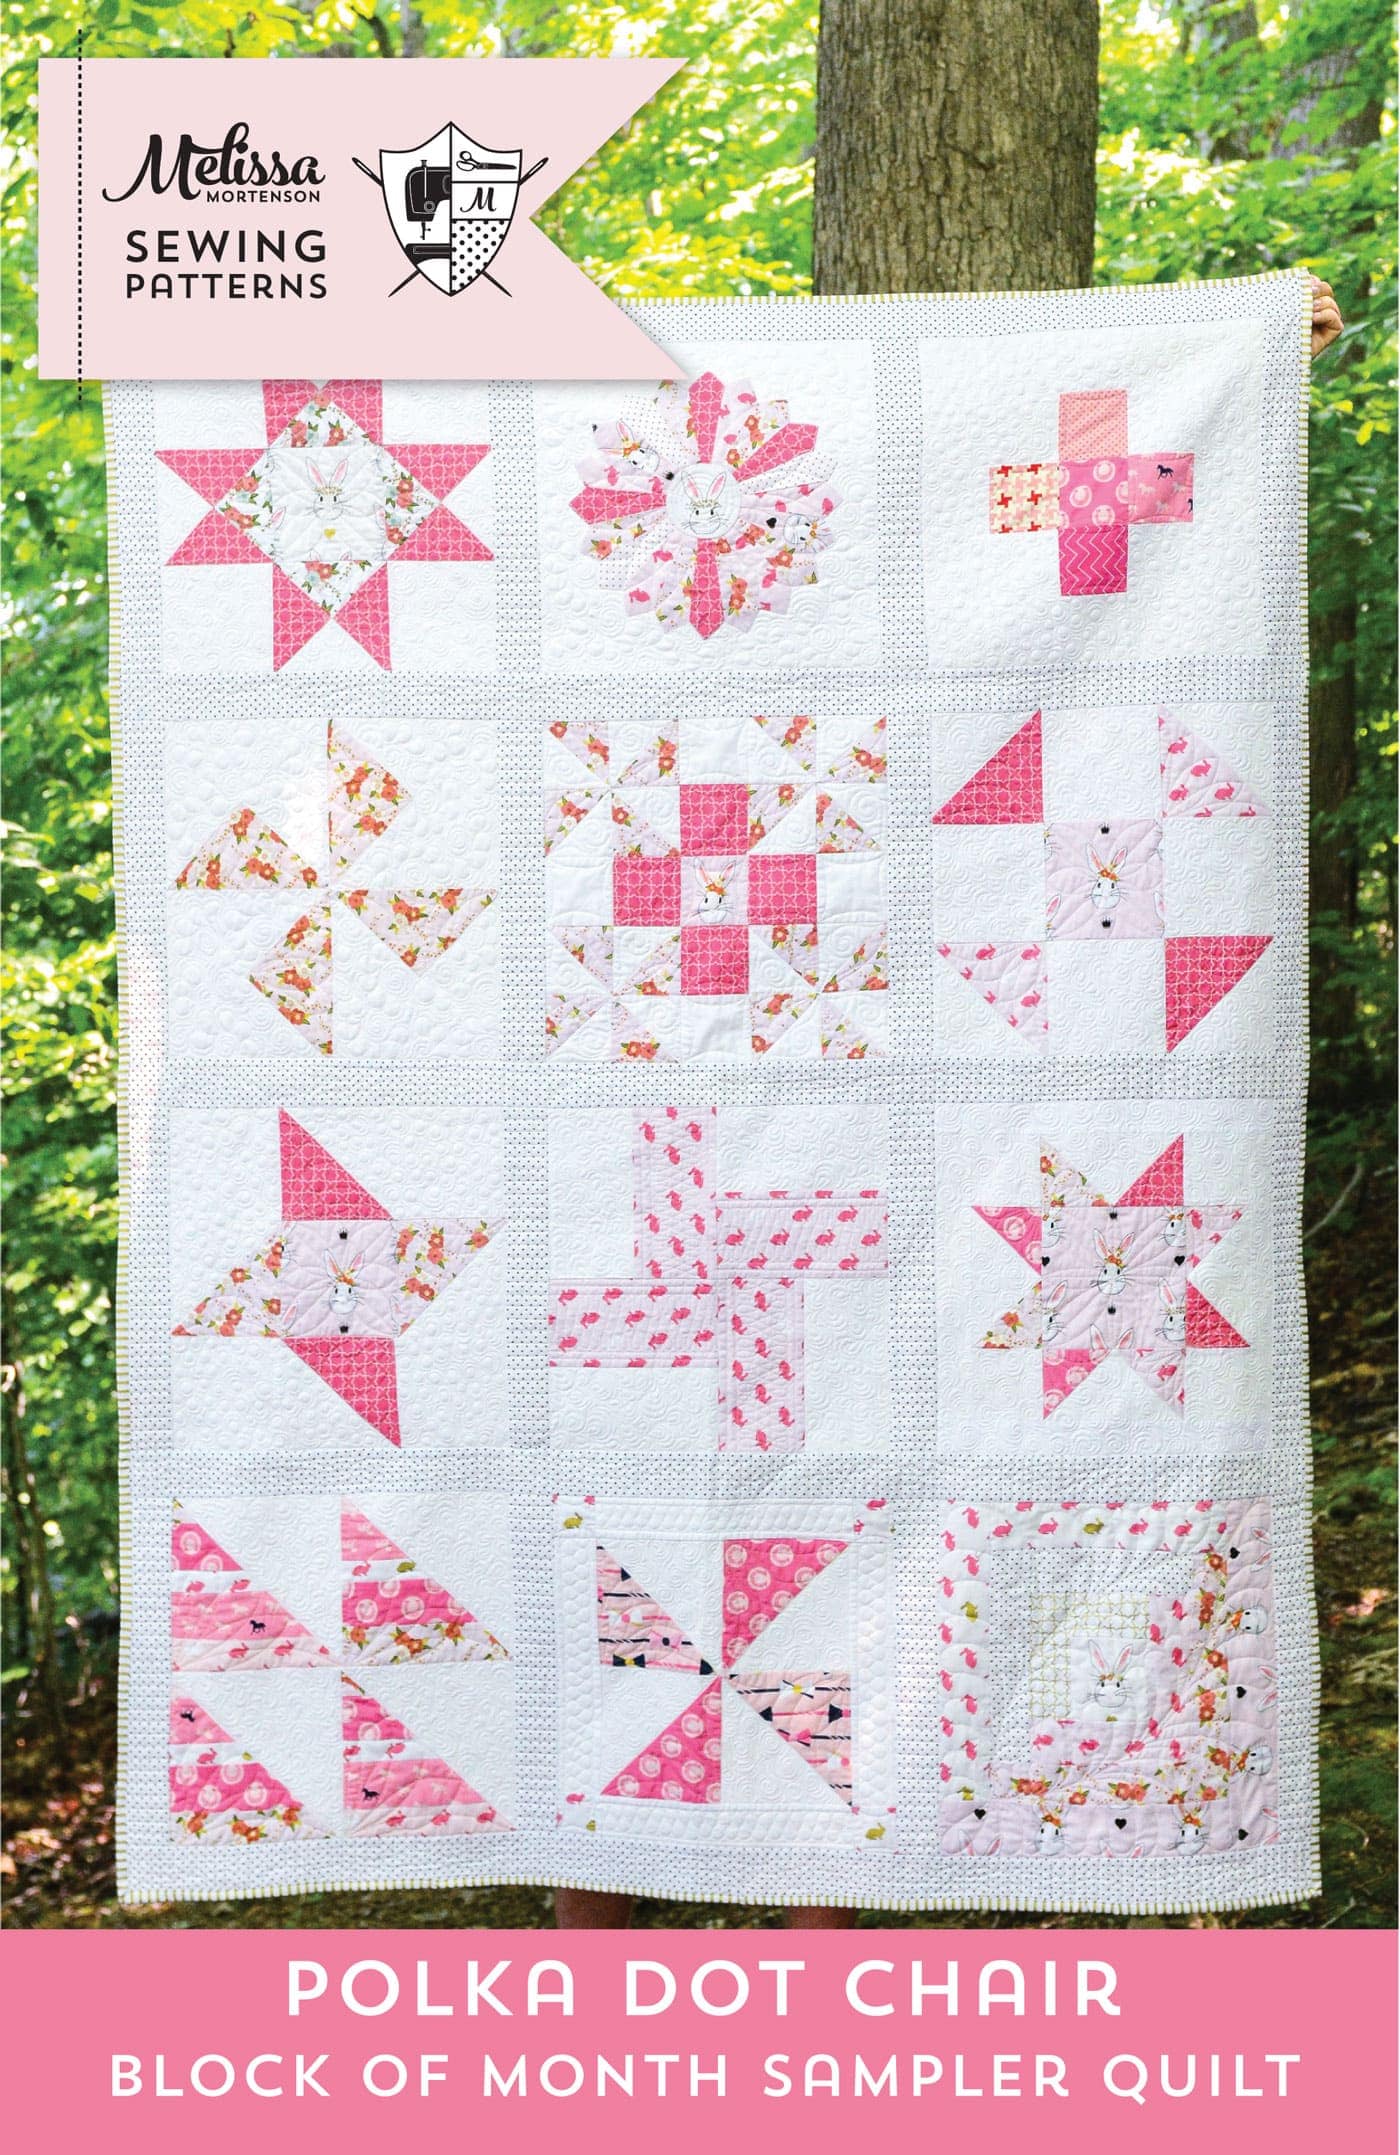
Today marks the end of our 2015/2016 Quilt Block of the Month Series. It’s time to turn those quilt blocks into a completed Quilt! If you’re looking for all of the blocks featured in this series just CLICK HERE.
Whew! I can’t believe that 1 year has passed since I started the Block of the Month series here on the blog. I have to say that I got much more response out of the project that I ever thought I would. Because of this I am considering doing it again in 2017.
As the year progressed, the #1 request I got was “please put them in a printable PDF form”. Well good news! You can now purchase a PDF of all of the blocks in the series! The PDF includes ALL of the blocks in the series. Complete yardage requirements. Plus all of the diagrams and instructions for the blocks that were shared each month. It’s over 20+ pages long and took me more than a month to compile.
If you’re not interested in purchasing the PDF, not to worry, none of these posts are going anywhere. They will all stay right here on the blog. To celebrate the end of the series, I’m offering the PDF for $6.00 for ONE WEEK only. After the week is up the price will go back to my “normal” PDF pattern price.
To get the PDF just click on over to the shop!
Okay, now let’s finish that quilt! There are a million ways to finish this quilt. To keep things simple I’m only going to talk about two of them today.
Option 1:
Sew all the blocks together.
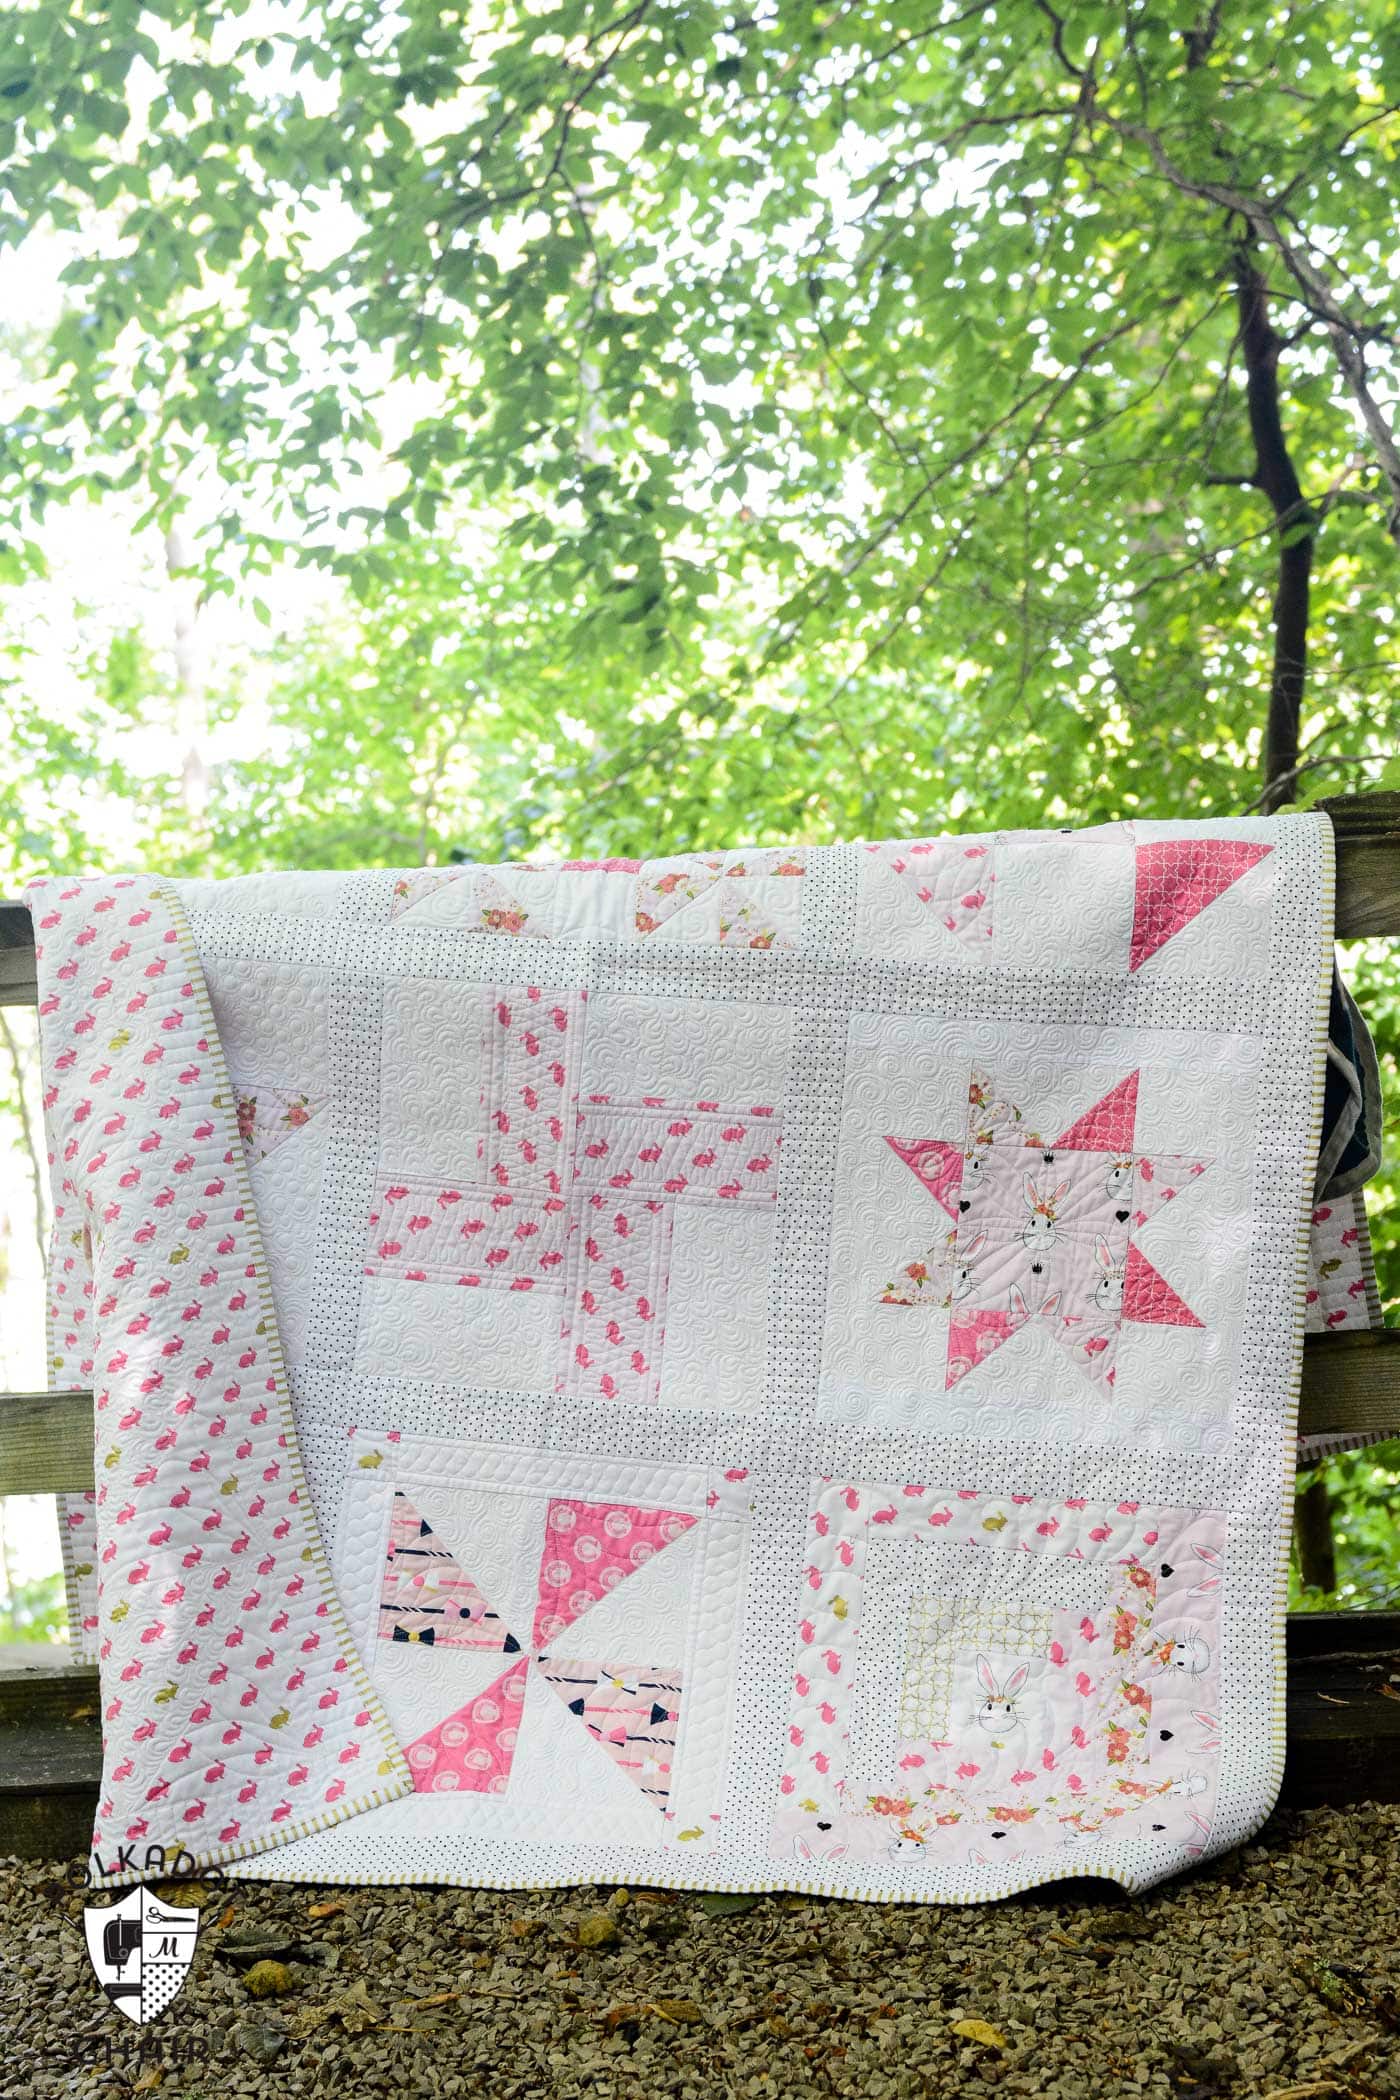
The simplest way to finish this quilt, in my opinion is to just stitch all of the blocks to each other. If you stitch them 3 across by 4 down, you’ll end up with a quilt that is approximately 44″ x 58 1/2″. Which is a pretty good size for a baby quilt. For a second option, you could stitch only 9 of the blocks together and make a quilt that is 44″ x 44″, also a good size for a baby quilt.
Option 2:
Add sashing between the blocks.
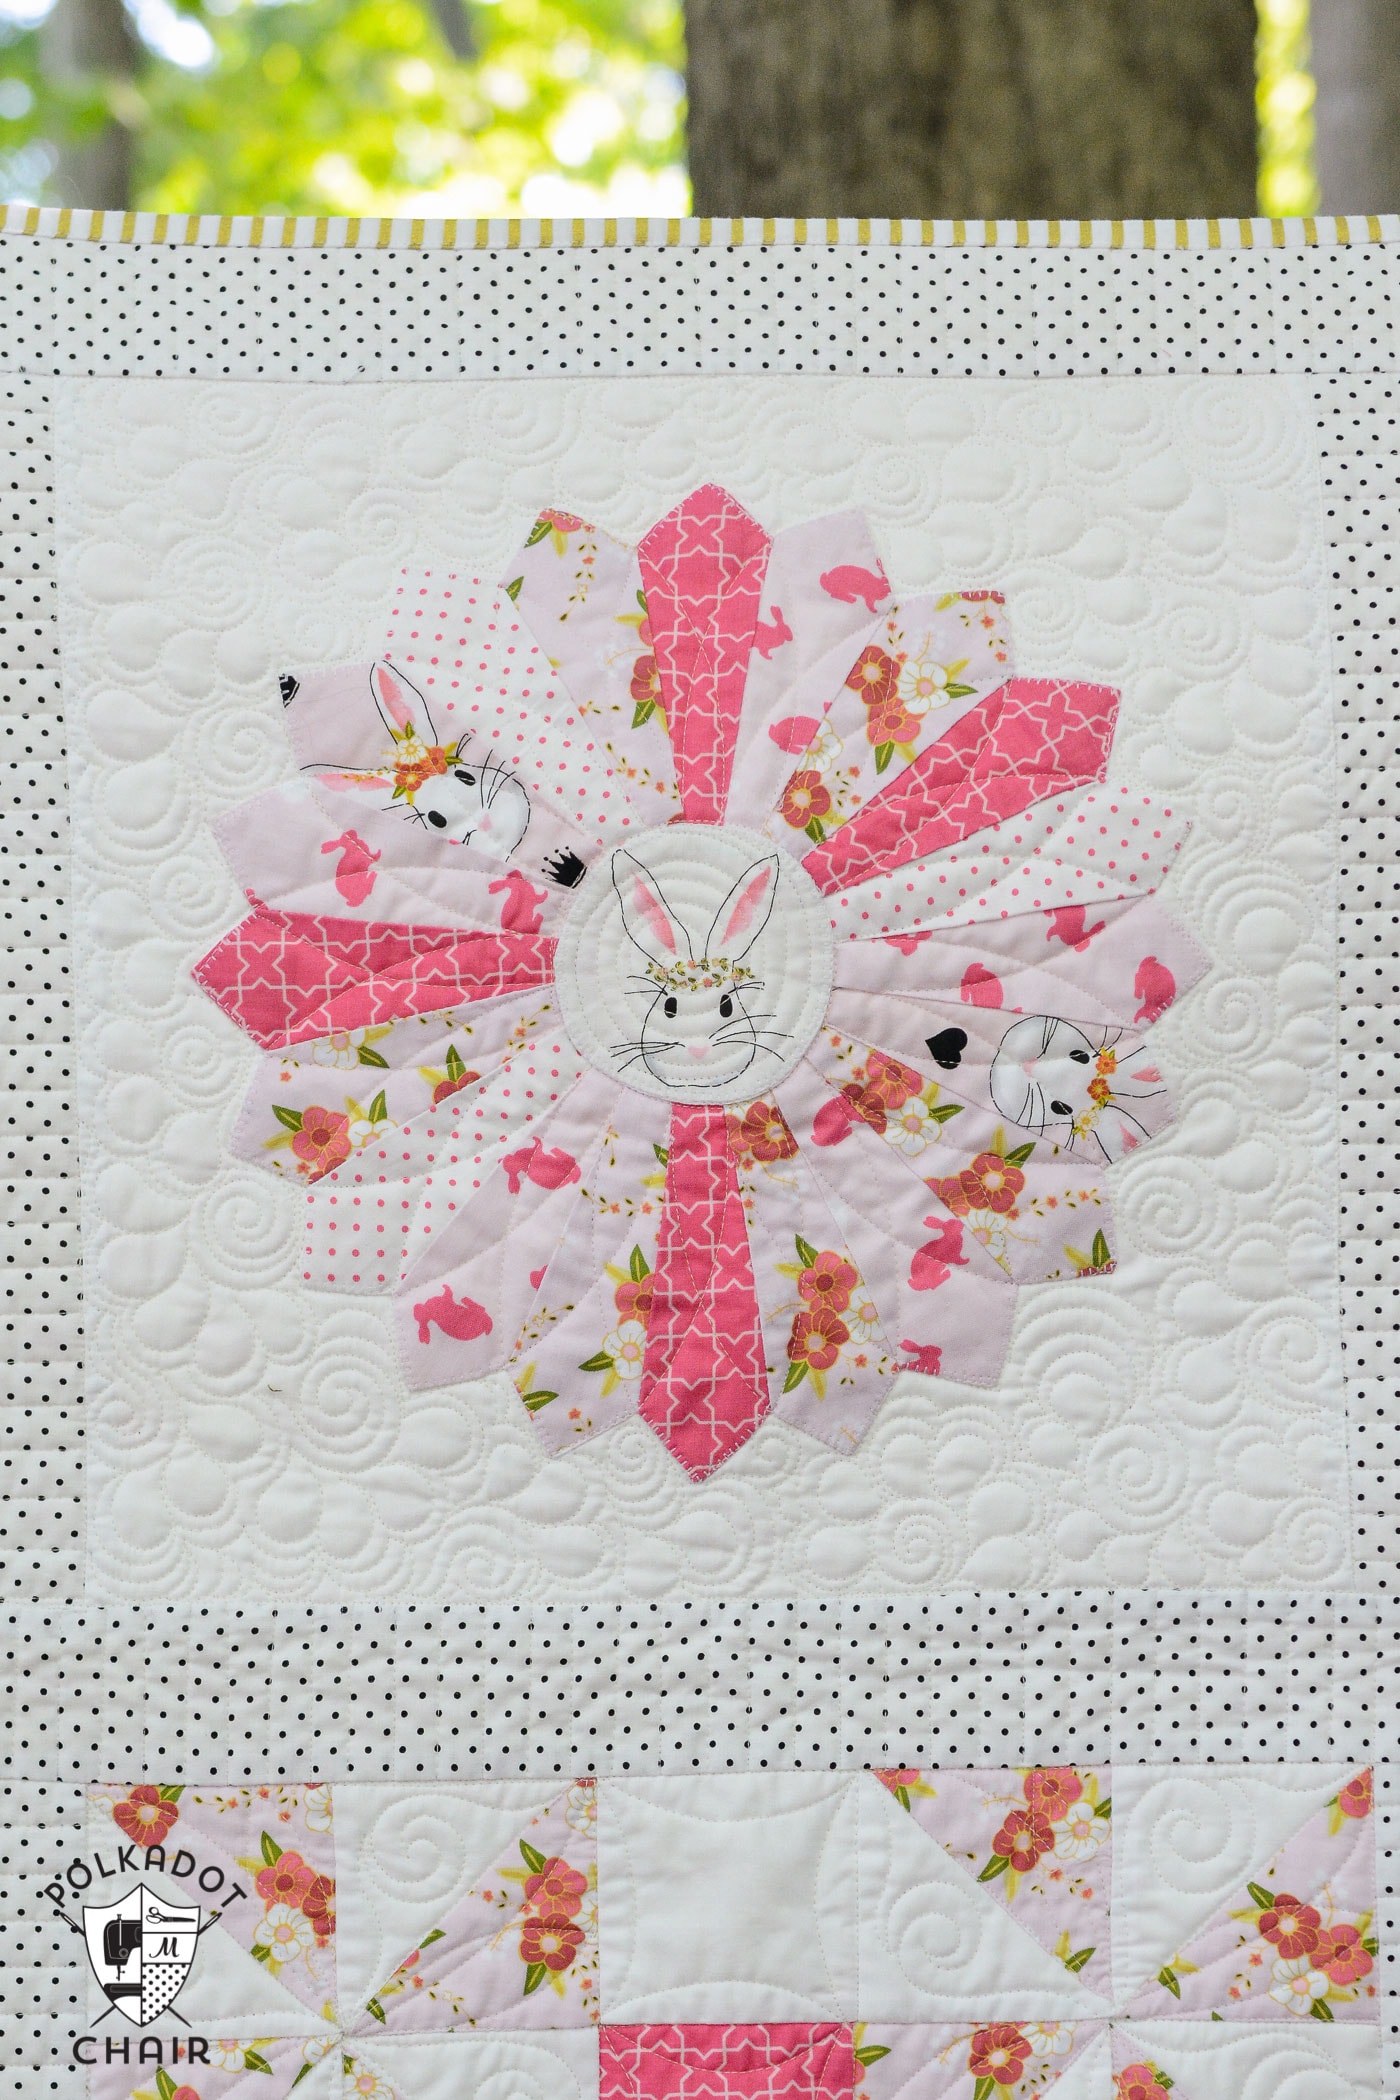
This is how I finished my quilt. I added simple 2 1/2″ wide strips of sashing in between each block. As you can see, all of the blocks on my quilt have a white background. I knew that I did not want to sash the quilt in white, and was not sure what to use instead. I went back and forth for a while, and finally decided to sash the quilt using a black and white pindot fabric (from Riley Blake). I love that it adds just a bit of texture and interest to the quilt, but doesn’t overwhelm the blocks.
OK, Are you ready to finish your quilt?
Let’s start with some additional fabric cuts:
For Sashing Cut:
16 pieces each 2 1/2” x 15
10 pieces each 2 1/2” x 27”
For Backing cut:
2 pieces 63” x 40” (or width of your fabric)
For Binding Cut:
7 strips each 2 1/2” wide
Next:
Ensure that each of your blocks is trimmed to exactly 15” x 15”.
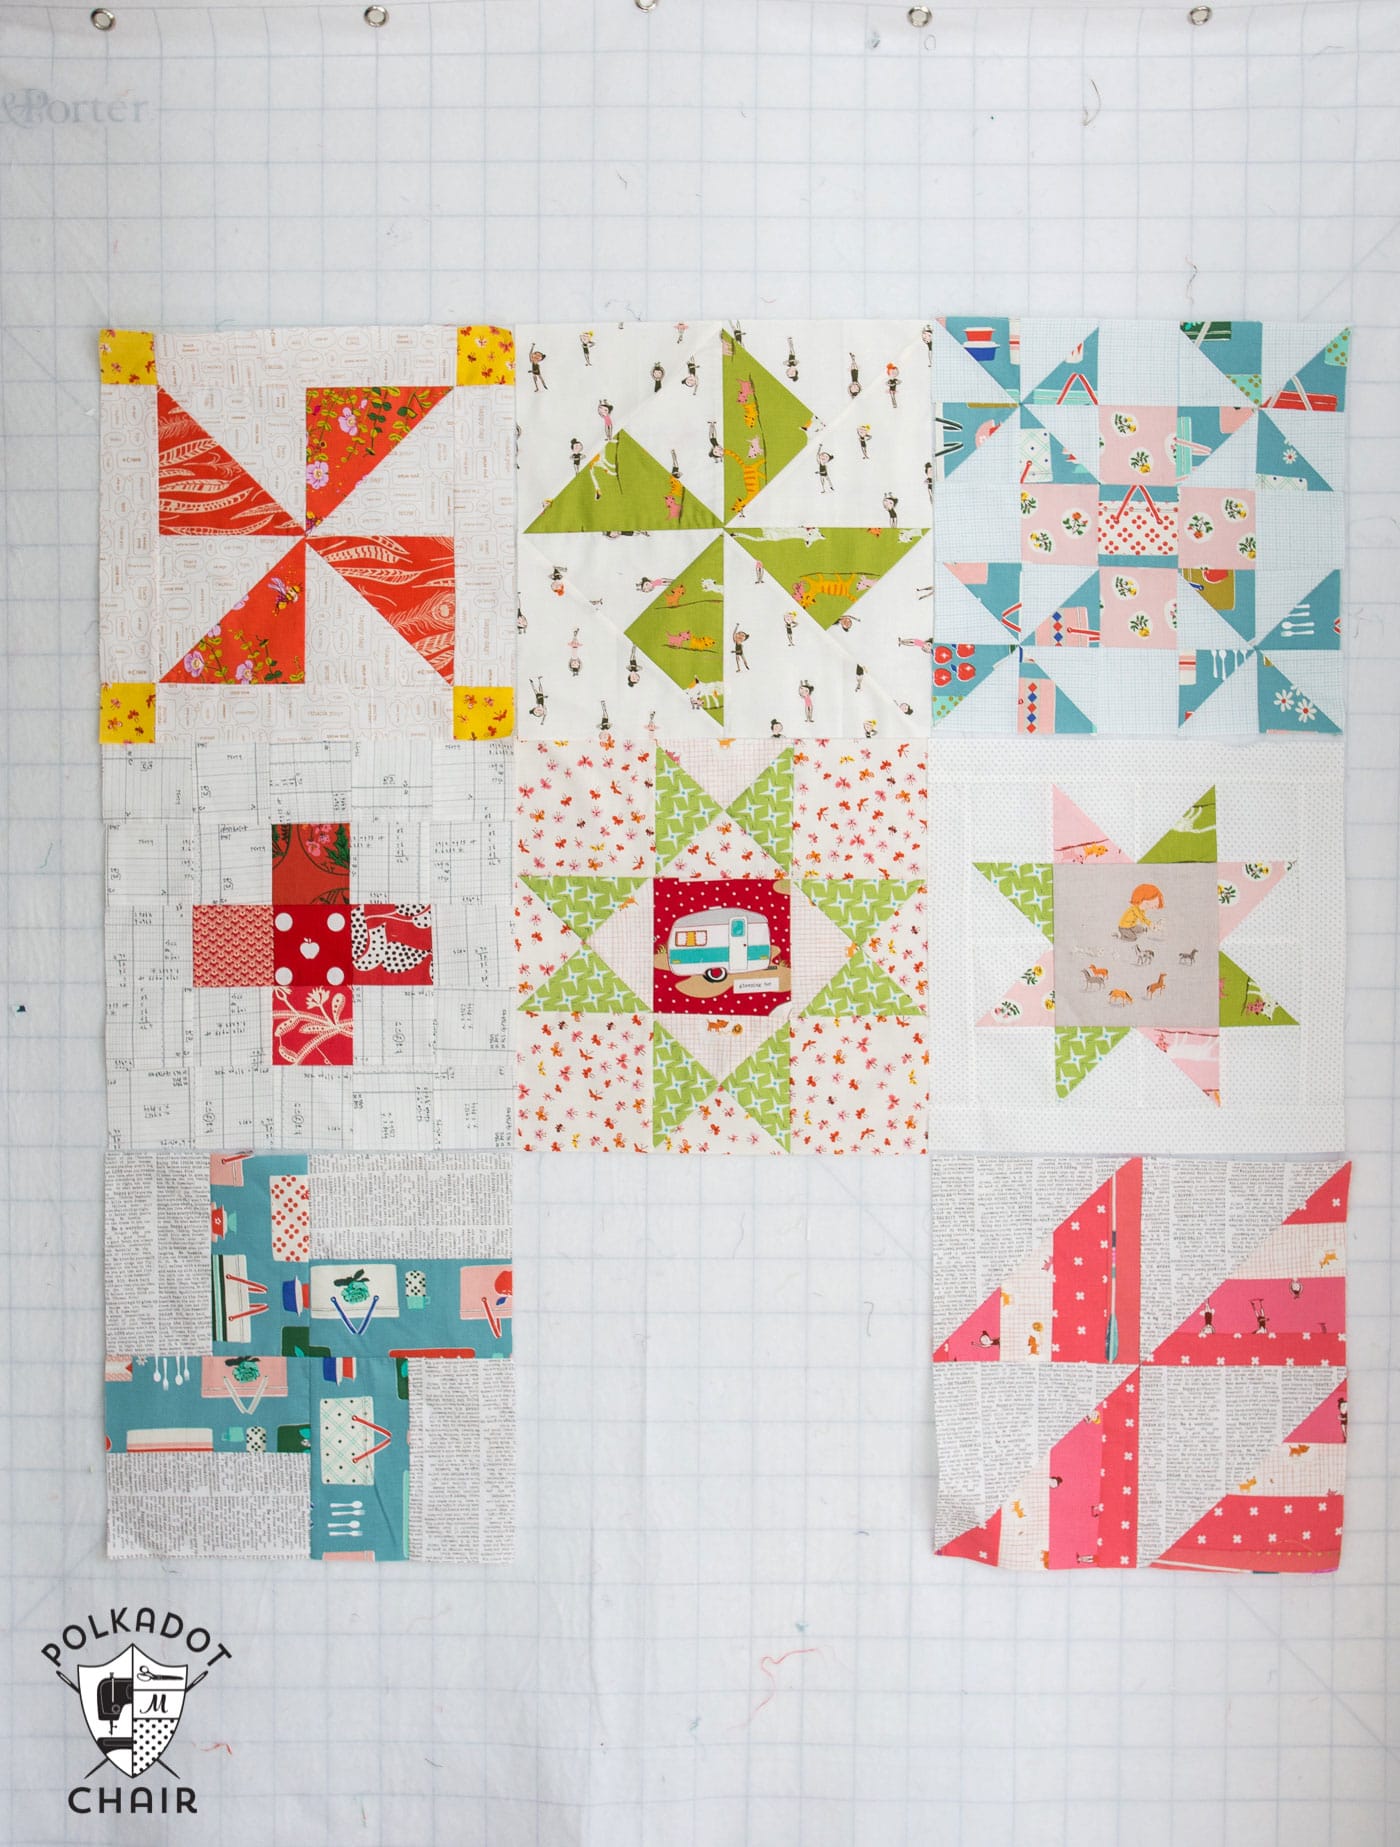
Lay out the blocks on the floor or on a design wall until you find an arrangement that you like.
(a few of my blocks laid out on my design wall, I’m still working on the layout of this quilt, it’s not finished yet)
For your layout, I suggest 3 blocks across by 4 blocks down.
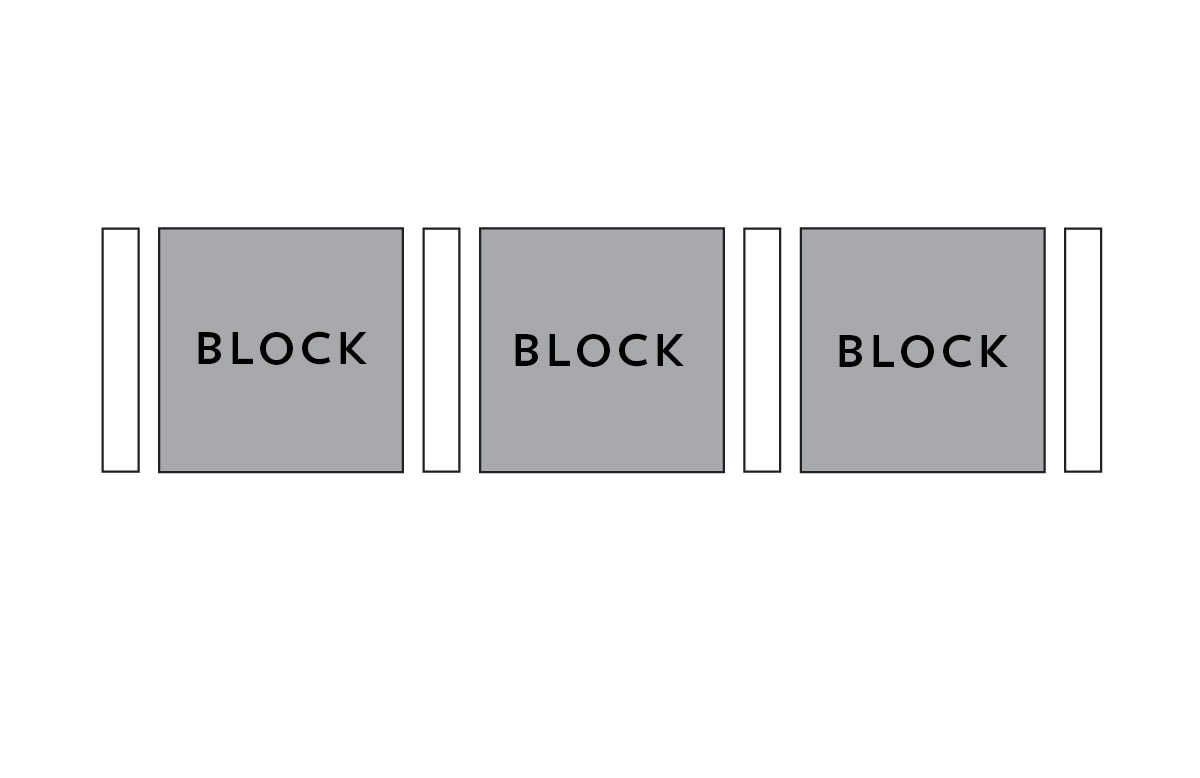
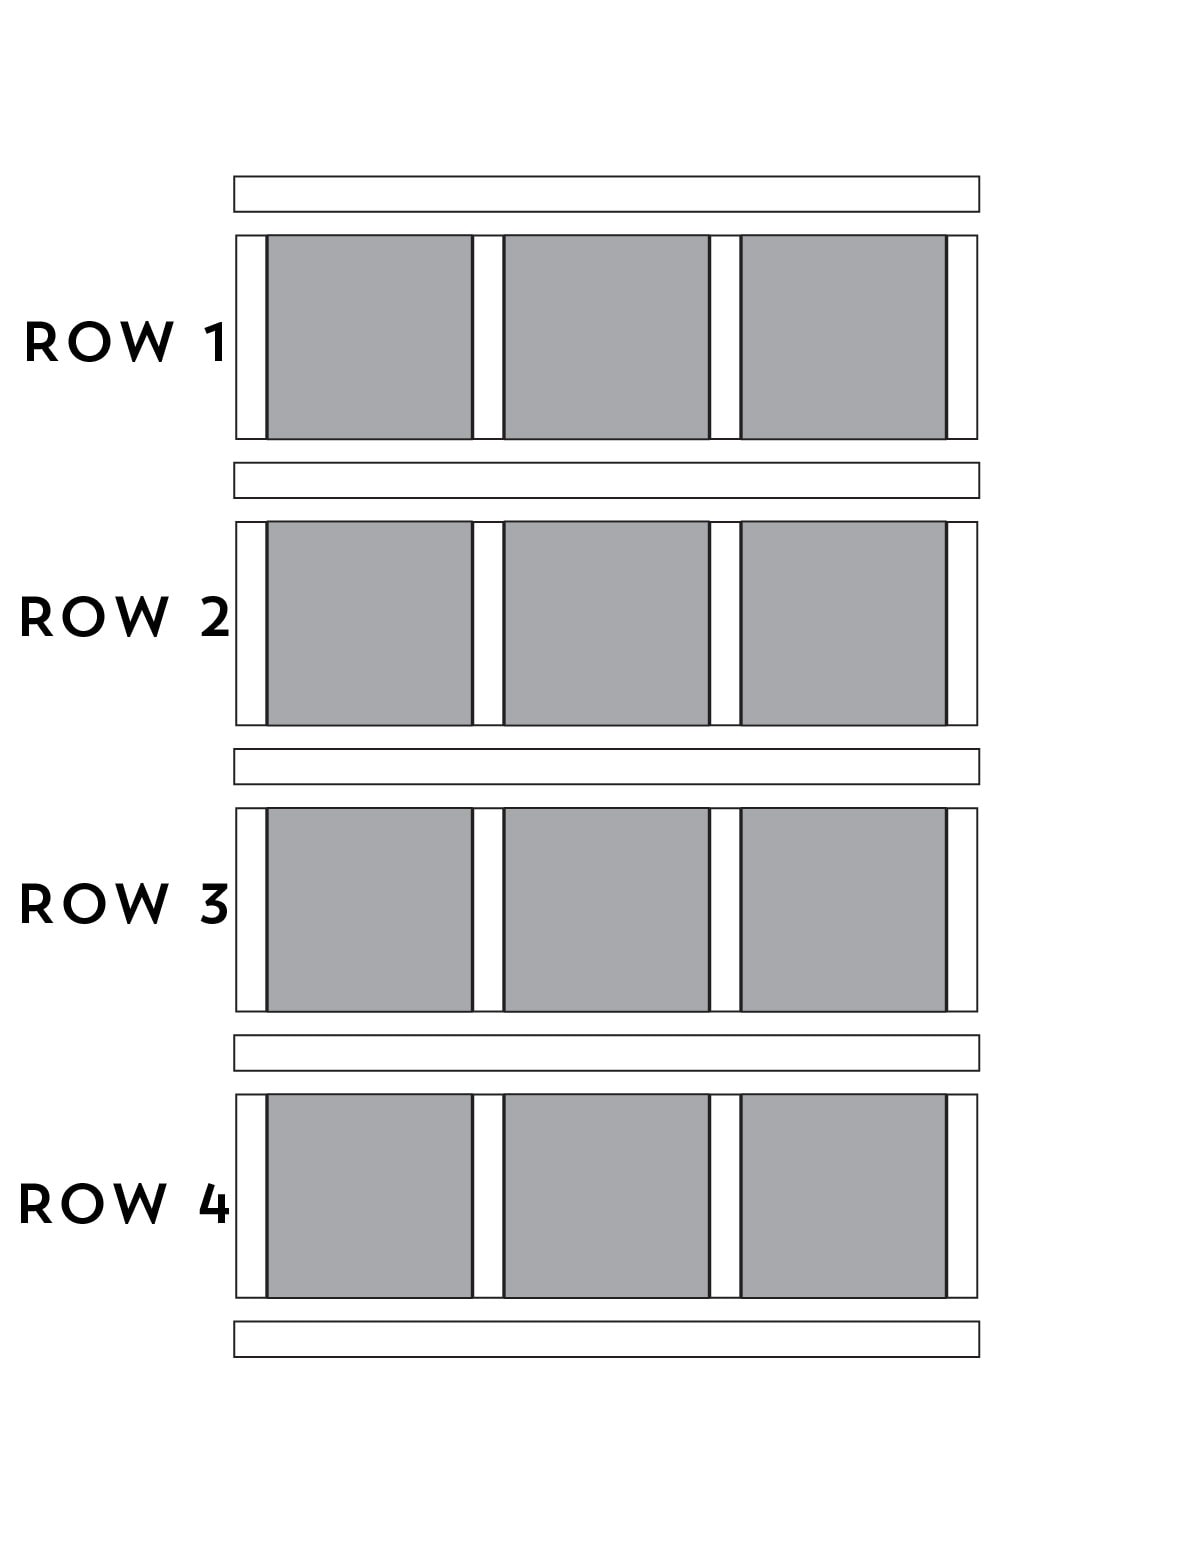
Beginning with row 1, stitch one of the 2 1/2” x 15” sashing strips to each side of the first block. Stitch the 2nd block to the other side of the sashing strip. Stitch the next sashing strip. Keep working until you’ve sewn the first row together (as shown in diagram).
Repeat for rows, 2,3,4
Stitch 2 of the 2 1/2” x 27” strips together along the 2 1/2” side. Press seam, trim to 52”. Repeat for other 8 strips.
Stitch one of the 52” long strips to the top of row 1. Stitch another 52” long strip to the bottom of row 1. Stitch row 2 to the strip.
VERY IMPORTANT: Make sure that as you stitch row 2 to the sashing strip that your blocks are lined up with each other vertically. You may need to use pins or a marking pen as you pin the 2nd row to the sashing to ensure the blocks are aligned properly.
Repeat steps until all rows are sewn together.
To piece backing:
Stitch the two 63” x 40 pieces of fabric together along the 63” side with a 1/2” seam allowance. Press seam allowance open.
Press well. Quilt and bind as desired.
If you’re behind, don’t worry, I’m challenging you right now to finish it! I have 3 more quilts to finish myself and will be sharing completed photos of the quilts this Fall and Winter.
I really hope that you enjoyed this series. If you finished your quilt PLEASE SHARE! You can upload it to my Facebook Page (ThePolkaDotChair on Facebook) or Tag me on Instagram (@polkadotchair #polkadotchairblocks)

