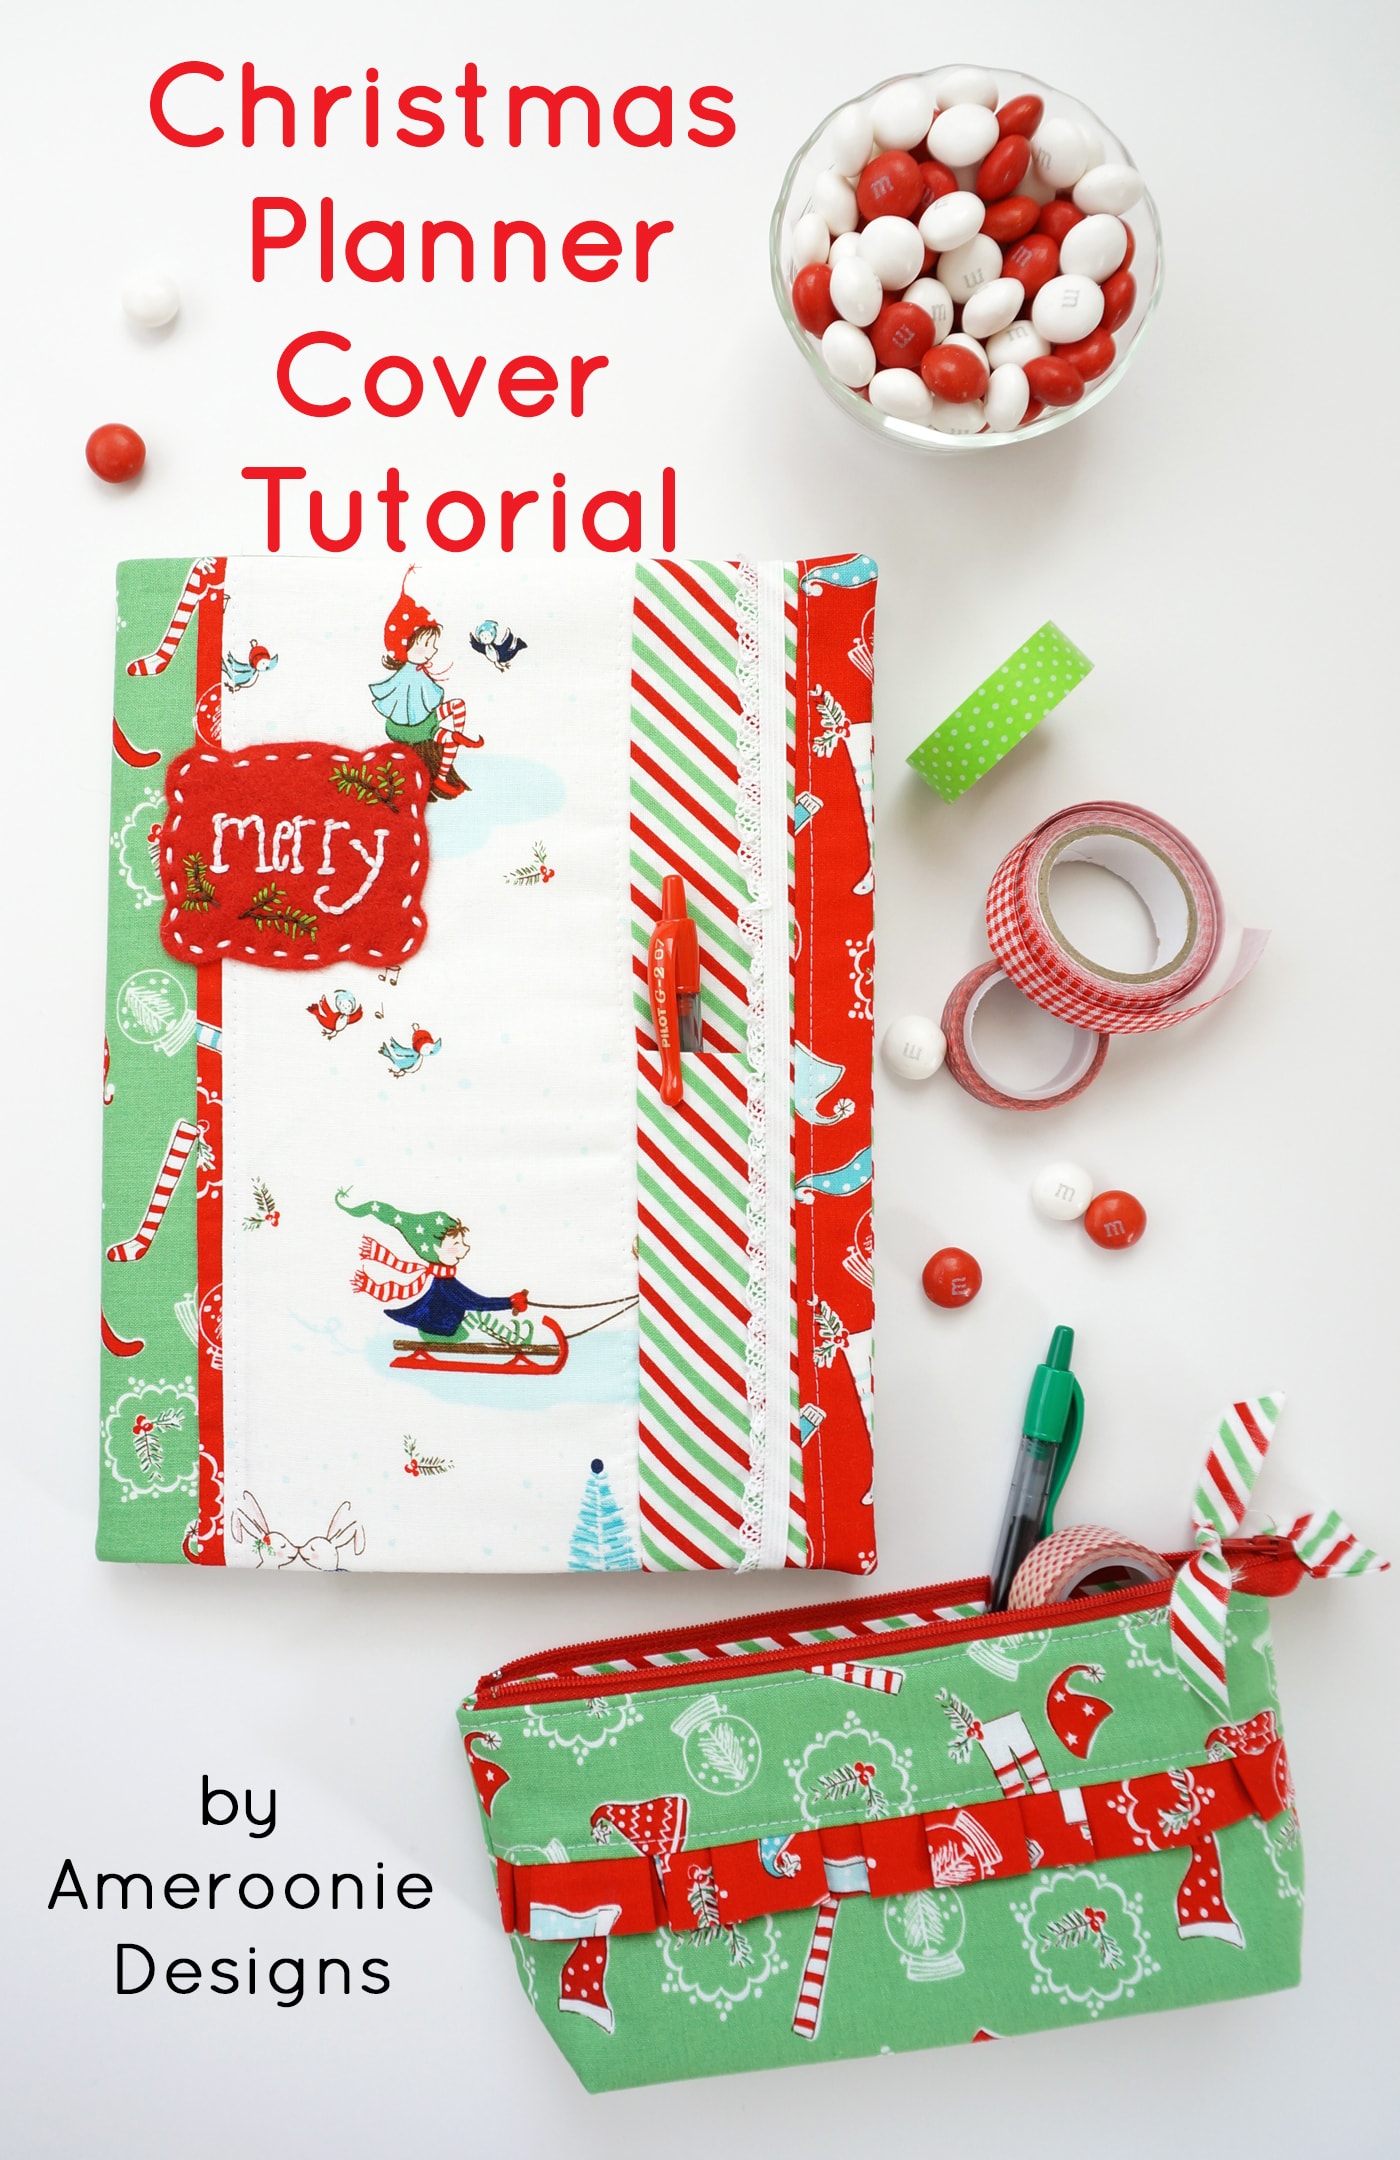
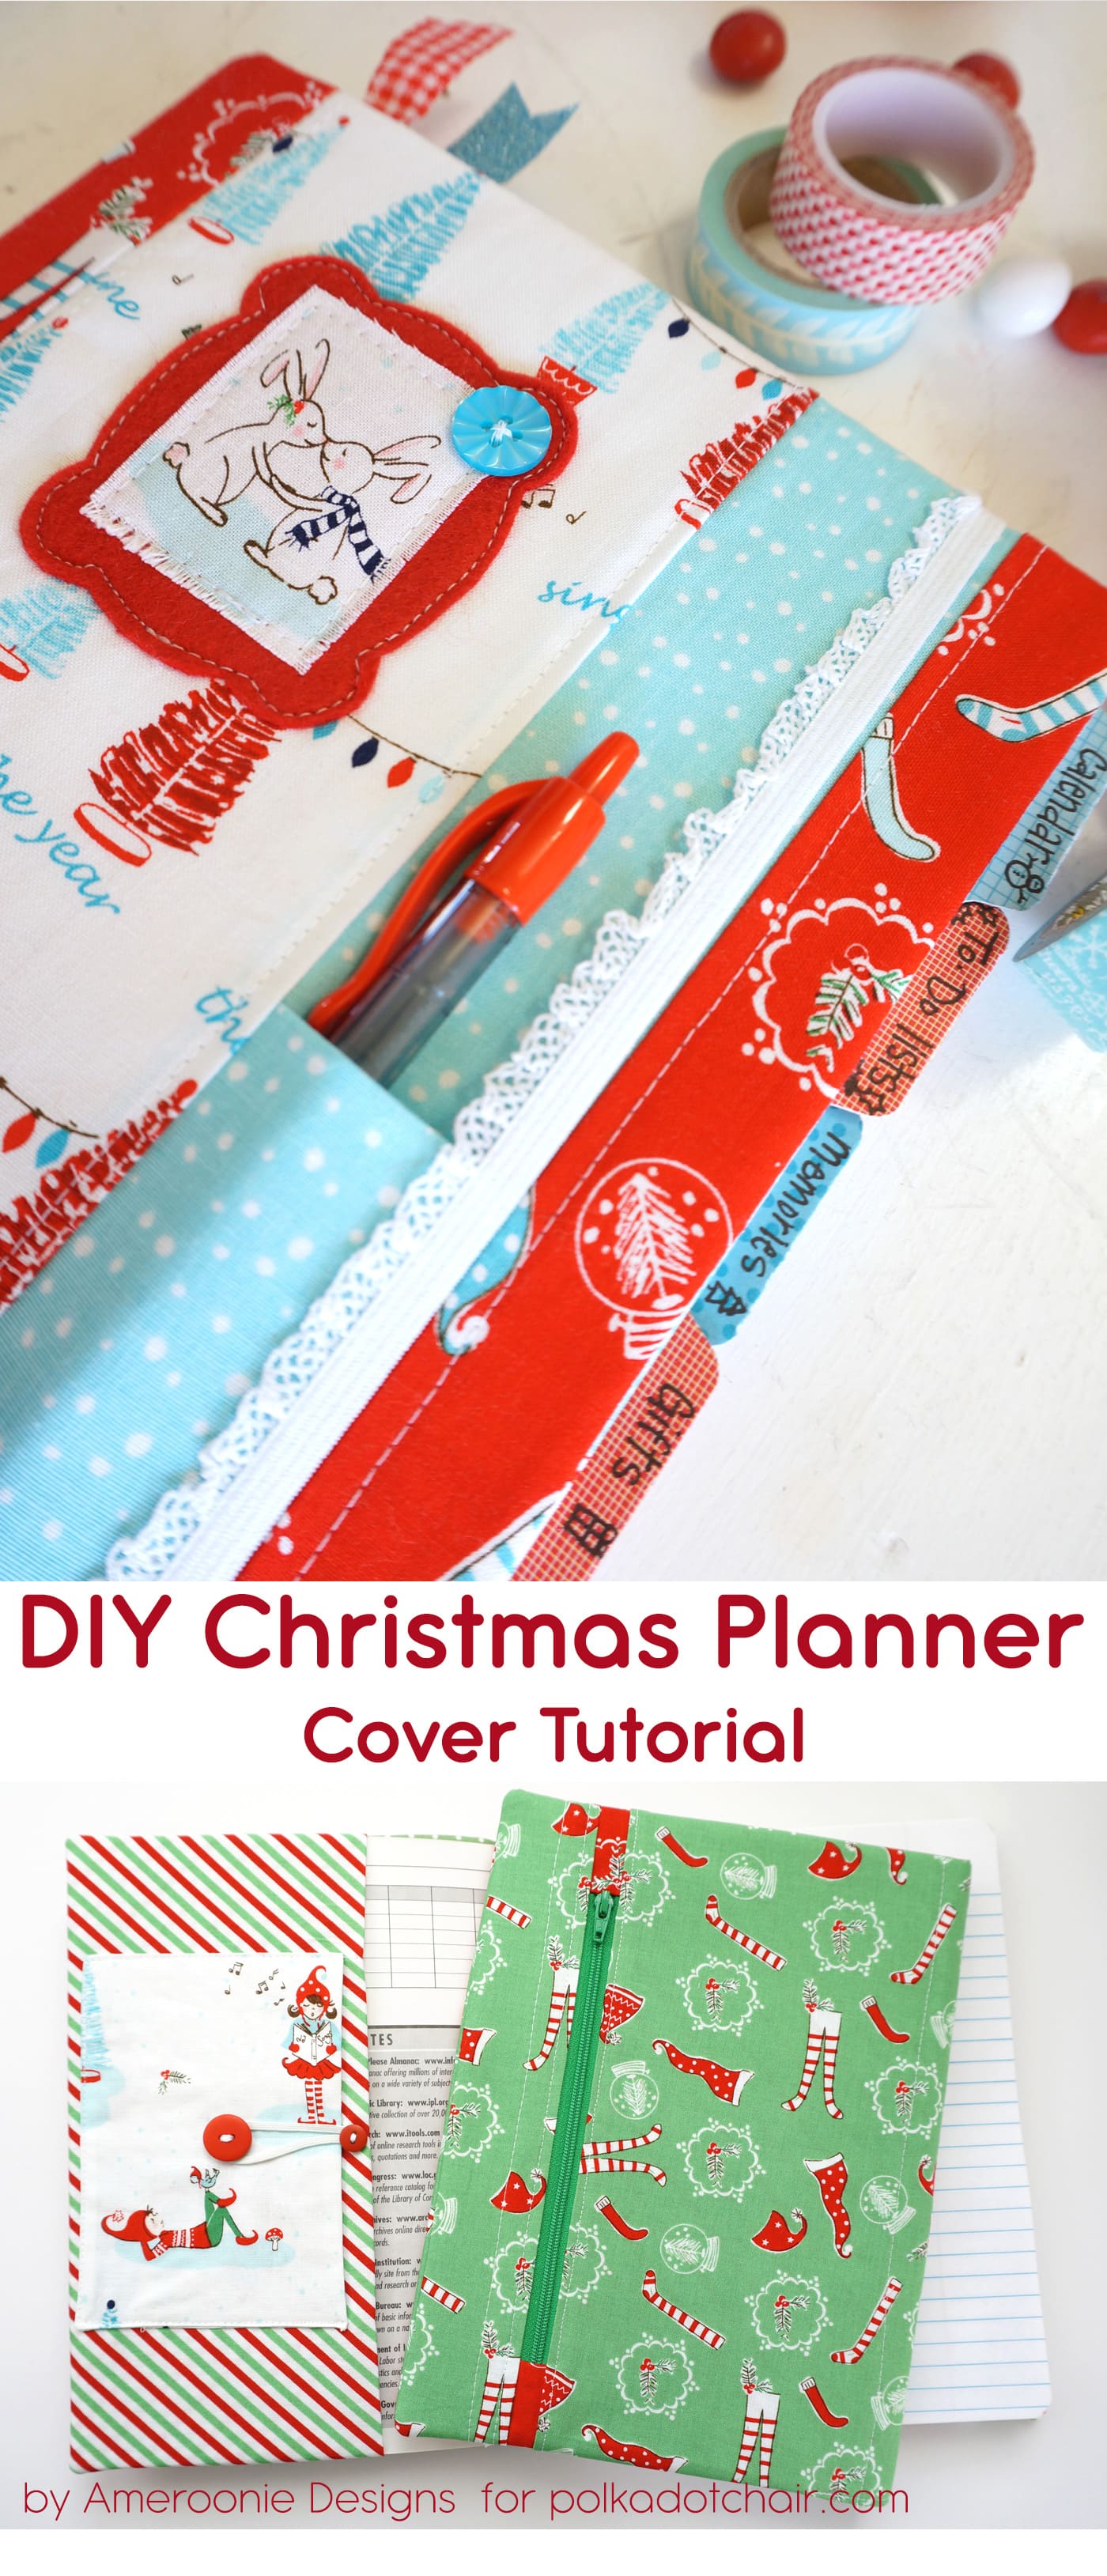
DIY Christmas Planner Cover Tutorial
It’s always easier to stay organized when something is cute, am I right? This DIY Christmas Planner Cover tutorial might just be the thing that helps you stay organized this Holiday season!
It’s always easier to be organized when it’s cute, too, right? If you like this tutorial, you may also like this Quilted Christmas Pillow Tutorial.
Amy from Ameroonie Designs is again with us, sharing another fantastic sewing tutorial! I need to make a DIY Christmas planner myself! Heaven knows I need all the help I can get to stay organized at Christmas!
Christmas Planner Details
A few years ago, I had the idea to make a Christmas planner—one place to keep all my notes, dates, receipts, and lists. I took a composition notebook, some scrapbook paper, and Mod Podge and got my craft on. It worked like a dream.
So well, in fact, I started making them every year. This year though, I thought I would up my game just a bit and make one out of fabric.
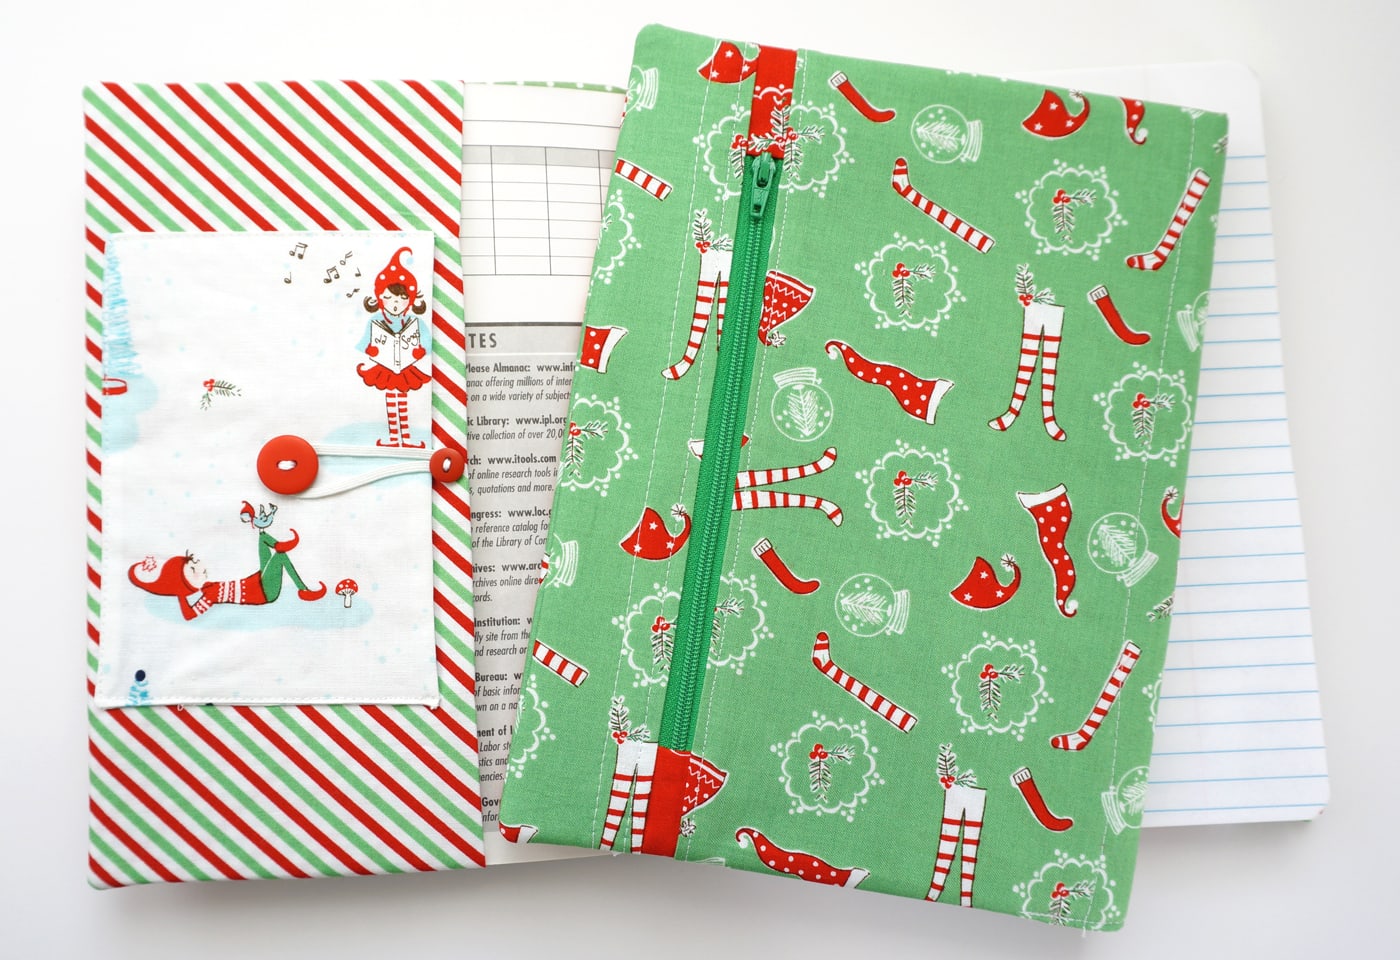
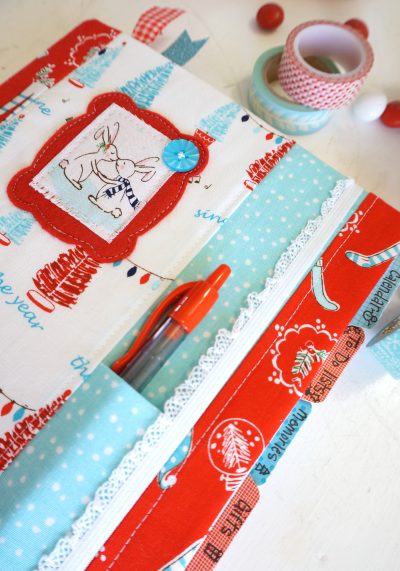
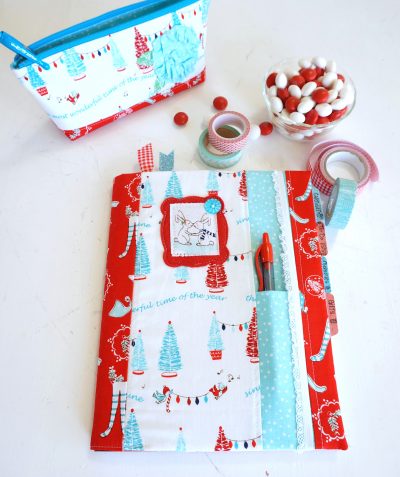
This pattern includes two pockets—one zipper pocket on the back and a slip pocket on the front sleeve. These pockets are perfect for stashing receipts, coupons, and other miscellaneous items.
How to Use the Planner
You can replace the notebook every year, use it for multiple years, or you can make a new cover each year and keep a record of all your Christmas memories. In a quick sewing session, you can have all your holiday craziness in one place!

Fabric Information
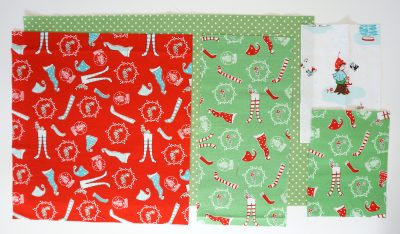
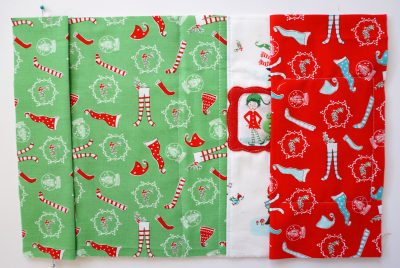
These darling Pixie Noel fabrics were so much fun to work with. They have perfect prints for fussy cutting and lots of fun holiday motifs. You will need 4-5 fat quarters for variety, but three will give you plenty of fabric.
This project is also excellent for using leftover fabric from other Holiday projects.

DIY Christmas Planner Cover Tutorial
Equipment
supplies
- 1 Composition Notebook
- Batting or felt
- Decorative elastic for enclosure
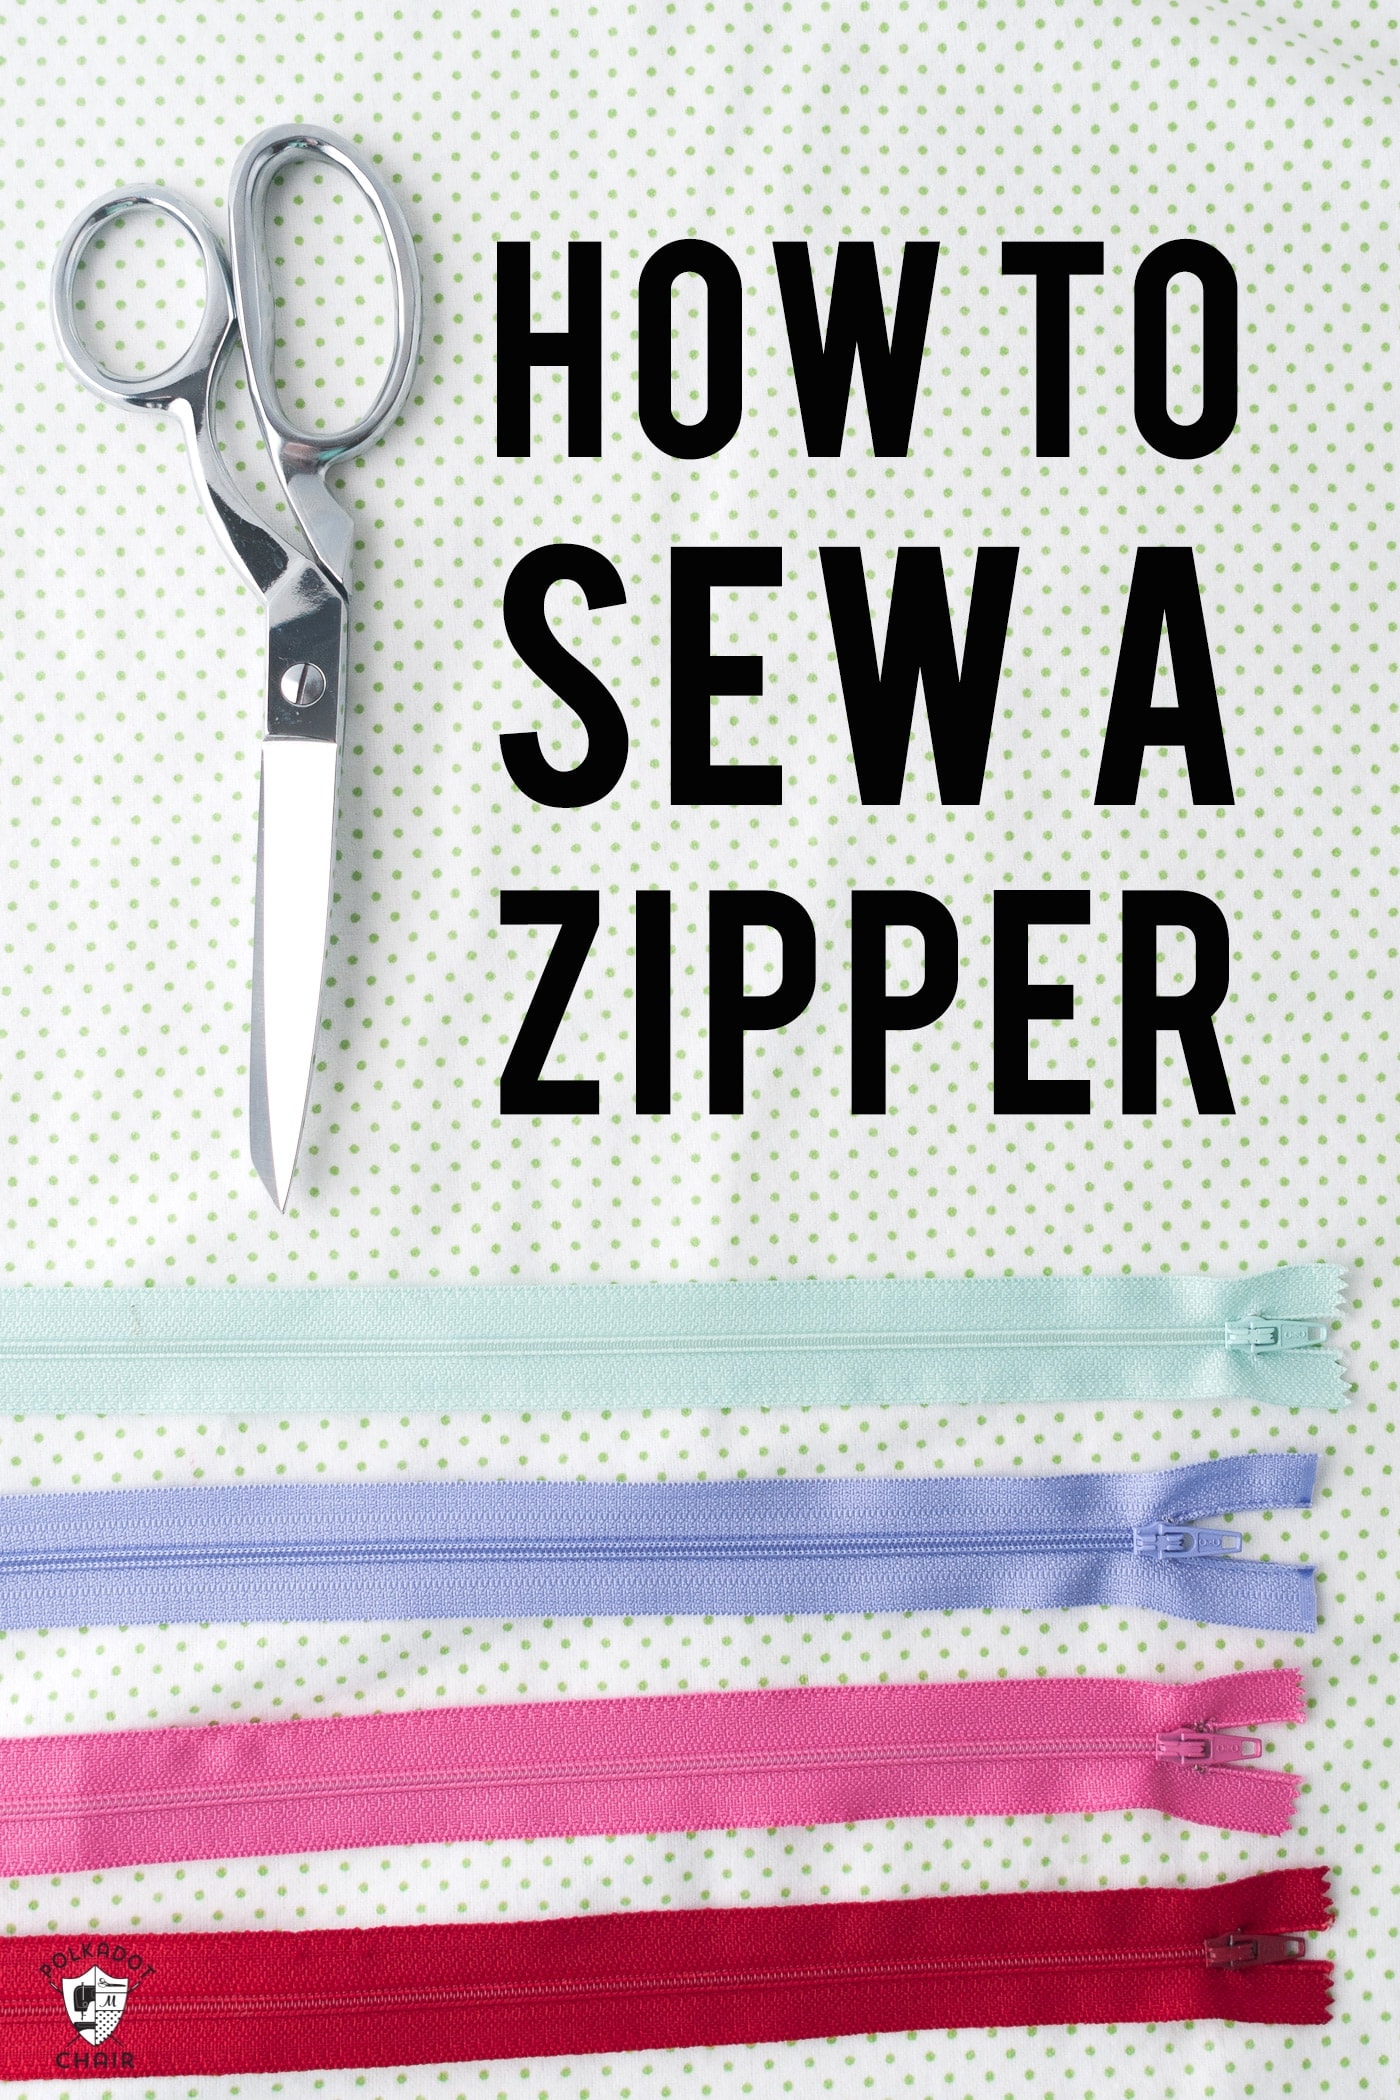
- 1 Zipper- 9" or longer
- Embellishments as desired
Instructions
Cutting:
For the front of the cover:
- 4 1/2″X 10 1/2″ main print
- (2)- 2″ X 10 1/2″ accent for pen pocket
- 1 1/2″ X 10 1/2″ accent

Back of cover:
- 2 1/2″ X 10 1/2″
- 7 1/2″ X 10 1/2″
- (2)- 6″ X 10 1/2″- lining of zipper pocket
- (not shown) (2)- 1″ X 2″ for ends of zipper
- **If you don’t want to do the zipper pocket, you can just cut 1- 9 3/4″ X 10 1/2″ pieces instead

Inside of Planner Cover:
- 16″ X 10 1/2″ lining piece
- 10″ X 10 1/2″ for front sleeve (with pocket)
- (2)- 4 1/2″ X 6″ for pocket
- 5″ X 10 1/2″ for back sleeve

Assembly:
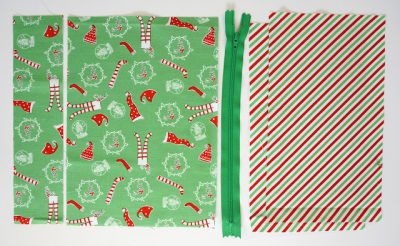
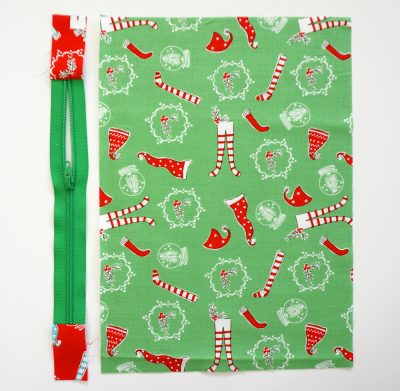
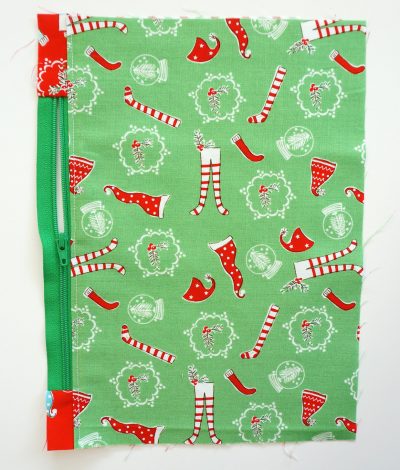
- Start with the back zipper pocket.

- Add the 1″ X 2″ fabric pieces to either end of your zipper. Make sure the zipper measures just under 9″. I like to add the fabric tabs just inside the metal zipper tabs, so I don’t have to worry about the needle hitting them, but you can do whatever you prefer. Press the fabric away from the zipper. You can top-stitch these down if you like, but it’s unnecessary.

- Place the zipper face down on the left side of the 7 1/2″ X 10 1/2″ back pocket piece. Place one of the lining pieces face down on top, and ensure all the edges are lined up. Sew using 1/4″ seam allowance.

- Press both sides away from the zipper. Top stitch along the zipper.

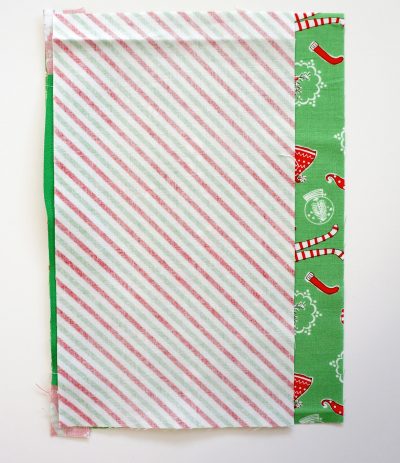
- Take the second lining piece and place it right side up. Line up the zipper—right side up—with the left side of the lining piece. Place the 2 1/2″ X 10 1/2″ piece of back fabric right side down, lining up the left side. Sew along the side using a 1/4″ seam allowance.

- Press ONLY the 2 1/2″ piece away from the zipper. Turn the pocket over and sew 1/4″ in from the bottom of the shorter lining piece to create the bottom of the pocket. Trim off the extra lining fabric.

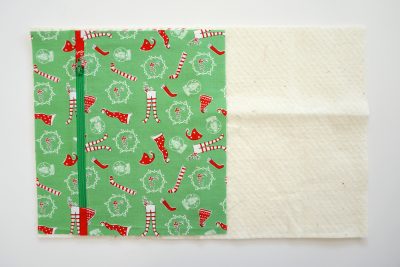
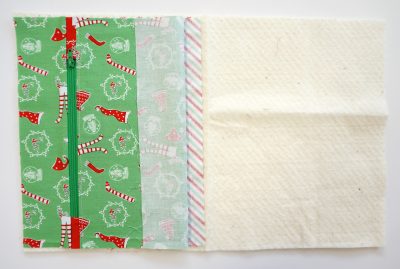
Apply Batting:
- Cut a piece of batting to 11″ X 16 1/2″. Line up the back pocket piece with the left side of the batting piece. Top stitch down the left side of the zipper

- Fold over the top piece of the back pocket. Line up the fold with the stitch line of the pocket lining, finger press, and unfold. Top stitch along the press line to hold the pocket in place.

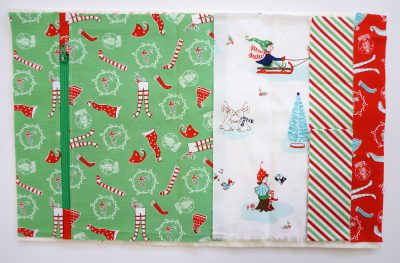
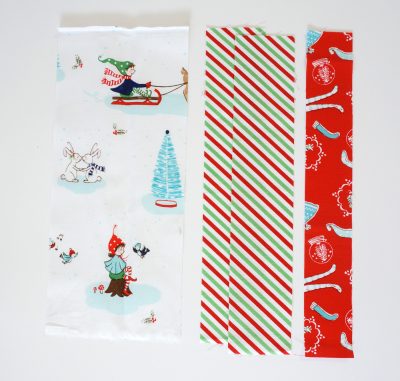
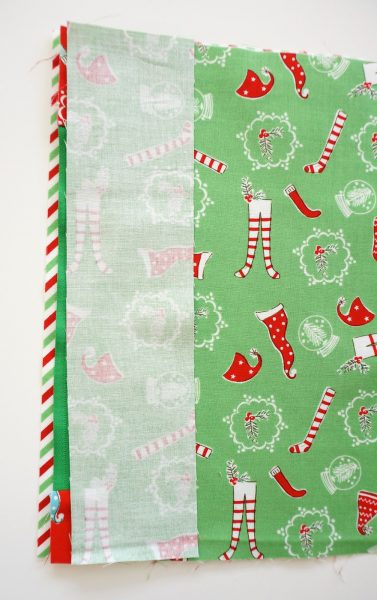
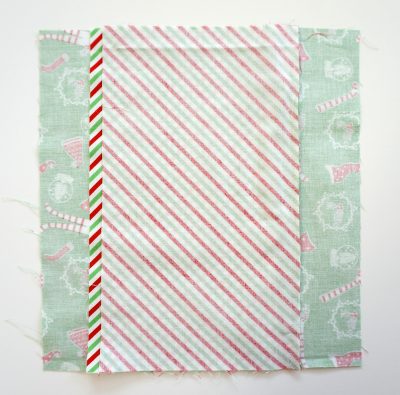
Construct the Front Cover:
- Line up the rest of the cover pieces as shown. Press one of the 2″ X 10 1/2″ pieces in half to create the pen pocket (the striped fabric in this pic).
- Starting with the accent piece, place it right side down and line it up with the right side of the pocket piece, stitch using 1/4″ seam allowance. Press the piece away from the stitch line and top stitch both sides of the stitch line to quilt as you go. Repeat with the pen pocket and final accent piece. *I don’t top stitch on top of the pocket piece. Trim the front cover to be 10 1/2″ X 16″
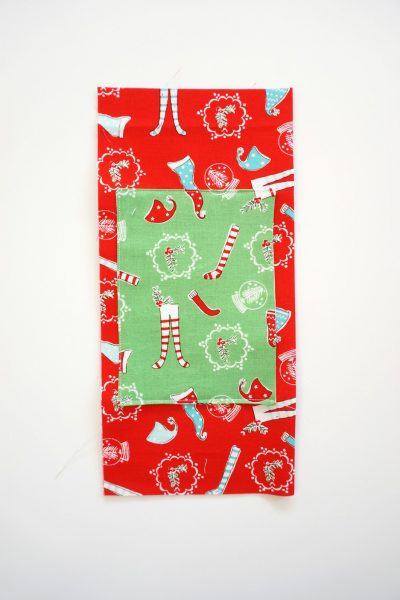
Embellishments:
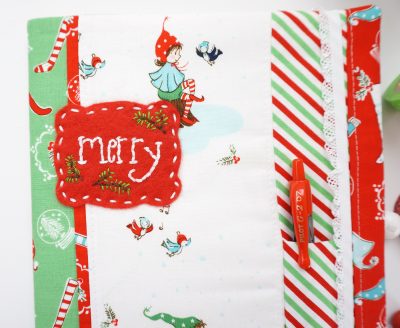
- If you want to add any embellishments, do so now. I used felt to create a “badge” and added a fussy-cut elf from the Pixie Noel fabric for mine. Then I finished it off with some buttons. *You could also add pom pom trim, ric rac, or any other embellishments you like.

Sleeve Pocket Construction:
- Take both sleeve pieces and press them in half along the length. Place both pocket pieces (4 1/2″ X 6″) right sides together. Sew around all four sides, leaving an opening for turning on the bottom seam. Clip corners, turn right side out, and press.
- Center the pocket on the larger front sleeve and stitch the top left and bottom sides. Close the opening as you go. Make sure the fold of the sleeve is to the right.

- If you’re adding elastic to keep the notebook closed, line it up 1 1/4″ from the left side of the front cover and pin it in place.

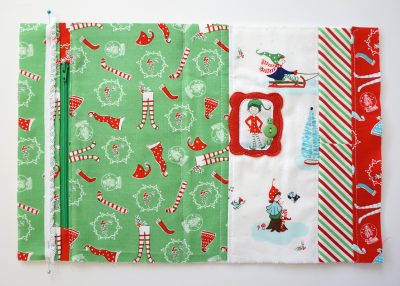
Final Assembly:
- Place sleeves on the cover—place the front sleeve with the pocket on the right side. Make sure to line up the raw edges so the folds are toward the center. Place the 16″ X 10 1/2″ lining piece right side down on top of the cover, line up the edges, and pin in place.

- Sew around the entire cover, leaving 3-4″ open on the bottom for turning (1/4″ s.a.). Clip corners and turn right side out. Press carefully- making sure to push out corners and edges. Top stitch opening on the bottom.

- Finally, pull out all your matching washi tape (or buy some!) and your favorite pens and plan all the fun for your holiday season.


Hello! I’m Amy Chappell, the person behind Ameroonie Designs. I’m a sewing and quilt pattern designer, and I’m proud to say that my work has been featured in several print publications and popular DIY websites.
I am the mom of six kids- which is a big reason I create and sew. I find that I am happiest when I am making things, and taking time to be happy makes me a better mom.
Join me in my exclusive Let’s Sew Friends membership, where you’ll find small, manageable monthly sewing patterns, live classes, and lots of video tutorials!
Other Cute Tutorials by Amy:
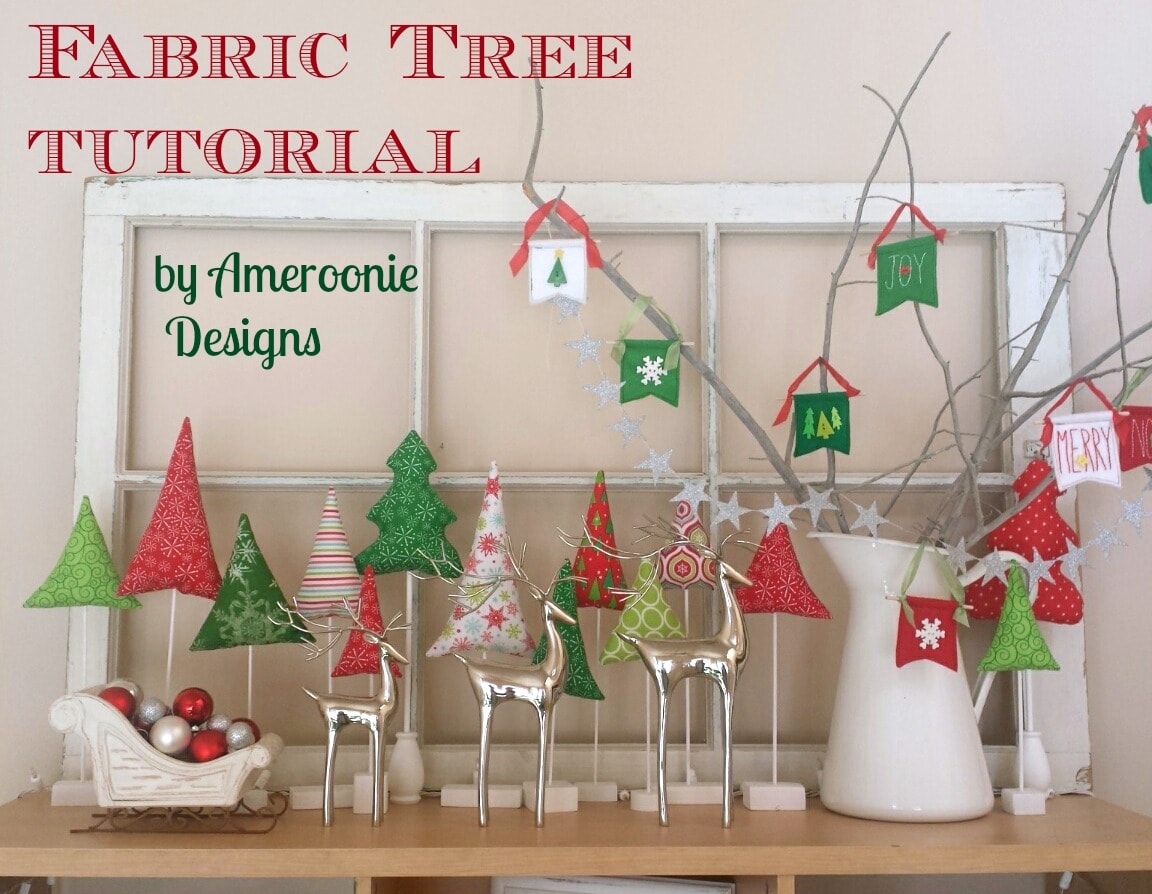
Fabric Christmas Tree Tutorial
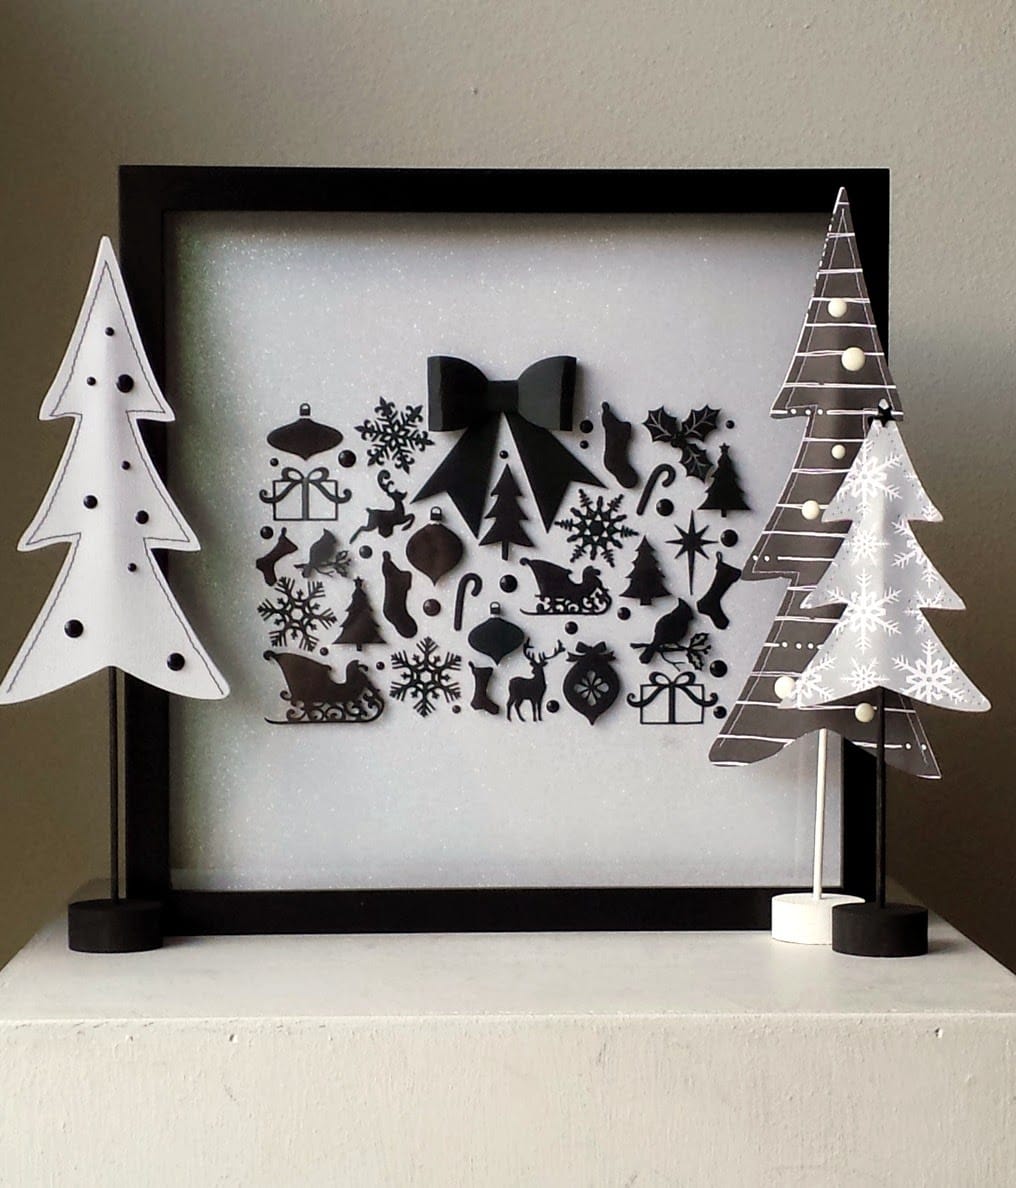
Black and White Christmas Shadow Box
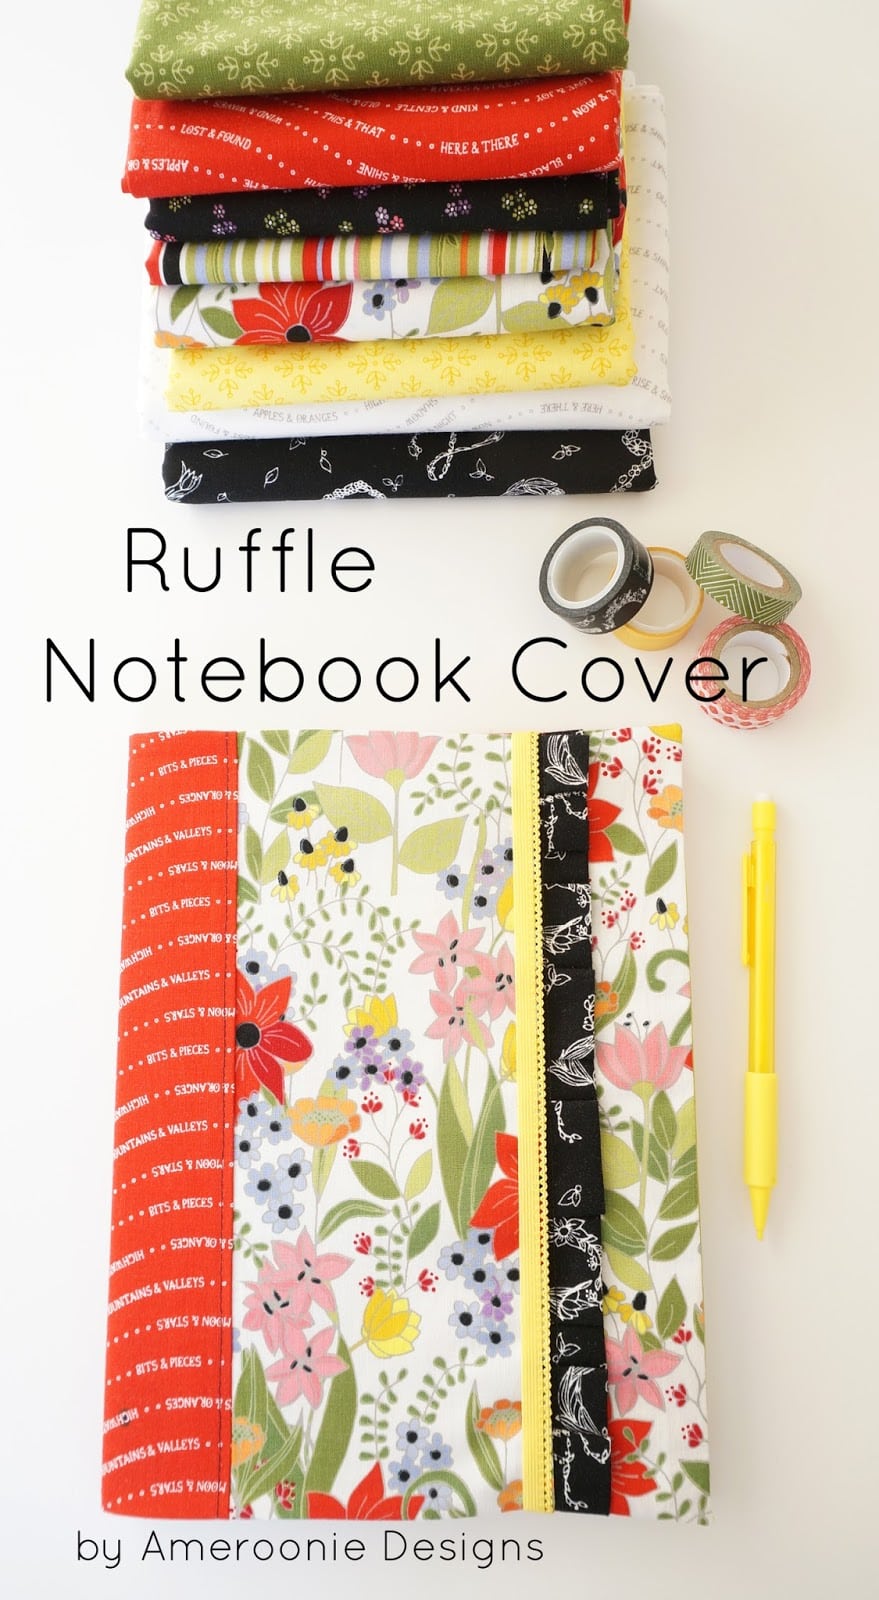
Ruffle Notebook Cover Tutorial


This chrtismas planner decor looks awesome! Thanks for sharing, I’ll definitely make it for my planner!