
How to add a Dresden Plate to a tote bag
Today I have a very quick and easy sewing project for you. Have you ever wanted to dress up a simple tote bag pattern? I’m going to show you how to add a Dresden Plate to an existing tote pattern in a few simple steps. If you like this post, you may also like this free quilt pattern for a Dresden Burst Baby Quilt.
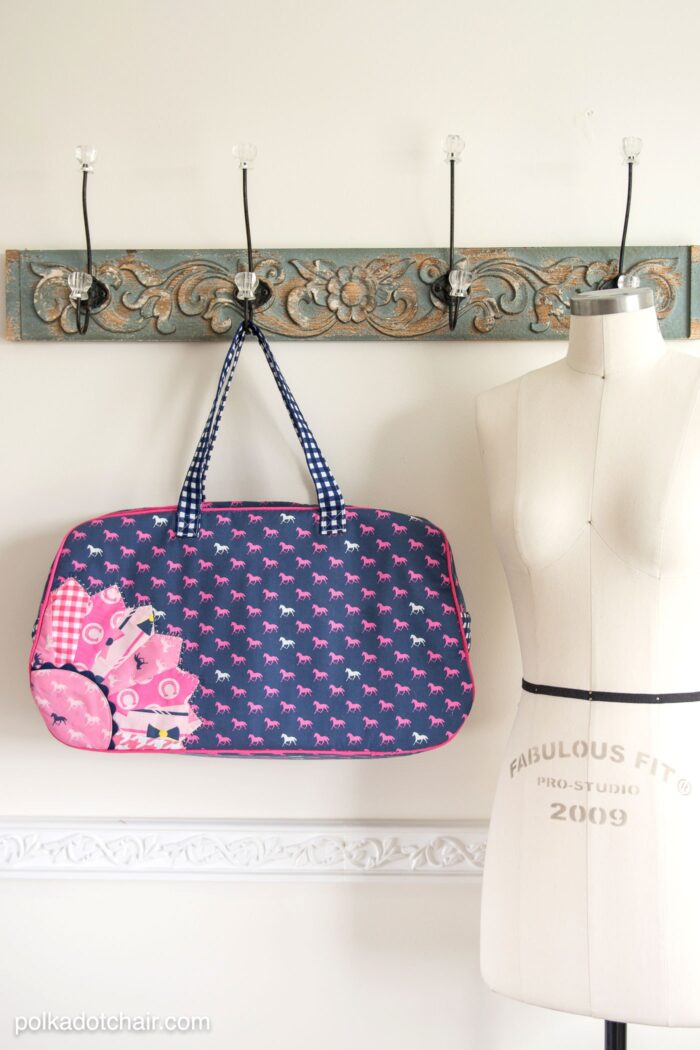
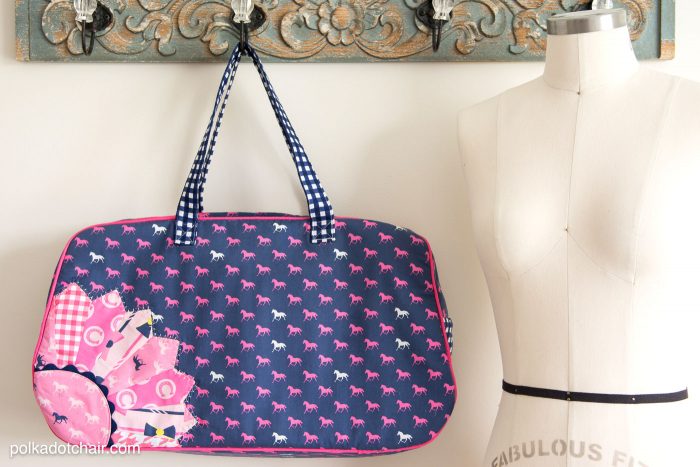
I actually made this bag almost 1 year ago! It was a part of my display for my section of the Riley Blake booth at Quilt Market in Fall 2014. The pattern is my retro travel bag pattern, which I had previously only made in laminate fabric. I had been meaning to stitch up a sample in 100% cotton just to show you the pattern’s versatility, but other things kept bumping it down on my “to sew” list.
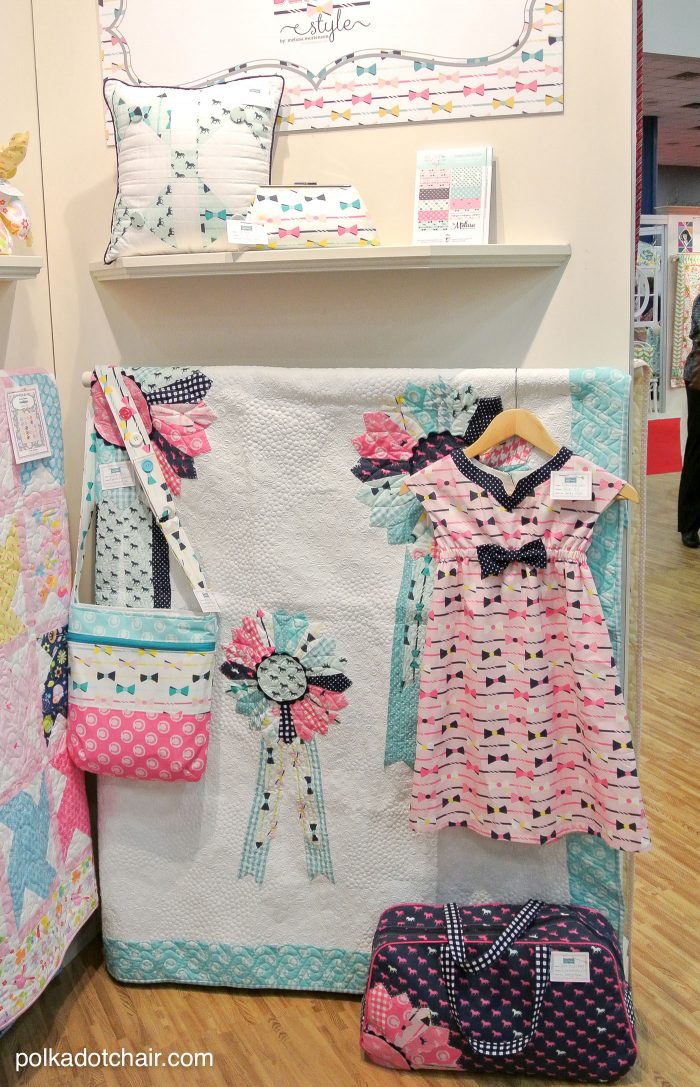
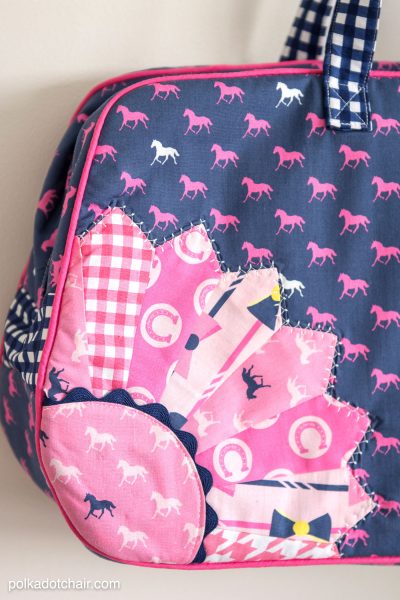
While I was making samples for my Derby Style fabric line, I thought it would be the perfect opportunity to finally make the bag. Since I had “Dresden’s on the brain” that month, I decided to embellish the bag a bit more by adding a little Dresden plate poking out from the side.
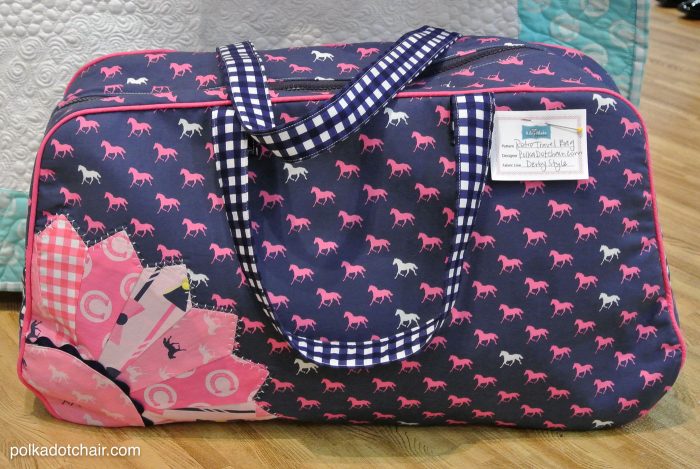
I shared the bag last November, promising to share a tutorial on adding the Dresden to the pattern, but never did. A reader reminded me about the project a few weeks ago, and I decided it was about time that I typed up a tutorial for the Dresden addition.
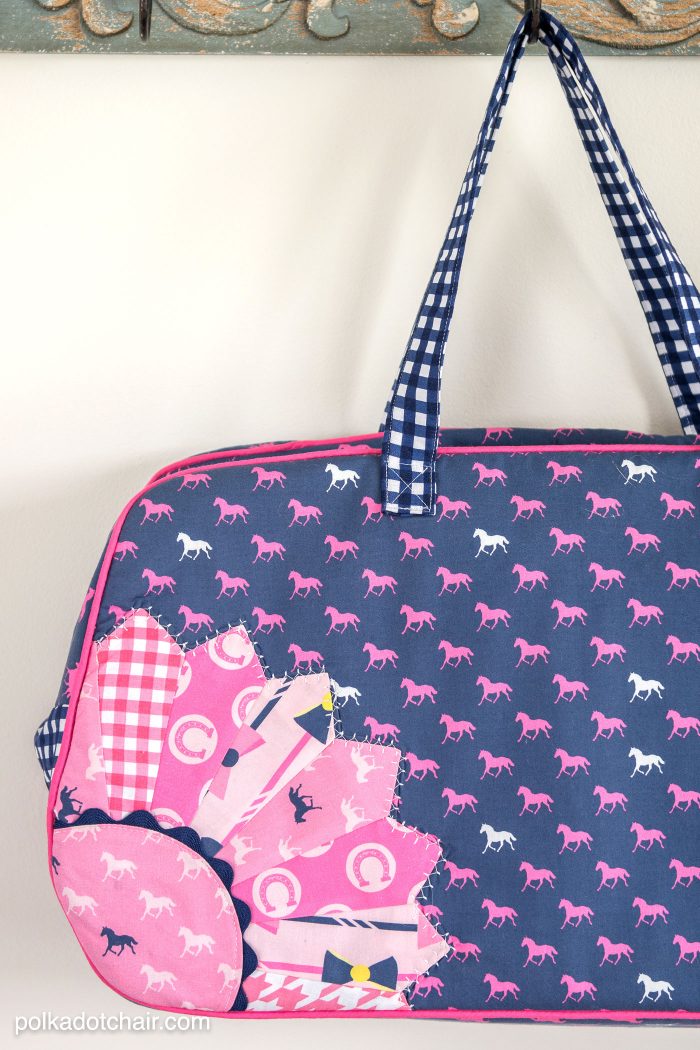
I’m going to give you the measurements to add the Dresden plate to the Retro Travel Bag sewing pattern (you can pick it up as a PDF pattern in my shop), but you can adjust this as you would like to fit any tote bag pattern (even a small zippered pouch).
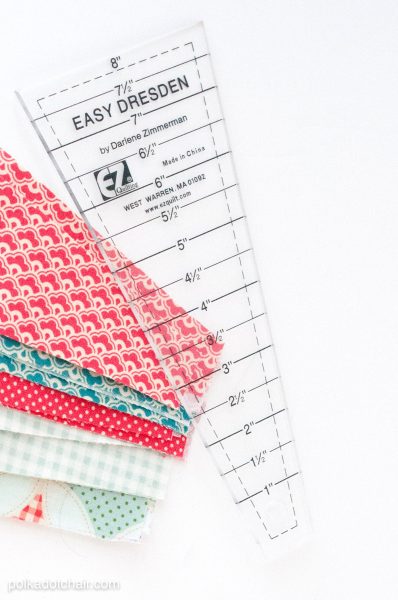
The first thing you need is a Dresden Ruler. I use the Easy Dresden by EZ Quilting.
The ruler is a trapezoid shape with markings every 1/2″ along the length of the ruler.
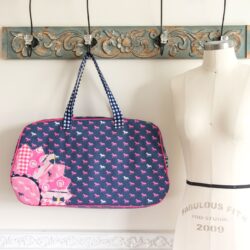
How to add a Dresden Plate to a tote bag
Equipment
- Dresden Ruler
Instructions
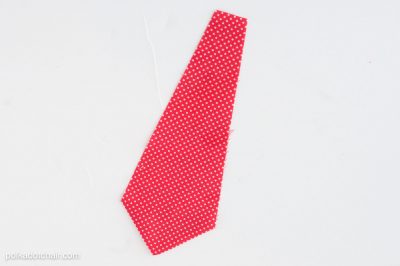
- For the Dresden plate that fits on the Retro Travel bag, you will want to cut your Dresden blades (the individual pieces of the Dresden plate) each 5 1/2″ tall. You will need to cut 8 blades in various prints.

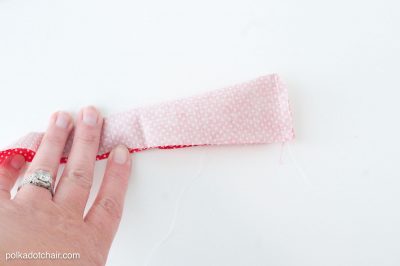
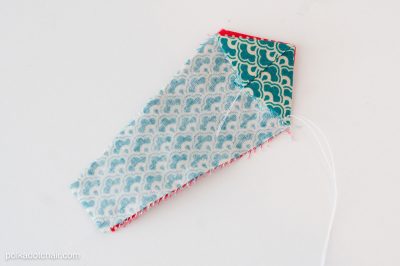
- To sew the blades, fold each blade in half lengthwise and stitch across the top with a 1/4″ seam allowance. Clip the corner, then turn the blade right-side out.

- Press.
- Continue until all 8 blades are sewn and pressed.
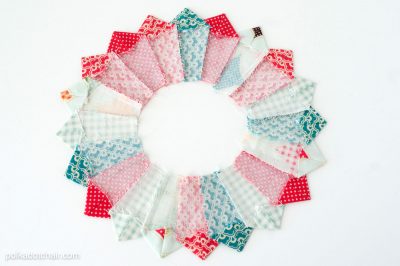
- To assemble the plate, lay two of the blades on top of each other, right sides facing, and stitch down the side with a 1/4″ seam allowance.
- Repeat until all 8 blades are sewn together. Press all seams to one side.
- If you were to keep sewing blades together, you would eventually end up with an entire Dresden plate. You don’t need to do that for this project; you only need 8 (unless you want a full plate on your bag).
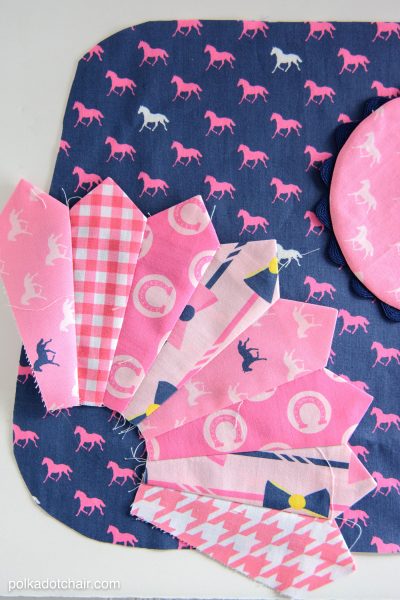
- Next, lay the blades out on the right side of the bag’s outside piece. Arrange them however you like. Pin or glue-baste the plate to the front of the bag.

- Next, stitch the plates to the tote bag.
- I like to sew Dresden plates by machine and use a “chicken scratch” applique stitch. I think it adds a nice bit of detail.
- Next, measure how much fabric you need to cover the bag from the raw edge of the Dresden plate to the edge of the bag front piece. Cut a circle 1/2″ larger than this measurement.

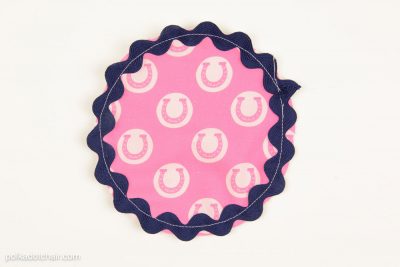
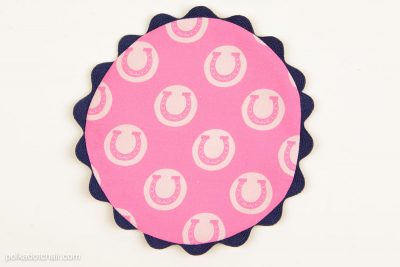
- You can finish off the raw edge of the circle any way you like. My favorite way to finish them is with ric-rack. Simply pin a piece of ric rack to the right side of the circle along its circumference, and stitch in place.
- Flip the ric rack to the wrong side and press. Voila! Finished circle.
- Now just pin it to the bag and stitch it in place.
- As a last step, trim the excess Dresden plate from the edge of the tote bag piece. Stitch the tote bag as you normally would.



Nice design, Melissa! Those patterns and colors make a good blend. Love it!
Thanks!!