How to Sew Pom Pom Trim
Today I’m excited to show you how to sew pom pom trim onto your projects. I love to sew with pom pom trim and have picked up a few tricks over the years that I’ll share with you today. If you like this article you may also like this roundup of 20 Pom Pom Inspired Projects to Sew for Summer!
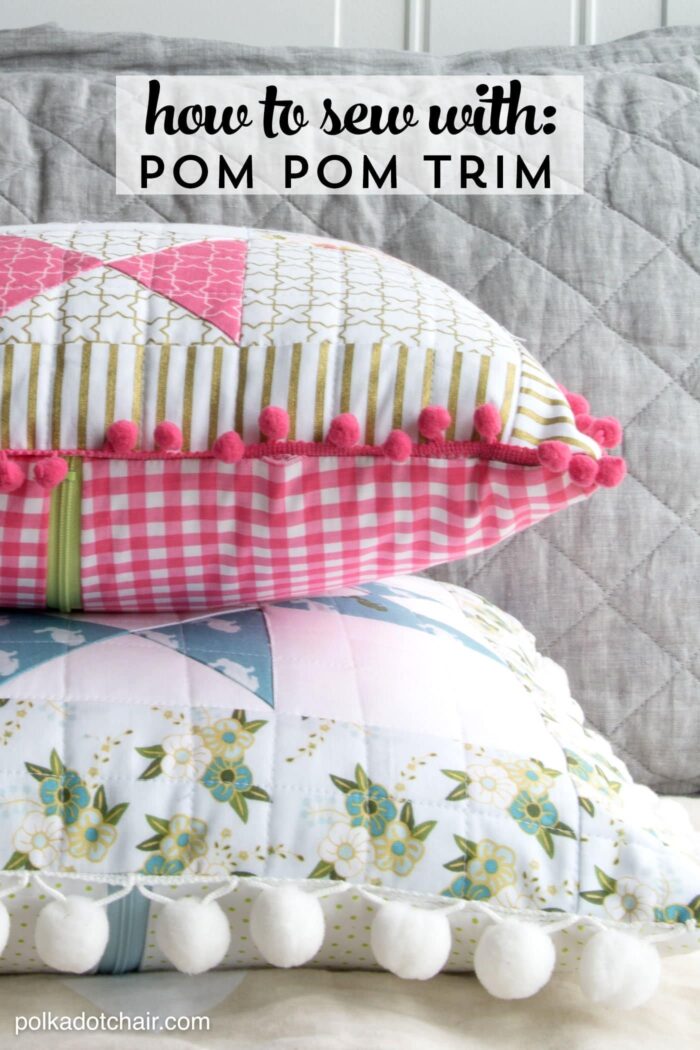
I love to sew with pom pom trim (some may refer to it as pom pom fringe). Last summer I felt like there was pom pom trim on everything from shorts, to tote bags to dresses. It’s such a fun way to add a little bit of extra detail to your sewing project.
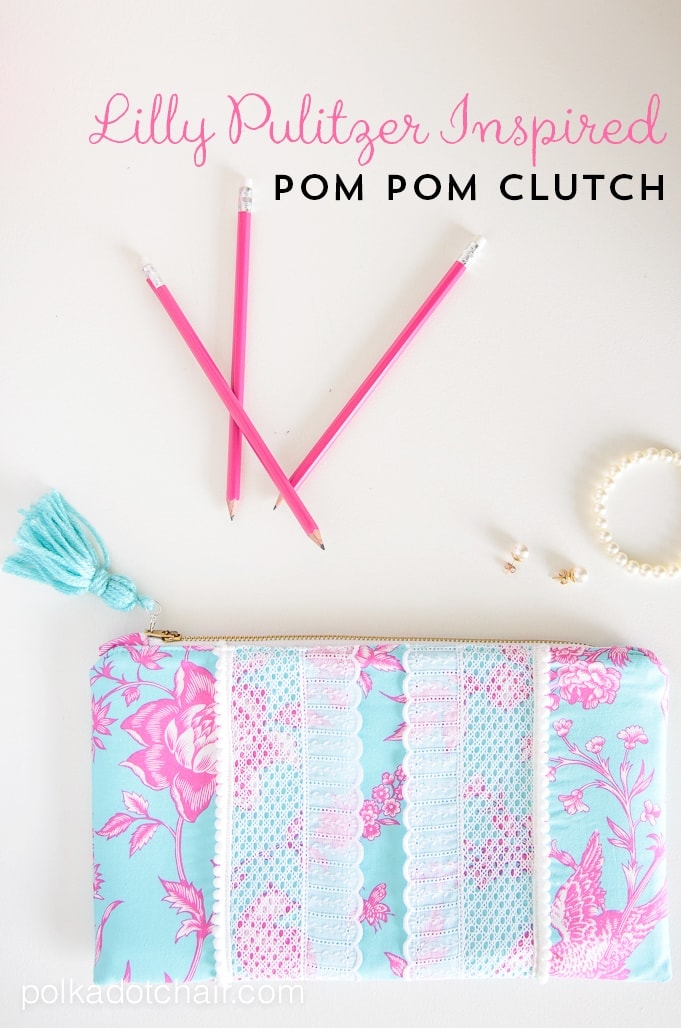
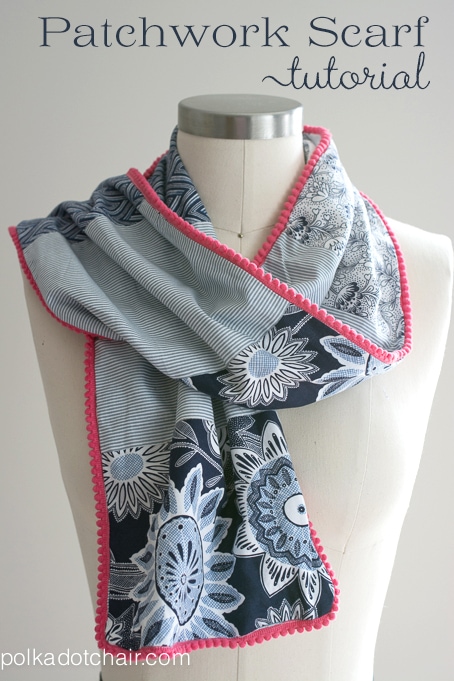
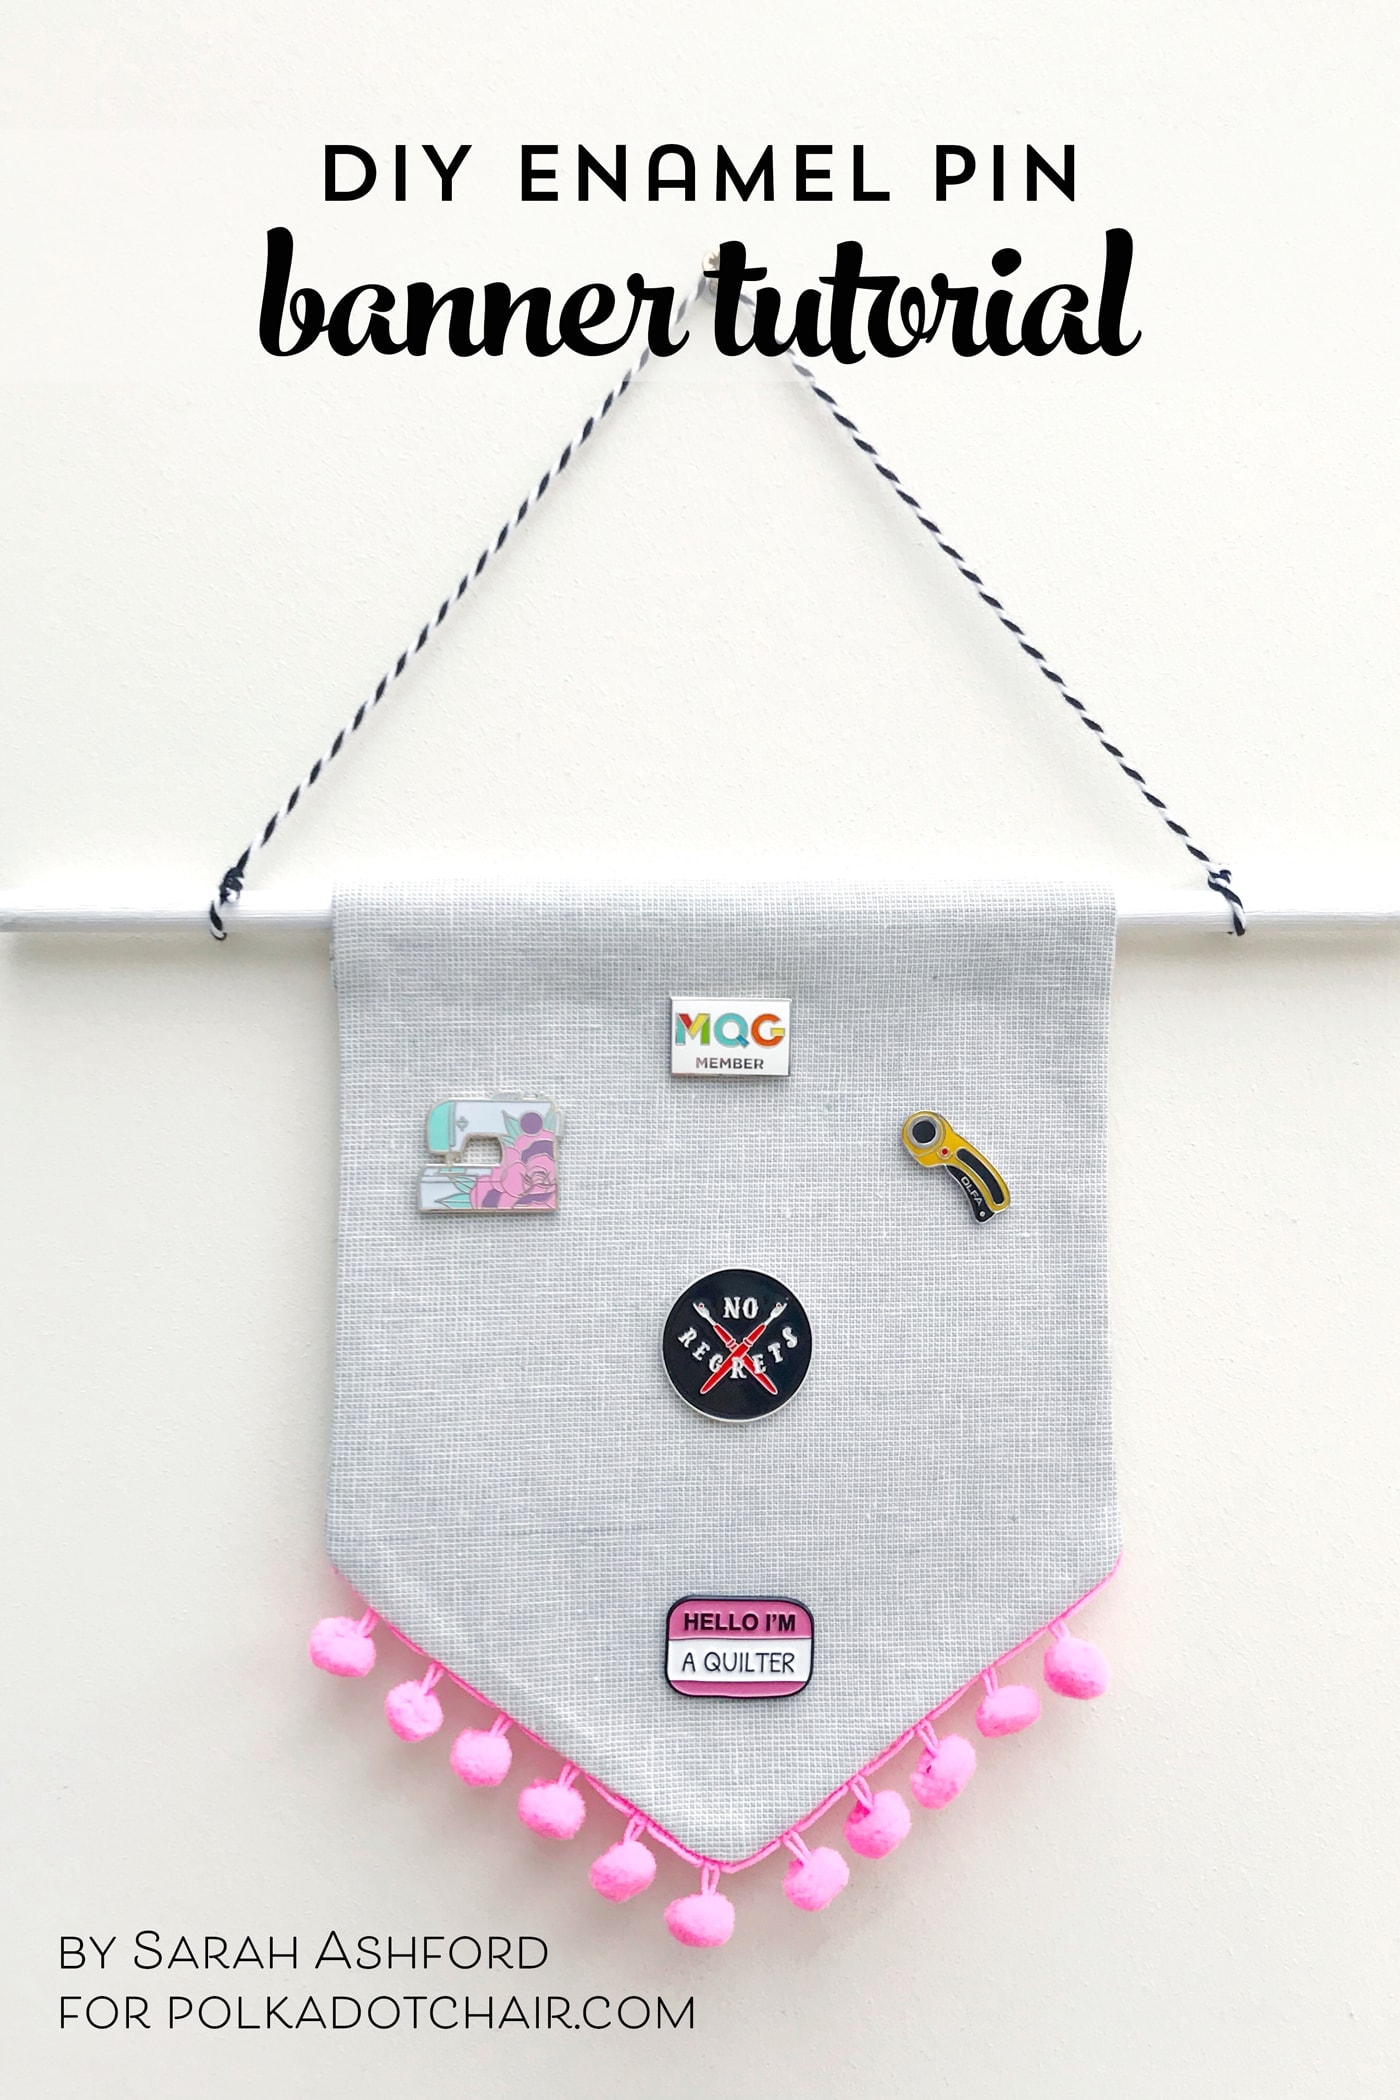
Here are a few projects that I’ve shared in the past that feature pom pom trim (click the photo to go to the tutorial):
Project Ideas for Pom Pom Trim:
2. Sister Sampler Quilt Block Pillows
How to Sew Pom Pom Trim onto Fabric:
Every time I post a project using pom pom trim I always get a few questions regarding how to work with the trim. I admit that the stuff can be kind of frustrating to sew with at times.
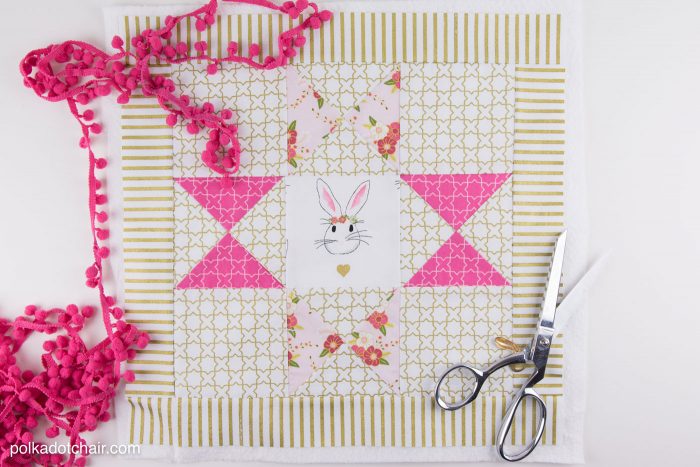
There are two main ways that I like to work with pom pom fringe, I’ll cover both of them today.
Option 1: Use a Zig Zag Stitch
The first technique involves the use of a zig zag stitch.
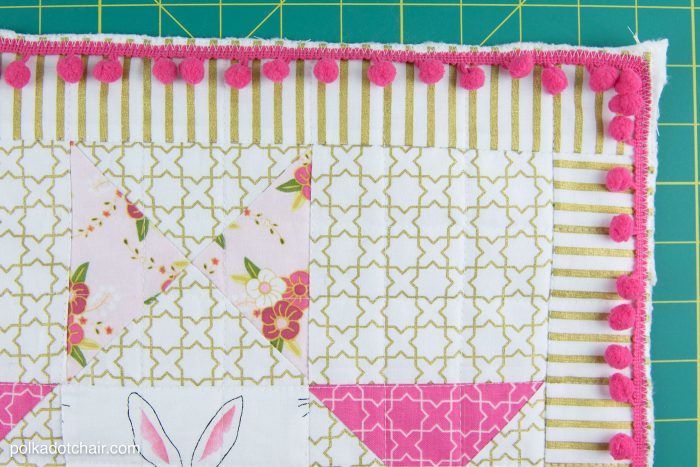
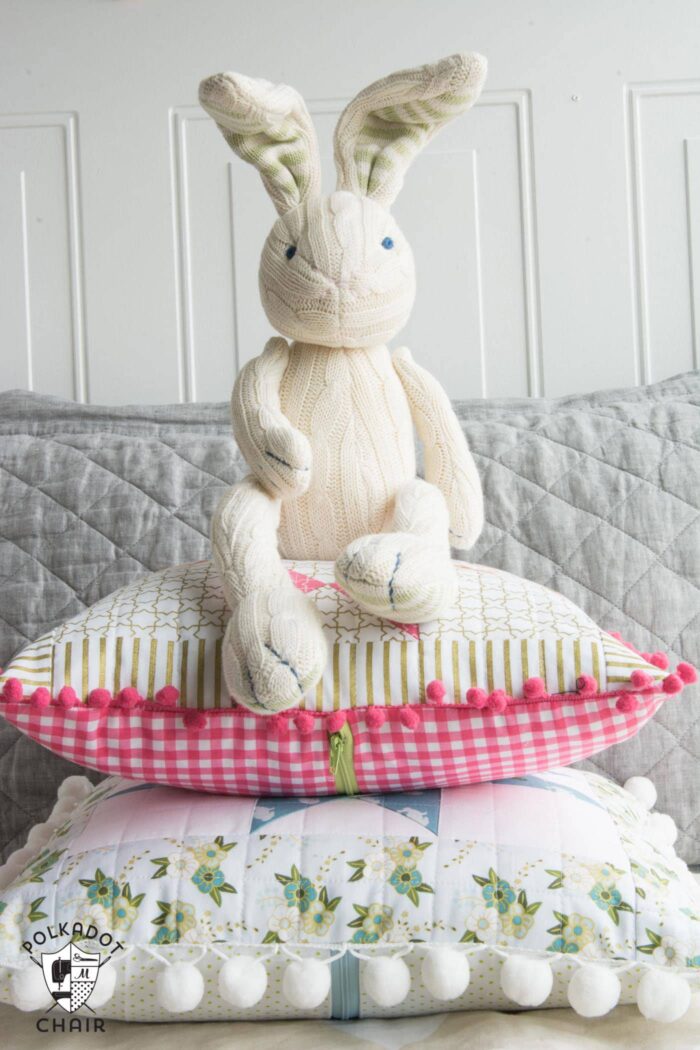
I find that the best way to attach pom pom trim that has a flat edge to a project is to use a zig zag stitch. For this to work you need at least 1/4″ of flat edge on your trim. I find that this technique works well for both small and large pom pom trim (like the big white pom poms on the pillow in the photo at the top).
Simply lay your trim out on your project (in this case a pillow) and line up the flat edge of the trim with the raw edge of the pillow. Set your machine to a zig zag that is approximately the same width as the flat part of your trim. Then simply stitch the trim to the pillow. I find it easiest to feed the trim as I go, as compared to pinning all of the trim down before hand.
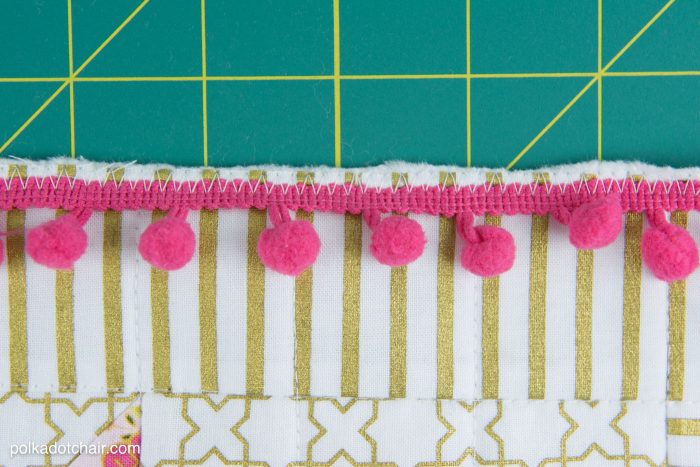
If the edge of your trim is going to show on your finished project (i.e. it’s not hidden in the seam as it is with a pillow) just use the same color thread as your trim.
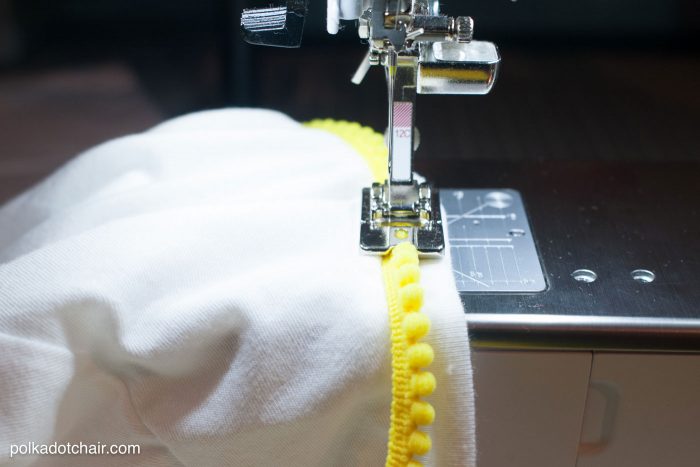
Option 2: Use a Cording Foot
The second way I like to sew down pom pom trim is using a cording foot. A cording foot has a “groove” underneath meant to pass piping or cording through it.
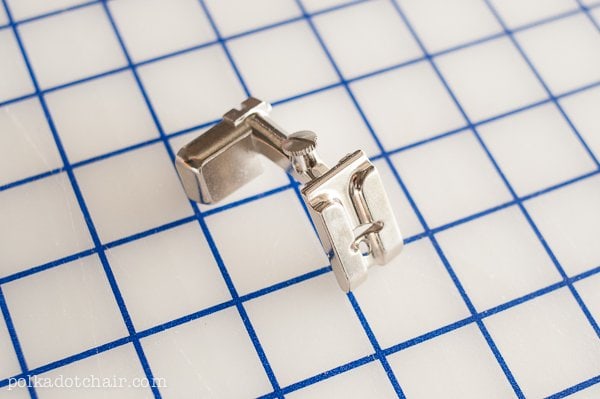
To attach the trim with the cording foot simply feed the trim under the foot where the cording would go. This technique works really well for tiny pom pom trim that doesn’t seem to have much of an edge. Make sure as you feed your trim through the foot that it remains flat and doesn’t twist as you sew.
There you have two of my favorite ways to sew with pom pom trim, do you guys have a favorite way? If so leave it in the comments so that everyone can benefit from your tips!


