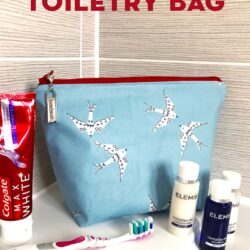
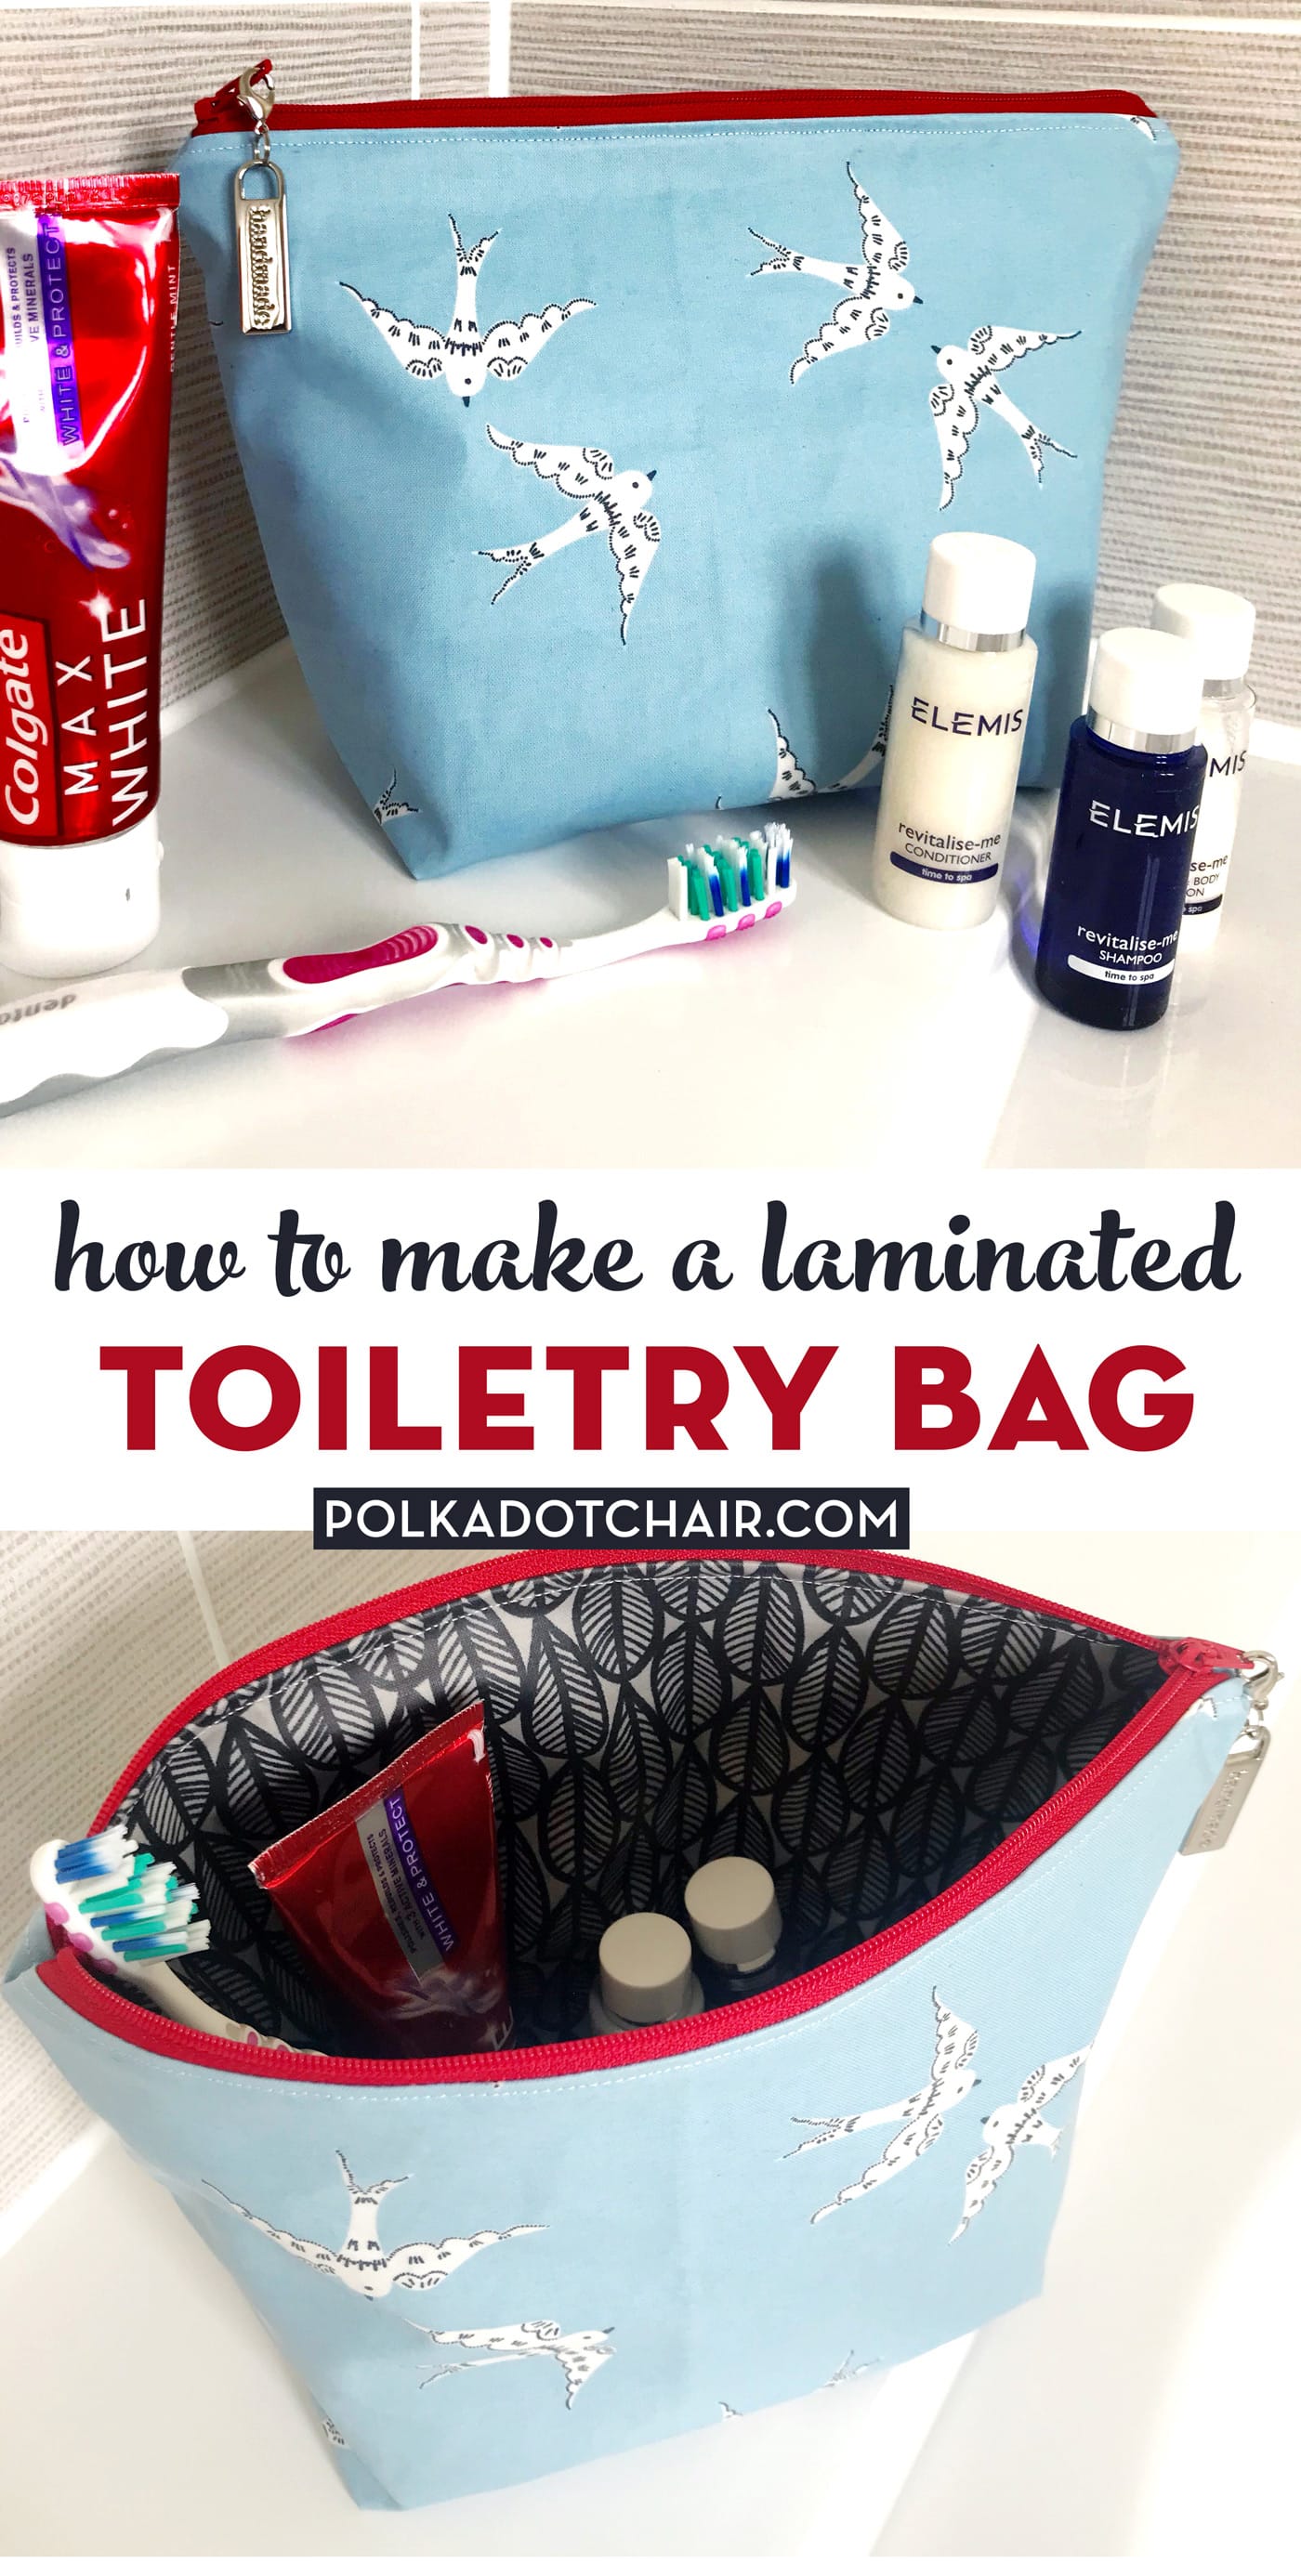
Laminated Toiletry Bag Tutorial
Whether you call it a Wash Bag, a Toiletry Bag, or a Dopp Bag, I think you’ll love today’s tutorial. Sarah is teaching us how to make a Laminated Toiletry Bag. Stitch one up to take with you on your next adventure.
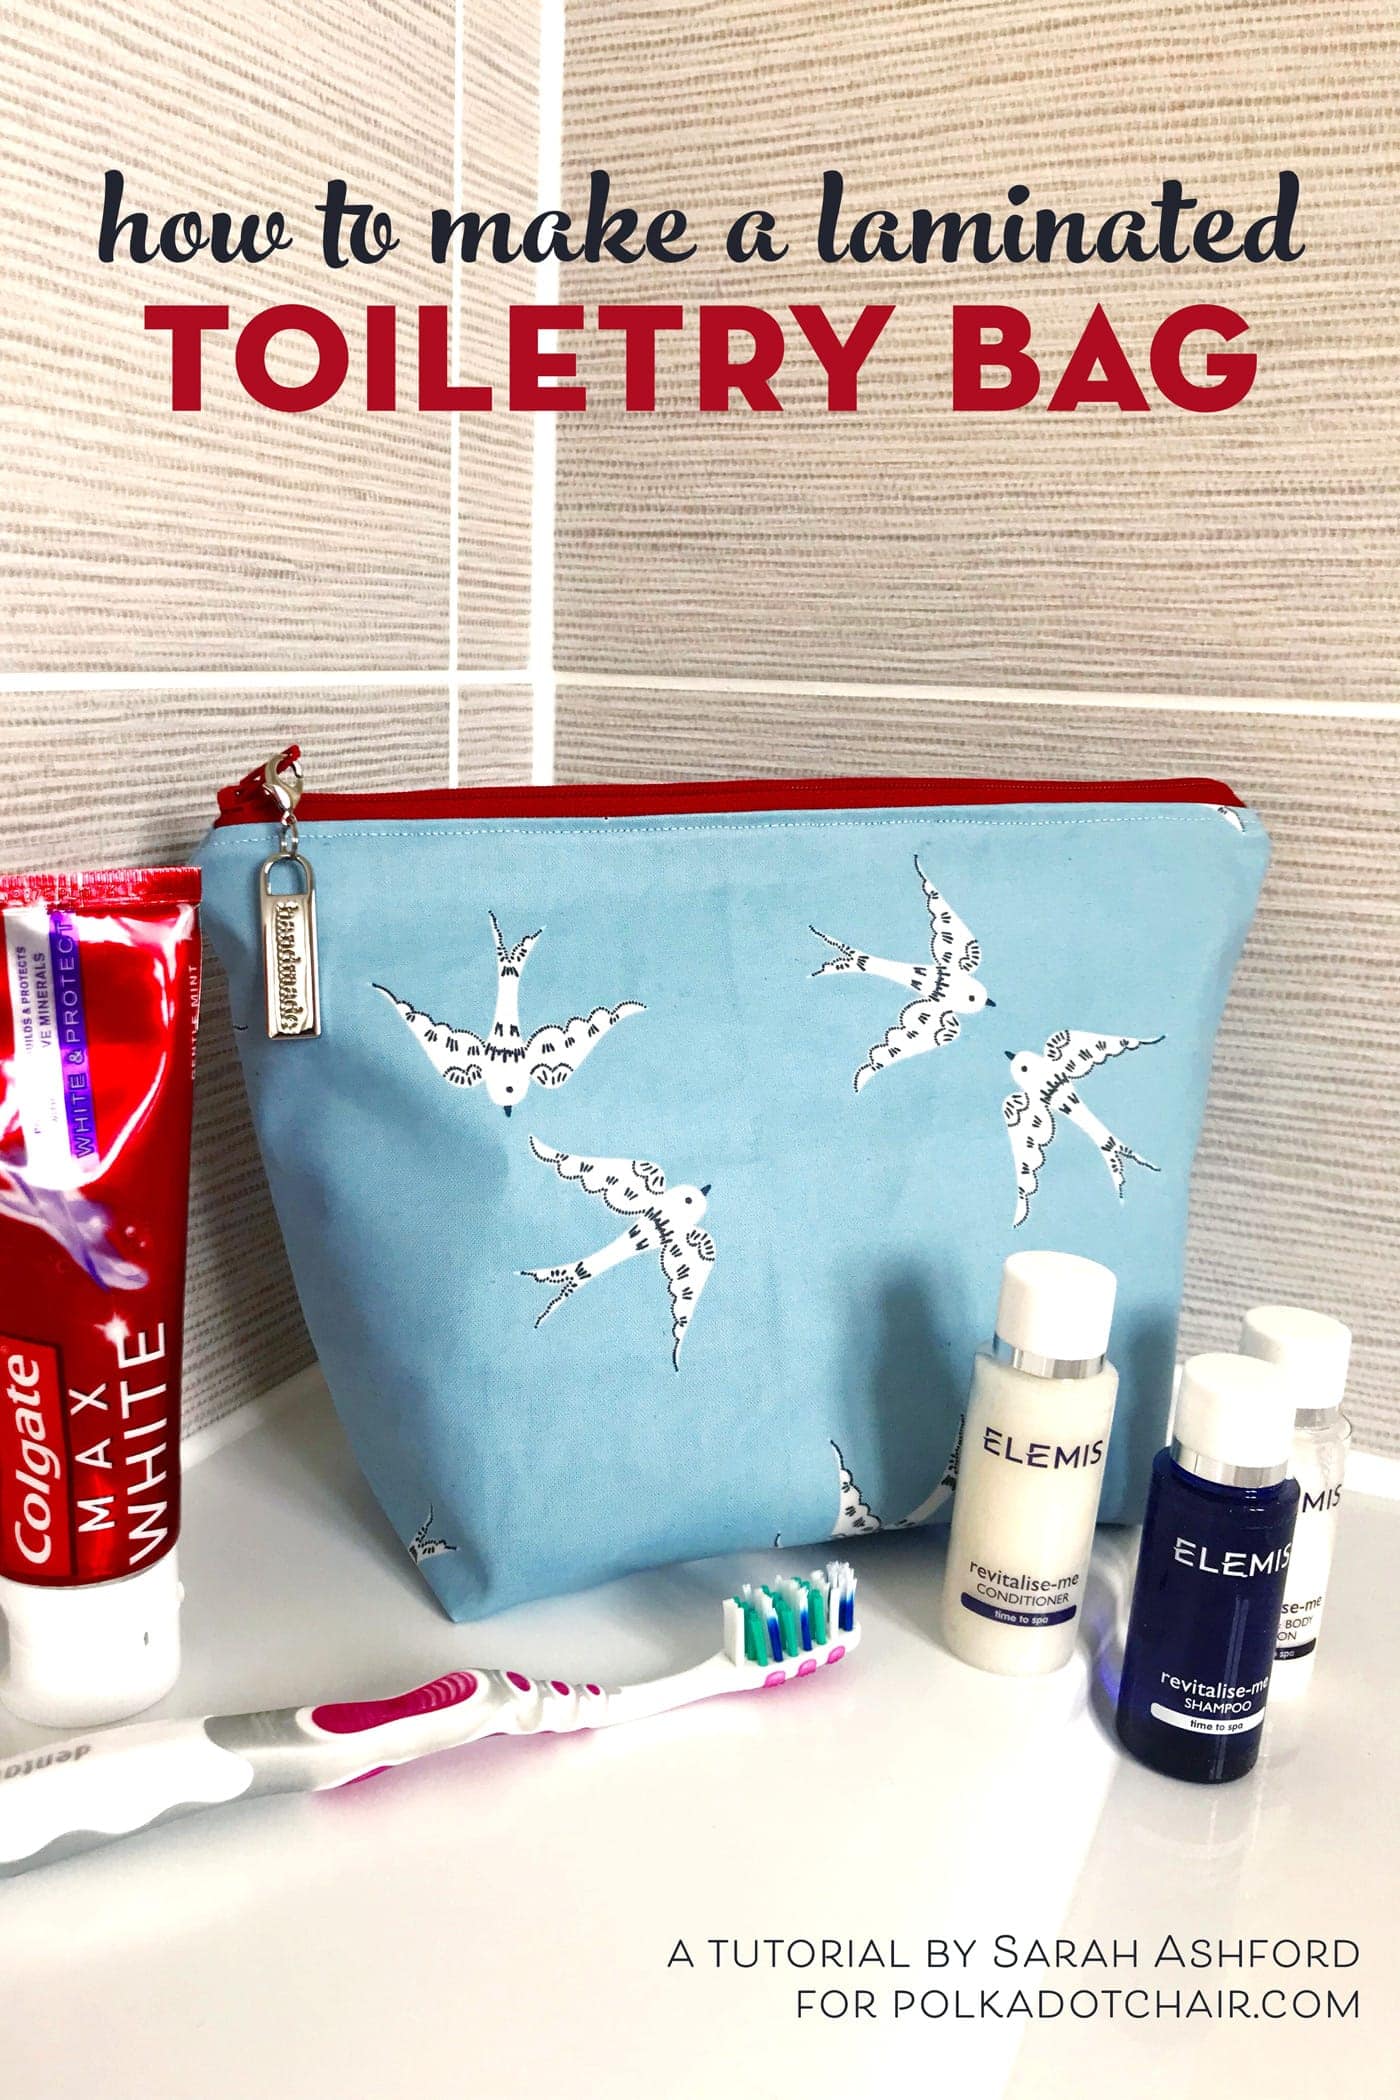
School’s out, and we are on our travels for many of us. So, I thought it would be fun to make something quick, easy, and useful to take on your vacation.
As it happens, I have recently acquired some matte laminated cotton, which is essentially like oilcloth in that they are durable and water-resistant. Still, they are also very soft and much easier to manipulate and sew with.
So it got me thinking they would be perfect for making a toiletry pouch for all those bathroom and travel essentials…toothbrush, toothpaste, shampoo, etc. It would also make the ideal makeup bag and an excellent zipper pouch for sewing stuff! Instructions on how to make one are below!
Tips for Sewing with Laminated Fabrics
Note from Melissa: If you’ve never sewn with Laminated fabrics (sometimes called coated fabrics before) you can check out THIS post full of tips for sewing with Laminates.
A lot of people ask me where I like to buy Laminated fabric. My favorite place is the Laminates Shop on Etsy.
Laminated Toiletry Bag Sewing Tutorial
Equipment
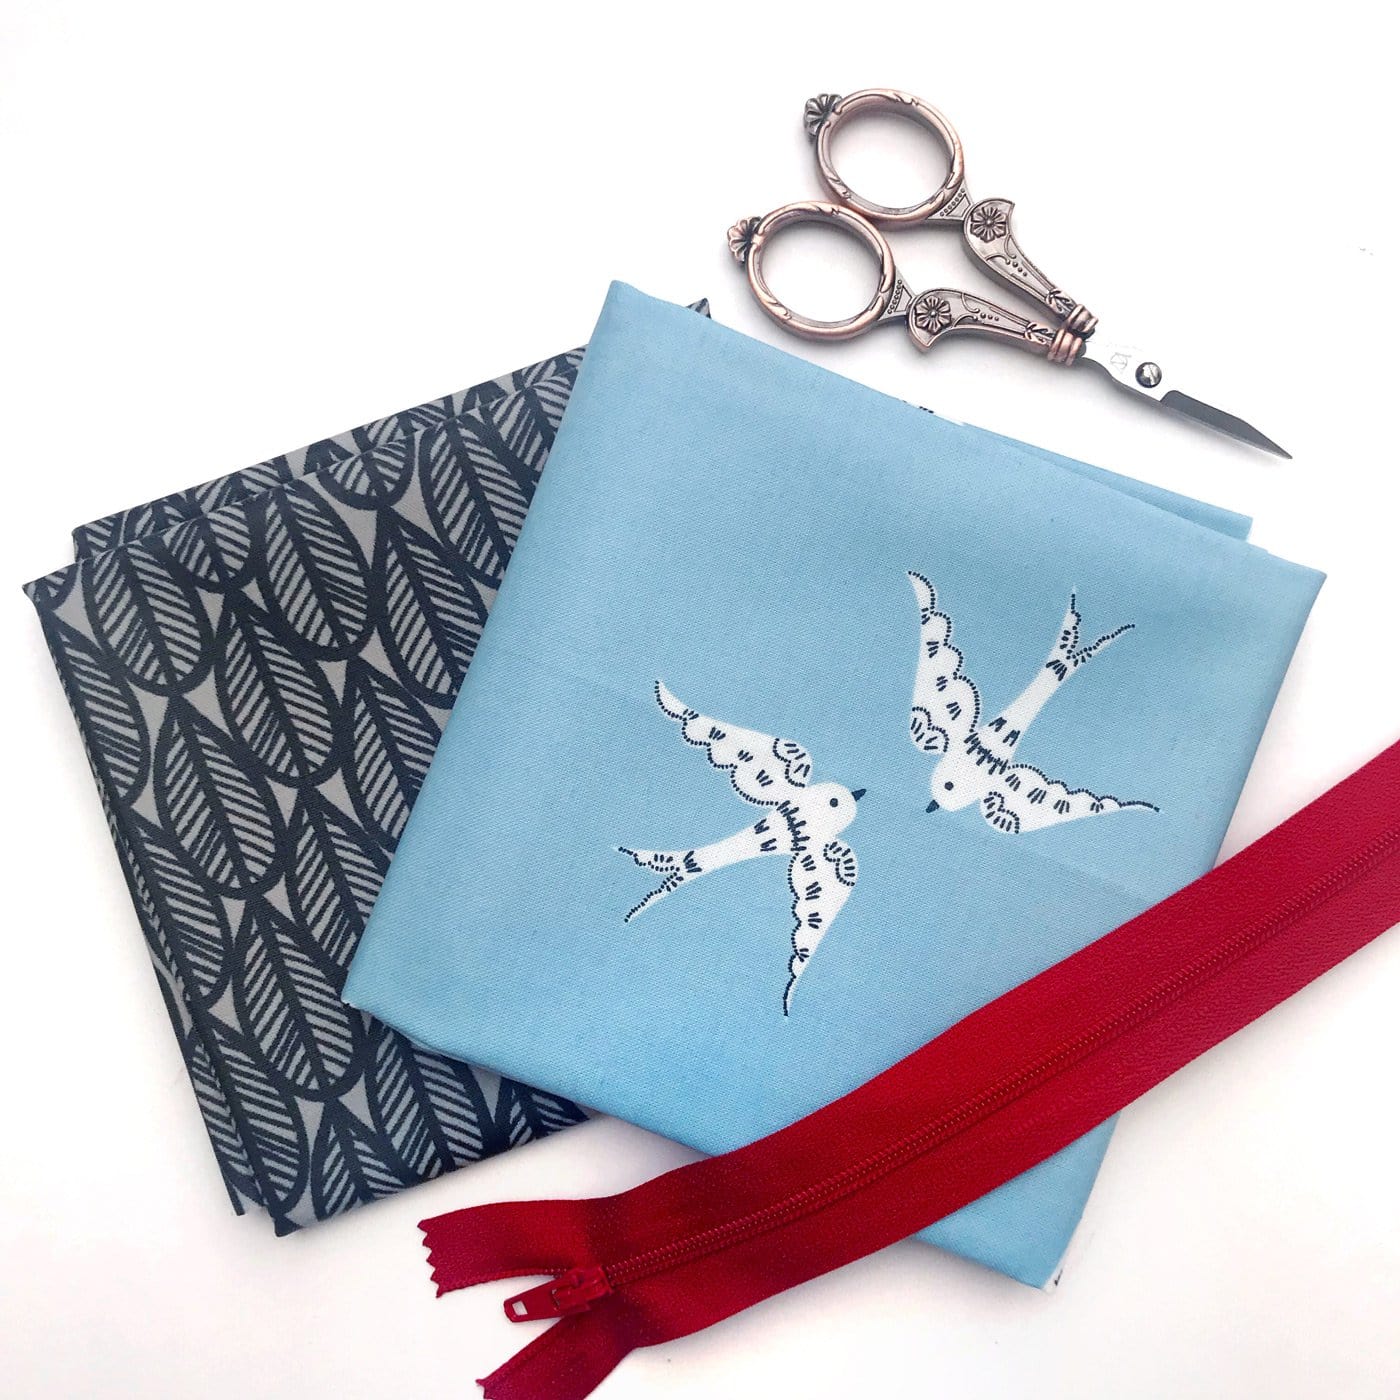
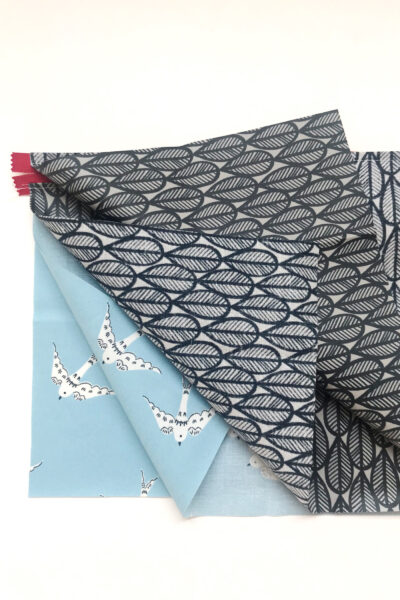
supplies
- 2 pieces 11” x 9” exterior laminated cotton
- 2 pieces 11” x 9” lining laminated cotton
- 1 12″ -14″ Polyester Zipper
- 1 spool Thread
Instructions
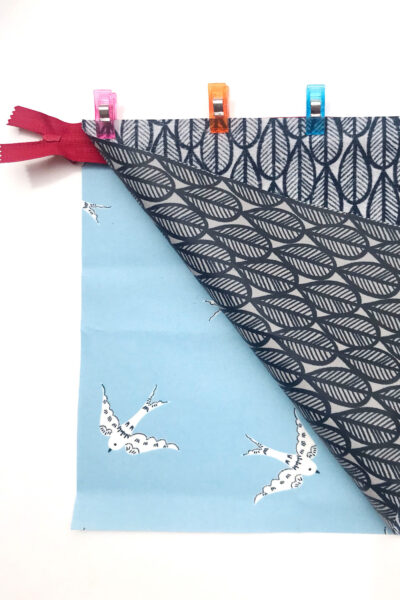
Attach the Zipper
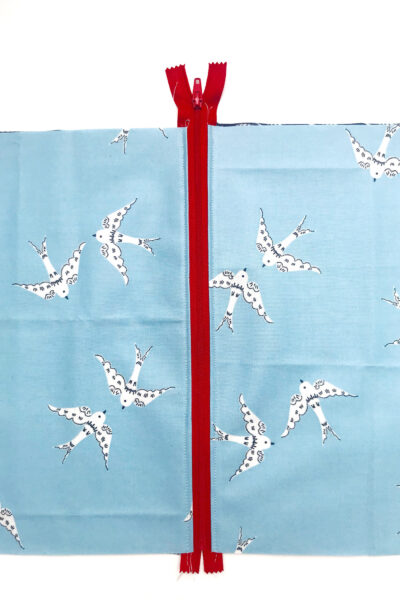
- Take one exterior panel and place it on the right side. Place the zipper tab right side down with the zipper to the left, then put the interior fabric piece right side down, ensuring they all line up.
- Hold together with binding clips. Stitch across the top close to the zipper. A zipper foot is helpful if you have one.

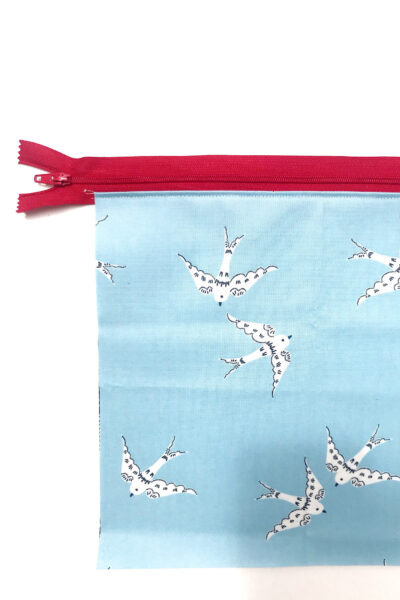
Top Stitch the Fabric Along the Zipper
- Flip the fabrics so that both sides are right sides out. Finger press well and topstitch in place.
- Take care with this bit because you can’t iron the top side of the fabric. When stitching, you must ensure that everything is lying nice and flat.
Attach the Fabric to the Other Side of the Zipper
- Now for the other side.
- Lay the remaining exterior piece right side up. Next, lay your completed section right side down (so the exterior pieces are right sides together), then place the lining piece right side down on top of the zip. Use the binding clips to hold them in place.
- As before, straight stitch along the top close to the zipper.
Topstitch
- Topstitch on the other side in the same way.
Sew the Bag Front & Linings
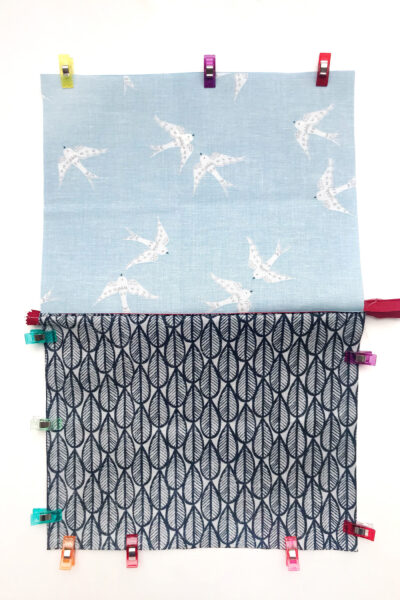
- Flip the layers around so that the lining fabrics and the external pieces are touching, both right sides together. At this point, open the zip halfway.
- This is very important; otherwise, you won’t be able to turn your pouch entirely right side out!! Clip in place with the binding clips, leaving a 3-inch gap in the lining for turning
Stitch Around the Outside Edge
- Stitch all the way around with a generous 1/4”-inch side seam, reinforcing the zip sections and the opening’s beginning and end.
Box the Corners
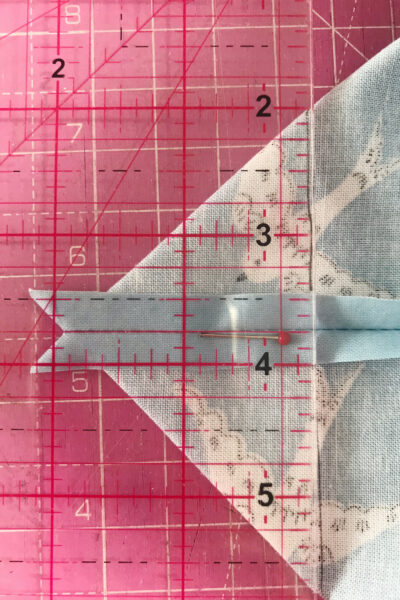
- Next, we will box the corners. Take the exterior fabric corners, pull them apart, and lay them flat.
- A top tip to ensure that the seams are lined up is to take a pin and push it through to check that it also goes through the seam.
- Use a ruler to draw a line at the 2” position, starting from the ‘v’ edge of the seam—clip in place to secure.
- Stitch down this line and trim to a 1/4” seam. Repeat for all four sides of the pouch.
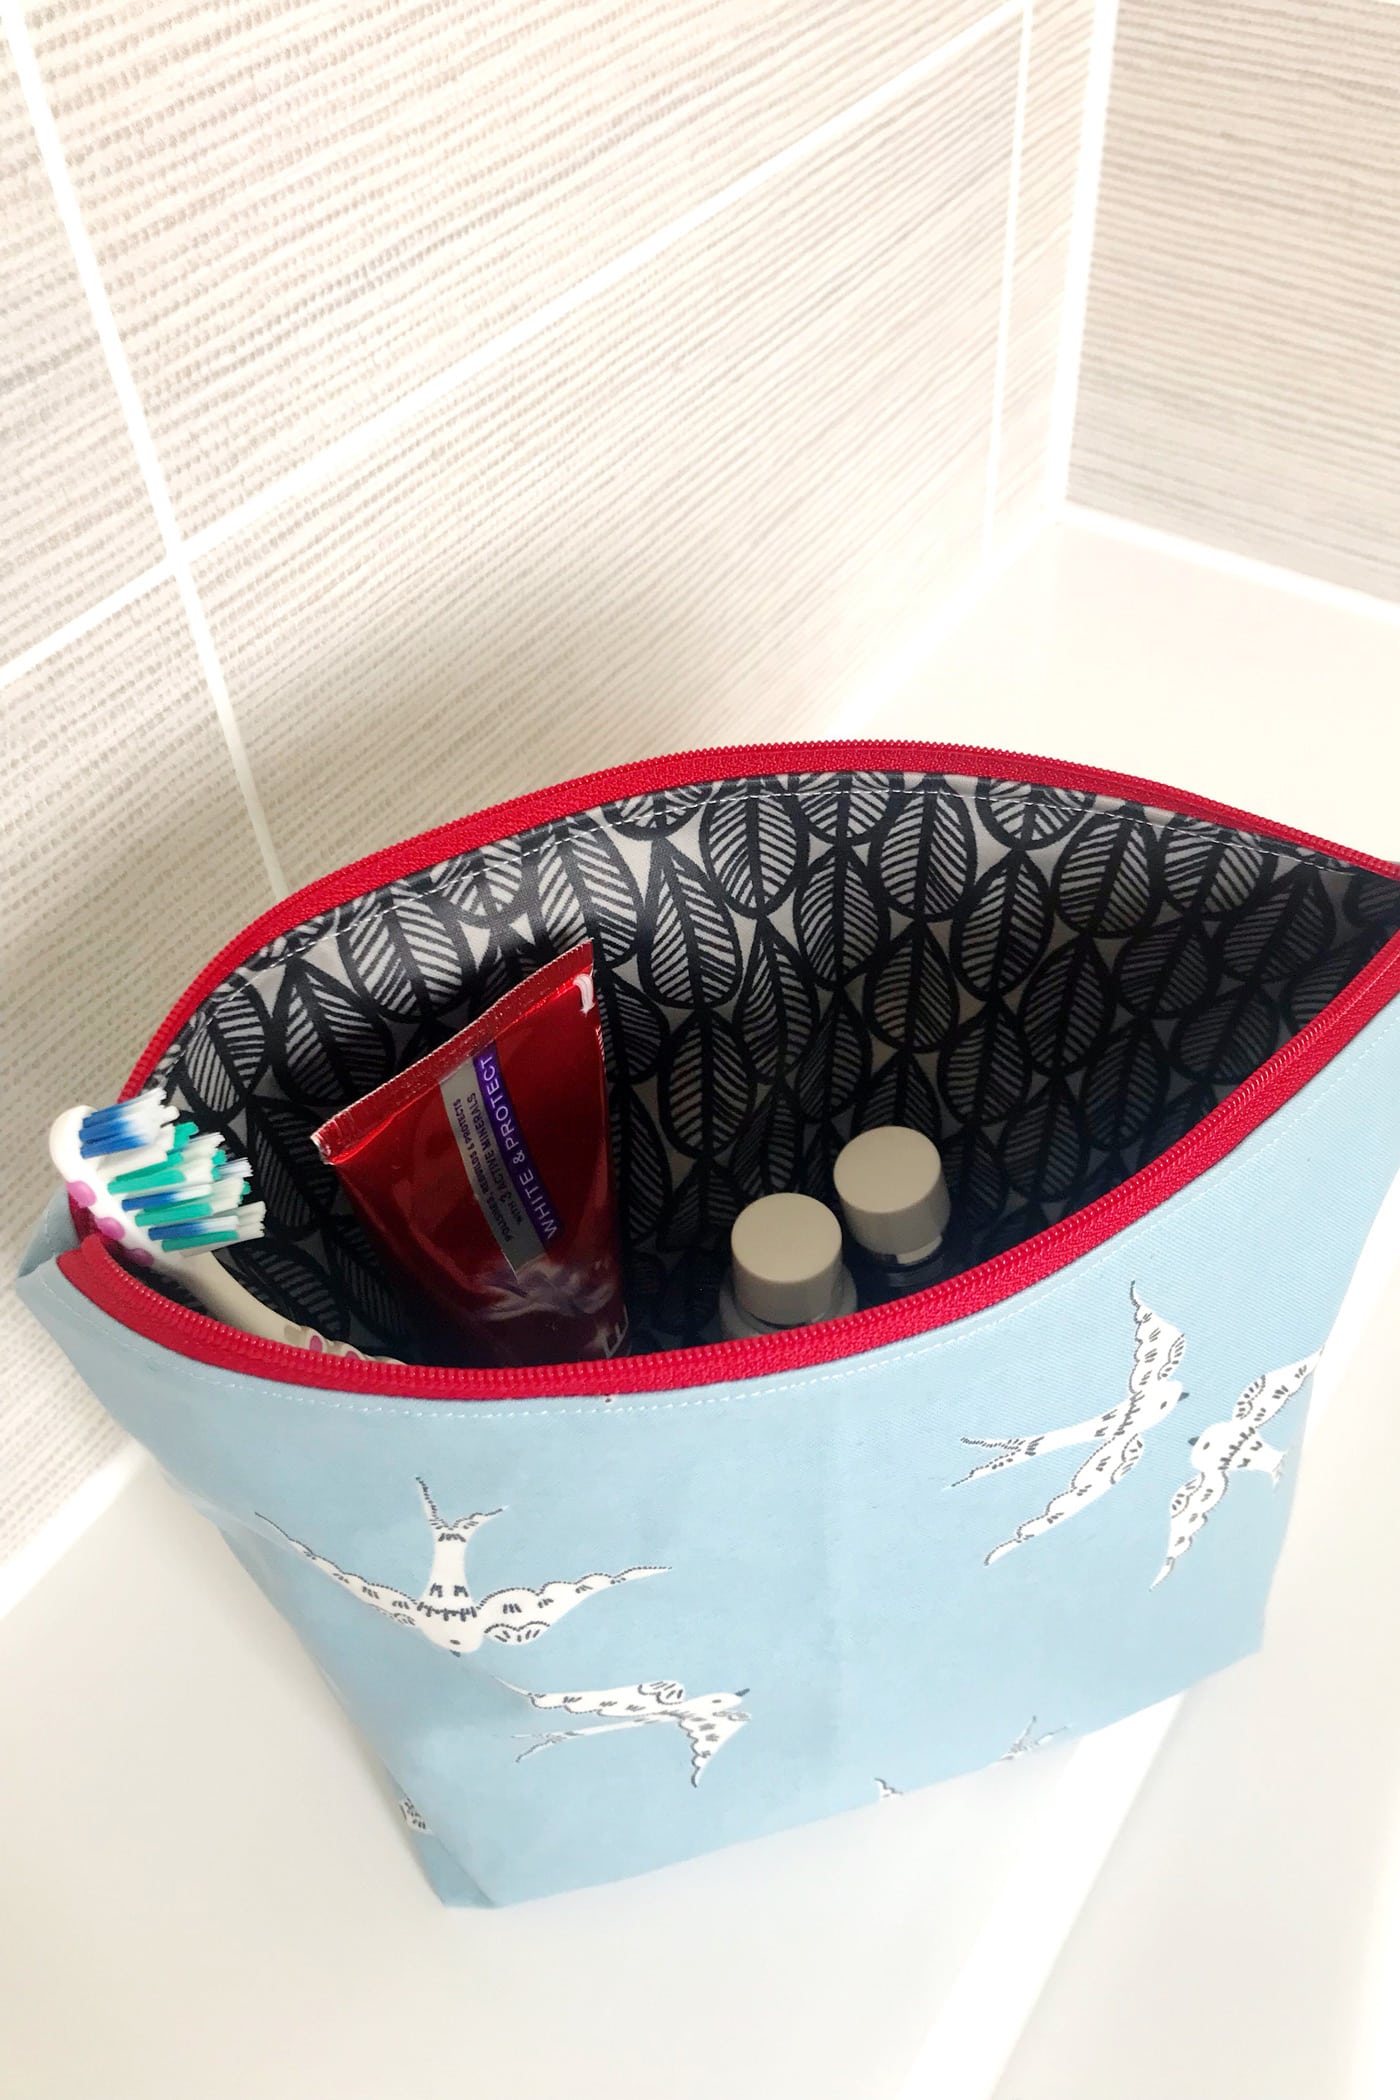
- Turn the pouch right sides out and stitch up the gap in the lining. It’s a little trickier to hand stitch as it’s the cotton laminate, but it’s doable!
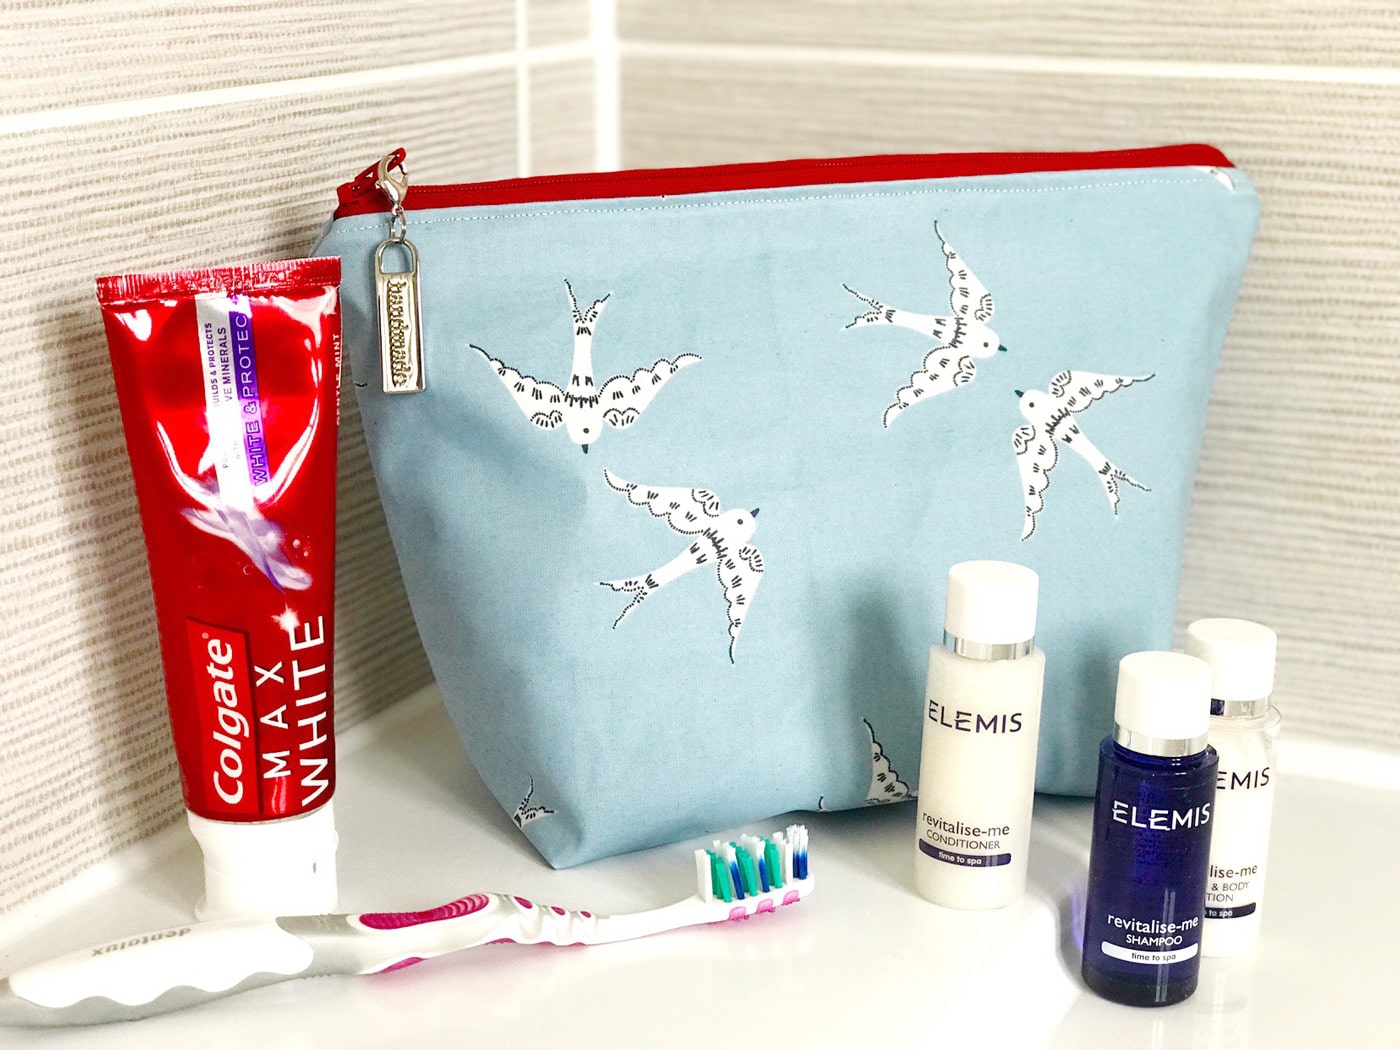
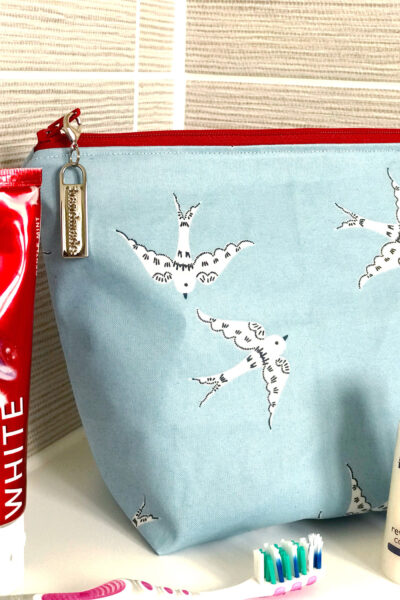
- I’ve added a charm to my zipper for that extra finishing touch. But that’s optional, of course.
- And ta-da, your pouch is ready for your travels! All you need to do now is fill it with your vacation essentials!
About The Maker:

Sarah Ashford is a British Quilter and embroiderer and founder of the GreatBritishQuilter challenge on Instagram. Sarah regularly contributes projects to magazines and loves to spread the joy of quilting everywhere she goes. Follow her on Instagram at @sarahashfordstudio and be sure to check out her beautiful sewing room decals in her Etsy shop www.etsy.com/shop/sarahashfordstudio
More Free Bag Tutorials:
How to Make a Metal Frame Clutch
Learn to Sew a Flat Bottom Zip Bag


Thanks for the great tutorial! This looks fairly straight-forward to make. Can you tell me what the finished bag size is? Thanks!