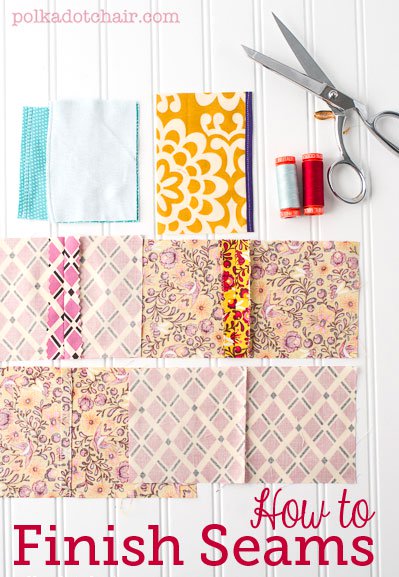
Sewing Lesson: How to Finish Seams
No serger, no problem! Learn six unique, simple ways to finish a seam on a sewing project without a serger!
Hello! For this month’s Sewing Lesson, we will talk about “How to Finish Seams,” and guess what, you don’t need a serger!
If you’re new here, Sewing Lessons is a year-long blog series hosted on the Polka Dot Chair that BERNINA sponsors! There will be 12 lessons, each one aimed at improving your sewing skills.
For even more great sewing tips, you can check out Bernina’s site, We All Sew, and their Youtube Channel, which is full of loads of great video tutorials.
Why You Need to Finish Seam on a Sewing Project
There are a few reasons that you should always finish any exposed seams on a sewing project. First, it looks better. I love to try to make my sewn projects look as professional as possible, and finishing seams is an important part of that.
Secondly, it helps with long-term wear and tear. As you use your sewn item, the seams will get pulled on. If the fabric on edge begins to fray, the entire seam can fall out. Finishing the edge of the fabric helps prevent this from happening.
Third, your items will hold up better to washing. We all know that washing machines agitate items to get them clean. If you finish the seams of your project, you’ll avoid the large thread ball mess that sometimes occurs after washing.
Six Ways to Finish Seams without a Serger
Okay, now let’s talk about finishing. You want to finish your seams. I know that sometimes this seems like one extra step, and you’re just tired of the project and want to be done, but it IS essential. You don’t want to spend all of that time making something to have it fall apart when it’s washed or worn.
There are many ways to finish a seam today, we are going to talk about 6. Flat Felled Seams, French Seams, Zig Zagged Seams, Pinked Edges, and Overlock Seams.
One: With Pinking Shears
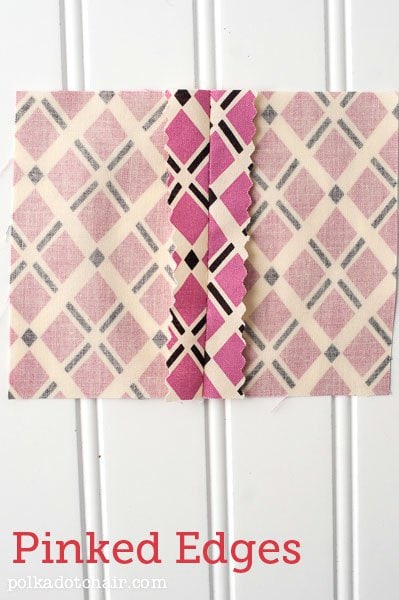
Let’s start with the simplest of all of these, Pinked Edges. For fabrics that do not fray a great deal or that will not get a lot of wear, you can simply use your pinking shears or a pinking attachment on your rotary cutter and pink the raw edges of your fabric.
You can even do this when you first cut out your project. The pinked edges will help deter the fabric from fraying.
Two: Zig Zagged Edge
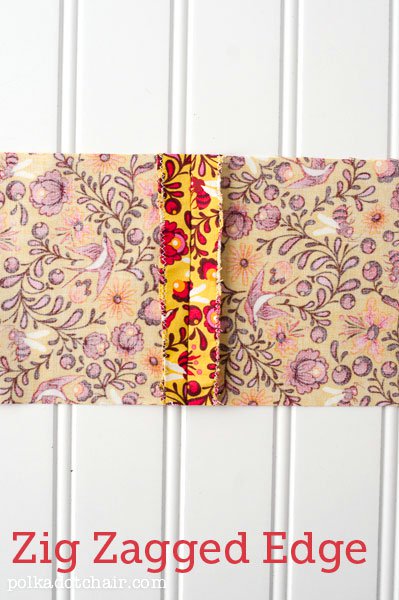
Next is the Zig Zagged Edge. Almost all sewing machines have a zig-zag feature. To zig-zag an edge, sew the seam as you usually would and press the seam open.
Next, set your machine to a zig-zag stitch. On the Bernina 710 this is a #2 stitch.
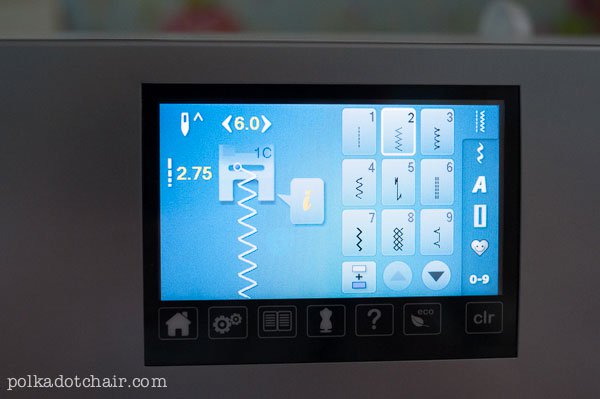
Depending on the weight of your fabric, you can adjust the length and width of the zig-zag to get the best possible result.
Now just zig zag along the raw edge of the seam, one hit of the needle will be on the fabric, and the next hit of the needle will be off of it.
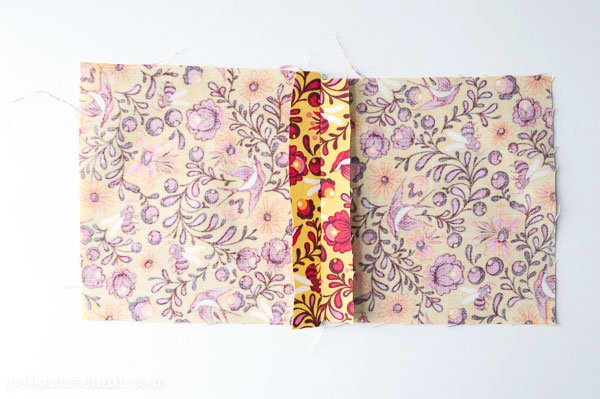
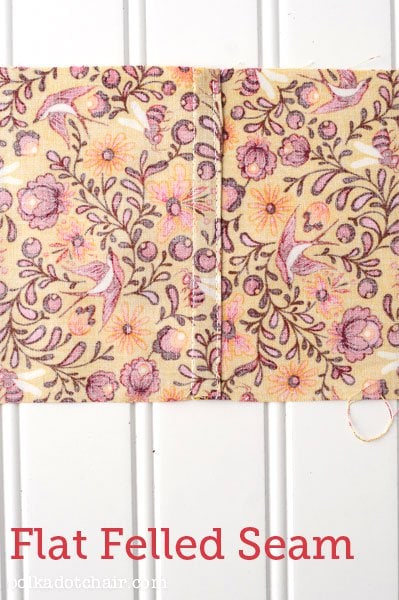
Three: Flat Felled Seam
Next is a Flat Felled Seam. Flat Felled Seams are generally used on heavy-weight fabric where extra strength is necessary (i.e. jeans). However, I really like to use flat felled seams on skirts and other children’s clothing. The finished top stitch gives a professional look to the outside of the garment.
Sew your seam as normal. Press the seam open. Then trim down one side of the seam allowance to 1/4” wide.
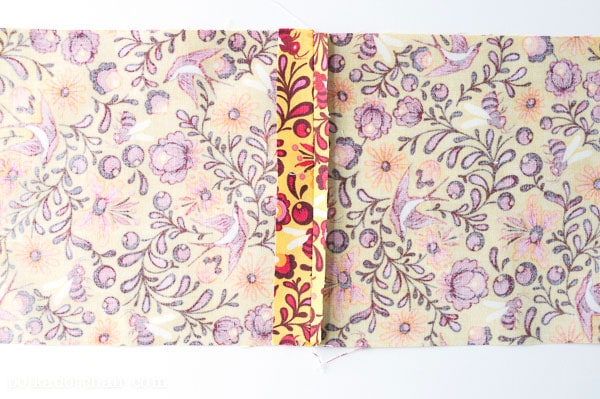
Next, press under the uncut seam allowance 1/4”

Fold the seam allowance with the folded edge on top of the seam allowance with the cut edge. Press.
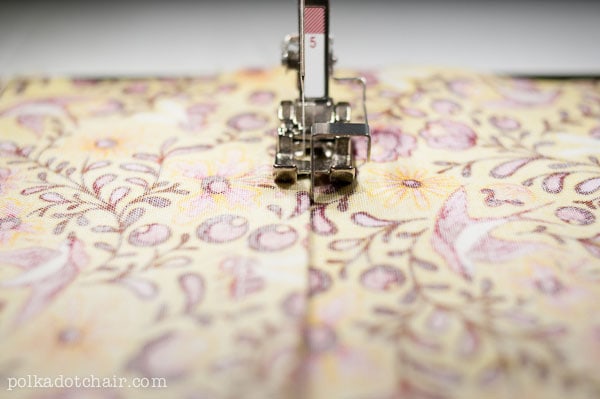
Using foot #5 (edge stitch foot). Top stitch along the folded edge of the seam. You’ll need to adjust your needle position to the left.
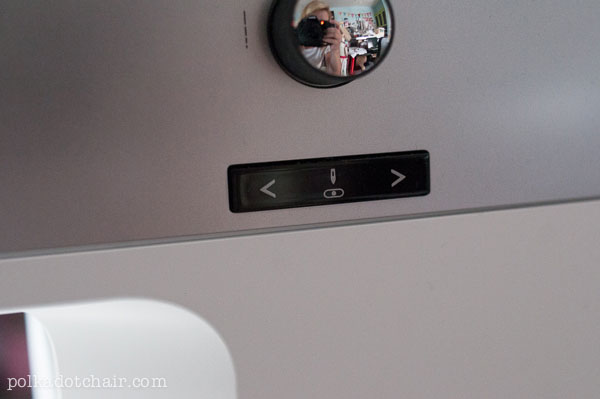
To do this, just hit the arrow on the front of the machine until the needle is in the correct position.
Four: French Seams
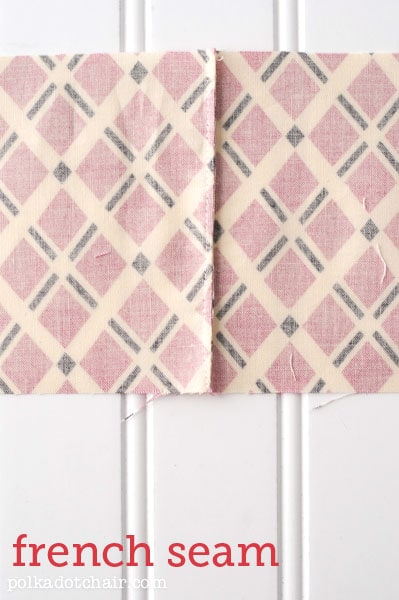
Now for French Seams. Don’t be intimated by these; I was for years, then I learned how to do them, and they are so simple! French seams work best for lightweight fabrics and are very common in heirloom sewing.
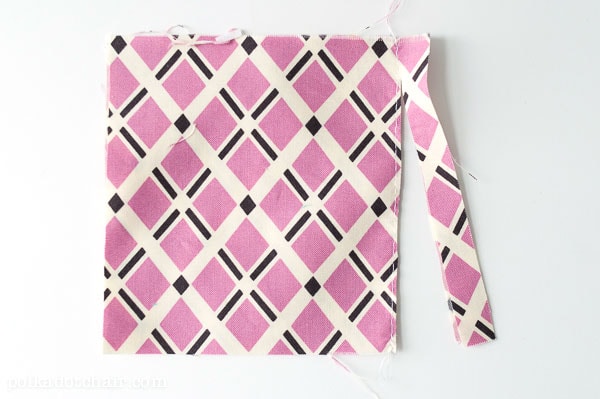
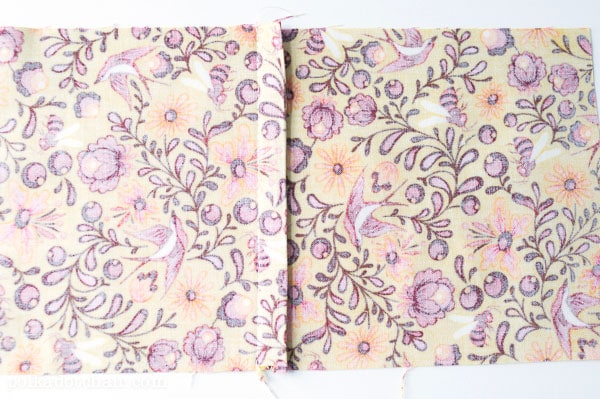
For this type of seam, start by sewing your fabrics with the WRONG sides together. A common misconception about french seams is that you start by sewing a very tiny seam allowance. This is not true. Sew with the same seam allowance you would typically use, otherwise, your pattern may not align correctly.
After you have sewn the seam, trim the seam allowance down to a scant 1/8”, get as close as you can to the edge without cutting the seam.
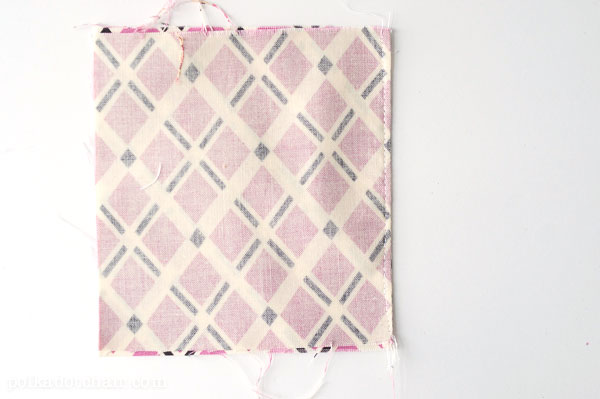
Turn the fabric so the right sides are together and use your fingers roll the fabric until the seam is worked out all the way to the edge. Now just stitch a seam along the edge. Make sure it’s deep enough to catch all of the raw edges, but try to keep it as small as possible, so there is not a lot of bulk.
Five: Bound Seam
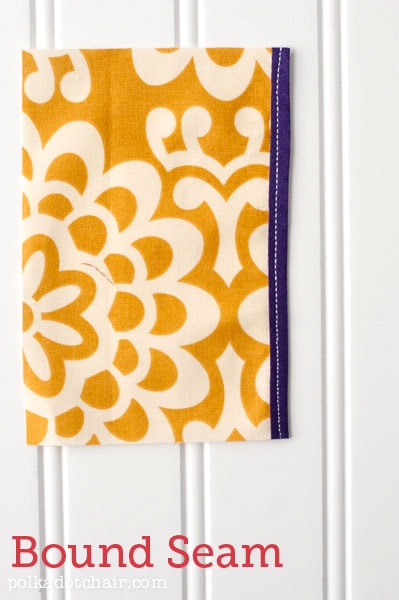
Next is a Bound Seam. You may want to use a bound seam when finishing the raw edge of something like a skirt or sleeve, and you want the contrast of the bias tape to show as a decorative touch.
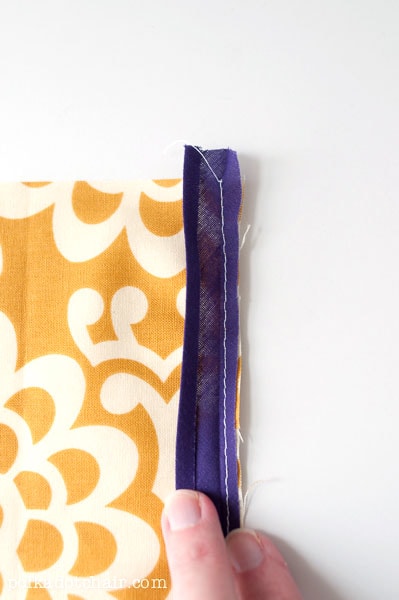
You will need double-fold bias tape, or you can get single-fold and fold it in half.
Open up the bias tape and match the bias tape’s raw edge with the fabric’s raw edge. Just a note, use a matching thread; I only used white so you can see the stitching.
Stitch along the first fold in the bias tape.
Refold the bias tape and press. Now just top stitch along the edge of the bias tape to finish.
Six: Overlock Seam
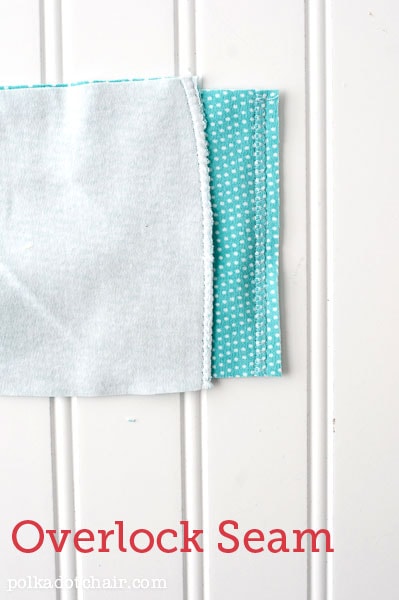
The last finishing technique I’d like to talk about is an Overlock Seam. These seams are made for knit fabrics.
They allow you to finish and sew the seam of your fabric in one step. An overlock stitch is also great for a decorative touch on things like the collar of a t-shirt. The great thing about the Bernina 710 is that it has a built-in Overlock Stitch. These stitches are usually found in sergers.
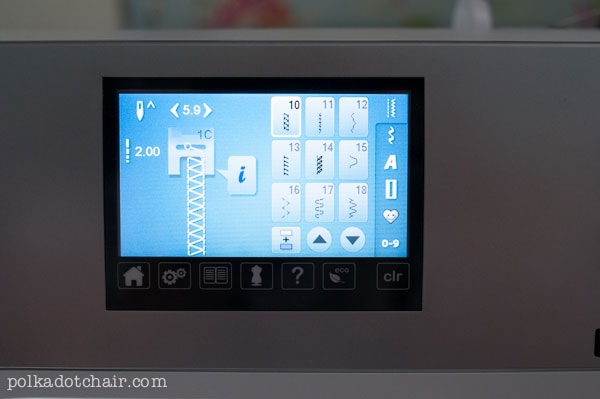
Since you are sewing with a knit fabric, make sure that you use a stretch needle in your machine.
On the 710, set it to the overlock stitch, which is #10
Now hit the “i” on the screen and adjust the presser foot pressure. You want a light presser foot pressure to get a good result. (otherwise, your fabric make gather and stretch as you sew)
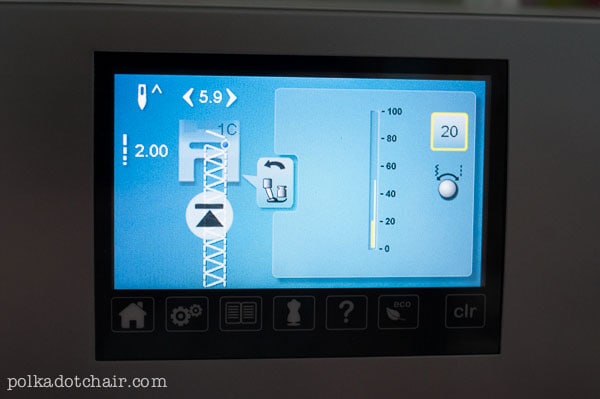

Now just stitch down the edge of your fabric. The needle will be going off the edge slightly as it stitches.
I hope you’ve enjoyed this month’s lesson! Any suggestions for next month!?!
Just got my own sewing machine and this was so helpful! Thank you 🙂
Caitlyn
http://alottlebitofpink.blogspot.com
Sweet blog! I found it while browsing on Yahoo News.
Do you have any tips on how to get listed in Yahoo News?
I’ve been trying for a while but I never seem to get there!
Cheers
Thanks for these tutorials. I’m fairly new to sewing and recently got the 750 so it’s nice to learn the basics that you’ve shared. I am enjoying learning about all the different feet and features of this machine.
Nice post. But I do feel the need to make a small correction. The #5 foot is the blind hem foot. The edgestitch foot is the #10 foot. On the #5 foot the center blade continues back to the needle so that when the blind hem stitch is made it swings over the blade so the stitch is loose so the hem has some give. To use it for straight stitch you have to be careful that the needle is positioned so that the it doesn’t hit the blade. On the #10 foot the blade does not continue back to the needle area and can safely be used with the needle in any position.
Thanks for the clarification. I have been using it for a straight stitch by just moving the needle. I’ll make sure the change the name of the foot on the post, I did mention to adjust the needle. Maybe I’ll have to invest in a #10 foot next.
so jealous! i wanted bernina 750 so bad but it was so expensive my mom made me go with a babylock. i guess that’s alright since i dont know how to properly use the machine yet and my speciality is in jewelry not sewing LOL! I will get good tho thanks for the inspiration
I just brought a new 710 home this week and am slowly working my way through ath stitches and functions, so this was a very timely and valuable post. Thanks!
I’m starting to figure out all of the functions too! I’m glad this helps you out!
Thanks so much for the tutorials! I will be using that French seam 😉
Thank you!Thank you! Thank you!
Hi Melissa,
Thanks for the tutorial. You gave me an insight of overlocking and presser foot pressure.
I bought a 750 Bernina in April, I’m still learning to use it. It’s so much advance than my manual basic Bernina 1000+. When I just brought home, I was so scared to use it and didn’t like it at all as it was too hi tech for me. But after piecing up a quilt, I am loving it!! Now it’s waiting for me to quilt it. I’m not sure how it is going work out with BSR or dual feed. May be you would like talk about those next time?
Regards
Jeannie
I just used the dual feel for the first time last week on a quilt and it’s amazing!!! Best result I’ve ever had with straight line machine quilting.