Seersucker & Leather Fold Over Clutch DIY
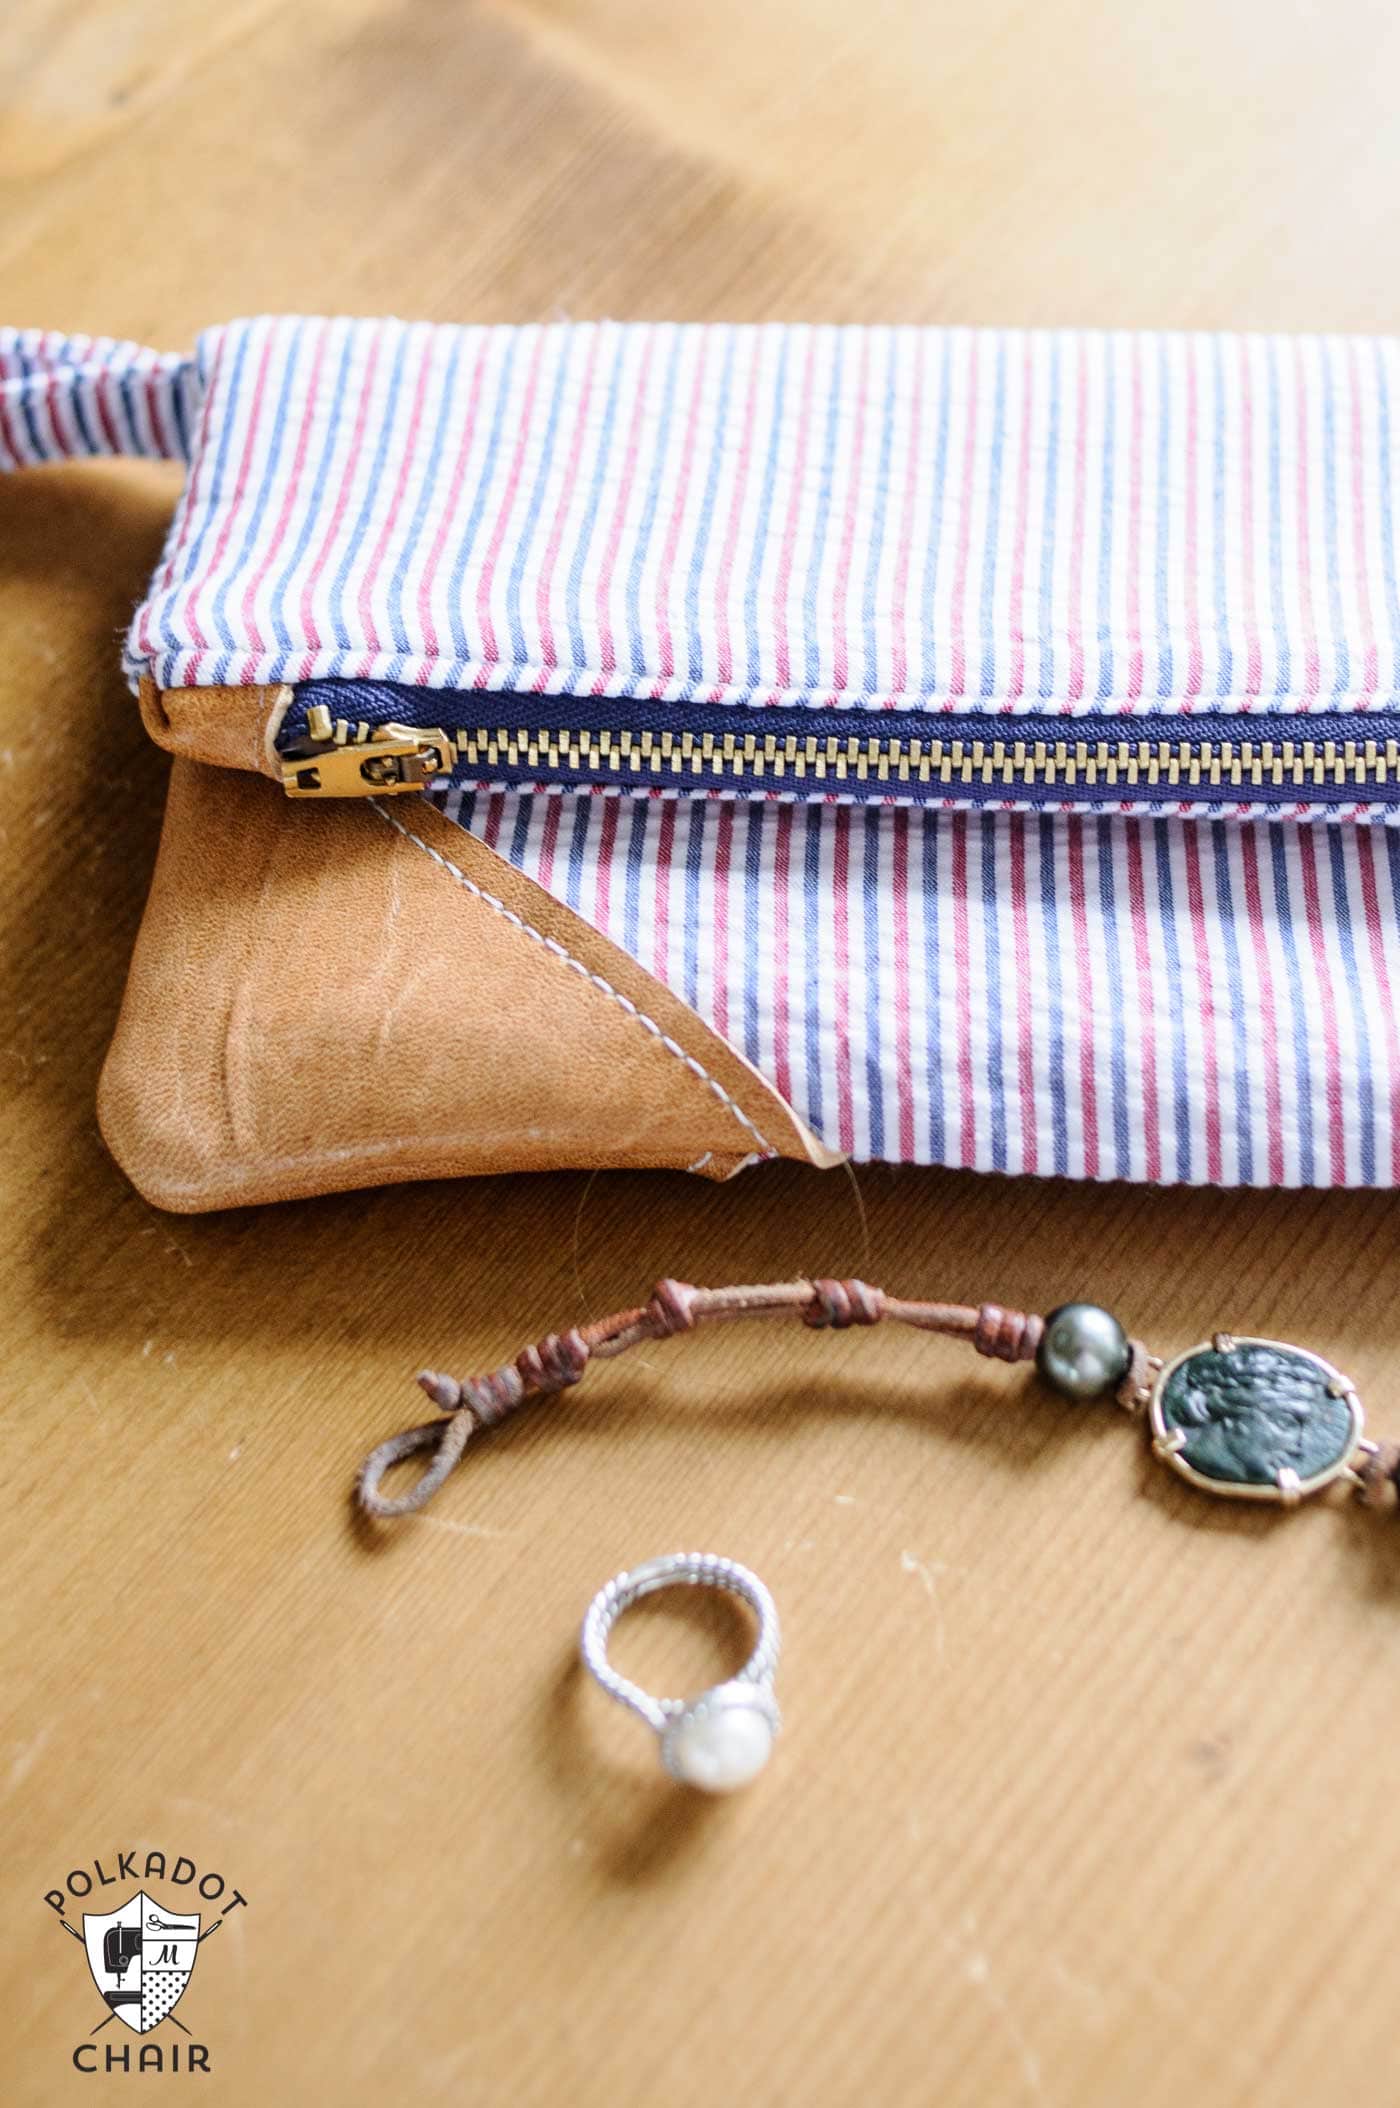
It seems like Summer is just around the corner, the kids are getting out of school soon and my Peonies are in full bloom! I’m ready to break out my summer wardrobe! A few years ago I created this Seersucker and Leather Fold Over Clutch to tote around with me to summer parties and events. Today I’m sharing a free sewing pattern for it with you.
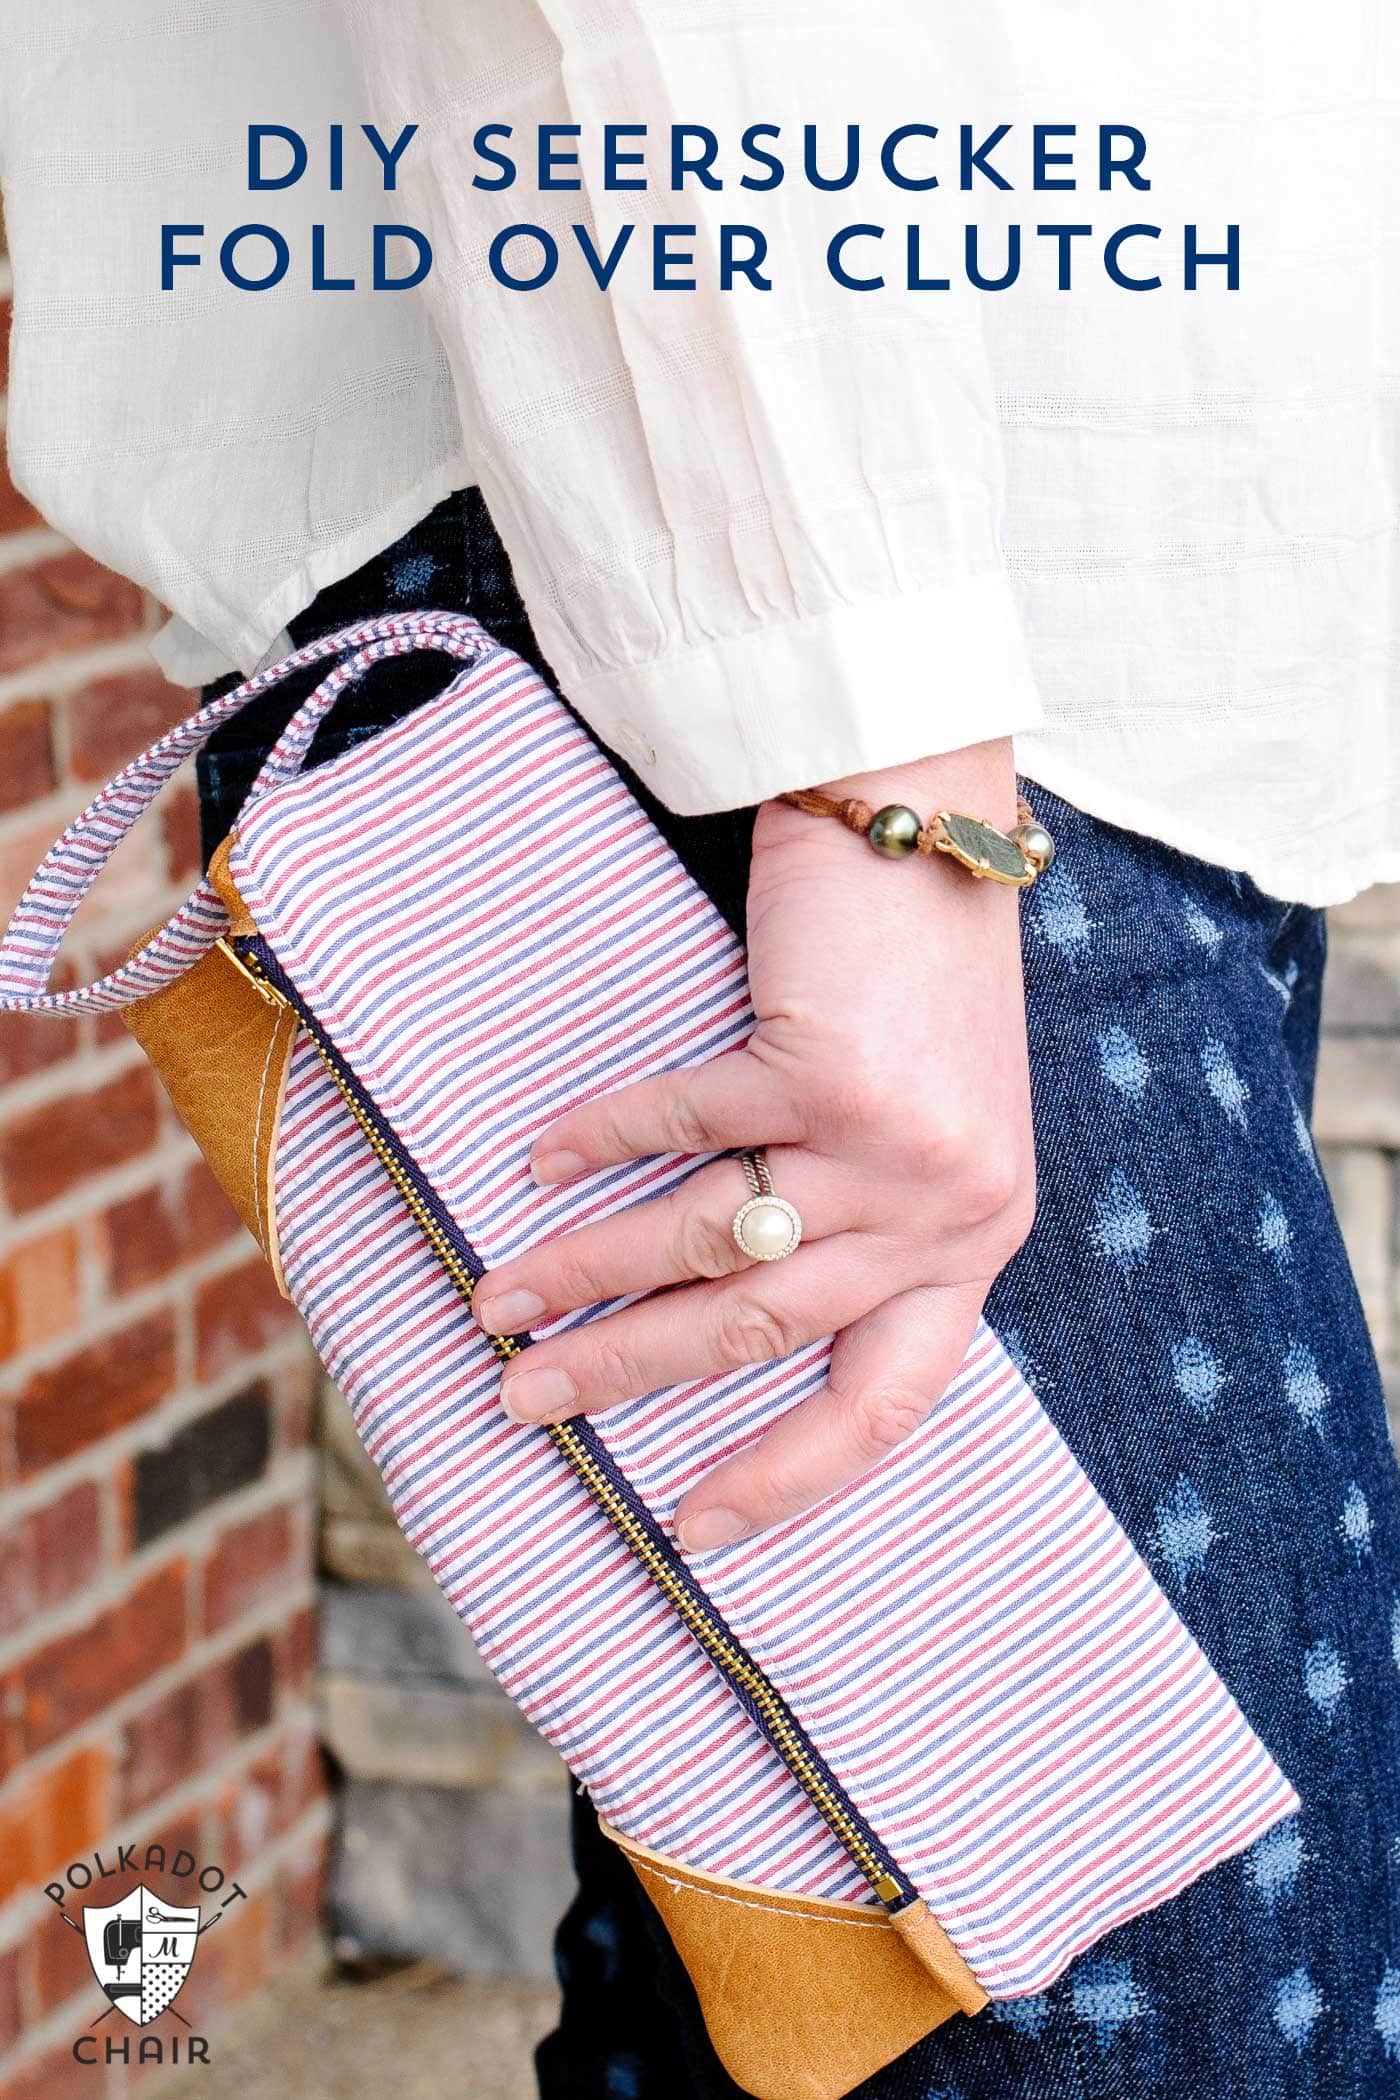
Living in the South, nothing says summer like seersucker! It’s always been one of my all time favorite fabrics. Normally I sew clothing from seersucker, but I thought it would be fun to try out making a clutch out of seersucker fabric. To keep it all from being too “sweet” I added a few touches of leather.
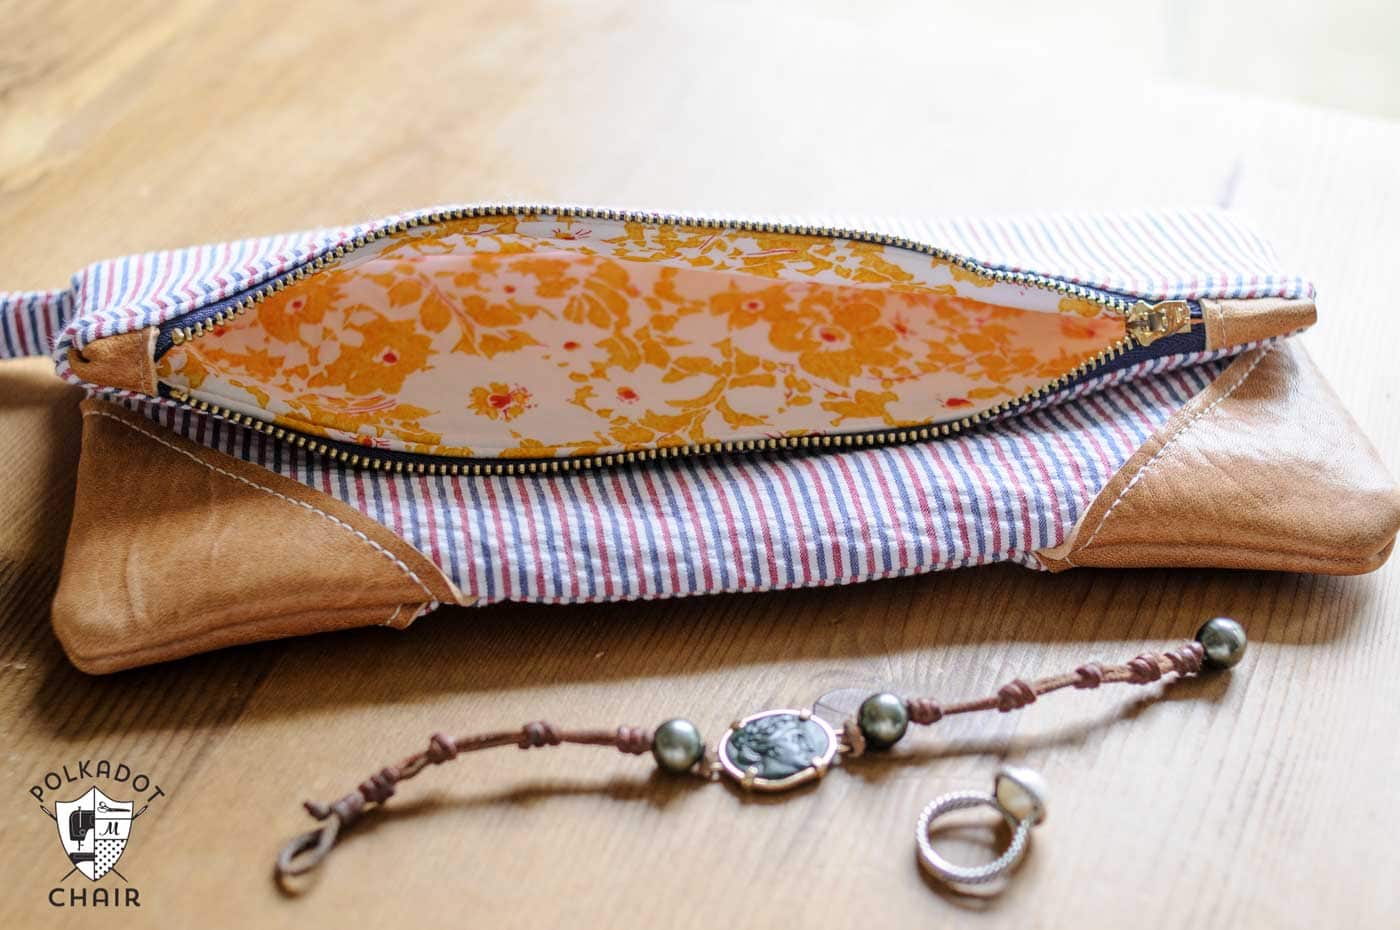
Leather-Trimmed Fold Over Clutch Pattern:
Supplies:
2 pieces of seersucker fabric cut to 9” x 12″
1 piece of seersucker cut to 3” x 16”
2 pieces of Shape Flex interfacing cut to 9” x 12”
2 pieces of fabric for the lining cut to 9” x 12”
2 pieces of fusible fleece interfacing cut to 9” x 12”
2 pieces of leather cut to 4” x 4”
2 pieces of leather cut to 1” x 1 1/2”
Leather Needle
Extra Strong Thread
Regular Thread
9” Metal Zipper
Glue Stick
Zipper Foot for Sewing Machine
Instructions
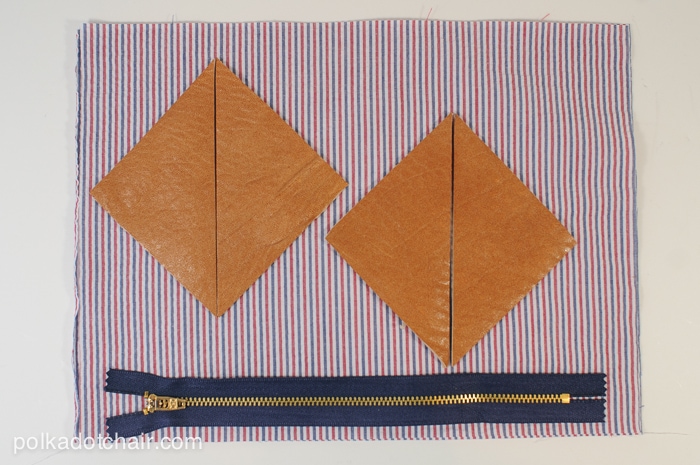
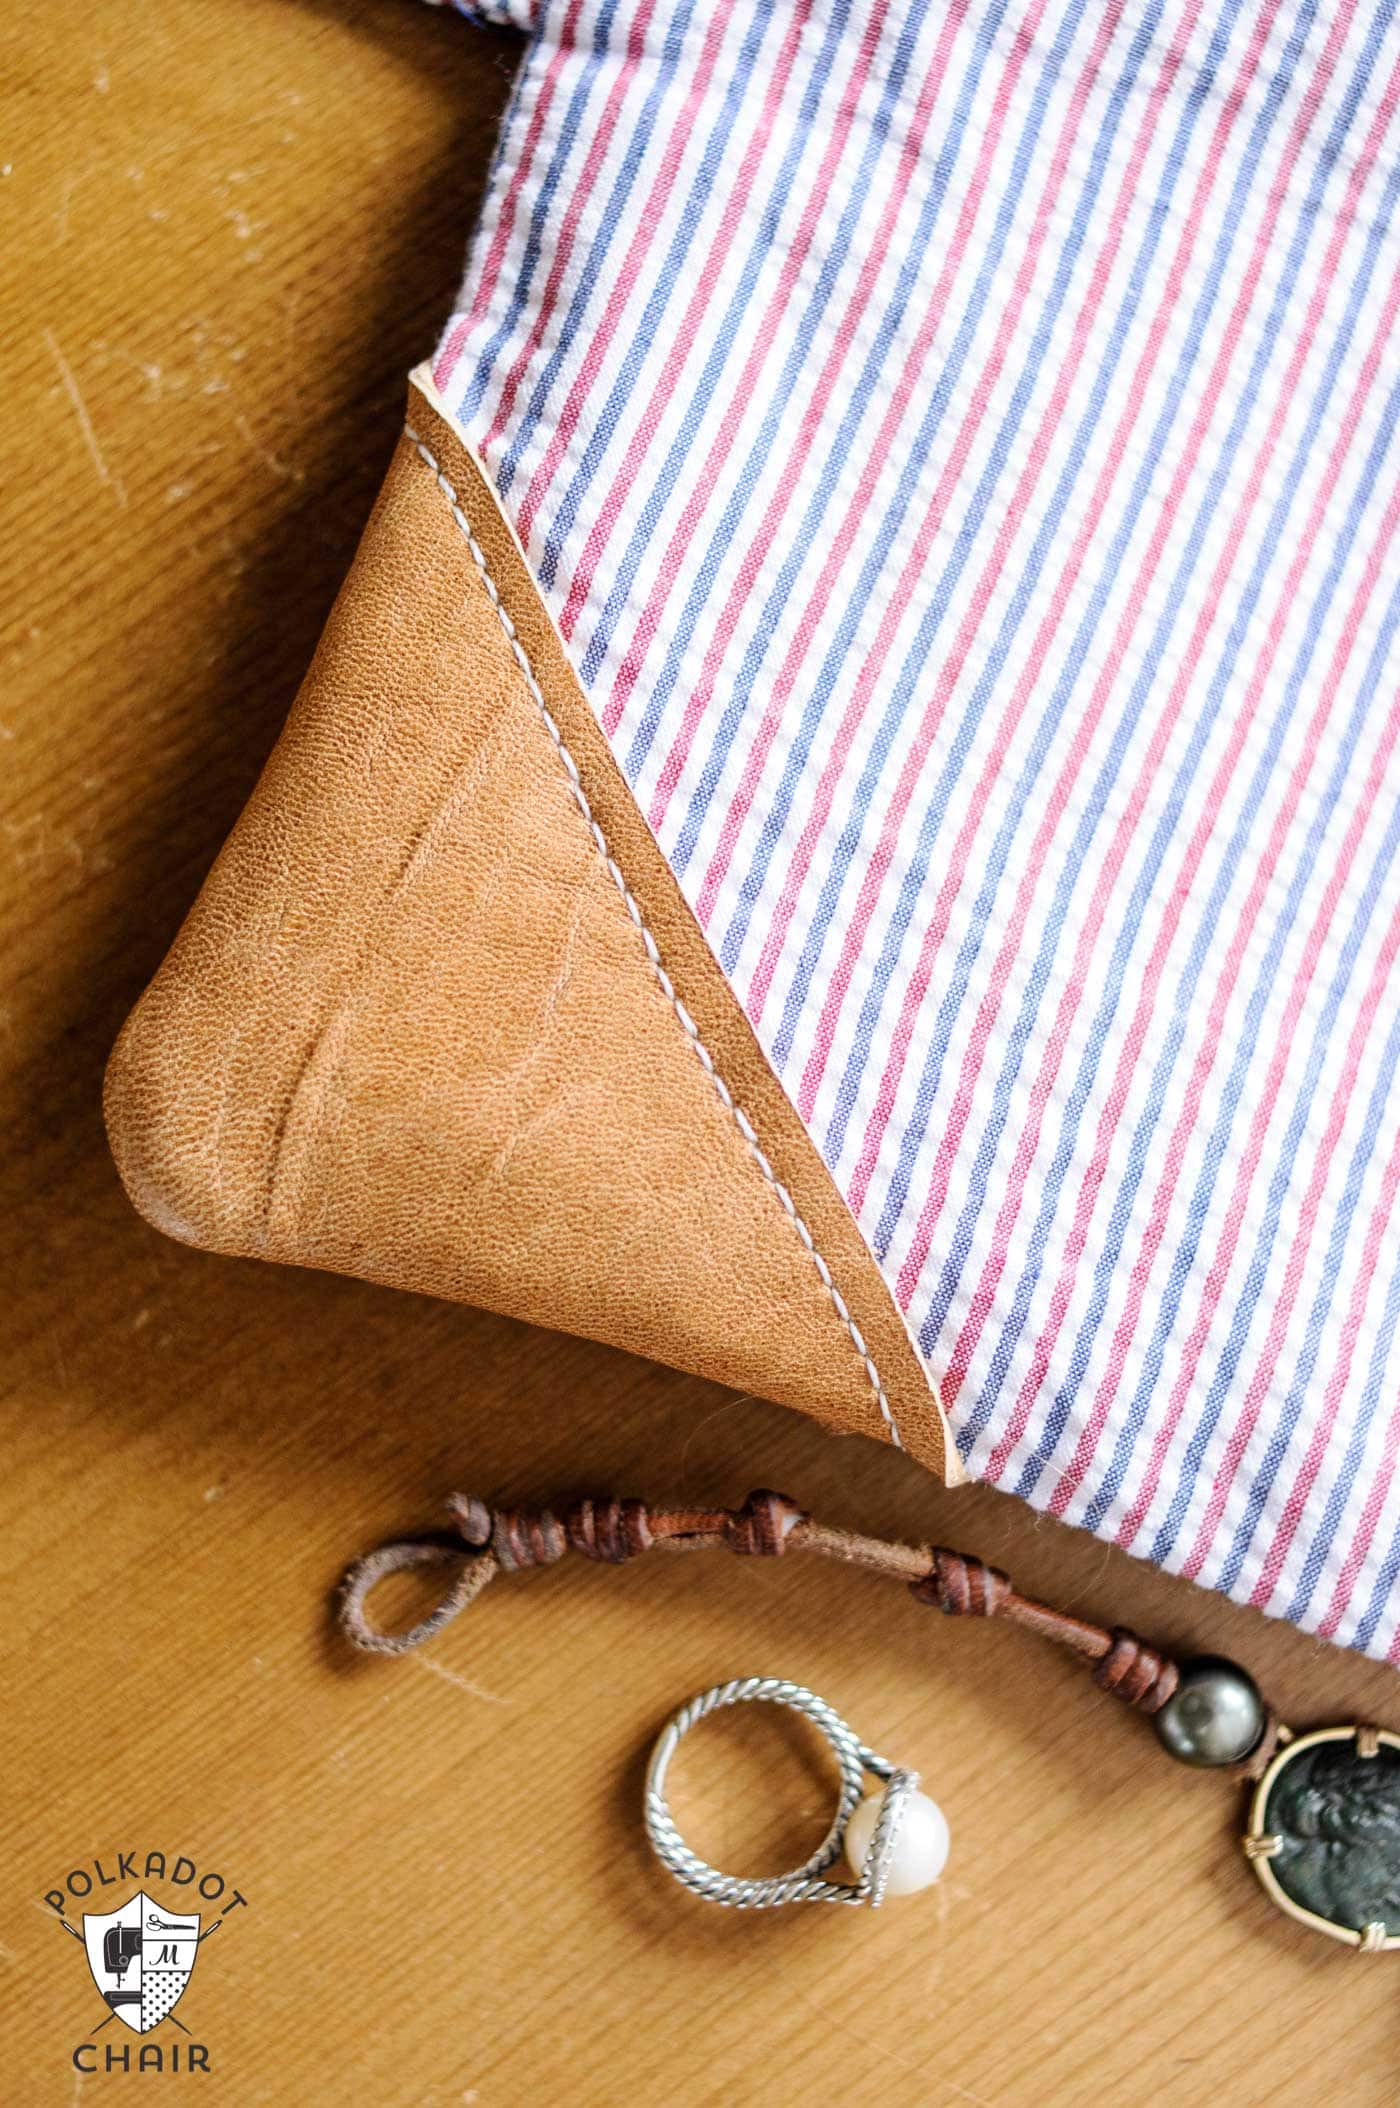
Begin by cutting your 4” x 4” leather squares in half on the diagonal. To cut leather I use a rotary cutter dedicated to only cutting leather.
Press the shape flex to the wrong side of the seersucker fabrics
Press the fusible fleece to the wrong side of the lining fabrics
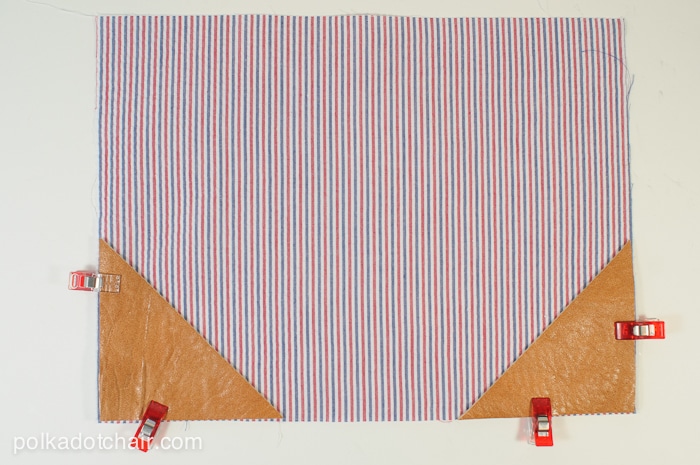
Using a glue stick, apply a bit of glue to the wrong side of the leather triangles. Attach one triangle to each bottom corner of the clutch. Use binding clips to hold the leather in place.
Put the leather needle in your machine
Thread the top thread with extra strong thread (you can leave the bobbin thread as is)
Set your stitch length to 4
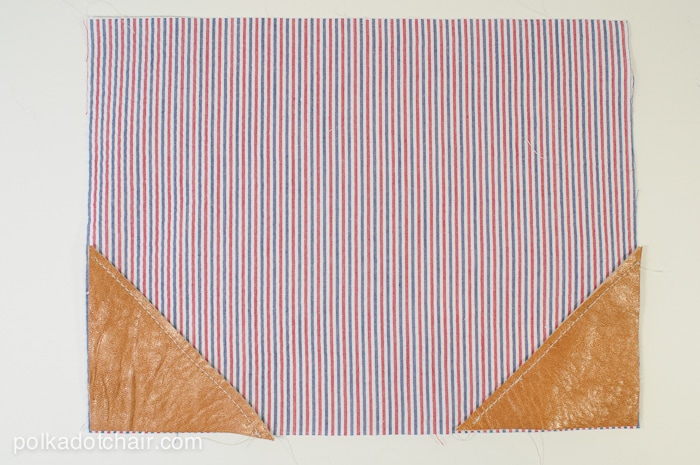
Going slowly, sew the leather across the diagonal.
Repeat for the other side of the clutch.
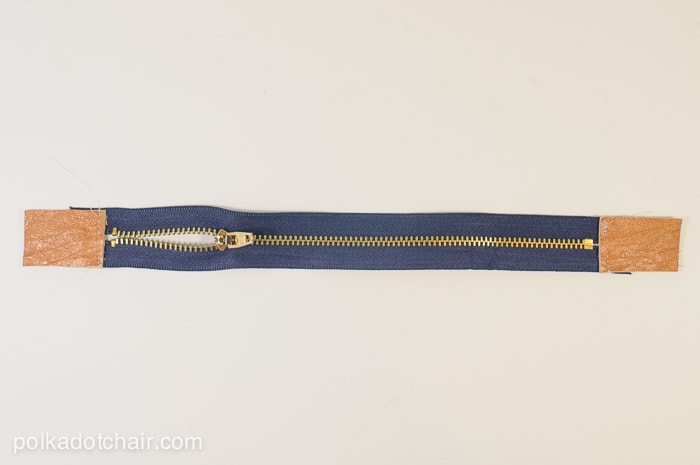
Apply a bit of glue to the back of the 2 1″ x 1 1/2” pieces of leather. Using binding clips, clip to the ends of the zipper. Stitch the leather to the ends of the zipper, close to the zipper.
Put the regular needle back in your machine and switch the thread back out.
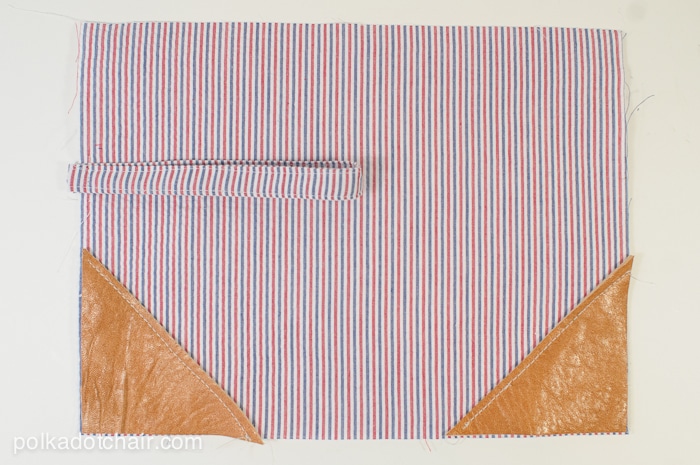
Fold the 3” x 16” piece of fabric in half lengthwise with the right sides together. Sew. Turn right side out and press with the seam in the center of the tube of fabric.
Fold the fabric in half again.
Topstitch down each side of the fabric.
Cut the finished piece to 13″ long.
Pin to the left side of the clutch front 3 1/2” down from the top.
Trim the leather ends of your zipper down to 1” long.
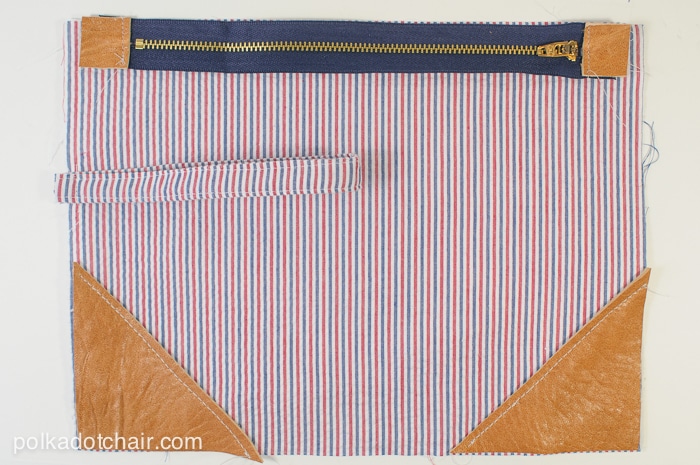
Center the zipper on the clutch front piece. Pin the zipper to the clutch front piece with the RIGHT side of the zipper facing the RIGHT side of the clutch.
Pin the RIGHT side of the lining to the WRONG side of the zipper.
Attach a zipper foot to your sewing machine. Stitch this seam.
Repeat for the other side of the zipper.
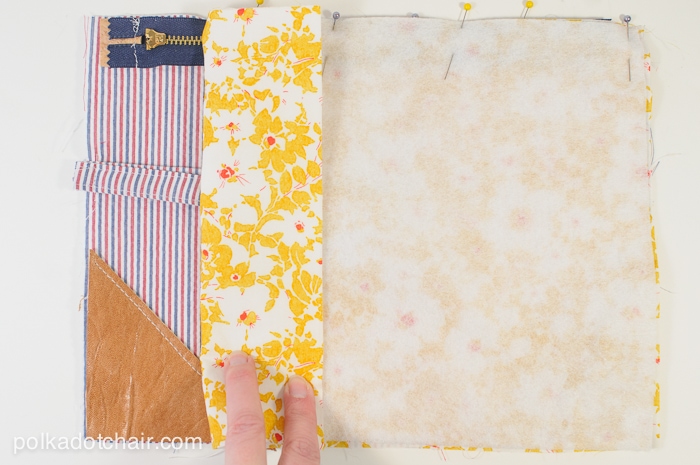
After you’ve sewn the clutch front and back to the zipper, press the seams well away from the zipper. Top stitch along both sides of the zipper.
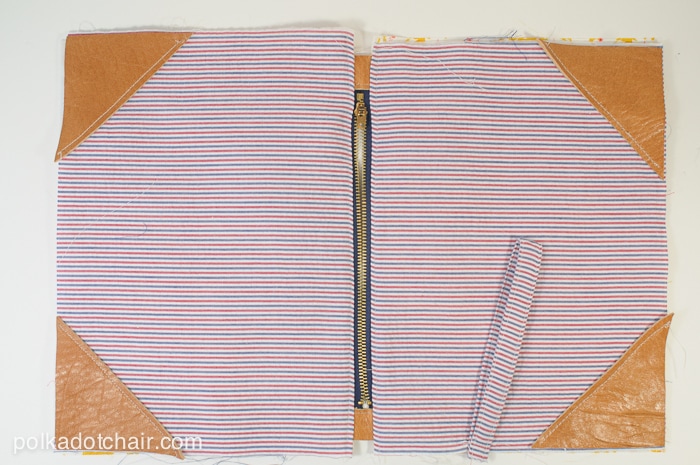
UNZIP the zipper.
Pin the two clutch outside pieces together, right sides together. Pin the two lining pieces right sides together. Stitch around the perimeter of the clutch using a 1/2” seam allowance. Leave a 4” opening in the lining piece to turn the clutch right side out.
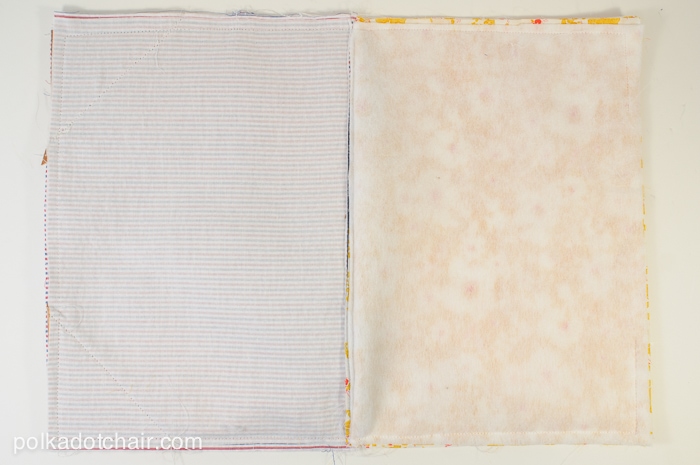
Turn right side out. Press well. Hand stitch the opening in the lining closed.
More Free Bag Patterns:
Laminated Toiletry Bag Tutorial


