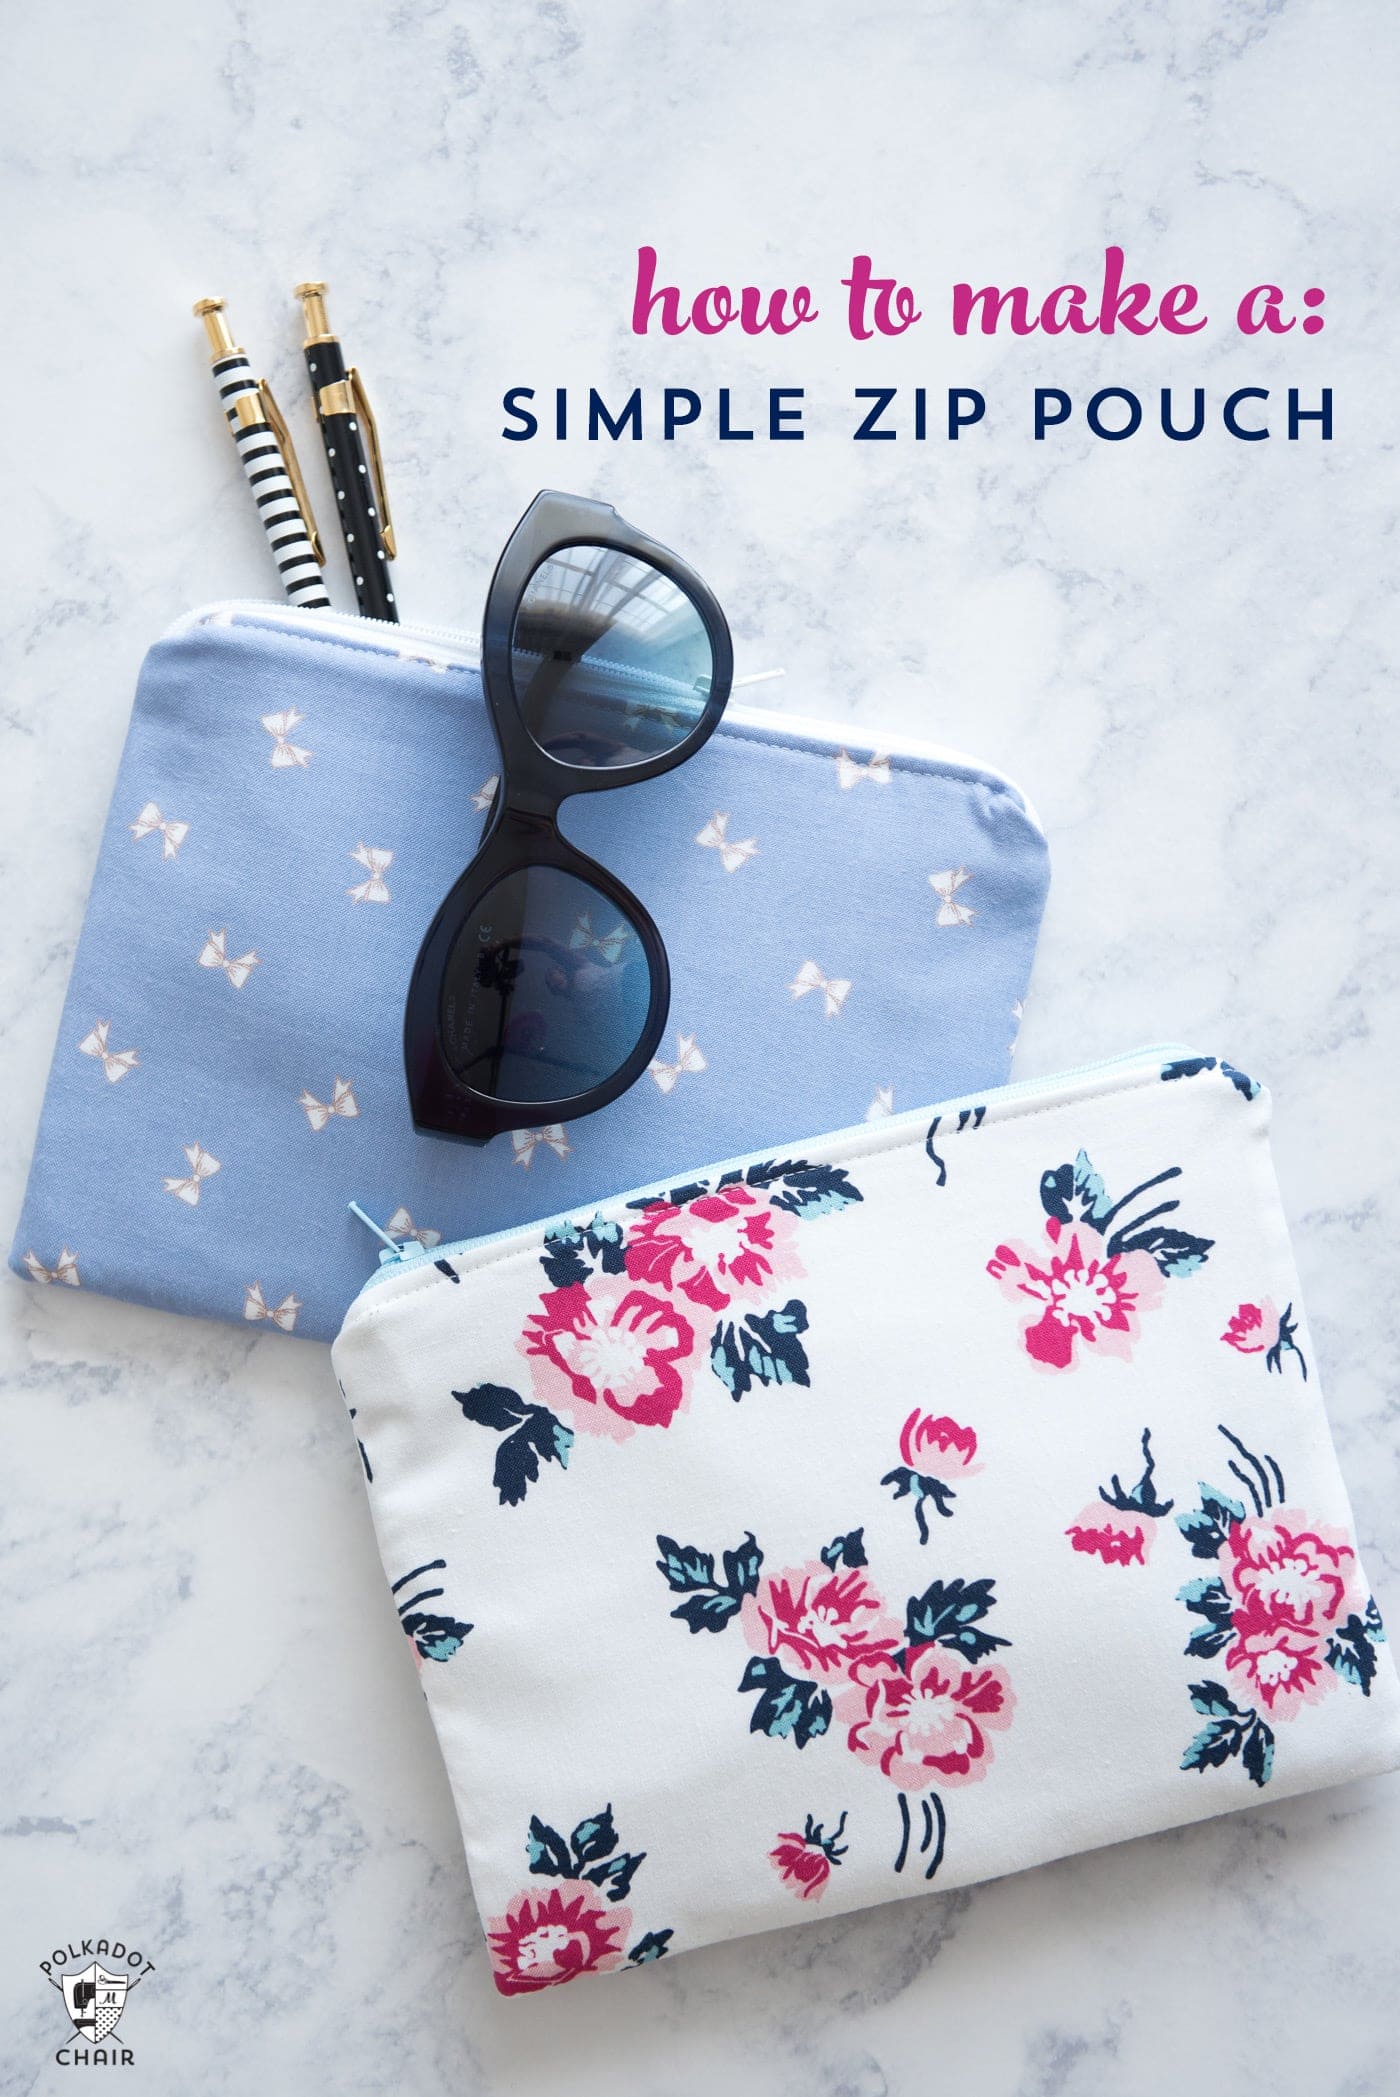
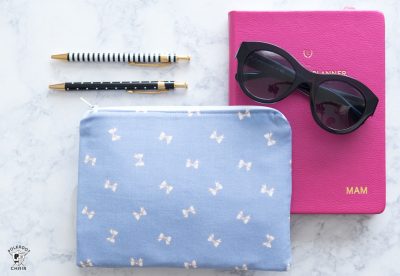
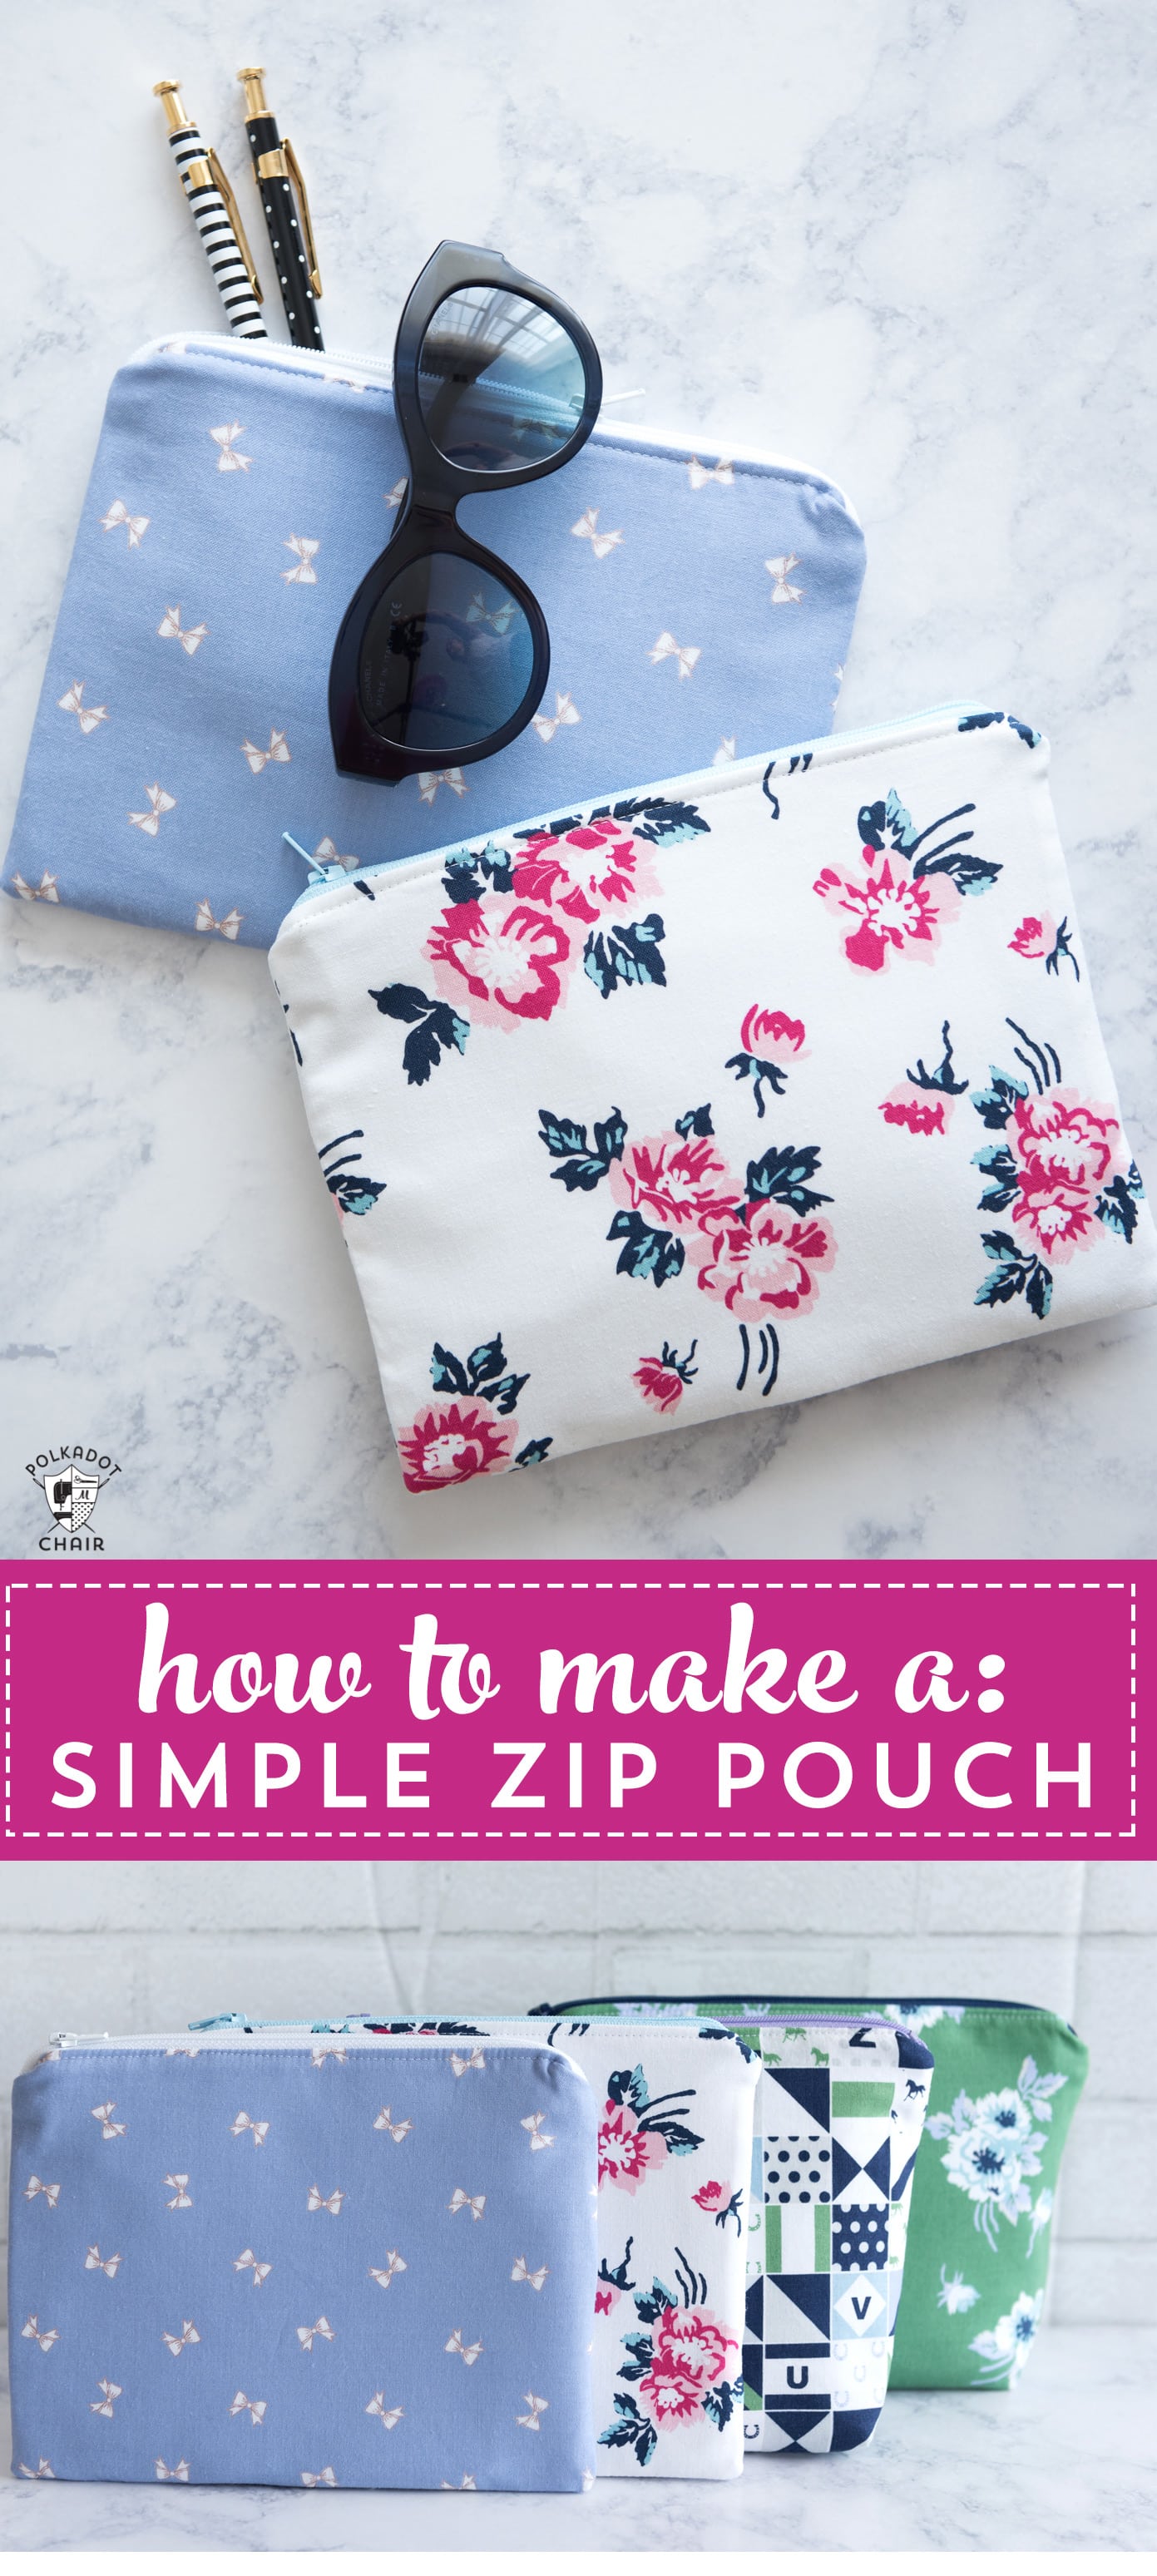
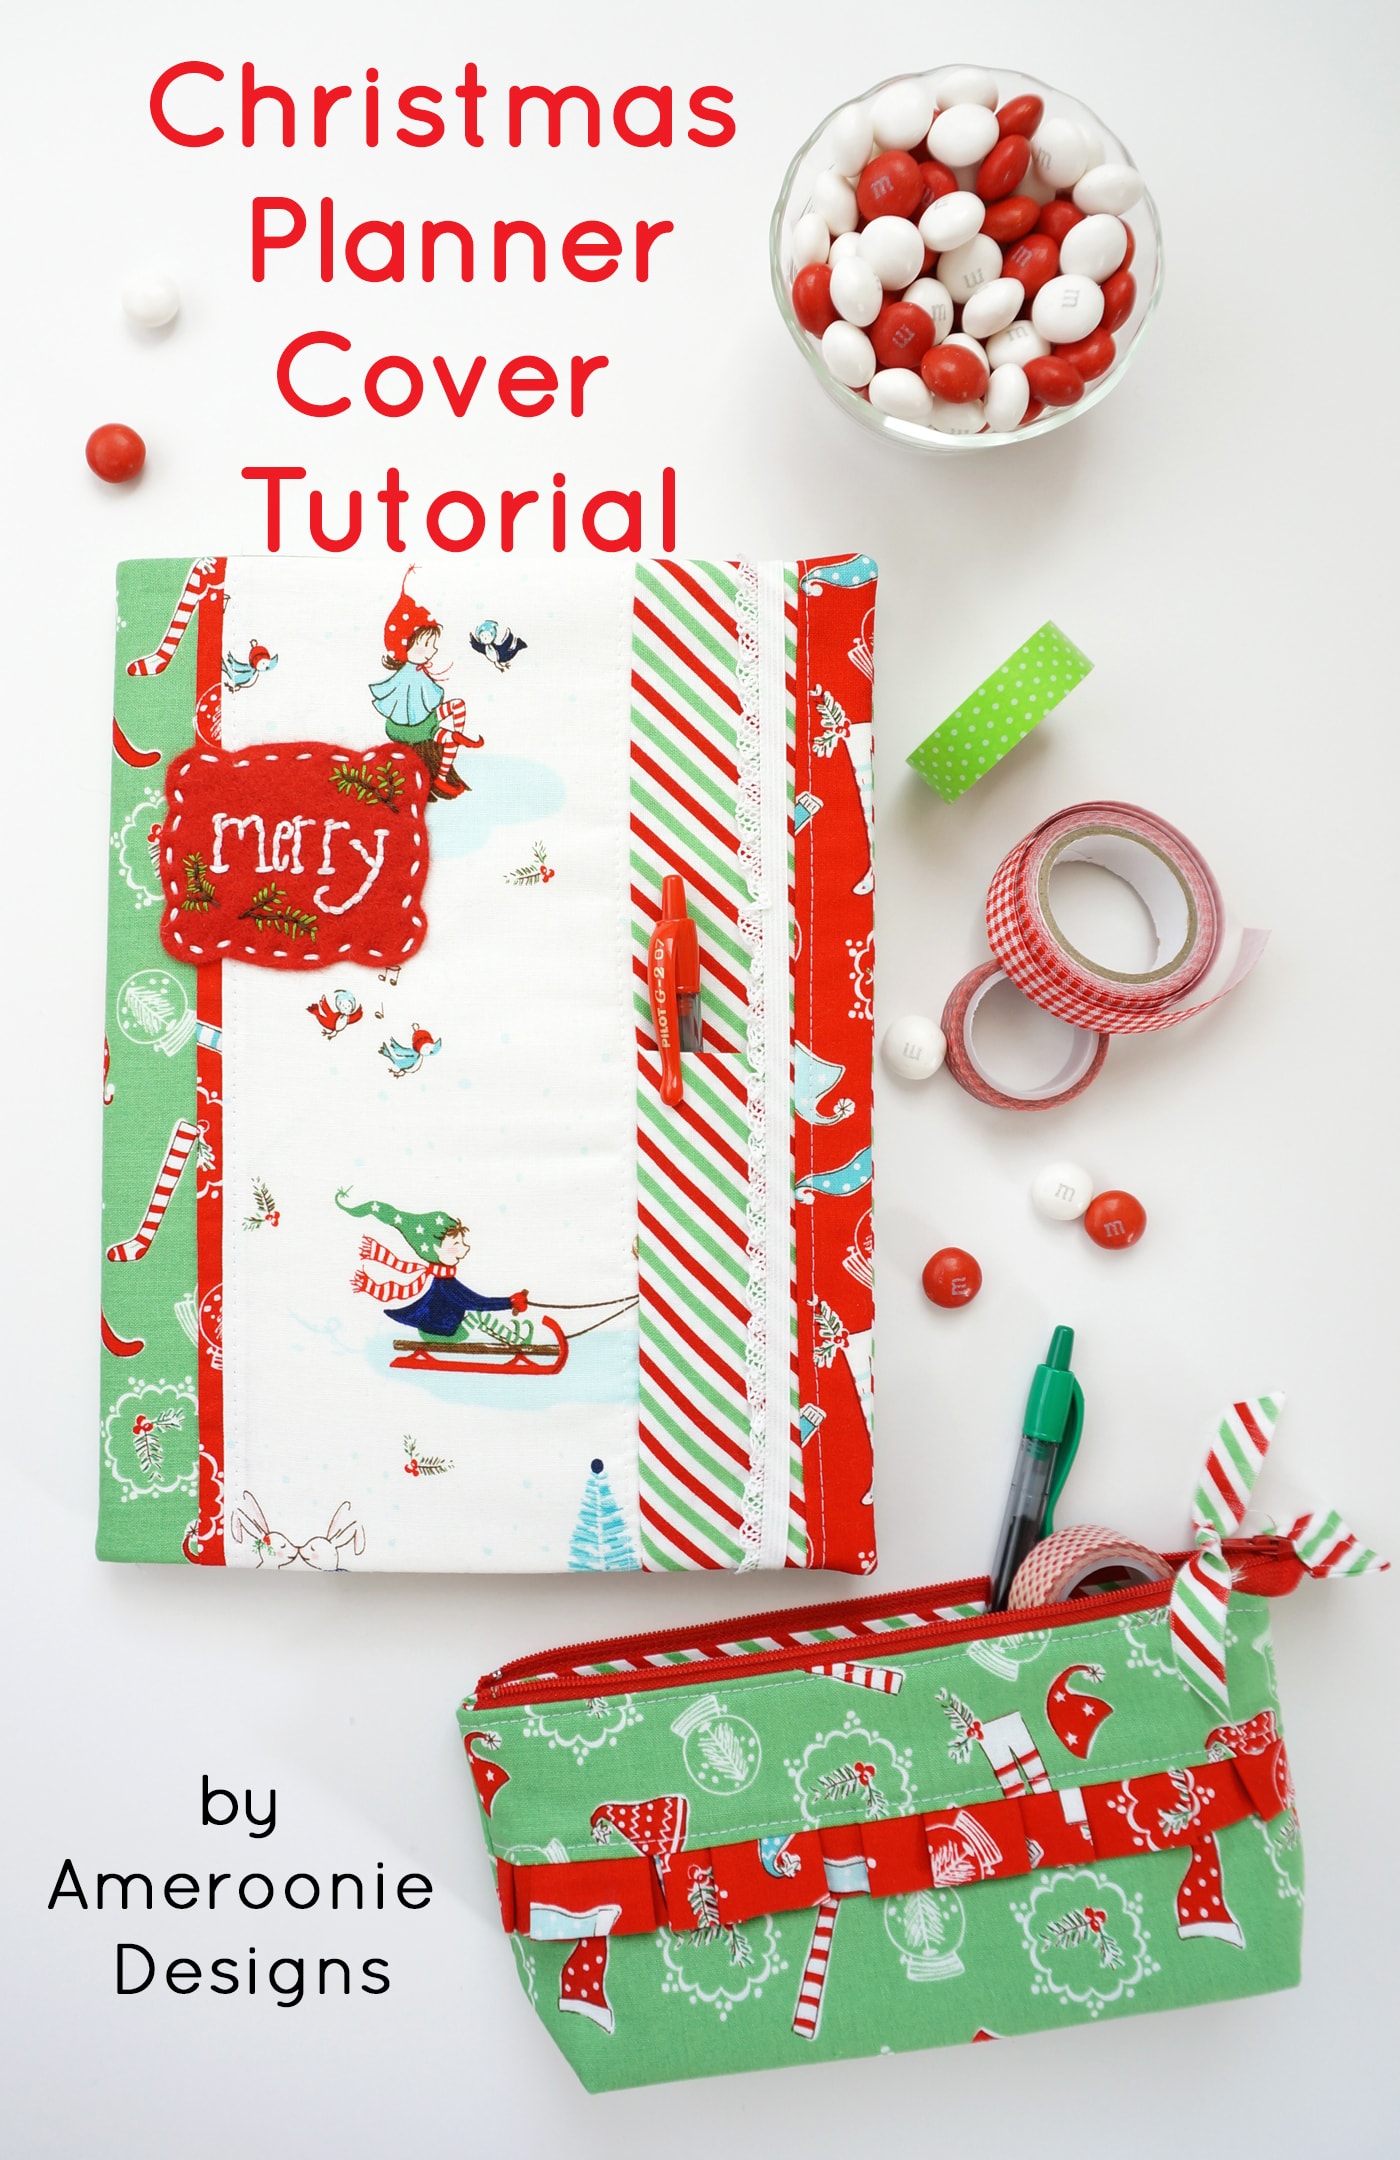
How to Make a Simple Zipper Pouch
Learn how to make a lined zippered pouch with this simple tutorial. Zip pouches are one of my favorite things to sew! It’s so easy, you’ll find yourself stitching them up over and over again!
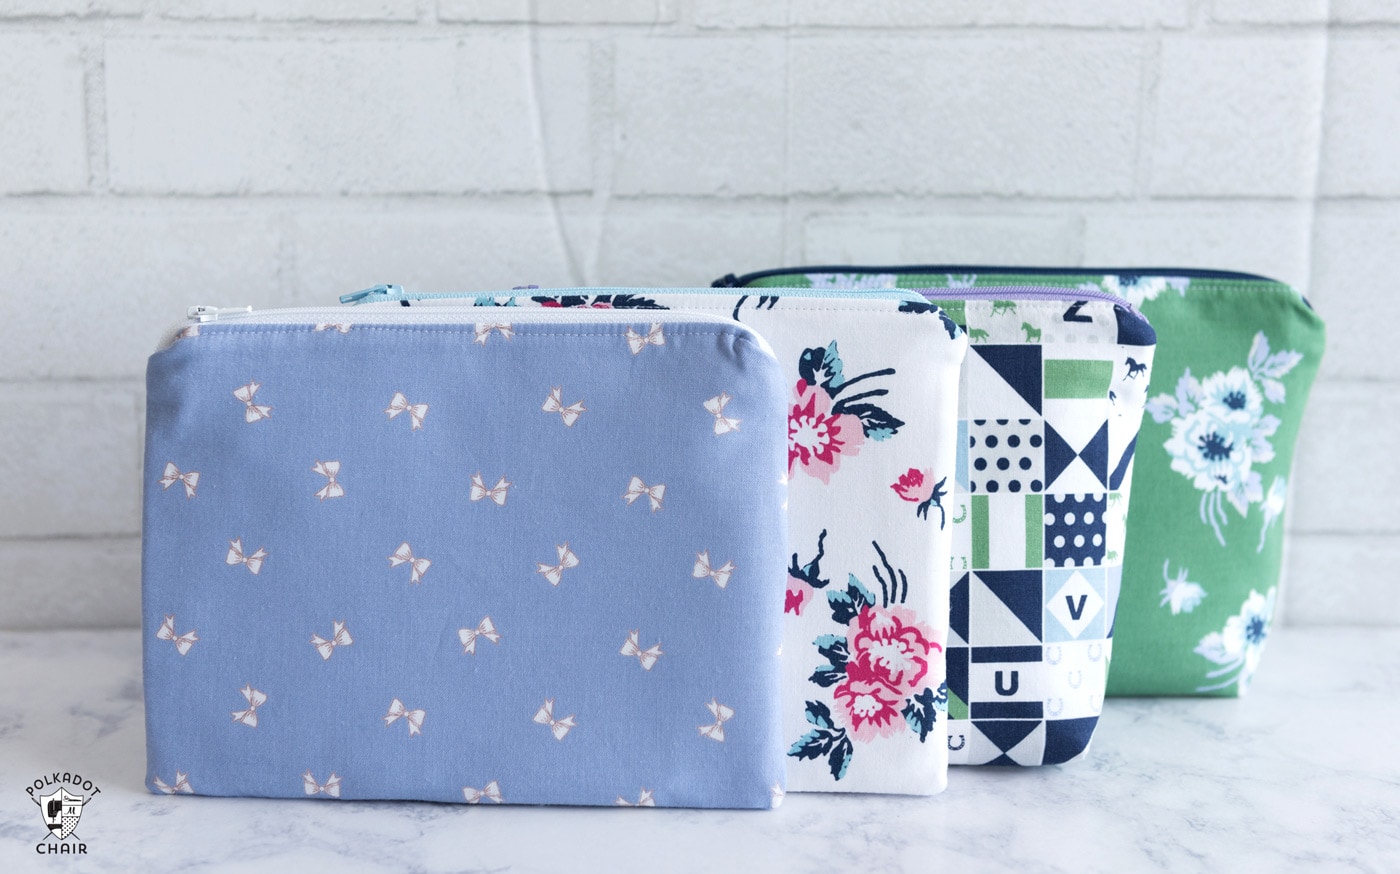
This tutorial is one of our “tried and true” patterns that has been on the site for years. We have recently updated it to include video instructions. This bag is lined, features a polyester zipper, and uses two types of fusible interfacing.
New! Zip Bag Video Instructions
You can find a video walking you through the steps to create a zip bag on our YouTube channel. In the video, I use fabric that I created for my Hogwarts House Zip Bags, but you can use ANY fabric that you like.
You can also find a step-by-step tutorial to make this exact bag on our Instagram page. Just look for the “Bag Sew Along” highlight bubble.
How to Resize the Zip Bag
You can make this zip bag any size that you want, as long as your zipper is at least 1″ longer than the width of your pouch! Play around with the dimensions until you find a combination you like.
A few tips:
- Zip bags smaller than 3″ wide are a bit fussy to sew.
- Once the zip pouch is wider than 10″, it gets “floppy” you may want to add a second layer of interfacing.
- Your finished pouch will be approximately 1″ smaller in both directions than your pattern pieces.

The zippered pouches I’m showing you how to make today measure approx 6″ x 8″ when finished. You can make these bags ANY size you like just change the size of your rectangles. If you do this, just make sure that your zipper is longer than the width of your pouch.
What Kind of Zipper Should I Use?
Also, this tutorial uses polyester zippers. You can not use a metal zipper for this technique. You will be sewing over the zipper and you can only do that with a polyester zipper.
TIP: You can buy ANY zipper length you’d like since the zippers are polyester, you can trim them to the size you’d like using sharp scissors. For this reason, I usually buy all 12″ or longer zippers.
If you’d like to make a zip bag with a metal zipper, here are a few suggested tutorials (the tutorial in the video uses a metal zipper).
My favorite place to purchase zippers is ZipIt on Etsy.
What Interfacing Should I Use?
I prefer to use two types of fusible (meaning it attaches to the bag with heat from an iron). I like to use ShapeFlex Interfacing on the outside of the bag since it helps the fabric to lay smooth and reduces wrinkling during the construction process.
I like to use either Fusible Fleece or Flex-Foam interfacing on the lining of the bag. If you’re new to this process I recommend fusible fleece since it’s easier to work with.
Whichever lining you choose, be sure to trim the interfacing out of your seam allowances. This helps to reduce bulk in the seams.
Supplies
- 1 Fat Quarter of Fabric for Bag Outside
- 1 Fat Quarter of Fabric for Bag Lining
- 1/4 yard Shape Flex Interfacing
- 1/4 yard Fusible Fleece Interfacing
- 10″ or longer polyester zipper
- Basic Sewing Supplies
Cutting Directions
Yields a bag that is approx 6″ x 8″ when finished.
From Bag Outside Fabric Cut:
2 pieces each 7″ x 9″
From Bag Lining Fabric Cut:
2 pieces each 7″ x 9″
From Shape Flex Interfacing Cut:
2 pieces each 7″ x 9″
From Fusible Fleece Interfacing Cut:
2 pieces each 7″ x 9″
Simple Zip Bag Sewing Pattern
Equipment
supplies
- 1 Fat Quarter of Fabric for Bag Outside
- 1 Fat Quarter of Fabric for Bag Lining
- 1/4 yard Shape Flex Interfacing
- 1/4 yard Fusible Fleece Interfacing
- 1 Zipper 10" or longer polyester zipper you need a polyester zipper for this project, not a metal one.
Instructions
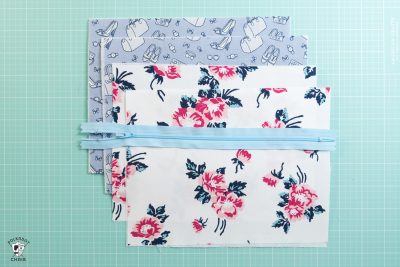
Cutting Directions:
- From Bag Outside Fabric Cut: 2 pieces each 7" x 9" From Bag Lining Fabric Cut: 2 pieces each 7" x 9" From Shape Flex Interfacing Cut:2 pieces each 7" x 9"From Fusible Fleece Interfacing Cut: 2 pieces each 7" x 9"

Assembly Directions:
- Iron the Shape Flex interfacing to the wrong side of your pouch outside pieces.
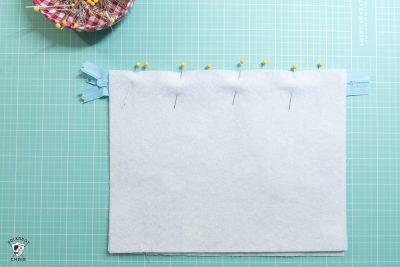
- Iron the Fusible Fleece interfacing to the wrong side of your pouch lining pieces.
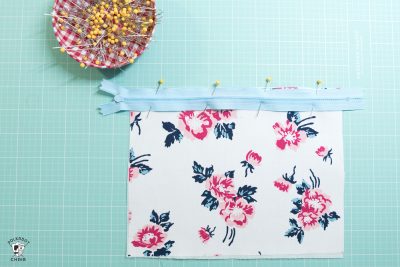
- Pin the RIGHT side of your zipper to the RIGHT side of your outside fabric front piece. Now pin the RIGHT side of your lining piece to the WRONG side of your zipper.
- With a zipper foot on your sewing machine, stitch through all layers. Move the zipper pull if it gets in your way as you sew. (needle down, move zipper pull, keep sewing)
- Move the fabric so that it’s out of the way of the zipper.
- Pin the RIGHT side of your other lining piece to the WRONG side of the other side of the zipper. Pin the RIGHT side of your back bag outside piece to the RIGHT side of the zipper. Stitch through all layers.
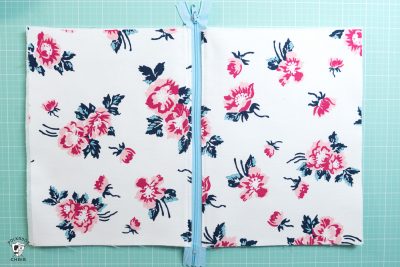
- Repeat this process with the other bag outside piece and bag lining piece, on the other side of the zipper.
- Using an iron, press all seams away from the zipper. Using your zipper foot, top stitch close to the edge of the zipper.
- Unzip the Zipper.
- Pin the right sides of the bag outside together and pin the right sides of the bag lining together.
- Press the zipper seam allowance towards the lining pieces.
- Sew around the entire perimeter with a 1/2″ seam allowance.

- Leave a 3″ opening in the lining to turn the bag right side out. DON’T sew over the metal parts of the zipper!
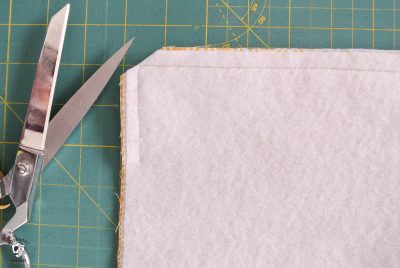
- Clip the corners and trim down the seams of the lining pieces to 1/8″

- Turn right side out.
- Use a hera tool or other “pointy object” to push the corners of the bag out. Give it a good pressing, and you’re done!


Video
Other Fun Stuff!
Now that you know how to make a simple zippered pouch, you can try a few other zip pouch projects!!
All of our Free Zip Pouch Sewing Patterns.
How to Make a Zip Bag with a Flat Bottom


It would be helpful to point out in the written instructions when to shorten the zipper for the total beginner.
I also discovered that the way the zipper curves into the side seam effectively narrows the opening and leaves some bulk in the corner. Any tips?
The best way to address the curve of the zipper at the side seams is to add zipper tabs. But since this was just supposed to be a “basic” beginner lesson, I didn’t want to over complicate it.
You can see the use of zipper tabs on this post: https://www.polkadotchair.com/color-blocked-zip-pouch-sewing-pattern/
Hi! If I made these without the fleece/interfacing, would it still work, just softer sides of the pouch? Thank you!
It would just be more flimsy but it would work.
What if you don’t have a zipper foot for your old gram’s Singer?
Most of those machines have small presser feet so it might work. If not, check ebay they have loads of sewing machine parts for older machines.
Just curious….. when does the 3 inch hole get sewn up? Thanks
The opening in the lining is sewn as soon as you have the corners turned right side out.