Sewing Machine Feet for Quilt Piecing
Did you know that there are sewing machine feet created just for piecing a quilt? These feet can help you achieve more accurate quarter-inch seams, which are the key to precise quilt blocks. Today, I’m breaking down all the details about four sewing machine feet used for quilt piecing.

Sewing machine feet…there are a lot. Some have really specific tasks whilst others can be used for quite a few different things. Even the most basic sewing machine will most likely come with a handful of feet, but how important are they all?
This week, we’re going to take a closer look at sewing machine feet for patchwork piecing. I’ll tell you about the ones I have, what tasks they could be used for, and why I like or don’t like them.
Spoiler alert…in my opinion, none of them are perfect! So, if you’ve been struggling with the foot you’re currently using for piecing tasks, then it could be that you either need a new foot or you need to make sure you are changing your foot for different parts of the piecing process.
Brand-Specific Sewing Machine Feet
Since there are many different types of sewing machines and most sewing machine feet are manufacturer-specific, I’ve invited a co-author to contribute to this post. Amy Ball is a long-time contributor and sews on a Janome machine.
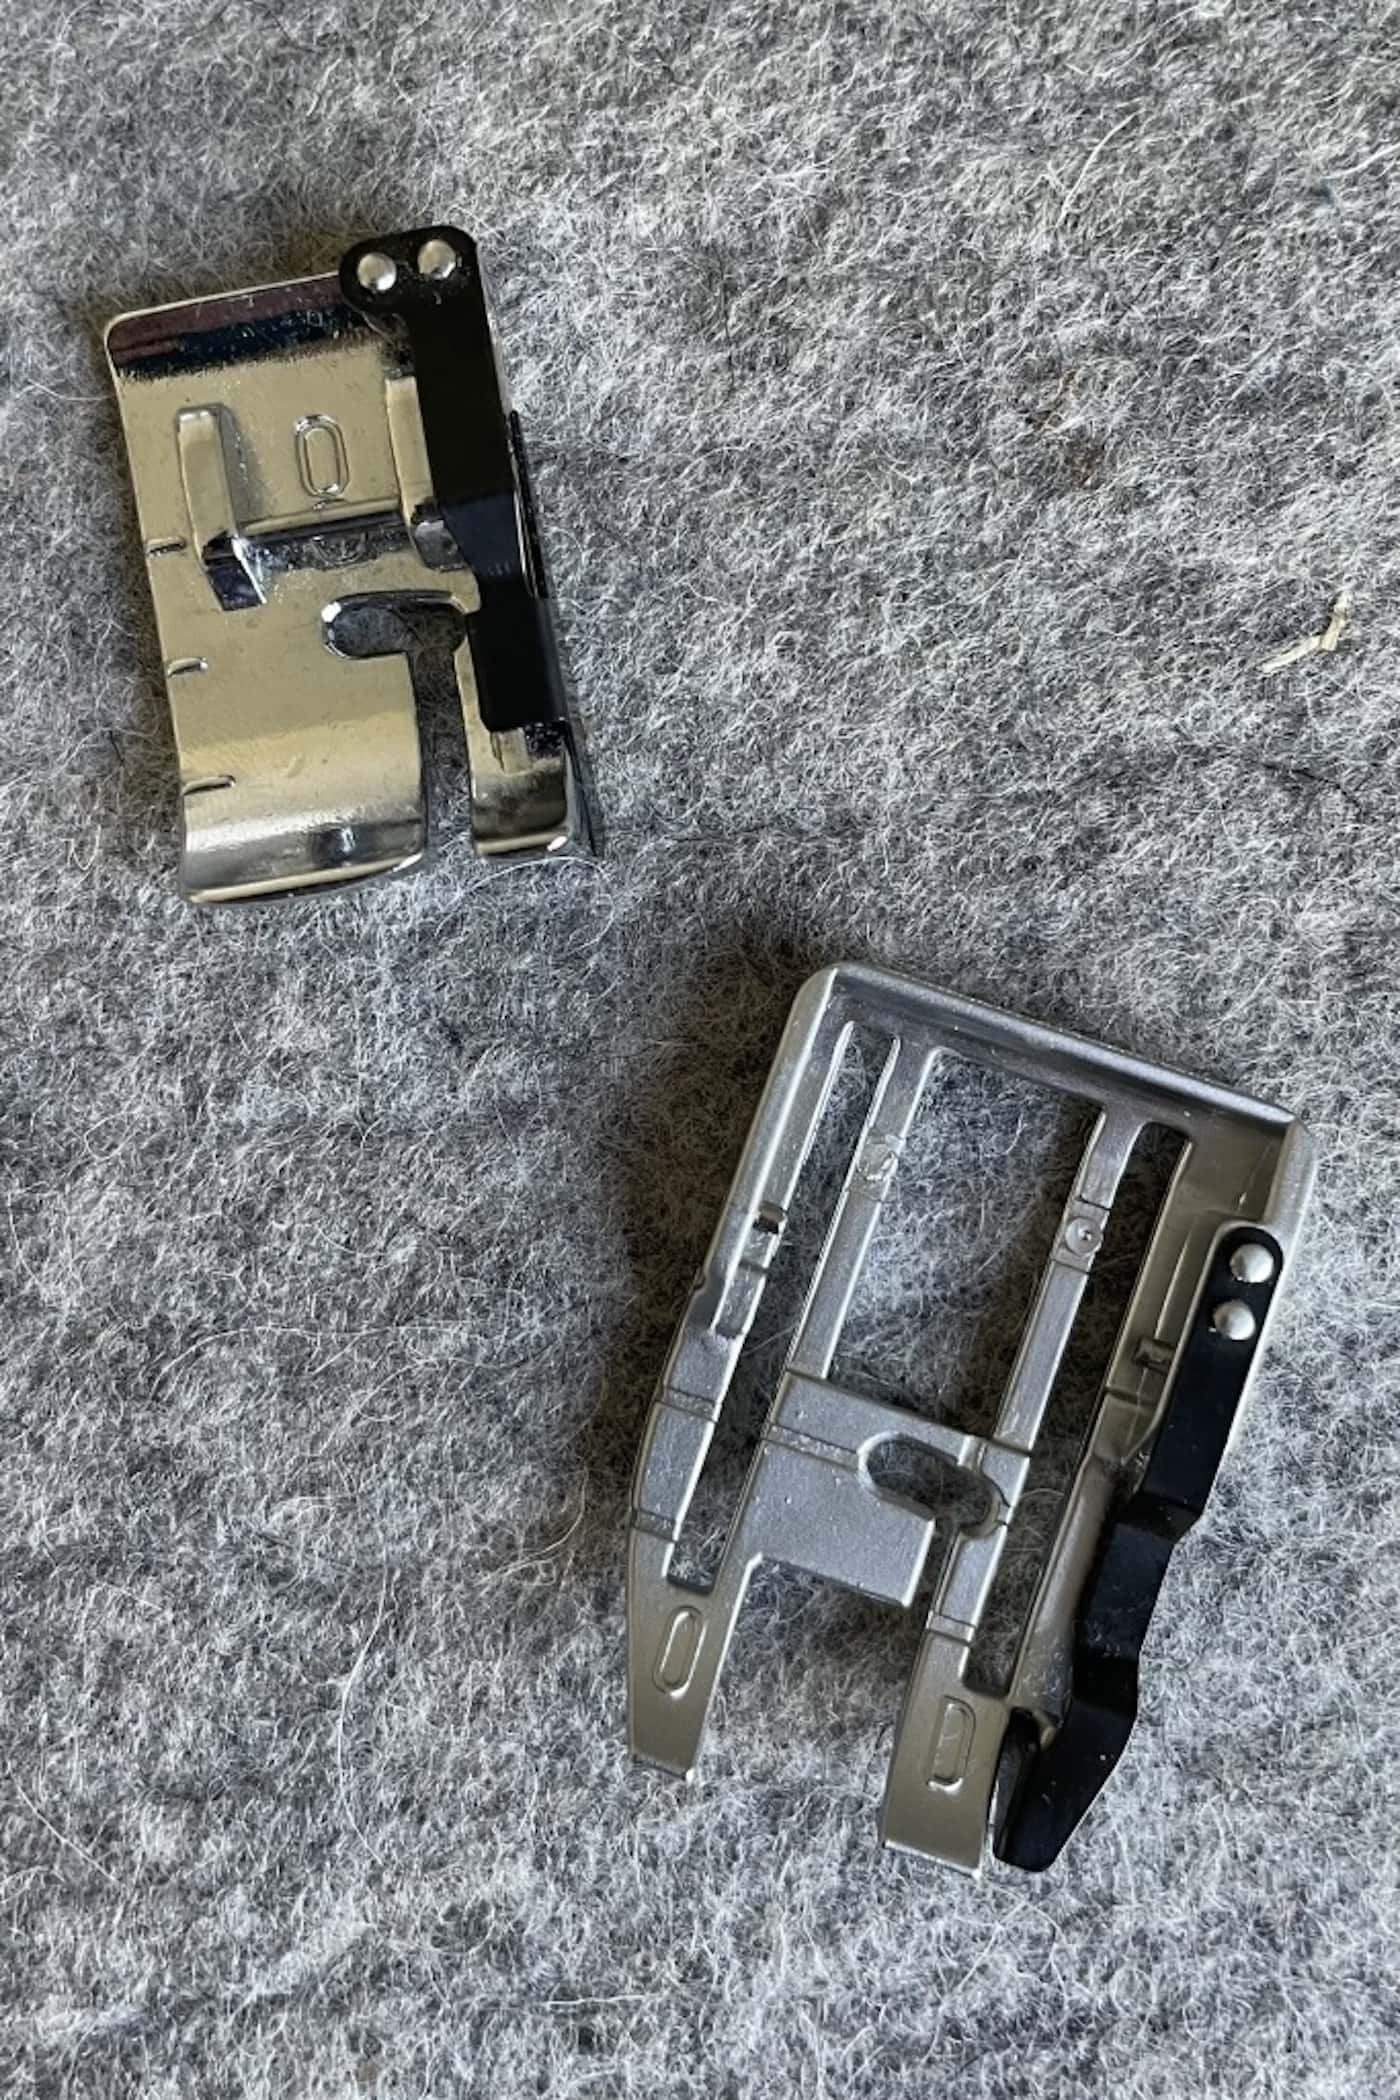
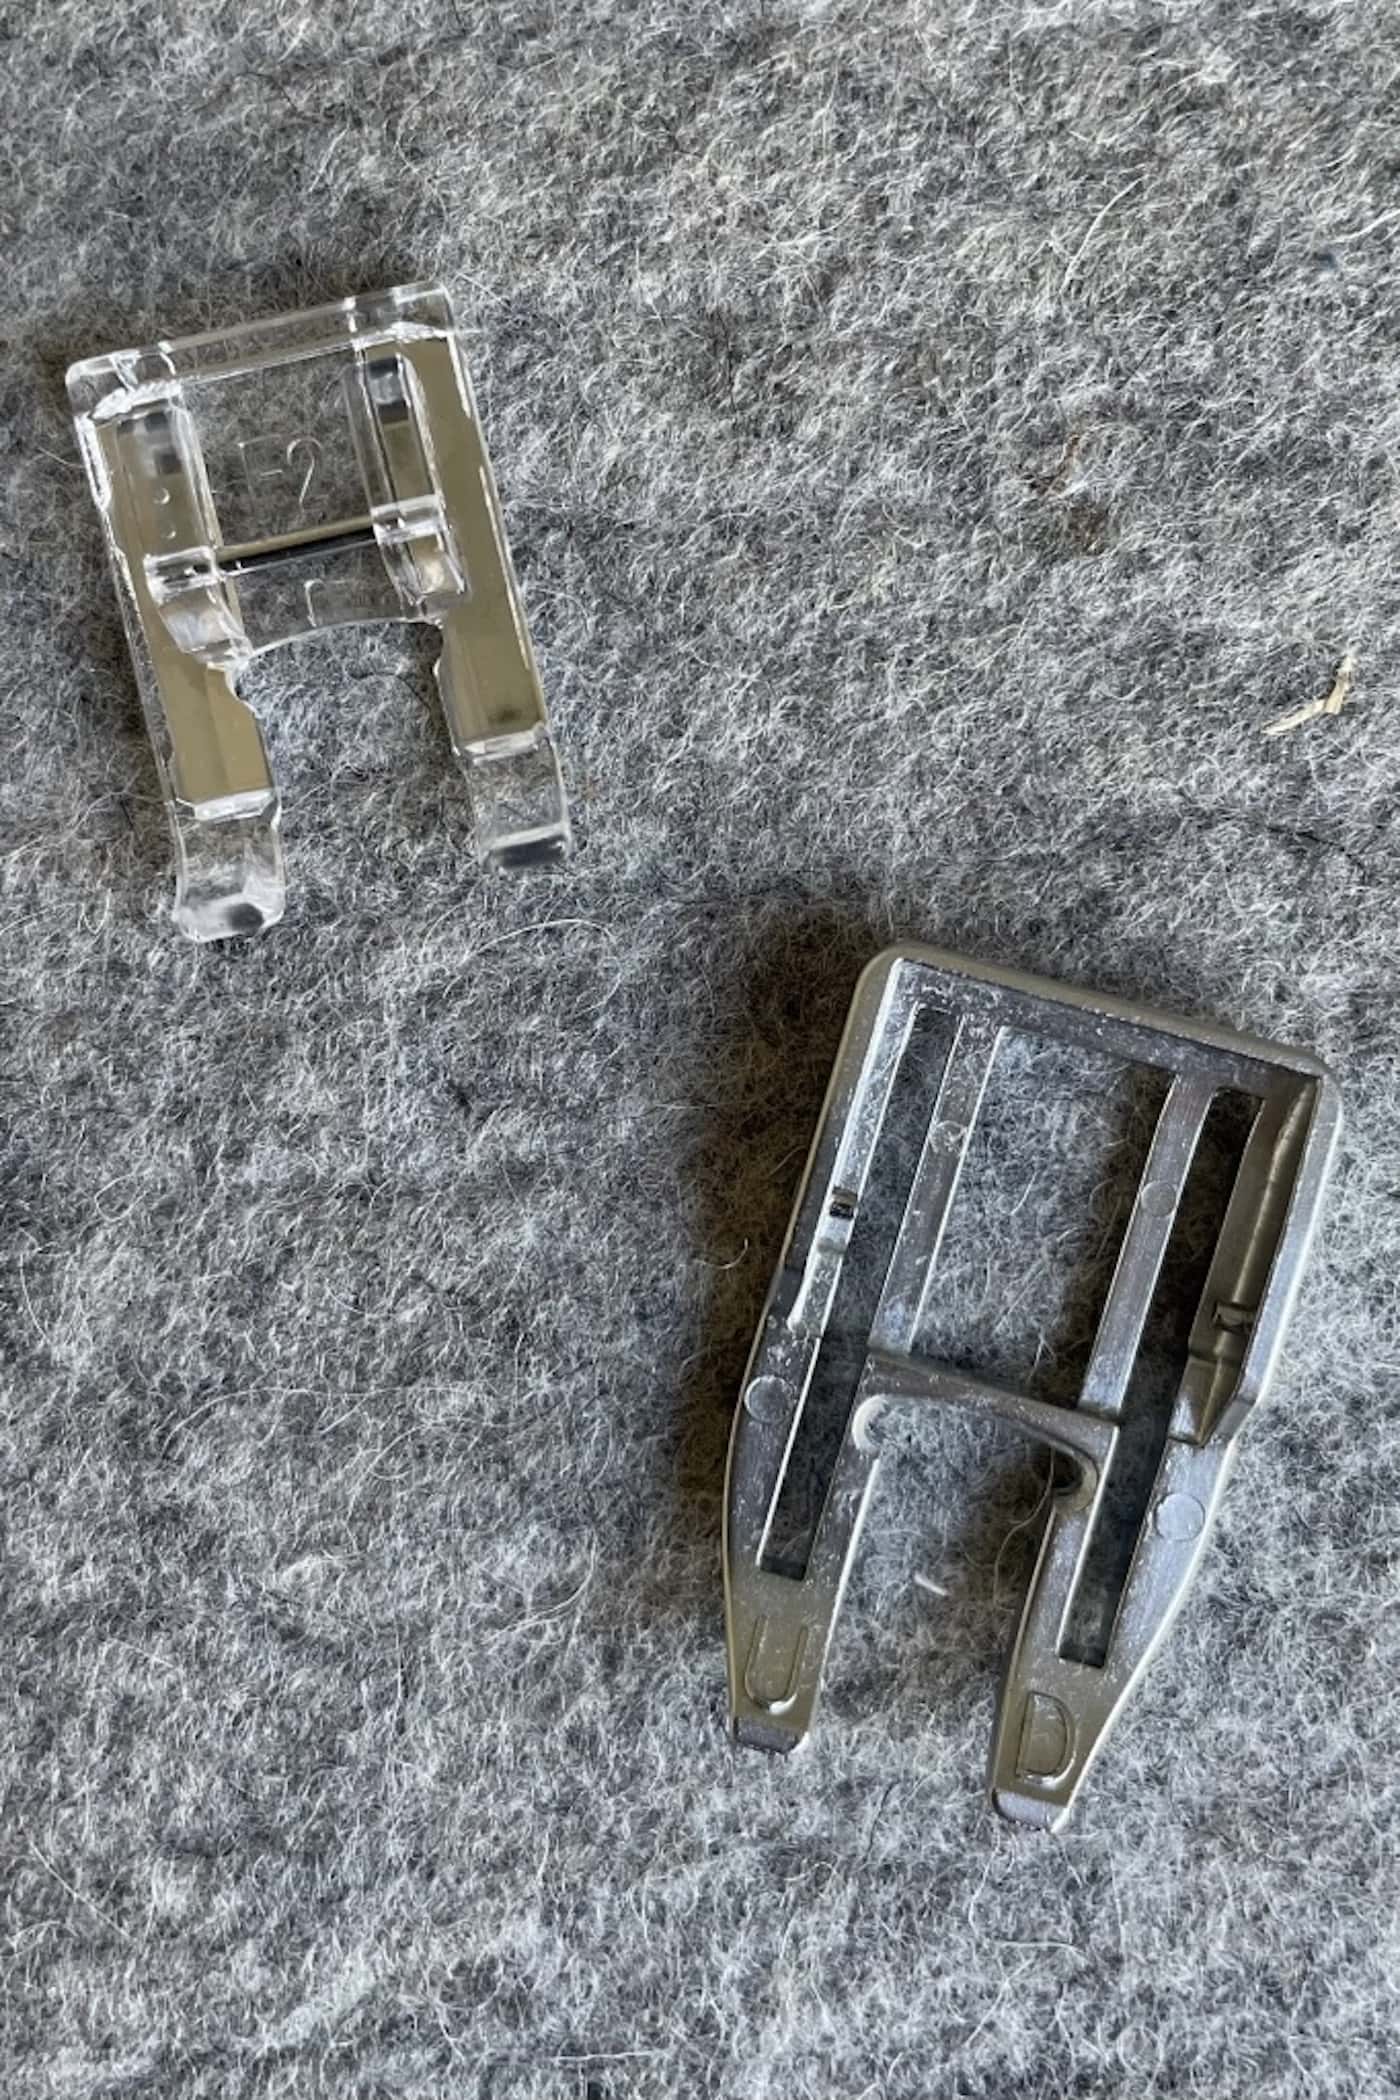
In several of the photos below are pictures of two different feet on a gray pressing mat. One fits on a walking foot, and one fits on a standard machine foot.
The larger feet you can see in the photos clip onto Janome’s walking foot. Amy says, “I absolutely love using a walking foot as often as I can for patchwork piecing and quilting, so I will often choose one of these feet, even if it’s not the ideal option, to make use of the walking foot aspect.”
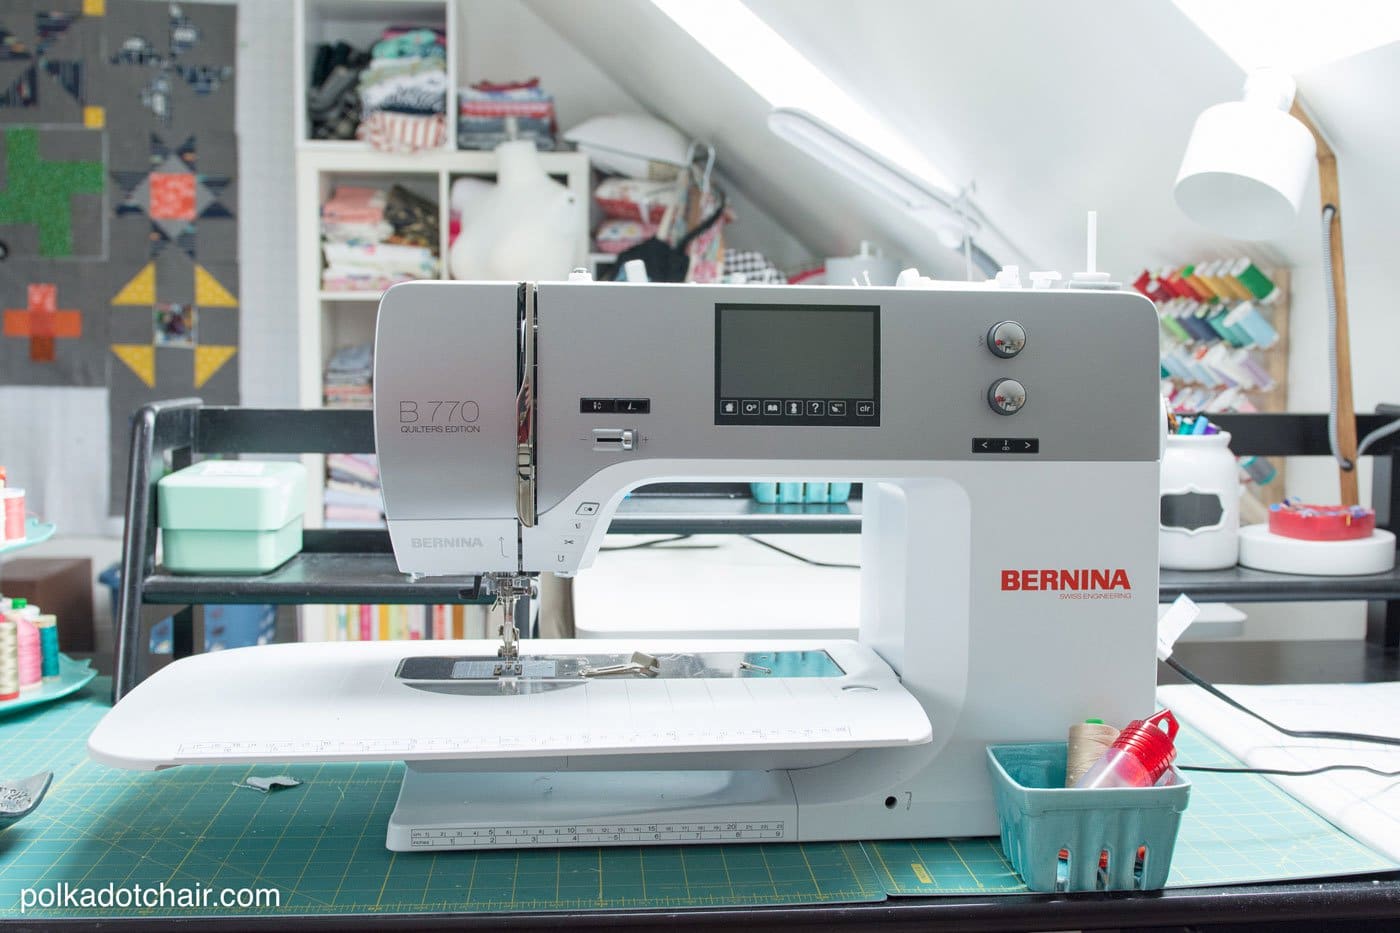
I sew on a BERNINA machine. I’ll be sharing information about both machines. If you have another brand of sewing machine, don’t worry! Most manufacturers make similar feet for their machines. Check their websites for specific information.
The photos in this post are from both brands of machines; if the feet that came with your machine don’t look the same, don’t fret!
Just a note: This is my personal preference. I’m not claiming to be “THE” BERNINA expert. I have over ten years of experience sewing on my machines and have done a lot of trial-and-error research. I’m just sharing the information I’ve learned over the years.
What Sewing Machine Feet Are the Most Useful for Quilting?
I’m a big advocate for not buying too much stuff when it comes to patchwork piecing and quilting, especially if you are starting out. But sometimes, a few extra bits can be really useful and can take your sewing from great to amazing.
Below are four styles of machine foot that could be used for patchwork piecing. And before you rush out and buy a new one for yourself, make sure you check that little bag of bits that came with your sewing machine…you might find a few of these feet in there!
Standard Foot
This is your basic sewing machine foot, the style that comes with every machine. It works fine for patchwork piecing but has no features that help with accurate seams.
If you are only using this style of foot, I would recommend marking it in some way to show a 1/4″ guide; sticking on small pieces of washi tape is a great, non-permanent way to do this. If this is all you have to use for quilt piecing, you can make it work.
Open-toe Foot
As the name suggests, this foot has a large open area in the center of the foot. This is great for any patchwork task where you need a good view of what you are sewing.
I like to use an open-toe foot when I need to sew along a marked line. For example, when making half square triangles, flying geese, corner square triangles, etc. As this foot has inner straight edges, you could also use these for sewing 1/4″ seams. Move the needle position to the left and use the right-hand inner edges as your 1/4″ guide.
Quarter-inch Foot
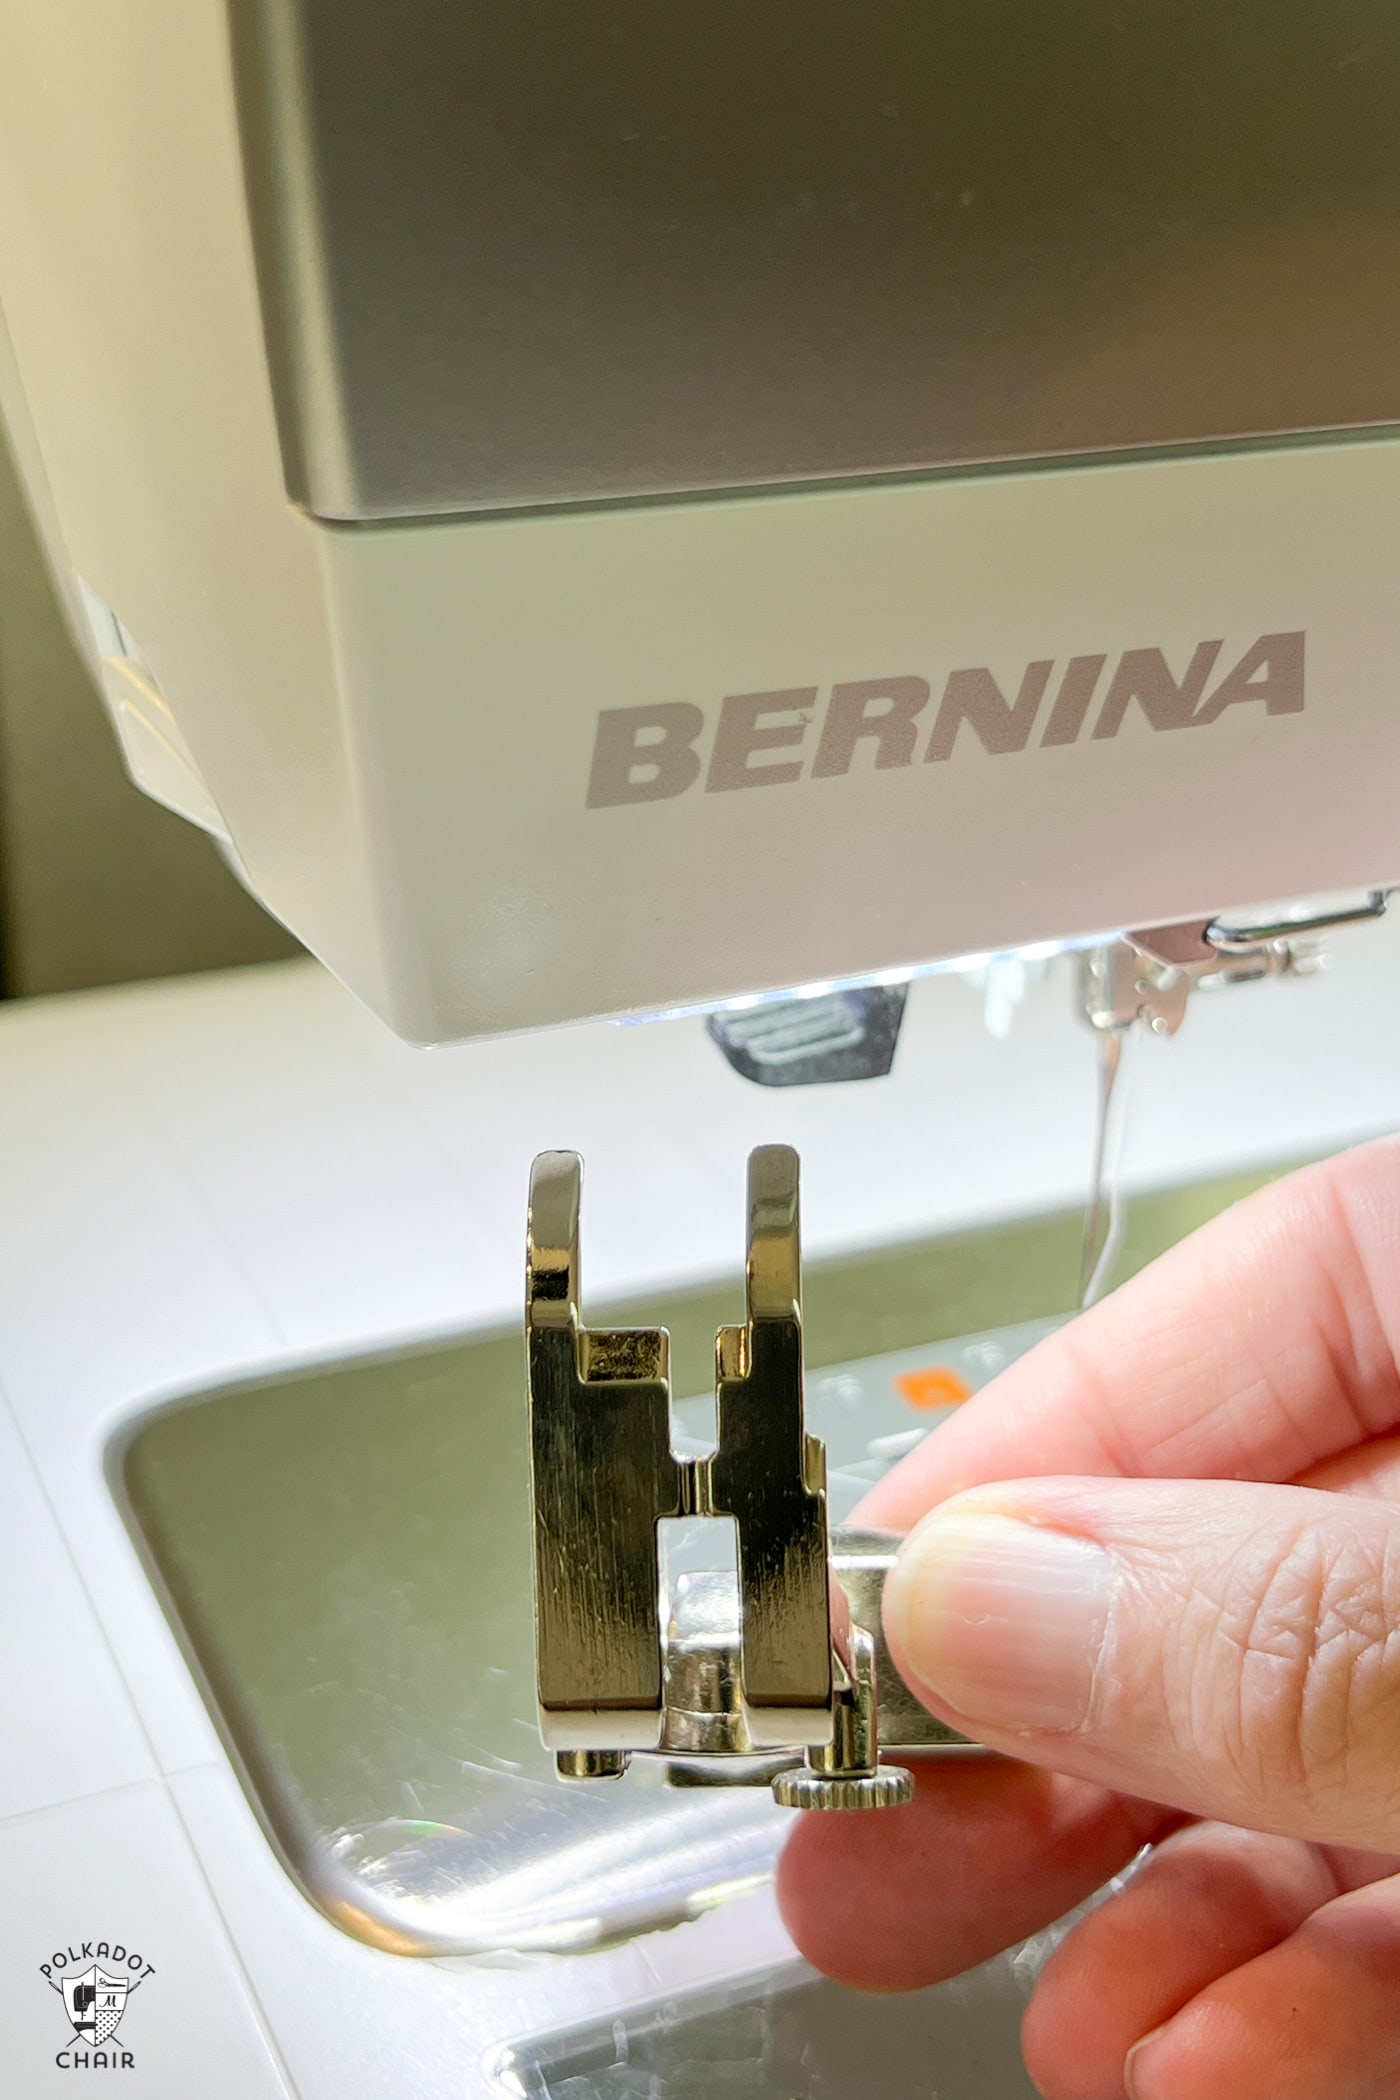
A foot known as simply a “quarter-inch foot” will have a vertical metal flange towards the edge of the foot. If you adjust your needle position to 1/4″ and then put your fabric edge up against the flange whilst sewing, you’ll get a 1/4″ seam allowance.
This should be the perfect foot for patchwork piecing. Although it is an easy guide to see and provides a useful physical barrier, I don’t find these feet very accurate.

I’ve had several versions of this style of foot and always find that the metal flange splays a little bit to the right. Even with a needle position adjustment, I’ve never been able to get a perfect 1/4″ seam allowance with this style of foot.
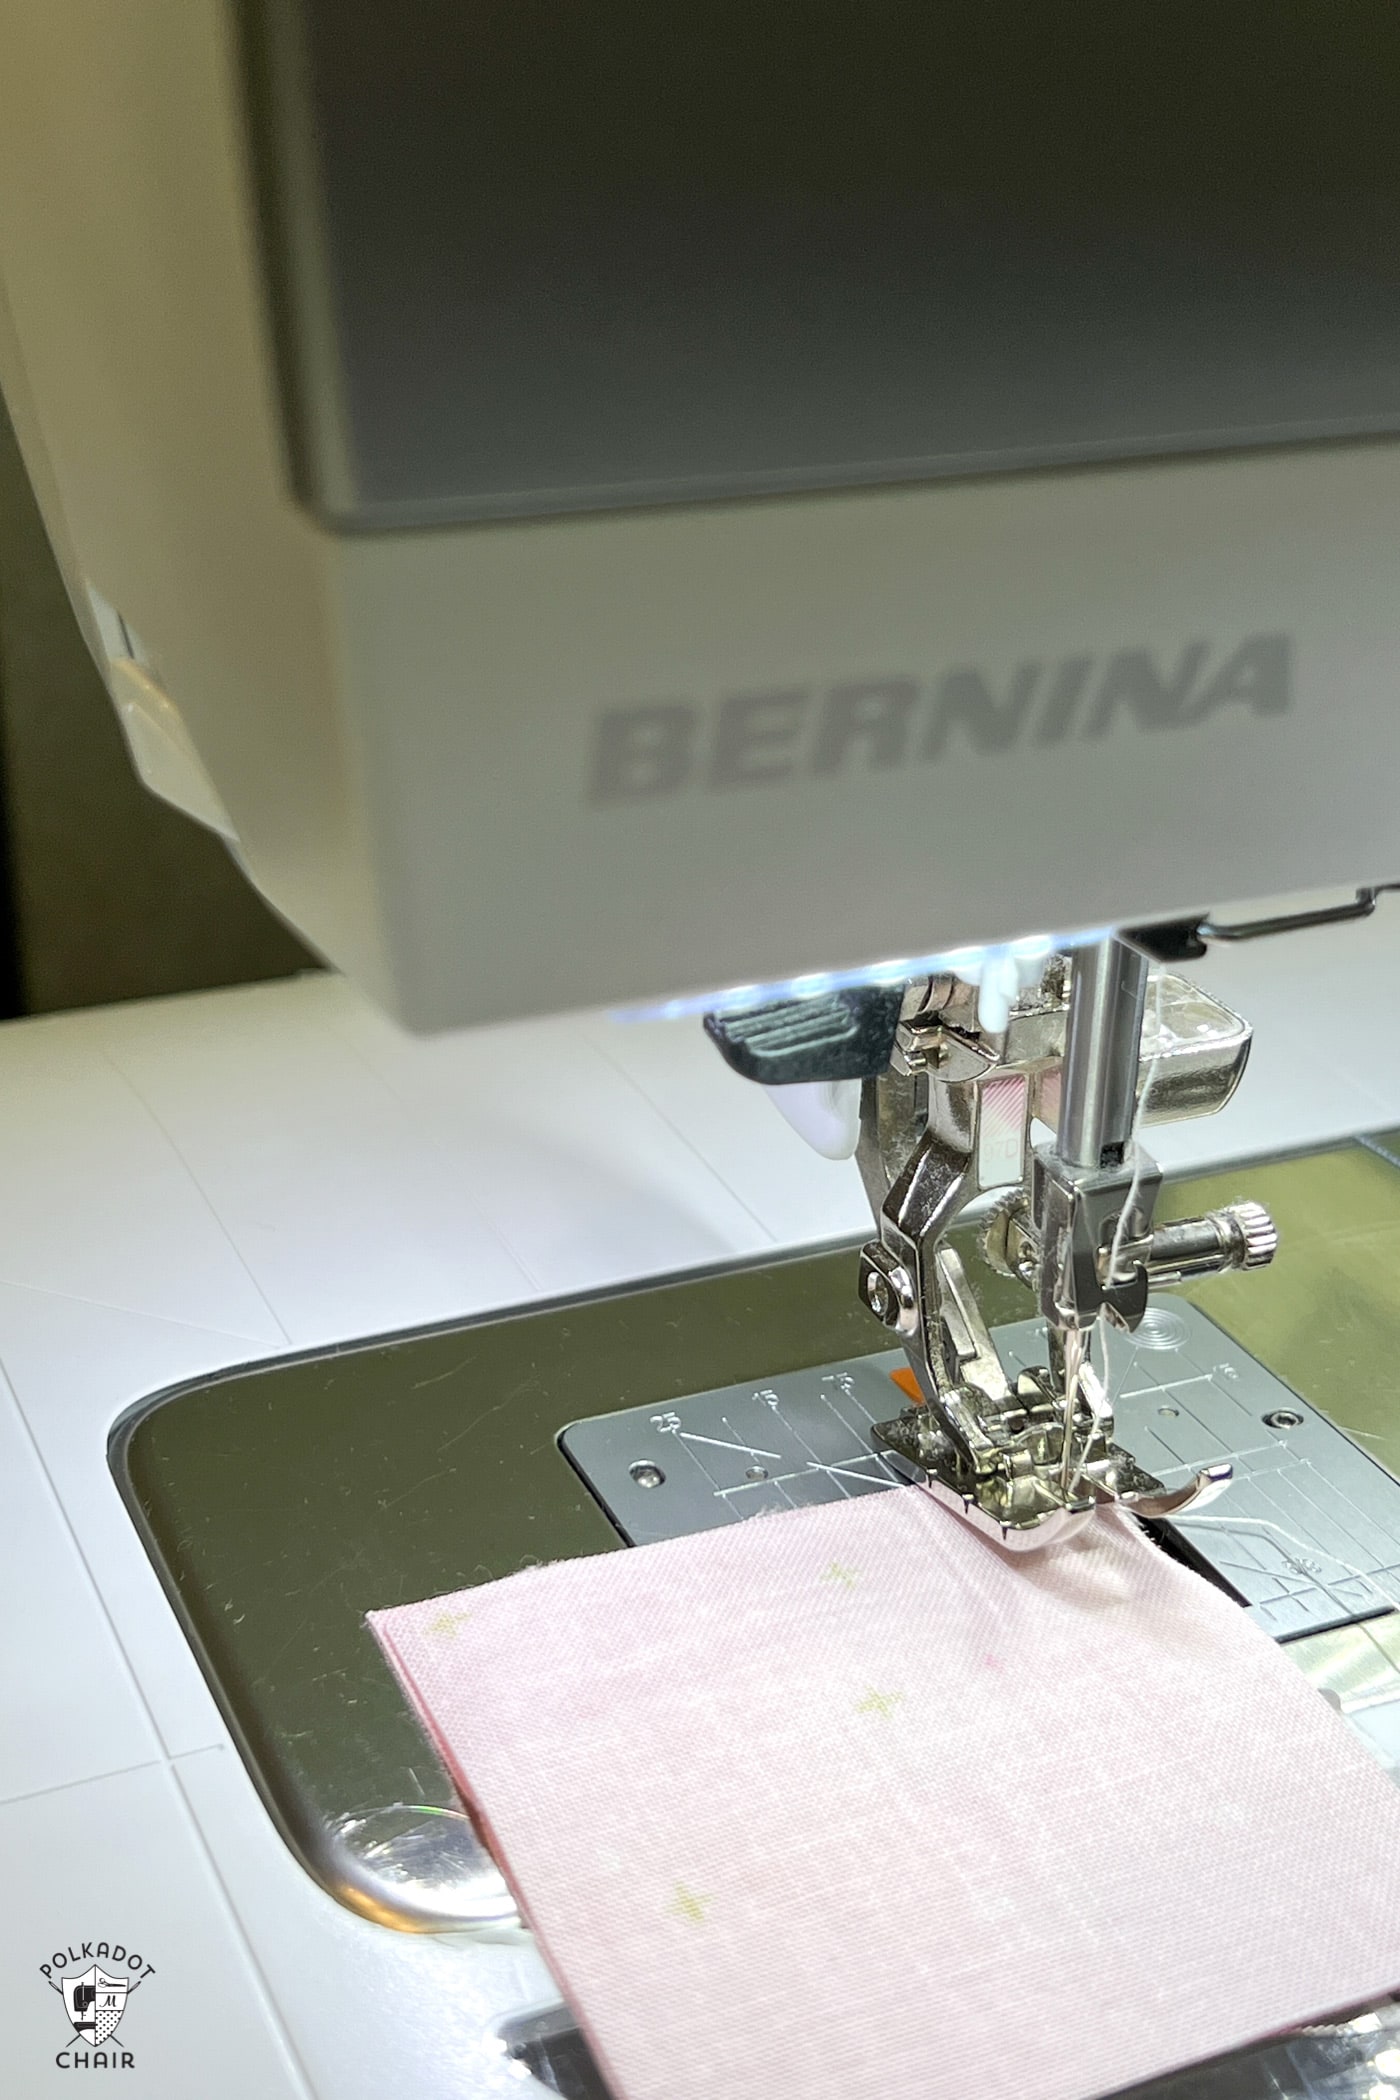
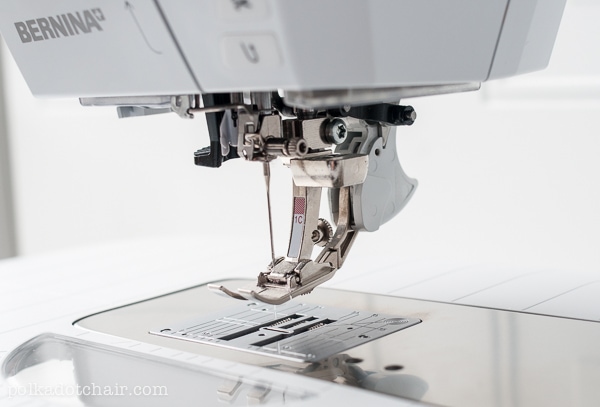
BERNINA also makes foot 97D, which is their patchwork foot. The back of the foot is wider than the front, which allows it to feed the fabric more evenly.
The front of the foot is a 1/4″ from the center needle line, so if you sew with the edge of the fabric lined up with the edge of the foot, you should have a 1/4″ seam. But as always, it’s better to double-check!
I use the 97D foot for the majority of my quilt piecing.
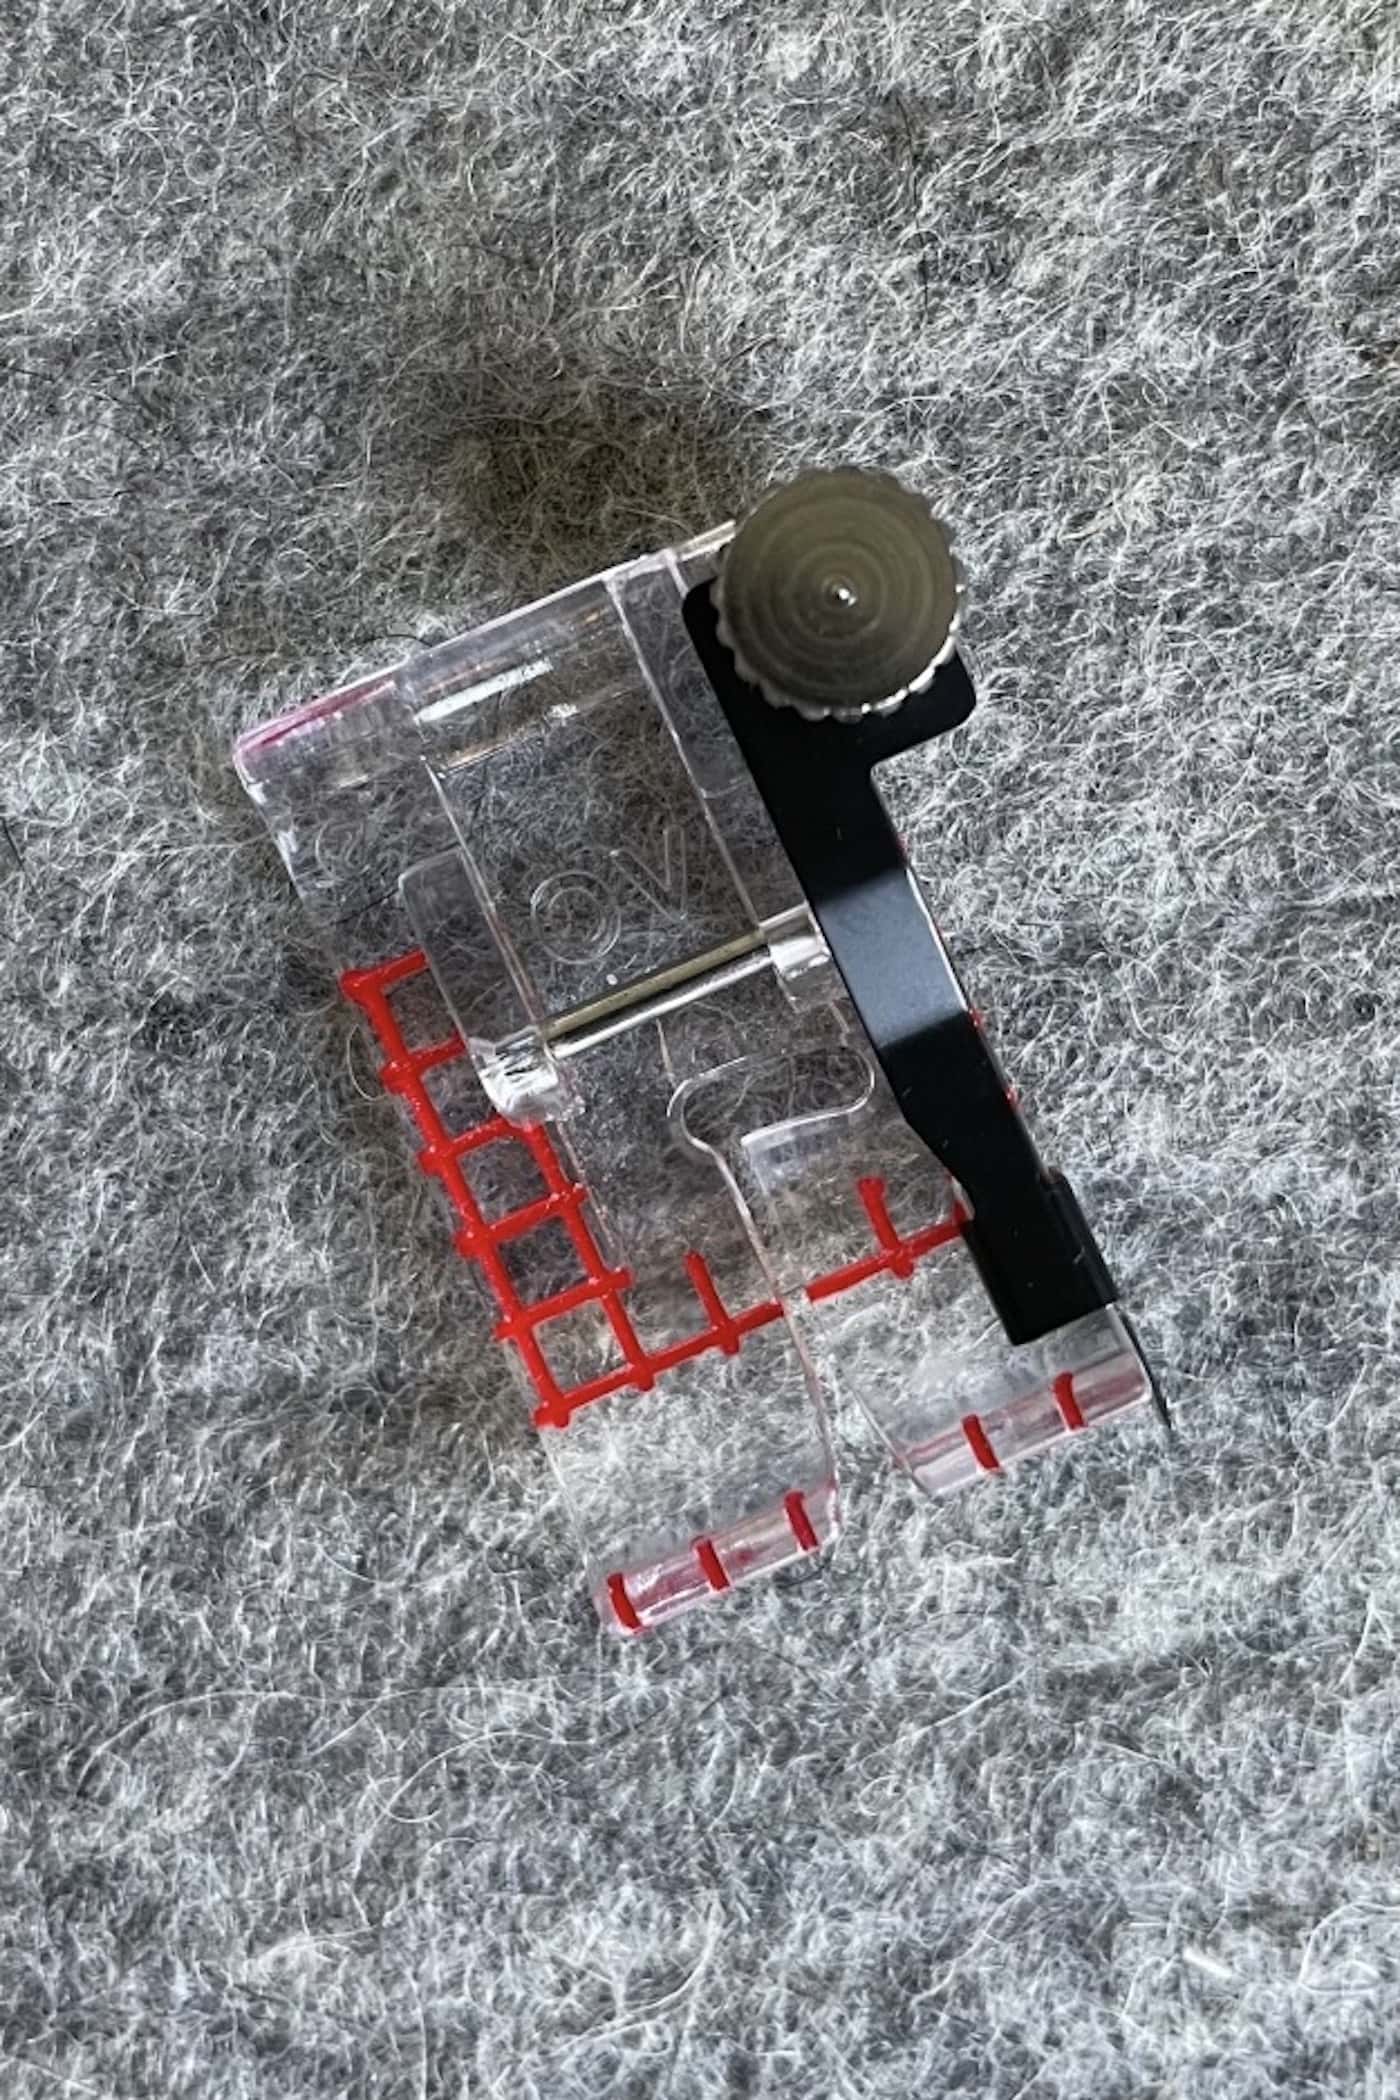
Clear View 1/4″ Foot
I have never sewn with a clear view foot; I might need to give it a try after reading Amy’s recommendation. She explains below:
This foot has lots of red line markings, including 1/4″ and 1/8″. Although there is no physical guide (like the flange feet), the red lines stand out well, and the clear foot means it is easy to see your fabric edge or marked guidelines for things like half-square triangles. The version of this foot actually came with a removable metal flange guide, too, but I have removed it.
Which Foot is Best?
As you can see, none of these patchwork-picking feet are perfect.
According to Amy, “Which of these four feet do I use most often when I am patchwork piecing? It would be the walking foot, open-toe foot, and the clear view 1/4″ foot. I use the open-toe foot as much as possible as I love the walking foot feature, but it’s not ideal for an accurate seam allowance, and that’s when I swap to the clear view 1/4″ foot”.
Pesonally, I sew with the 97D foot from BERNINA 99% of the time when I’m piecing a quilt. Mostly because it’s what I’m used to now. I know where the 1/4″ mark is and I know how the foot behaves in different scenarios. I think that’s the biggest takeaway from this post is that you need to play around with the different options for your machine a bit, then decide what works for you! The more you sew, the better your seam accuracy will be.
Tips for Seam Accuracy While Quilting
Aside from the feet I mentioned above, I do have three quick tips that I’ve found to help me when I’m piecing my quilt blocks.
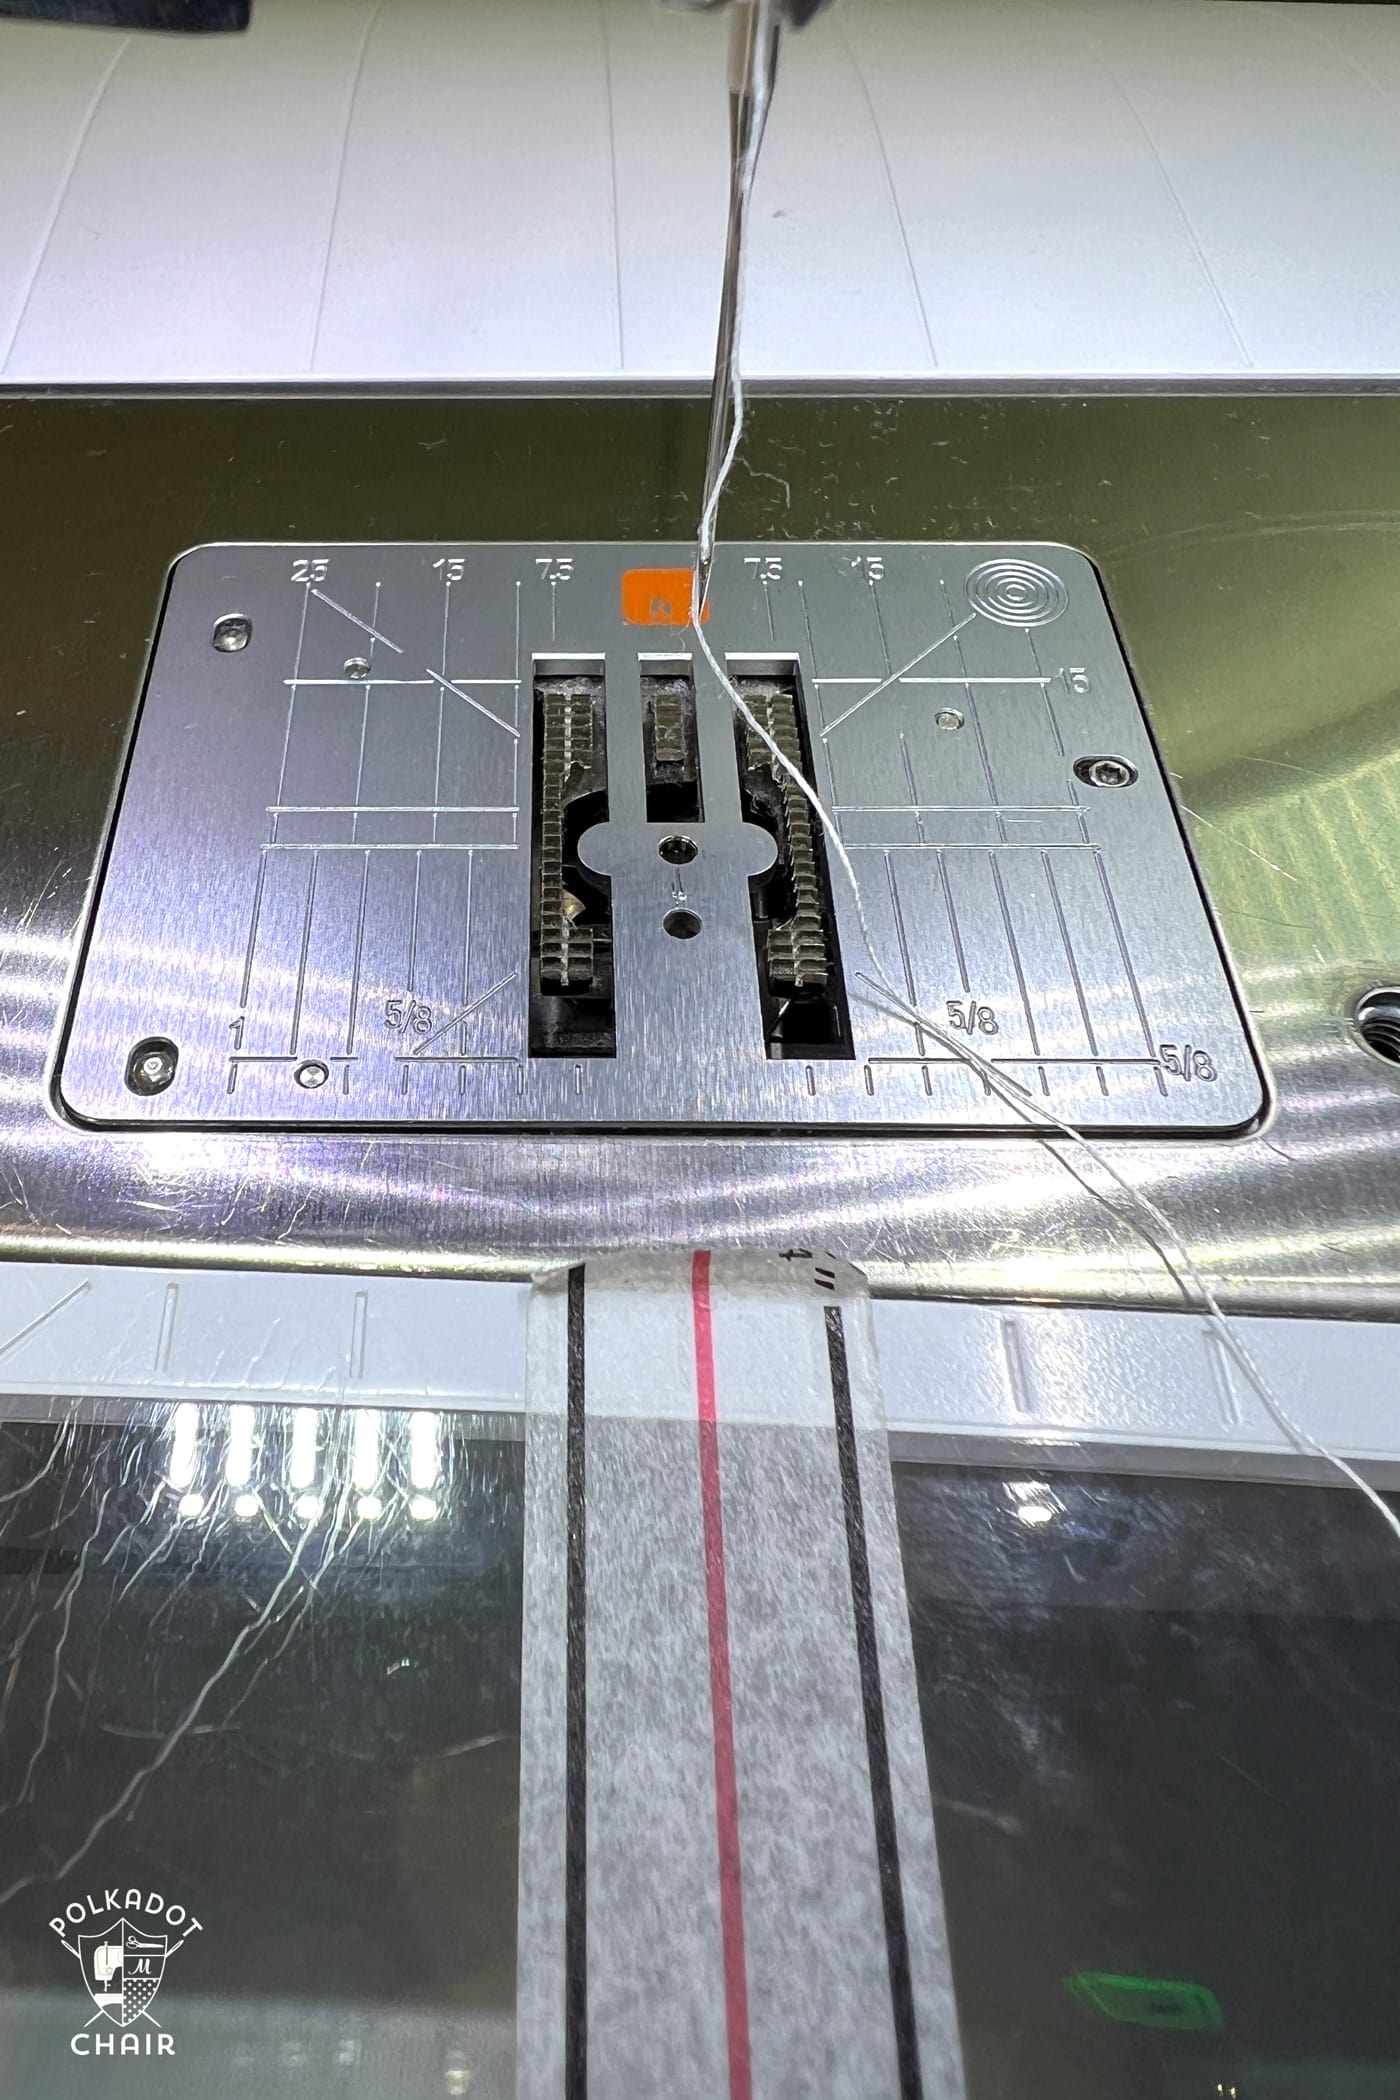
One: I use the Straight Seam plate for my BERNINA sewing machine. It has a smaller hole for the needle to run through while catching the bobbin thread. This smaller opening helps to keep the fabric from being pushed into the bobbin case when you’re sewing. If you use this plate, you MUST note it on your machine settings. Otherwise, you can severely damage your machine if you sew a wider stitch (like a zig-zag) or move your needle right or left.
Two: I like to use Diagonal Seam tape on my machine. The red line is my sewing line, and the two black lines are 1/4″ marks, which are useful for piecing or for sewing half-square triangles.
Three: Be wary of seam guides. I’ve used them in the past, and I notice when I do that, I tend to “smoosh” my fabric up to the guide, yielding a larger seam allowance. I’ve found better success with the seam tape noted above.
What about you? Do you have a favorite piecing foot?

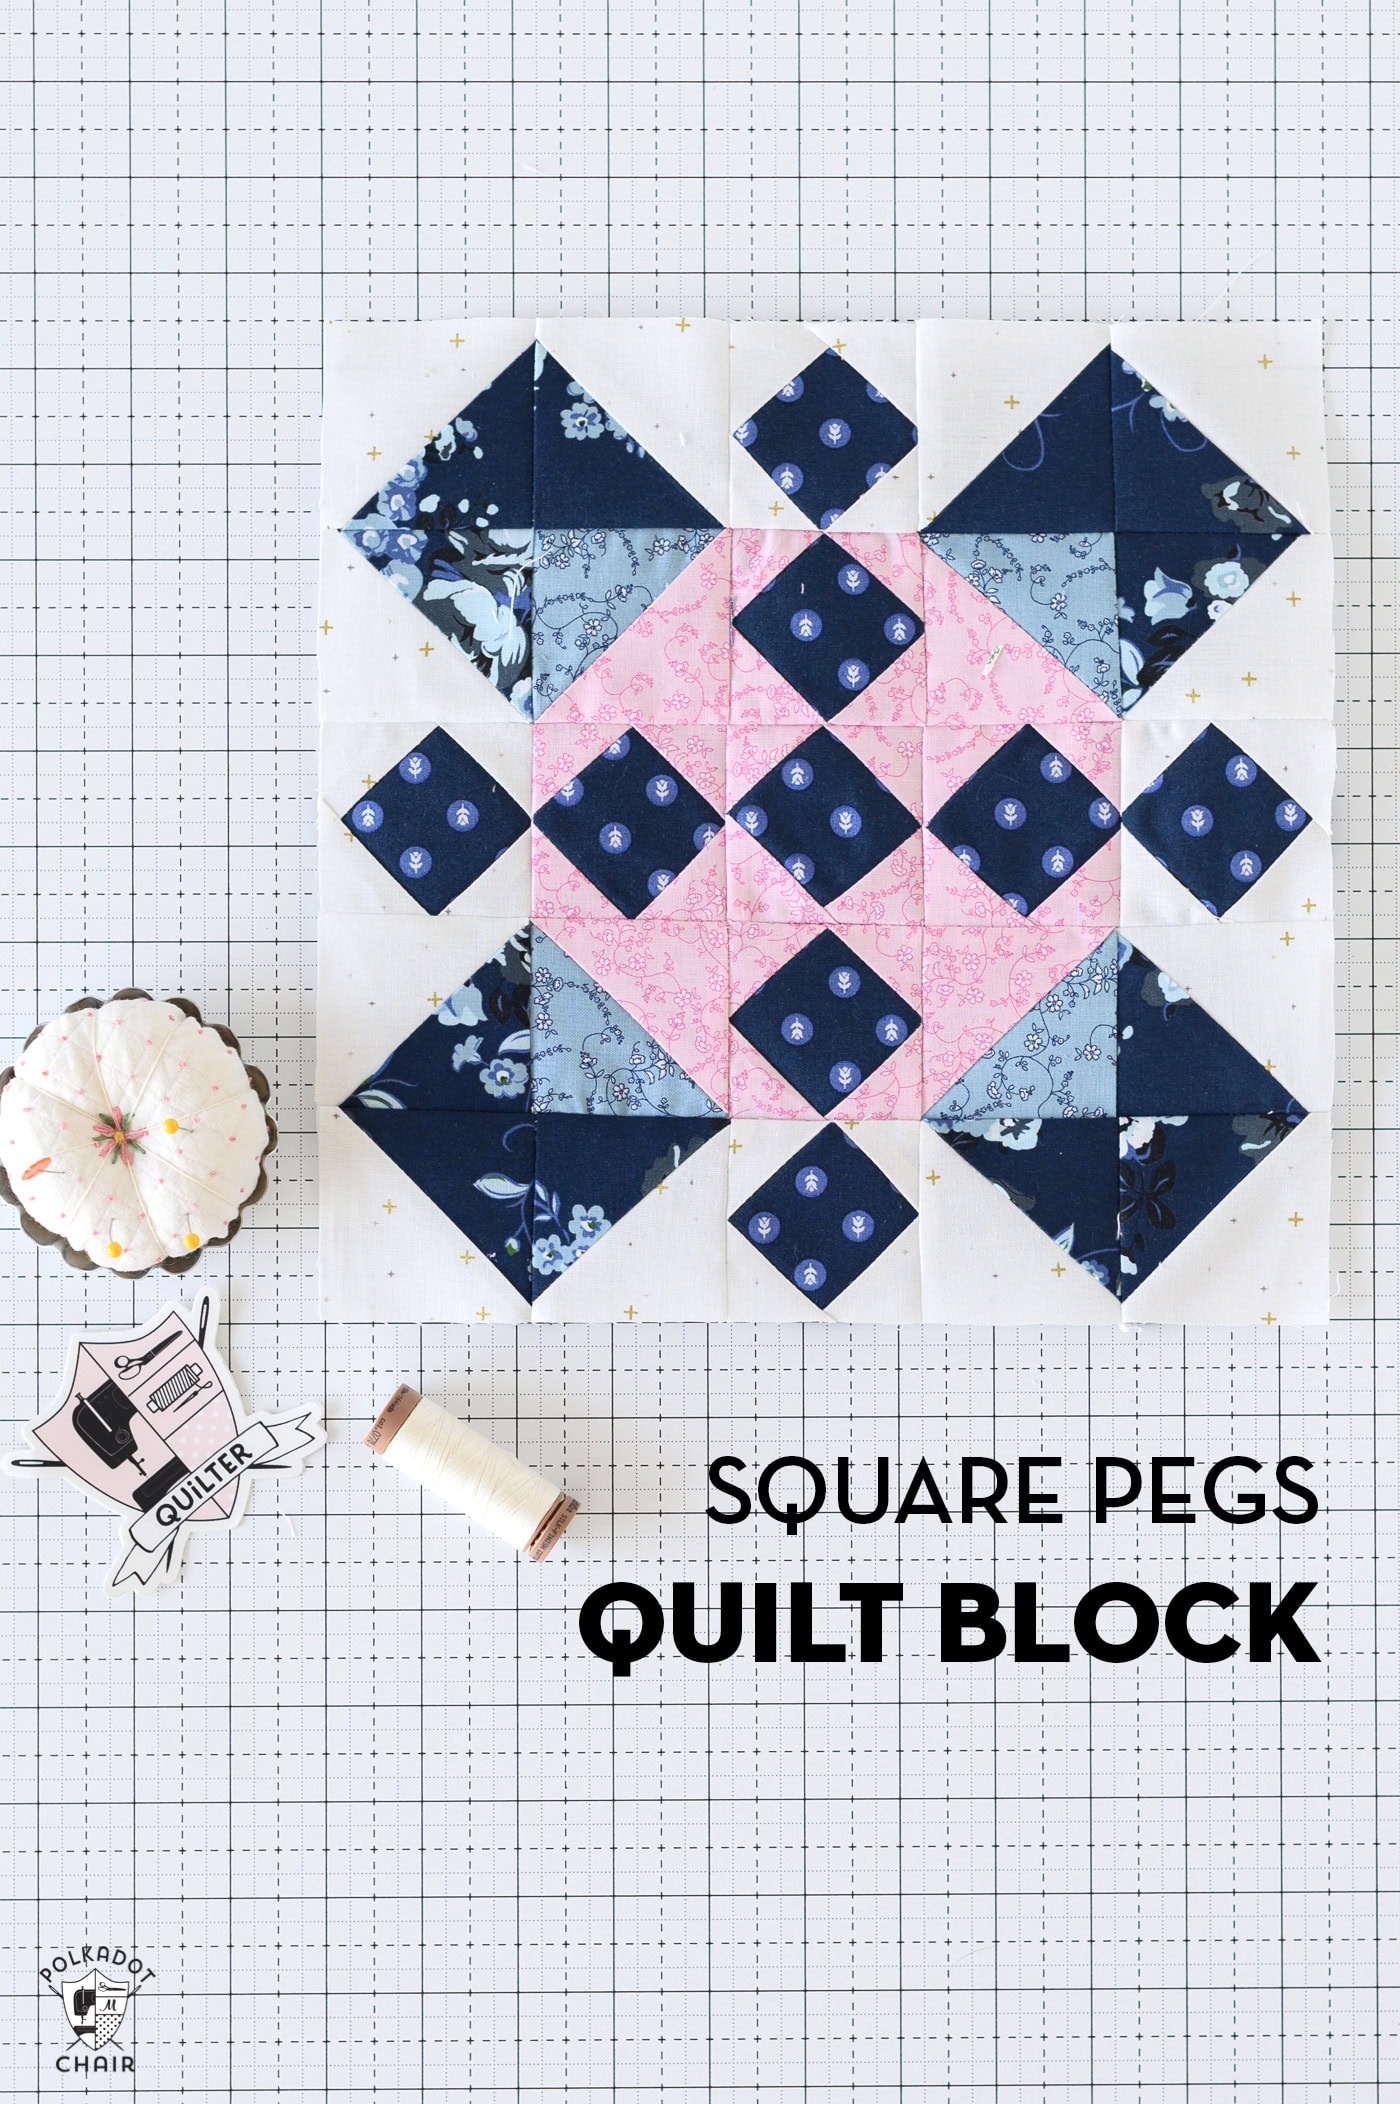
Melissa, Do you have a pattern for purchase of the quilt used in this lesson?
yes, you can find it here: https://shop.polkadotchair.com/products/2022-block-of-the-month-sparkle-more-quilt-pattern-digital-pdf-pattern
I sewed on a Janome Horizon for several years and I was happy with that machine except for the quarter-inch foot with the metal flange. Like you say, it splays the fabric and my seams were always broader to the end. Once I found that out I never used the foot again. 2 years ago I switched over to Bernina 770 EQ and I love their patchwork foot 97D and use it most times when I sew. In addition to the orange straight seam plate everything works fine and I’m very content witht my 1/4 inch seams. I tell everyone: my machine works so well I could leave the room and she would do the job on her own if she could!
I agree! I love my 770QE!
Love the quilting design on the quilt in you articles. What is it’s name and where is it available?
The feet make all the difference. I have a pfaff quilt expression which has 2 1/4″ feet and a Husqvarna Viking Sapphire which has a button the the control panel to move the position of the needle. They are virtually the same machine in any other way but I cannot use both to do my piecing as the 1/4″ is not the same. Measure and do a test piece before you start sewing.
My Janome 1/4 in foot sews bigger than 1/4 inch. Couldn’t figure out why bloocs didn’t measure correctly. I now use my standard foot and washi tape to help
my bernina one was too – I switched to another style foot with them and it made a big difference.