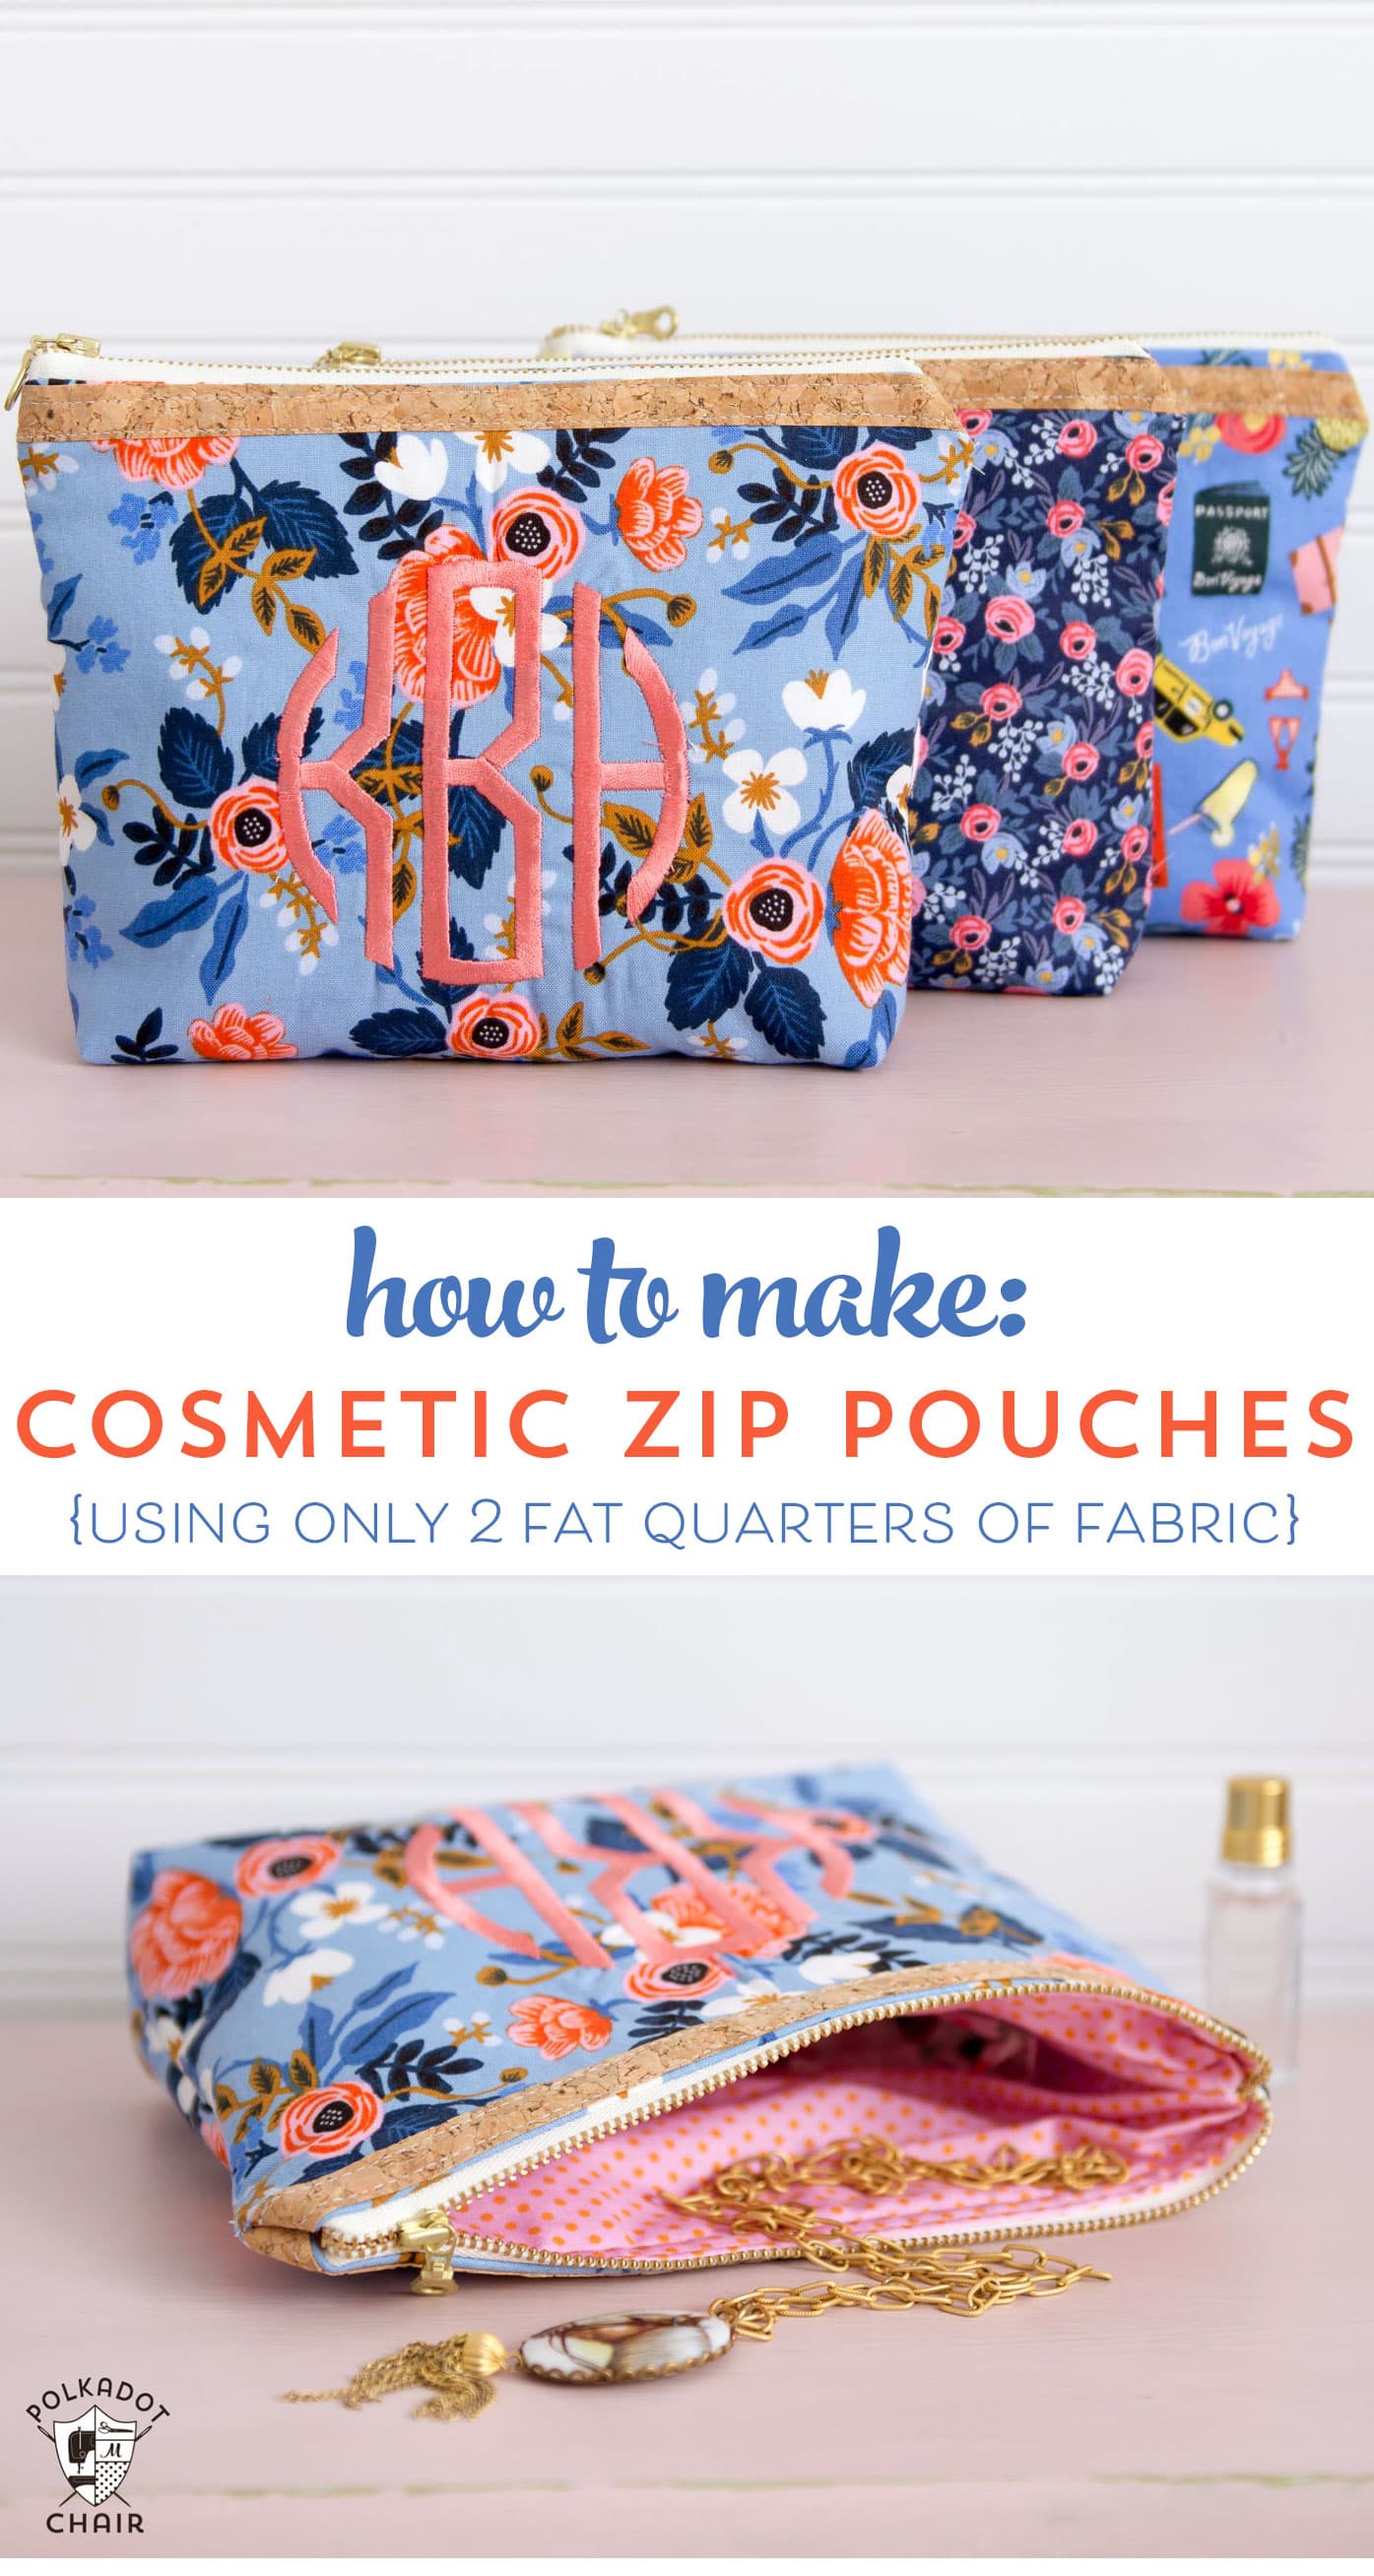
Fat Quarter Zip Pouch Sewing Pattern
Today I’m sharing a simple zippered cosmetic pouch sewing pattern with you. The best part? This pattern is fat quarter-friendly! Want to make one (or 10)? Continue reading below to learn how to create one.

I think I’ve lost count of how many zippered pouches I’ve made. Every time I think I’m “done” making them, I seem to find a new reason to make a batch of them.
Ideas for Cute Things to Sew for Gifts:
I think I love making them so much because they are incredibly easy to make (you can do it in under 30 minutes once you get the hang of it) and they are insanely useful. Currently, I have three purses: one that holds my “girly things”, one that I use to carry my chargers, and one that matches my laptop case to keep my mouse and laptop cord organized when I travel. I’ve also made them for my kids to use for pencil pouches, makeup bags, and even to hold LEGO and Matchbox cars.
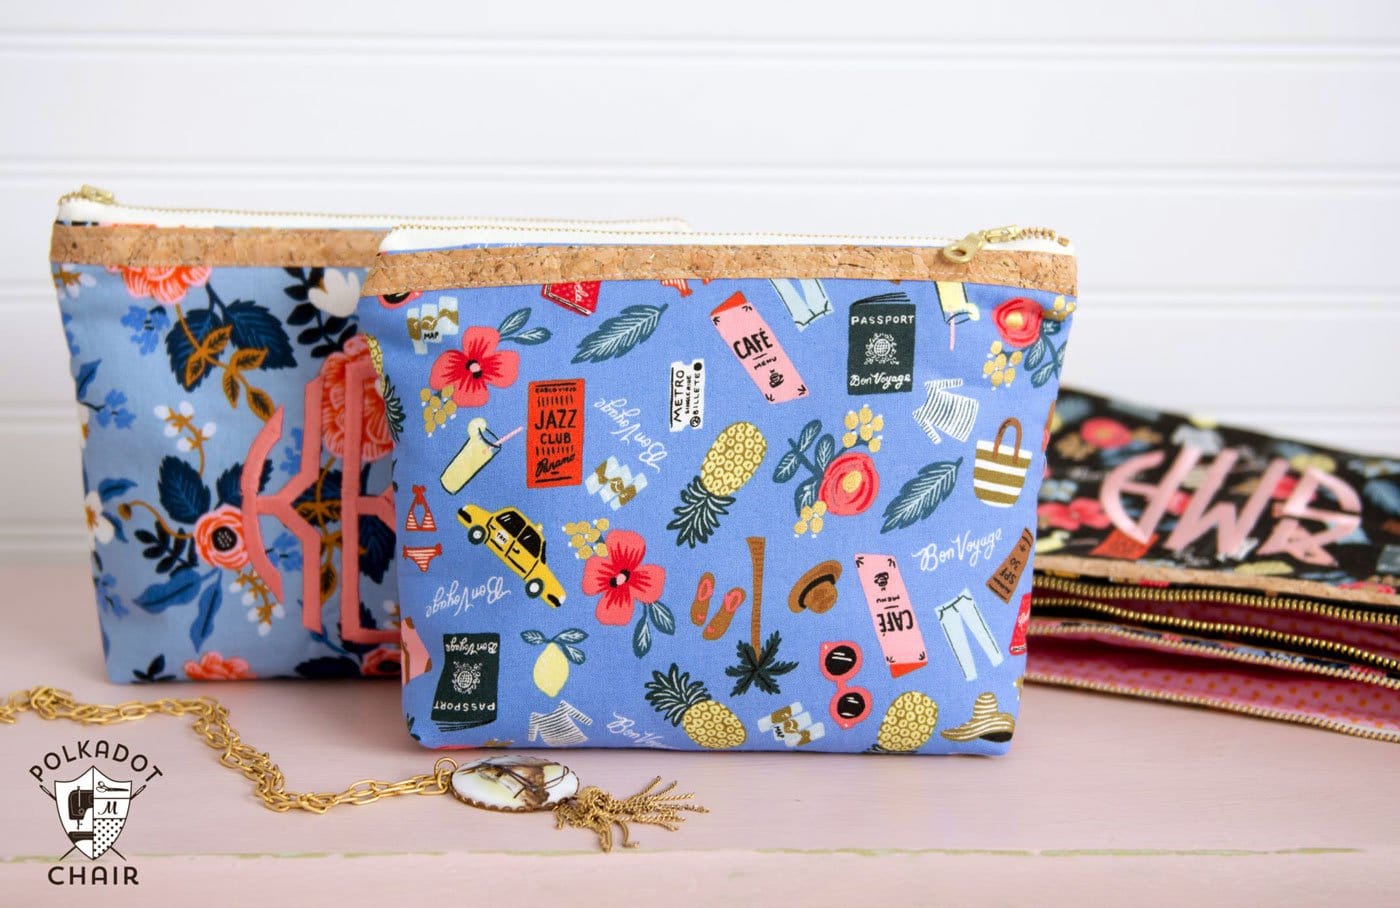
I needed a few more gifts for Christmas, so I started experimenting with my basic zippered pouch pattern. I had a fat quarter stack of the new Rifle Paper Co. fabric lying around and decided it was time to use it (I needed a break from sewing with only my own fabric, if that makes any sense).
Adding the Monogram:
Just last month, I started experimenting with the embroidery features on my BERNINA and decided to use them to create a series of monogrammed bags as holiday season gifts.
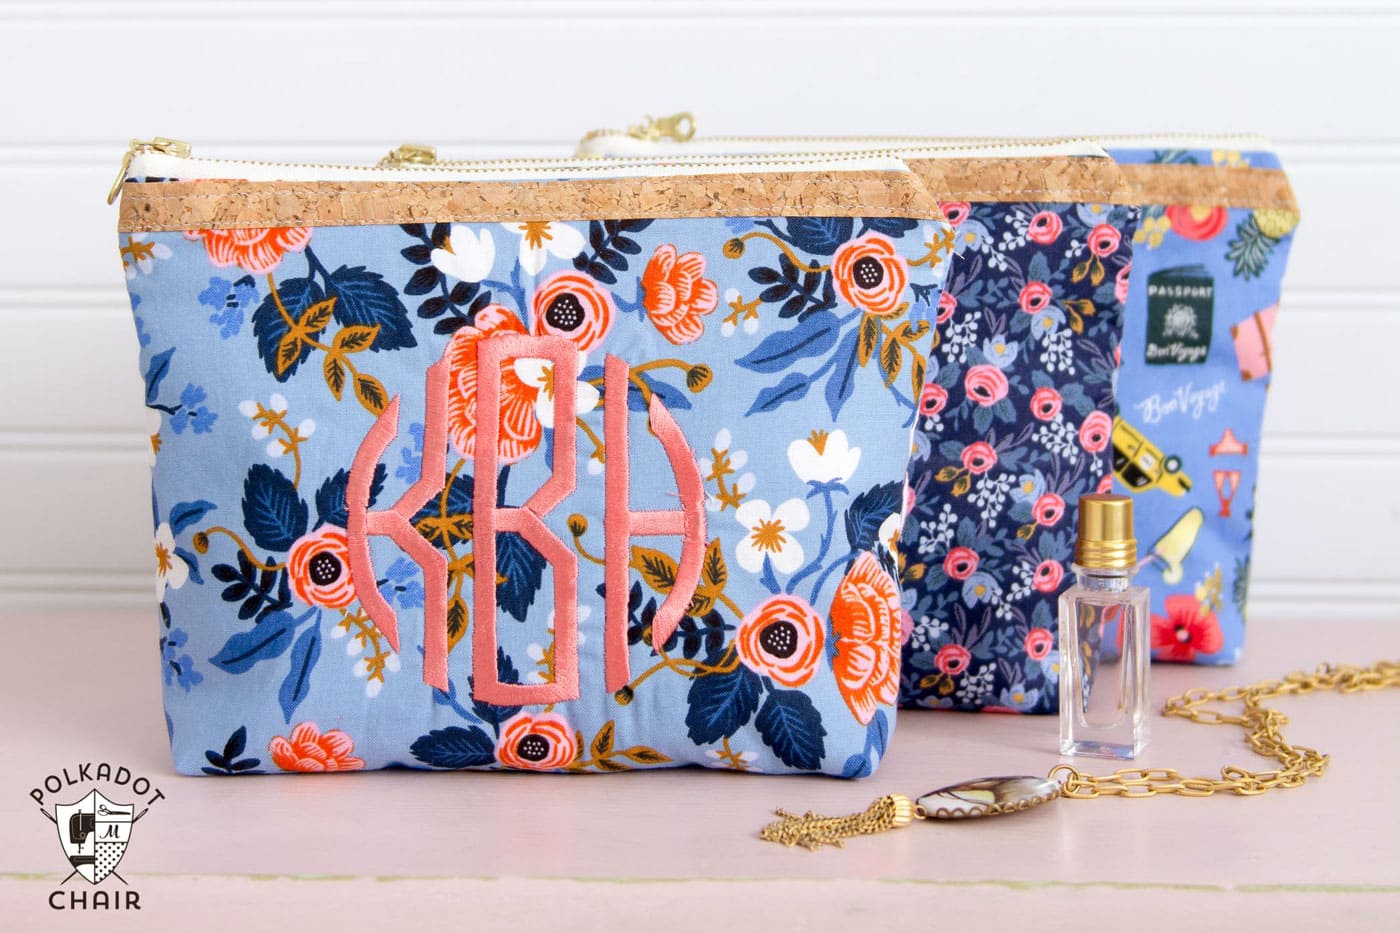
Since I thought many of you might also be looking for simple last-minute gift ideas, I’m posting a tutorial on how to make the pouches today. The best part about the pouches?? You only need TWO fat quarters of fabric to make them! You can even do it with one if you want the lining to match the outside of the pouch.
To add a bit of interest to the pouches, I’ve added a small 1/2″ strip of stitchable cork as a trim piece. I think it gives it a nice professional touch. If you’re wondering what stitchable cork is, CLICK here to read about how to use it.
I used a program called Embroidery Wizard to create my monograms. After I created them, I then loaded them onto a memory stick and stitched them out on my 770QE machine. If you don’t have that program (or another monogram program), you can also just embroider a single initial on the front. My machine came with a few alphabets built in that can be used without additional software.
Cosmetic Bag Pattern using Fat Quarters of Fabric:
Fat Quarter Zip Pouch Sewing Pattern
Equipment
supplies
- 2 Fat Quarters Fabric one for the pouch outside and one for the lining. I used Les Fleurs by Rifle Paper Co. This is a great project to use up many of the fat quarters that come in a fat quarter stack.
- 1/4 yard Fusible Fleece
- 9" zipper I used metal; you can use polyester, too
- 1 sheet Stitchable Cork
Instructions
Cutting Directions:
From Pouch Outside Fabric:
- 2 pieces each 8″ x 10″
- From Pouch Lining Fabric:
- 2 pieces each 8″ x 10″
From Fusible Fleece:
- 2 pieces each 8″ x 10″
- From Stitchable Cork:
- 2 pieces each 1/2″ x 10″
Instructions:
- All seam allowances are 1/4 inch unless otherwise specified.


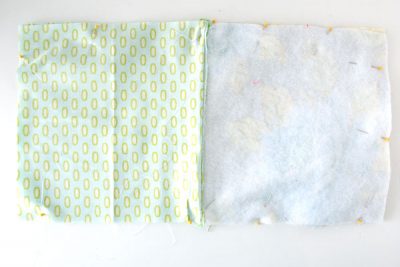
Apply Fusible Fleece:
- Begin by pressing the fusible fleece to the wrong side of both of the pouch outside pieces.
Attach the Zipper:
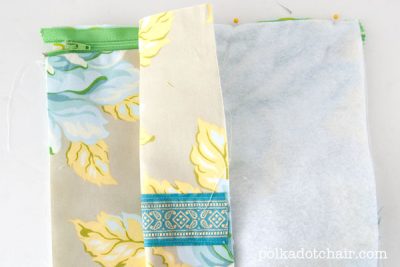
- Lay your pouch front piece right side up and place your zipper on top of it, zipper right side down. The right side of the zipper will be facing the right side of the pouch.
- Lay your pouch lining piece on top of this, right side down. Pin the whole length.
- Using the zipper foot on your machine, stitch through all layers, going slowly. I find it easiest to sew with the lining side towards my feed dogs on my machine.
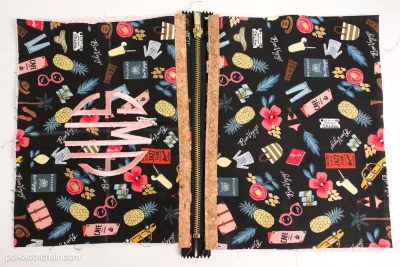
- Next, repeat with the other pouch and pouch lining pieces. In this photo, the zipper is positioned in the middle, the pouch lining piece is on the bottom (right side up), and the pouch front piece is on top (right side down). Stitch in place.
- Press the pouch along the zipper. Make sure you press the seams away from the zipper.
Add the Cork Accents:
- Pin a 1/2″ by 10″ piece of stitchable cork to the outside of the zip pouch, close to the zipper. Top stitch along both sides of the cork to secure. Repeat for the other side of the zipper.
Assemble the Bag:
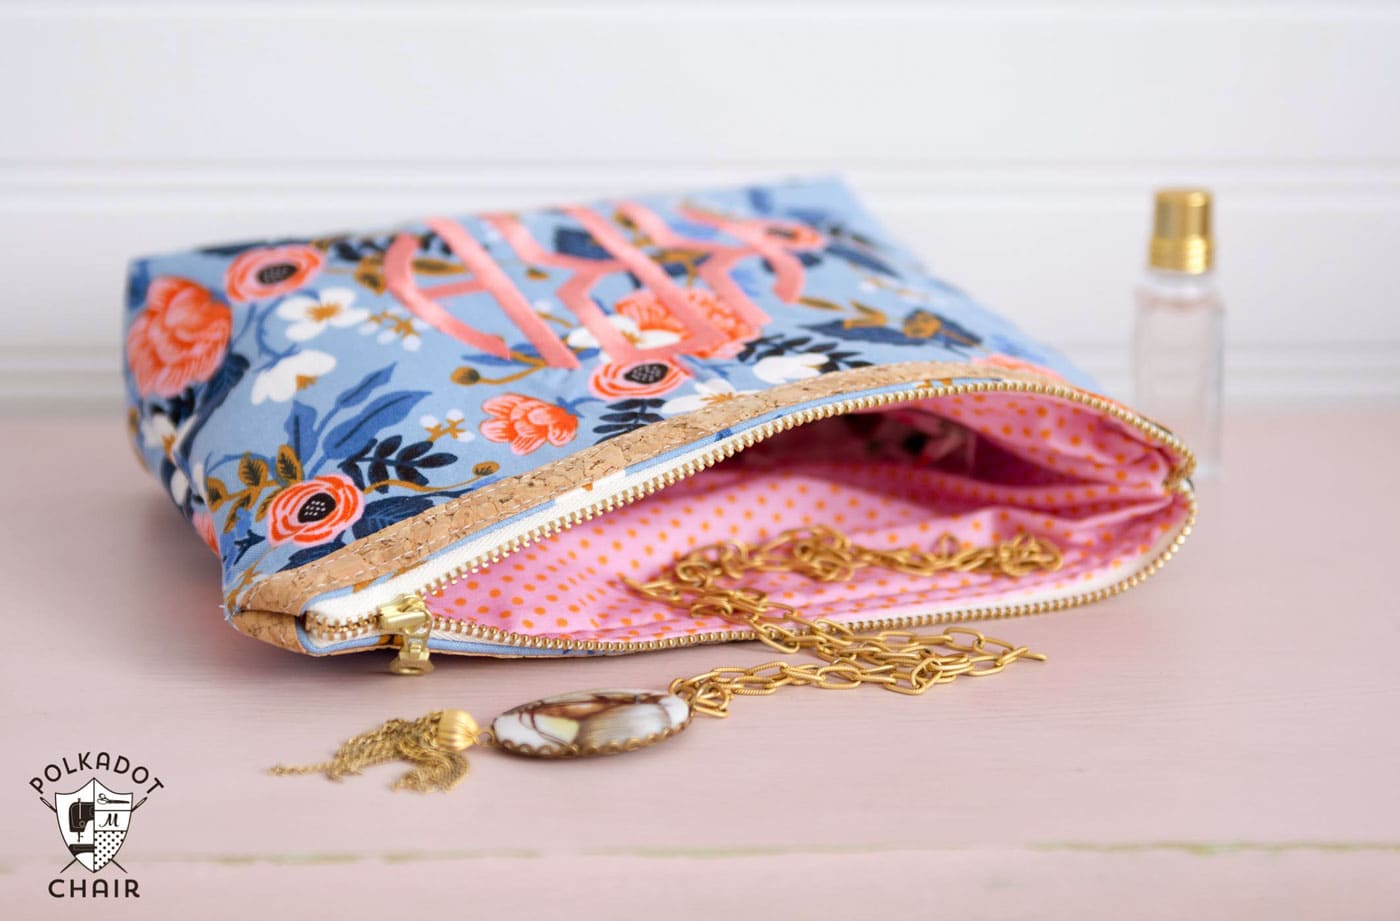
- Unzip the zipper (DO NOT FORGET this step).
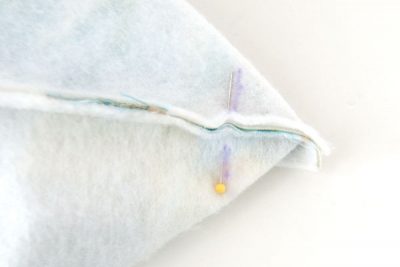
- Lay the pouch with right sides together. The right sides of the lining pieces together, and the right sides of the pouch together. Fold the zipper towards the lining when you pin it.
Add Boxed Corners:
- Stitch around the circumference of the pouch, leaving a 3″ opening in the lining piece. When you stitch close to the zipper, make sure that you DO NOT sew over the metal part of the zipper.
- Next, take one of the corners and pinch it so that the two seams are sitting on top of each other and the corner comes to a point. Measure in 1″ from the tip of the point and draw a line. Stitch along this line, making sure to back stitch.
- Repeat for all four corners. Trim off triangular-shaped pieces of fabric.
- To finish. Turn the pouch right side out and press. Slip stitch the opening in the lining closed.
More Free Zip Pouch Sewing Patterns:
Zip Bag made with Fabric Selvages
Embroidered Zip Pouch Tutorial
I have made several of these, both with fleece and without. Do the fleece. It gives the bag more strength. Also, be VERY careful not to cut off or unzip the zipper too far, or you end up with two pieces that don’t’ zip together. (ask me how i know that).
I use the bags for knitting projects. I have everything I need for that project in the bag (sometimes some stuff has to go in a baggie). The needles are protected, and you just grab a bag when you have a desire to knit. I have 3-4 going all the time. When the project gets bigger, like a scarf or a baby blanket, switch bags – or just make a new one.
about the embroidery, you can always use reverse applique. check the websites for instructions
This is so neat! I see one or three of these going to my daughter this Christmas! I know she would adore them! Also a cute excuse to work on doing zippers.
Love this post! I am struggling with how to add embroidery designs that aren’t standard with my Bernina. I’d love to see a future post sharing the steps.
I don’t actually have the software from BERNINA for my machine. So I’m a bit limited as to what I can make and share with embroidery.
Your tutorial is great. One question-does the zipper attach to the 8 inch side of the fabric?
Thanks!
I never thought abut making pouches! They look so easy that I am going to try to make them. What great Christmas gifts they would be!
Love this toutoral!!! Thank you. I keep seeing needs for this pouch. It would be so useful for those receiving treatments because you have to keep things separate. I think I will increase the size to hold larger items.
Wow this is so cool and a way to “pay it forward”. It’s like chocolate and a great book.
I’ve made four of these pouches, and I’m looking for an excuse to make more–LOVE THEM! I found the stitchable cork after I’d made the first one and have taken one apart to go back and stitch the cork onto the pouch. I don’t have a machine that does monograms, but the little iron-on type at Hobby Lobby work great.
This is SUCH a fantastic little project. Thank you!
I love your tutorials and your site. Finally, someone who makes the bag AND monograms it. But, at what step did you monogram it? After the fusible fleece or before? I see it in the picture but no mention of the step. Keep the posts coming!!
Great bags! Question: how does the 9″ zipper go all the way to the ends of the 10″ piece of material? I have a gap between the zipper and the edges of the material that you don’t seem to have?
I love your bags but with this one, I feel the monogram is lost in that busy fabric. Perhaps a dark blue would stand out better.
Thanks for all your shared creativity!
You must have been stalking me on Pinterest this morning, because all morning I was looking for the perfect zipper pouch sewing pattern. And then I checked my email. And I saw this. And I concluded that you stalk me online. 🙂
So funny!!! Just call me a stalker *wink*