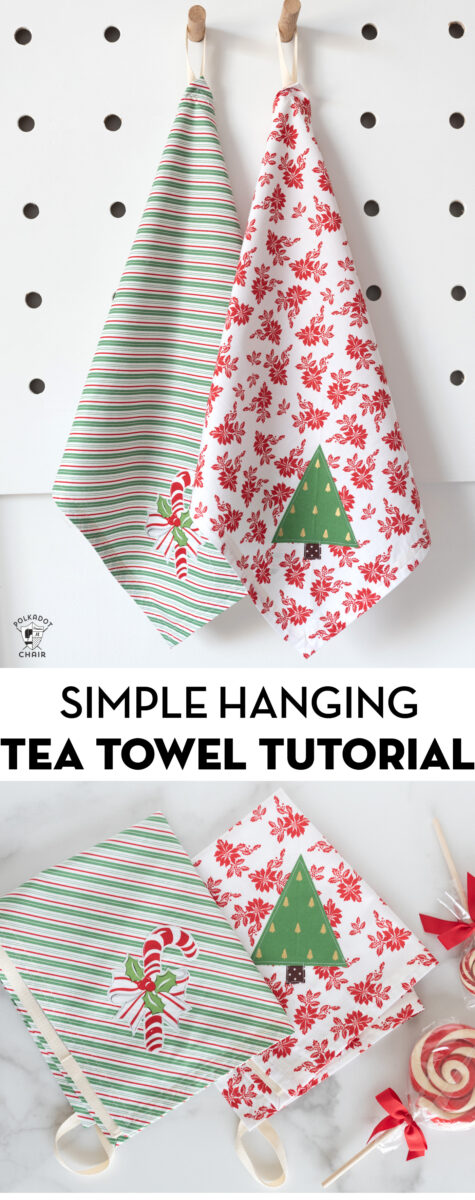
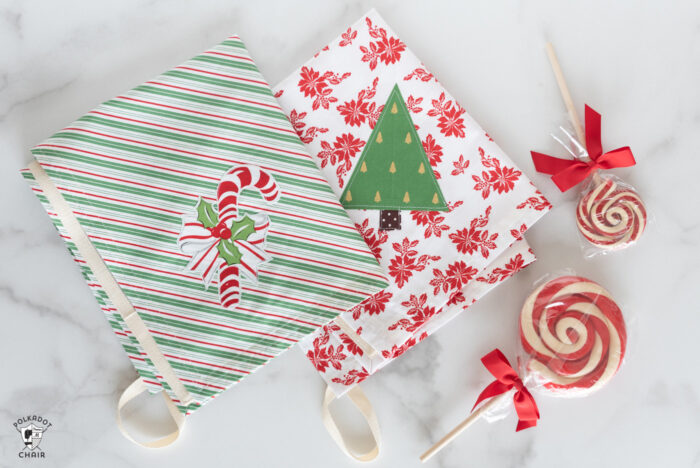
Simple Hanging Tea Towel Pattern
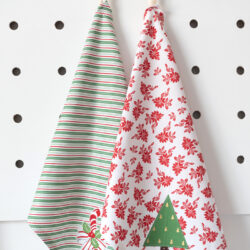
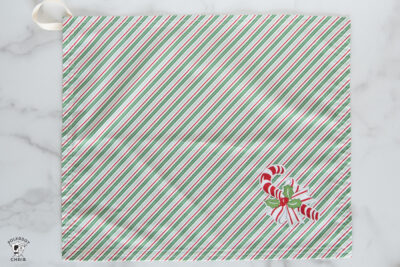
Use our free tutorial to create this simple tea towel which can be made with a Fat Quarter of fabric. It features a looped edge making it easy to hang on a hook or cabinet door in your kitchen.

For the last few weeks I’ve been trying to brainstorm a few simple Christmas gifts that can be sewn quickly. It seems every year that I’m always in need of a “quick sew” project to use for a last-minute gift.
About the DIY Tea Towels
I made these tea towels using fabric yardage, but you can also use a Fat Quarter of fabric. How cute would a whole stack of these towels be all stitched up from various fabrics in a fat quarter pack?
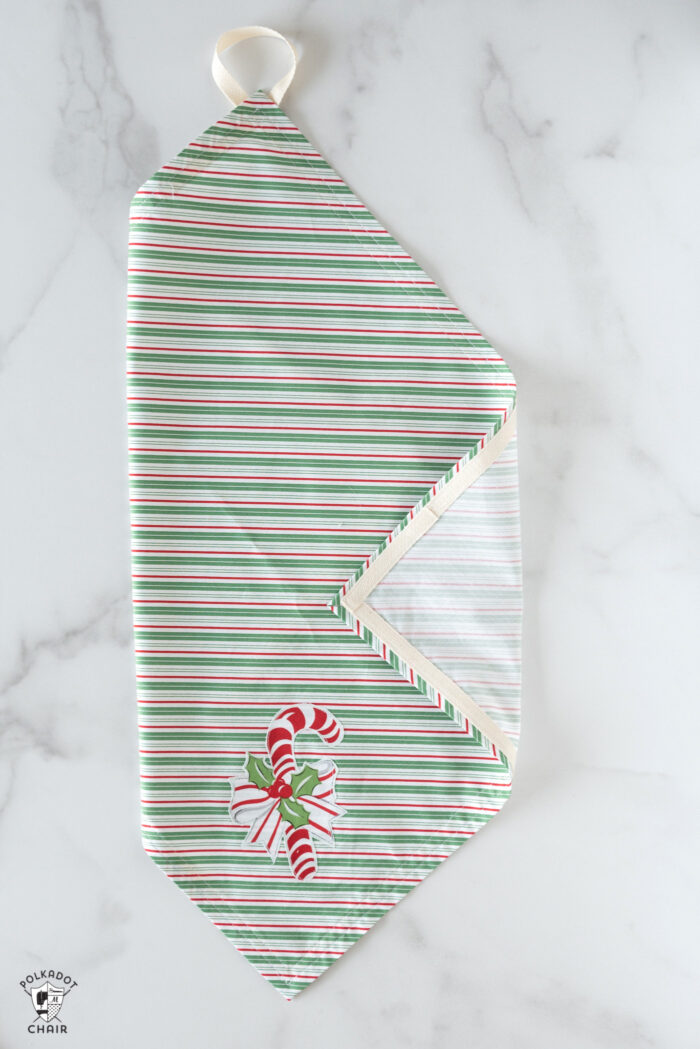
The towel features a simple loop on one corner which allows it to hang on a hook or a cabinet knob in a kitchen. You can also fold it to hang it over the handle of a kitchen appliance.

Even though these towels are sewn from Christmas fabrics, you can use this tutorial all year! Just swap out the fabrics for other holidays or seasons.
Binding the Edges
My towels are made with 100% cotton webbing as the trim to bind the edges. You can also use ribbon or seam tape. Whichever one you use, make sure that you can iron it. Many ribbons made from synthetic fabrics will melt when ironed.
Normally, I don’t prewash my fabrics. However, I would prewash and dry your fabrics for this project since they will likely be washed frequently. This will ensure that if the fabric does shrink, the edges will not distort (since they are bound with seam tape, which most likely will not shrink).
Hanging Tea Towel Pattern
Equipment
supplies
- 1/2 Yard Fabric OR 1 Fat Quarter 1/2 yard of fabric will yield 2 towels
- 2 1/2 Yards 1/2" Wide Thin Cotton Webbing You can also use grosgrain ribbon or twill tape.
- 2-3 scraps Fabric for applique
- 1 piece Paper Backed Fusible Web I like to use Heat N Bond Lite
Instructions
Cutting
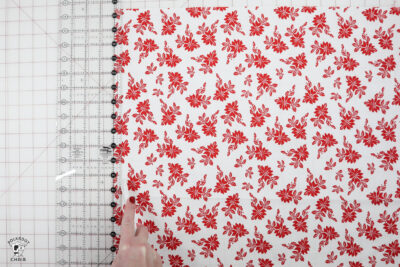
- Cut a piece of fabric 18" x 22" – this is your towel piece.
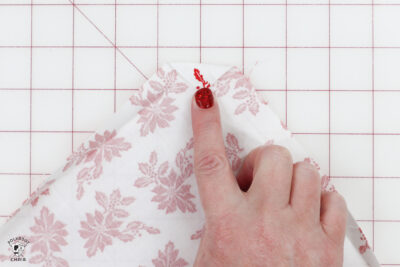
Prep
- Using a hera marker and your quilt ruler, score a line in the towel 1/2" in from the edge on all four sides. Note: The photo shows to do this with the right side of the fabric up, but after making a few towels I believe it's better to score the fabric wrong side up. This makes it easier to fold the edges when ironing.

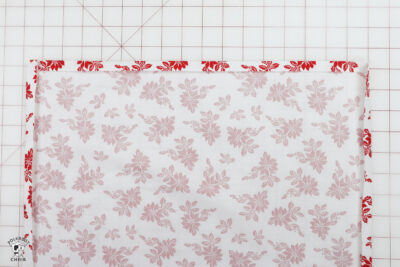
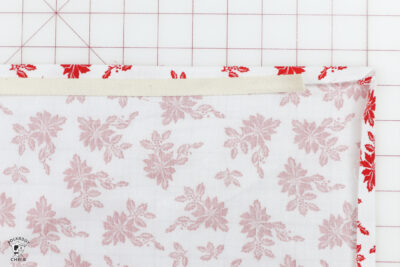
Press
- Using your iron press all 4 sides of the fabric along the line you scored in the fabric. When finished all 4 sides of the fabric should be folded and pressed with a 1/2" seam allowance.
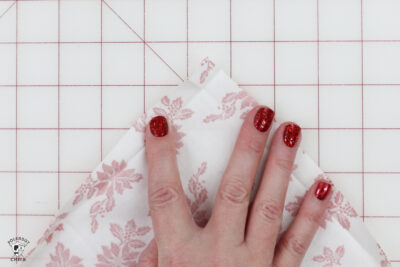
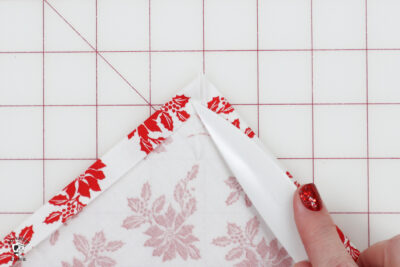
Press the Corners
- To miter the corners. Open up the seam on one corner of the fabric. Then fold the point of the fabric down. Press.
- Next, while keeping the corner folded down, fold the two sides back down.
- Press well.
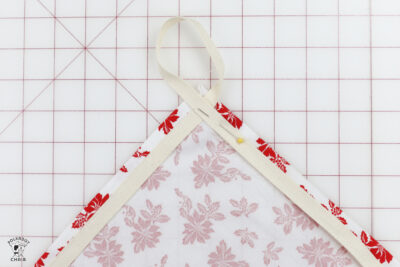
Add Webbing
- Lay the webbing along the raw edge of the fabric. Pin in place. When you get to the corner, stop pinning and stitch the webbing to the towel. Sew the webbing to this point. You will be stitching down one side of the webbing very close to the edge.
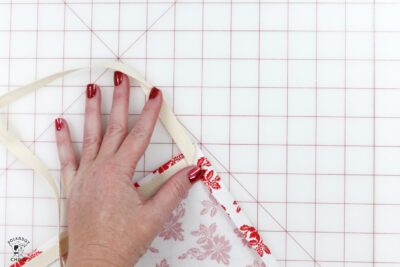
- At the first corner, create a loop in the webbing that is about 3" long. Then keep pinning the webbing down the next side of the towel. Continue stitching.
- When you get to the next corner, fold the webbing back, then fold it over at a 45-degree angle and keep pinning down the next side of the towel.
- When you get back to where you started, cut it so that it overlaps the start point by about 1" and put a bit of fray check on the webbing. Stitch it in place.
- Go back and stitch the webbing down on the other edge of the webbing around the entire towel.
Add Applique
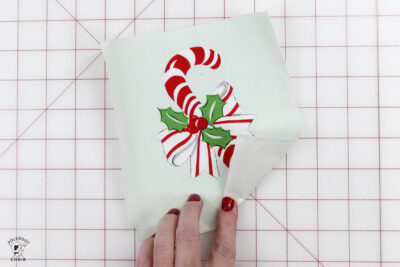
- To add an applique shape to your towel, iron a piece of paper backed fusible web to the wrong side of your applique piece. Cut it out.
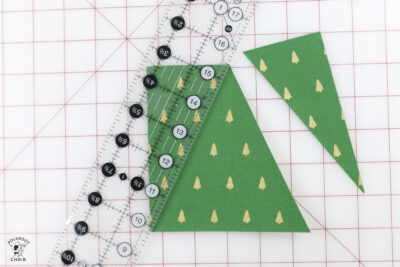
- For one of my towels, I simply cut a triangle from green fabric to make a tree and used a scrap of brown fabric to make a stump.
- For the other towel, I just cut out a shape from a panel of fabric. You can use any fabric that has a large image or illustration.
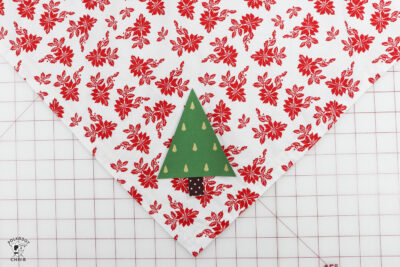
- Remove the paper backing from the applique shape and iron the shape onto the towel. Stitch around the edge of the shape to secure it to the towel.
- Give the towel another good pressing with the iron and you're done!
More Kitchen Sewing Projects
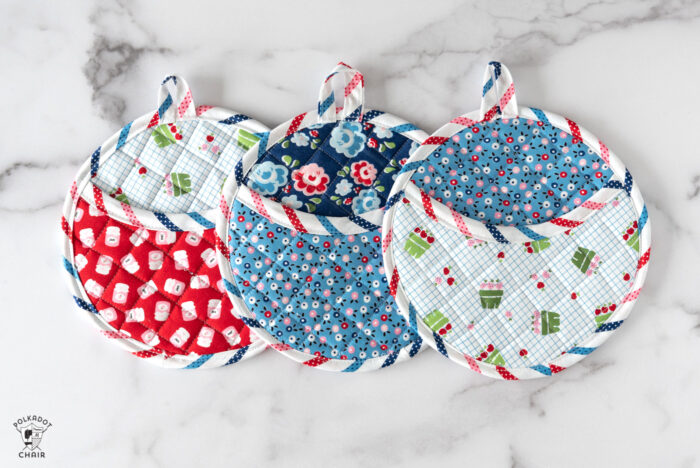
Looking to turn these towels into a fun gift set? Stitch up a set of potholders to match!
Also check out:
Hanging Kitchen Towel Tutorial