Studio Calico Letterpress Project Life Cards
Have you guys ever tried DIY letterpress? I’ve been playing around with the Lifestyle Crafts L Letterpress system for about a year now and have found that it’s a fun way to get the letterpress look without investing in a gigantic machine.
I’ve been steadily working on my 2013 Project Life album the last few months. It’s a nice break for me from only sewing, as I have a tendency to burn out quickly if I only concentrate on one thing at a time. I think alternating back and forth between “fast and easy” pages and ones that I like to spend a bit more time creating helps keep me on my “creative toes”.
Studio Calico has released an new line of letterpress plates designed to work specifically with the Lifestyle Crafts L Letterpress system. They sent me a few of their new plates to review and play round with.
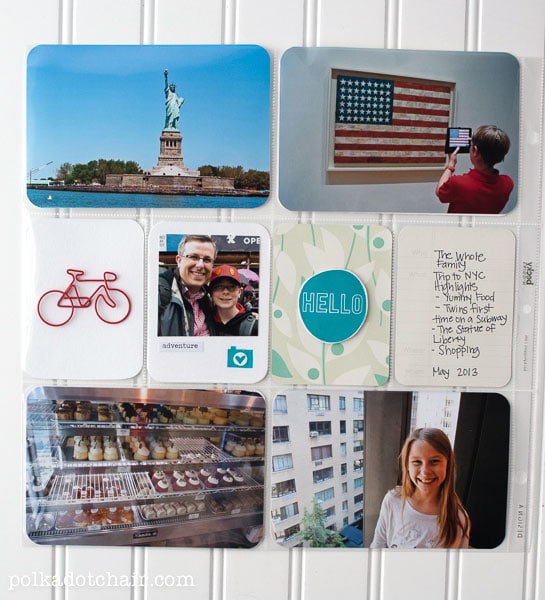
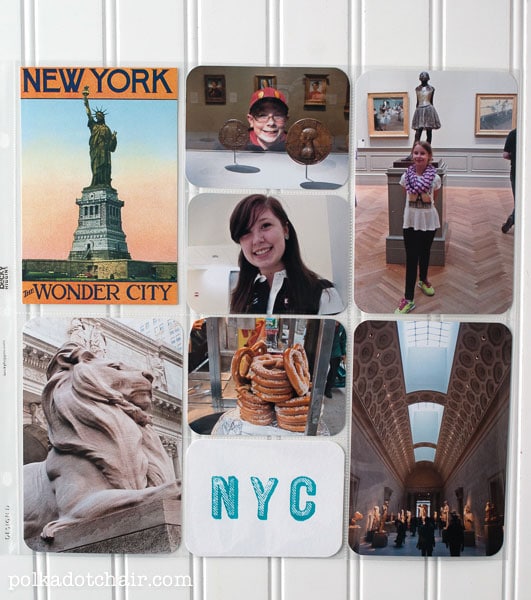
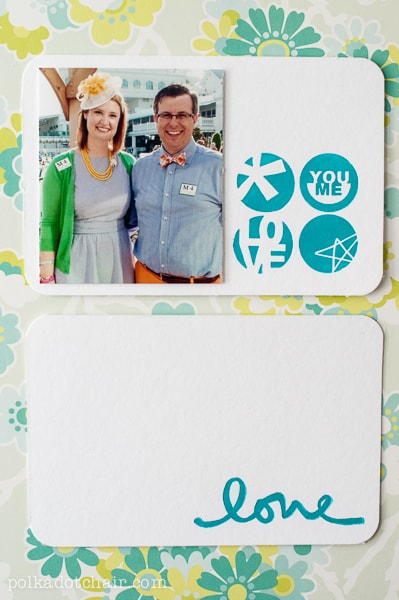
I knew right away that they would be prefect for the May section of my 2013 album which featured our trip to NYC and an outing to Churchill Downs for Dawn at the Downs.
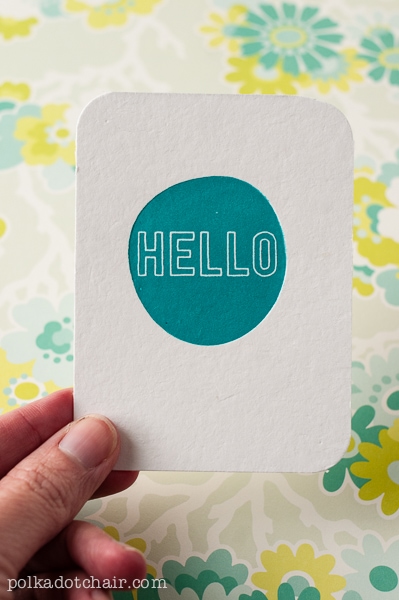
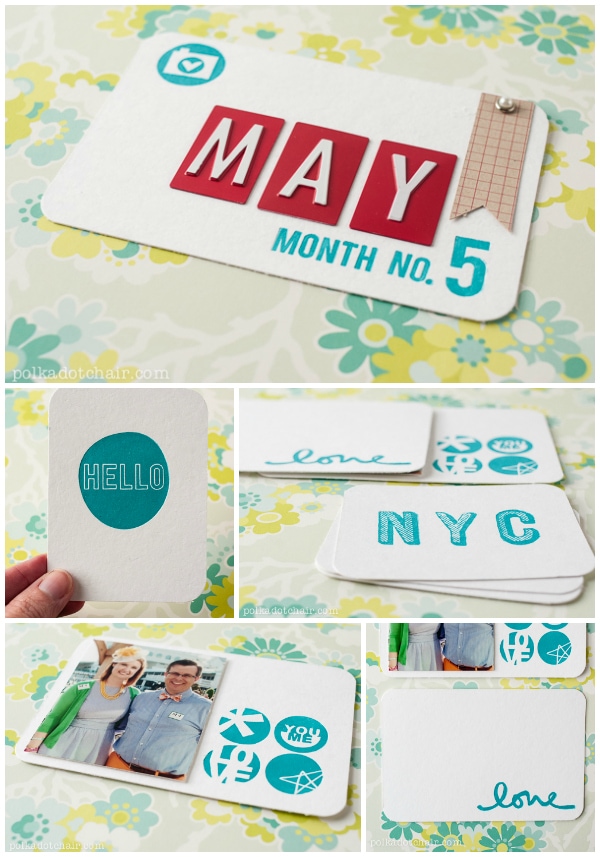
I was so excited to see how well my teal letterpress ink coordinated with my Olive edition cards!
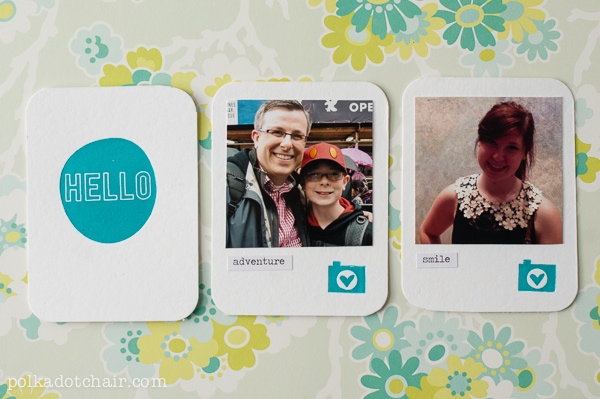
I cut some of my 5” x 7” letterpress cards down to 4” x 6” and 3” x 4” to use in my album and had fun playing around with a few different layouts. I used the alphabet set to create a title card for the NYC section of my May pages.
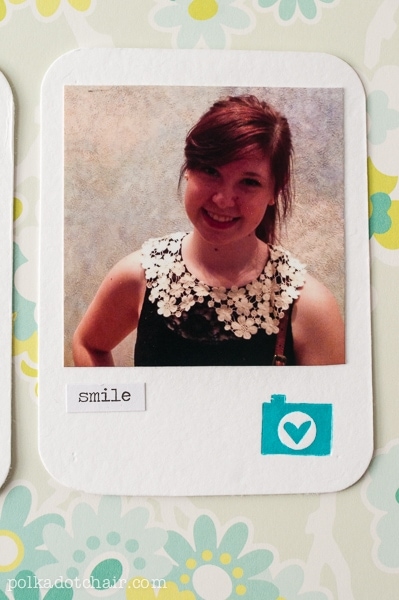
I cut a few photos down to 2 1/2” x 2 1/2” and mounted them on some letter pressed cards. I love how the thick letterpress paper gives you the feeling of an old slide (does anyone remember what those are? *wink*)
If you’re interested you can pick up the Studio Calico kits letterpress dies here.
If you’d like to learn a bit more about working letterpress into your scrapbooking then you might like the Studio Calico letterpress class.
Disclosure: I received product to review and to use to create the projects for this post.

