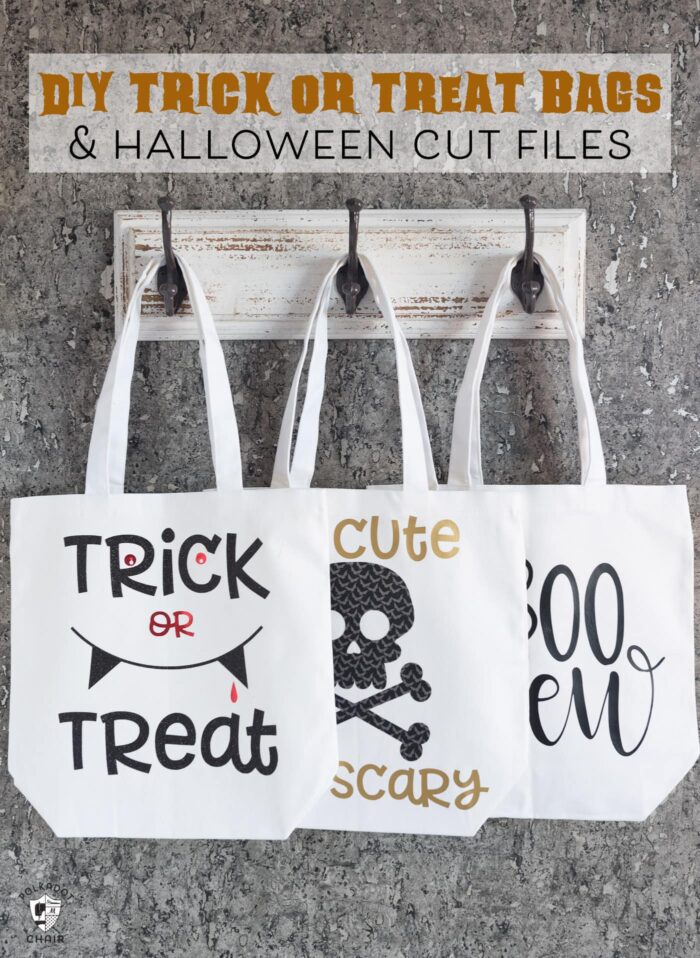
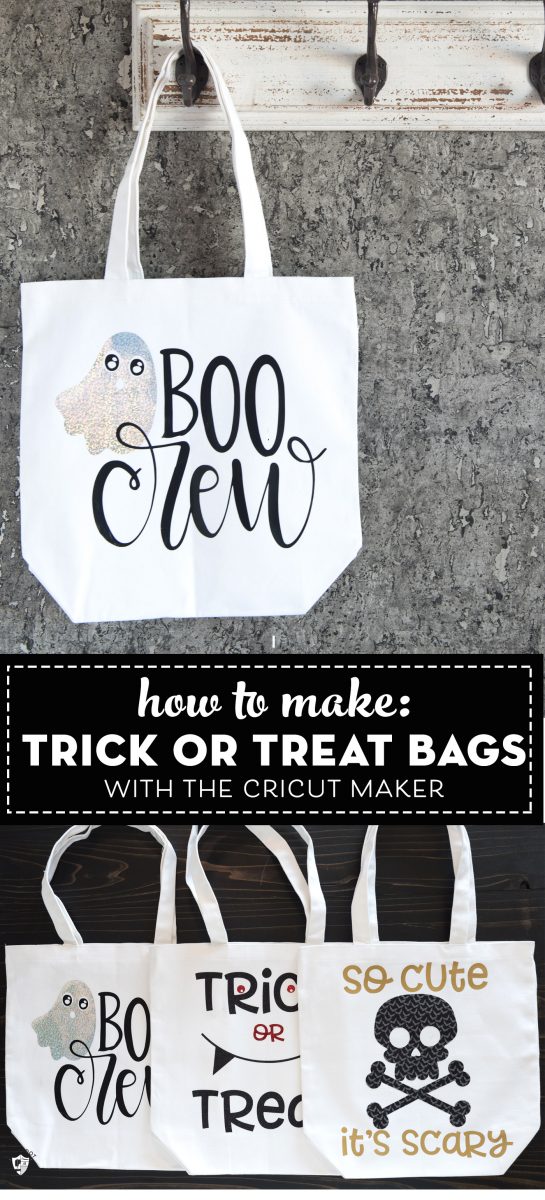
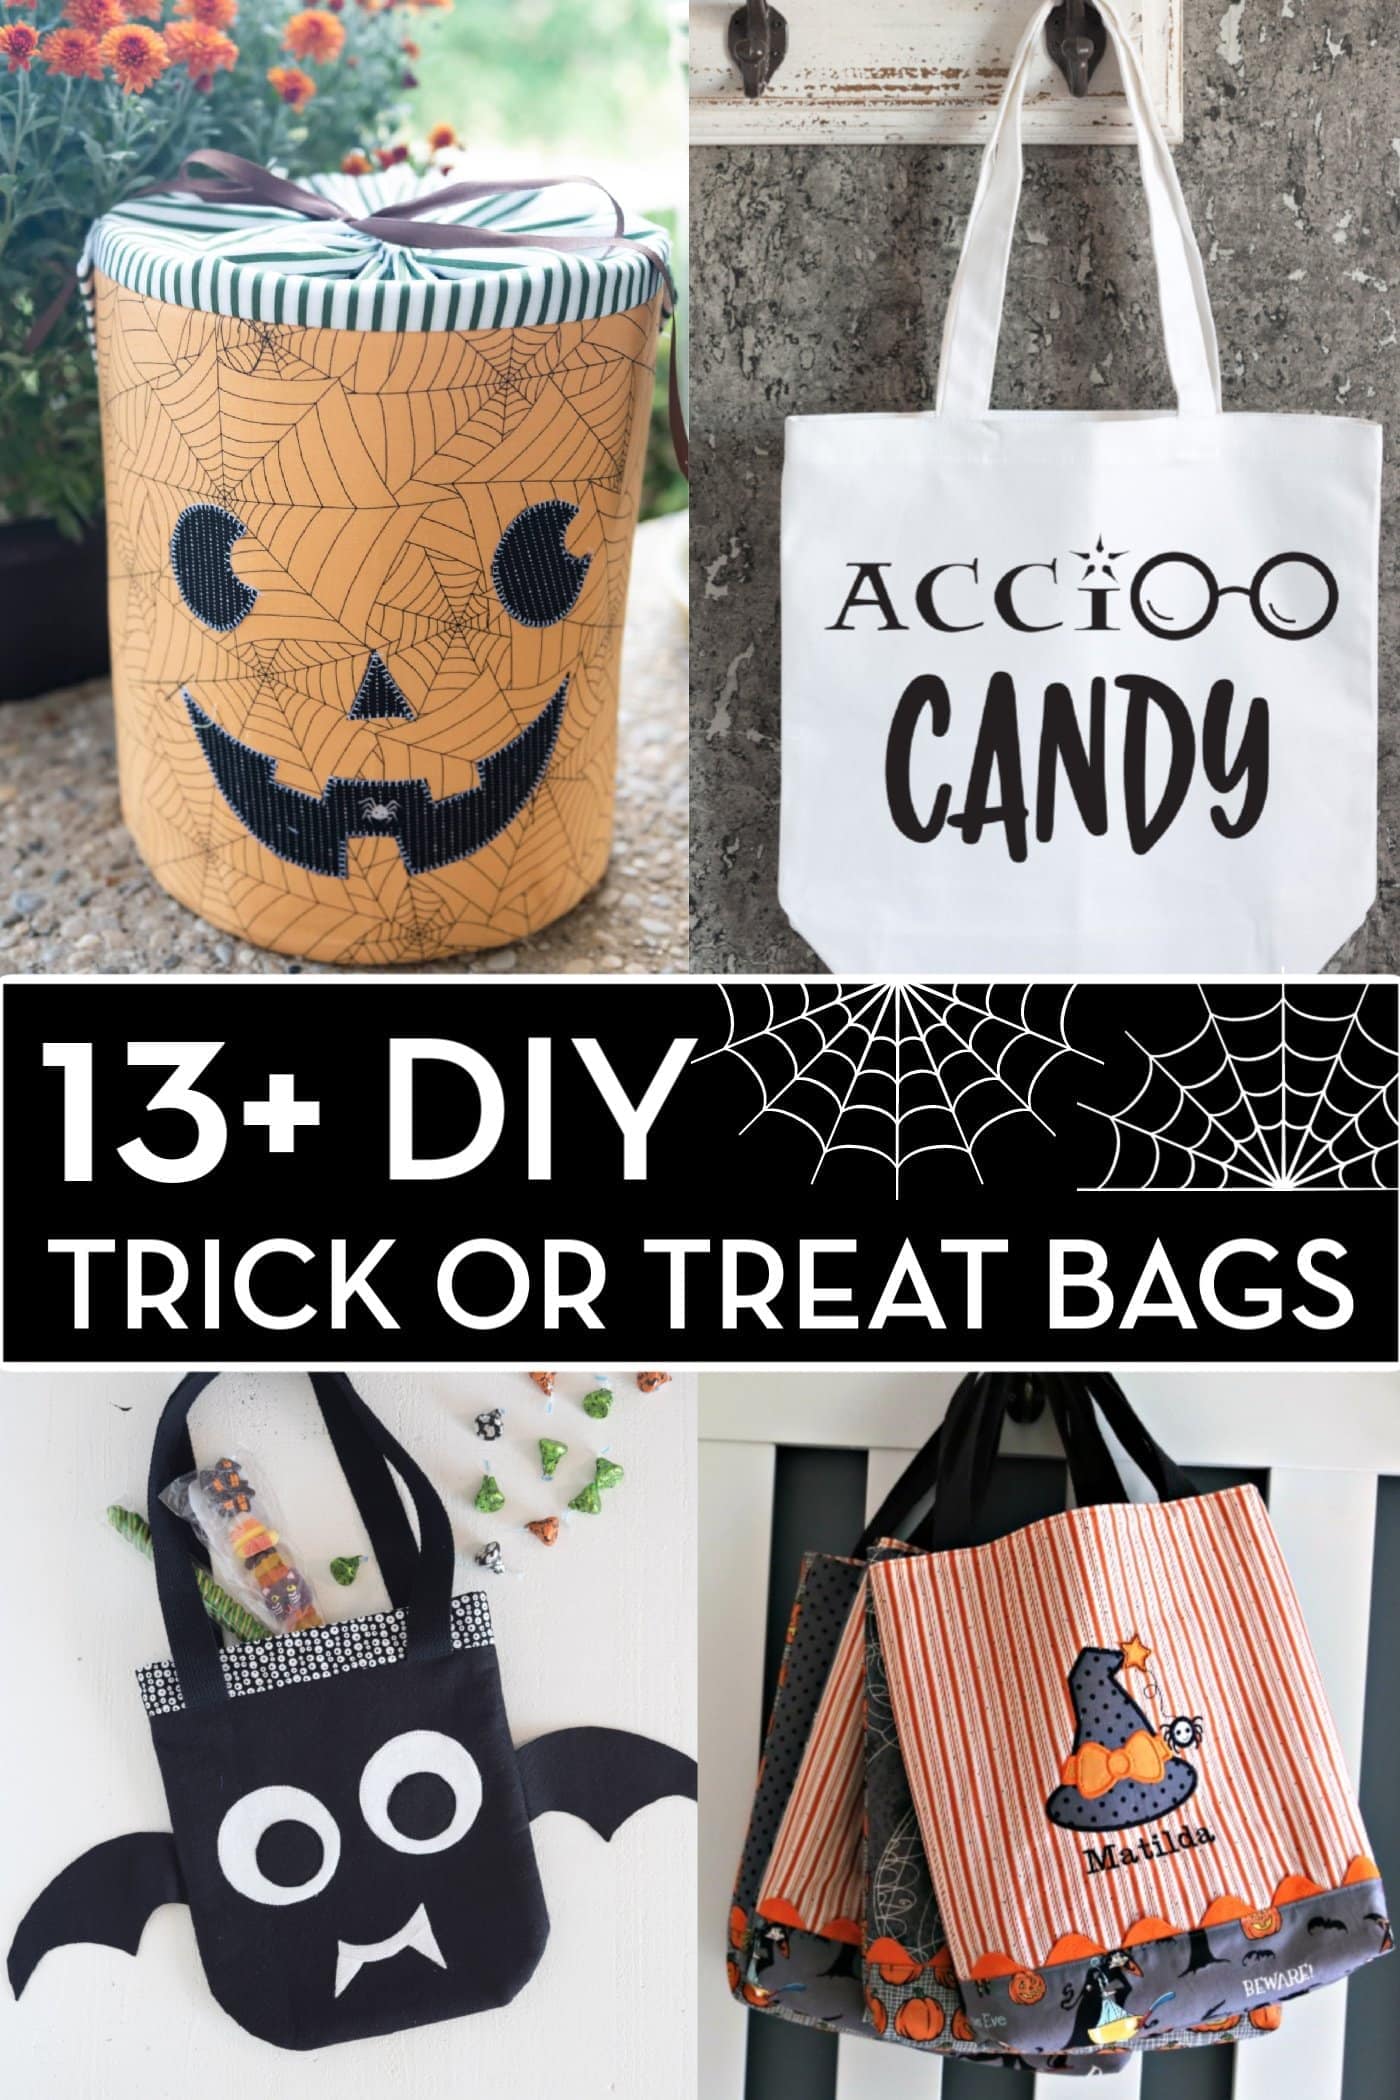
DIY Trick or Treat Bags {and free Cricut Halloween SVG files}
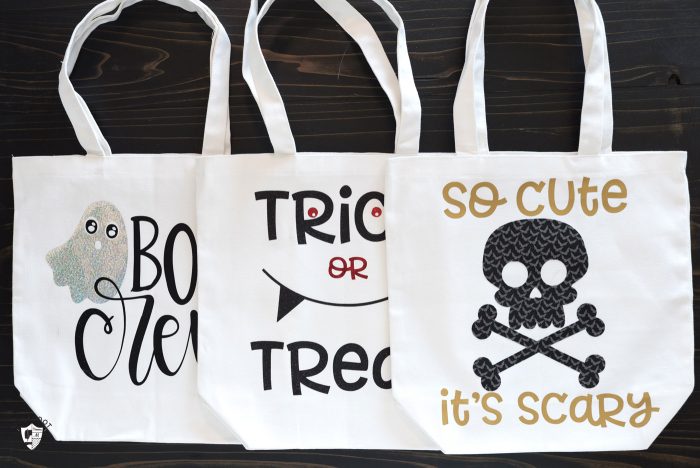
Just in time for Halloween, I’m here to help you out with a tutorial for super quick and easy DIY Trick or Treat Tote Bags made with a Cricut Machine. I’ve also included some free Halloween SVG files for you to download as well!
This post is sponsored and contains affiliate links. I work as a Brand Ambassador for Cricut and am thrilled to be working with such a fantastic company.
My kids are older now, but we have not stopped celebrating Halloween around here. Since my teenagers aren’t too keen on me making trick-or-treat bags for them, I thought it might be fun to make a few to ship off to my nieces and nephews to use this year.
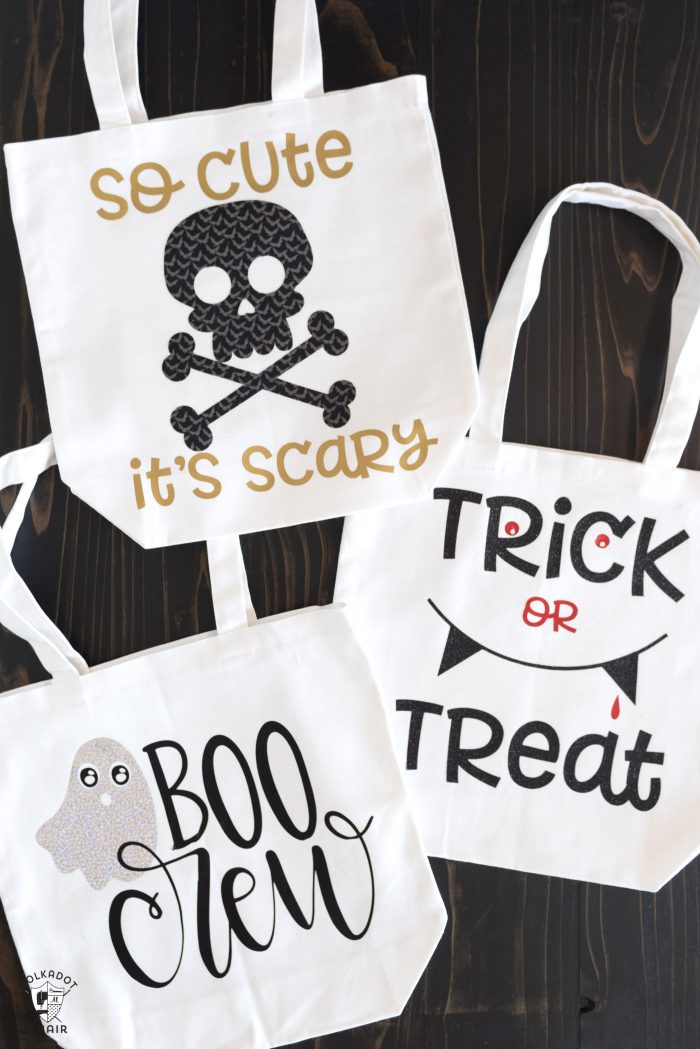
I was able to quickly whip up a bunch of trick-or-treat totes using my Cricut Maker. When I was making the bags, I used a variety of materials to give you guys LOTS of ideas for designing your own bags.
About the Free Halloween SVG Files
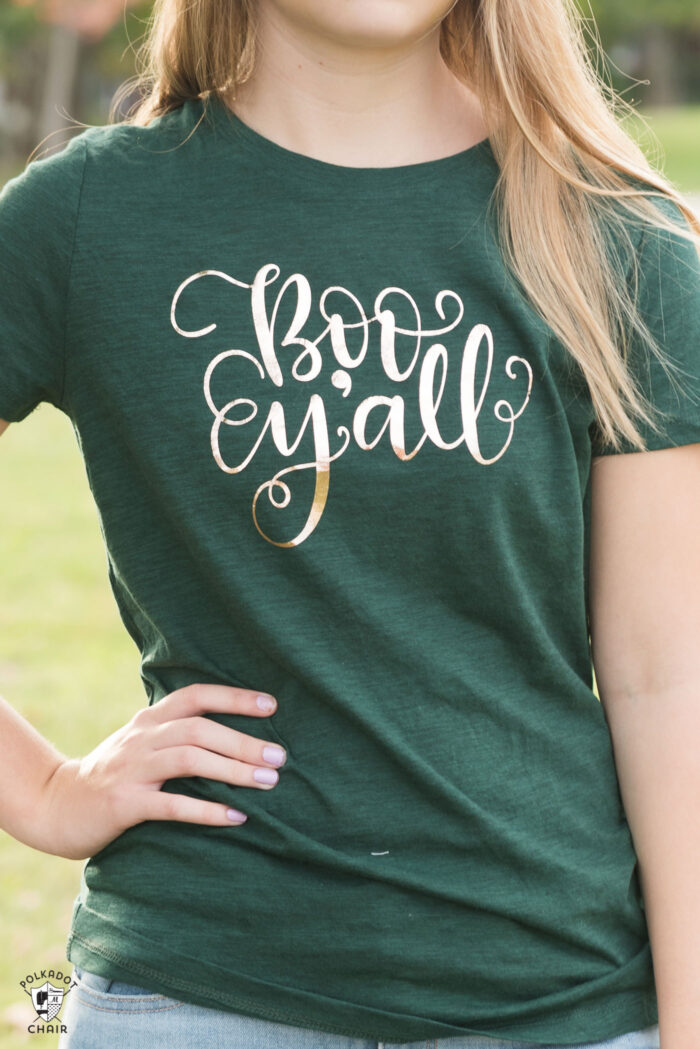
Four of the files are free SVGs that I designed especially for you for this project, and one of the designs is available exclusively in the Cricut Design Space (and it’s a CUTE one, you should see all the other cut files in that collection— they are all ??). I used a couple of them to make these Halloween t-shirts last year.
Today I’m going to show you how to DIY trick-or-treat bags, but you can also use the Halloween SVG files for t-shirts, mugs, and pillows!
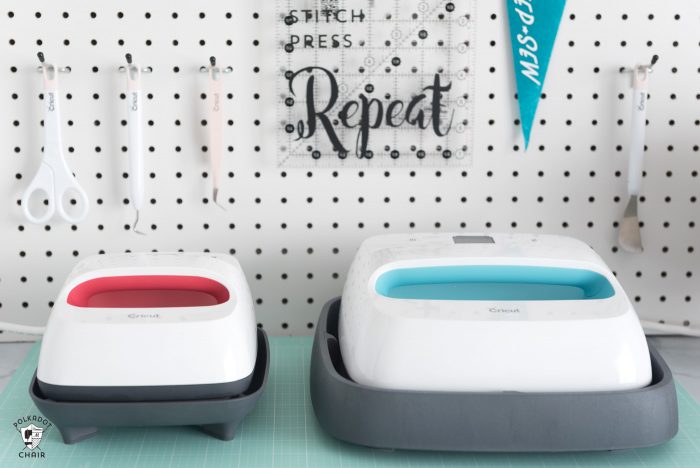
All of the bags were made using my Cricut Maker and my Cricut EasyPress. I’ve mentioned before that I’m a brand ambassador for them. I’ve been an ambassador for well over a year and keep saying “yes” when they ask me to work with them because I love the projects so much.
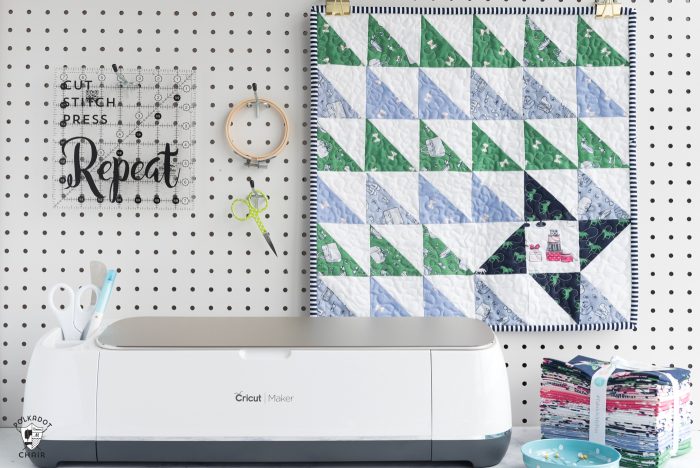
Why I Love My Cricut
Next to my sewing machine, my Cricut Maker is the MOST used tool in my craft and sewing room.
We use it to make t-shirts for the kids for school, teacher gifts, and things for church activities. We are also getting ready to use it to make a bunch of simple Halloween costumes for an upcoming trip.
How to Make Trick-or-Treat Bags with the Cricut Maker
Supplies:
There are 5 different bags; each uses different materials. I’ll mention in the directions for each bag which materials I used. This is the master supply list for all of the tote bags. You don’t need all of the supplies for ALL of the bags.
- Cricut Maker 3 (you can get great deals on machine bundles on Cricut.com)
- Roll Holder for Maker 3 (if you purchase matless vinyl)
- Cricut EasyPress (I like the large size the best): Make sure you get the EasyPress mat as well.
- Cricut Weeding Tools: (I use the small hook tool ALL the time, making weeding vinyl so much easier).
- Cricut BrightPad: A cordless, flat, bright lightbox. I use it to weed Cricut vinyl and use it all the time to trace applique shapes for sewing & quilting.
- Cricut Iron On Vinyl in Red, Black, and Holographic Silver
- Iron-On Protective Sheet (so you can layer multiple colors of Iron-On)
- Cricut “Broom Hair, Don’t Care” Cartridge in Design Space
- 12×12 Piece of Black Fabric
- 12×12 Piece of Paper Backed Fusible Web
How to Get the Cricut Files
To get the So Cute It’s Scary, Trick or Treat and Witch SVG files, fill out the form below and we will email you.
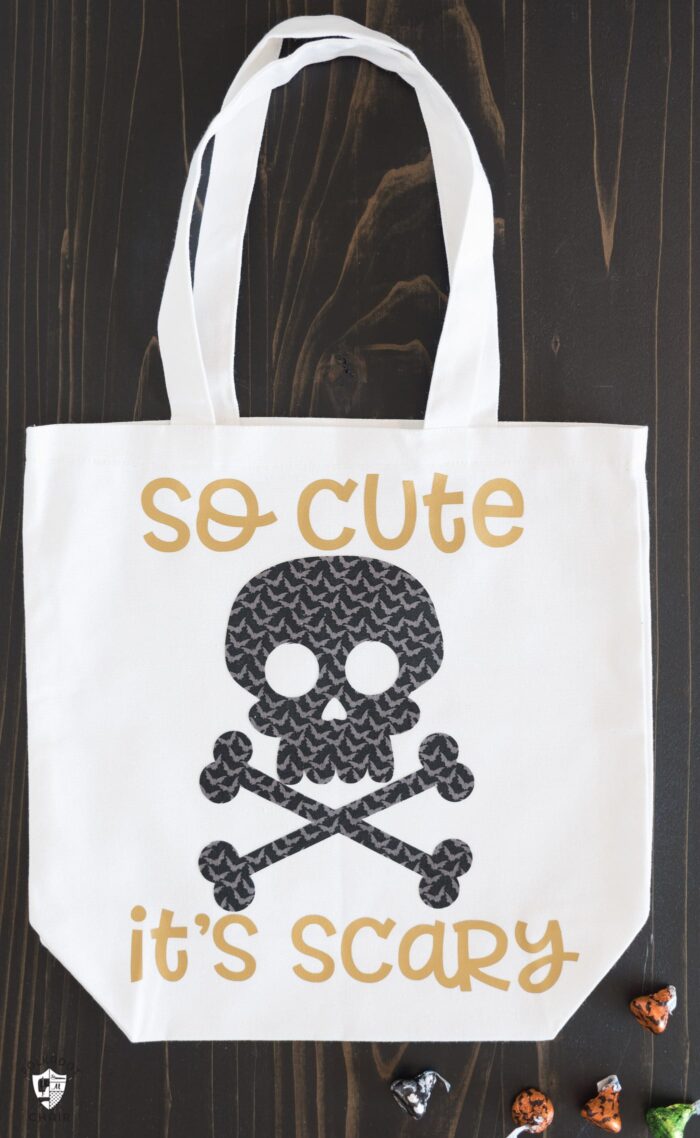
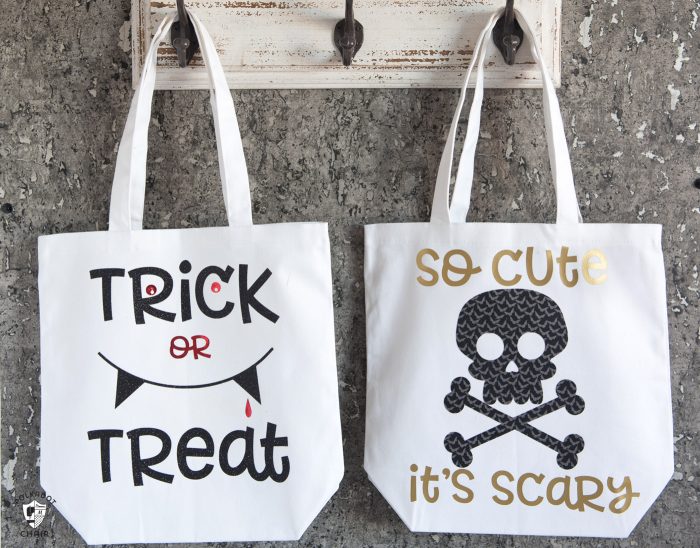
To make the So Cute It’s Scary Trick or Treat Bag:
Step One: Cut out your Applique with the Cricut maker
Download the SVG file (linked above) and load it into Cricut Design Space. Resize as you’d like. On the tools panel on the right, hide the words so that only the skull is showing.
We are going to use the Cricut Maker to cut out the fabric skull for the bag. Iron a piece of the heavy paper-backed fusible web onto the wrong side of your fabric. Wait for it to cool, then remove the paper backing.
Place the fabric, fabric side down, on the pink fabric cutting mat.
Install the rotary blade in your Cricut Maker Machine.
In Design Space, click MAKE it. Then select from the materials list “cotton bonded”. Next, change the blade to the rotary blade (it will default to the fine point blade, but I think the rotary blade is better for this project).
Load your mat into the machine and follow the prompts to cut out your image.
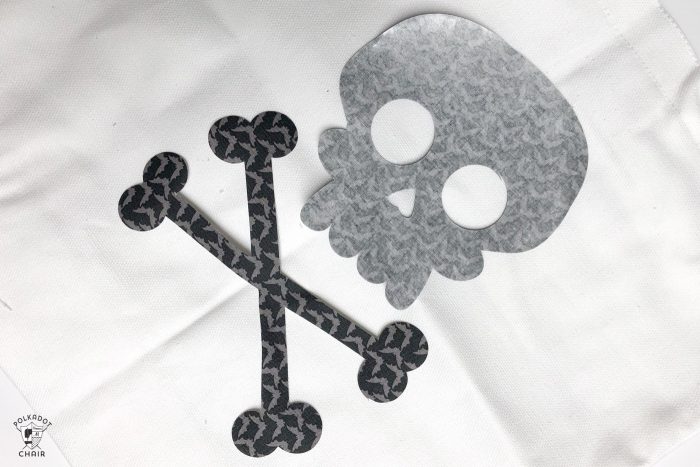
After it’s cut out, set it aside.
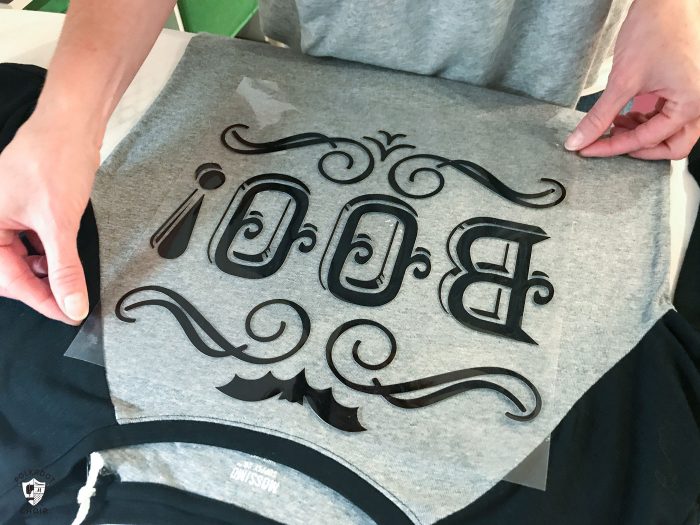
Step Two: Cut out the Words from Iron-On Vinyl
Back in Design Space, hide the skull and crossbones, then un-hide the words.
Click “attach” so they cut all at the same time in the same place. Load Gold Everyday Iron-On onto your green Cricut mat.
Send the cut to the machine. Change the blade back to the fine-point blade. Make sure you click the Mirror prompt since you’re cutting out iron-on.
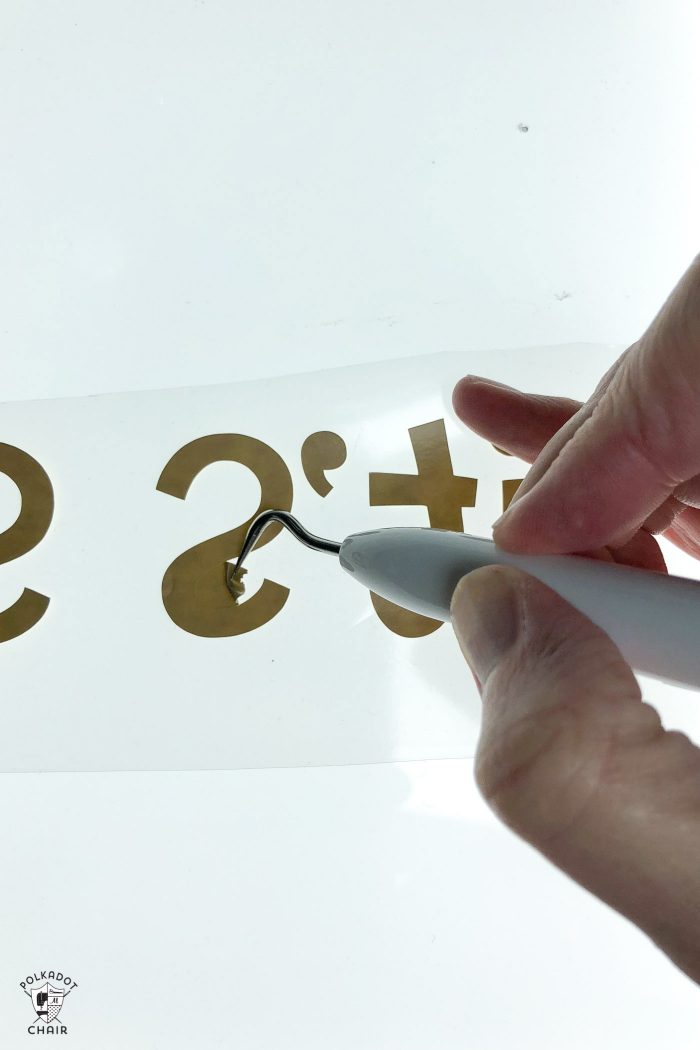
Remove the excess iron-on from your cut-out image. I love to use my Cricut tools and BrightPad for this step.
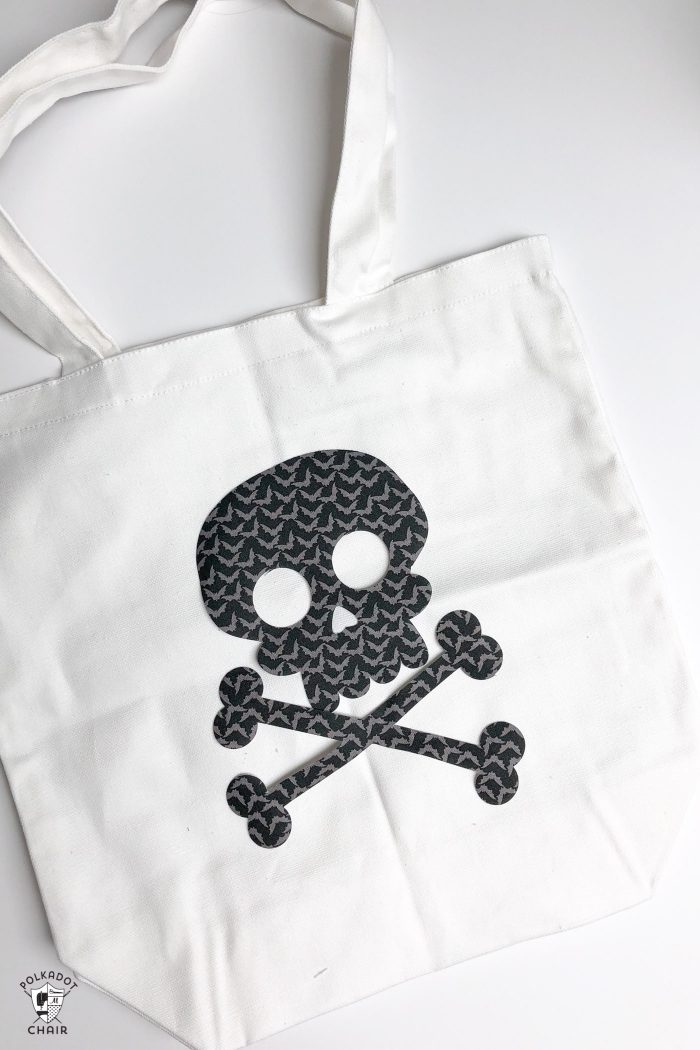
Position the images on the tote bag.
First, using your EasyPress, attach the skull and crossbones. I just used 300 degrees for 30 seconds, and it worked great!
Next, place your letters in the right spot and adhere them with EasyPress. Check the settings for the exact vinyl that you are using. You can find a chart on Cricut.com.
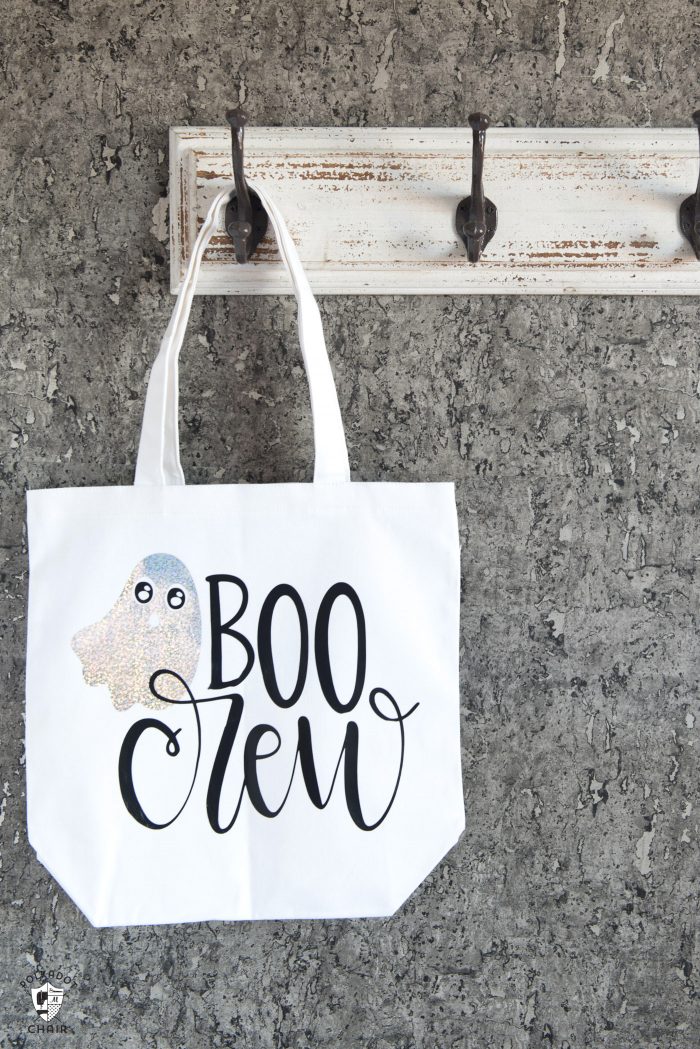
To Make the Boo Crew Trick or Treat Tote:

This tote bag is made using two different types of vinyl. You’ll need to cut each of them out separately.
Grab the Boo Crew Image from Cricut Design Space. Insert it into your project.
Cut out the ghost, separate from the words, by hiding parts of the image as we did with the “Spooky” tote bag above.
The Everyday Iron-On and Holographic Iron-On have different cut settings, so you’ll want to make sure you don’t try to cut them both at the same time.
After you’ve cut out your images, peel away the excess vinyl and “test” fit them on your tote bag.
First, apply the ghost image using the EasyPress.
Next, place the “Boo Crew” words in the correct spot on the bag. Then lay the protective sheet over the entire image. If you don’t use the protective sheet the ghost you just adhered will melt onto your EasyPress.
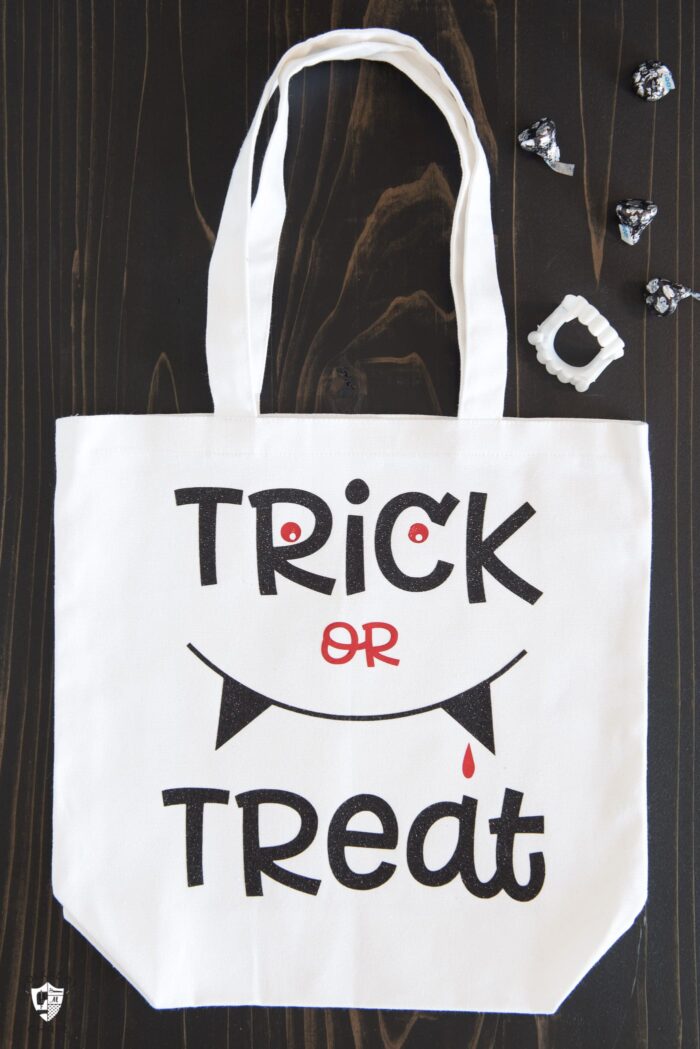
The Vampire Trick or Treat Bag is made using the same method.
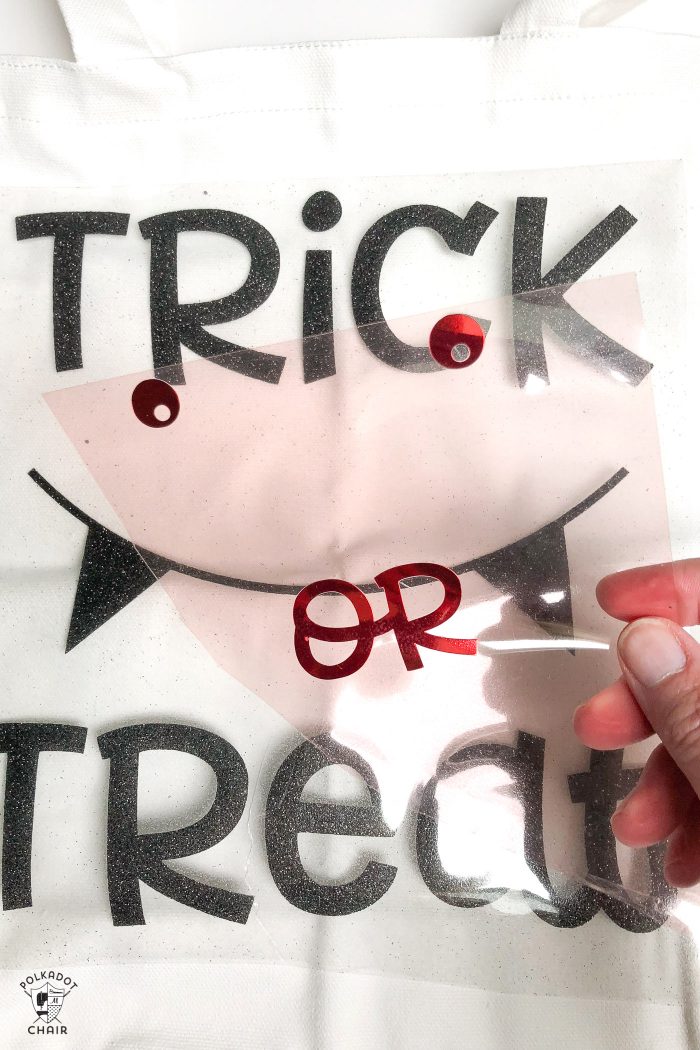
For this bag, you’ll want to use Red Foil Iron-on and Black Everyday Iron-On.
More Halloween SVG Files to use:
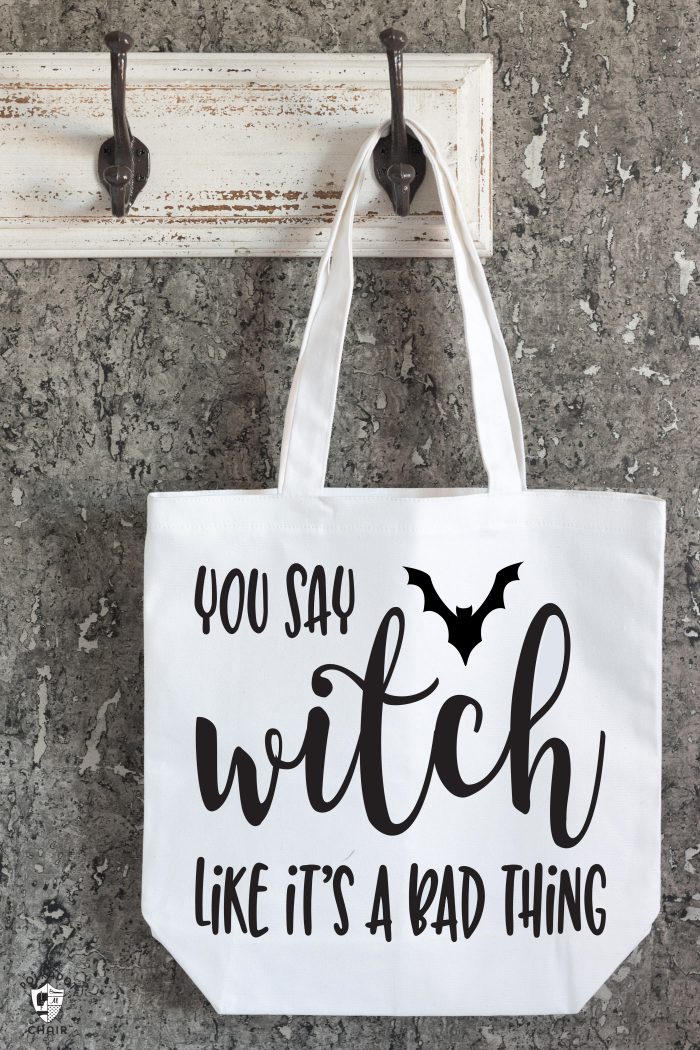
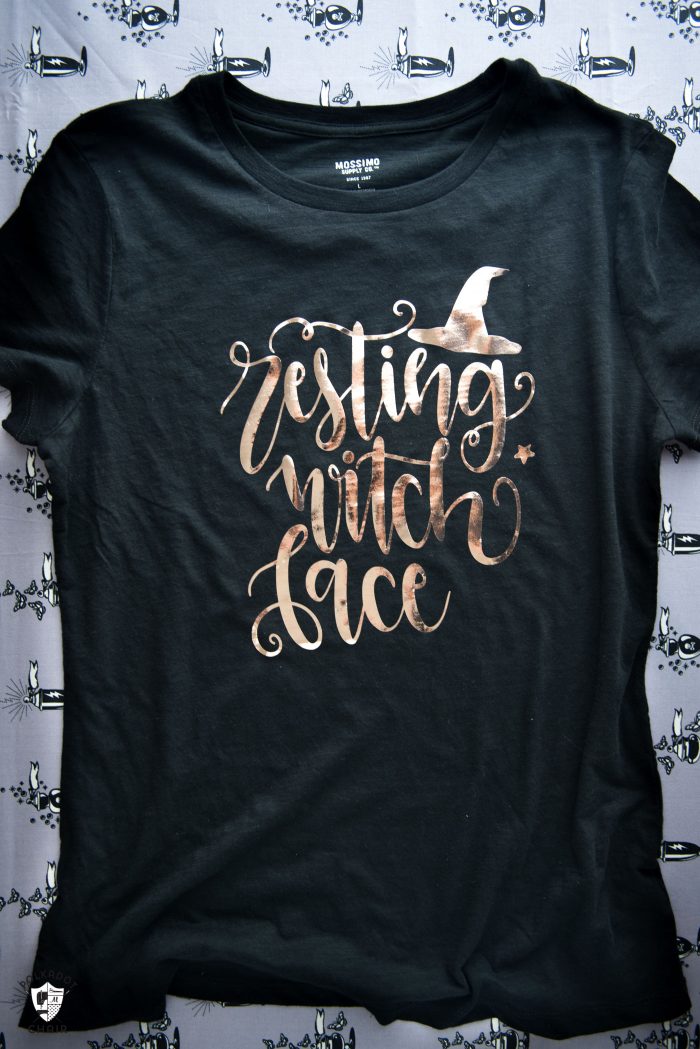
I’ve also created 2 additional Halloween SVG files for you! One of them is the “You Say Witch Like its a Bad Thing” featured in our T-Shirt project last week. Here you can see it on a tote bag.
…. and I couldn’t let Halloween go by without a Wizard-inspired SVG file. You can get this “Accio Candy” SVG file on the downloads page as well.
Accio Candy Free SVG File:
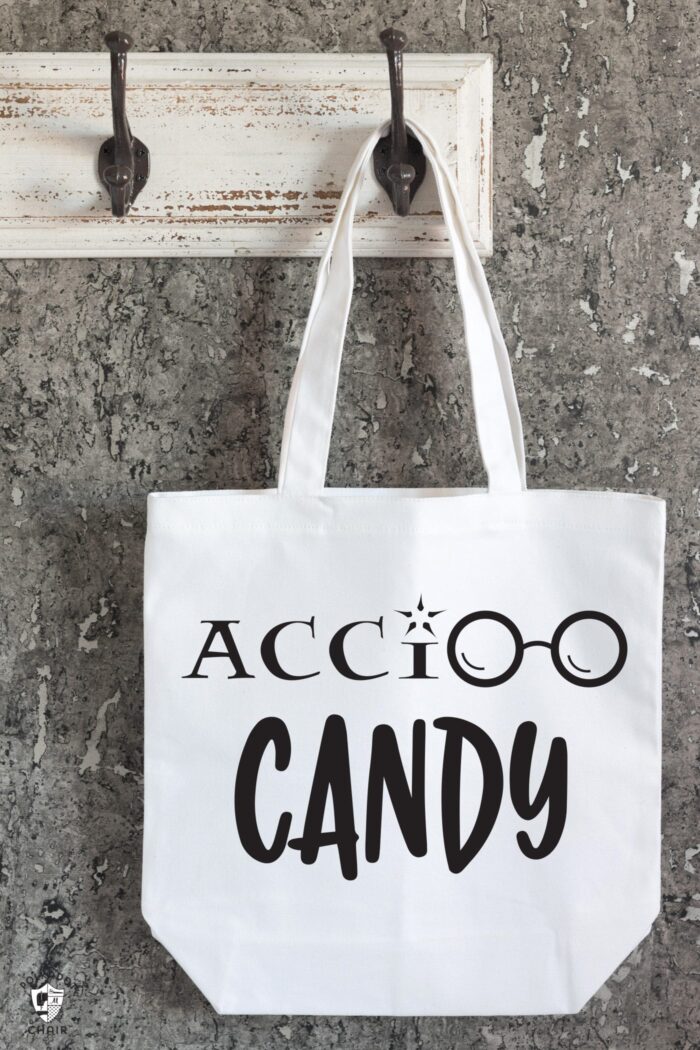
You can see I took a bit of “artistic” license with the image 😉
More Cricut Tutorials:
Quick and Easy DIY Cat Halloween Costume
This is a sponsored conversation written by me on behalf of Cricut. The opinions and text are all mine.
These bags are too cute. My grandsons would love them. This month our MQG had a raffle for a Cricut Maker at our guild meeting; my sister won it and gave it to me! This would be a fun project to try it out. Thanks!