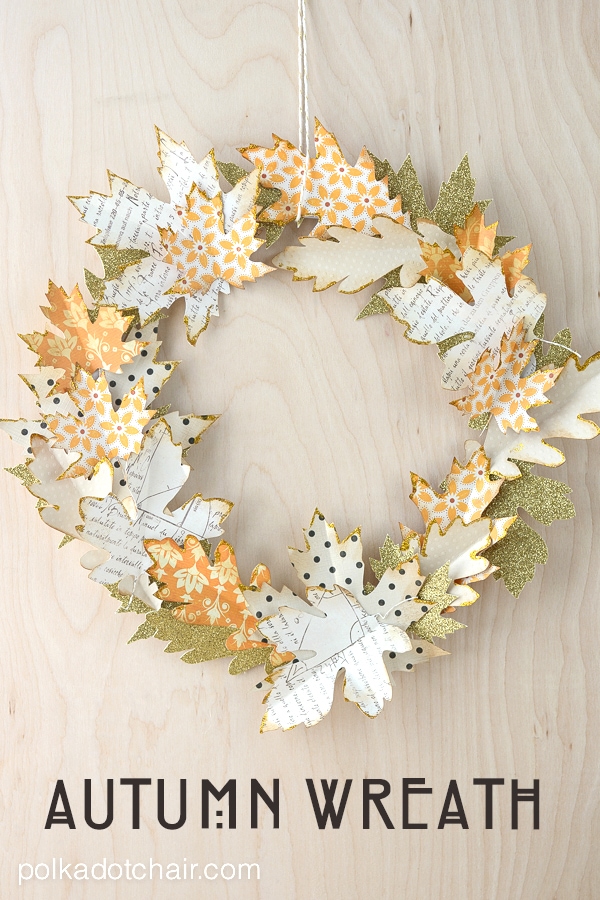
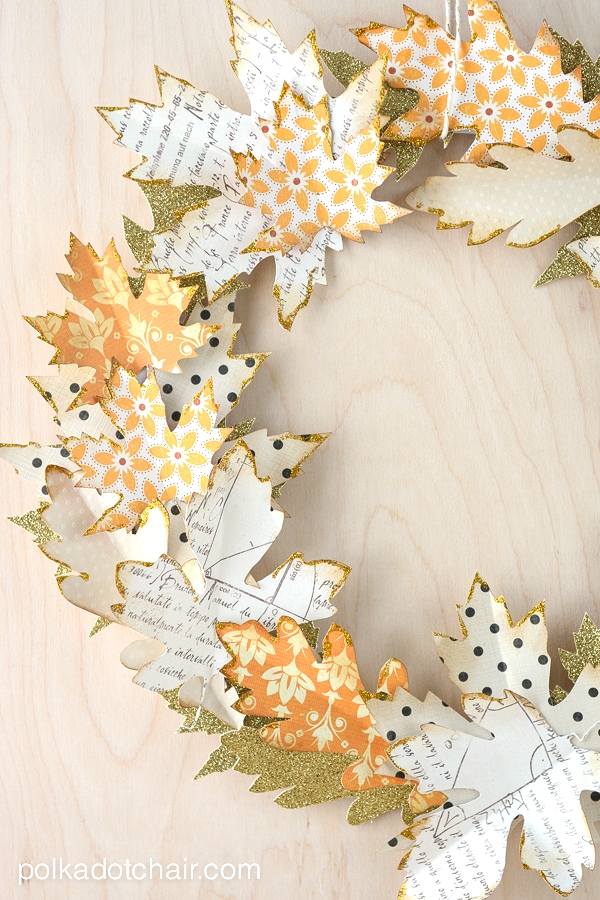
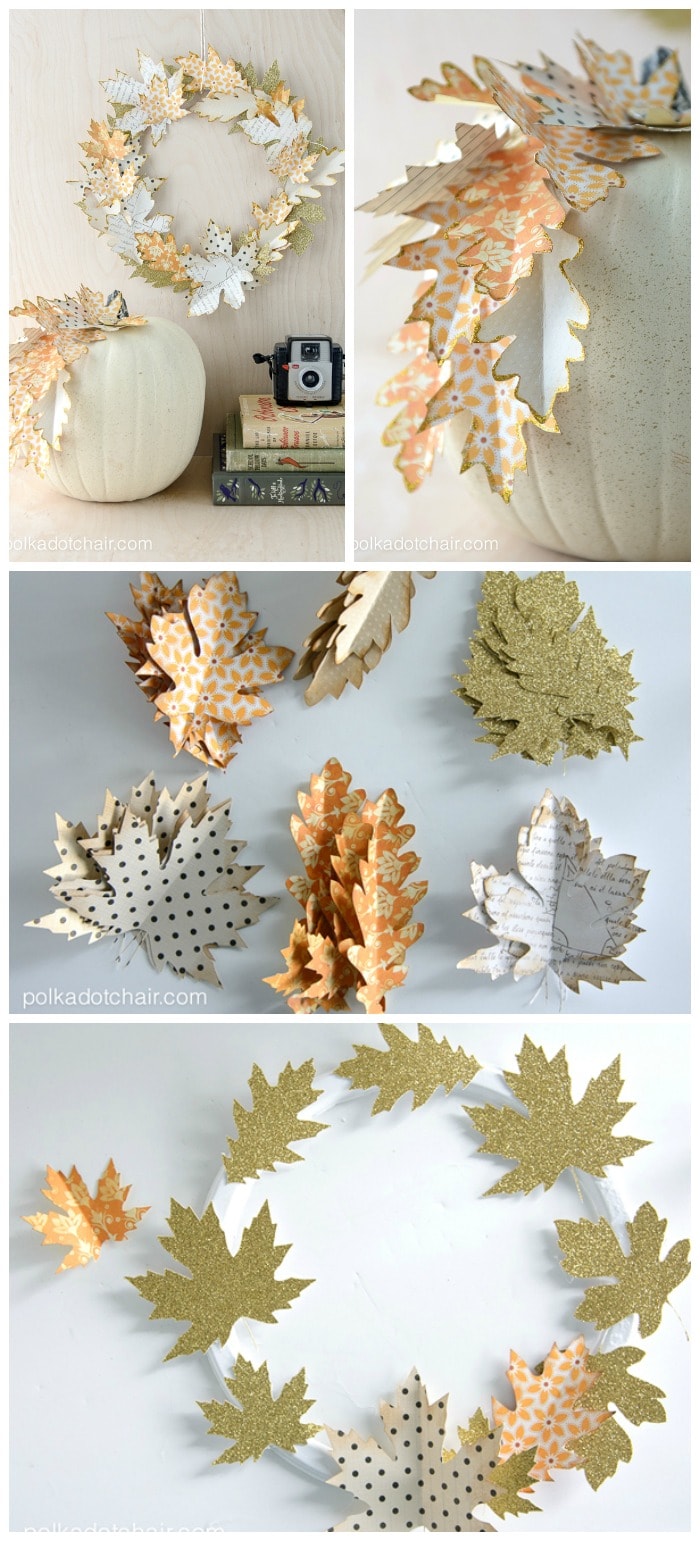
Autumn Paper Leaf Wreath Tutorial
Looking Fall wreath ideas? This Autumn Leaf Wreath is so simple to make! Since it’s made from paper leaves, you can adjust the size and colors of the wreath to make it fit in with your Fall decor perfectly! If you like this post then you may also like this post showing you a fun way to decorate a pumpkin with paper leaves!
It seems like forever since I’ve sat down and worked on a paper crafting project. I love working with paper almost as much as I love working with fabric. Last week I sat down and designed a few craft projects for Autumn and I have to say that it felt really good to be working with paper again.
Fall Wreath Ideas
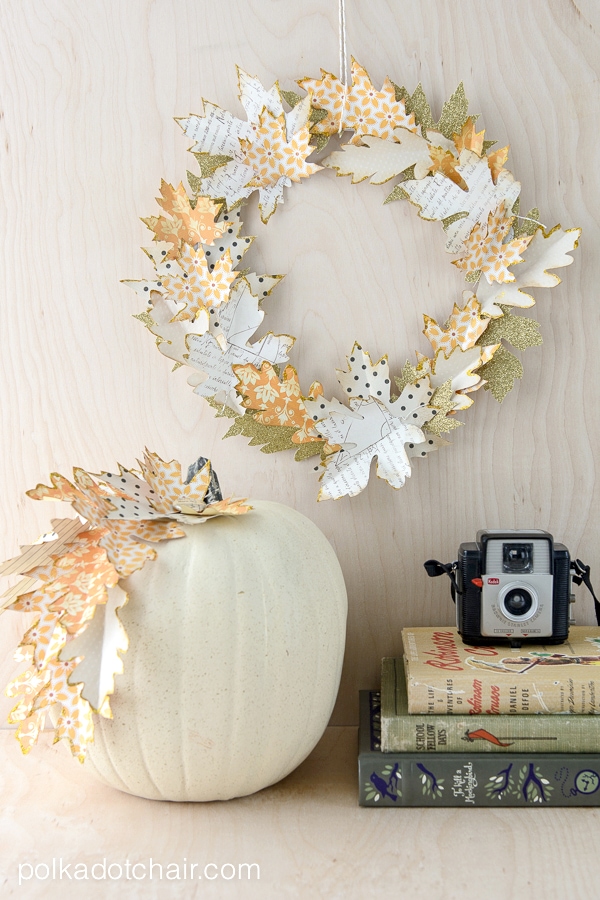
I love to decorate with gold and cream in the Autumn. Right now our house is decked out for Halloween, but come November 1st, I’ll be breaking out the harvest golds and a gagillion pumpkins 🙂
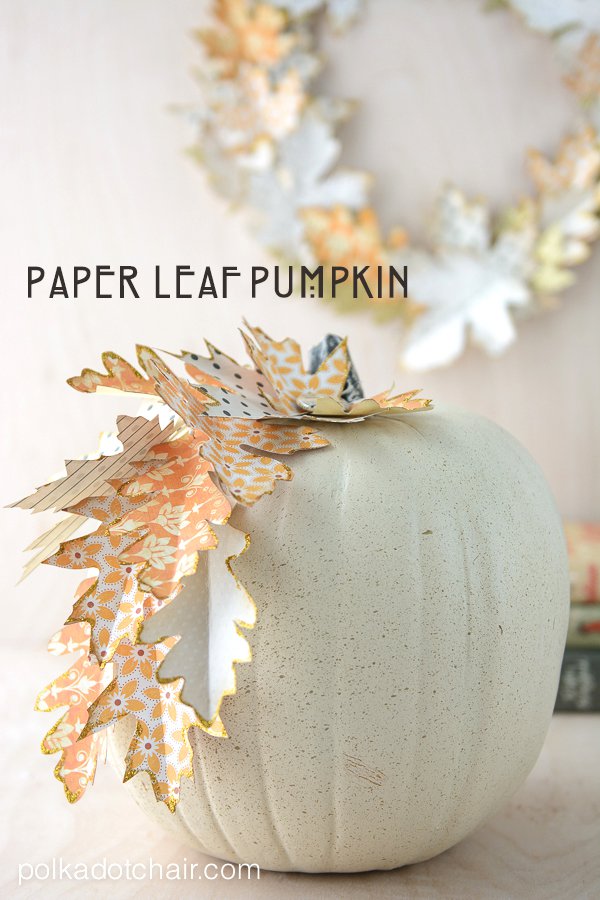
This year I decided to add to my collection of harvest-inspired projects by creating a simple paper leaf wreath. After I finished the wreath I had several paper leaves left over, so I added them to a plain ivory faux pumpkin that needed a little bit of “something”. If you’d like the tutorial for the pumpkin just CLICK HERE.
Supplies for Paper Autumn Wreath:
If you’d like to make either project it’s easy… here’s how you do it. contains affiliate links
You’ll need:
5-6 sheets of printed scrapbook paper in colors of your choice
Glitter Cardstock, this paper is similar to the one I used American Crafts Glitter Cardstock, 12 by 12-Inch, Gold (15 sheets per pack)
Straight Pins
Paper Plate (if you want your wreath to be larger, just use a wood embroidery hoop instead)
Distress Ink Pad, Vintage Photo & Sponge
Cricut Machine- Explore or Later, (you can also cut the leaves out by hand if you’d prefer)
Hot Glue Gun
First UP! Cut out the Leaves:
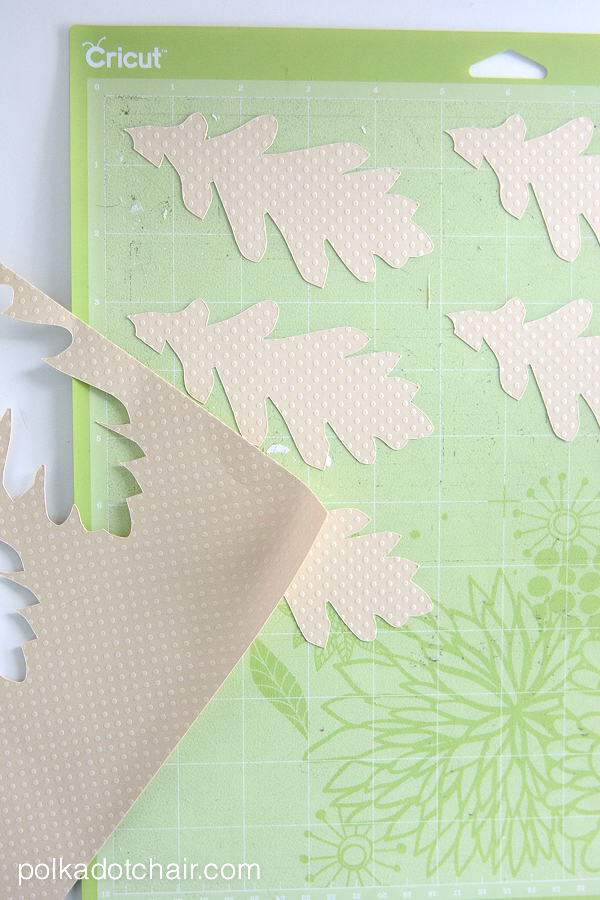
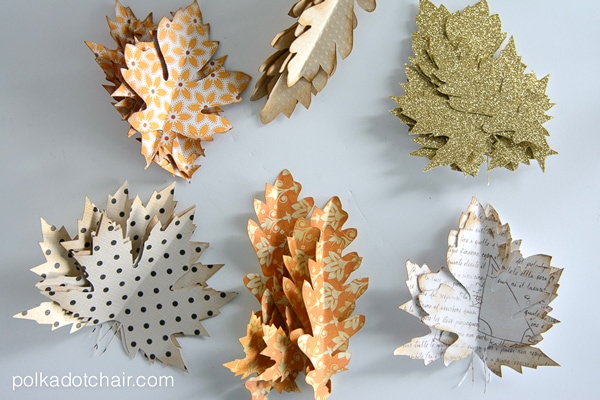
First, you need to cut out several leaf shapes from the various sheets of cardstock.
I ended up cutting out 6 sheets of cardstock and 5 different leaves in different sizes. I also cut out one sheet of glitter cardstock with 6 different leaves on it.
The glitter cardstock is thicker than normal cardstock, so make sure that you adjust your cut settings on your Cricut before you cut.
For my leaf template, I just typed “leaf” into Cricut Design Space and chose the leaf shapes that I liked the best.
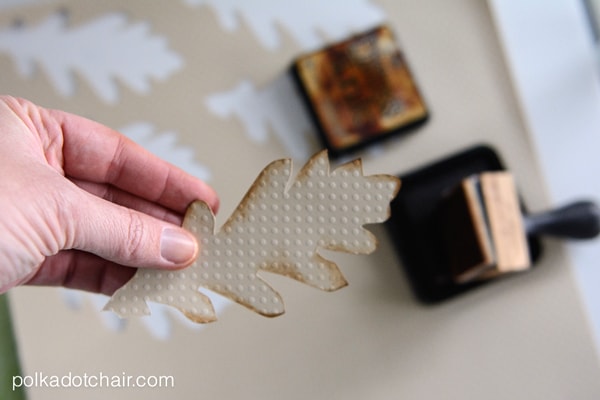
Step Two: Add Dimension with Distress Ink
Next using your distress ink and sponge, lightly ink the edges of all of the leaves. It doesn’t seem like much, but it will add a lot to your finished project.
Fold the leaves in half and score. Don’t fold the glitter cardstock leaves, they will be too thick.
Step Three: Make the Wreath Form
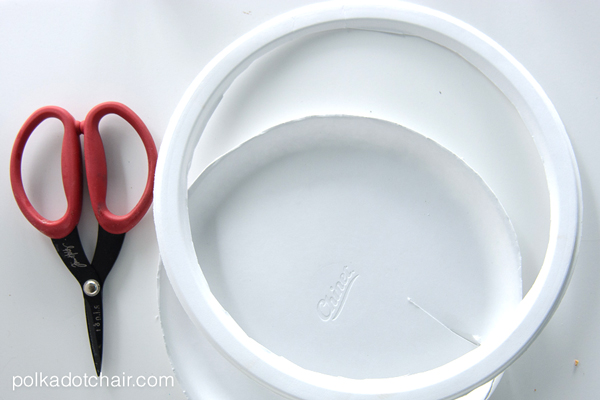
Next cut the center out of your paper plate, the outside ring will be used as your wreath form.
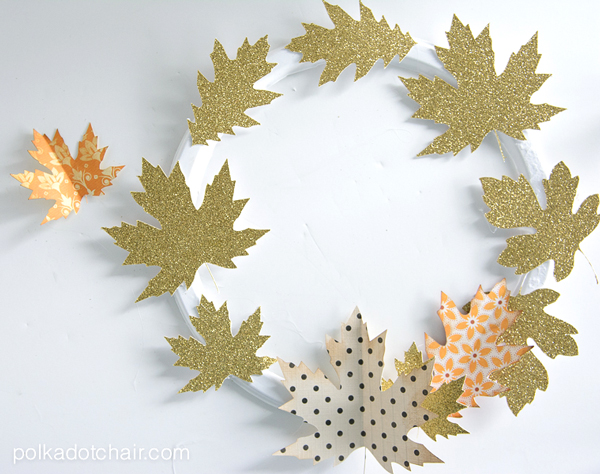
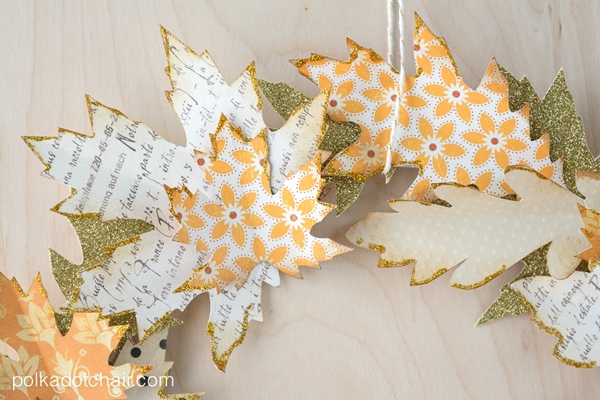
Begin arranging the leaves on the paper plate ring, I placed the glitter cardstock leaves down first, then began to add the other leaves. To attach the leaves to the form, just use hot glue.
Layer the leaves and bend until they are in an arrangement that you like.
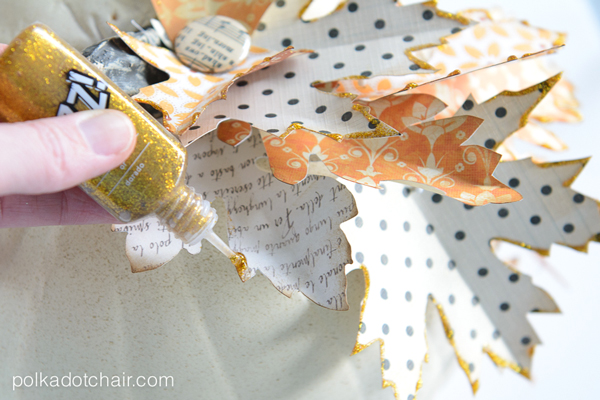
Step Five: Bling it Out with Glitter!
To finish up, apply glitter glue to the edges of the leaves. Let it dry, it takes longer to dry than you think it will.
More Fall Wreath Ideas!
I’ve teamed up with a group of 75 bloggers to share tons of Fall Harvest Ideas with you! From crafts to recipes, to home decor and more…we have you covered for Fall inspiration!
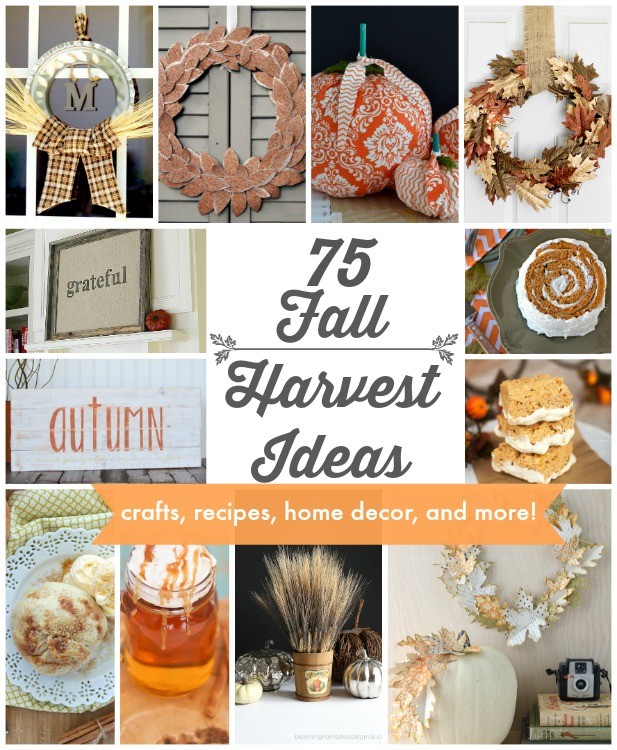
Check the links below to visit some of my blogging friends to see their awesome ideas!!
More Full Fall Crafts:
Free Printable Fall Bucket List

Bonjour,
Je trouve la couronne superbe, petite question où avez vous trouvé les matrices de feuille, je ne trouve rien sur les sites de vente français où alors c’est trop petit. Merci d’avance.
Hello,
I find the crown beautiful, little question where did you find the dies of leaves, I can not find anything on the French sales sites where then it’s too small. Thank you in advance.
Congrats on your feature at Awesome Alice! I popped on over to see your lovely DIY and pinned it to two boards! If you join in on any link parties, we’d love you to pop on over to Tuesday Turn About and link this lovely wreath! (Love the way you added the ‘fall’ to your pumpkin!)
Love your pumpkin and wreath leaves Melissa, very pretty and love that they’re little different than most seen.
This is great project, one I can do quickly and get good results. Think making leaves for pumpkin will be choice for this year. Think I might have all I need to make them without having to go shopping. Will go dig in my paper stash to see what all I have. Won’t need nearly as many leaves for pumpkin as wreath. Will be pretty look with leaves on a funkin. Have an orange one but guess could spray paint it. Happy week, enjoy crafting, paper crafts are my favorite.
If you care to reply please do so to my email address. Thanks.
I’m so impressed. AND that is saying a lot. It takes a lot to impress me. Your combo of papers is wonderful and makes the whole thing. The different shapes add so much to the depth of the wreath. I’m such a crafter and have been doing it since long before you were born. This is special and I hope you are as proud of it as you should be. Thanks for sharing.
So glad that you enjoyed it!
Such a lovely project! I admire you, I am not good at anything else but fabric. Love the prints on the paper and the combination, would work great in a quilt too !
Melissa, I’ve been playing with paper leaves too. Such fun. Love this wreath. Off to pin it!
Thank you Tauni!
I LOVE how the paper leaves turned out – they look so elegant Melissa! Great idea.
Thank you so much!
These turned out just gorgeous Melissa! I love both of them, but the pumpkin is my favorite. Love the trailing leaves on the side!
Thanks Kara, the pumpkin was an afterthought but I like how it turned out almost better than the wreath..
Great idea, will give to friend who does crafts with jr. high.
Could not find a leaf pattern
If you’re using a Cricut there are several in their online library. If you are cutting them by hand just google “free leaf clipart” and there is a bunch to choose from..