Beginner-Friendly Guide: How To Cut Felt With Your Cricut Maker
Cutting felt with your Cricut Maker can be tricky, but you can always achieve perfect cuts with the right technique and tools. Learn how to cut felt with your Cricut Maker in this step-by-step tutorial.
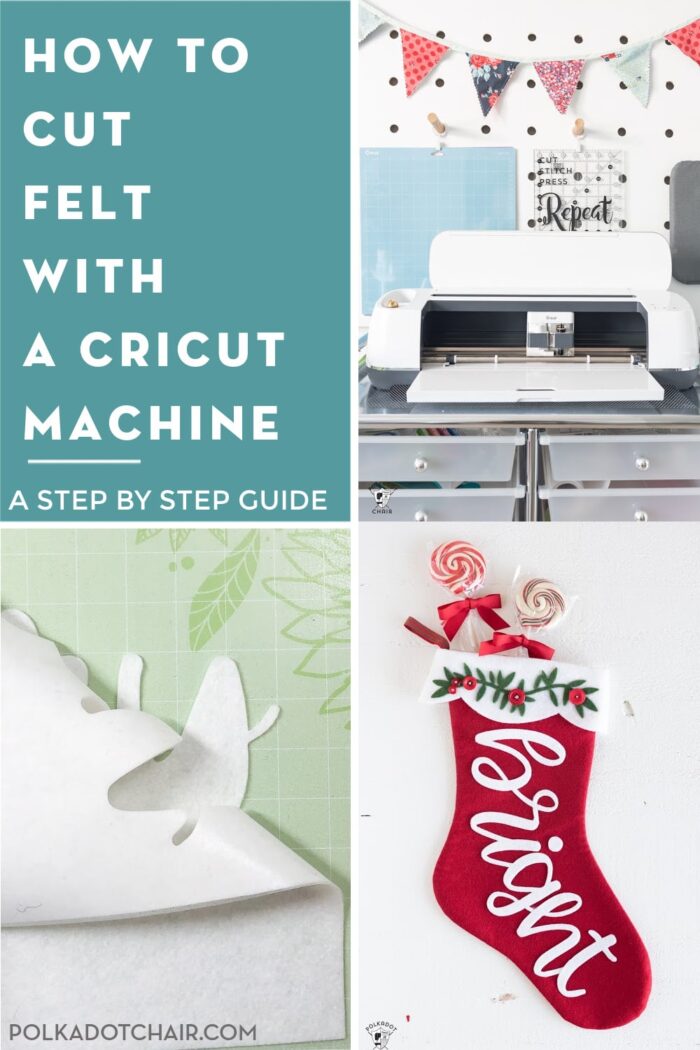
The Cricut Maker is a versatile cutting machine that can effortlessly handle a variety of materials, including felt. Whether you’re a seasoned crafter or a beginner, cutting felt with a Cricut Maker can open up new possibilities for your projects. This guide will walk you through the step-by-step process to ensure clean and precise cuts every time.
How to Cut Felt with your Cricut Maker
There are three primary methods that I like to use to cut felt with my Cricut. There is also one “hack” that I’m going to share with you as well.
What Type of Felt Can You Cut with a Cricut?
I have cut wool, bamboo, and polyester or acrylic felt with my Cricut machine. The method you use to cut the material will depend on your specific fabric.
If you felt is not very fuzzy, then the cut is pretty straightforward. If it’s a bit more fuzzy, one run through your machine will ruin your Cricut mat, and the material may not adhere as well to your mat as you like, yielding a not entirely precise cut.
Do I Need to Use the Cricut Maker?
For most of the posts in this series, you do need to use the Cricut Maker. It features an interchangeable tool system that allows you to swap out the different blades on the machine specific to the material you are cutting.
The Cricut Explore Air machines do not feature interchangeable Cricut blades. If you are considering buying a Cricut Maker, make sure you check out our article with answers to your most FAQ’s about the Cricut Maker.
Beginner-Friendly Step by Step Methods
Materials Needed:
- Cricut Maker machine (find it at your favorite craft stores)
- Cricut Fine-Point Blade or Rotary Blade (depending on your felt thickness)
- Standard Grip or Fabric Grip cutting mat
- Felt sheets in your desired colors
- Computer or mobile device with Cricut Design Space installed
Step 1:
Choose Your Design Start by selecting the design you want to cut from the Cricut Design Space. If you have your own design, you can upload it or choose from the library of pre-made designs available in the software.
Step 2:
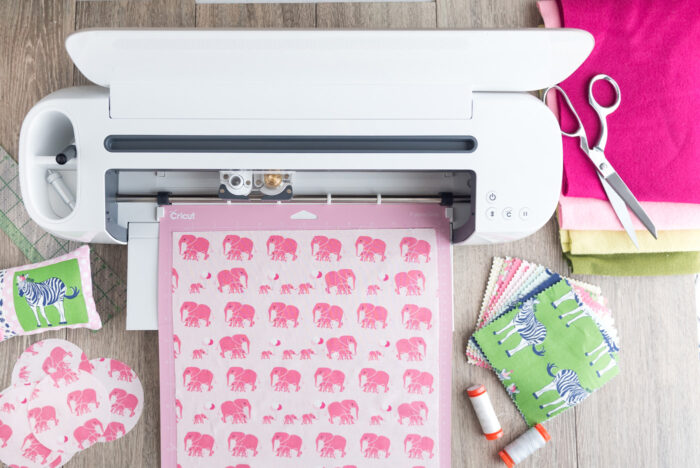
Set Material and Load Mat In Cricut Design Space, select “Felt” as your cutting material. Ensure your Cricut Maker is powered on and connected to your device. Place the felt on the cutting mat, making sure it adheres securely. If you’re using the Rotary Blade, insert it into the machine.
Step 3:
Adjust Cut Settings Once your design is ready and the material is set, check and adjust the cut settings. The appropriate settings may vary based on the thickness of your felt. Use the recommended settings provided by Cricut Design Space or perform a test cut to ensure accuracy.
Step 4:
Load the Mat into the Cricut Maker. Insert the cutting mat into the Cricut Maker by aligning it with the guides and pressing the load button on the machine.
Step 5:
Start the Cutting Process Press the “Go” button in Cricut Design Space to initiate the cutting process. The Cricut Maker will precisely cut your felt according to the specified design.
Step 6:
Unload and Remove the Cut Pieces Once the cutting is complete, unload the mat from the Cricut Maker. Carefully peel off the felt pieces from the mat, taking care not to distort the shapes.
Additional Cutting Methods
Okay, now that we’ve covered the basics of cutting felt with a Cricut, I will share some of my favorite tricks for cutting felt. I’ve learned that the categories of craft felt you are cutting make a big difference. For different types of felt, you may need a rotary blade or a deep-cut blade.
Method 1: Cutting “non-fuzzy” Polyester or Acrylic Felt
This method is straightforward and is not much different than cutting paper with your Cricut.
For this method, you will need:
- Cricut Maker Machine with Rotary Blade Attachment
- Fabric Grip Cutting Mat for Cricut Machine
- Non-Fuzzy Felt – the Cricut Brand Felt is great for this method.
Instructions:
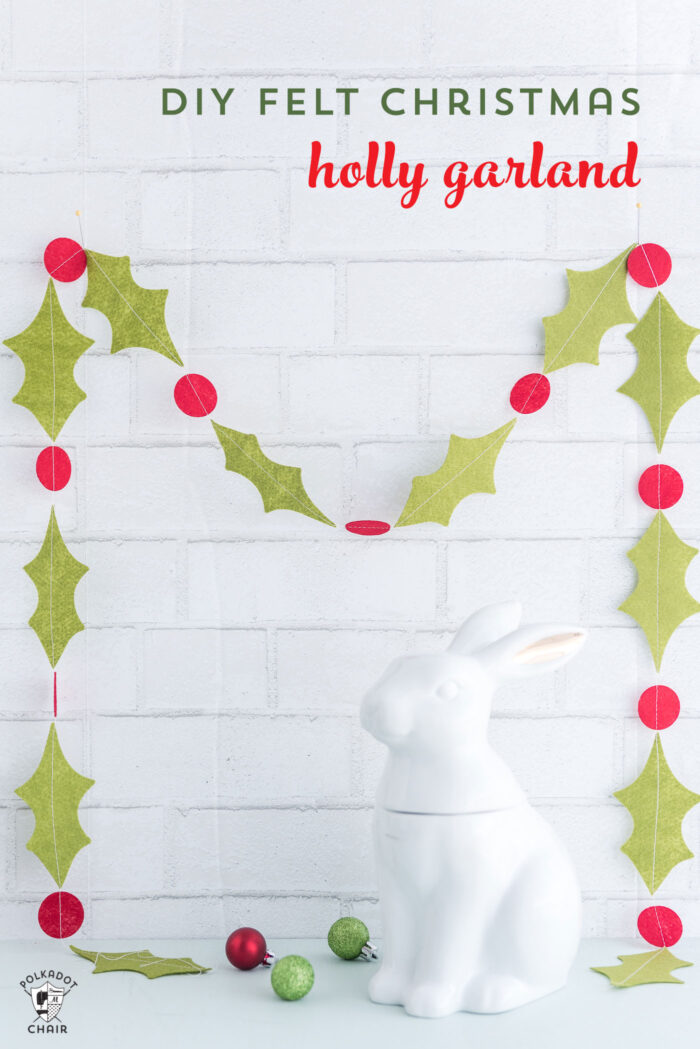
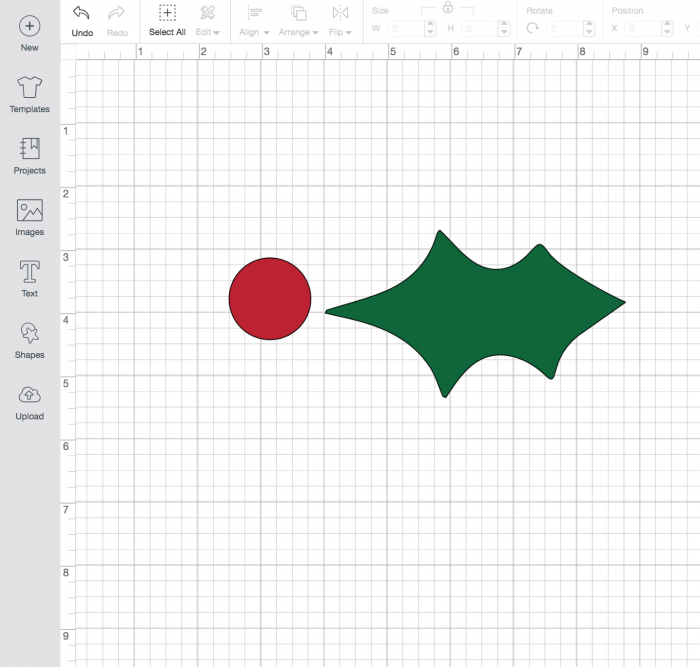
Select the design you want to cut out in Cricut Design Space (I’m using Holly and Berry from the Christmas Garland project on our site).
When the file is ready, click “Make It” to send the file to your machine.
Place the felt on the Fabric Grip mat and load it into your machine.
On the next screen in Design Space, under materials, select “Felt.” Under this screen’s tool section, ensure that the “rotary blade is selected.” It will cut with the fine-point blade, but I do not think it works either.
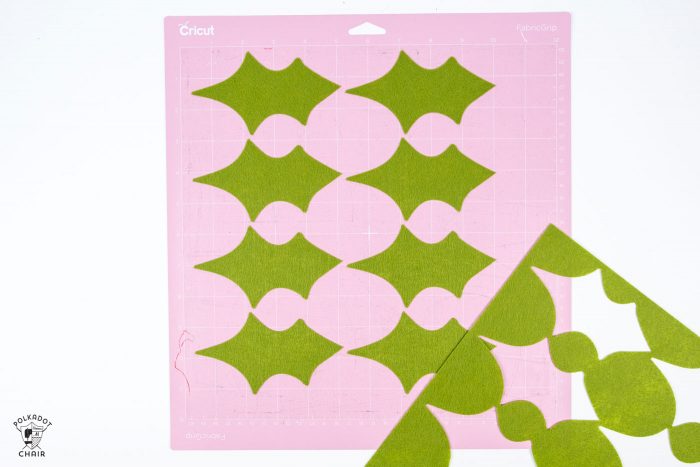
Then, cut out your shape. Since the Cricut felt has a very low nap (i.e., it’s not fuzzy), you will not need to clean your mat off between uses.
To test your felt, place some tape on the top of the felt and see how much “fuzz” comes off onto the tape. Use method two to cut your felt if there is a lot of fuzz.
Method 2: How to Cut Wool, Bamboo & Other Felt with the Cricut

I have discovered that cutting other non-Cricut brands (or cheap polyester) felt with a Cricut can be problematic. The machine can handle the cuts just fine. However, the “fuzz” (the felt fibers) from the felt coats the cutting mat after one use. I have been unable to successfully remove the felt, making the mat useless, which can get expensive! This is particularly noticeable when cutting wool felt or wool blend felt.
I have found a workaround to use transfer tape on the back of the felt. Let me walk you through the steps.
For this method, you will need:
- Cricut Maker Machine with Rotary Blade Attachment
- Standard Grip Cricut Cutting Mat – the green mat (note with this method, you do not need to use the pink mat -the fabic mat).
- Cricut Transfer Tape
What is Transfer Tape?
Transfer tape is a clear, one-sided tape that comes on a 12″ wide roll. It is normally used to transfer out Vinyl images from the vinyl backer to the finished project. It is “low tack,” meaning it is meant to be removable, making it great to use with felt! Cricut sells transfer tape in bulk; that is how I purchase it.
Instructions:
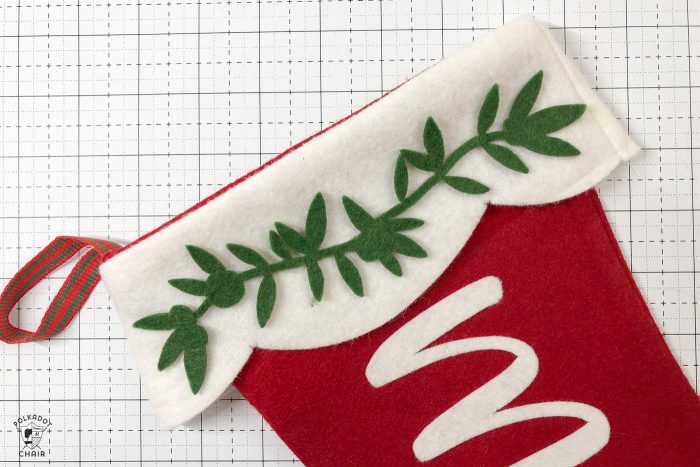
Select the image you want to cut in Cricut Design Space (for this example, I am using our Merry & Bright Felt Christmas Stocking Tutorial). You can also upload your own SVG file.
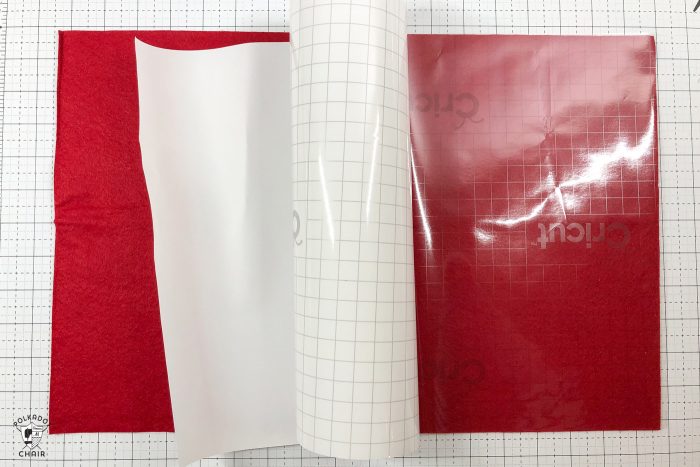
Cover the back with transfer tape before loading the felt onto the cutting mat. The sticky side of the transfer tape facing the back (or the wrong side of the felt). The transfer tape will act as a barrier between the fuzzy felt and the Cricut mat.
Place the transfer tape-backed felt onto the cutting mat and transfer tape side down. Then, cut out the material as prompted on the screen. Again, make sure to select “felt” from the screen in Design Space and “rotary blade” as the tool.
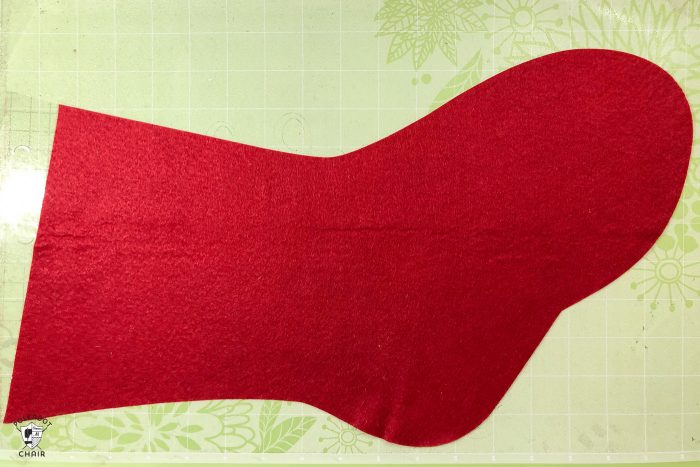
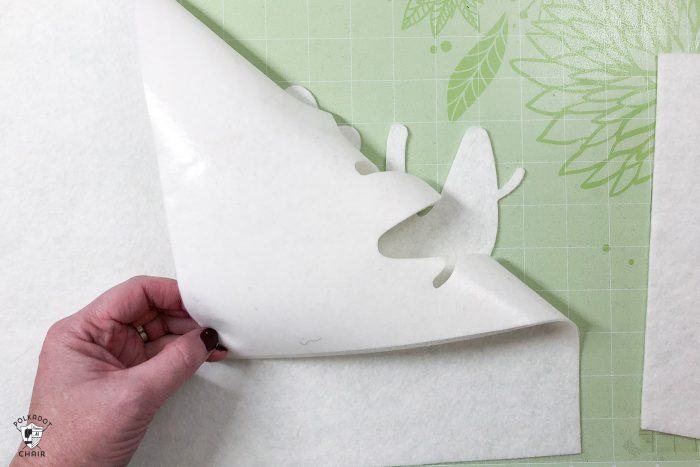
After the cut, pull the transfer tape off the back of the felt. This method also works well with thicker felt.
Method 3: How to Cut Felt with Iron-On Backing
Sometimes, when you cut felt, you do it specifically to iron onto another material. I’ve done this several times, and it’s one of my favorite methods for cutting out felt.
For this method, you will need:
- Cricut Maker Machine with Rotary Blade Attachment
- Standard Grip Cricut Cutting Mat or Light Grip Mat
- Paper Backed Fusible Webbing- I like to use Heat N Bond Lite
Instructions:
Before it is placed on the cutting mat, adhere the paper-backed fusible web to the wrong side of the felt. I like to use my Cricut EasyPress for this.
Peel off the paper backing. I’ve experimented with this method several ways and have found that pulling the paper backing off first yields the best results.
Place the felt on the cutting mat, fusible side down. Cut out as instructed above.
Tip: Depending on how “new” your Cricut cutting mat is, you may want to use the Light Grip mat instead. A couple of times, I have found that the standard grip mat has too much “stick” and pulls the fusible off of the felt. This is not a project for the strong grip mat, as it will rip off the paper backing.

In addition to the Christmas stockings shown here, I’ve used this method to create these fun Dorm Room Banners.
Freezer Paper Hack for Cutting Felt
There is one more method to cut felt with your Cricut machine. I consider it to be a bit of a “hack,” as you do not use the machine actually to cut the felt.
This method can also be used with any of the current Cricut Machines.
You can use the Cricut pen tool to draw your design on freezer paper and then cut out the felt with scissors.
Why would you want to use this method?
The felt you are cutting may be too small for the machine to cut precisely. There may also be images in the Cricut Design space that you would like to use for a felt project.
You can also use this method with paper-backed fusible web to create iron-on felt.
Instructions:
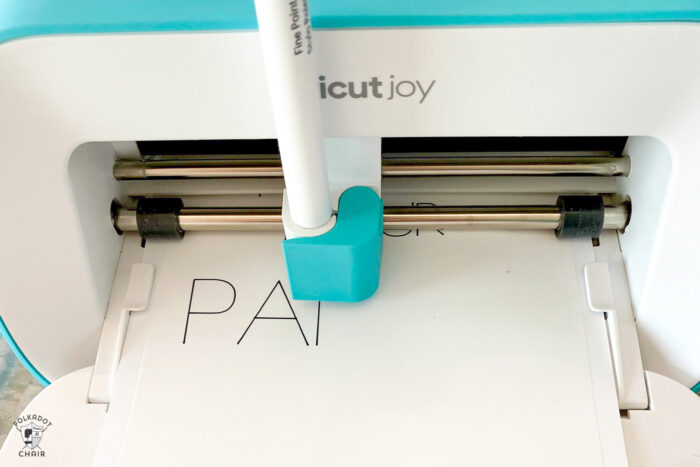
Load your design as usual into Cricut Design space. In the selection screen for your image, change it from CUT to DRAW.
Load the freezer paper (or paper-backed fusible) onto your cutting mat, paper side up. Note that you need to reverse your image when using paper-backed fusible webbing.
Load the pen into the slot on the Cricut machine. Load the mat and click the “go button.”
After you are sure the ink is completely dry, remove the freezer paper from the mat, cut out the images loosely, and iron it onto your felt.

Cut out with scissors.
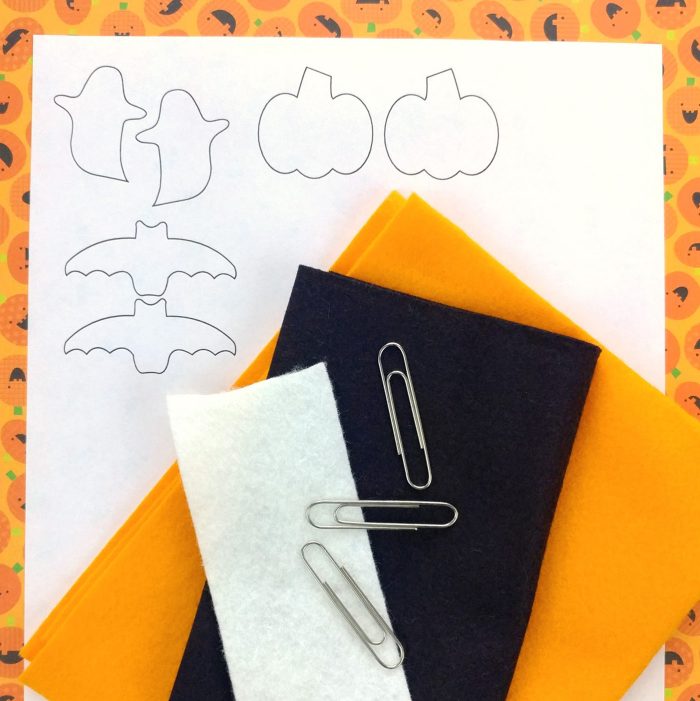
Projects shown in the photos are our Halloween Planner Clips pattern and Spring Showers Mini Quilt Pattern.
Tip: Be sure to check out our post all about working with freezer paper!
My Favorite Cricut Supplies
- Cricut Maker 3 (you can get great deals on machine bundles on Cricut.com)
- Roll Holder for Maker 3
- Cricut EasyPress (I like the large size the best): Make sure you get the EasyPress mat as well.
- Cricut Weeding Tools: (I use the small hook tool ALL the time, making weeding vinyl so much easier).
- Cricut BrightPad: A cordless, flat, bright lightbox. I use it to weed Cricut vinyl and use it all the time to trace applique shapes for sewing & quilting.
- Cricut Iron On Vinyl
- Cricut Permanent Vinyl


Wow, I’m trying to get started with my Cricut, but I’m still only admiring it in the box!!! Would LOVE to be able to cut felt, and your article is incredible. I see a huge binder of notes in my future!!! Thank you ever so much for sharing your knowledge. Cricut Hugs – Melinda
Is it possible to transfer a printed pattern (felt toy) to Design Space?
No, there is not a way to do it. The only way would be if the designer had a SVG for sale to go with the pattern. But not many do.