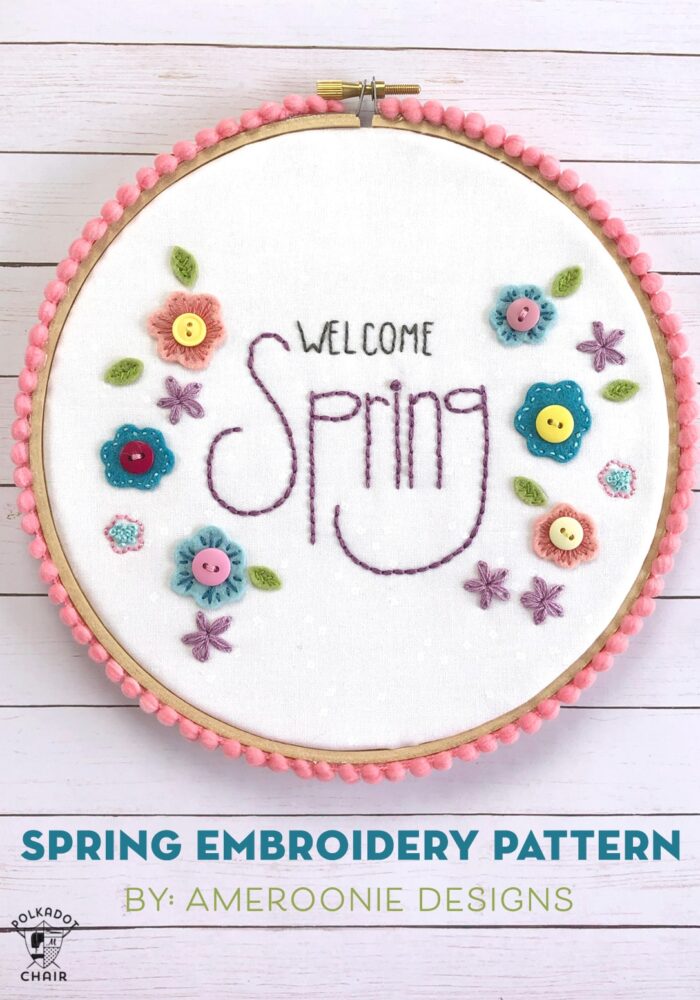
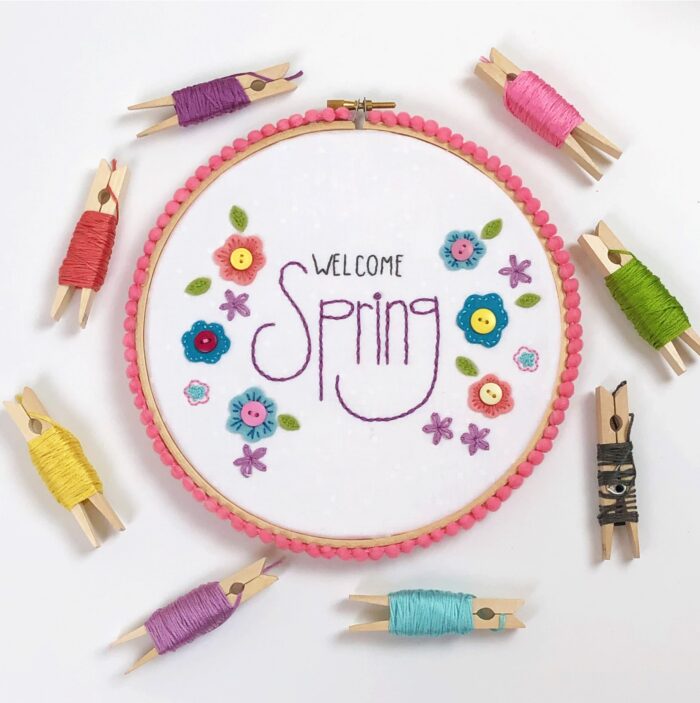
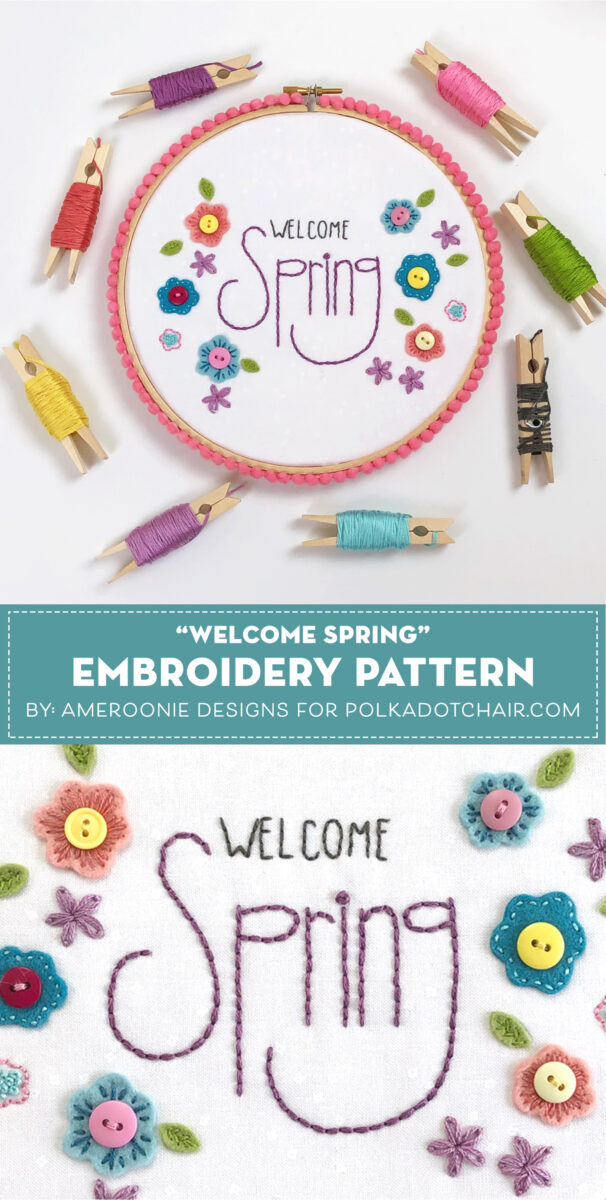
I am not embarrassed to say that I am not a winter person. I don’t like the cold or the short days. Each year when Spring rolls around I want to shout “it’s about time” from the rooftops! I think Amy from Ameroonie Designs read my mind when she designed the Spring Hand Embroidery pattern for today’s project. It’s full of bright colors and clever designs and just screams Spring!
There’s just nothing like sitting in the sunshine, with a bit of embroidery in hand, enjoying the first warm days of spring. Pair that with a quick and satisfying stitching project, and you have an afternoon or two made in heaven! This free Welcome Spring embroidery pattern can be finished in lots of different ways, but no matter how you stitch it, it’s going to be darling!
Welcome Spring Embroidery Hoop Art:
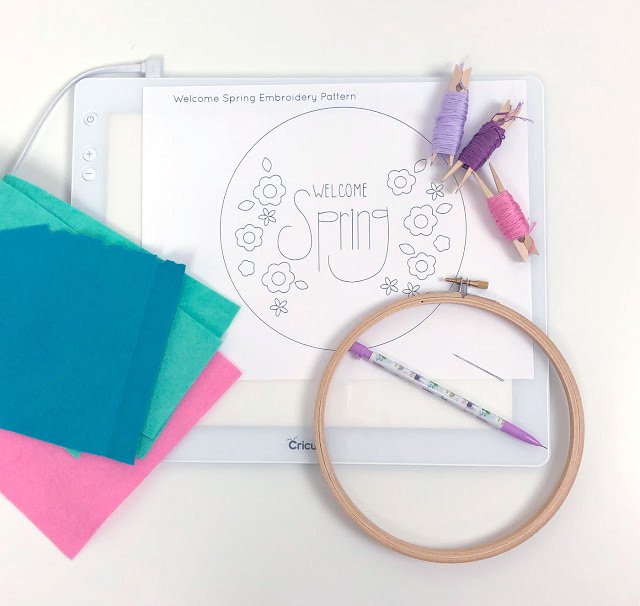
Supplies for hand embroidery:
7″ embroidery hoop
Welcome Spring embroidery pattern found here
Embroidery Floss
Fabric- about a 10″ square. I am using blossoms basics in white on white
Needle
Optional Supplies:
You can also use felt scraps for flowers and leaves (I recommend using freezer paper to trace and cut out the shapes).
A large square of white felt to back your fabric if you are using a light fabric to stitch, as I am here.
A lightbox is also helpful.
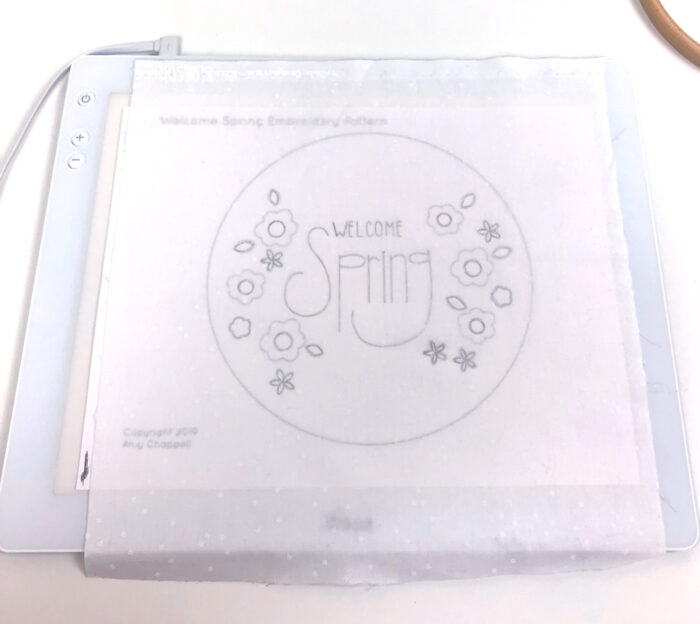
Step One: Trace the Pattern
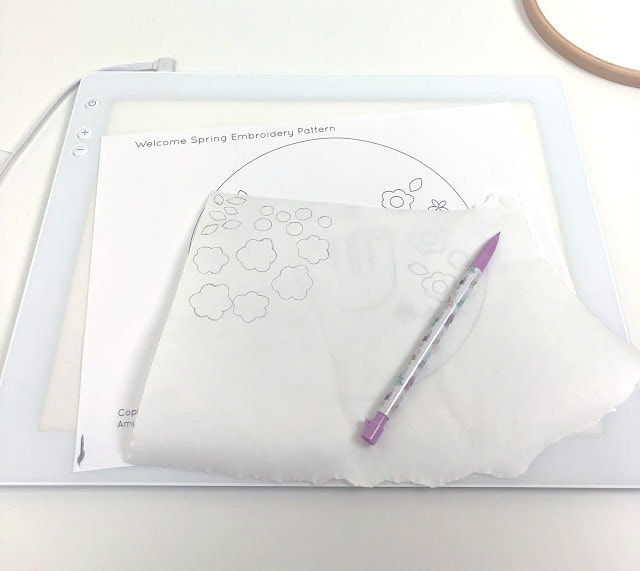
Trace your Welcome Spring hand embroidery pattern onto the right side of your fabric. I like to use a mechanical pencil for this step, but you can also use a water soluble marking pen or other means of your choice. If you are using felt for the flowers, only trace the center of the flowers as a guide for placement, if you are stitching all of the flowers, make sure to trace all of the lines.
If you are using felt for the flowers and leaves, trace the shapes onto the paper side of freezer paper. Use a warm, dry iron to adhere the freezer paper to the felt and cut out the shapes. Peel the paper off your shapes when done.
Step Two: Embroider the Design
Place your fabric in the hoop. I like to lay my fabric on a piece of felt and then place both into the hoop together. This will help prevent any shadowing of the floss from behind your project, but it’s totally optional.
You can keep the stitching as simple or as complex as you like. I used all 6 strands of floss for the word “spring” and 3 strands for the word “welcome”. I used a simple back stitch to outline all the letters.
For the daisy flowers, I used a lazy daisy stitch, with all 6 strands of floss.
I replaced the centers of the felt flowers with buttons and stitched them down using 2 strands of floss. To embellish the flowers I used 2 strands of floss and varied the stitches for some added detail.
On the leaves, I used a loose herringbone stitch, but a single stitch down the center would work just as well.
Embroidery Ideas & Suggestions for you:
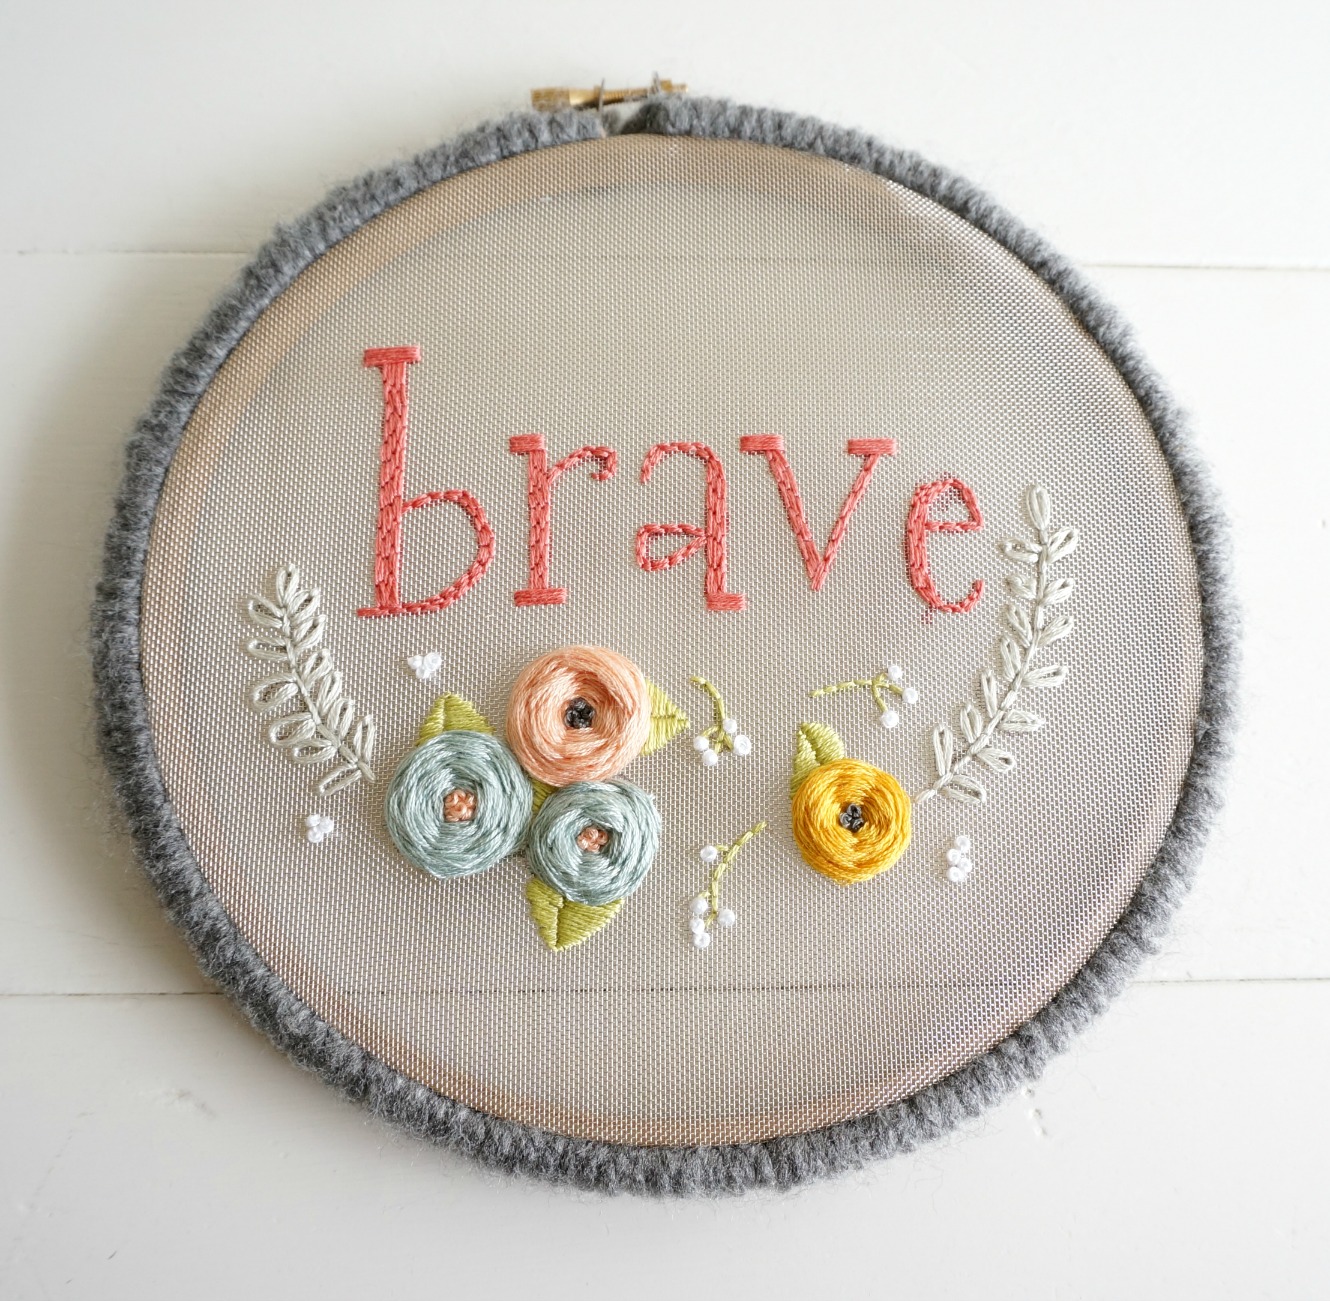
Alternatively, you could stitch all of the flowers using whatever stitches you like. A satin stitch would give lots of texture and color, but a simple backstitch outline of all the flowers would keep the project nice and airy. Whatever you decide, have FUN!
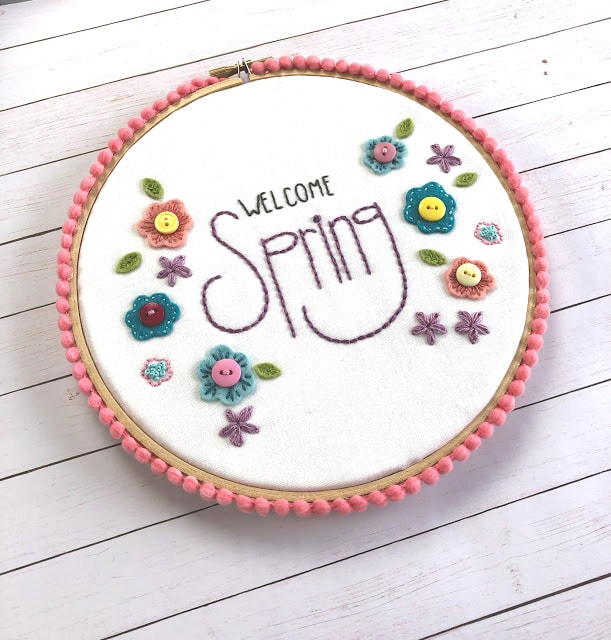
I finished my hoop by trimming down the felt so it’s right next to the hoop. Trim the fabric to about 1/2″ from the hoop and glue to the inside of the back of the hoop. Add pom-pom trim or finish the hoop to your liking.
I hope you have so much fun stitching up this cute little hoop!