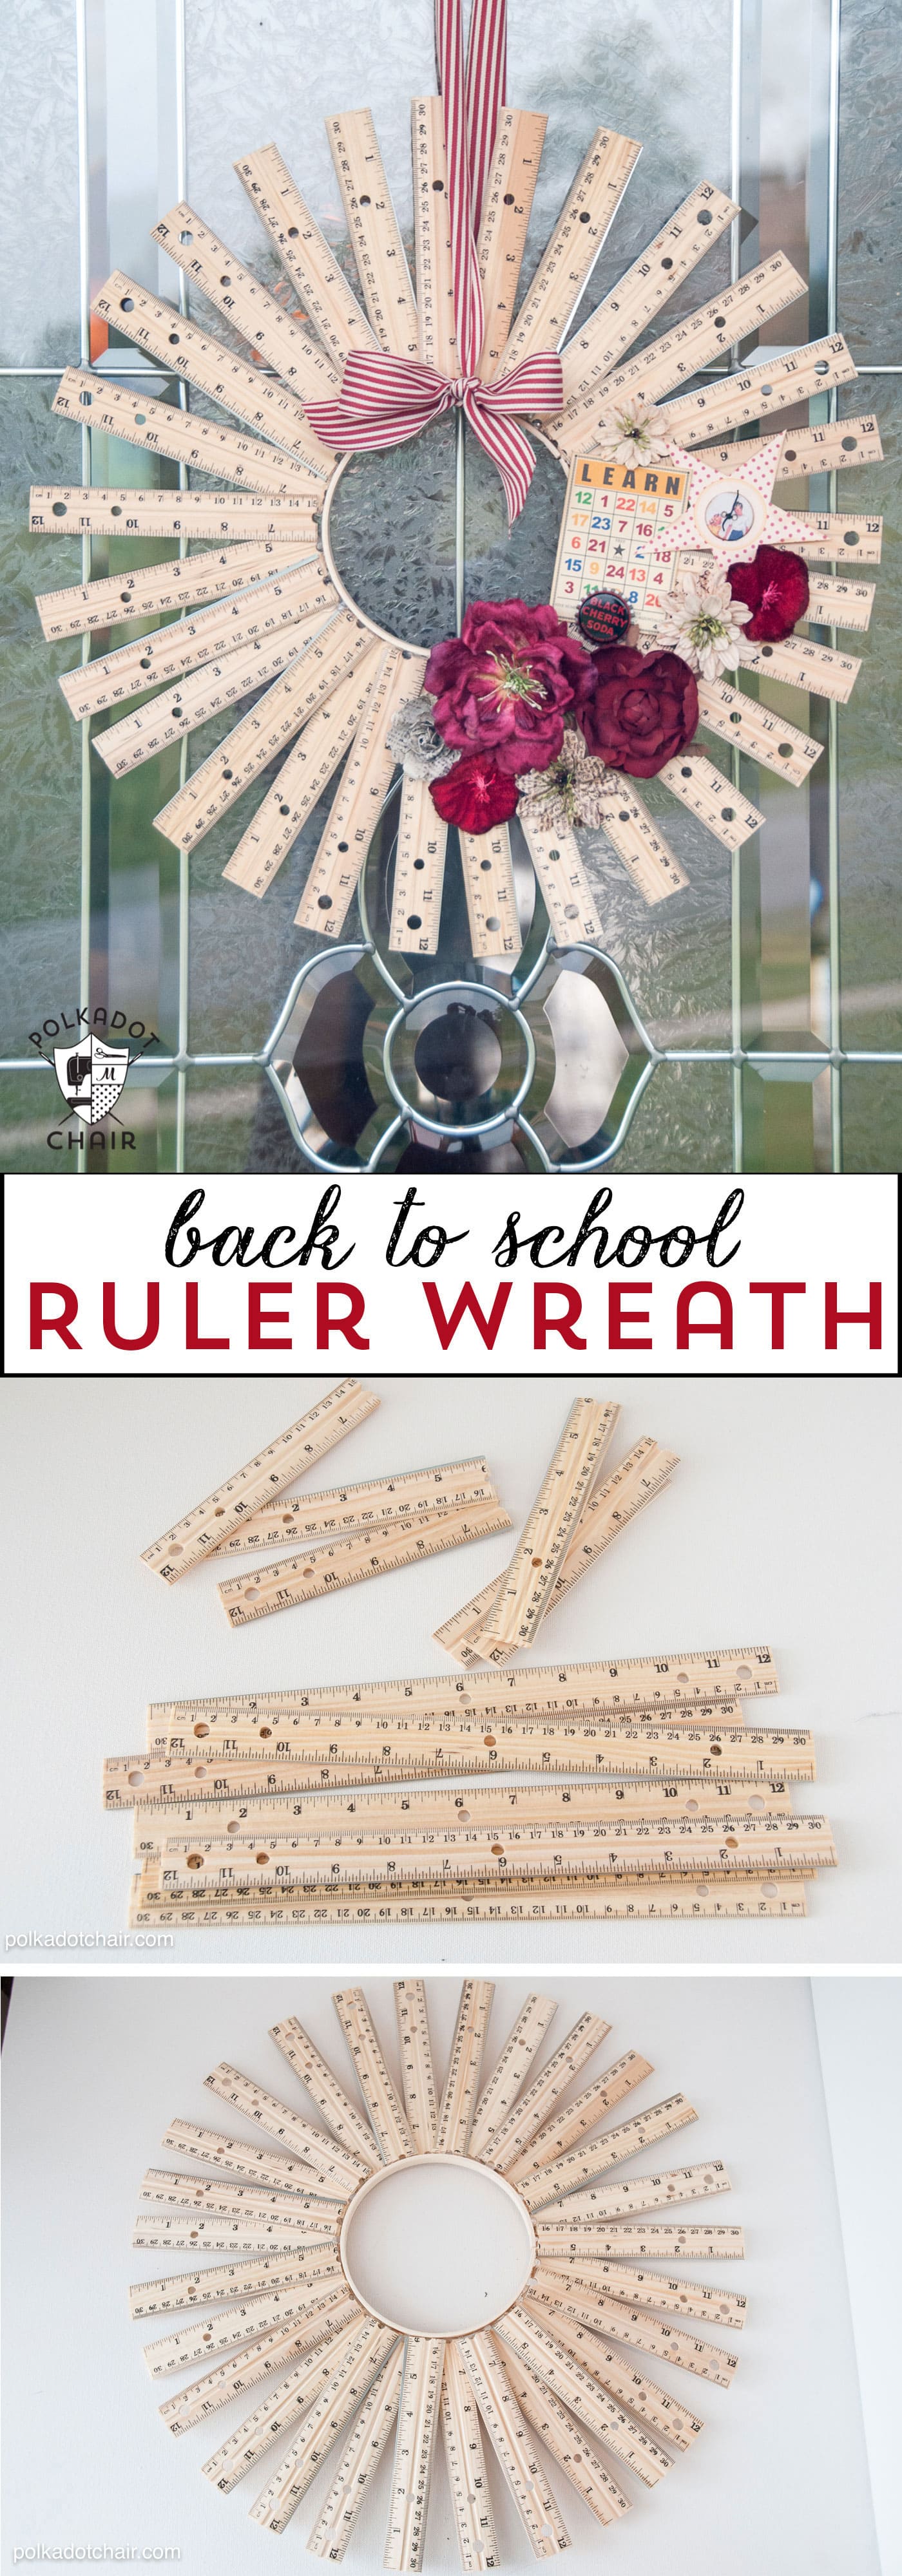
DIY Back-to-School Ruler Wreath
Looking for a fun craft idea for back to school or a teacher appreciation gift? You may enjoy making this Back to School Ruler Wreath. If you like this project, you may also enjoy this Personalized Teacher Appreciation Banner tutorial.
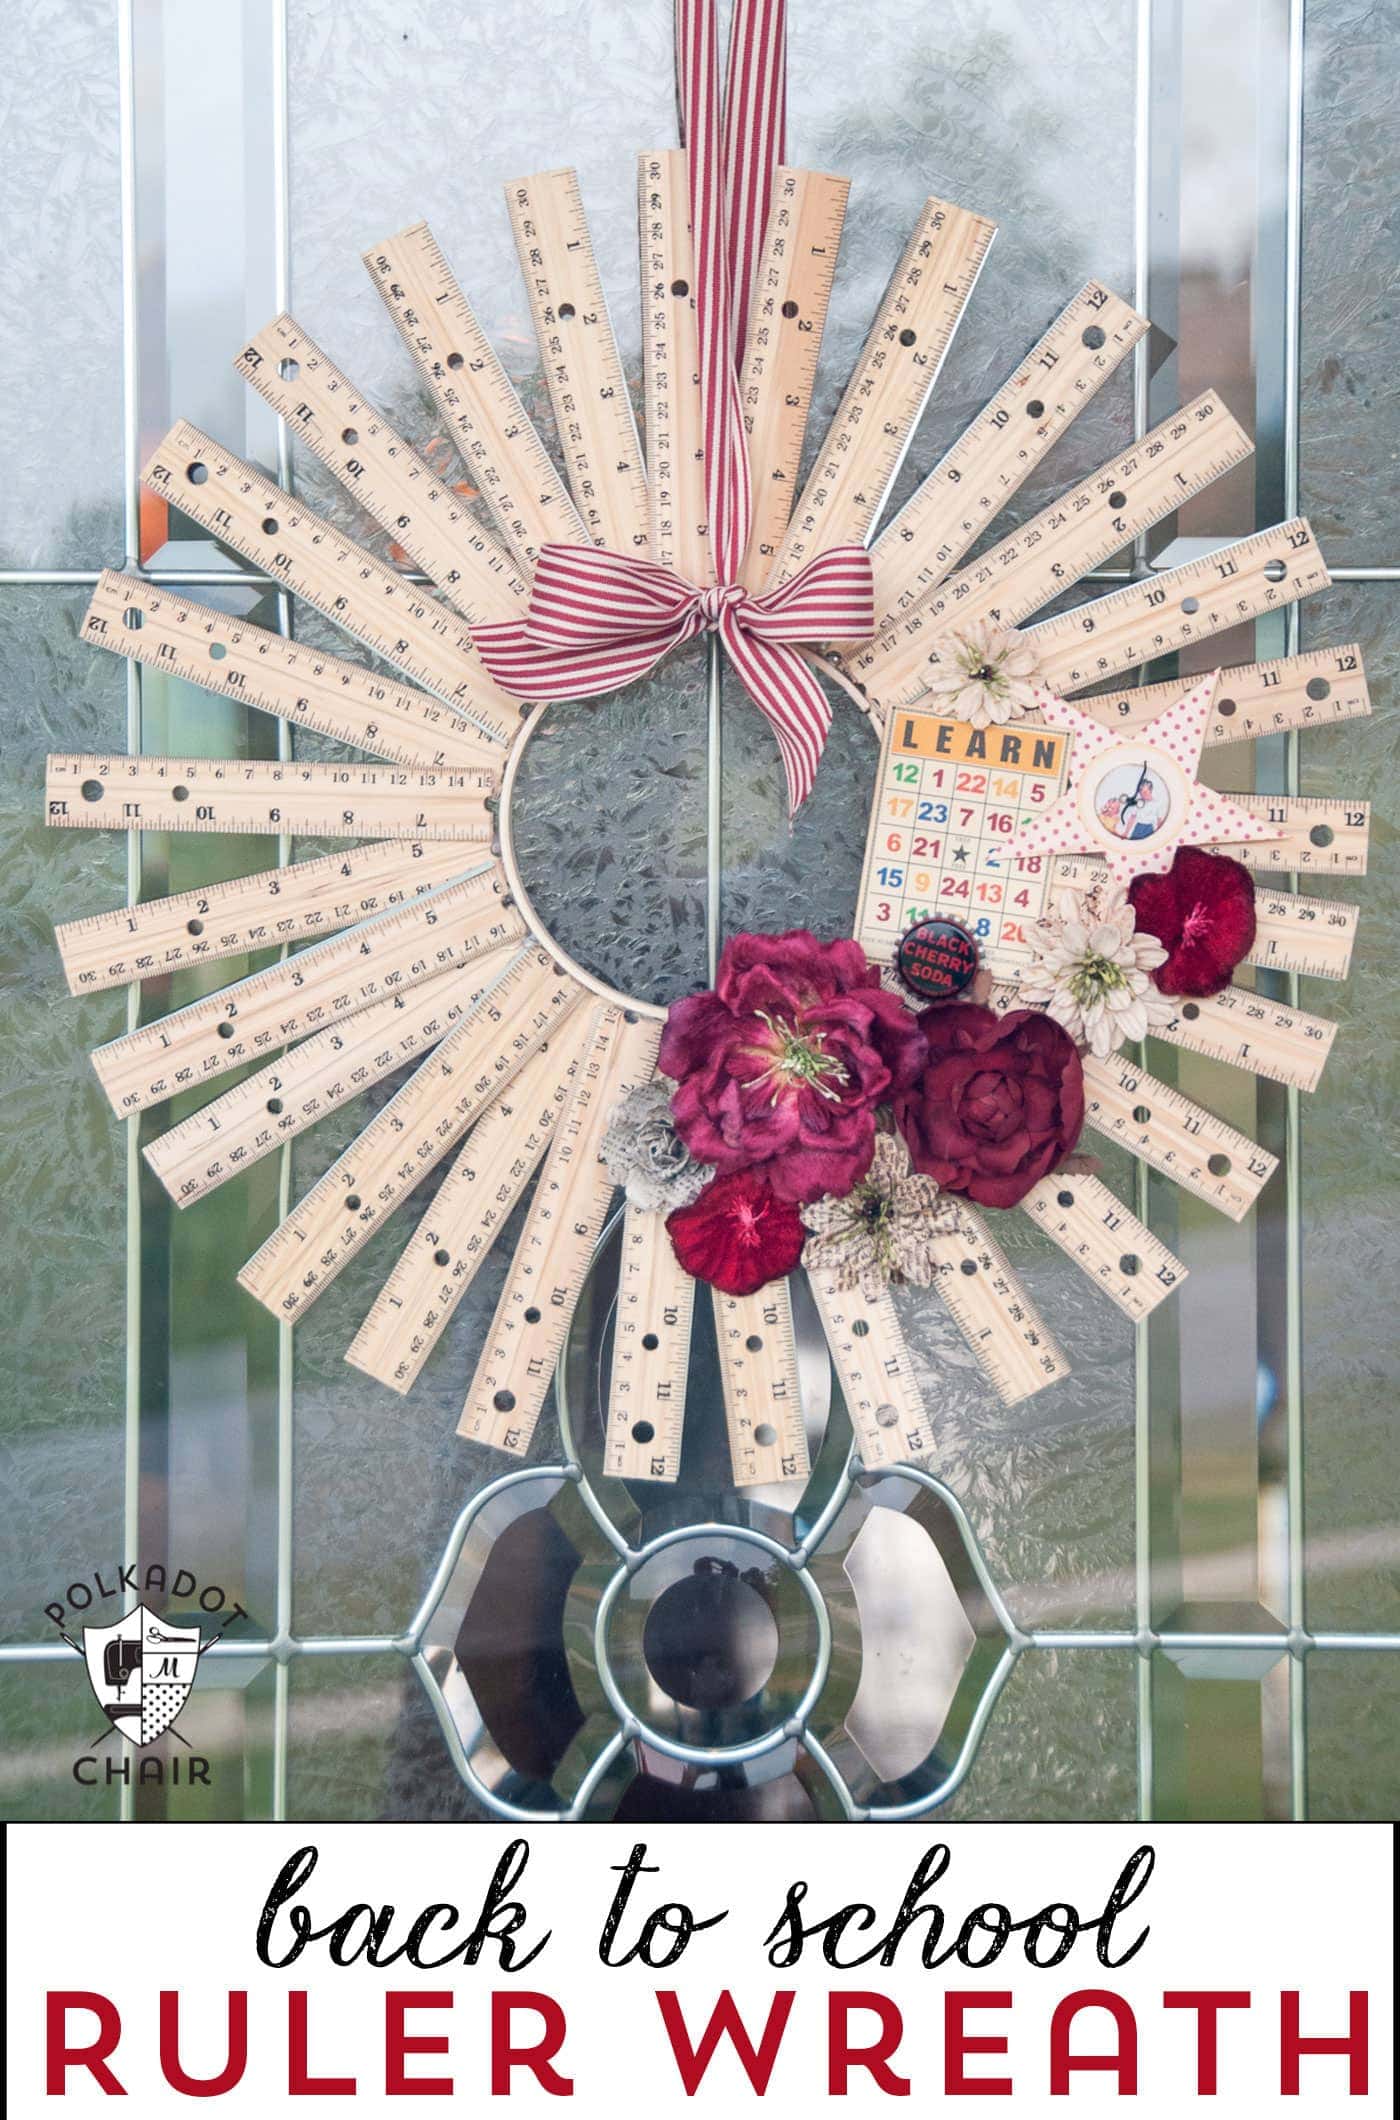
A couple of days I posted on the Polkadot Chair Facebook page asking for ideas for a wreath for my front door. I was stumped, too late for summer, too early for fall. Lots of people suggested that I do a back-to-school wreath. Then they suggested I use school supplies to make it; then VOILA, I had an idea! (thanks, guys!!!).
I decided to make a wreath out of rulers! The idea might have come from my unnatural obsession with starburst mirrors lately – I thought this was a fun spin on that idea.
Supplies Required
- 14 Wood Rulers
- 6″ Wood Embroidery Hoop
- Hot Glue Gun
- Decorations such as silk flowers, paper, and buttons
- Ribbon
How to Make a Ruler Wreath
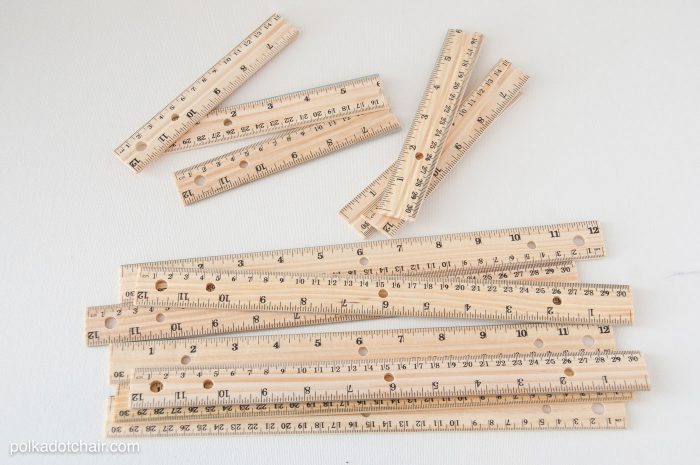
Purchase wooden rulers (I got mine at Target for .50 each).
Next, cut them in half. (I used a saw, it was pretty easy).
This wreath took 14 rulers in all. You could also use 6″ rulers, but I couldn’t find any, and I liked the variation of the numbers when you cut them in half.
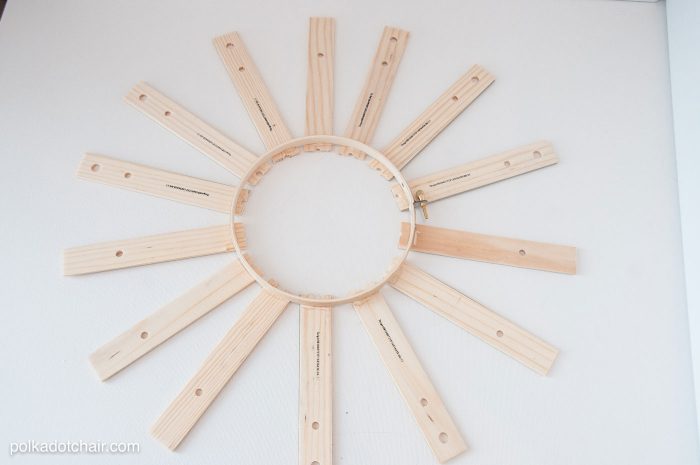
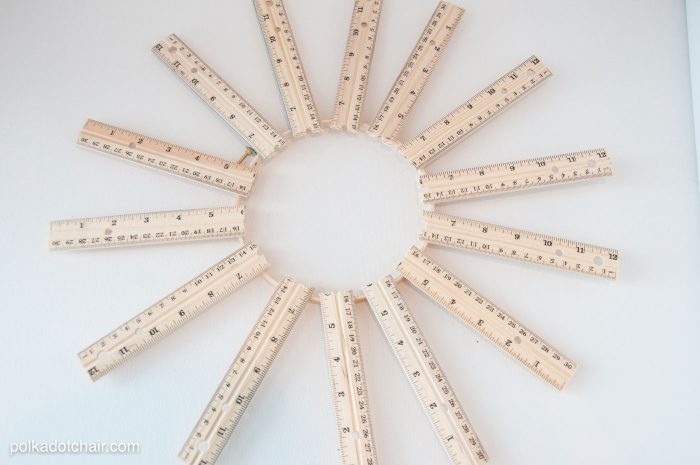
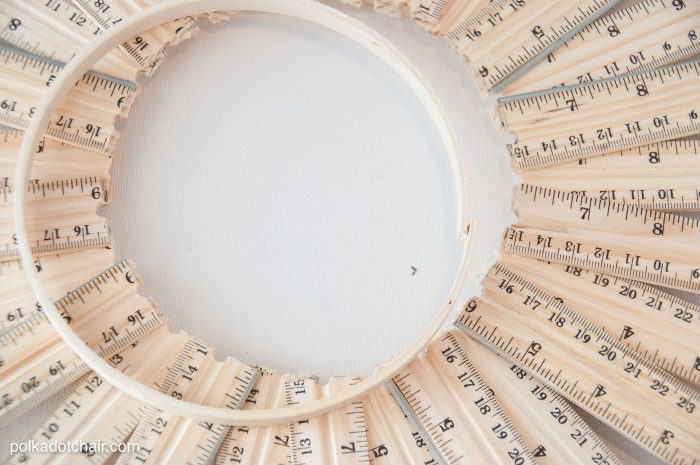
After you cut all of your rulers in half, you will hot glue half of the rulers to a 6″ embroidery hoop. Leave a little space between each one, and try to space them evenly.
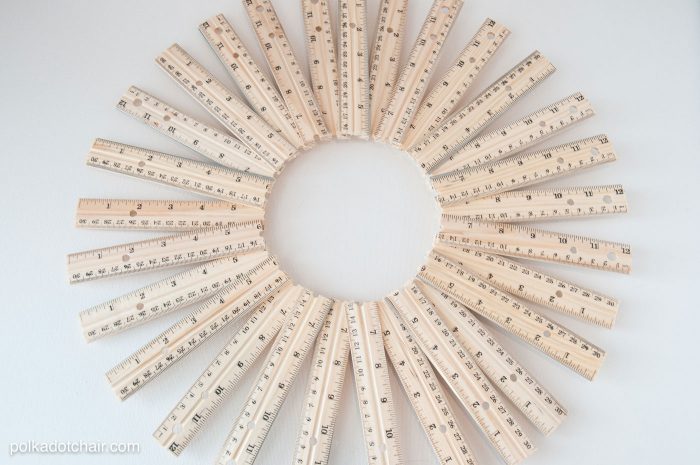
Hot glue the remaining rulers on top of the space between the rulers on the bottom row. You will get a starburst design.
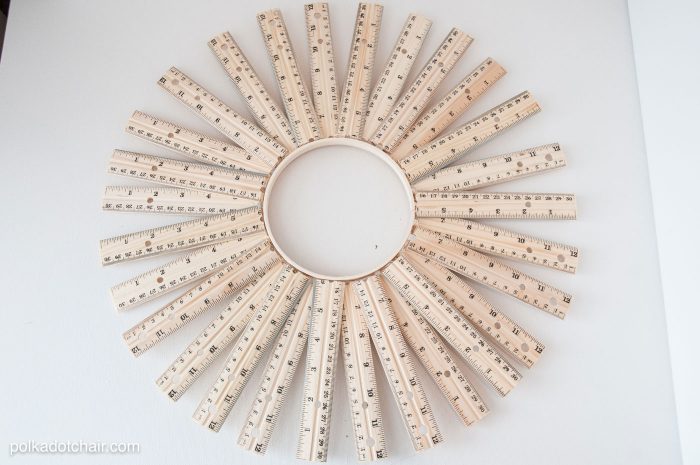
Next, cut a slit in the other half of the embroidery hoop. Fit it into the center of the wreath, mark where they meet. Cut off the excess so that the hoop fits into the space.
Hot glue in place.
Finishing Steps
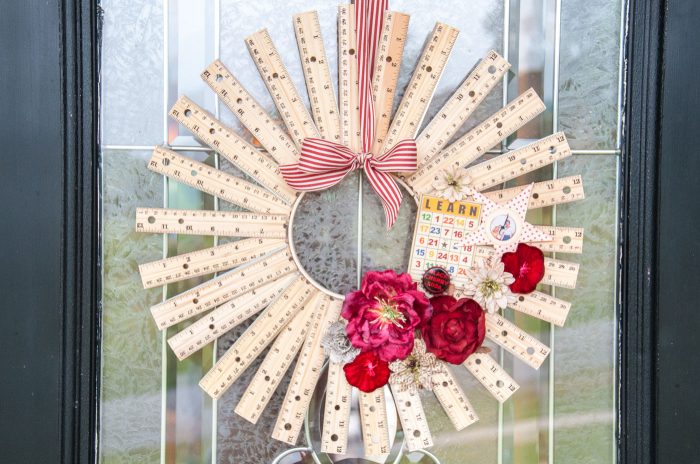
When you are done the wreath base will look like this. I kinda like it just plain… but I decided to decorate it up a bit.
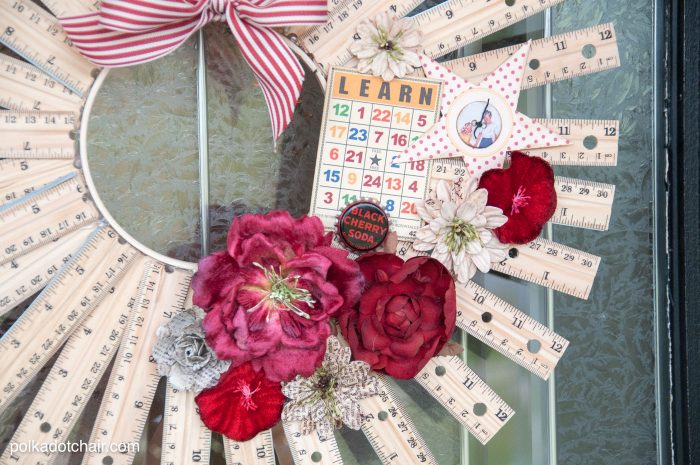
I added a few scrapbooking supplies (most are Jenni Bowlin) and some flowers that I had to the corner. I just used hot glue.
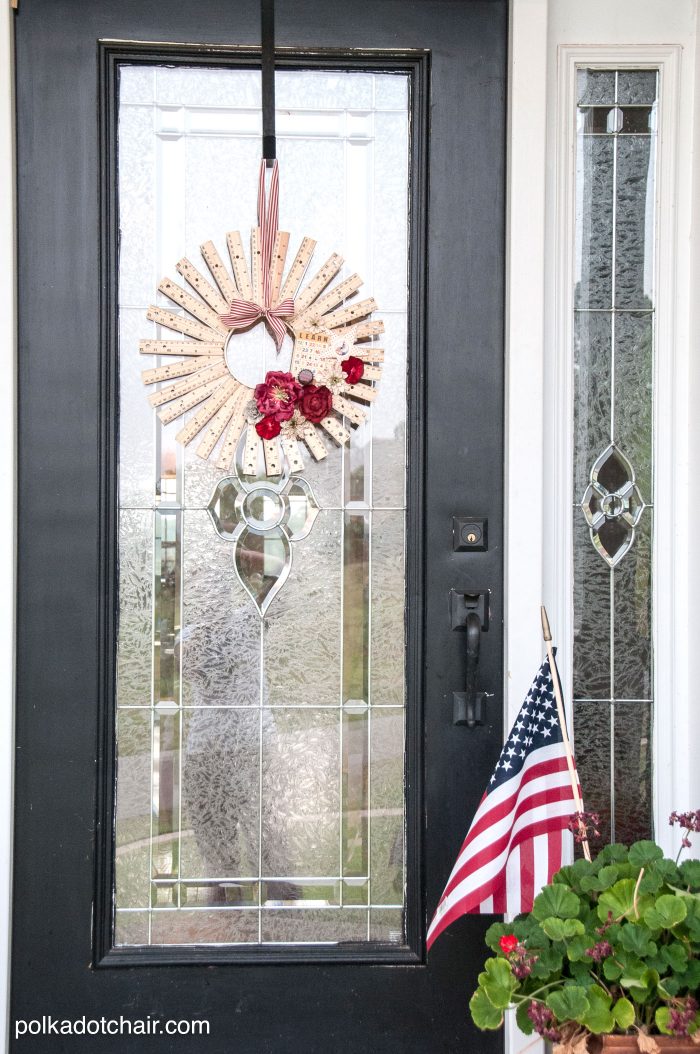
I love the way it looks on the front door; I’m just not sure if I trust it out there with the humidity- I think I’ll move it indoors, which means I still need to come up with an idea for the front door 🙂